Header

Tag Archives | Thank You Card

Make a Fun Coffee Gift Card Holder for National Coffee Day!

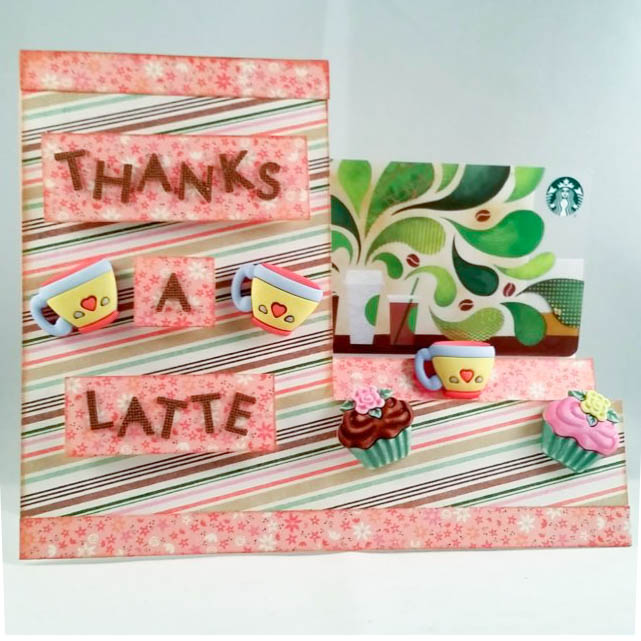
coffee gift card holder

It’s National Coffee Day, and what better way to celebrate than with a gift card to your favorite coffee shop? Using 3D buttons from our Buttons Galore Sweet Delights collection, you can make a sweet card that doubles as a gift card holder!
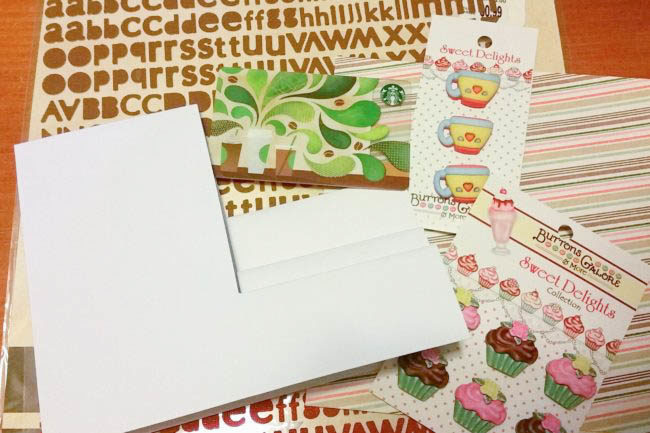
Supplies Needed to Make Coffee Gift Card Holder:

Instructions for Making Coffee Gift Card Holder:

  1. Trace front of side stepped card onto the back of one sheet of patterned paper. Cut out with scissors and adhere to front of the card. Ink edges of paper if desired.
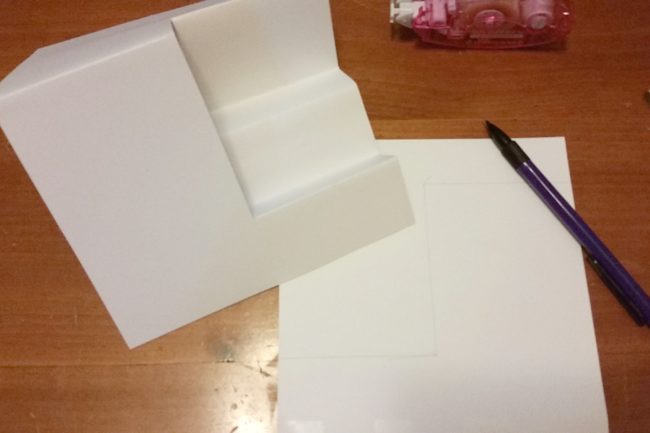
  2. Cut two 3/4″ strips from the second sheet of paper. Ink edges if desired. Adhere one strip to the bottom of the card. Cut the other strip in half. Adhere one piece to the top of the card, and adhere the other on the second “stairstep” of the card.
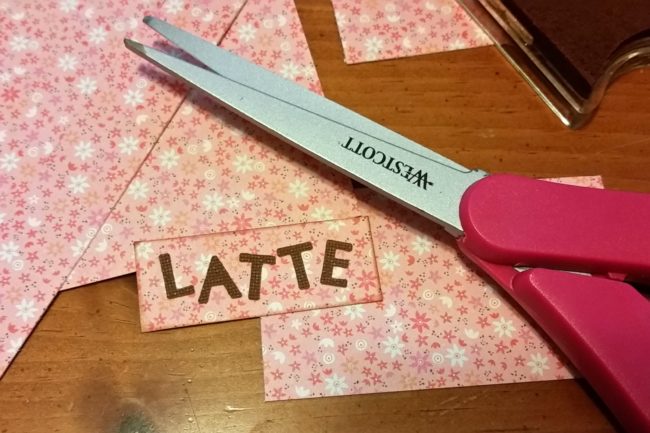
  3. Spell out “Thanks a Latte” by placing stickers onto leftover pieces of the 2nd sheet of paper and then cutting out rectangles around the words. Inks edges if desired. Adhere to card with foam pop dots to add dimension to the card!
  4. Remove shanks from back of “coffee cup” and “cupcake” buttons with a button shank remover. Adhere to card using red line tape.
  5. Adhere gift card to the last step of the stepped card using red line tape.

SaveSave

1

Make A Thank You Card with new 28 Lilac Lane Fall Mix!

This week, we’re introducing a special Limited Edition 28 Lilac Lane “Fall Mix” embellishment kit by May Flaum! This kit is only available from the Buttons Galore online store – and stay tuned to the end to learn how to get a special introductory discount!

28 Lilac Lane Limited Edition Fall Mix

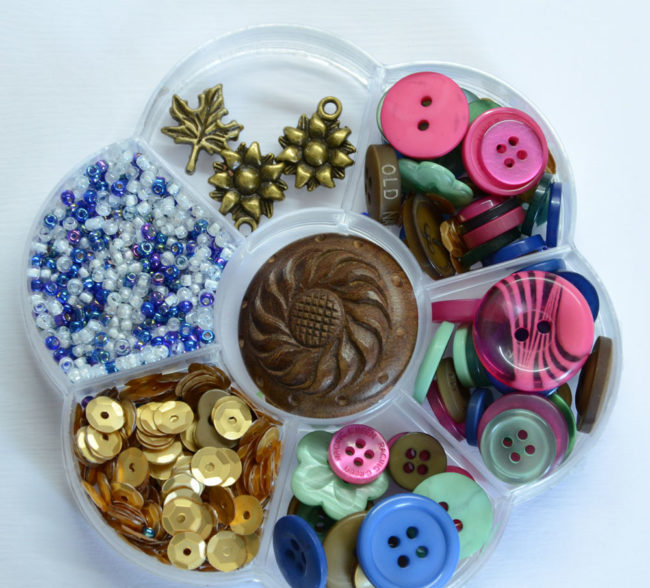
With jewel tones, soft green, brown – and gold! – this color mix by 28 Lilac Lane designer May Flaum is perfect for embellishing gorgeous fall projects that aren’t quite right for the traditional rust and orange tones of fall.

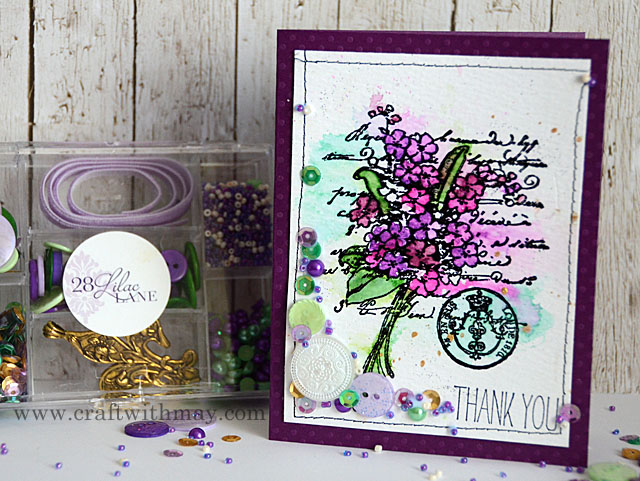
Here’s a peek of a thank you card that May created with the new 28 Lilac Lane Limited Edition Fall Mix, using a stamp from Tammy Tutterow:

Thank you card by May Flaum using 28 Lilac Lane Limited Edition "Fall Mix" from Buttons Galore & MoreFor the full how to tutorial about the card, check out the video below!
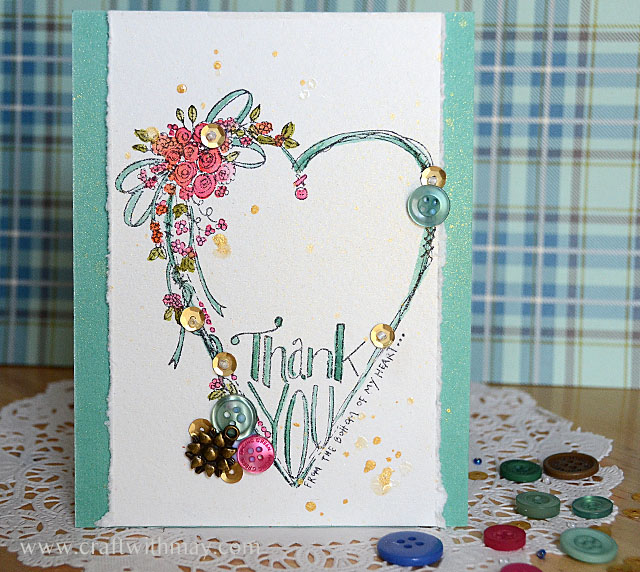
And finally, here’s May’s finished thank you card. The stamp is pretty by itself, but embellished with a few sequins, buttons and charms, it is extra special! This beautiful card makes the perfect thank you for any occasion.

Thank you card by May Flaum using 28 Lilac Lane Limited Edition Fall Mix from Buttons Galore & More

The new 28 Lilac Lane “Fall Mix” designed by May Flaum is a limited edition, so make sure to get it while it lasts! Use coupon code “LL400” until 11:59pm eastern time on Friday to get $1.00 off. Better yet, this coupon can be stacked with the Beat the Clock sale going on sitewide now through Saturday. The sooner you order, the more you save!

And don’t forget that orders over $30 get free U.S. shipping! We’ve got the entire collection of 28 Lilac Lane embellishments in stock, as well as six fabulous new Button Bonanza collections (including seasonal blends for Halloween and Christmas) as well as our perennial favorites like our Button Basics, 3D buttons, and Haberdashery collections. Stock up now for Halloween and Christmas projects and save!

1

Send an Extra Big Thank You Card!

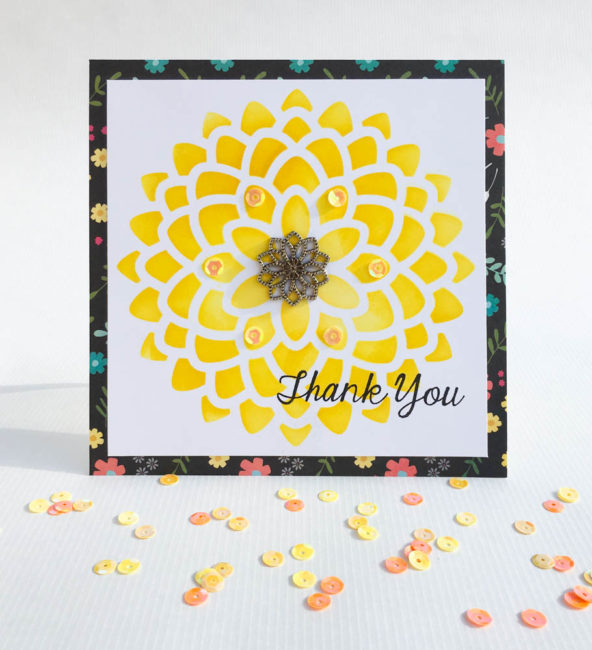
It’s always a good idea to have some thank you cards on hand to share your gratitude with others. This big thank you card featuring 28 Lilac Lane products will make an impact at a full 6″ by 6″ in size!

Big Thank You Card

Supplies Needed:

When I was making this, I knew that I wanted a button to decorate the center of this design but wasn’t sure what until I saw this rosette button in the “A New Leaf” kit while I was creating my card. It’s very ornate, but it matches almost perfectly the mum design! The visual repetition that it creates is perfect. I could also have taken a regular button and tied it on with contrasting thread for some pizzaz.

I also like using sequins that are the same color as the background that I place them on as an embellishment! This technique adds a bit of shine and dimension to the design without the sequins being too garish. On this card, I used the sequins to create a sun kissed circle of highlight around the center of the flower.

To begin making your extra big thank you card, cut a piece of white smooth cardstock that is 6″ x 6″. Center the stencil on the cardstock. Holding firmly, begin to scrub the lighter color of ink (squeezed lemonade) into the design with the ink blending tool. A circular motion blends best.

Work the Squeezed Lemonade into the center half of the design and then switch to the darker color (Mustard Seed) for the outer half of the design. Once all of the design has been inked, switch to a clean blending foam and begin to rub in a circular motion to blend the colors together where they meet.

Once the ink is dry, trim the white cardstock so that it is just slightly larger than the stenciled mum design. Cut a piece of matching patterned paper that is 6″ x 6″ in size. Adhere the stenciled design on top of the patterned paper and attach them both on top of a card base. (The card base can be made by folding a 6″ x 12″ piece of paper in half.)

Stamp the sentiment in the bottom corner of the card. Cut the shank off of the featured button and glue it into the center of the stenciled design with PPA Matte adhesive. This adhesive is great for working with our buttons – it will hold the button in place but will dry clear and invisible if it leaks out around the edges of the button or through the holes in the button!

For the finishing touch on your big thank you card, select a few yellow sequins from the assortment in the 28 Lilac Lane “A New Leaf” embellishment kit, and glue them onto the design around the center of the flower using PPA Matte.

Floral design cards are great for many occasions. Instead of “thank you” consider substituting sentiments for birthdays, housewarming, or other occasions. This easy card will bring a smile to someone’s face!

0

Send an Easy Quilt Thank You Card!

This quick and easy quilt thank you card is perfect to send to your favorite quilter, or create a set to give as a gift!

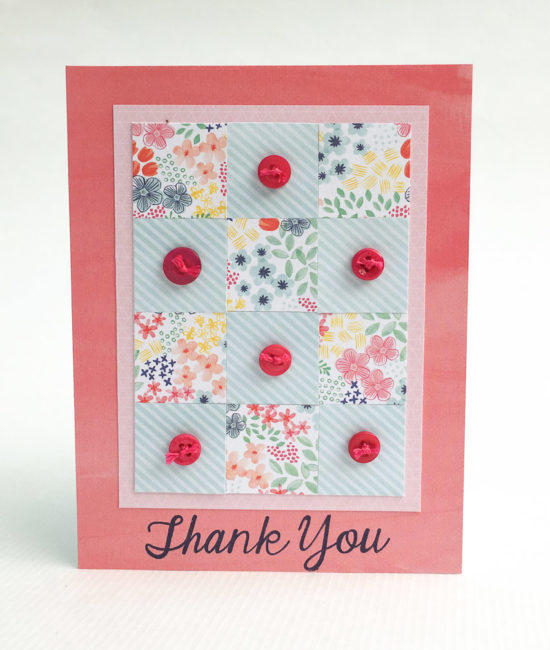
Quilt Thank You Card

Supplies:

To make this card, first cut a 3″ x 4″ piece of white cardstock. Cut 1″ squares out of two different patterned papers for the quilt squares. Arrange and glue them to cover the white cardstock backing.

Attach the quilted piece on top of the light pink patterned paper and trim to mat it with a small border.

Cut a 4.25″ by 5.5″ sized piece from the dark pink patterned paper. to use as the background of the card front. Attach the quilted piece to the card background, leaving a slightly wider border at the bottom.

Stamp the sentiment across the bottom of the card front. Fold a piece of cardstock to make a card base (or use a pre-made card). Attach the card front to the card base.

Select six small buttons from the “Summertime” Button Bonanza. Tie embroidery floss through the buttons, and adhere with glue.

This card design could easily be adapted to a variety of occasions. Change out the color scheme for blue and yellow, or pink and yellow, and you have a “welcome baby” card. And quilts go great with a fall chill in the air…made in browns and oranges, your quilt could wish someone a “Happy Fall!”

What occasion will you make a quilt card for?

0

A 28 Lilac Lane Card with Watercolor!

I could not be more excited that 28 Lilac Lane is now shipping to stores! I can’t wait to see what everyone creates – there is a whole world of crafty possibilities awaiting inside each and every kit. One of my favorite ways to play with the line is to accent a single stamped and colored image on a card, tag, or small canvas décor piece.

28 Lilac Lane card with watercolor

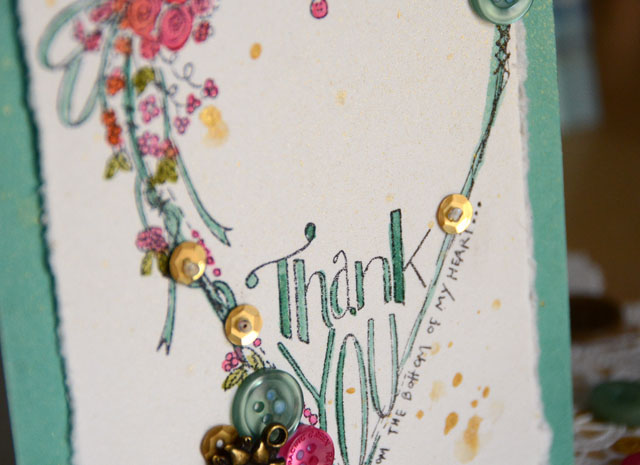
Today I have a video tutorial for a 28 Lilac Lane card featuring some lilac coloring and one of my favorite 28 Lilac Lane kits, French Quarter. My tip for keeping your embellishments in a tight cluster is to begin with the largest elements, and work smaller. This lets me fill in the gaps and create clusters almost effortlessly! Thanks to the variety of sizes in the kits from bigger buttons down to tiny seed beads, I’ve always got something that works!

I hope that you’ve enjoyed this 28 Lilac Lane card video tutorial and that I’ve inspired you to do a bit of coloring as well as some fun embellishing. Happy Crafting!

0

Button Flowers Make a Cute Thank You Card!

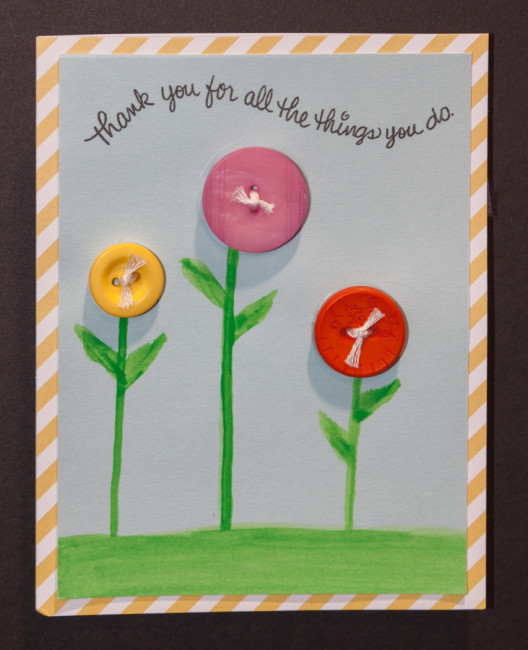
Thank you cards are one of the most commonly used cards that we reach for, so we can never have too many on hand for when we need them! This fun and simple project combines Sakura watercolors with our bright “Fiesta” Button Bonanza bag to create a bouquet of button flowers for you to send to someone special.

Cute thank you card with button flowers

Supplies:

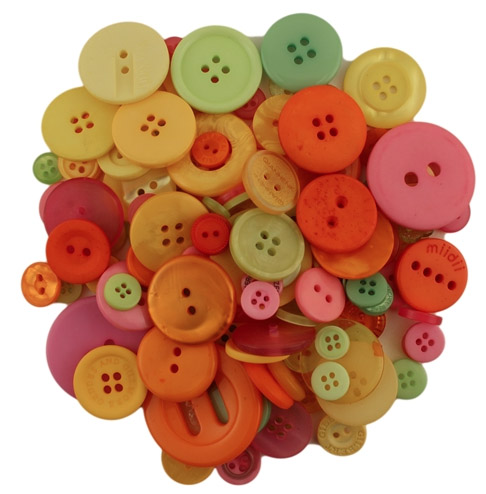
Our Buttons Galore “Fiesta” Button Bonanza bag is full of bright colors that are perfect for making little flowers! To start your card, pick three buttons in different colors and sizes for making your button flowers. Then set the bag aside.

Buttons Galore Fiesta Button Bonanza

Next, cut a 4.25″ x 5.5″ piece of the yellow striped paper. Adhere to front of card blank.

Cut a 3.75″ x 5″ piece of Ocean Breeze cardstock.

Using watercolors & a water brush, paint green grass and three flower stems on the cardstock. Vary the heights of the stems, but make sure to leave enough room between the tallest one and the top for adding the buttons and the sentiment!

Stamp the sentiment across the top of the card.

To make the flowers, sew the buttons on to the ends of the stems with embroidery floss. Tie the knot in the front and snip ends so they will fray a bit to make a center for the flower.

Adhere the blue cardstock on top of the yellow striped paper.

Your card is done! Now it’s time to write a message of thanks inside and deliver a bit of sunshine and gratitude to someone special!

1

Simple Thank You Card

I ran out of thank you cards. I needed to replenish my stash! So … time for a quick …

SIMPLE THANK YOU CARD


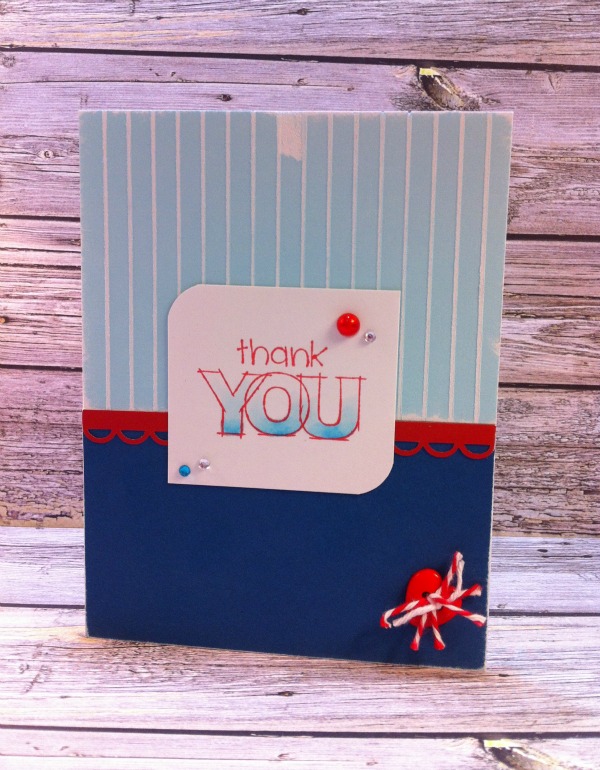
A Simple Thank You Card


Top of the card – I used a Scor-Board to make lines on my cardstock, and then I sanded it.

Middle of the card – the strip is a cut from the Silhouette Online store that I sized to fit a standard A2 Card. The sentiment is stamped and colored, and I rounded just two of the corners. I added an adhesive backed pearl and some rhinestones.

Bottom of the card – just some simple card stock that I sanded the edges of, and added a Heart Button tied with some Twine and embroidery thread.

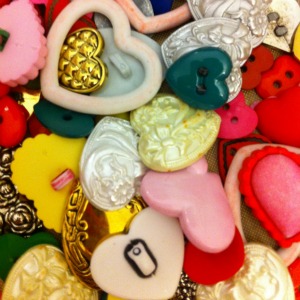
It’s kind of a running joke when it comes time to request more buttons for projects, that I ask for Heart Buttons! I love to accent my cards and projects with HEART BUTTONS.

This is my stash. It makes me happy. I am out of the large RED buttons that I used. Guess what I’ll be asking for …


Hearts Hearts and more Hearts


Supplies for a Simple Thank You Card


1

Powered by WordPress. Designed by WooThemes