Header

Tag Archives | Ornament

Fifteen MINUTE Friday – Scrap Ribbon Trees

Check out these adorable Christmas tree ornaments made from scraps of green ribbon and Laura Kelly buttons in Radical Red and Passionate Pinks (and one yellow)!

Ribbon Scrap Tree

So cute, so easy and so much fun!  The Aleene’s Quick Dry formula in the Always Ready bottle (available at Joanne’s) makes crafting things like this easy peasy.  I am in love with the stuff!

Here are the simple directions:

  1. Tie green ribbon scraps around a stick from a tree.
  2. Trim the ribbon to shape a tree.
  3. Add buttons and a hanger with Aleene’s Quick Dry Adhesive.
  4. Ta Da!

This is a great craft for kids. Here are lots of other DIY ideas for celebrating the season with kids too!

And you can enter to win a fabulous contest too!

a Rafflecopter giveaway

Happy Creating for the Holidays,

Laura

1

Button Up Some Springtime Ornaments

How beautiful are these ornaments for springtime?

DSCN4077

To create them you simply need a foam ball in the size you would like, buttons and ball-end pins.  The longer pins can go through multiple buttons which is something to keep in mind when choosing materials.  Attach the buttons to the ball by pushing the pins through the button holes into the ball.  Cover the ball entirely then attach a ribbon for a hanger either with the pins or your favorite adhesive.

They are fun to put together for decorating.

DSCN4071

They look great outdoors for a breath of fresh brightness.

DSCN4068

Happy Springtime,

Laura

1

Candy Cane Ornaments

While I was wrapping gifts for Christmas this year, I found my candy canes looking like hearts on the work table. I used hot glue and I am excited to share this super quick and easy (and totally adorable) ornament idea. I might add that they look super cute on gifts wrapped in butcher paper (or grocery sacks turned inside out if you are recycling).

ButtonHeartCandyCanes

Supplies You’ll Need for Candy Cane Ornaments

You will need 2 candy canes, twine, buttons in Radical Red and Candy Apple Green and hot glue for each one you plan to create.  You’ll need some adhesive too!

I used my Ad-tech low temp gun with low temp glue sticks.

To get started, glue your candy canes together in the shape of a heart.  Then add a few buttons.  Tie on some twine and you are done!

Steps

Hang it in the tree as an ornament.

HeartCandyCanes

…or add it to a gift!

HeartGift

I created lots of wrapped gifts with buttons and twine and would love for you to hop over to my blog to check them out.  You can get there here.  I will share my favorite one with you but you will have to hope over to see the others.

IMG_8300

Happy Christmas Crafting,

Laura


0

Adorable Little Ornament – Fifteen MINUTE Friday

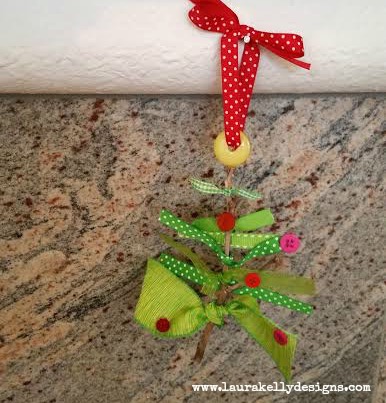
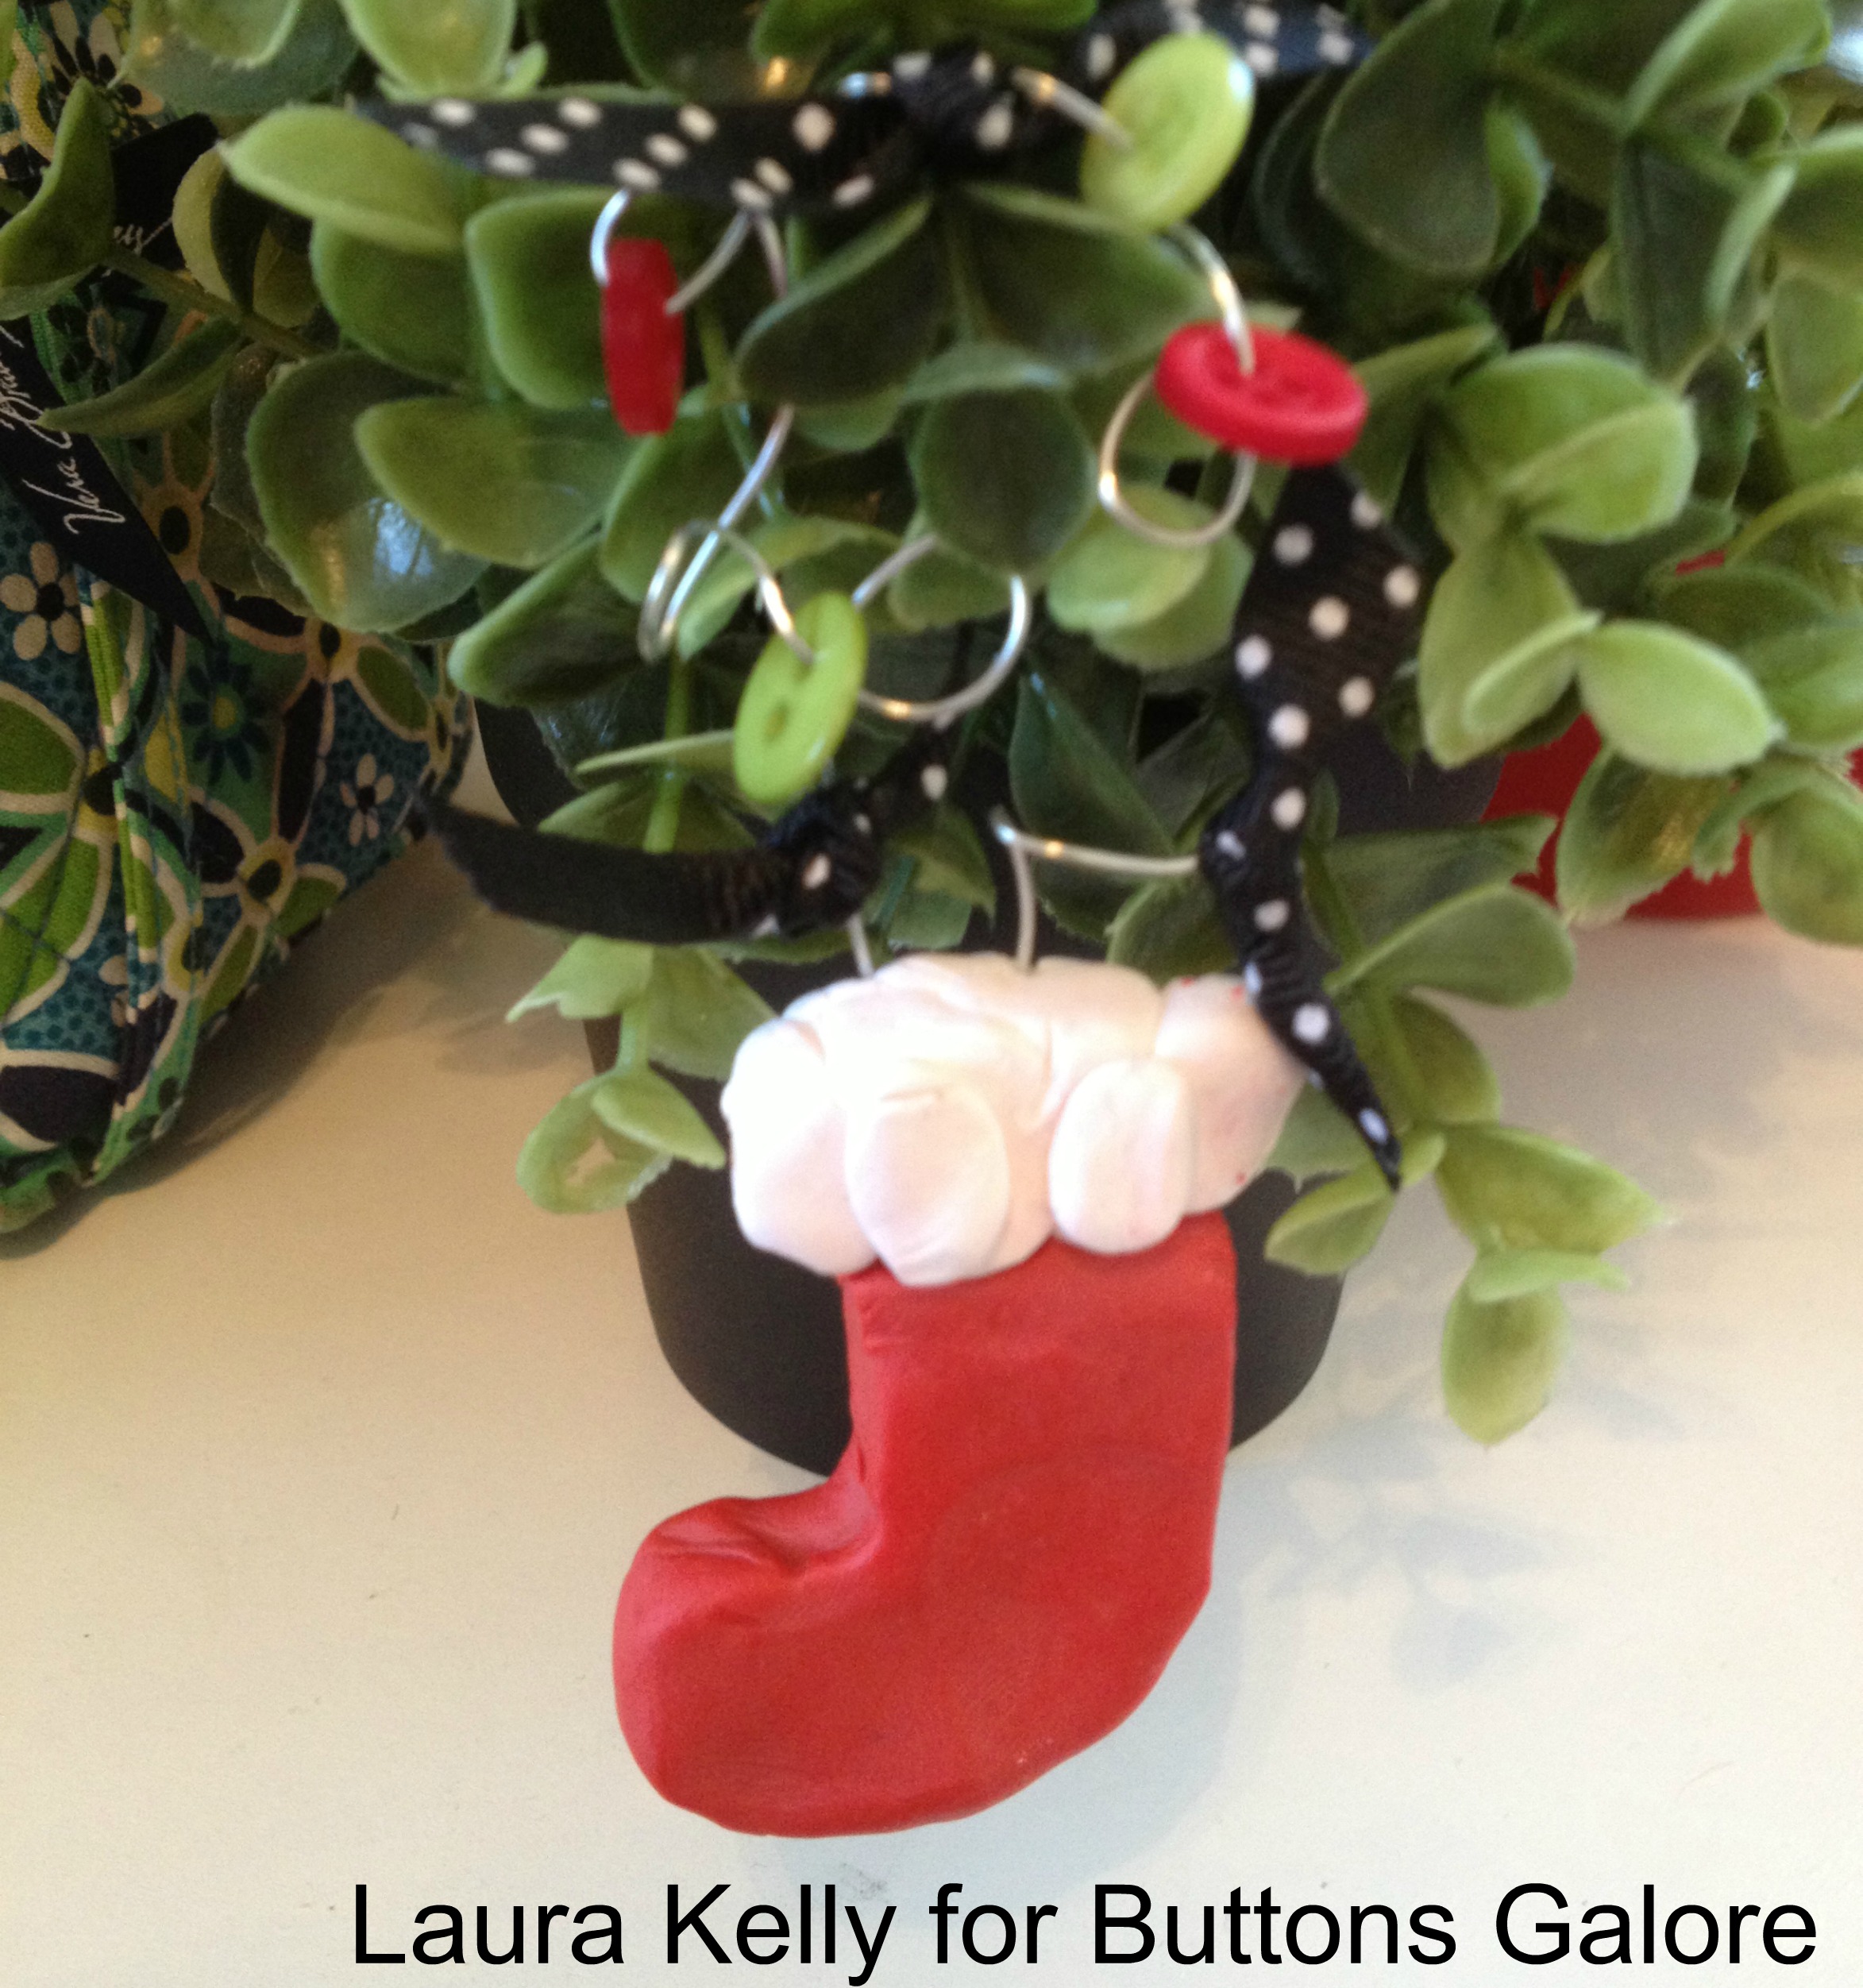
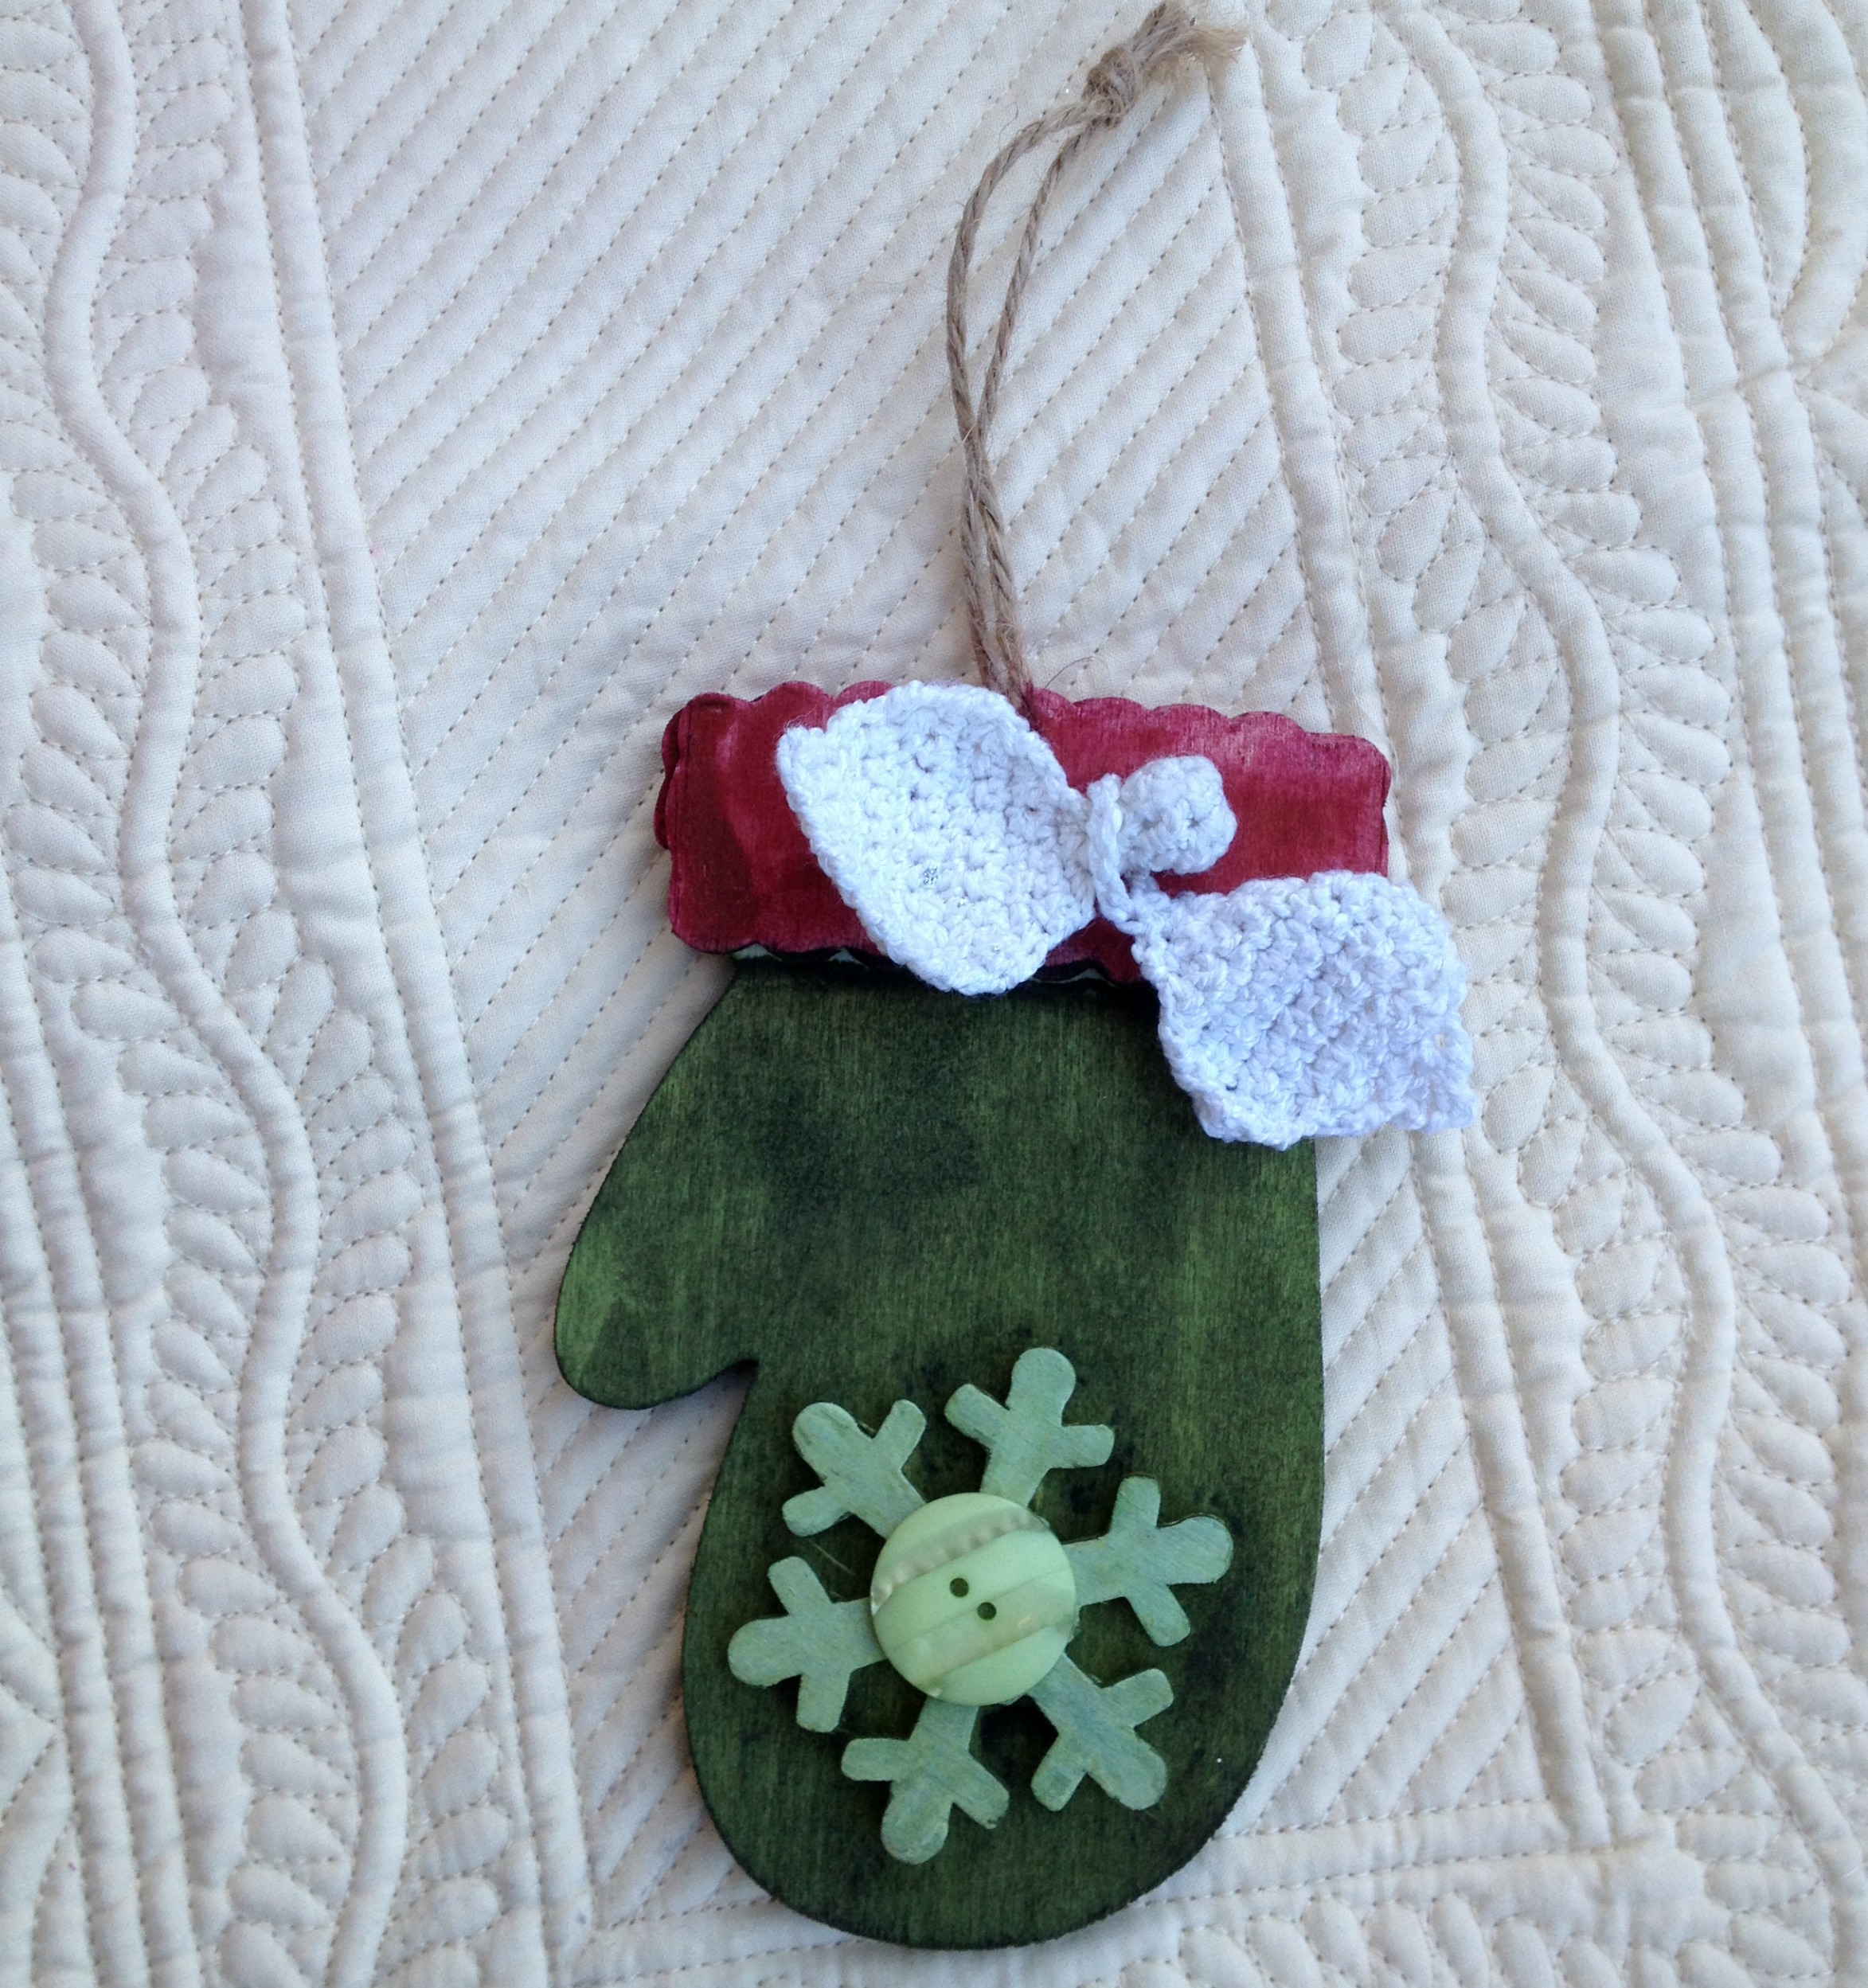
Welcome to the Black Friday Cyber Sale, and to the Linky Party organized by our designer Laura Kelly using  Sculpey Polymer Clay products and her line of our buttons to create “Adorable Little Ornaments”.

For today’s project, I am sharing as a part of a linky party featuring adorable little ornaments made from clay and buttons.  Lots of designers and bloggers were sent Sculpey products and Laura Kelly’s buttons to create these adorable little ornaments.

SculpeyButtonCollage

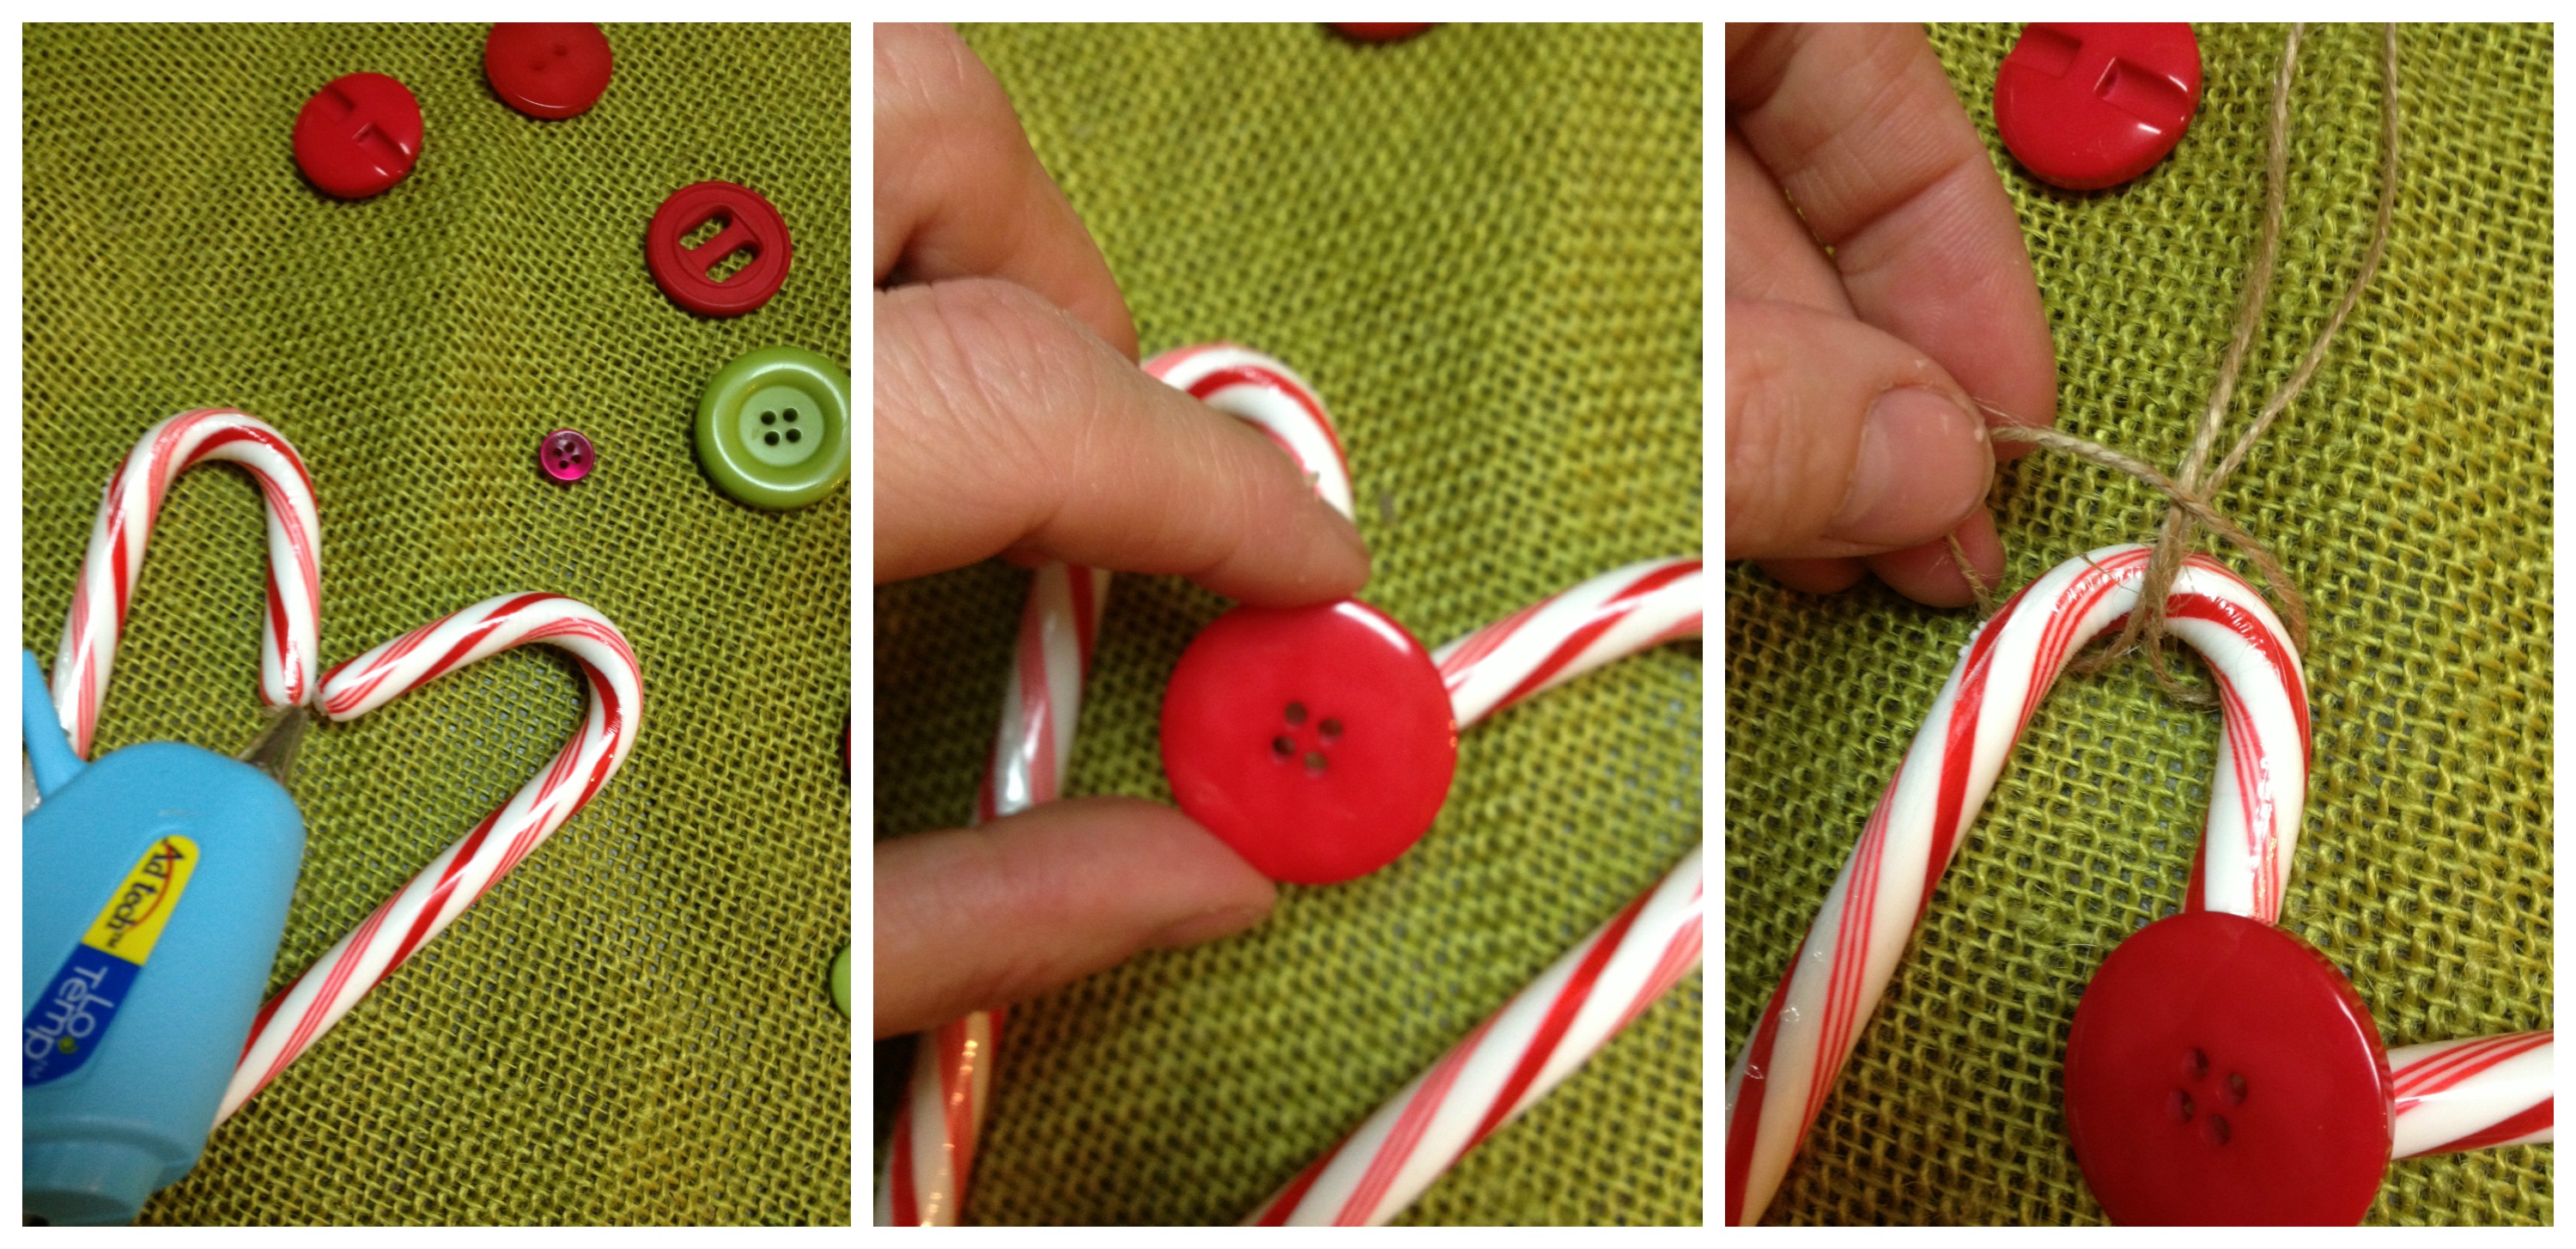
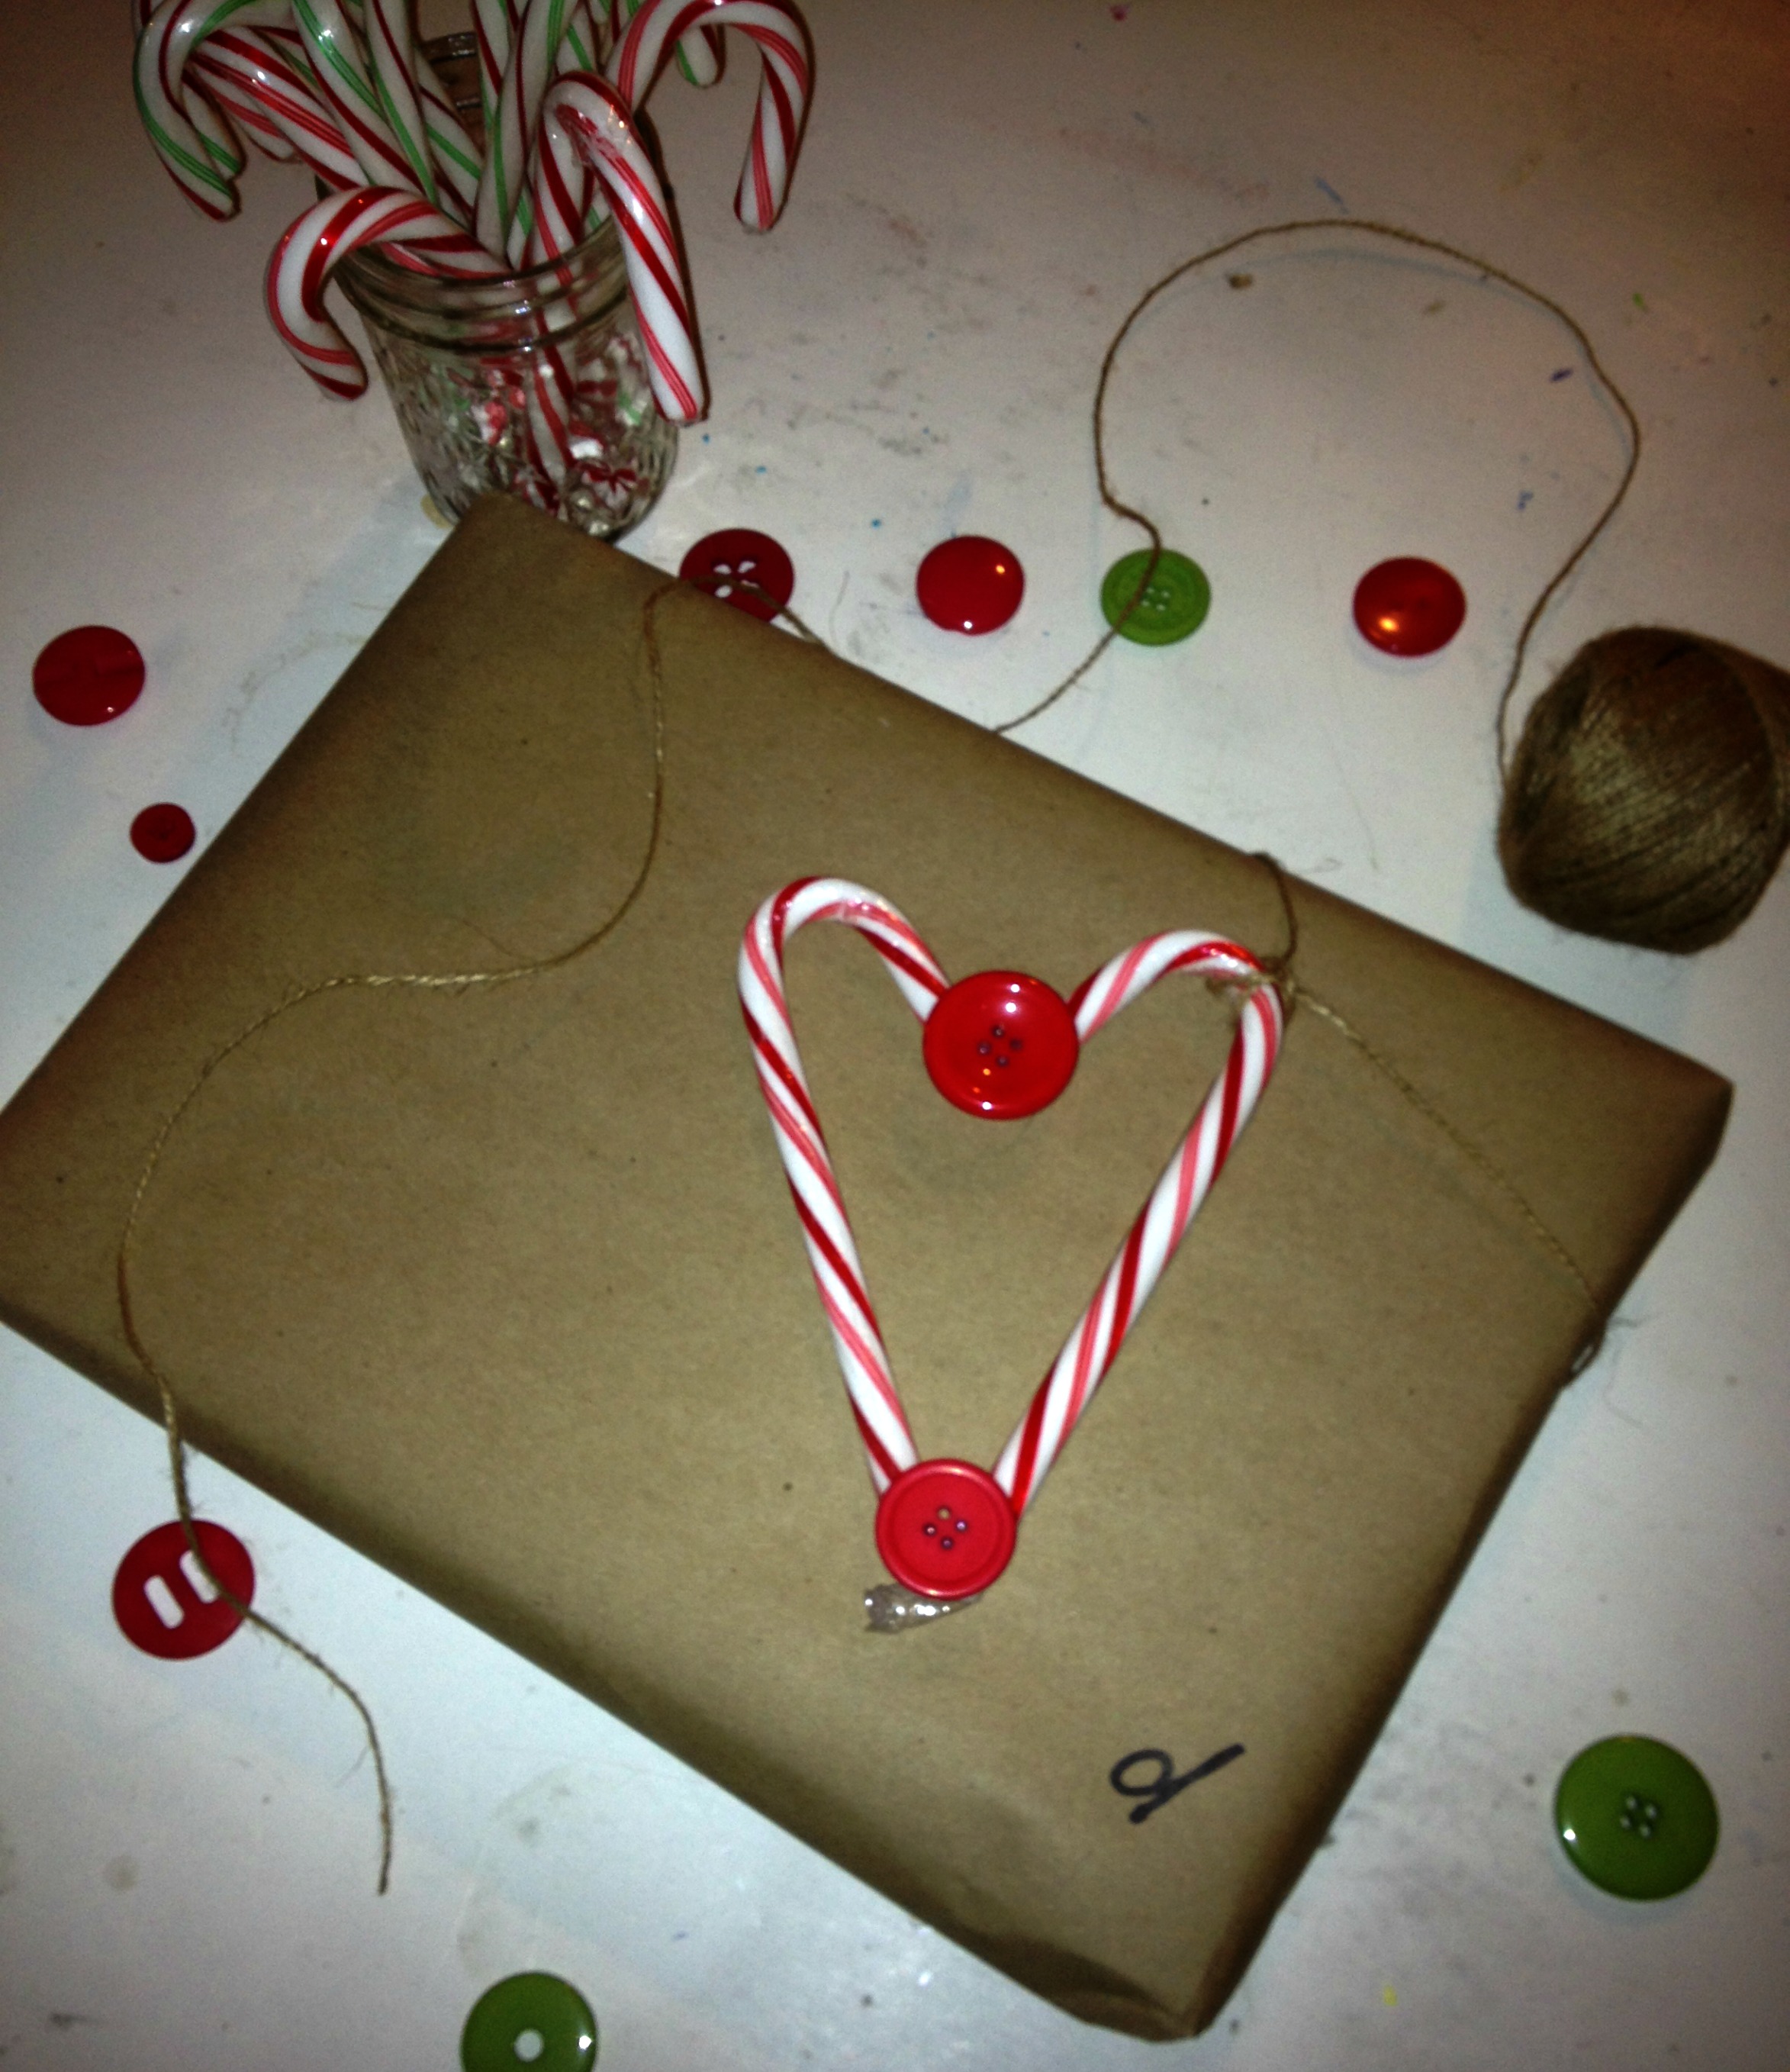
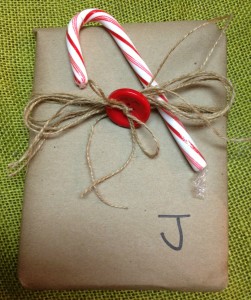
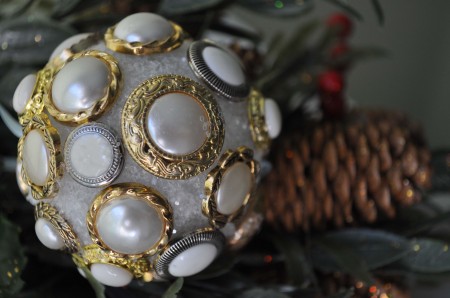
How to make the button ornament

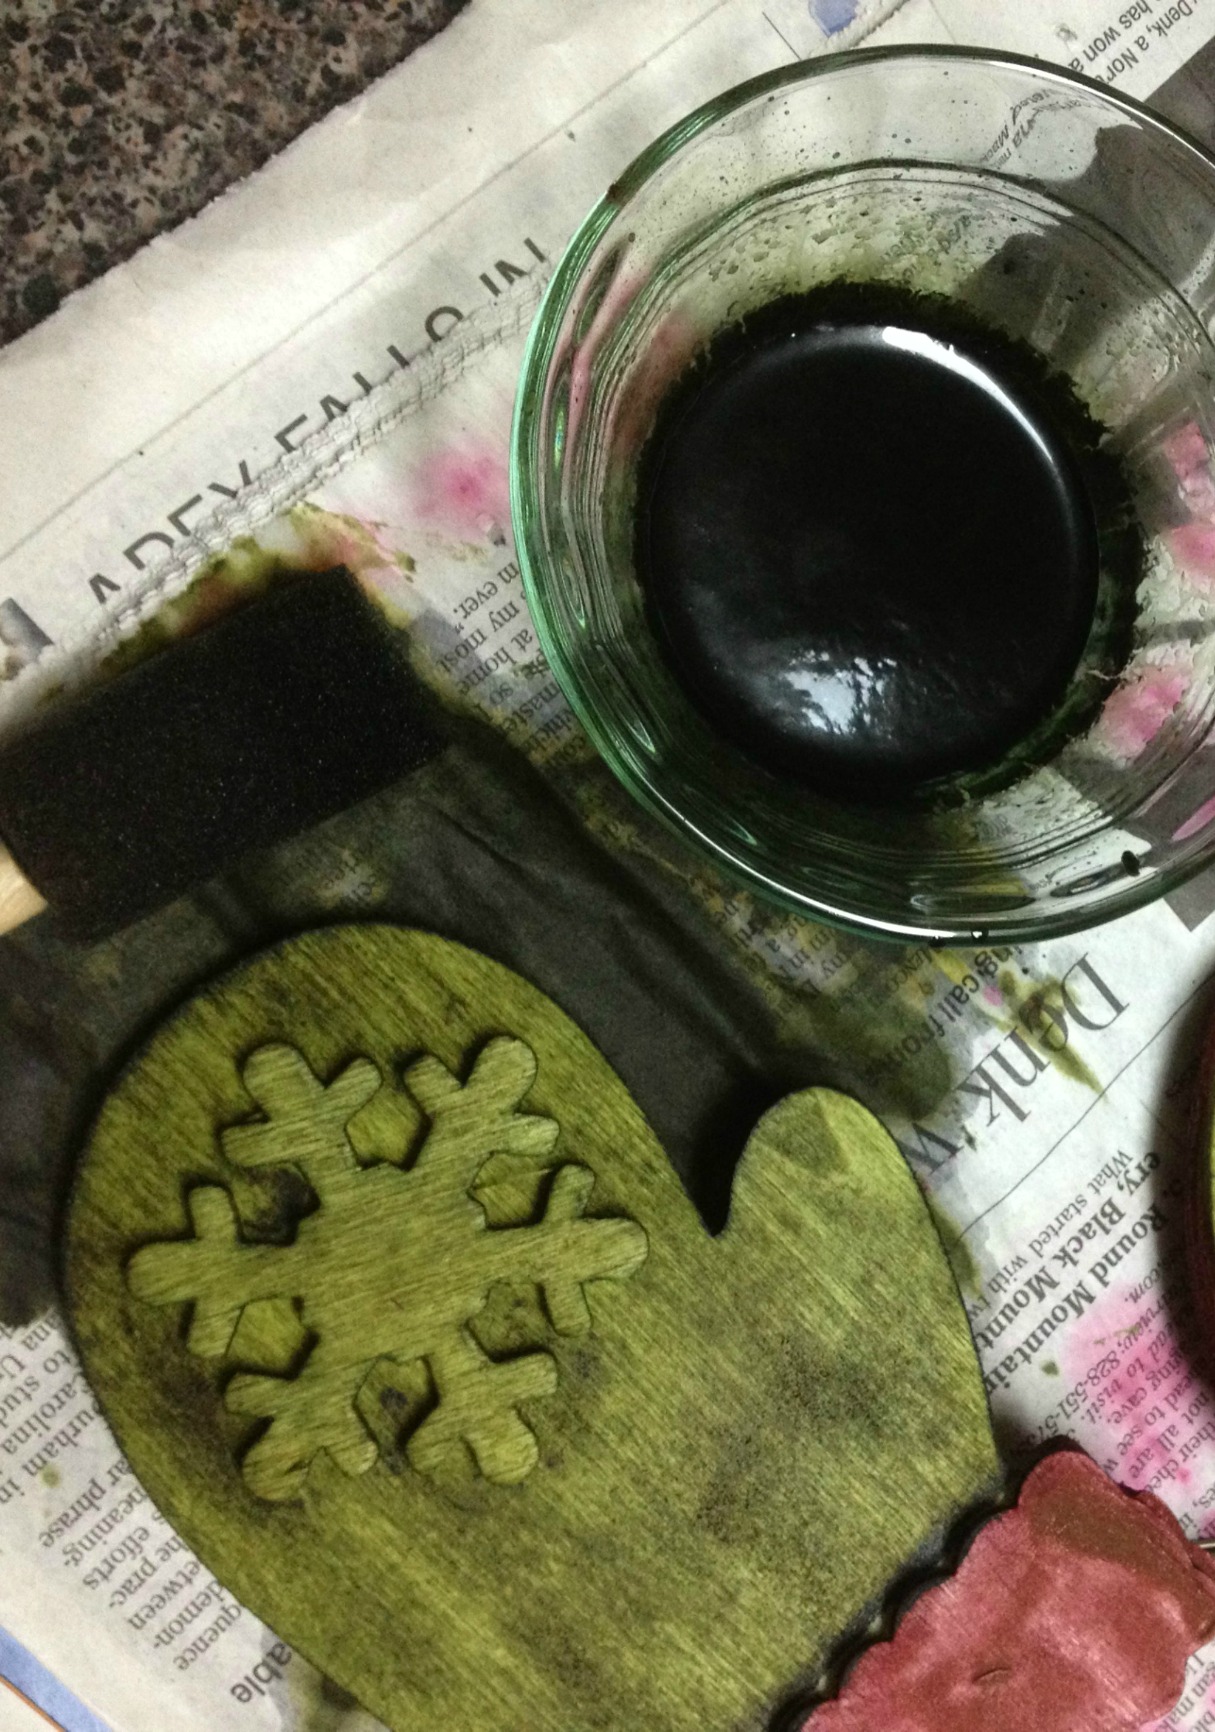
I used Sculpey clay in red and white to form a stocking, molding with my fingers.  When I was done stuck then end of an 8 inch long piece of wire into the top in two places to create holes that I would later need.  While the stocking was baking (following the directions in the packaging) I twisted the wire up and added a few Radical Red and Apple Green buttons along with my signature ribbon (black with white polka dots).

When the stocking was out of the oven and cooled, I added the wire using a tad bit of super glue on each end into the holes.  Wah-lah…an adorable little ornament.

ButtonsGaloreStocking

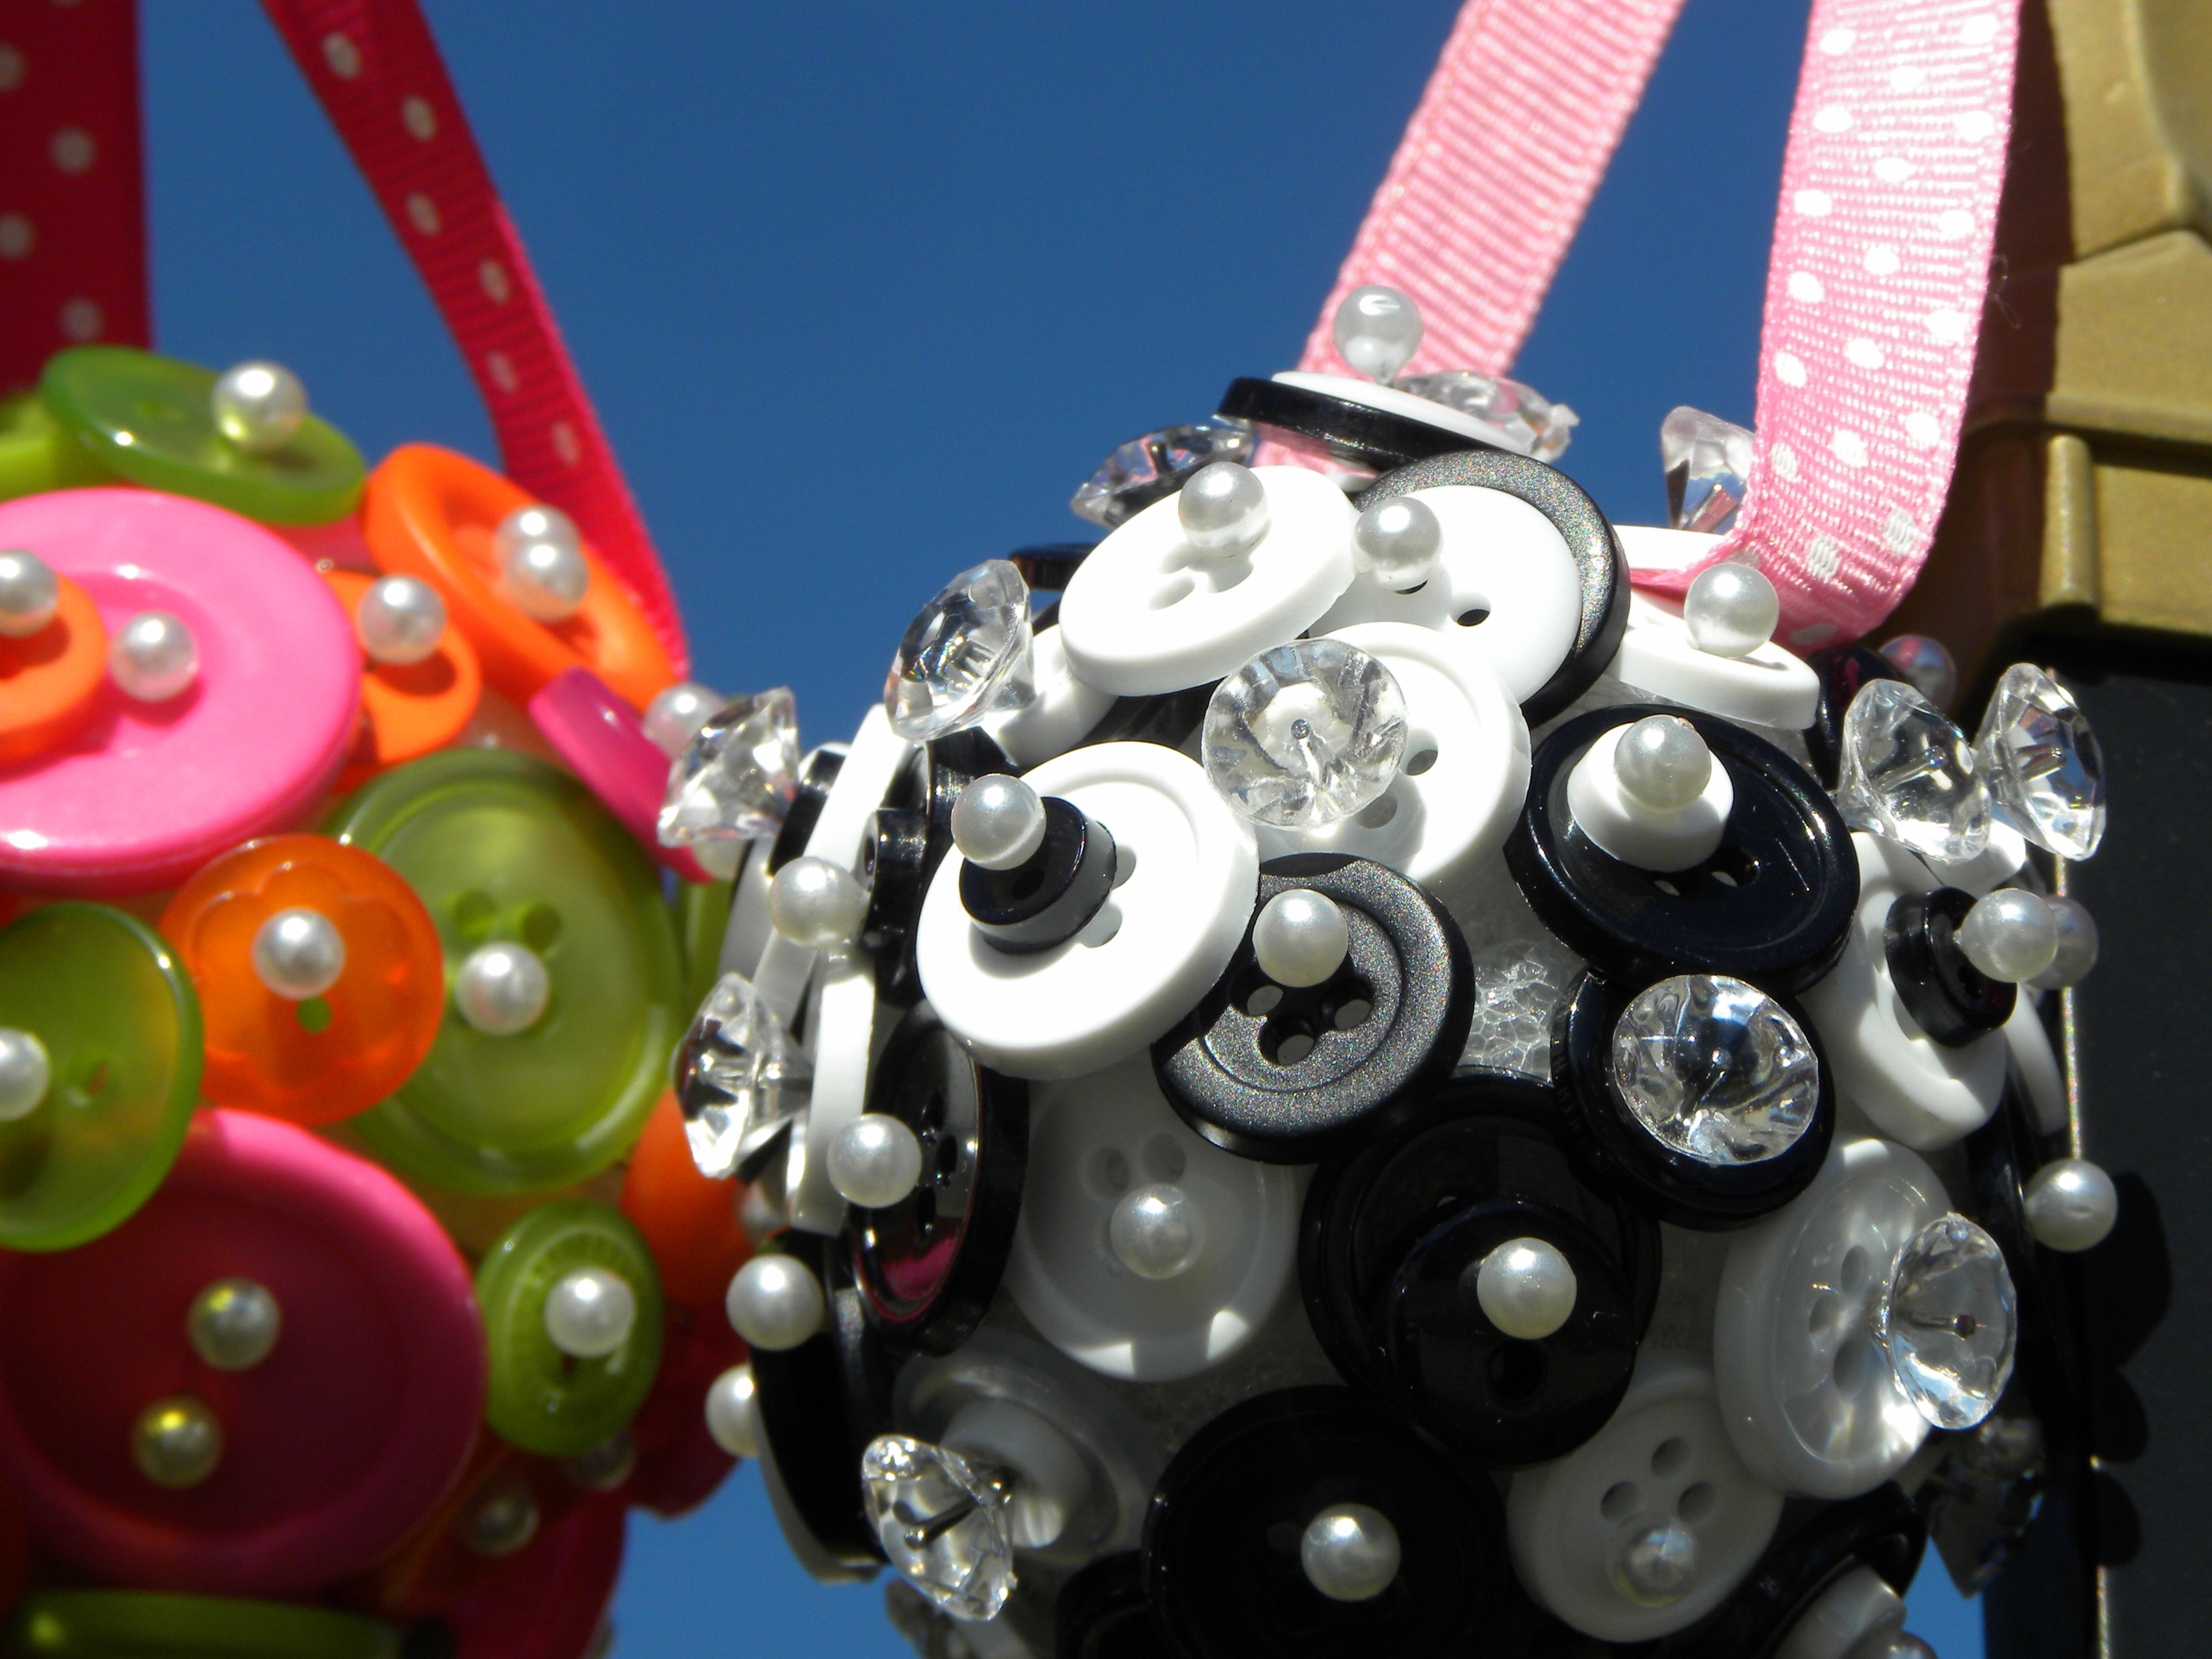
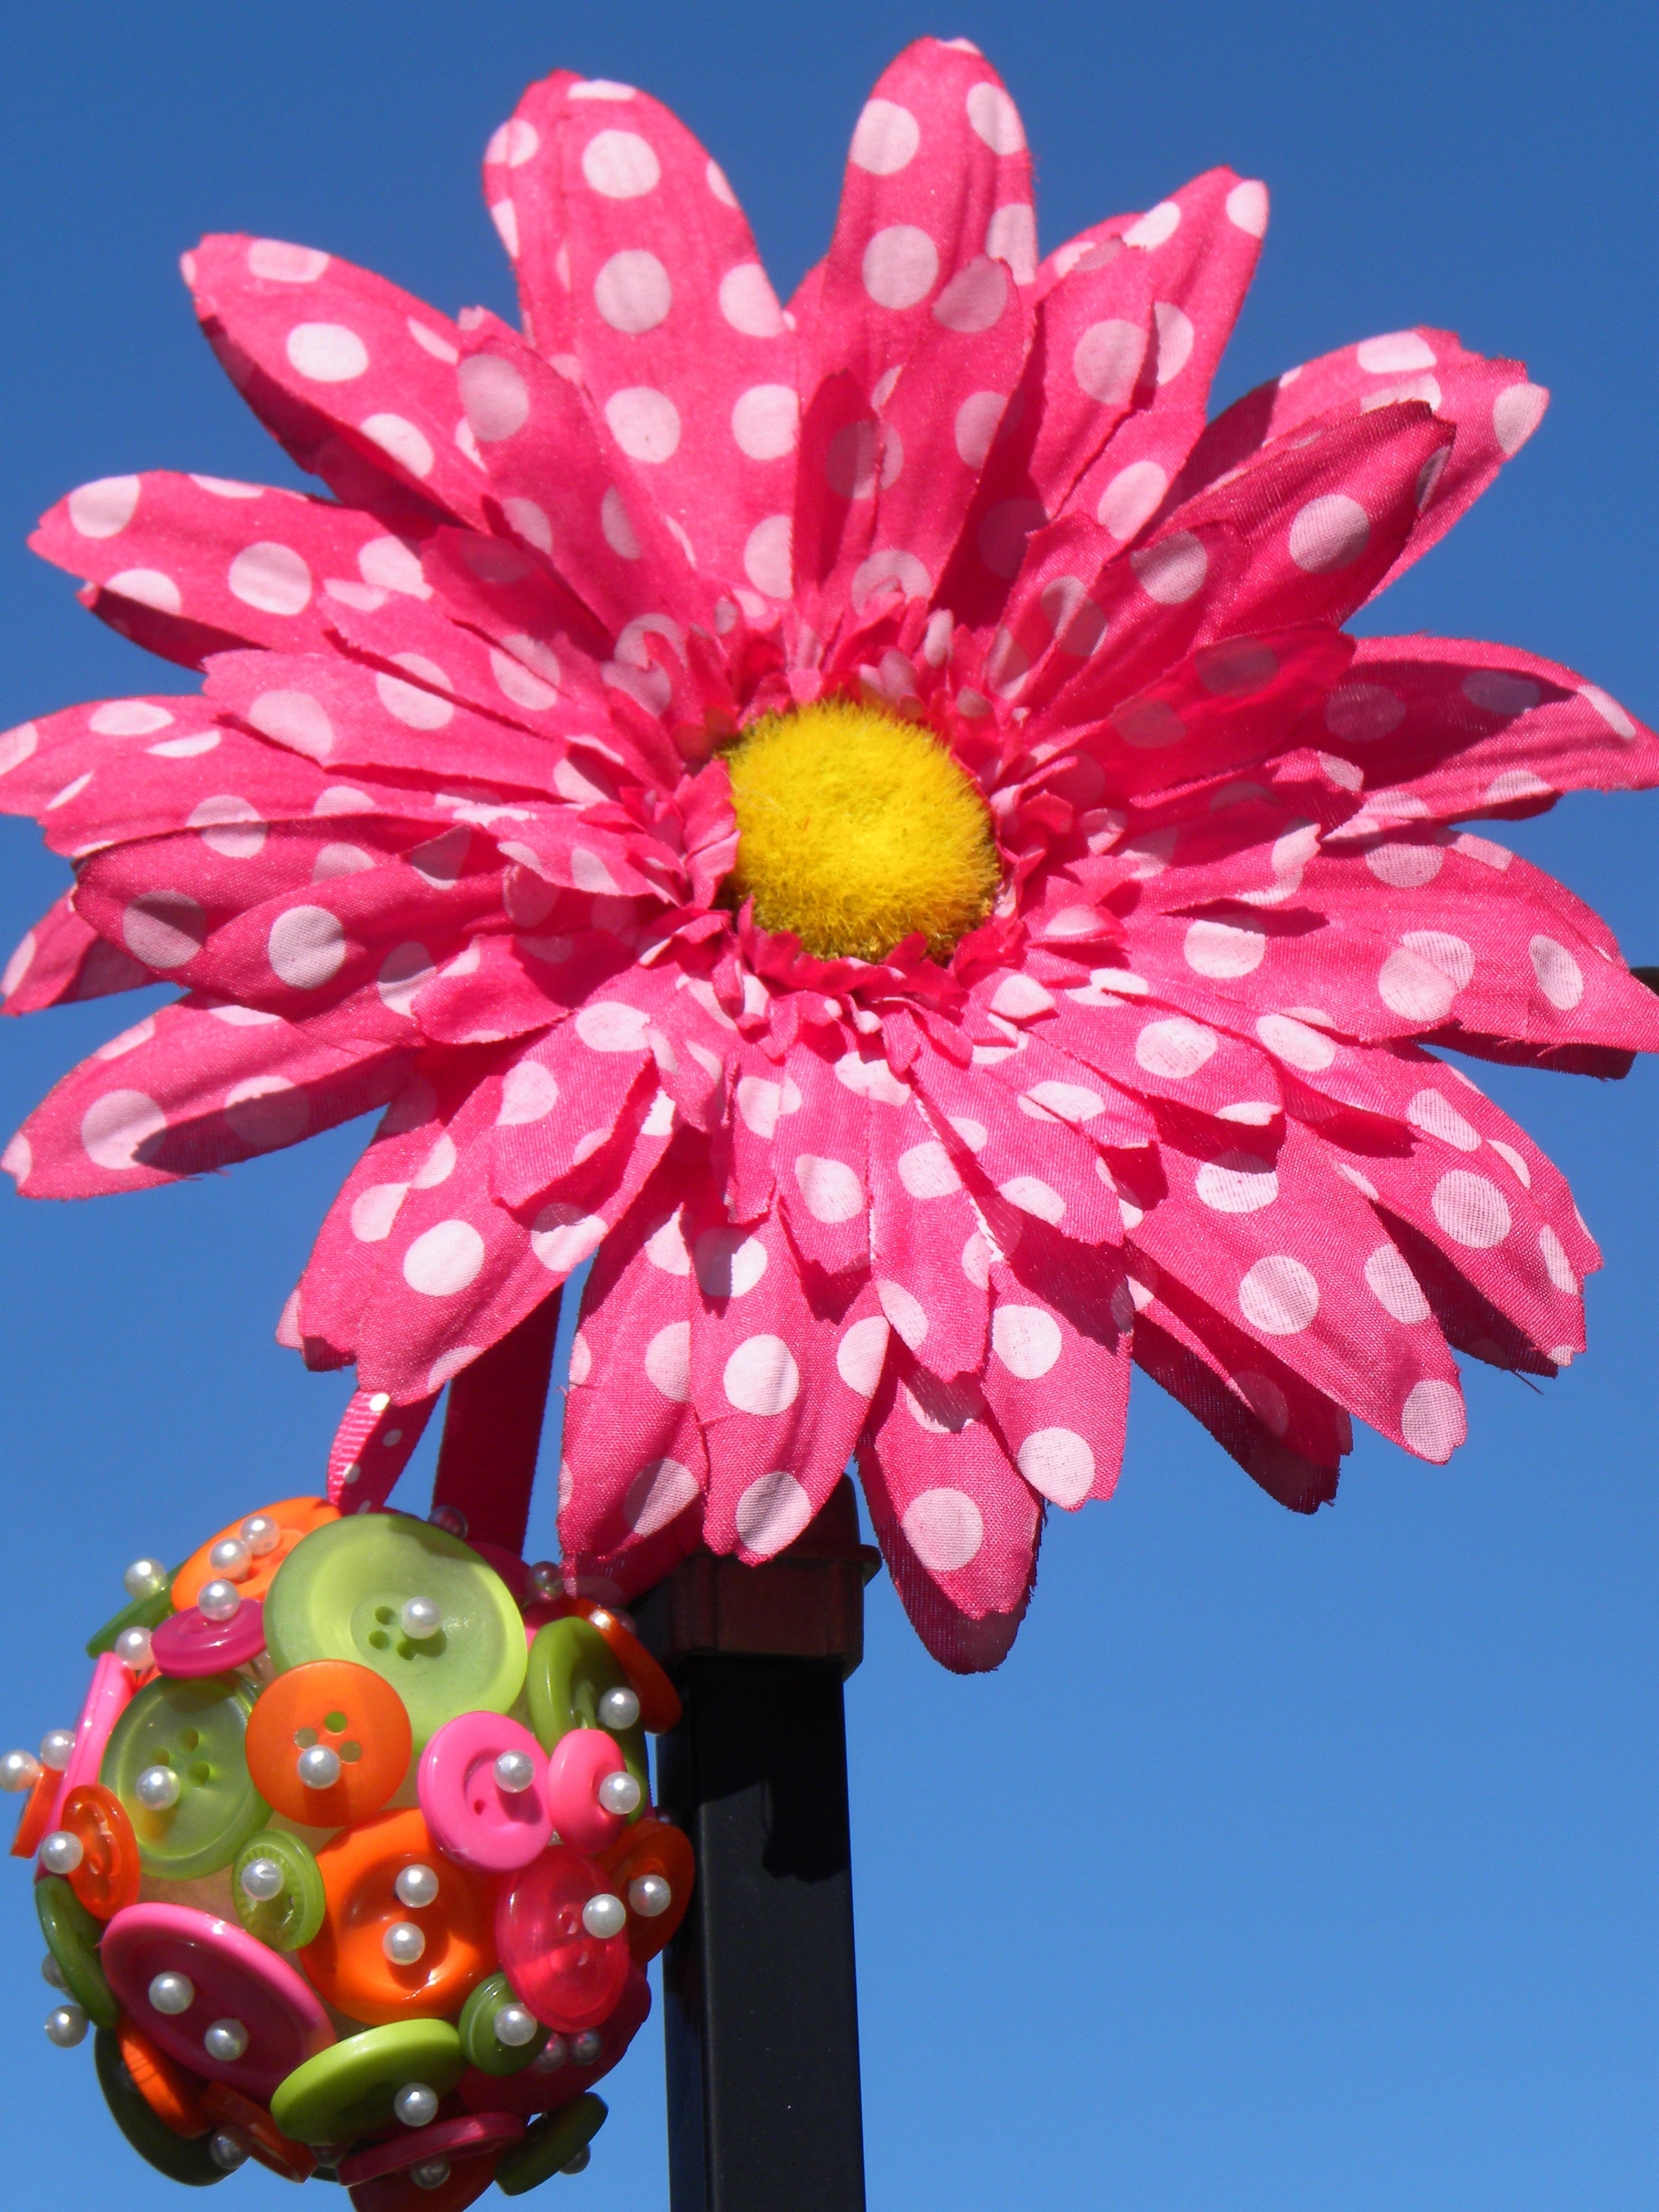
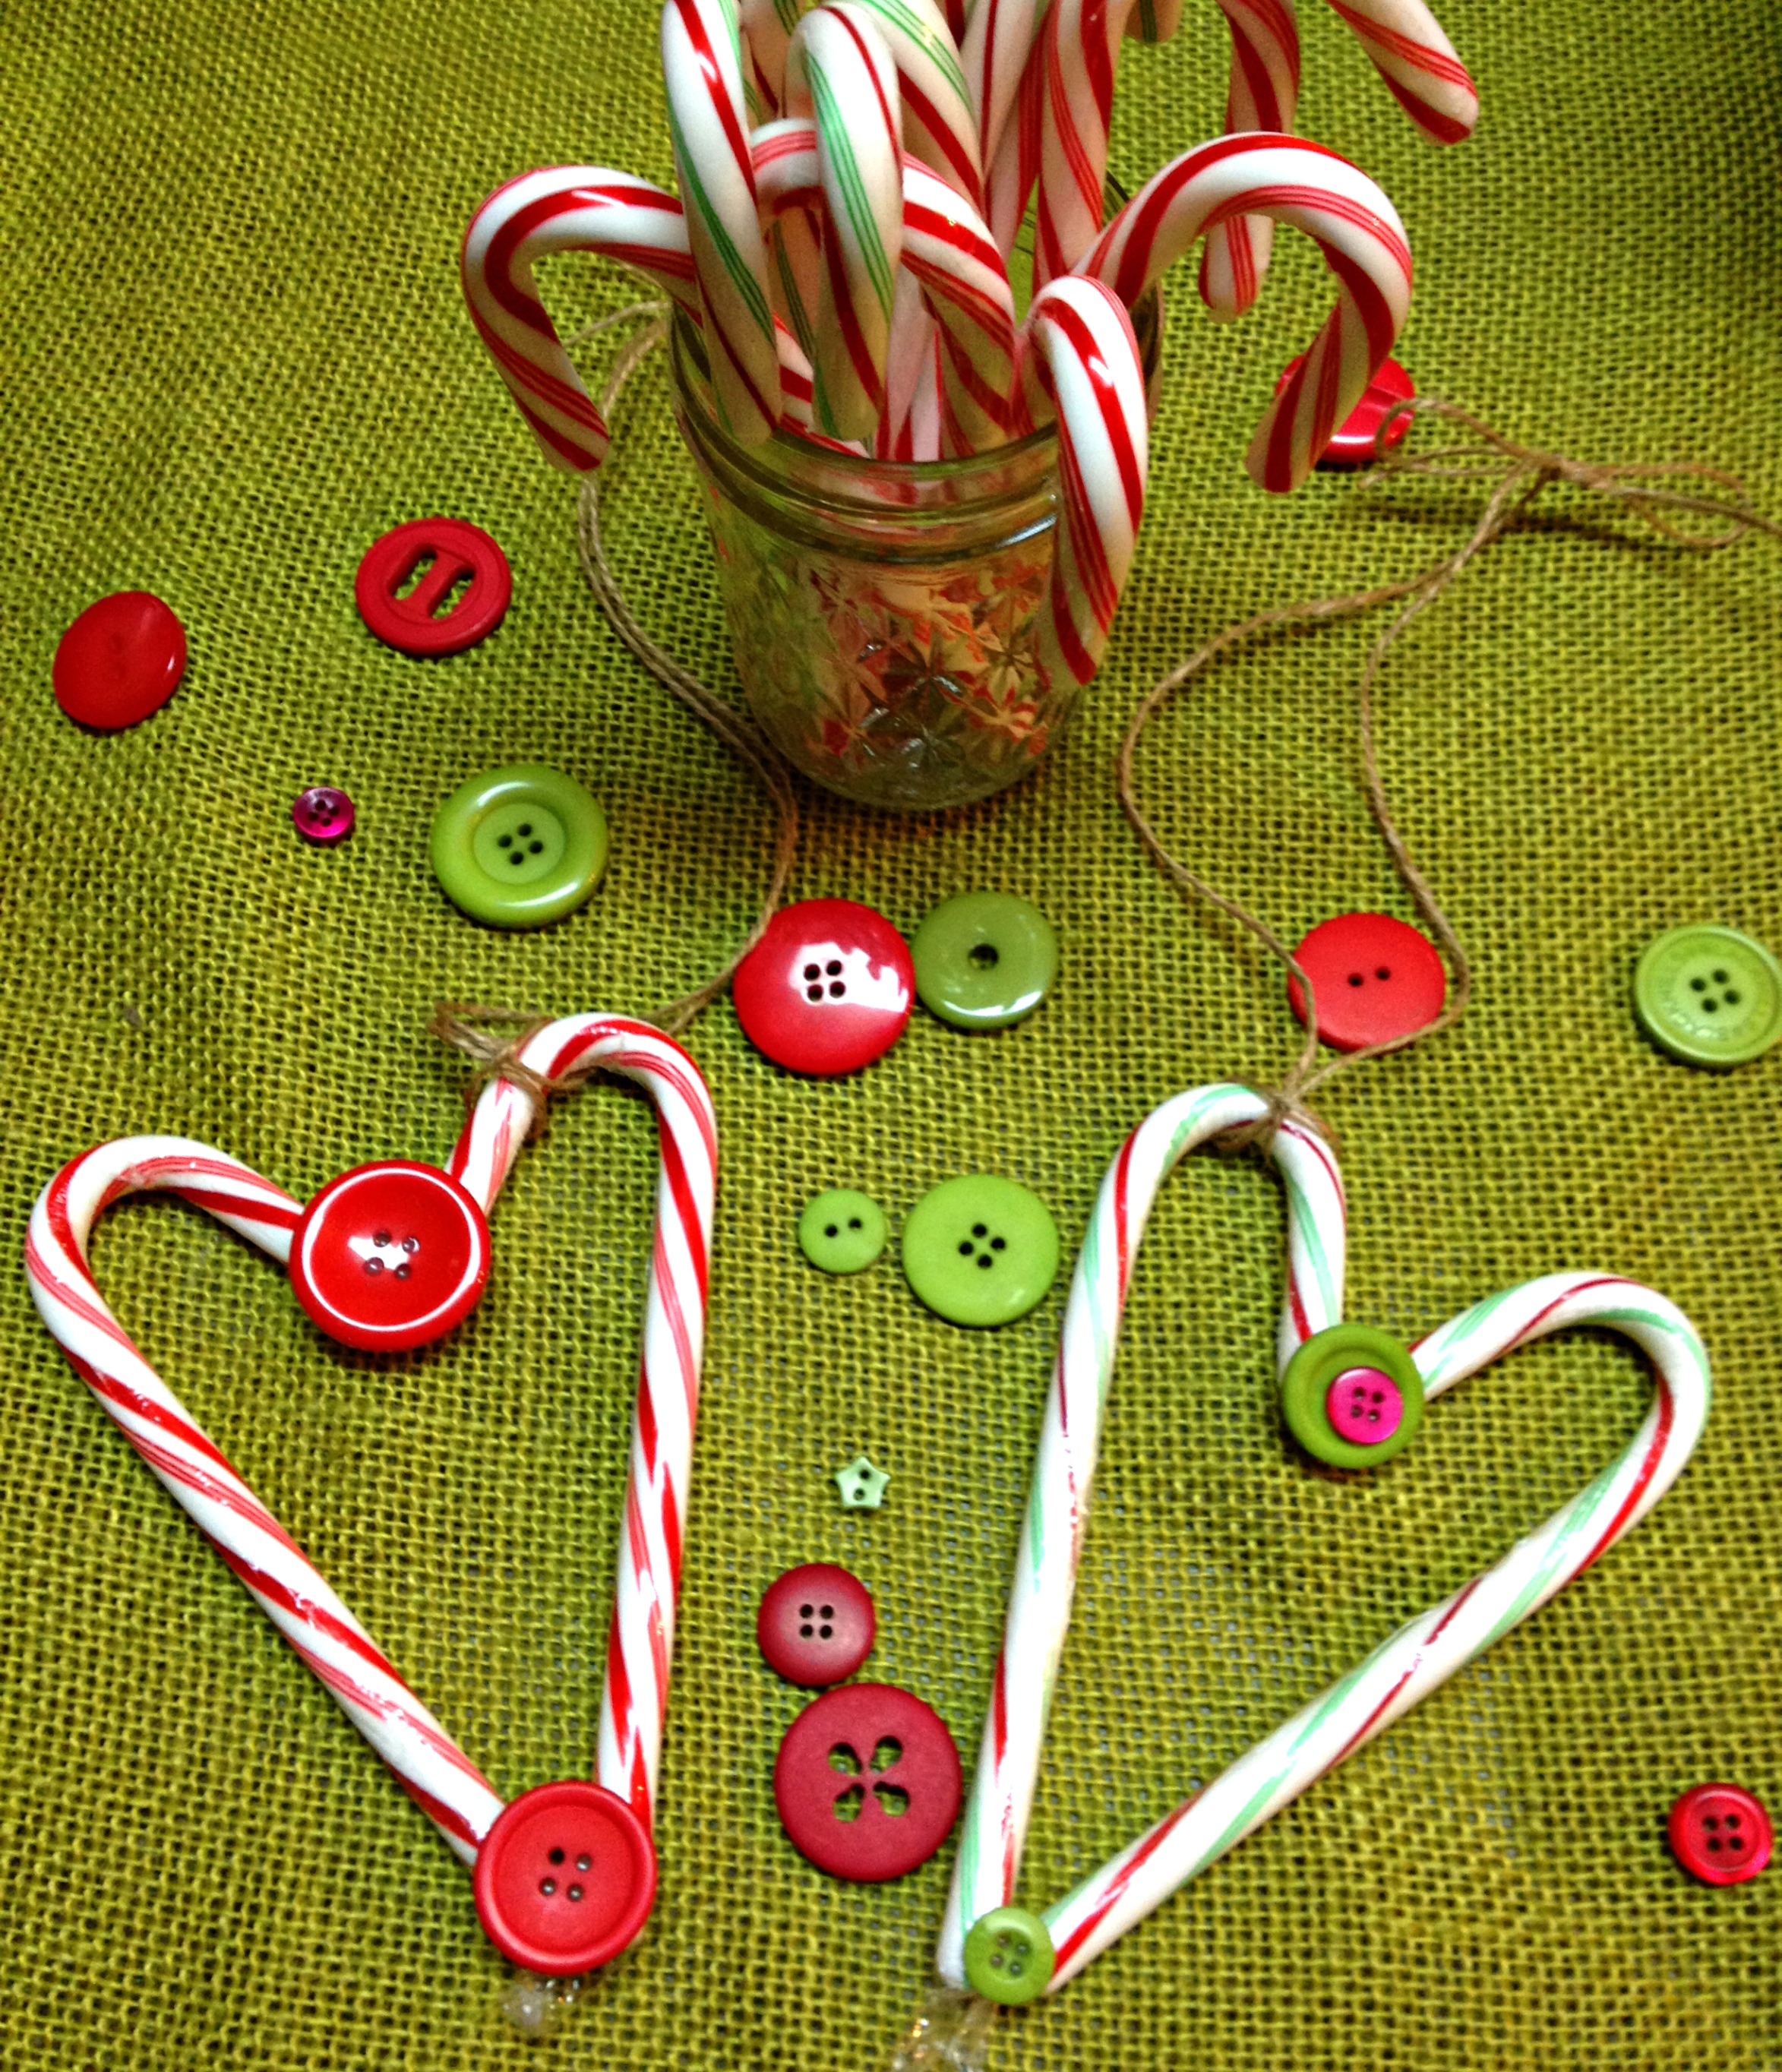
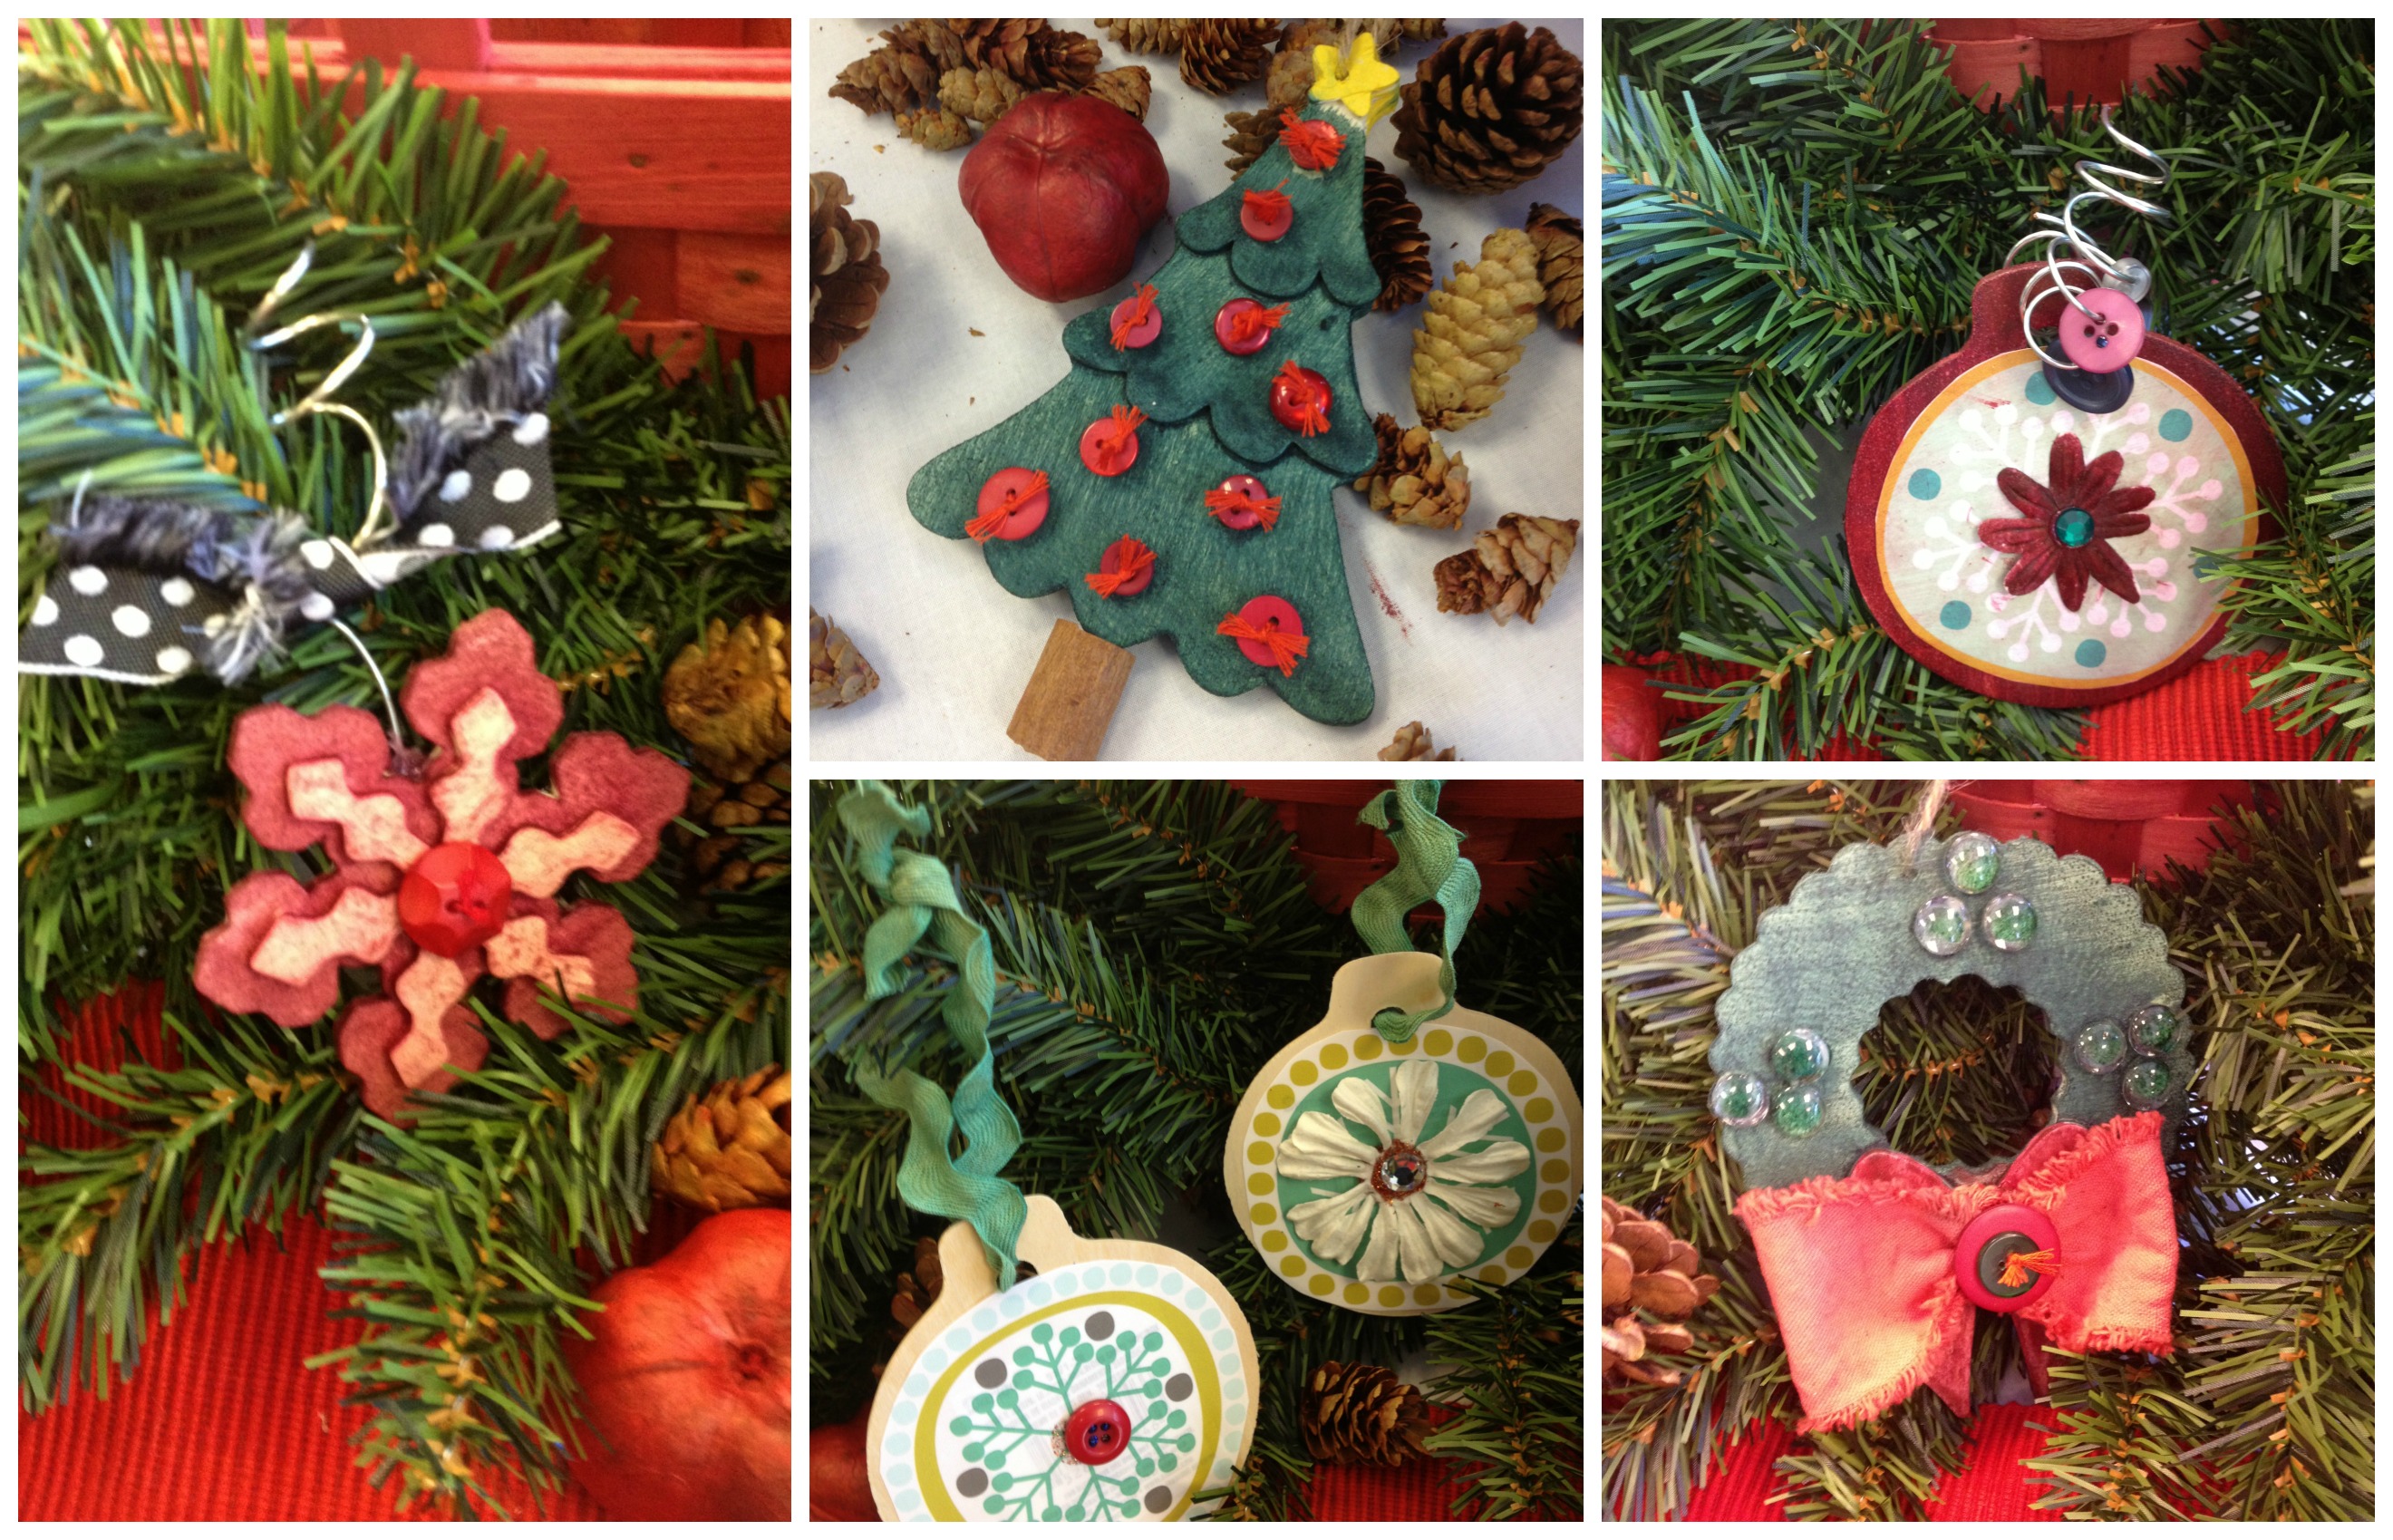
There are lots of ornaments being shared in the party.  Check them out.

a Rafflecopter giveaway

…and enter to win some clay and buttons of your own!

Happy Creating,

DD_SignatureHoliday

And now for the sale…

BLACK FRIDAY SALE, on Nov. 29th 2013 …    HERE’S HOW IT WORKS

Choose from our entire line at www.buttonsgaloreandmore.com Place your order during the following times using these  codes:

8am – 10am EST – 50% OFF – Code 50OFF

10am – 12pm EST – 40% OFF – Code 40OFF

12pm – 4 pm EST – 25% OFF – Code 25OFF

*PLUS FREE SHIPPING TO THE USA-ORDERS OVER $30*

3

Button Up Ornaments to “Dye” For

Creating Christmas ornaments that are handmade and created with a personal touch have never been easier.  With the pre-cut shapes that are available in all of the craft stores and buttons, here are ornaments you can make quickly that are to dye for – as in dye with Rit Dye that is.

MittenFinalBG

It is so incredible simple that you can make them in fifteen minutes or less.  To do it, paint the wood with dye directly from the bottle.  If you want it darker, heat it up first.  It dries pretty quickly but if you are in a hurry, you can stick it in the microwave for 30 seconds to speed it up.

MittenPaint

Then you add your buttons and embellishments to make it into something special.  I used an Laura Kelly Candy Apple Green button on this ornament.  Before I added it with hot glue, I went over the snowflake with a white paint pen a little bit.

Button

Here are some that were created with a group of fabulous attendees at a crafting event last week.  I had a blast leading the workshop and am amazed at how awesome their ornaments turned out.

Ornaments

Happy Getting Ready For the Holidays,

Laura

1

Button Snowball for Home Decor

Button Snowball by Laura Bray

These super simple snowballs, made of buttons, are perfect for a romantic Christmas decor theme.  Hang them in your tree, stack them in a bowl, tuck them into a wreath or give them as gifts.

Supplies:

  • 2″ Styrofoam balls (You could use even larger balls and make large, dramatic, snowballs too!)
  • Hot glue and glue gun
  • Buttons Galore & More Gold & Silver Grab Bag buttons
  • White glitter flakes

Instructions:

  1. Using hot glue, apply buttons to styrofoam ball.
  2. Fill in spaces around buttons with glitter flakes to give the snowball sparkle

Tip:

If you want to use the snowballs as ornaments, thread a ribbon through the ball, using a long doll needle.  Be sure to add the ribbon before gluing on the buttons!


2

Make a Button Snowman Ornament

Button Snowman Ornament

Button Snowman Ornament

Need and ornament for a gift, package topper or an ornament exchange?  Why not make your own this year.  Button Ornaments are a great and inexpensive solution.  I made a few dozen while catching up on my favorite tv shows.  The buttons I used come in a great storage jar that also makes it easy to craft on the go.  For me on the go is not in my crafting cave.  I also made a cute wreath using green and red buttons.  Stop by http://365daysofcrafts.com after Halloween to check it out.

To make this cute and simple snowman you will need:

a wire cutter

14-20 guage wire. approx. 24 inches

one orange bead ( barrel or bicone)

two brown or black beads for mittens

Various size black buttons (5- 8)

White buttons ( 18-26)

I used buttons from a jar in the Portrait Collection


Directions

Cut a 12 in piece of wire.  Make a loop or add a crimp bead  at the bottom. Stack white buttons on to desired height.  Wrap a six inch piece of wire around to form arms.  Attach beads for mittens and cut off any excess. Cut off a3 inch piece of wire and attach orange bead as the nose.  Stack on more white buttons and then add largest black button to form brim of hat.  Stack on more black buttons to make hat.  Use the remaining wire to form a loop as shown.


Tada!  A snowman button ornament.  If you would like to see more of my work please visit  http://365daysofcrafts.com

Toodles, Niki


1

Powered by WordPress. Designed by WooThemes