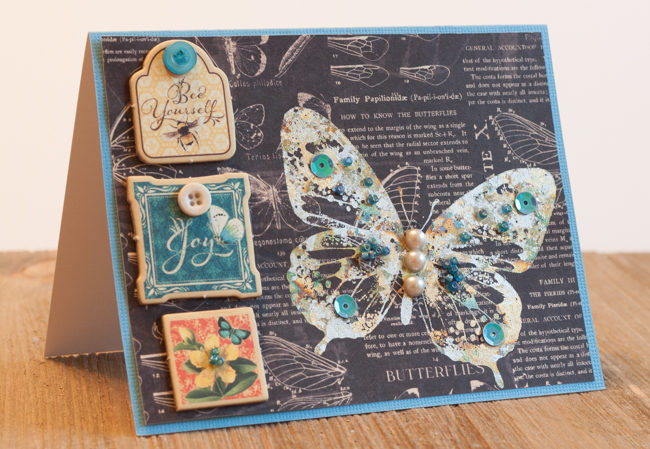
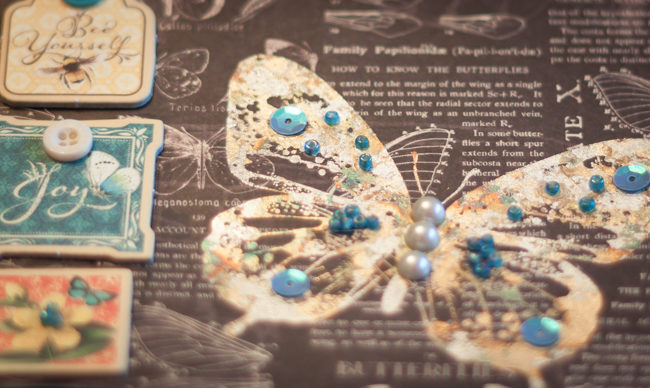
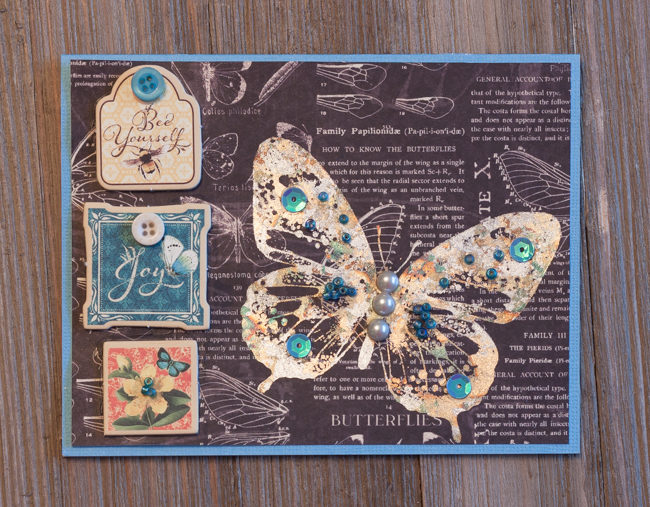
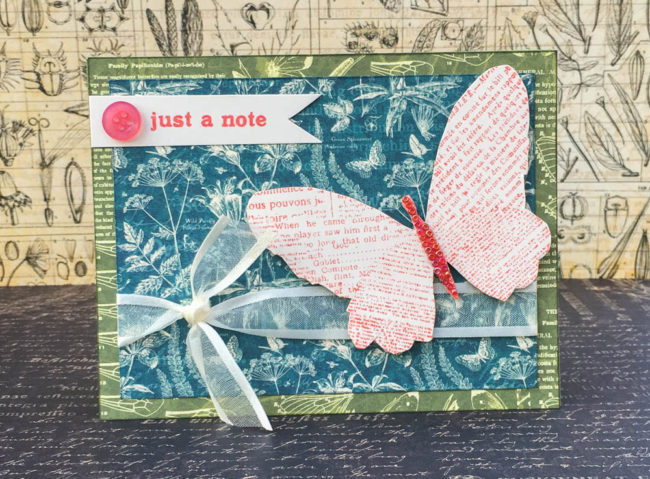
It’s officially spring, so let’s use some 28 Lilac Lane to create a butterfly card to send some spring greetings with!
Supplies needed:
- 28 Lilac Lane “Love Story” embellishment kit
- PPA Matte Adhesive
- card base
- smooth cream cardstock
- foam adhesive
- Ranger Tim Holtz Distress Ink in Abandoned Coral, Weathered Wood, & Peeled Paint
- Graphic 45 “Nature’s Sketchbook” 6×6 paper pad
- Hero Arts “Many Everyday Messages” stamps
- Hero Arts “Newsprint Butterfly” stamp
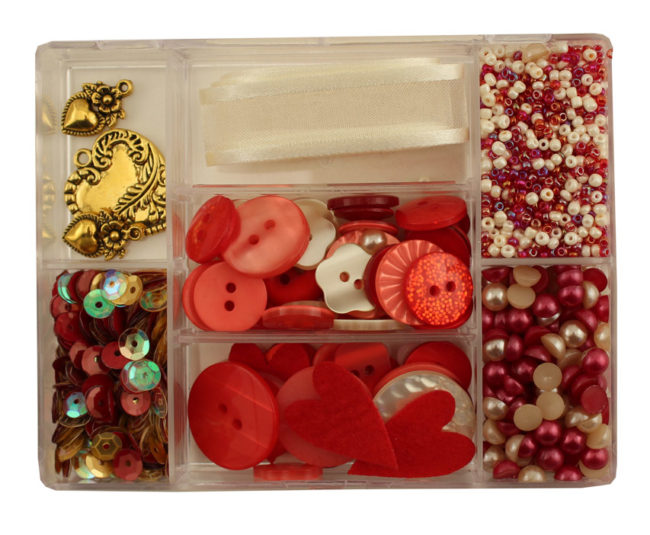
This butterfly card uses the “Love Story” kit by 28 Lilac Lane. With cream ribbon, heart charms, and embellishments in shades of red, pink & white, this kit is as versatile as it is gorgeous! Although at first glance this kit is a Valentine’s Day, wedding, or “I love you” themed kit, projects like this one are a great reminder to look at the kits for the colors of their contents as well as their themes.
 To start making this butterfly card, cut a piece of green patterned paper to 4.25″ by 5.5″, ink the edges, and adhere it to the card base.
Cut a piece of blue patterned paper to 3.75″ by 5″ and ink the edges. Tie the ribbon ends together, and then secure the ribbon around the back side of the blue patterned paper. Adhere the blue patterned paper panel to the card front.
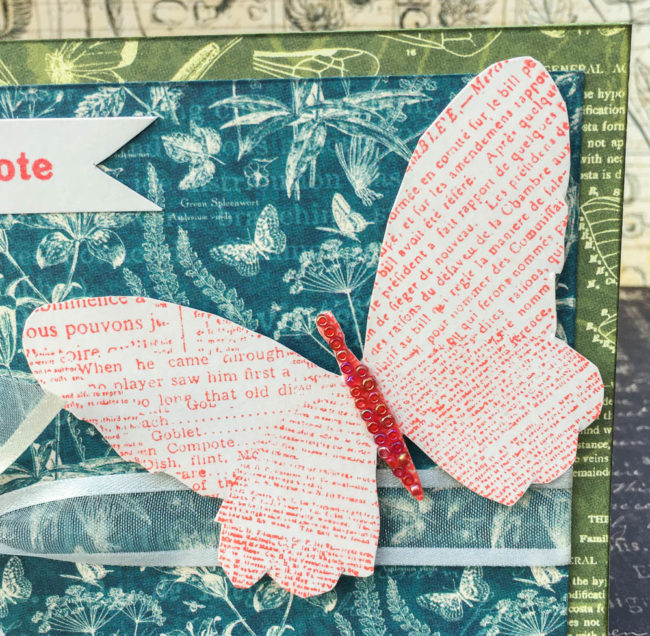
Stamp the butterfly and card sentiment on cream cardstock. Cut out the butterfly. Trim the sentiment into a 5/8″ wide strip, and snip the ends to make a banner.
Adhere the sentiment banner to the top left of the card front, and glue a button on top of it.
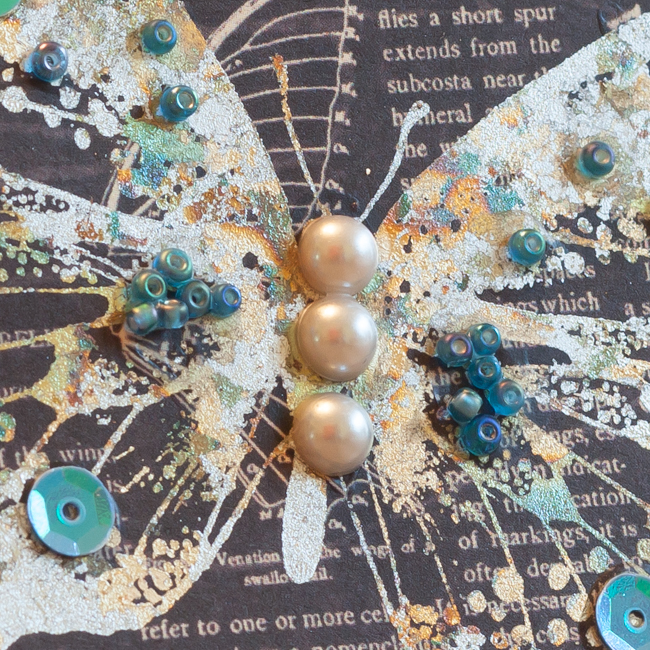
Squeeze a strip of glue down onto the body of the butterfly, and then layer seed beads on top of it. Once the glue is dry, use foam adhesive to attach the butterfly to the card front.
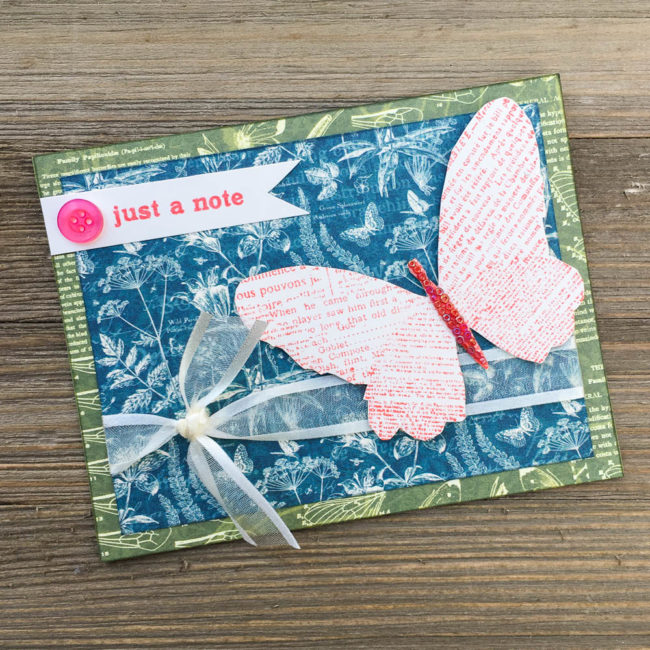
And your butterfly card is all finished, except to choose someone special to send it to!


