Header

Tag Archives | flower

Button Flowers For Valentines Day

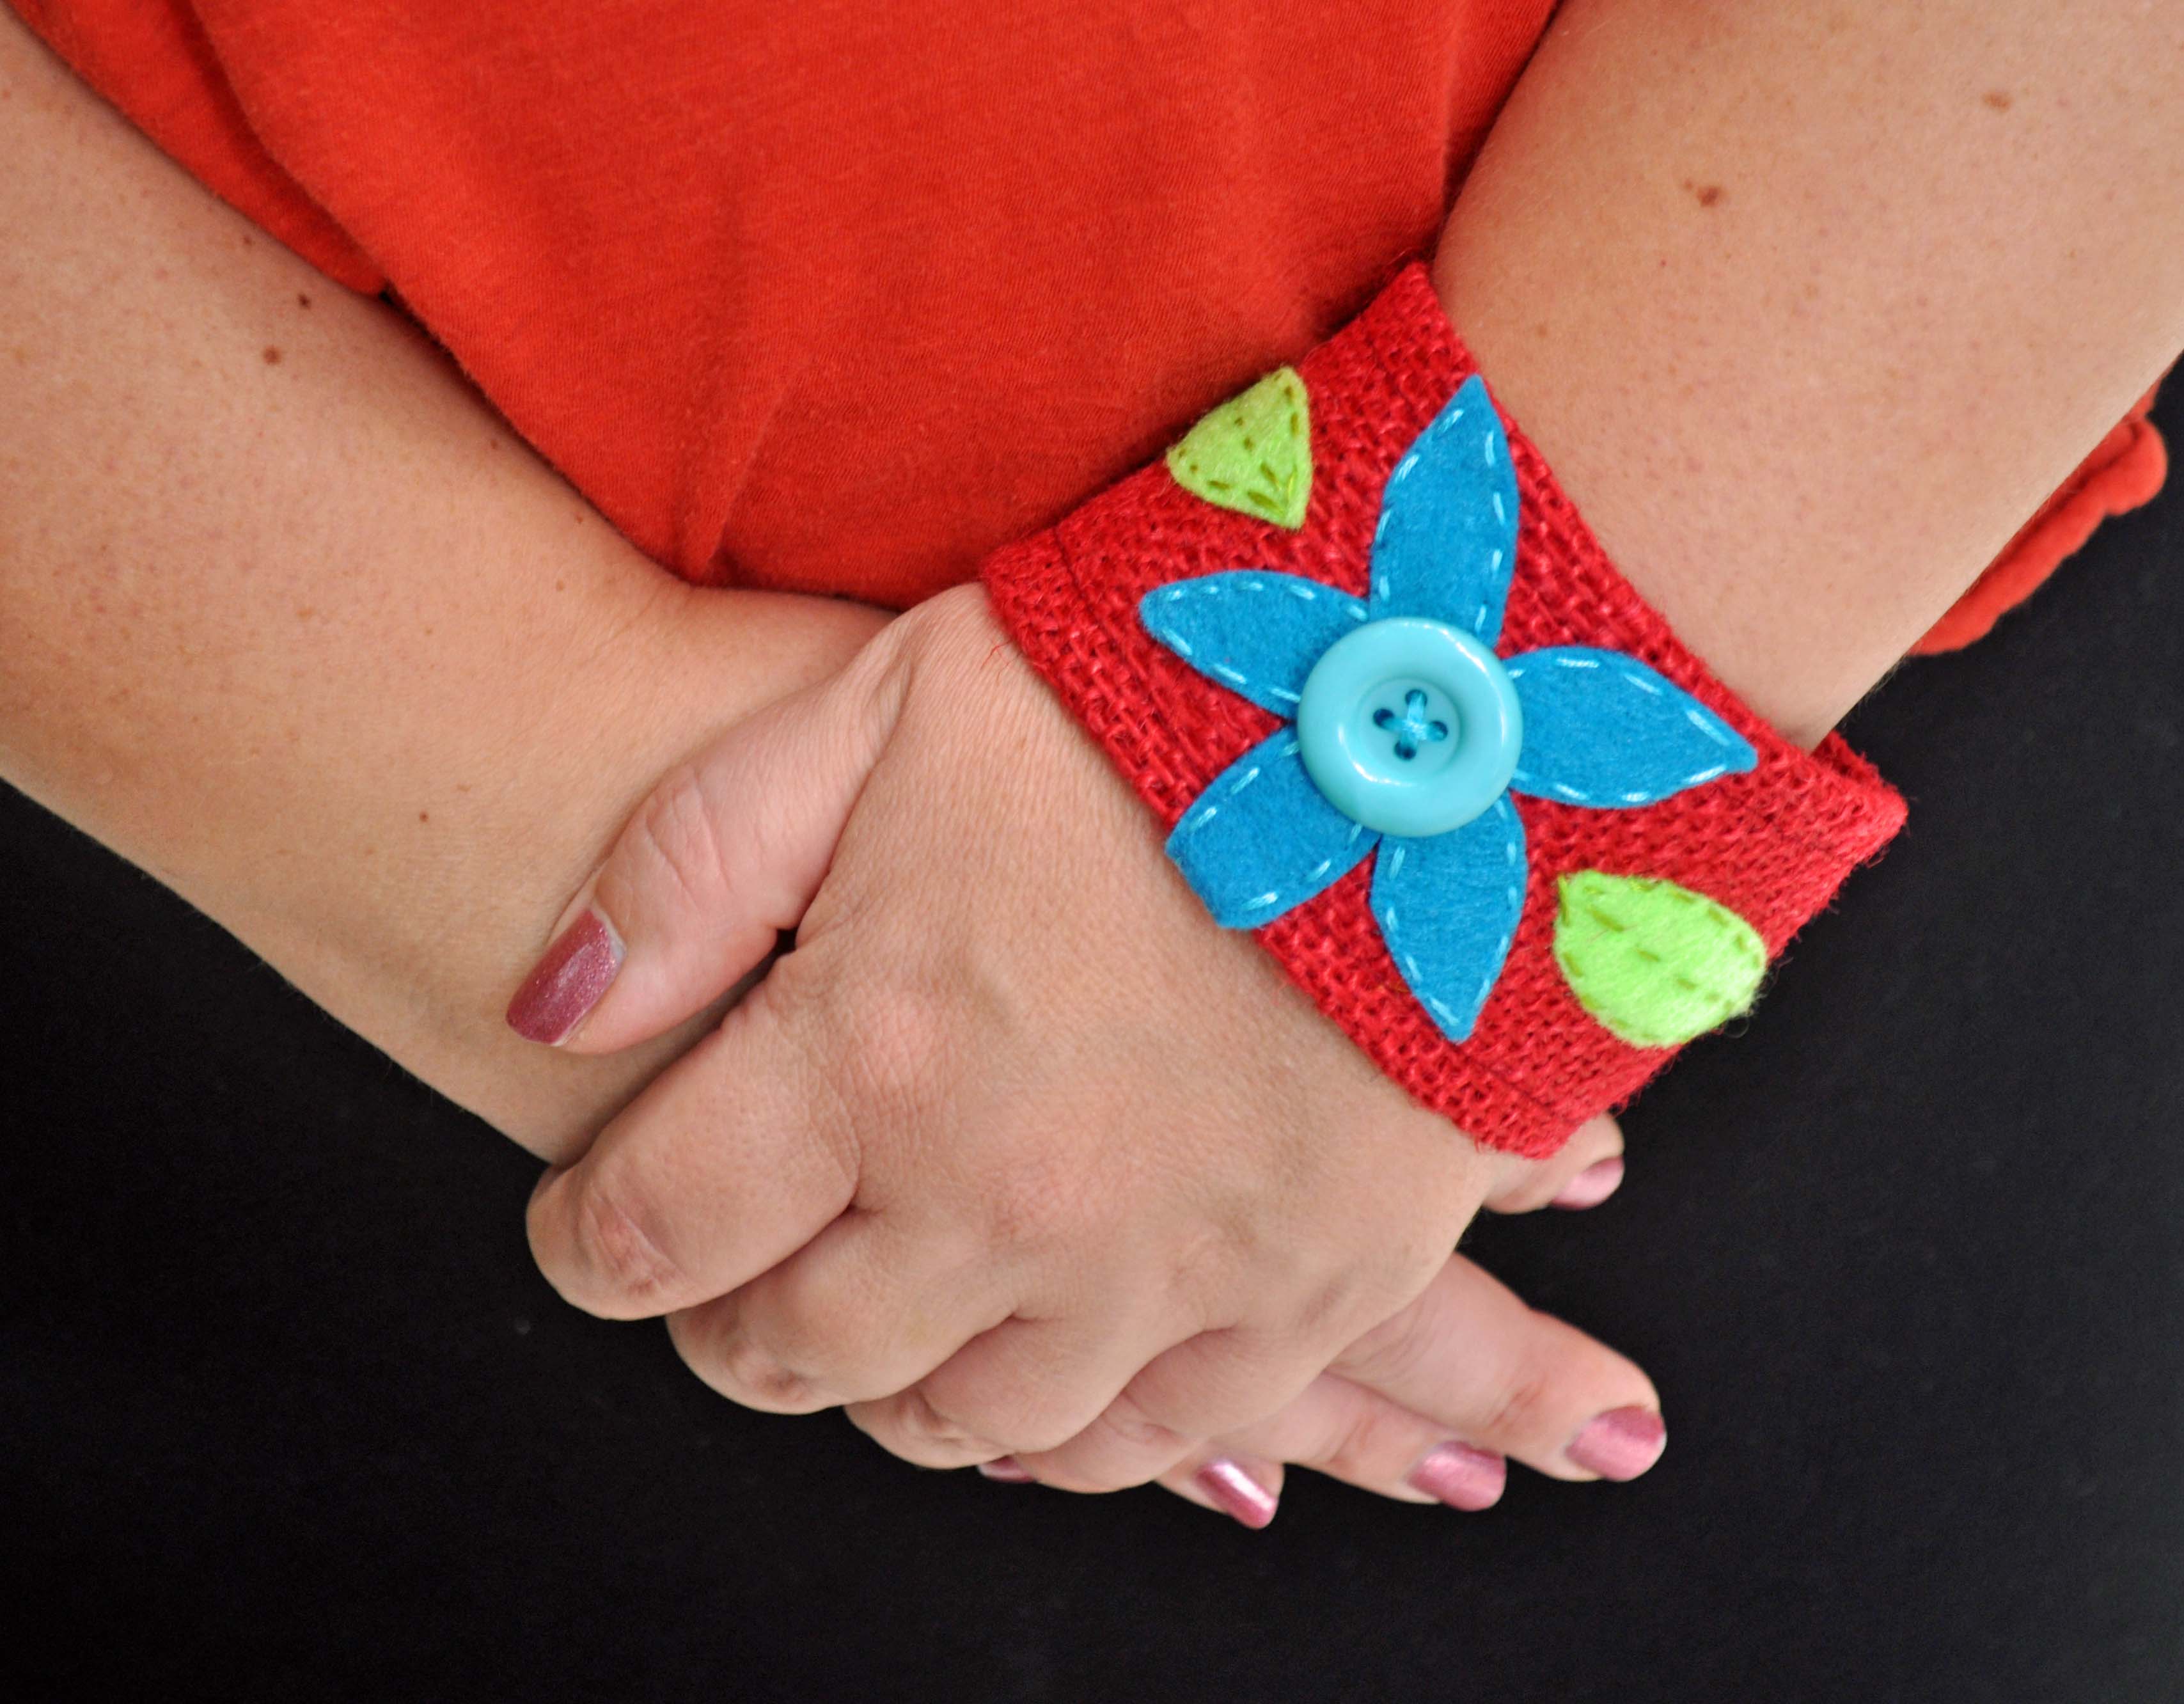
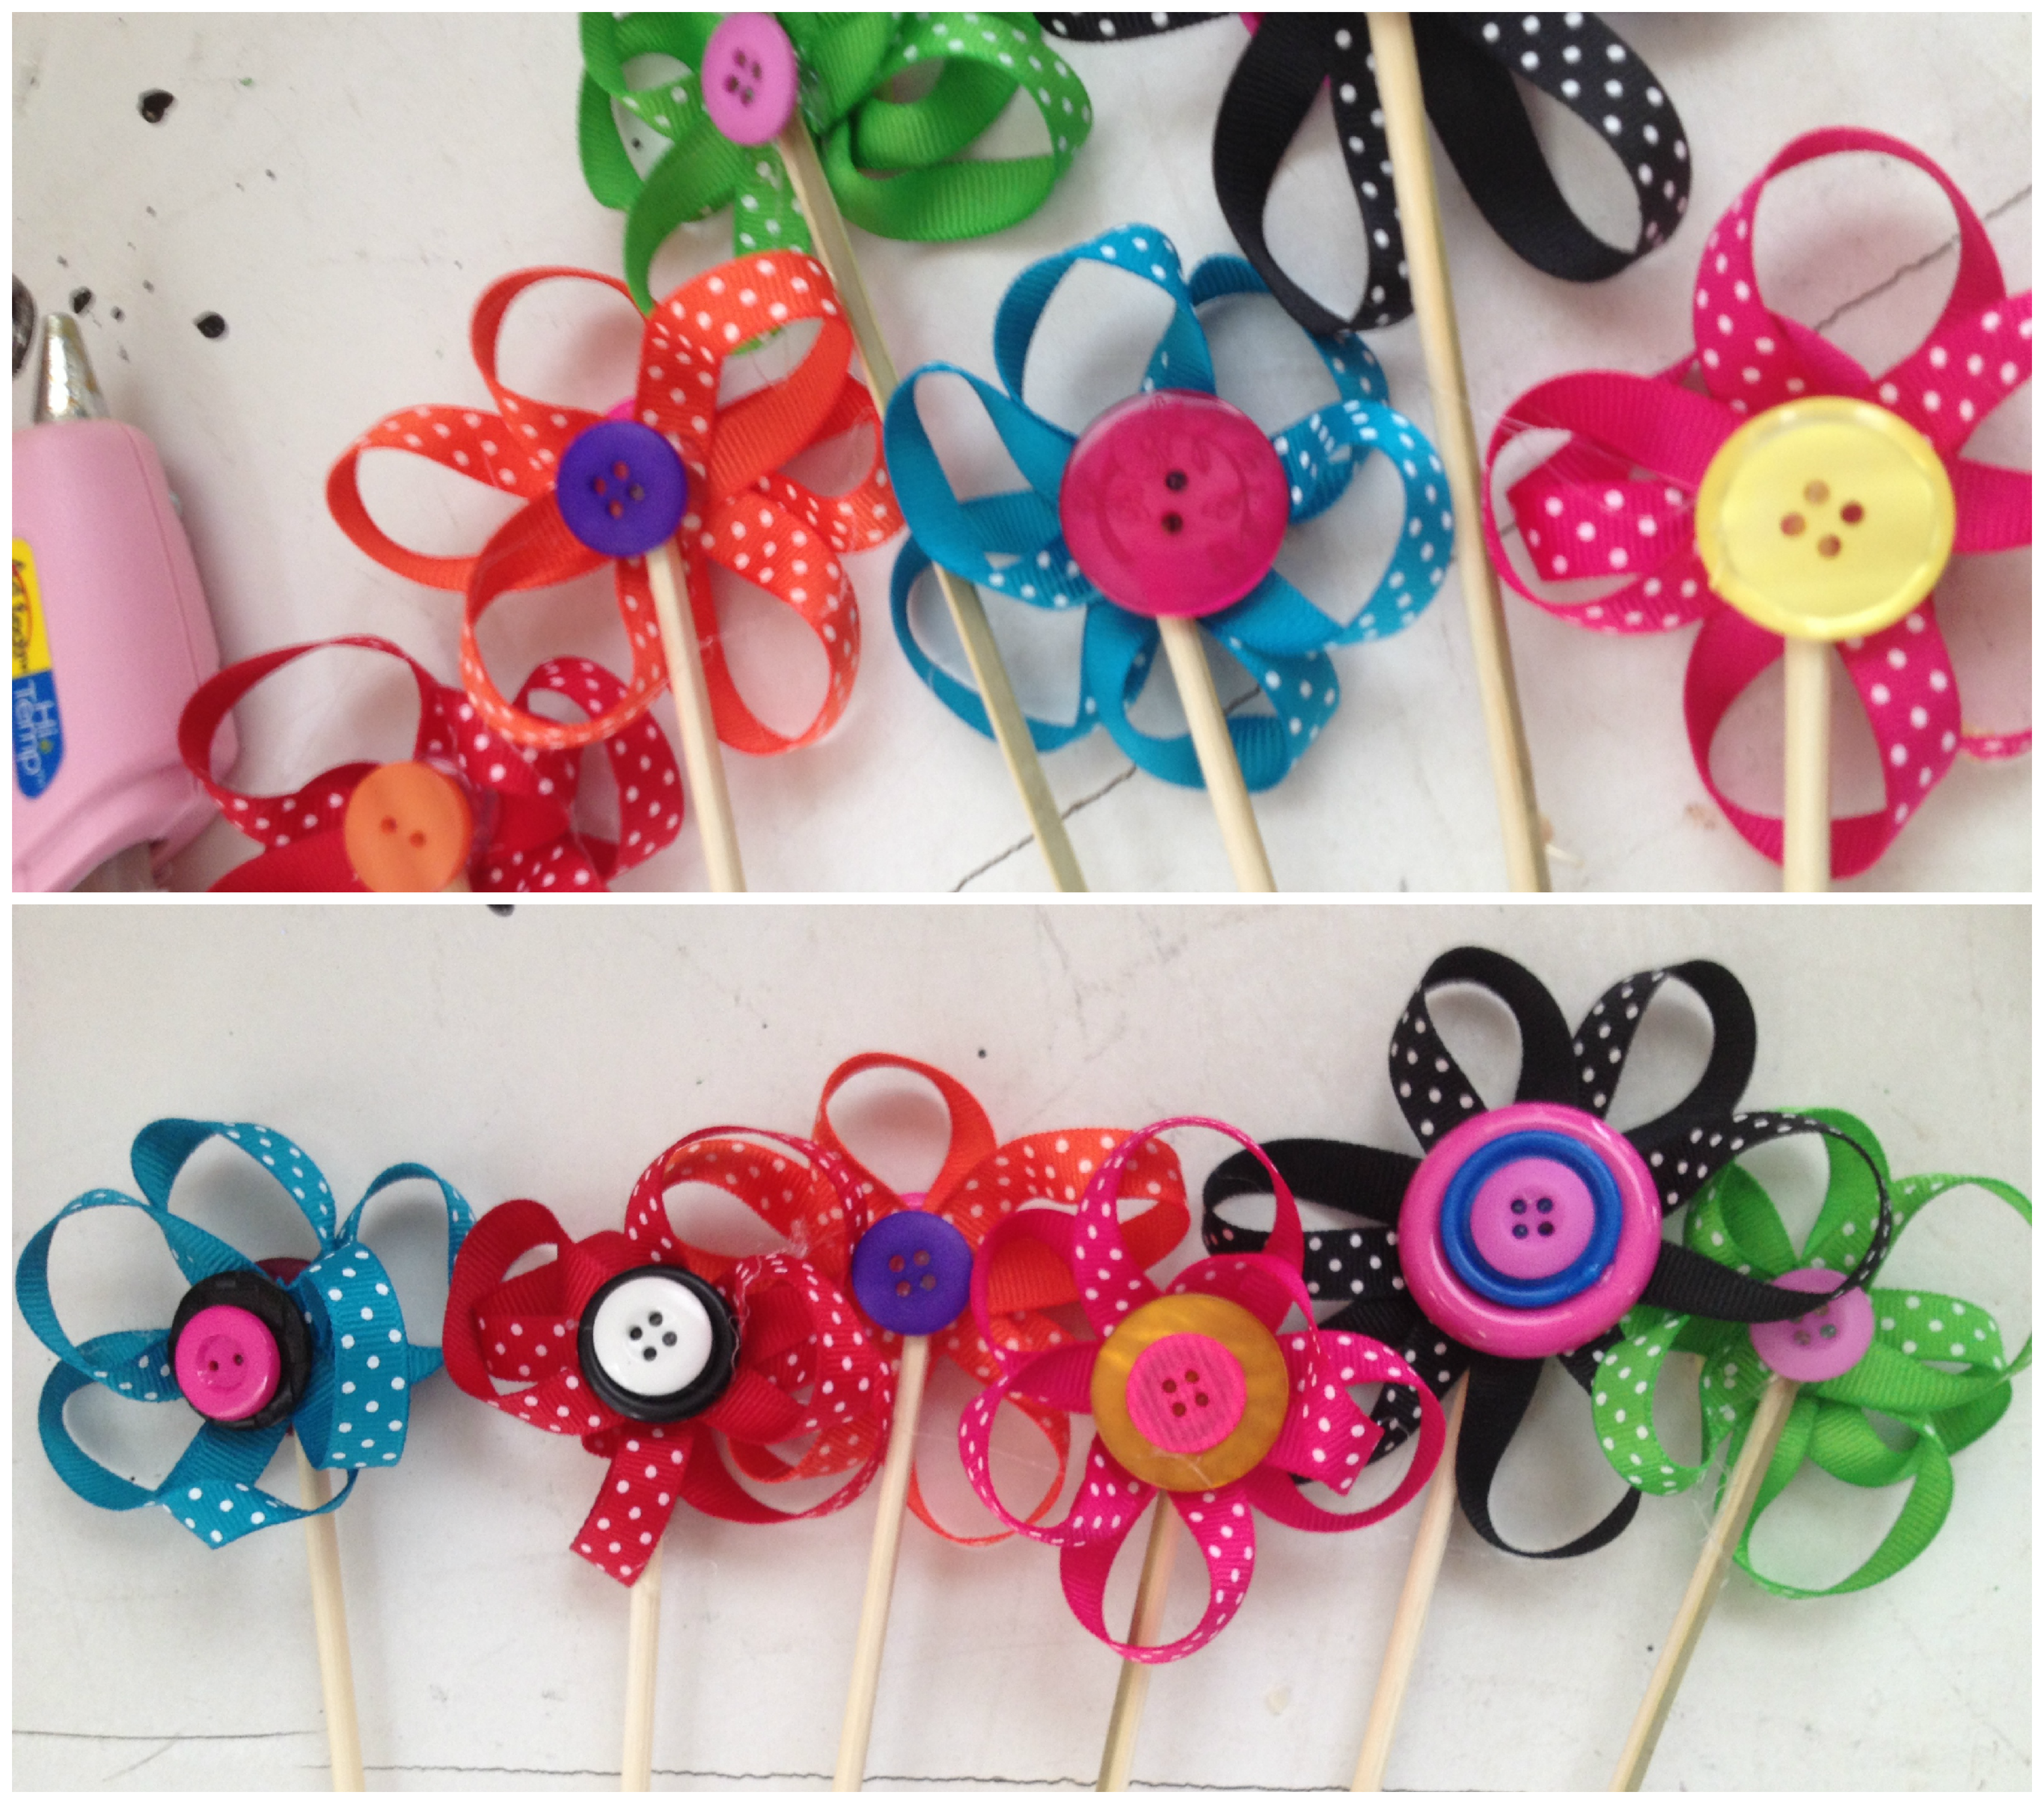
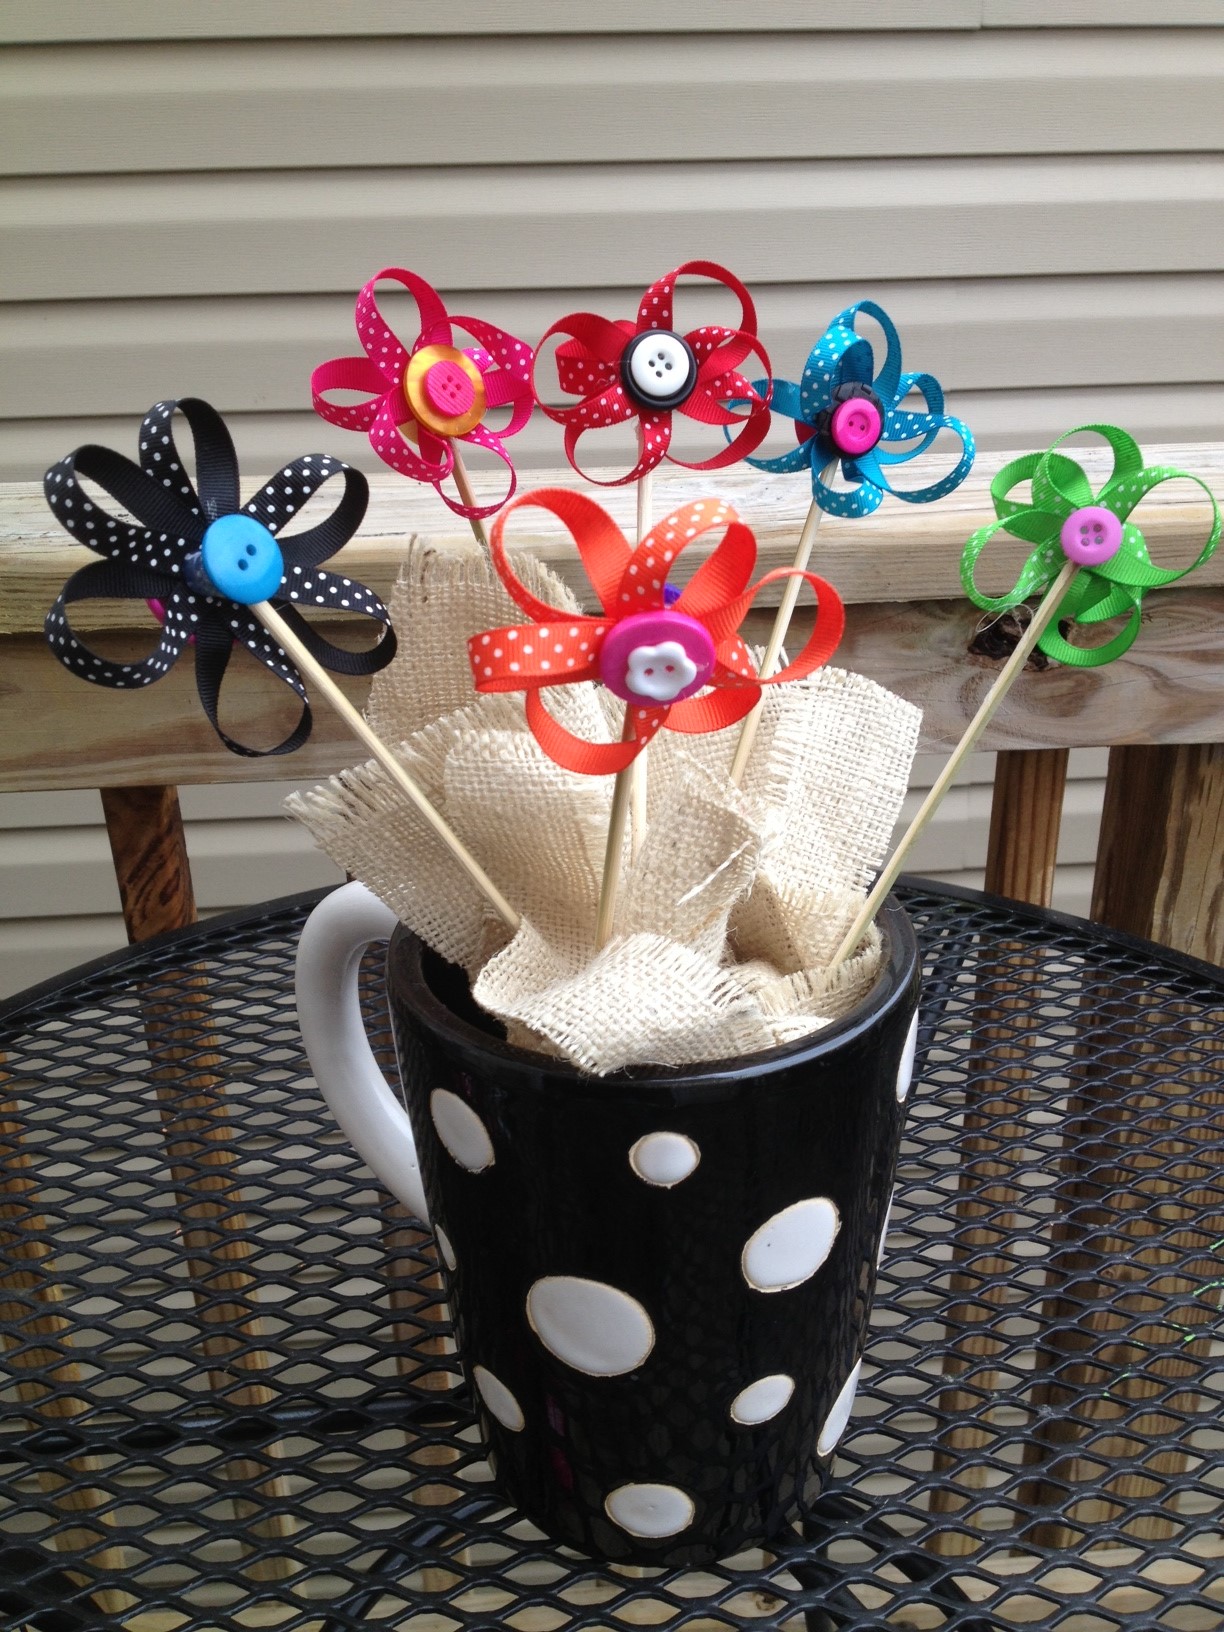
Sometimes the simple little cute things make the best gifts.  Here is a way to use buttons to create flowers that are fabulous for Valentines Day and only take a few minutes.


#fifteenminutefriday

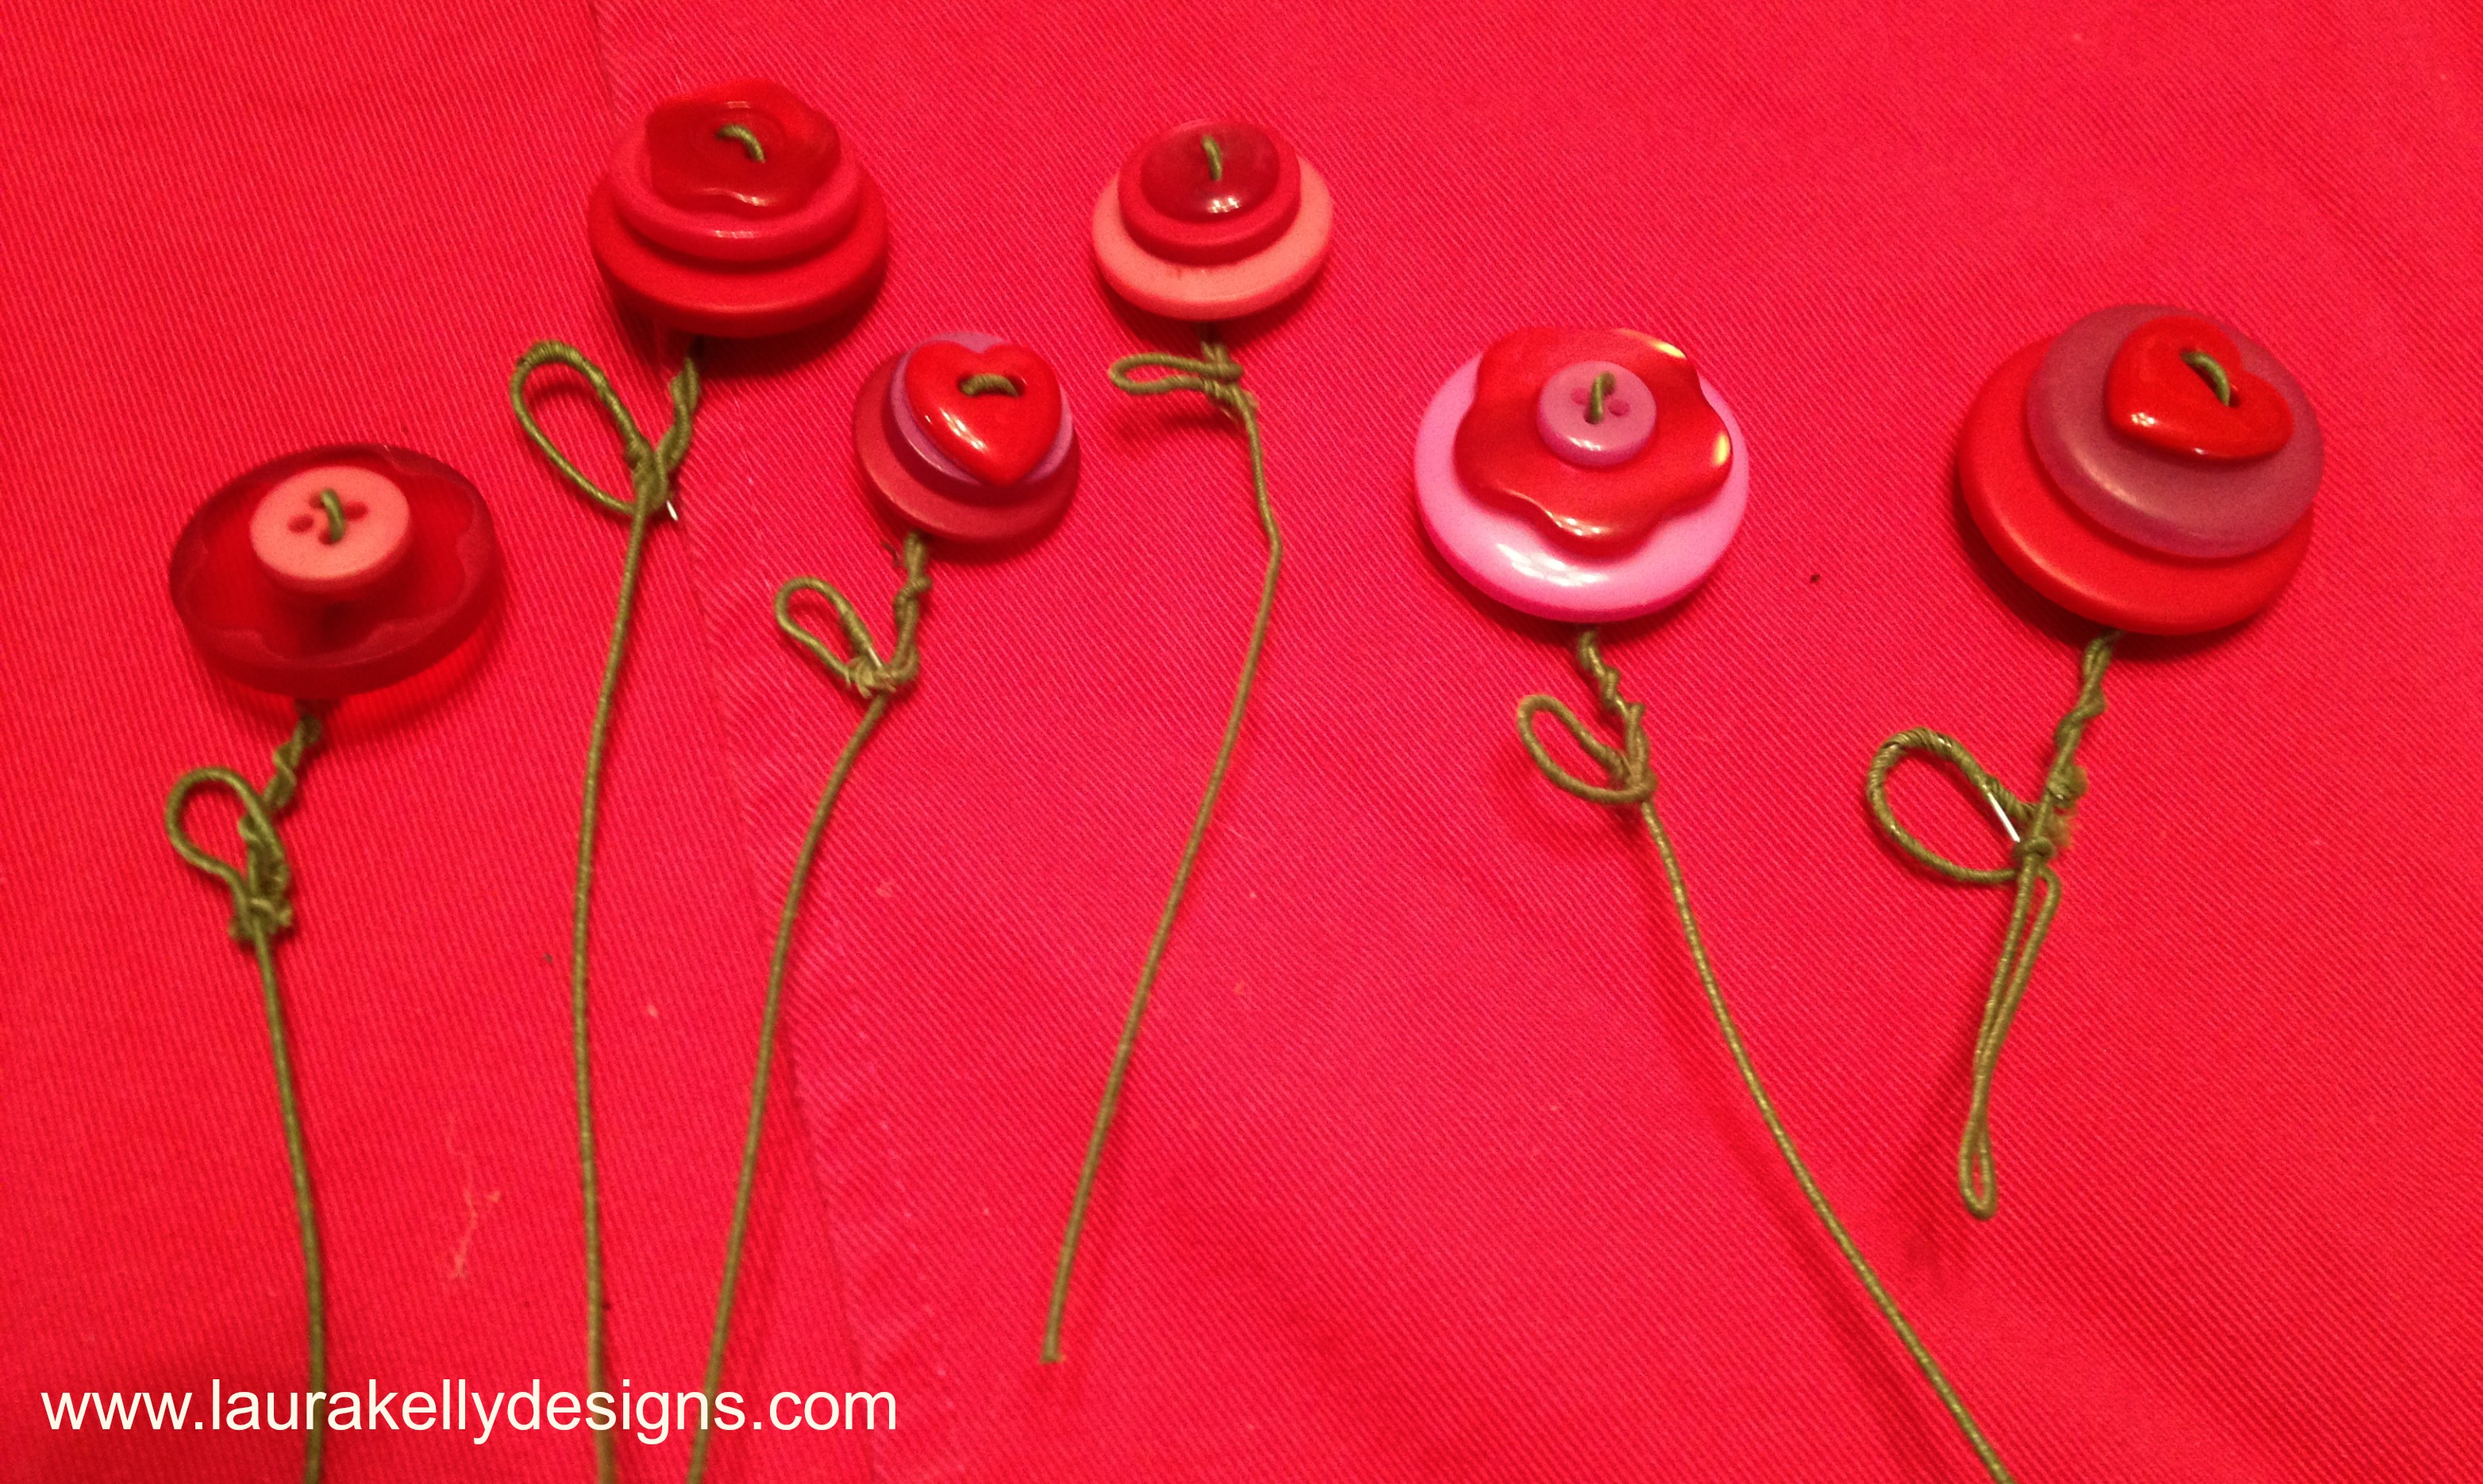
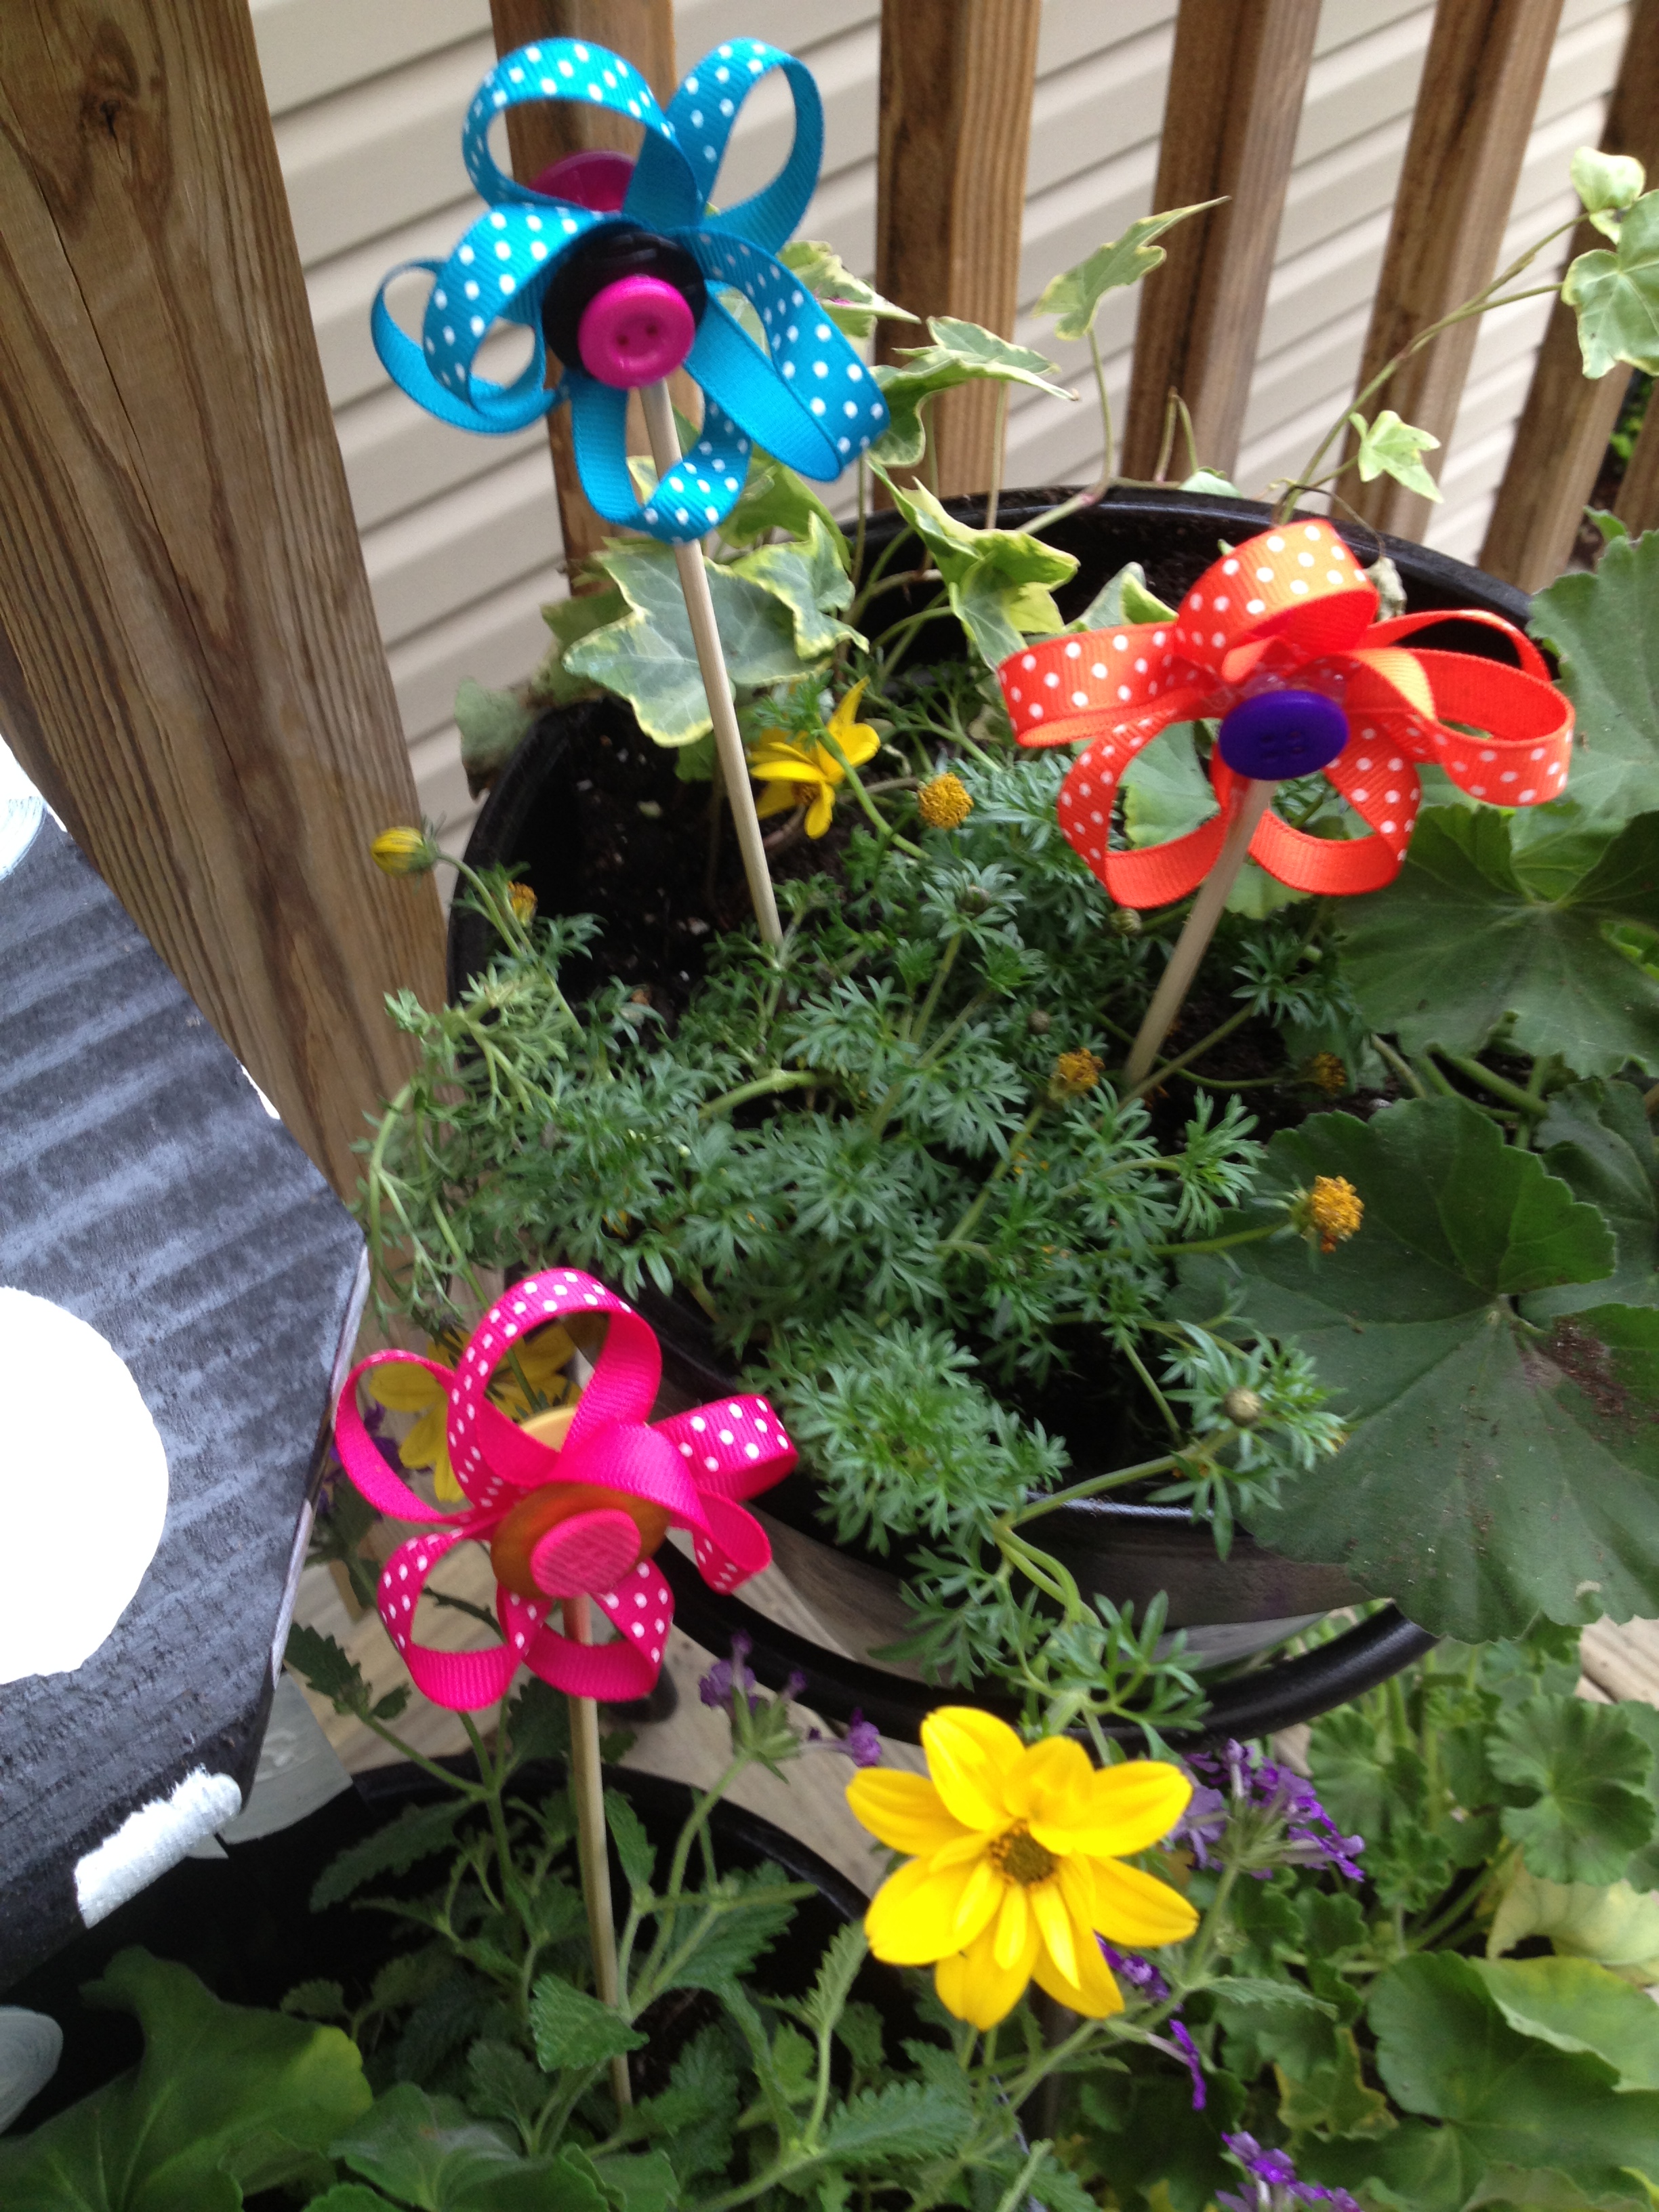
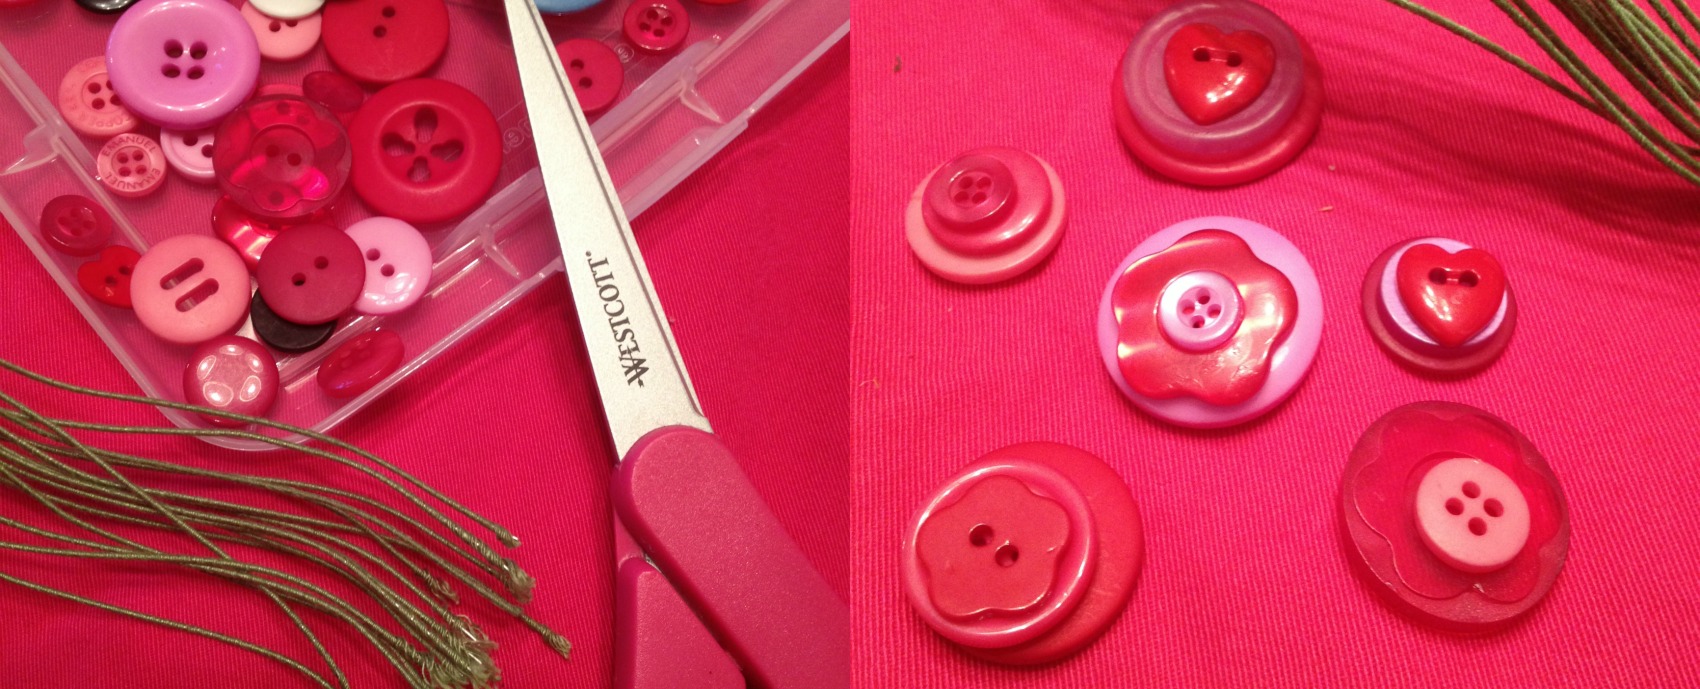
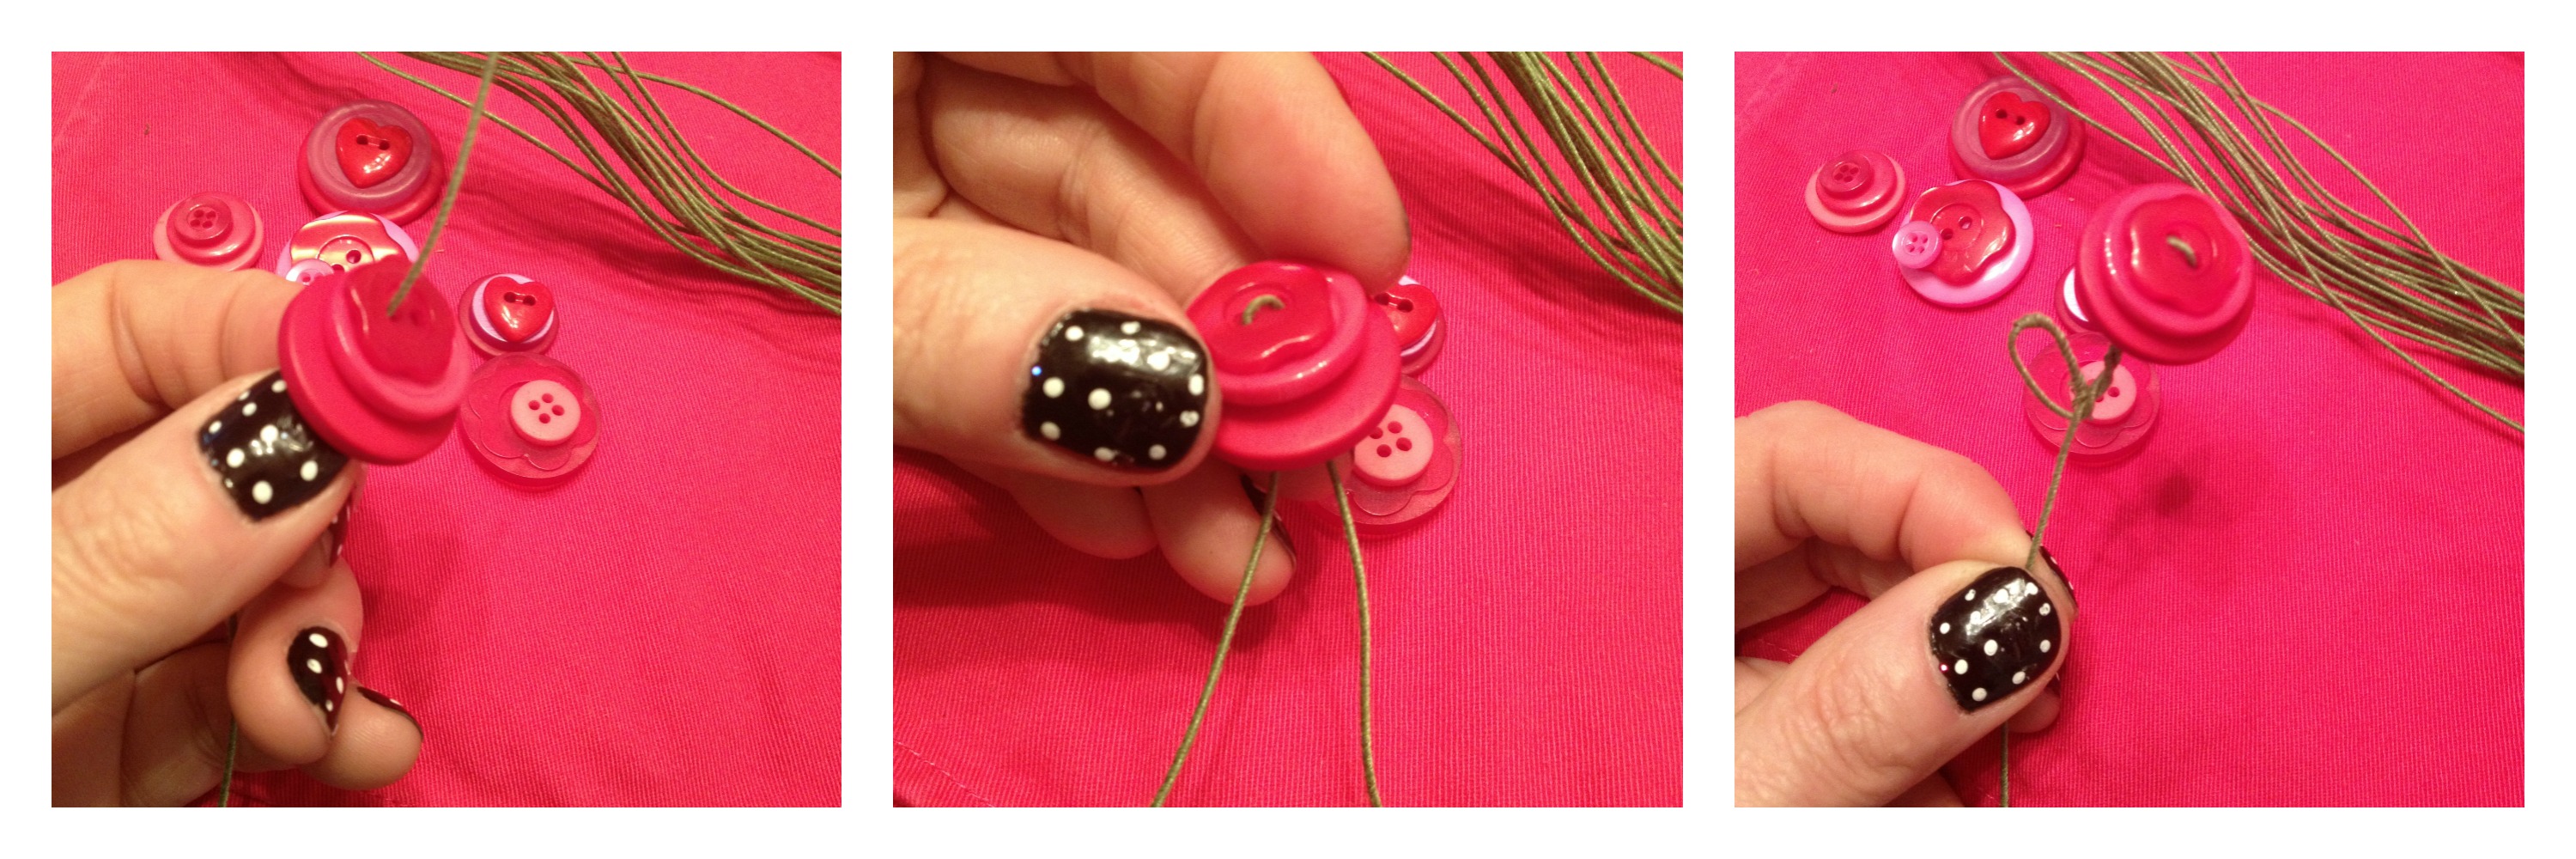
To make the flowers, you will need buttons (Radical Red and Heart Shaped Ones are my faves for this) and green floral wire.  I used floral wire with a green fabric-like coating.  The first step is to lay out your flowers ahead of time, layering 2-3 buttons in stacks.

ButtonSteps

Feed the floral wire up from the bottom of the stack then back down through the other holes in the buttons then bend the wire to create stems/leaves.

ButtonsSteps2

Once your flowers are complete, there are lots of ways you can use them for Valentines Day.  Here is a fun way.  Twist the wire around a bag of kisses and add a little Valentine message.

Kisses

If you want to see the ways that I used the other flowers made from buttons, you can visit my blog and get some more fabulous ideas.  Click here to hop over there.

Happy Creating Button Valentines Day Flowers,

Laura

0

Burlap and Buttons Cuff

Short-sleeved, summer tops demand a good burlap and buttons cuff, don’t you think?  Create this simple and rustic burlap cuff for your next walk on the beach.  It’s hip and cool and so easy to make!

Cuff Beauty Shot

Supplies:

  • Burlap cut to 10″ by 6″
  • Assorted colors of felt scraps
  • Buttons
  • Embroidery floss & thread

Instructions to make a burlap and buttons cuff:

1. Fold the burlap into thirds to create a long strip measuring 10″ x 2″.  Pin in place and stitch along the edges.

Putting Cuff together

2. Using felt scraps, cut out petals and leaves to form a flower.  Arrange in the center of the burlap rectangle and using embroidery thread, stitch them into place.

3. Stitch buttons into place.  Use them for the center of the flower.  You can really go crazy and add more into the design. (I strongly believe you can never have too many buttons on a project!)

Sew on felt pieces and buttons

4.  Once the design is stitched in place, use embroidery thread to attach the two short ends of the cuff together.

Note: I measured my wrist at the beginning of the project and made sure that I could slip the cuff on and off.  If you prefer a tighter fitting cuff, measure your wrist size and then use a hook & loop, snap, or BUTTON closure to secure the cuff on your wrist.

Thanks for getting crafty with me today!  For more button crafts, stitching and lifestyle ideas visit me on my blog at www.laurabraydesigns.com.

www.laurabraydesigns.com

1

Flower pot Flowers

It is springtime and that means gardening, planting, flowers and sunshine.

Polkadot Flower pot Flowers

If you are working towards creating a colorful flowerpot garden, here is a fabulous QUICK and easy way to add bright colors.

IMG_4378

To make the Flower pot Flowers :

grosgrain ribbon, bright Laura Kelly colored buttons, hot glue (I use ad-tech high temp) and wooden skewers!

Use grosgrain ribbon loops to create petals and then hot glue gun buttons to the centers to add color and hold them together then hot glue the to the non pointed end of the skewer.  Flip them over and hot glue a button to the backside so that if they turn around in your garden they will still look cute.

RibbonButtonFlowers

What a fabulous way to create color in fifteen minutes.  These flowers withstand the weather and last all season long.  Of course they are pretty indoors too.  You could even make a whole pot of just these and never have to water.

RibbonFlowers

If you want to know where the polka dotted flower pots came from, hop over to my blog and find out.

Happy Fifteen Minute Friday with Flowerpot Flowers!

1

Scrap Paper & Button Gift Tag

Some times it is so much fun to create ways to use scrap paper and miscellaneous bright buttons.  This project is one that is worth “picking”, kind of like a pretty flower.

FlowerTag1

Materials for the scrap paper gift tag:

You will need scrap paper , Mod Podge (I used the washable kind for kids), a brush, black Sharpie marker, Laura Kelly buttons and ad-tech hot glue to create the flower.  You can buy a tag already to go or make one yourself.

Directions for the scrap paper gift tag:

Cut your paper into petals of any size and shape, whatever works for the tag size you are making.  Mine are about 2 inches long.  Cut another piece into a circle about an inch in diameter.  Using Mod Podge, brush a heavy coat on the circle then add the petals, brushing new layers of Mod Podge liberally between each petal.  Apply a final coat over the entire flower.  Set it aside to dry.  Cut a stem and leaves from your scraps and use the Mod Podge to apply them to your tag using the same technique.  Add the flower with Mod Podge and let it all dry.  To finish your project, use your ad-tech hot glue to apply several buttons in a stack in the center of the petals.  If you want to add the black decorations around the outside, you can’t beat the black Sharpie permanent marker.

PaperFlowerTag5

There are lots and lots of ways to use these paper flowers to create masterpieces.  You can visit Laura’s blog to find more ideas if you have more than fifteen minutes to create!


2

Powered by WordPress. Designed by WooThemes