Header

Tag Archives | Dana Gustafson

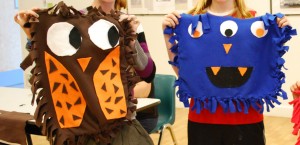
DIY No-Sew Fleece Pillow -Fall Themed

Hi there!  I have a quick no-sew fleece pillow idea for you.  It’s quick it’s easy and so festive! You will want to make a  no-sew fleece pillow  for each season

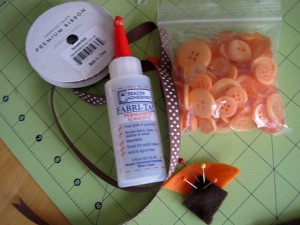
Supplies for a no-sew fleece pillow :

Directions for a no-sew fleece pillow :

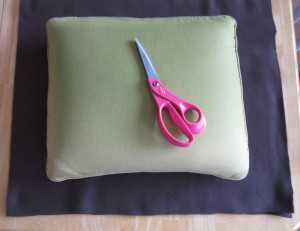
Cut two layers of polar fleece material approximately 3-4″ wider then the pillow you plan to cover.  No need to be exact, this project is really forgiving

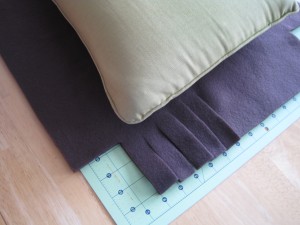
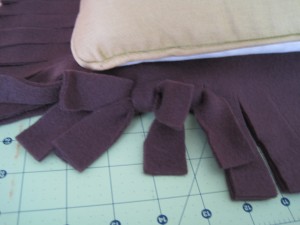
Cut away the corners of the fabric and cut strips all the way round the outside edge approximately one inch thick.

Once everything is cut, tie the top and bottom matching strips together in a double knot creating the fun fringe look.  Don’t forget to insert your pillow before you tie your pillowcase closed.

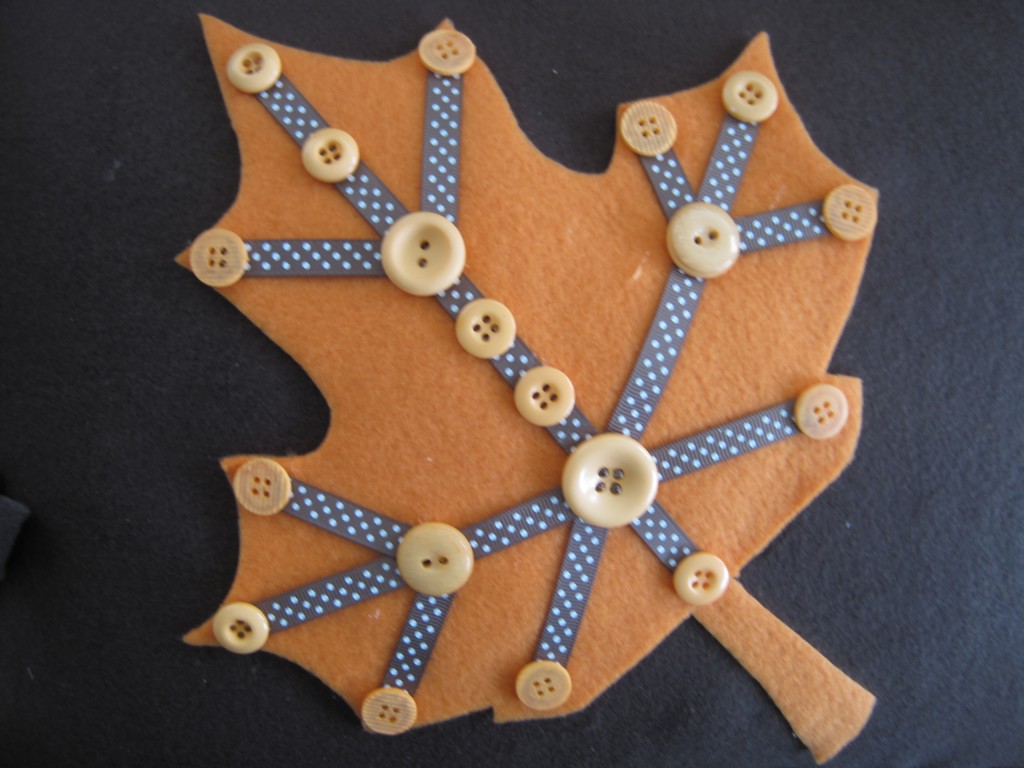
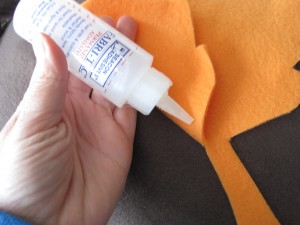
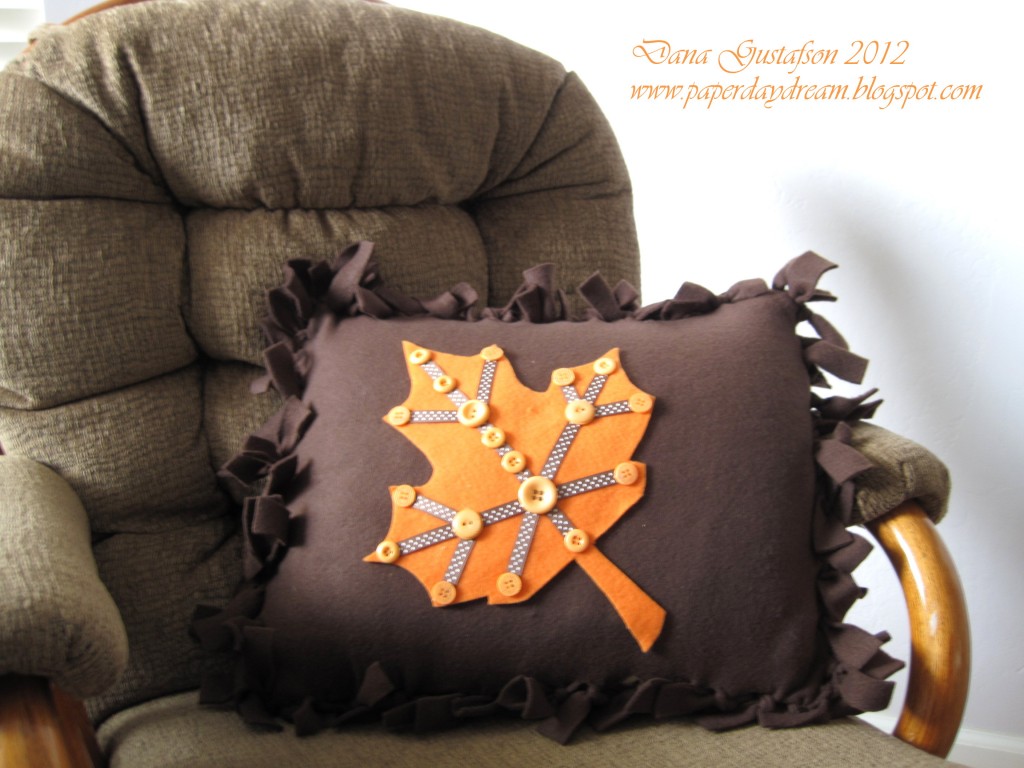
Embellish your pillow front with fleece scraps cut into shapes representing your theme.  I free-handed a maple leaf shape for fall.  Glue on fleece shapes and other embellishments like ribbon and buttons to complete the no-sew fleece pillow.

Enjoy your new festive pillow!  Not only is it fun to look at but it’s cozy too!

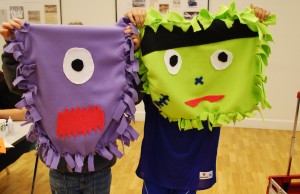
This is a great project for kids!

Thanks for stopping by!

2

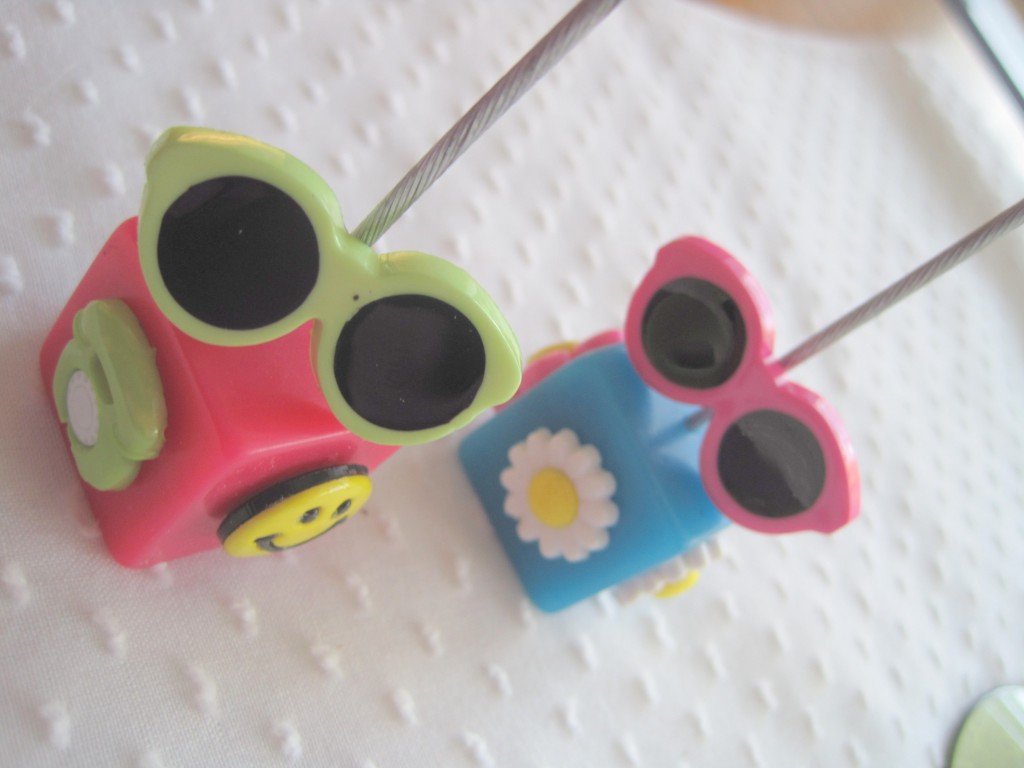
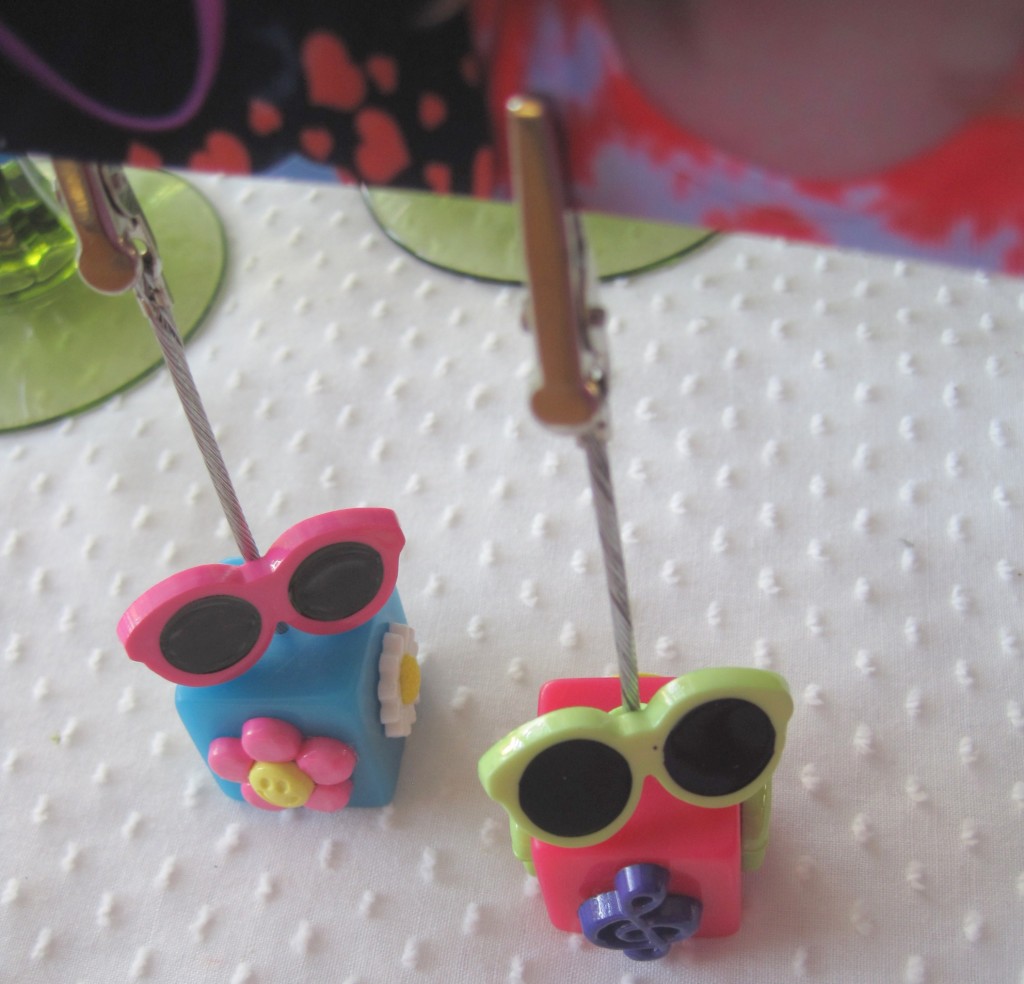
Use Theme Buttons to Customize a Photo Clip!

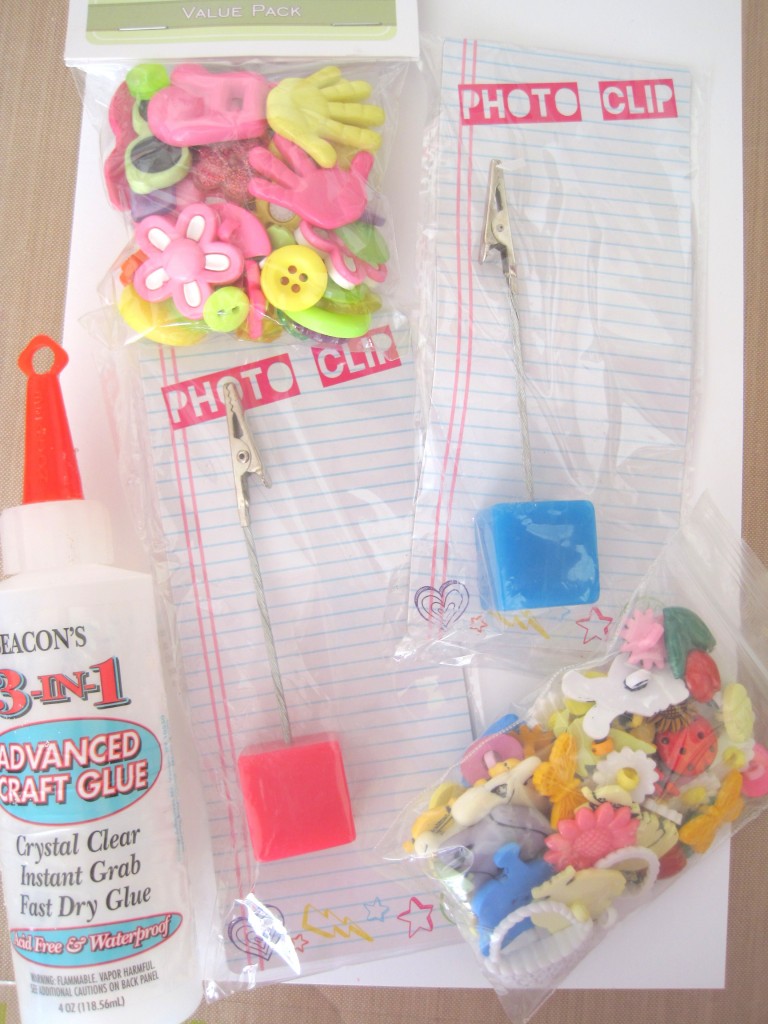
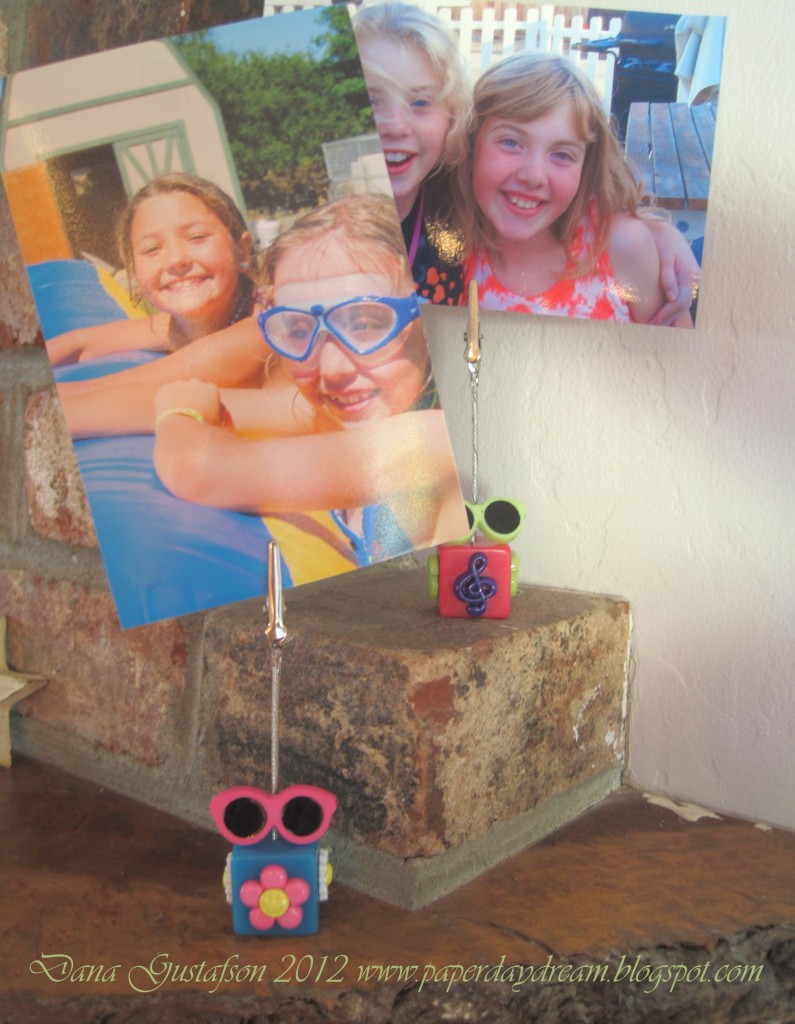
Who doesn’t love the dollar aisle? I picked up some simple photo clips the other day that I knew I could dress up with theme buttons to customize them for my daughters. It’s so quick and easy!

IMG_2852

Supplies needed to customize a photo holder with theme buttons:

IMG_2844


IMG_2845

Directions to customize a photo holder with theme buttons:

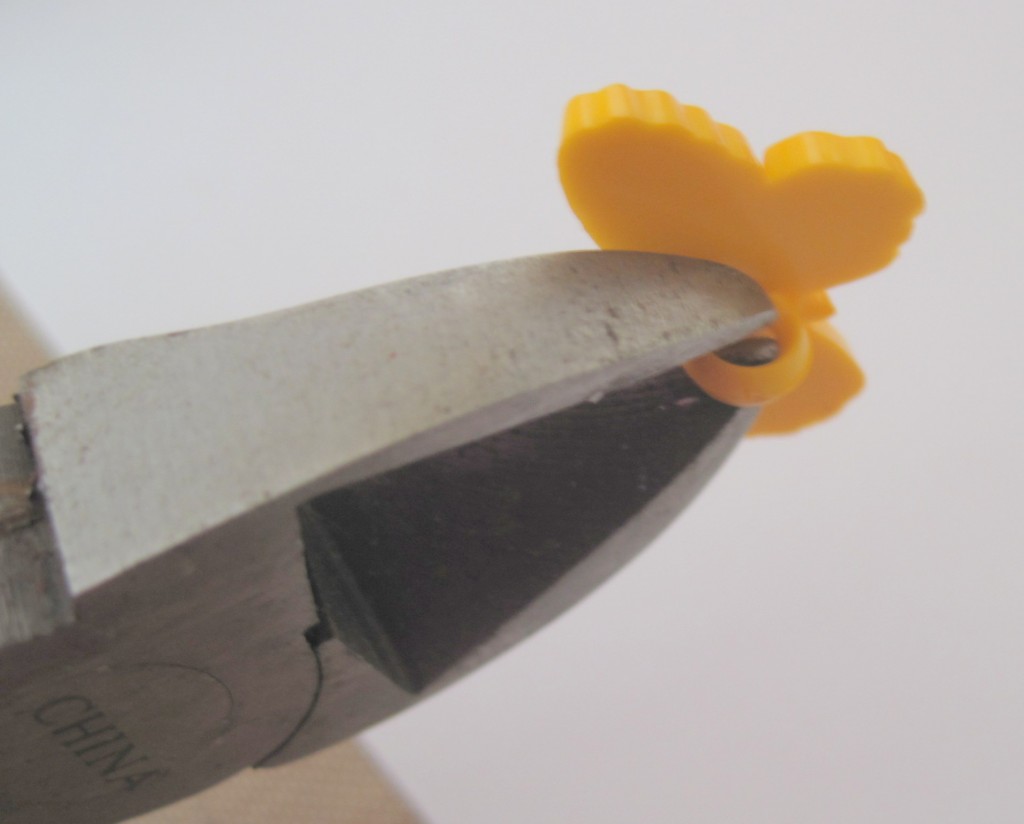
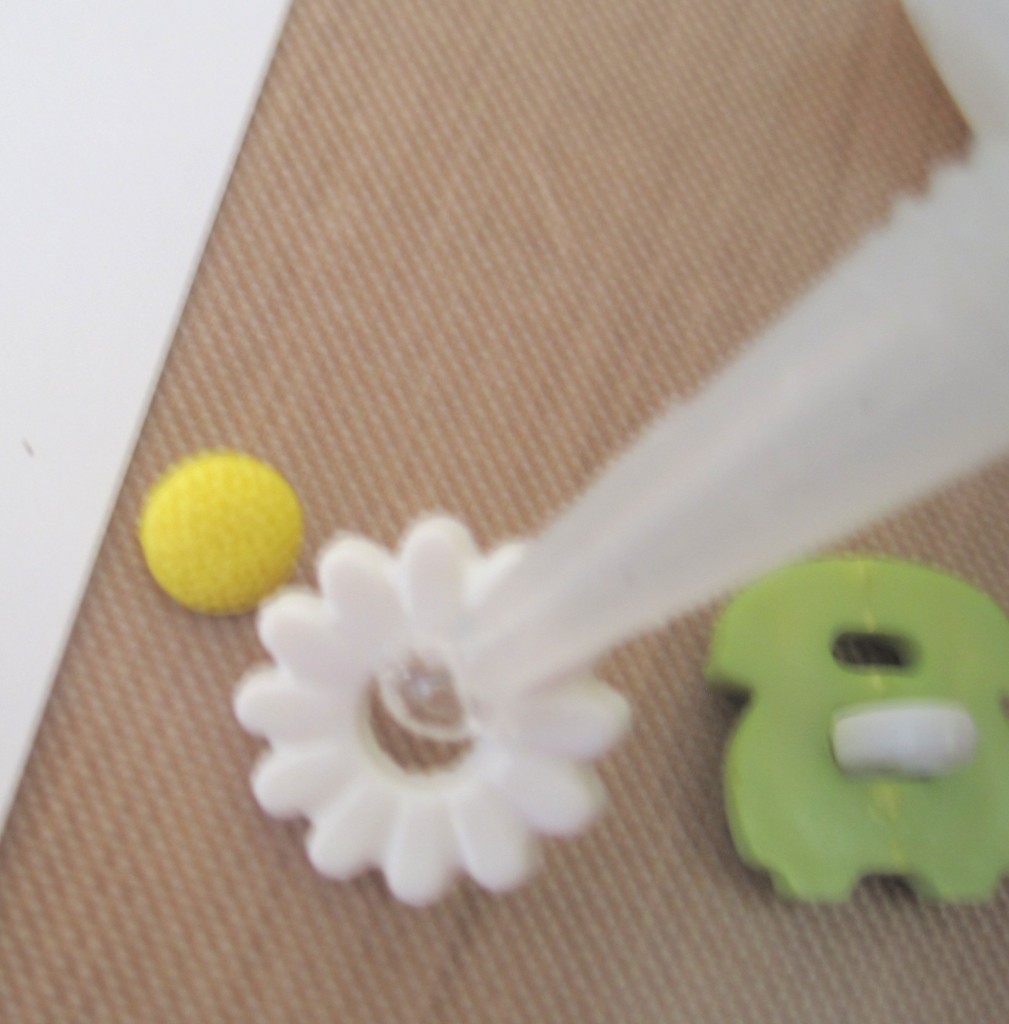
Start by removing the shanks from buttons.

IMG_2847

If the theme button has layers, glue them back together with a dot of glue.

IMG_2851

Adhere the chosen buttons to the four sides of the photo clip cubes.

IMG_2849

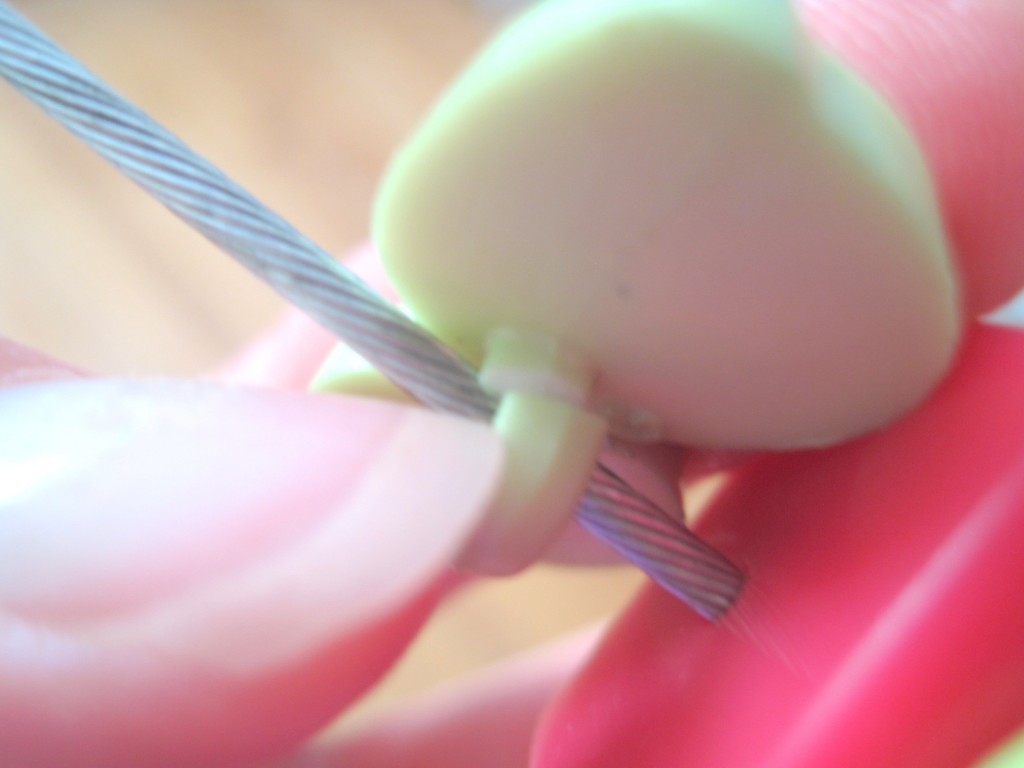
The sunglasses are a fun moving element by just clipping one side of the button shank and snapping in on the wire .

customize a photo holder with theme buttons

Final step…add cute pictures of fun times!  This is a fast and easy way to customize a photo holder with theme buttons.  Less than a half an hour including dry time and you have a great project.

0

Make a money tree – Easy DIY STYROFOAM Christmas craft with buttons

Money doesn’t grow on trees!!!….or does it?  Check out this fun and easy way to give a money tree gift in a creative way.

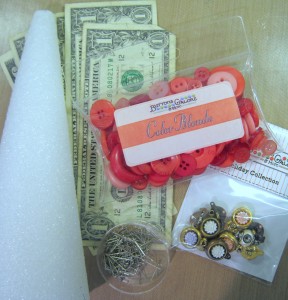
Today I am excited to use a Styrofoam plus BUTTONS from Buttons Galore!  Check out the supplies…

Materials to make a money tree:

Directions to make a money tree:

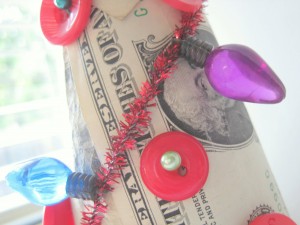
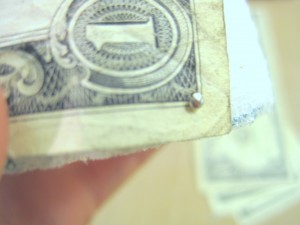
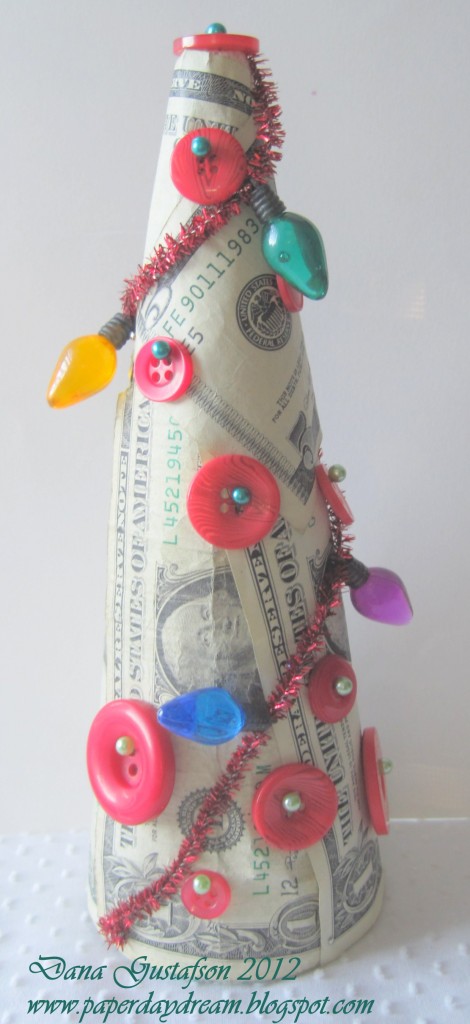
Begin by wrapping your cone in bills and securing the corners with sequin pins.  Once you have all of the foam covered you can embellish to your heart’s content with buttons, colorful seamstress pins, tinsel chenille and more!  Important to note that non of the items were adhered with adhesive because in the end this money tree is meant to be harvested so make it easy for the recipient to wrap and just use pins.

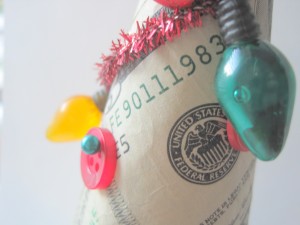
I love the glow on the “lights”!

Thanks for joining me today! I hope you will make a money tree for your next gift.  No matter if it is a Christmas money tree, birthday money tree or a graduation money tree, the recipient will surely love a tree made of money.  I know I would.

3

DIY crepe paper flowers with Stickles glitter

Pretty Crepe Paper Flowers

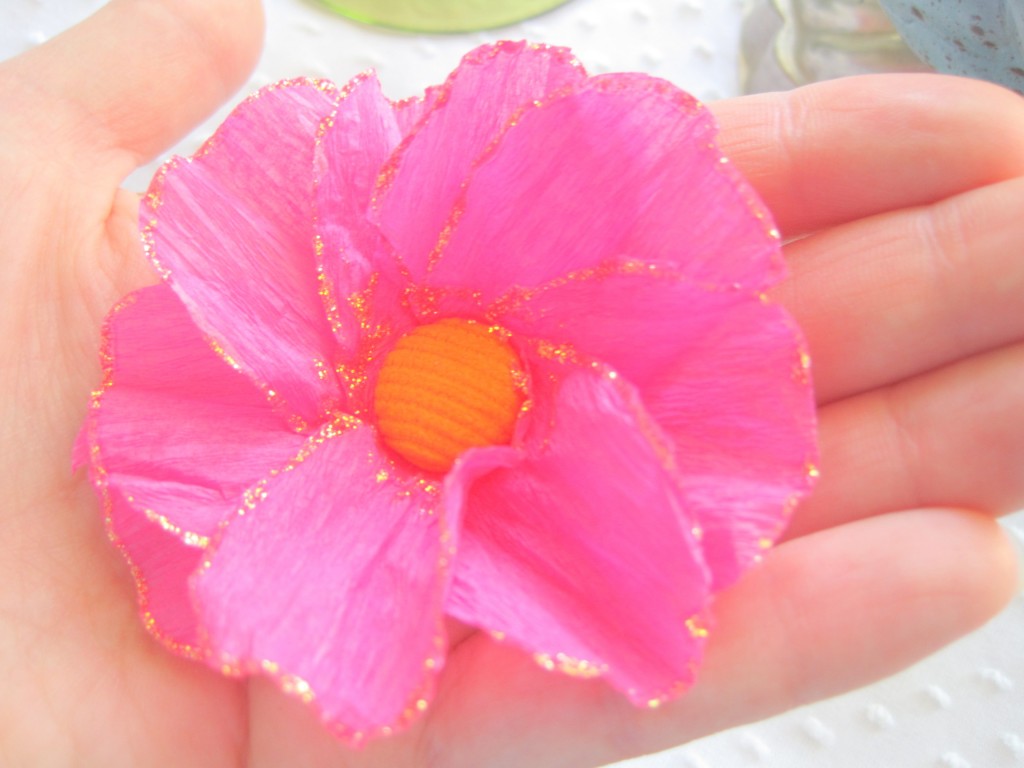
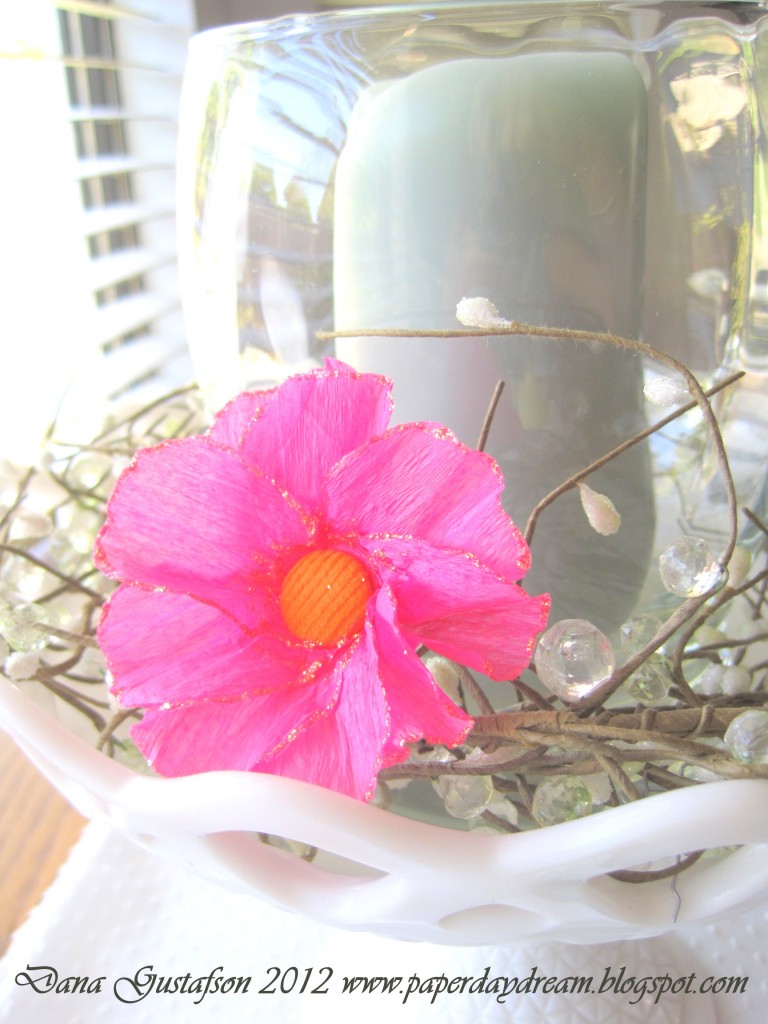
Who says that crepe paper is for parties only?  Not me.  Crepe paper flowers made out of party streamers are so pretty and super easy to make!   The flowers are a great way to use up the left overs after the party.  Flowers brighten a room any time of the year.  Crepe paper flowers can be used for almost anything and crepe paper comes in a wide variety of colors.  You can make one as an accent for a decoration, as a topper on a bag or to wear in your hair.  Make a whole bouquet of crepe paper flowers for those days when fresh flowers are not available.

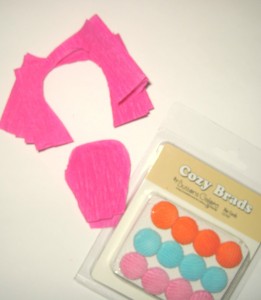
Supplies to make crepe paper flowers:

These pretty crepe paper flowers are easily finished by using big designer brads from Buttons Galore and More.  The brads are available in many colors sizes and textures.  They have metal brads too.

See how simple the crepe paper flowers are to assemble…

Accordion fold a streamer for several layers stacked on top of each other.   Freehand cut a petal shape and keep them in a stack.  Micro tipped scissors work great for this.

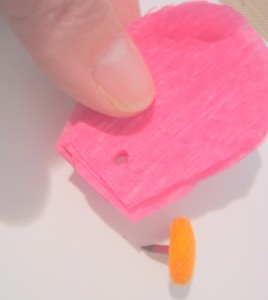
Punch a small hole using a hole punch through all of the petals and insert the brad.

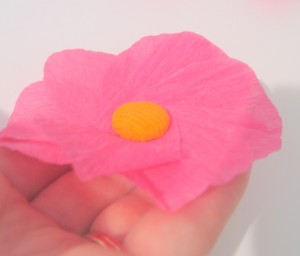
Distribute the petals into an open flower shape and then open the prongs of the brad to fix them into place.

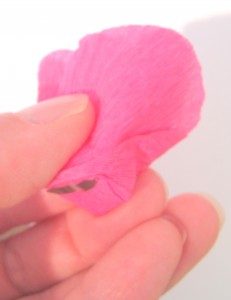
Wrap and shape petals around the cozy brad to give them a more realistic shape.

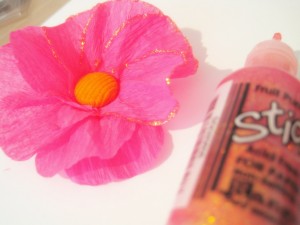
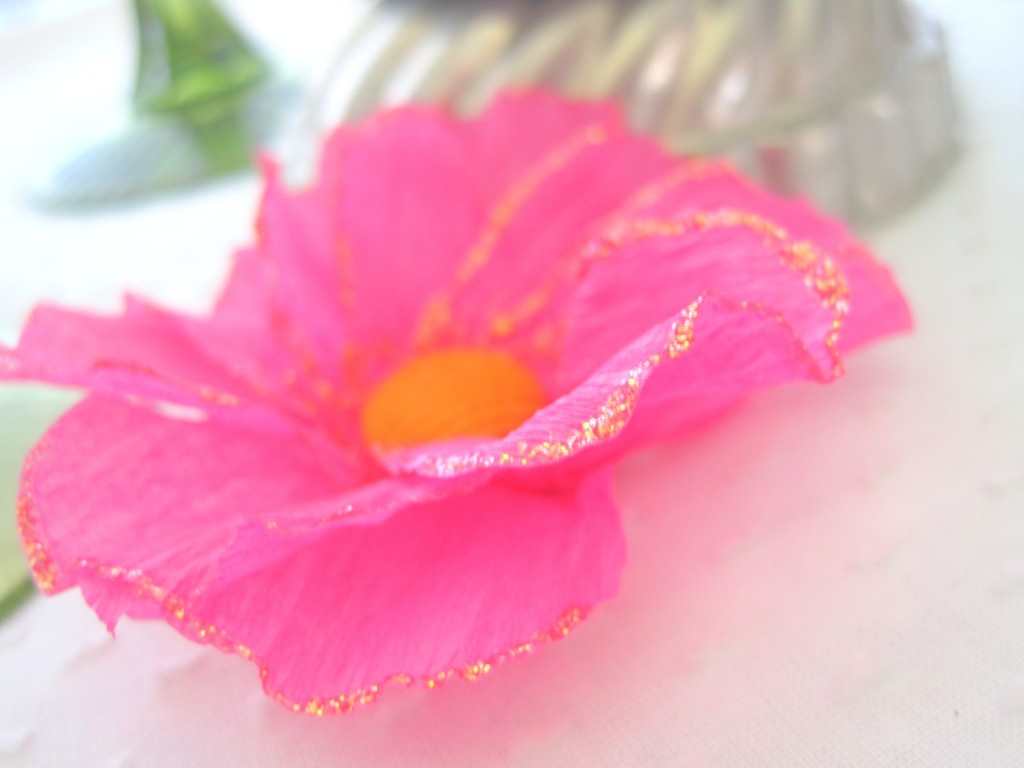
Leave petals plain or fancy them up with a bit of glitter glue like I did here.

Once the glitter dries, the fragile crepe paper flower petals have a gorgeous sparkle and shine.  I hope this inspires you to give it a try!

2

Make a DIY Gift bag rosettes…

dress up that kraft bag with burlap and buttons!

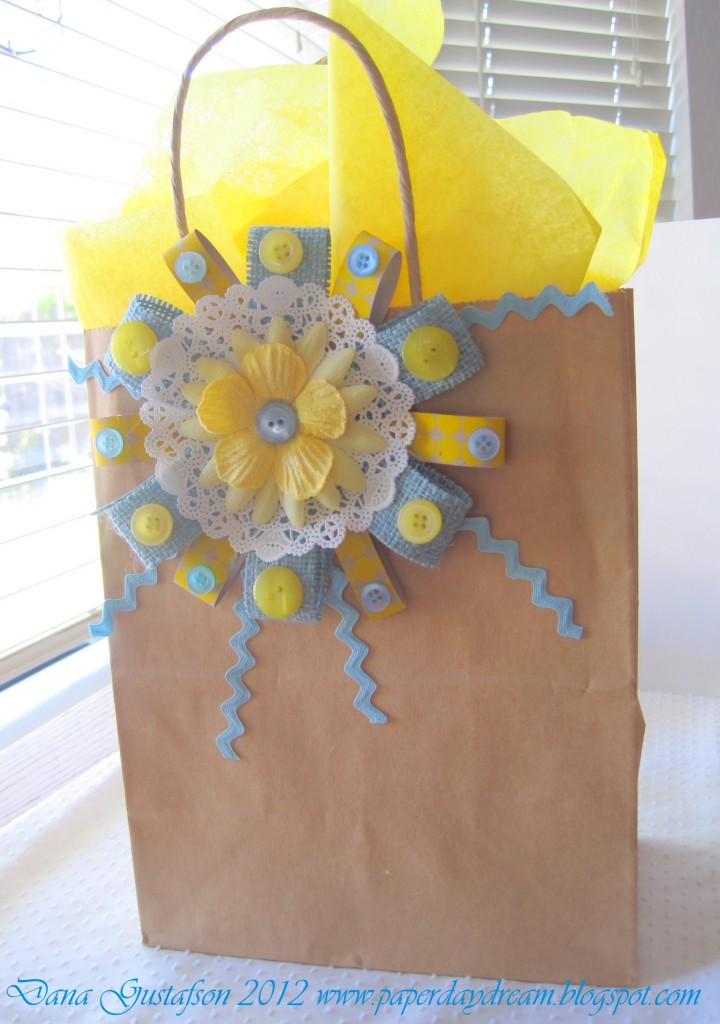
I love the blank canvas of a brown kraft gift bag!  While keeping it simple is a great way to go with the brown bag, going a little fancy and fabulous is pretty fun too!  Follow me as I upcycle a brown gift bag by adding a fun handmade rosette to add a punch of color to this gift wrapping staple!

Nothing like the summer skies to inspire a bright pop of yellow and blue!  Today’s project uses the following supplies:

Let’s get started!

I began with a piece of burlap, approximately 5×10 inches.

Cut burlap with a metal ruler and rotary cutter into 1×5 inch strips.

Loop and glue strips of burlap around a scrap of paper that will serve as the base for our rosette.  Continue gluing and layering paper strip, doily, flowers, ric rac and buttons until you get a fun rosette that can be added to your brown bag like this….

Hello sunshine!  We just went from drab to fab with a very simple addition to this bag!

Thanks so much for joining me!  I hope you’ll try fancy-ing up your gift bags with burlap, buttons and other craft supplies!

2

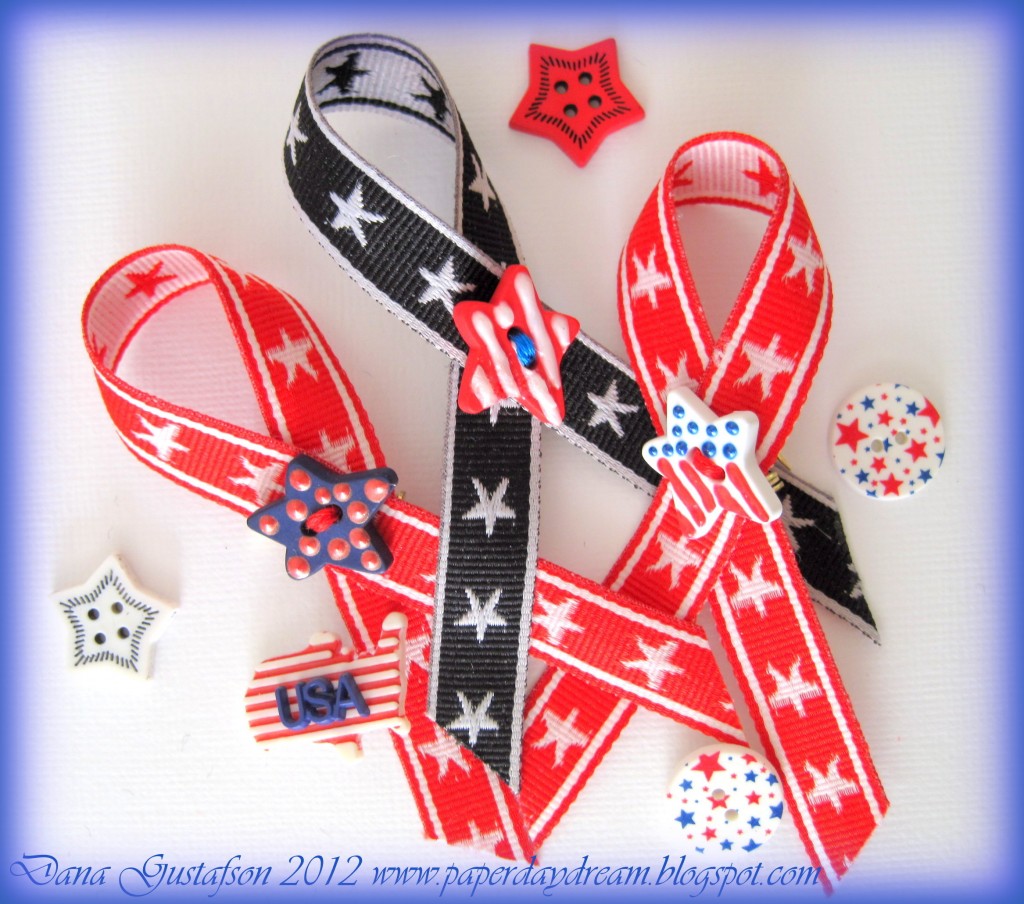
Handmade patriotic pins – Show your pride!

Here in the U.S. we will be celebrating Memorial Day at the end of May.  We also celebrate Independance Day on the 4th of July.  Today I am sharing a simple way to show pride in your country with handmade lapel pins.

Gather a few simple supplies…

Supplies:

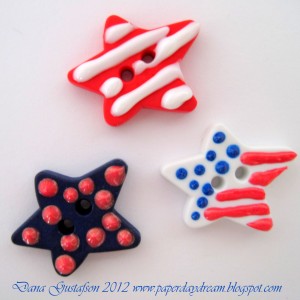
I  chose to decorate the stars in the value pack using dimensional paint from Jacquard.  Free handing dots and stripes is a breeze with the fine tip applicators on the bottles.  Let the dimensional paint dry completely before the lapel pin assembly steps.

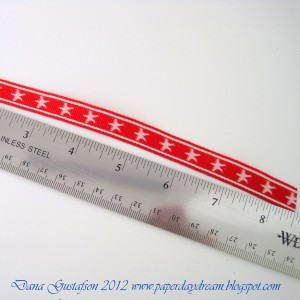
Prep your ribbons by cutting at approximately 8 inches long.

Using a contrasting color of embroidery floss, sew the lapel pin together with the looped ribbon between the pin back and the embellished button.

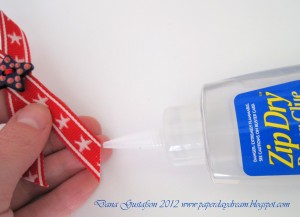
Run a fine detail glue like Zip Dry along the edges of the cut ribbon to prevent fraying.

These are a snap!  Make a few and share them with your friends and family.  Not a lapel pin wearer?  I’ve pinned these on the side of canvas tote or they would look cute on a hat too.  Thanks for stopping by!  Have a great one!
1

Powered by WordPress. Designed by WooThemes