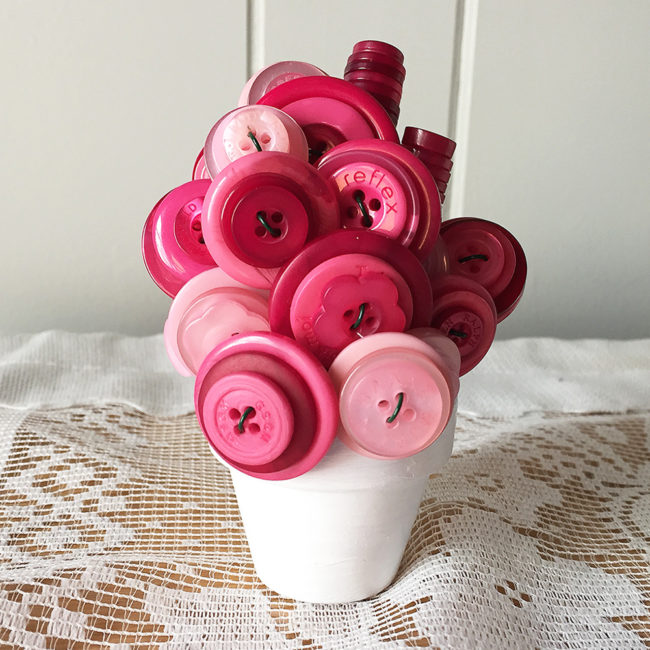
Flowers are pretty, but they are also expensive and don’t last very long. A button bouquet is affordable and simple to make and will add some vintage charm to your home, wedding, or shower – and never needs watering! Continue Reading →

Flowers are pretty, but they are also expensive and don’t last very long. A button bouquet is affordable and simple to make and will add some vintage charm to your home, wedding, or shower – and never needs watering! Continue Reading →
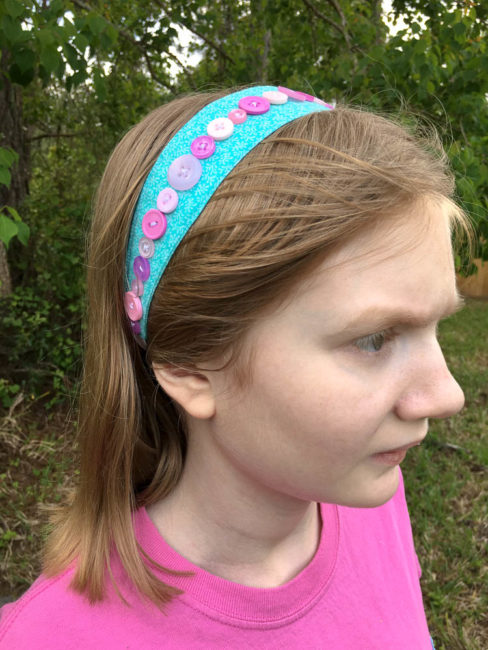
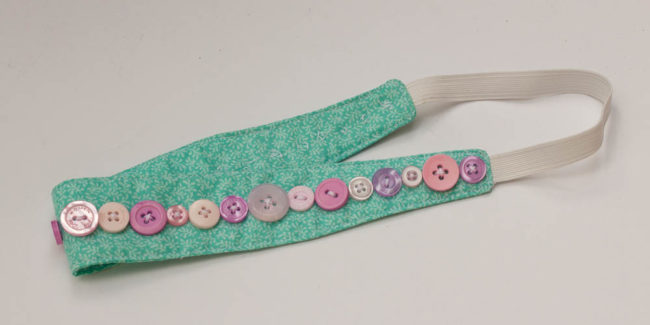
Adding buttons is a beautiful way to add some color and detail to just about any clothing item. On this button headband that I made for my daughter, the buttons create a pretty pink contrast to the turquoise and add some shine and texture.
Supplies Needed:
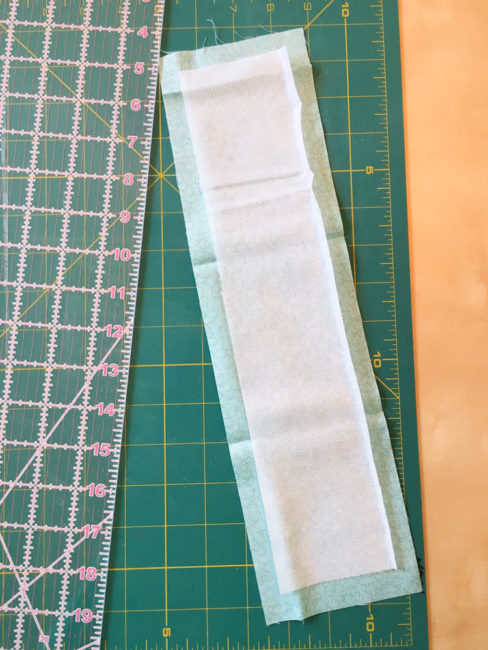
This project is a great way to use up scraps! To begin, I cut a 14.75″ x 4″ piece of quilt fabric. Then I cut a 13.5″ x 3″ piece of the interfacing. I then took them to my ironing board and followed the package directions to fuse the interfacing centered onto the back of the fabric. Before turning my iron off, I folded the piece in half along its length and ironed that fold in place as well.
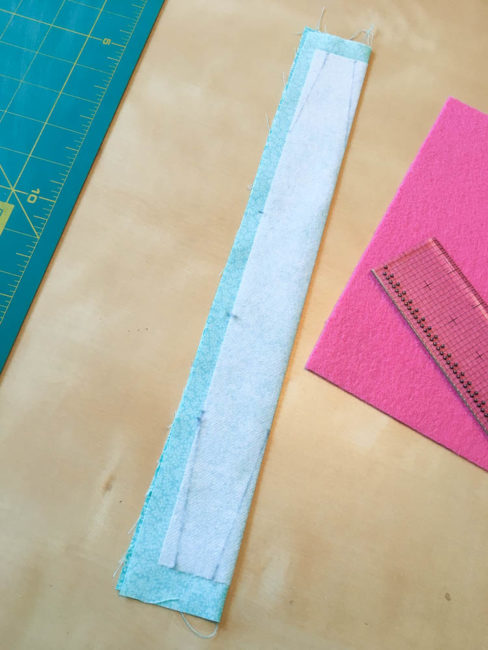
Then I returned to my sewing table and got out my ruler and a fabric marking pencil. I marked dots 3″ from the ends of the interfacing on each side, and marked a .75″ wide measurement centered in the middle of the interfacing’s narrow end. Then I used these markings to draw lines to follow to create the taper on the ends of the headband. I also made some markings to show where my sewing should stop on the long edge that isn’t folded, so that the headband could be turned right side out.
Next I measured around my daughter’s head and figured out how much elastic it would take to make the headband fit her nicely. To figure this out, I took the measurement of her head and subtracted the length of the interfacing (which would be about the finished length of the headband). That gave me the distance that the elastic needed to cover. Then I added about a half inch to that number and cut my elastic to length.
I laid my elastic inside the folded fabric with the ends sticking out between the two lines that I had drawn. I then pinned it into place to hold it securely into position while I sewed.
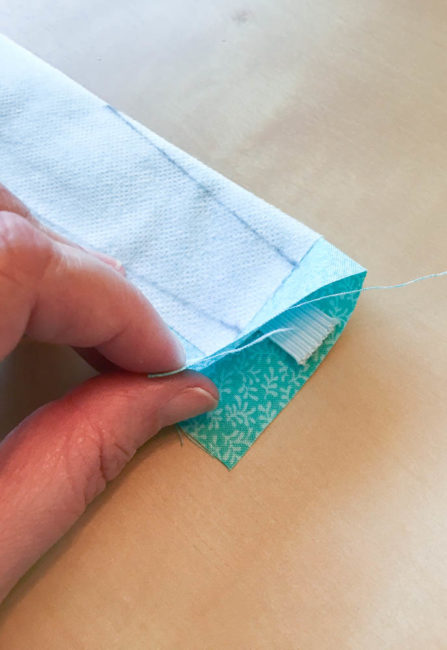
I then sewed on the lines I had drawn and across the end of the headband, reversing across the elastic a few times to make it extra secure.
Then, I pulled the fabric so it was bunched up on one end of the elastic, positioned the other end of the elastic, and pinned it in place to sew.
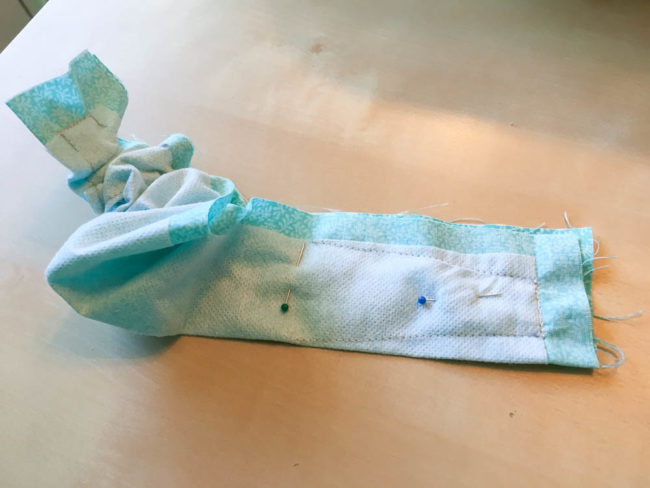
When I was done, I was left with a fabric tube with a hole in the side that was being gathered up by the elastic inside of it.
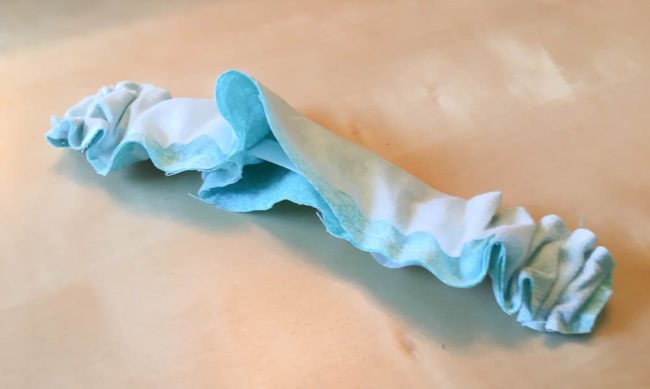
I used the opening I had left to turn the headband right side out, and after a bit of pressing, was able to fold under the raw edges of the opening and pin them together.
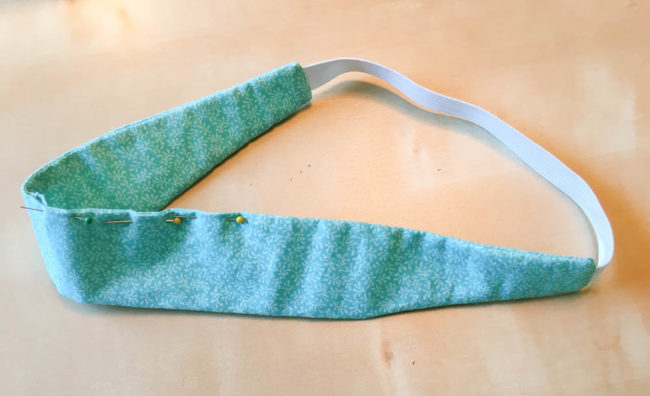
To seal the opening and make the edges of my button headband lie nice and flat, I topstitched around all the way around the edges on my headband. My headband was done…but very plain!
So to fix that, I sat down with a container of the “Strawberry Cheesecake” Color Blend buttons. These shades of pink range from bubblegum to barely there, but all are gorgeous! They are perfect for projects for little girls (and big girls) of any age. I got out a needle and thread, and one and a time sewed a row of buttons along the length of the headband. Yes, by doing this step last the sewing will show on the back side of the headband, but it won’t be visible while being worn. And doing the sewing after the headband is finished makes it easier to ensure the buttons end up exactly in the center, which is a detail that will be seen.
This button headband project is slightly time-consuming but definitely worth the effort! My daughter doesn’t want to take off her beautiful new accessory, and buying a similar one in stores would be much more costly. DIY a button headband for someone special today!
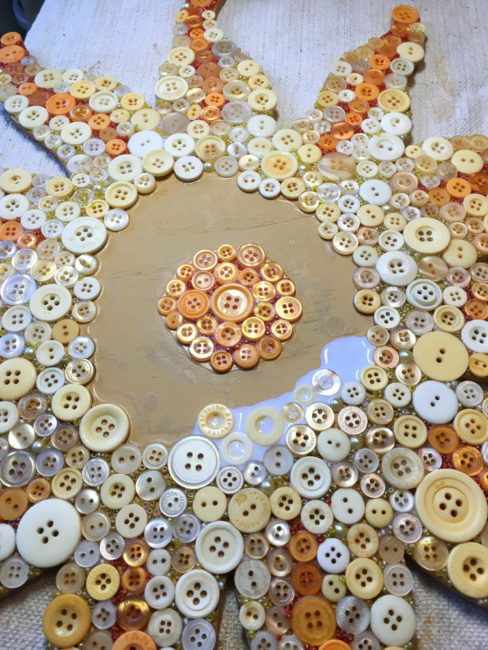
Today we’re sharing another project from our booth at Creativation. This button mosaic sun that I created brought a little bit of my home in the sunshine state to the show floor in rainy Phoenix!
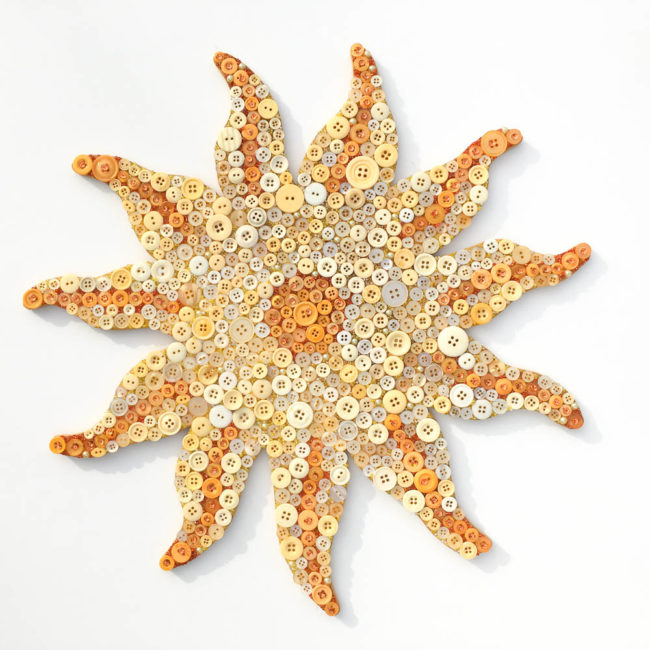
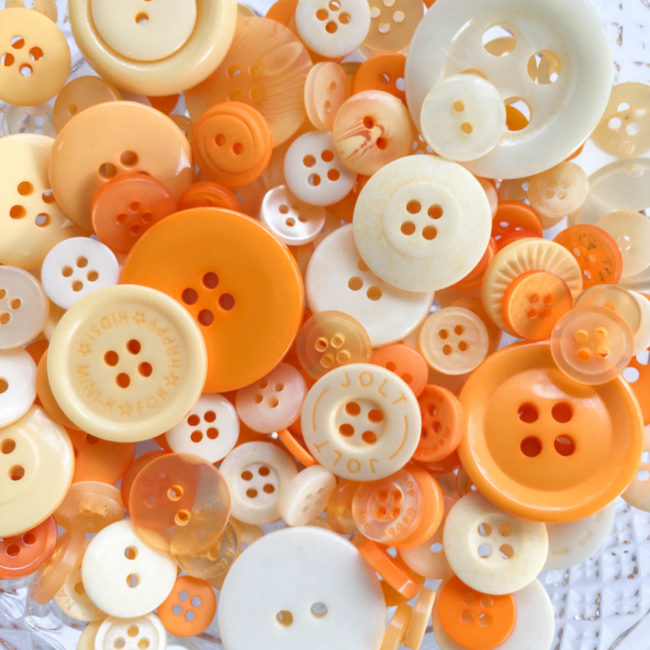
This sun looks yellow, but we call it….mango! It’s made with our “Mango Madness” color blend of buttons. This blend of delightful shades of orange and yellow is perfect for sunshine-y projects of all kinds.
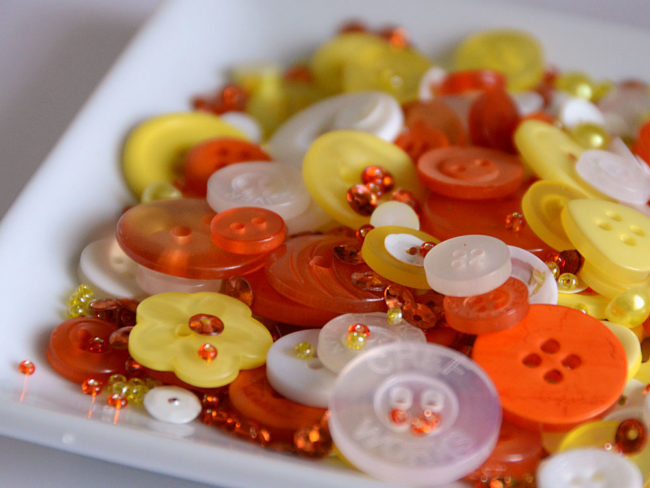
Although they don’t look at first like they are at all the same color palette, I combined the Mango Madness color blend with a 28 Lilac Lane embellishment bottle called “Candy Corn“. I only used seed beads. flat back pearls, and sequins from the Candy Corn bottle. Used in small doses with these tiny items, the colors work well together.
 Button mosaics (or collages) are such a fun way to use buttons, and this one creates a beautiful piece of wall art home decor when you are done!
To get the full tutorial on how to make this piece of sunny wall art (or learn how to adapt this technique to make your own design), visit my website Craft Critique.
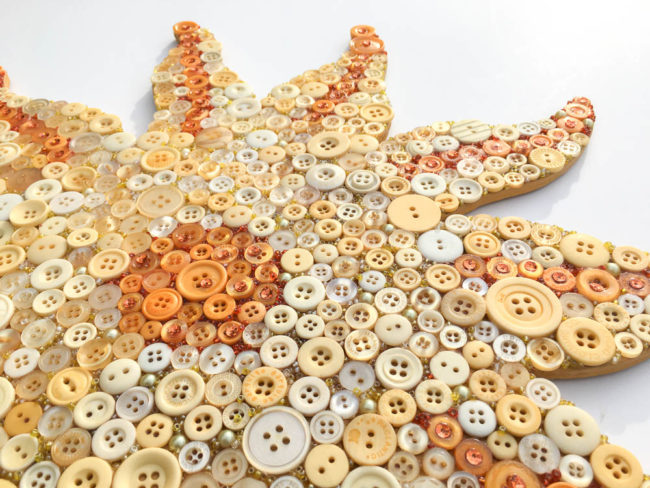
This project can be adapted to a lot of different shapes…how about an apple for teacher? Or a heart or flower for a tween room? The possibilities are endless! What will you make?

Braided T-Shirt Bracelets, we are seeing this unique idea for repurposing old t-shirts everywhere! After having experimented many times making several in different colors and styles, I think this is my best version. The secret? The buttons. I first made a batch of these to wear to my Zumba classes. No matter how sturdy the construction seemed to be, after a few sweat sessions, they kept falling apart. So finally I decided to give it another try but added buttons to the mix this go-round.

First you will need to cut strips of some old t-shirts. I cut mine into a strips measuring approximately 2″ x 10.” I used about five but you can use 2 or 3 more or less depending on how large you want the end result to be.
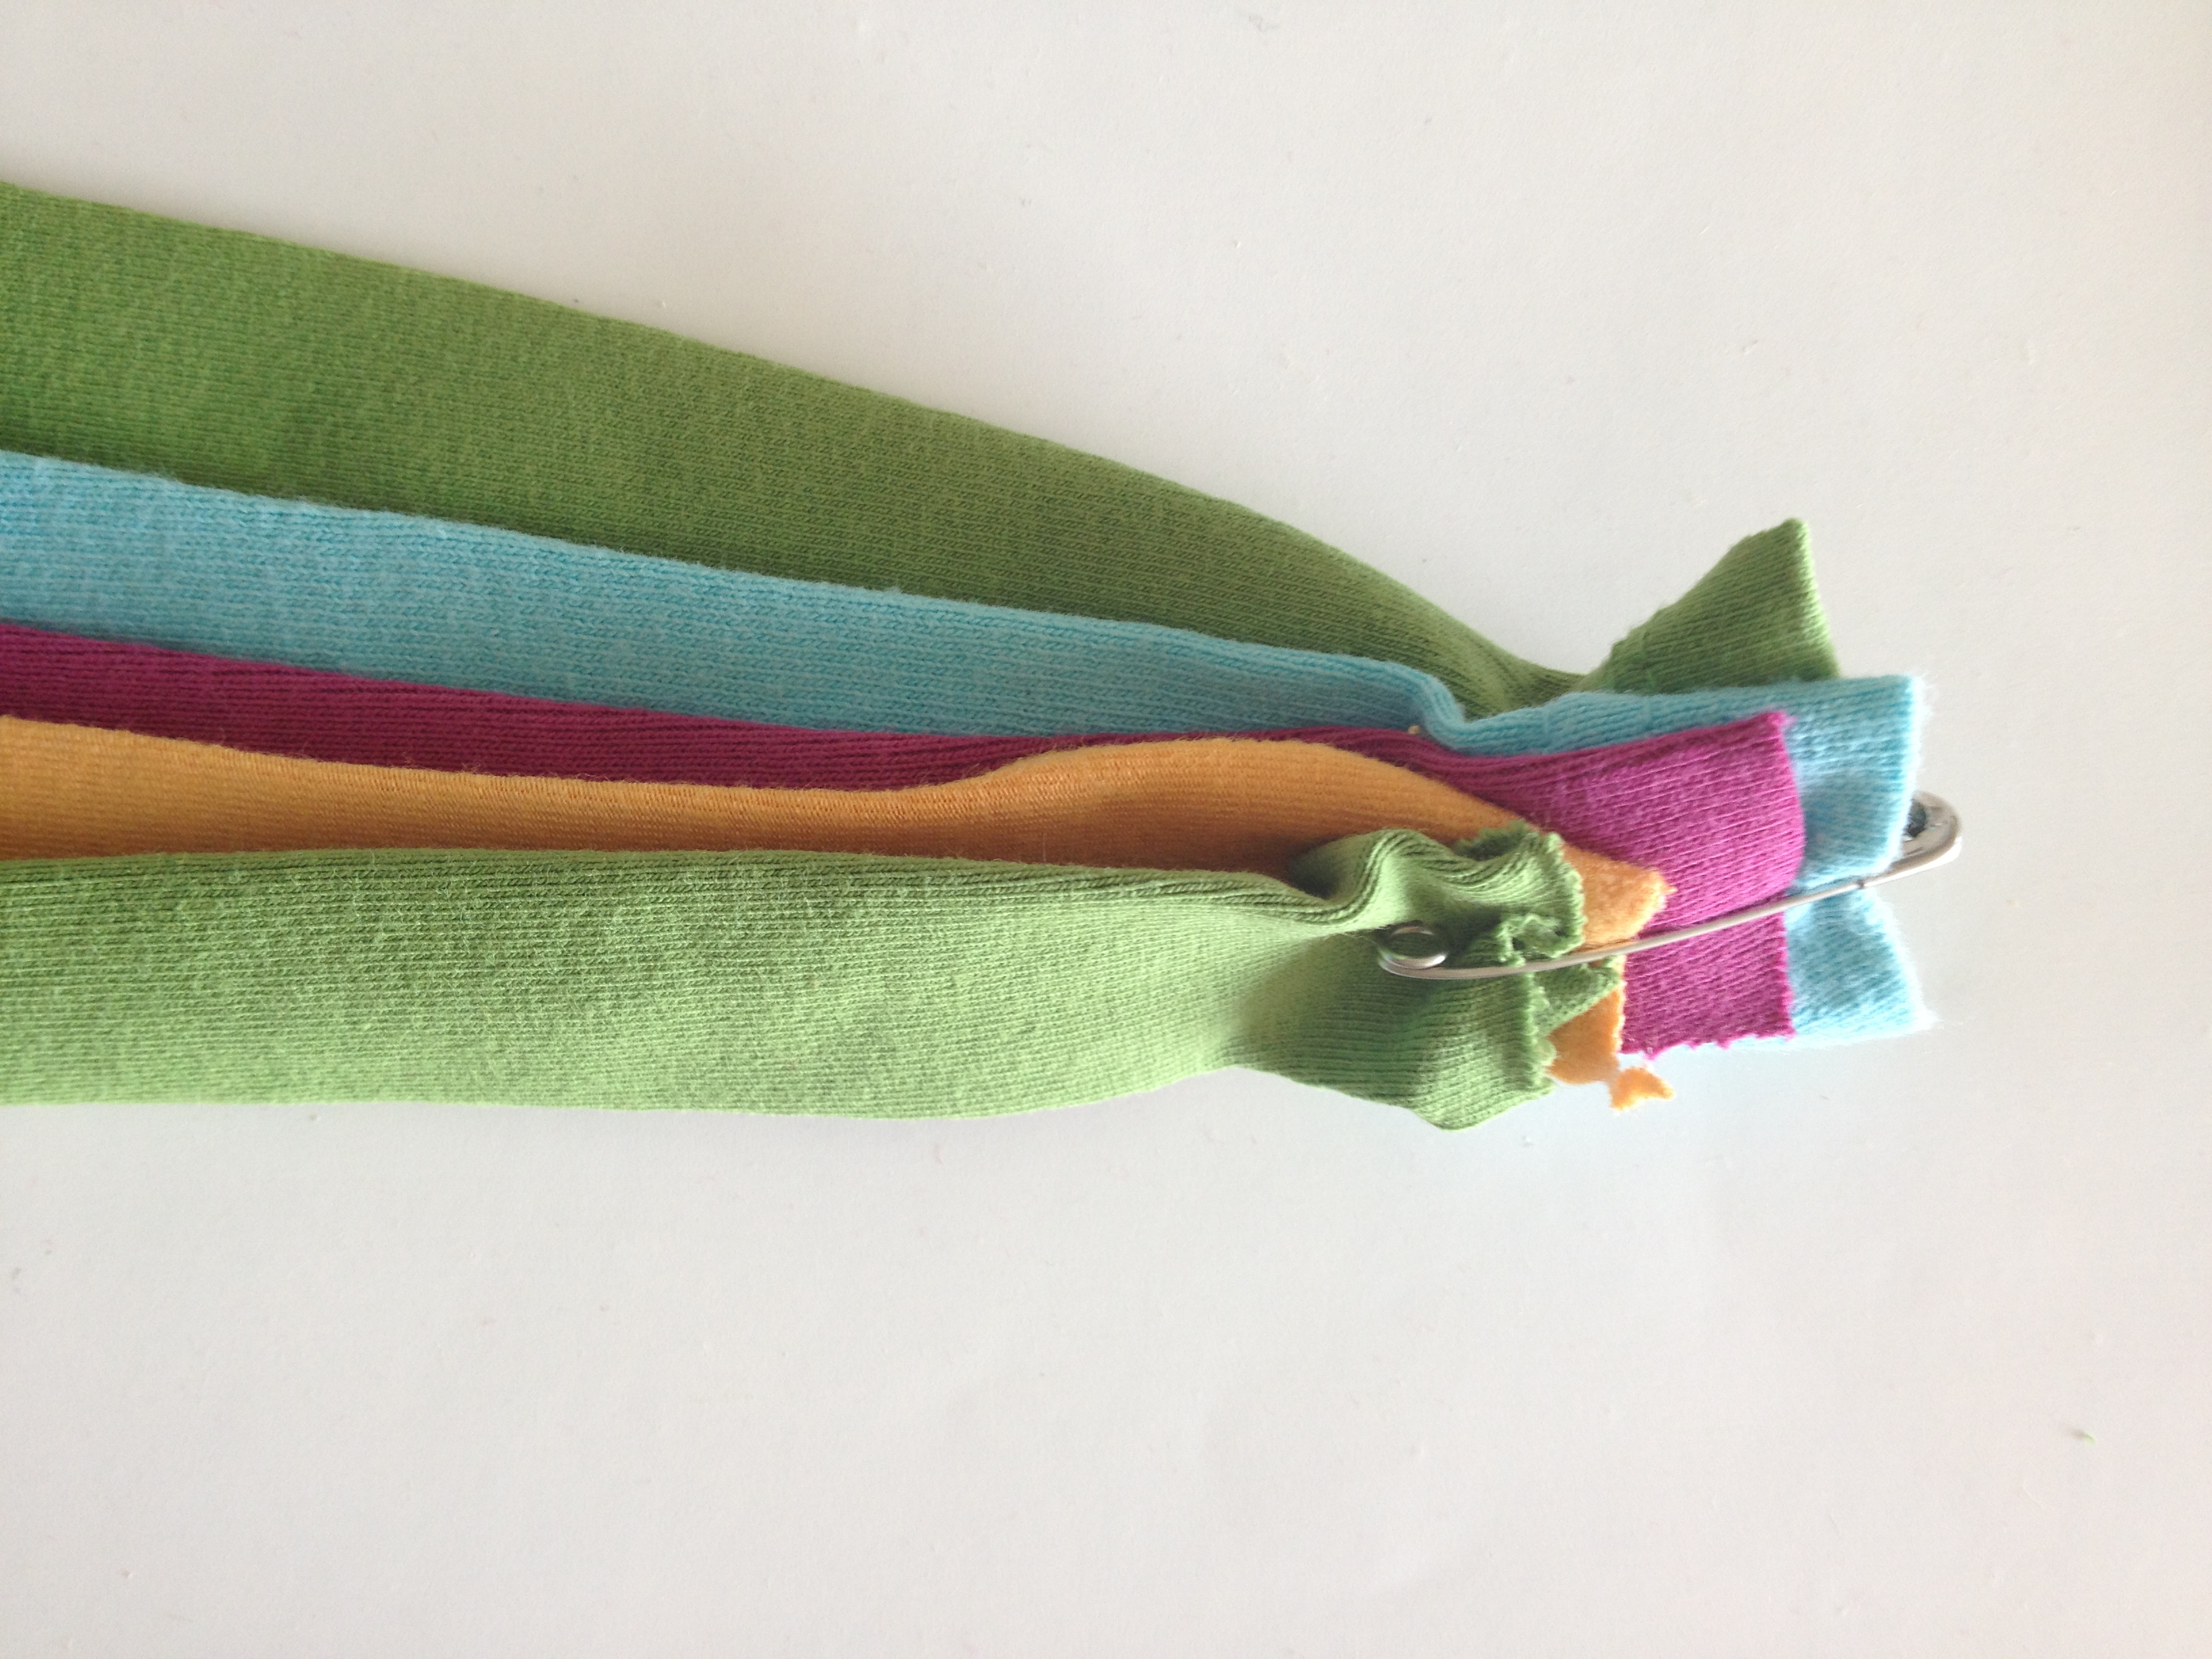 To keep your strips in place while braiding them, secure the ends with a safety pin.
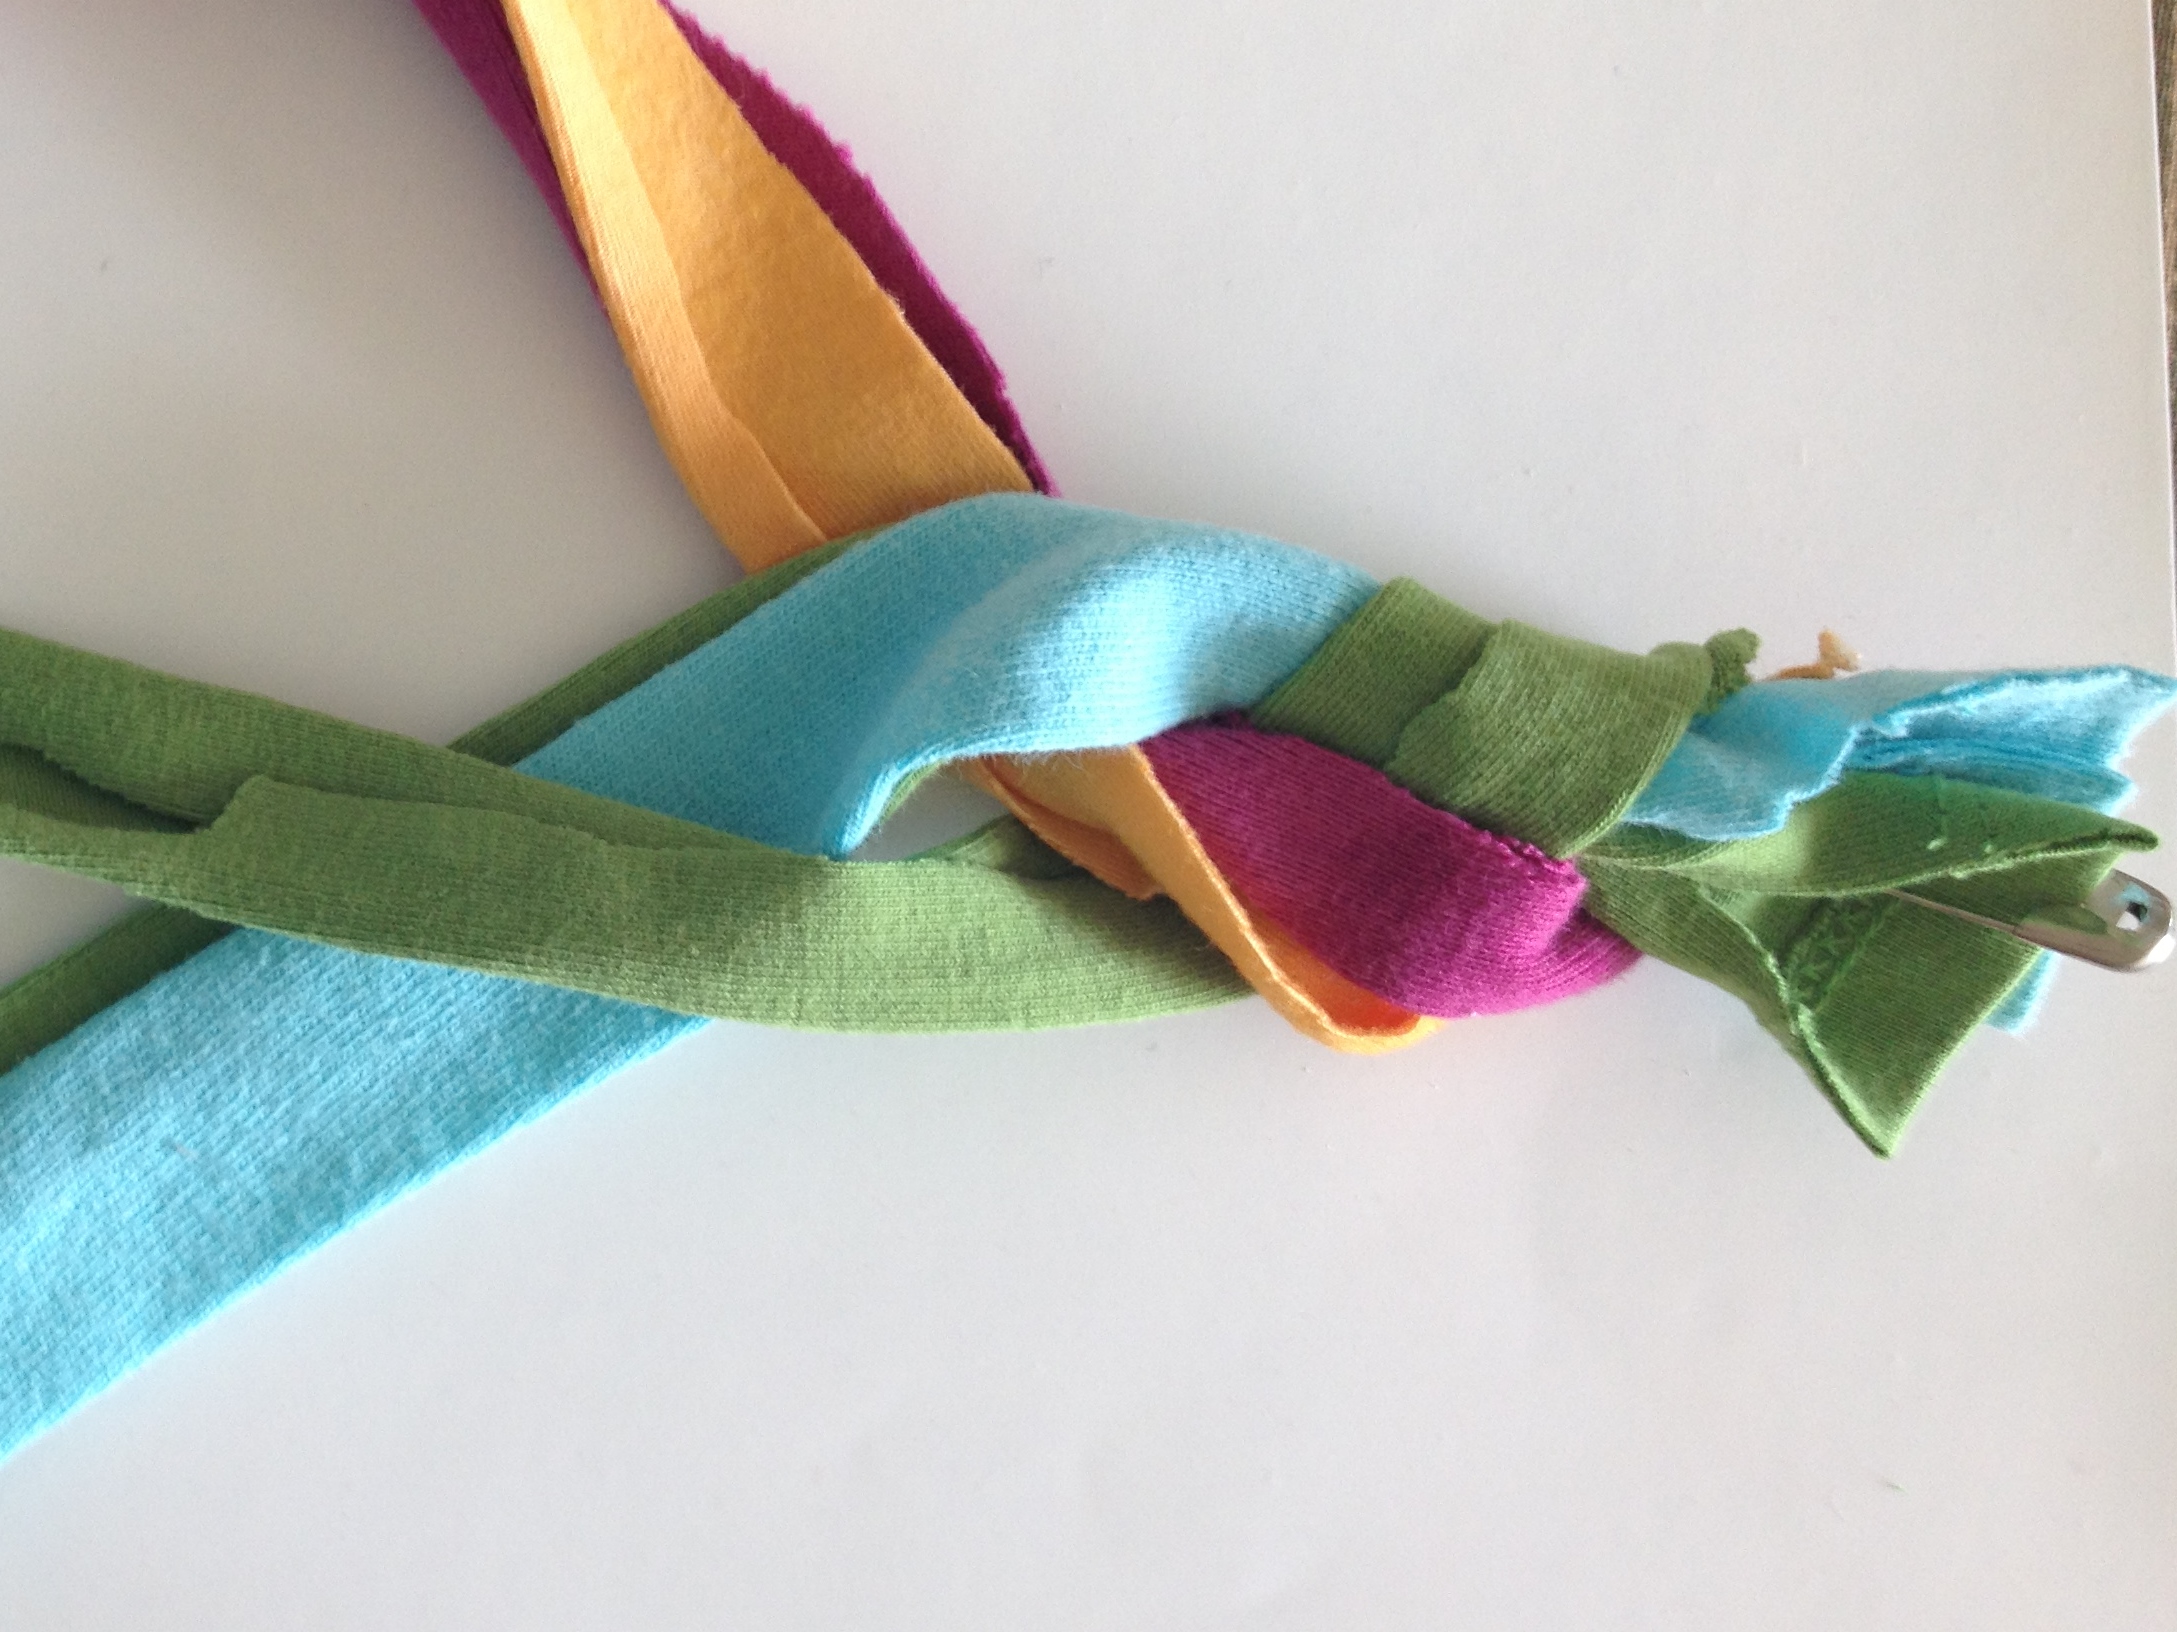 Start to braid the strips working in bundles of two or three strips at a time.
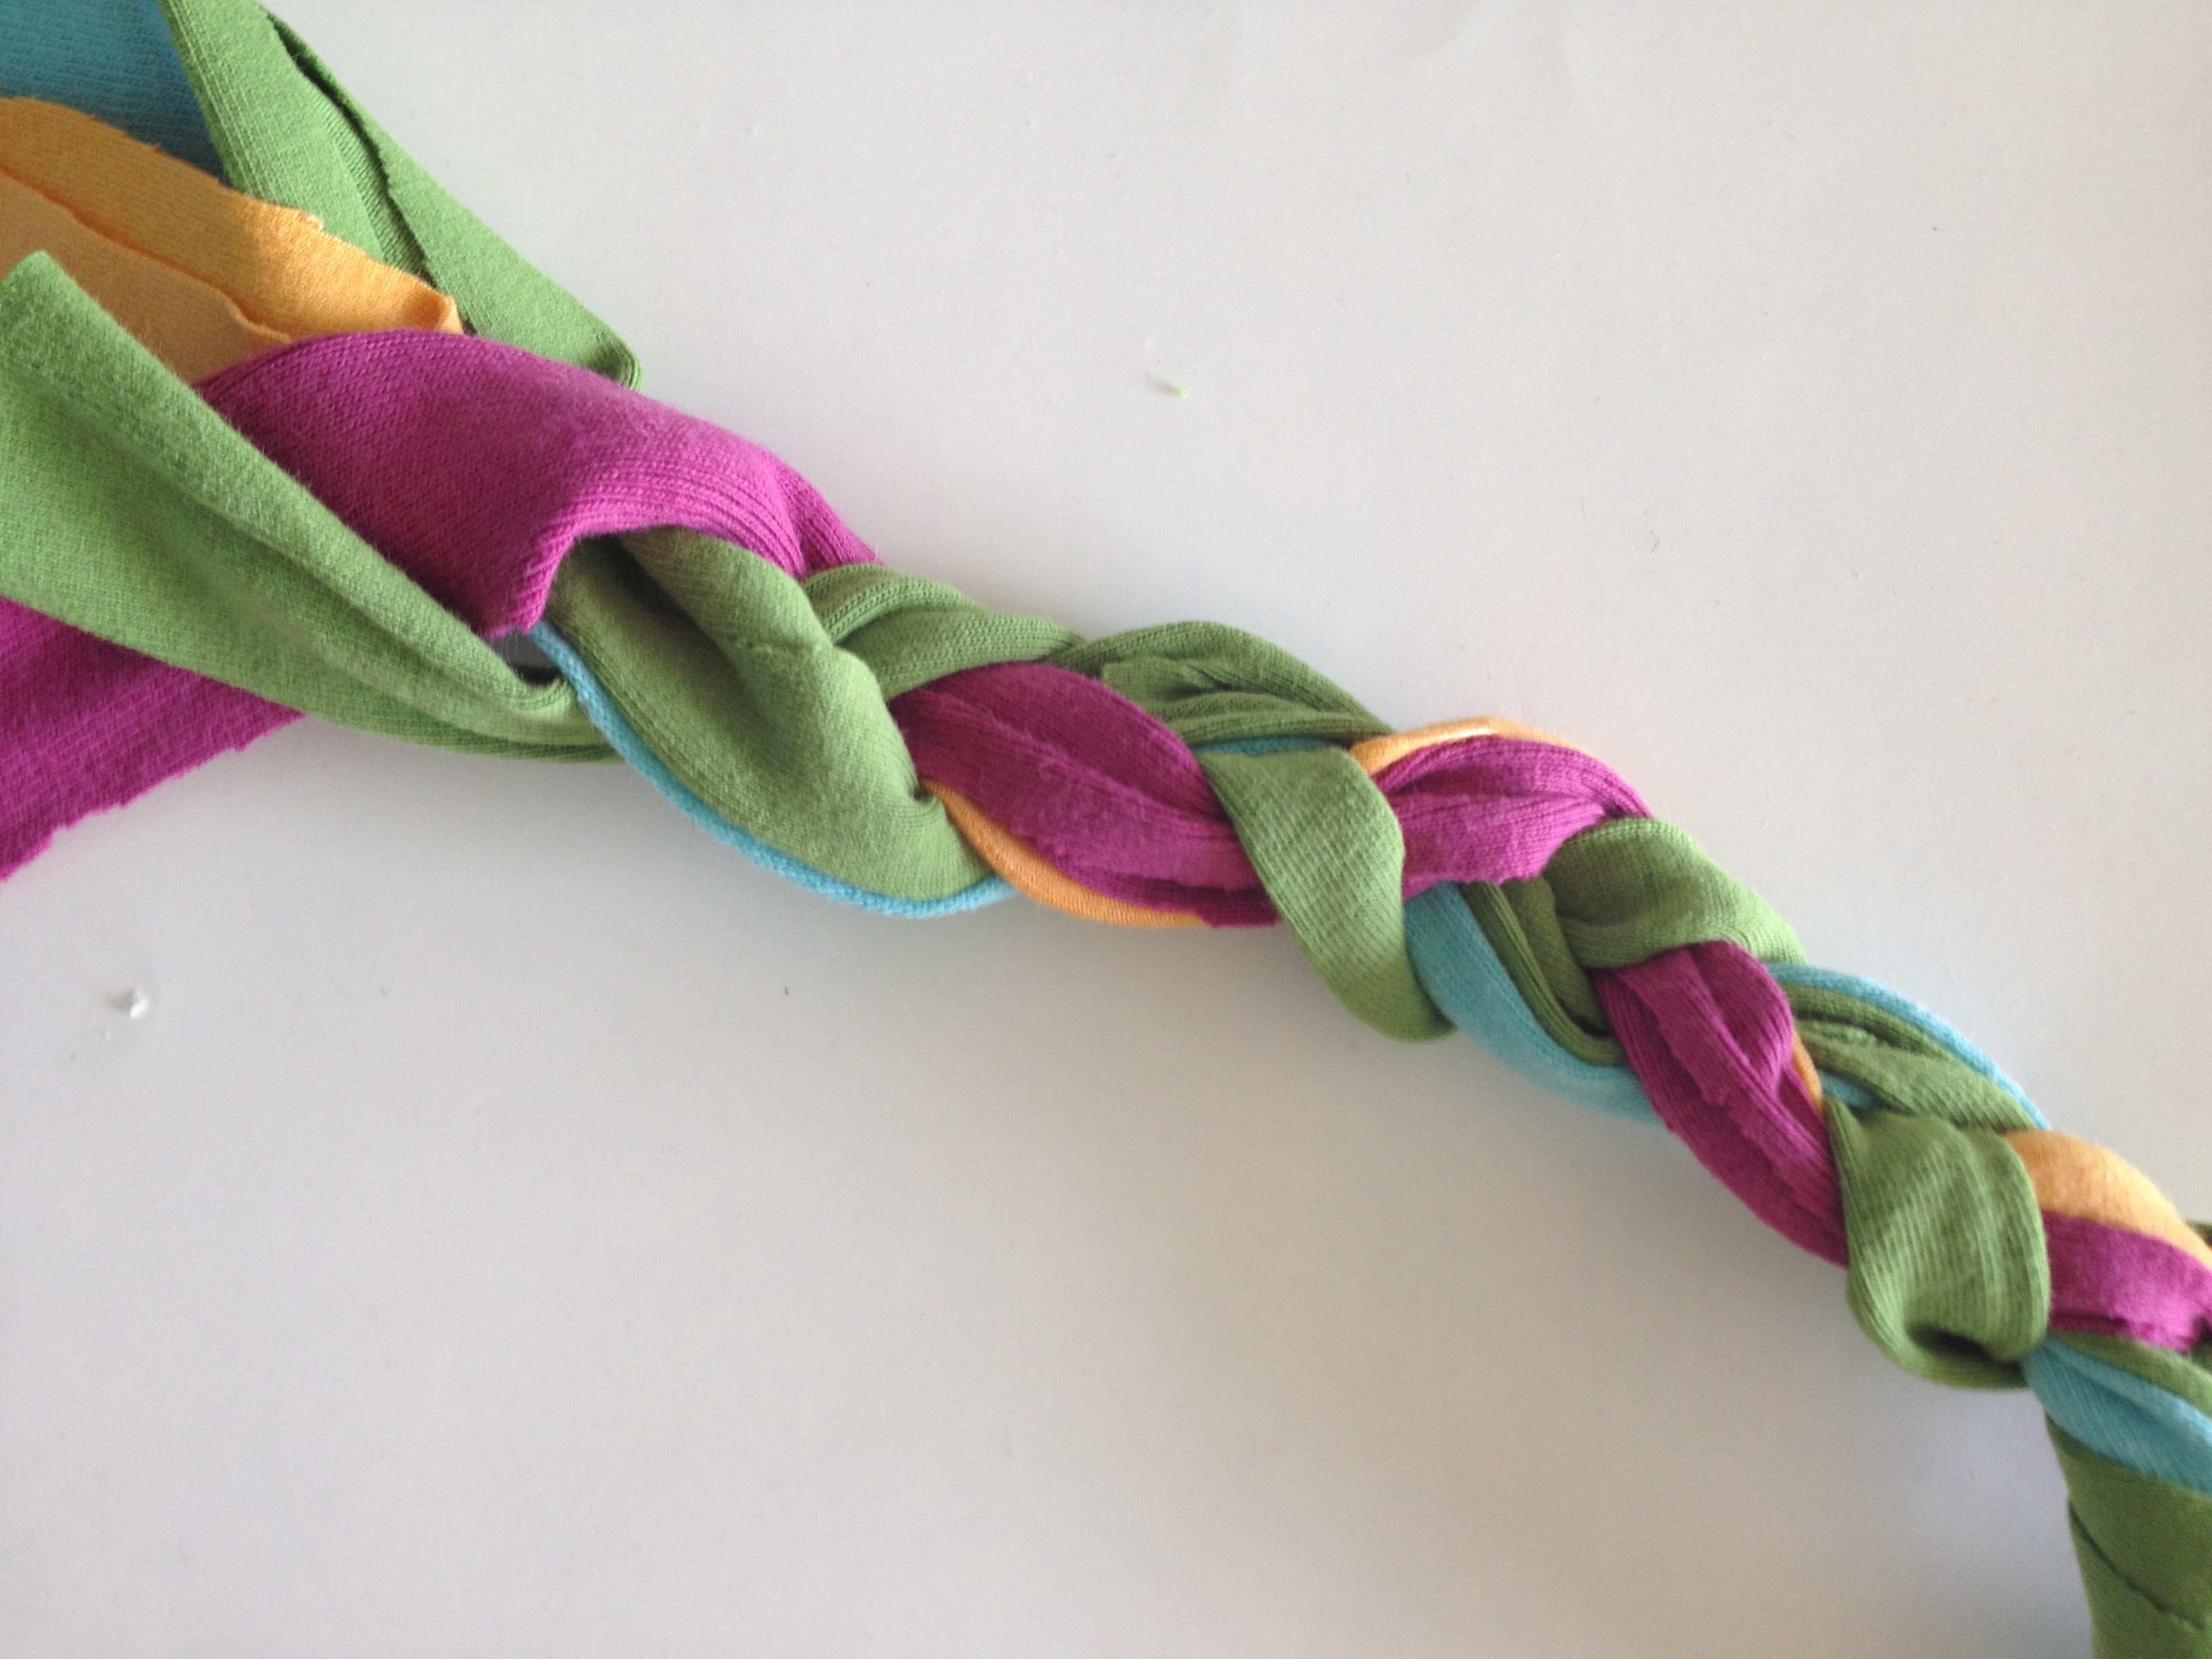 Continue to braid to the end, tightening the braid as you go along.
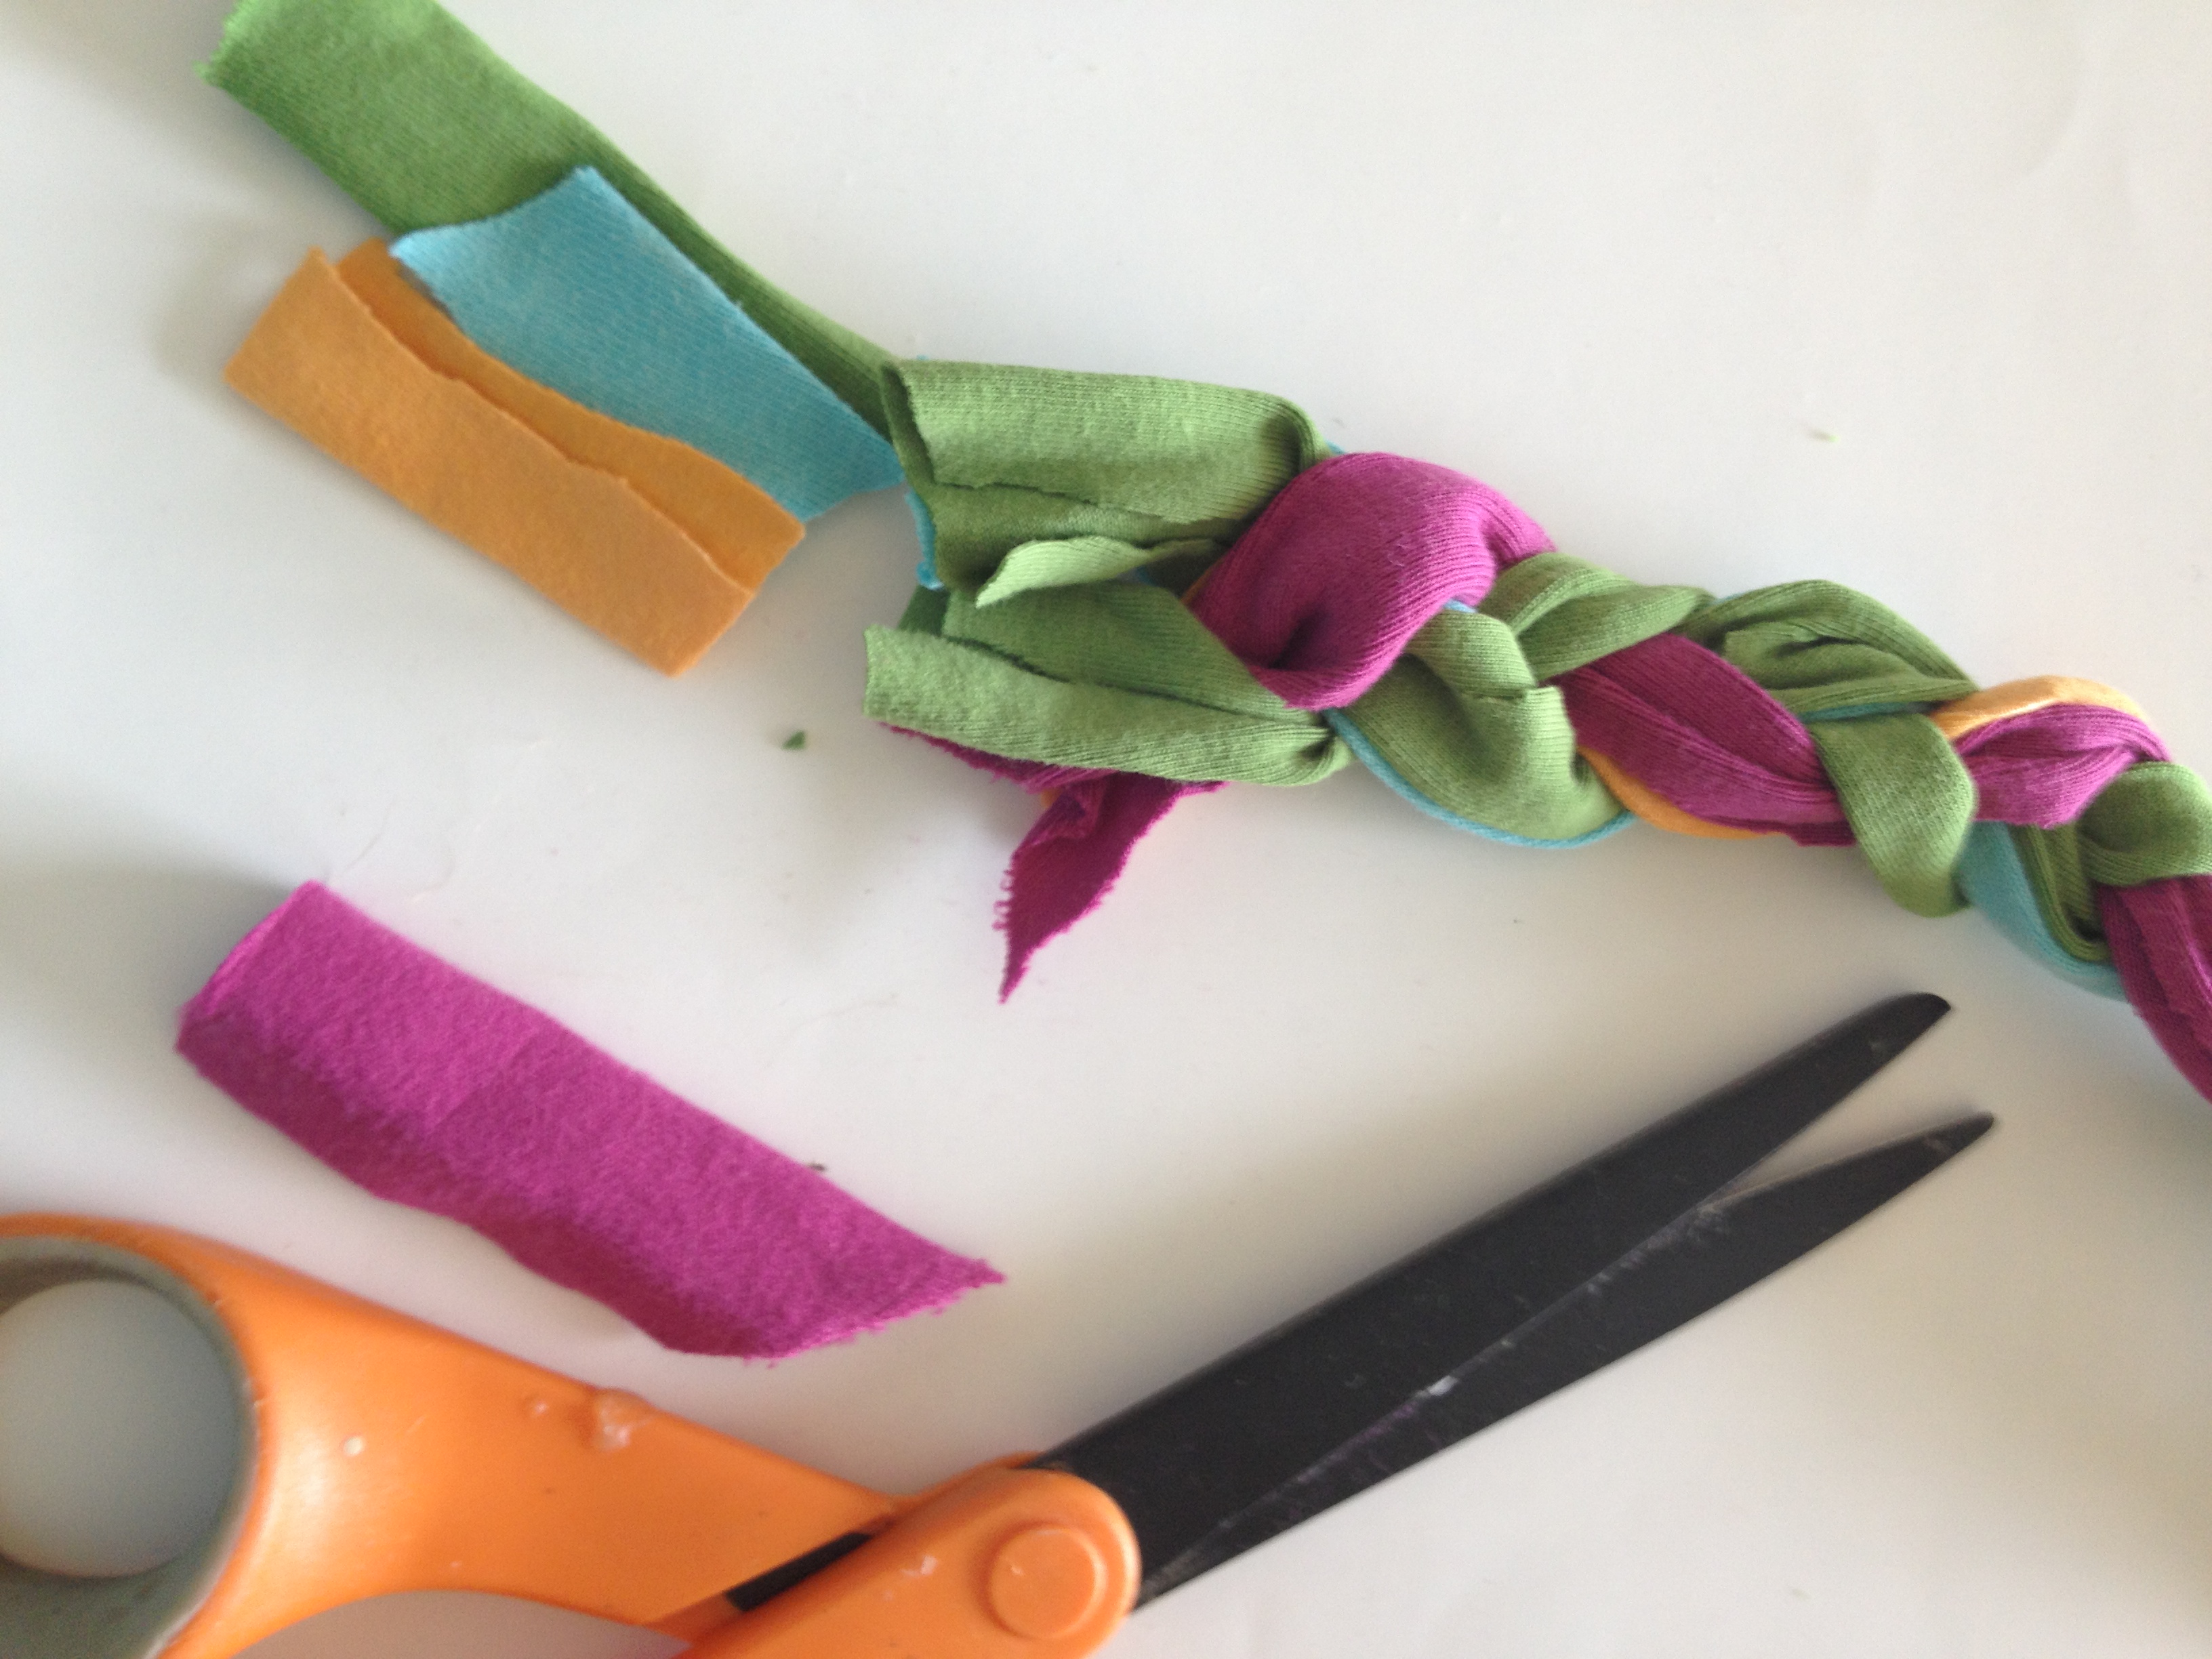
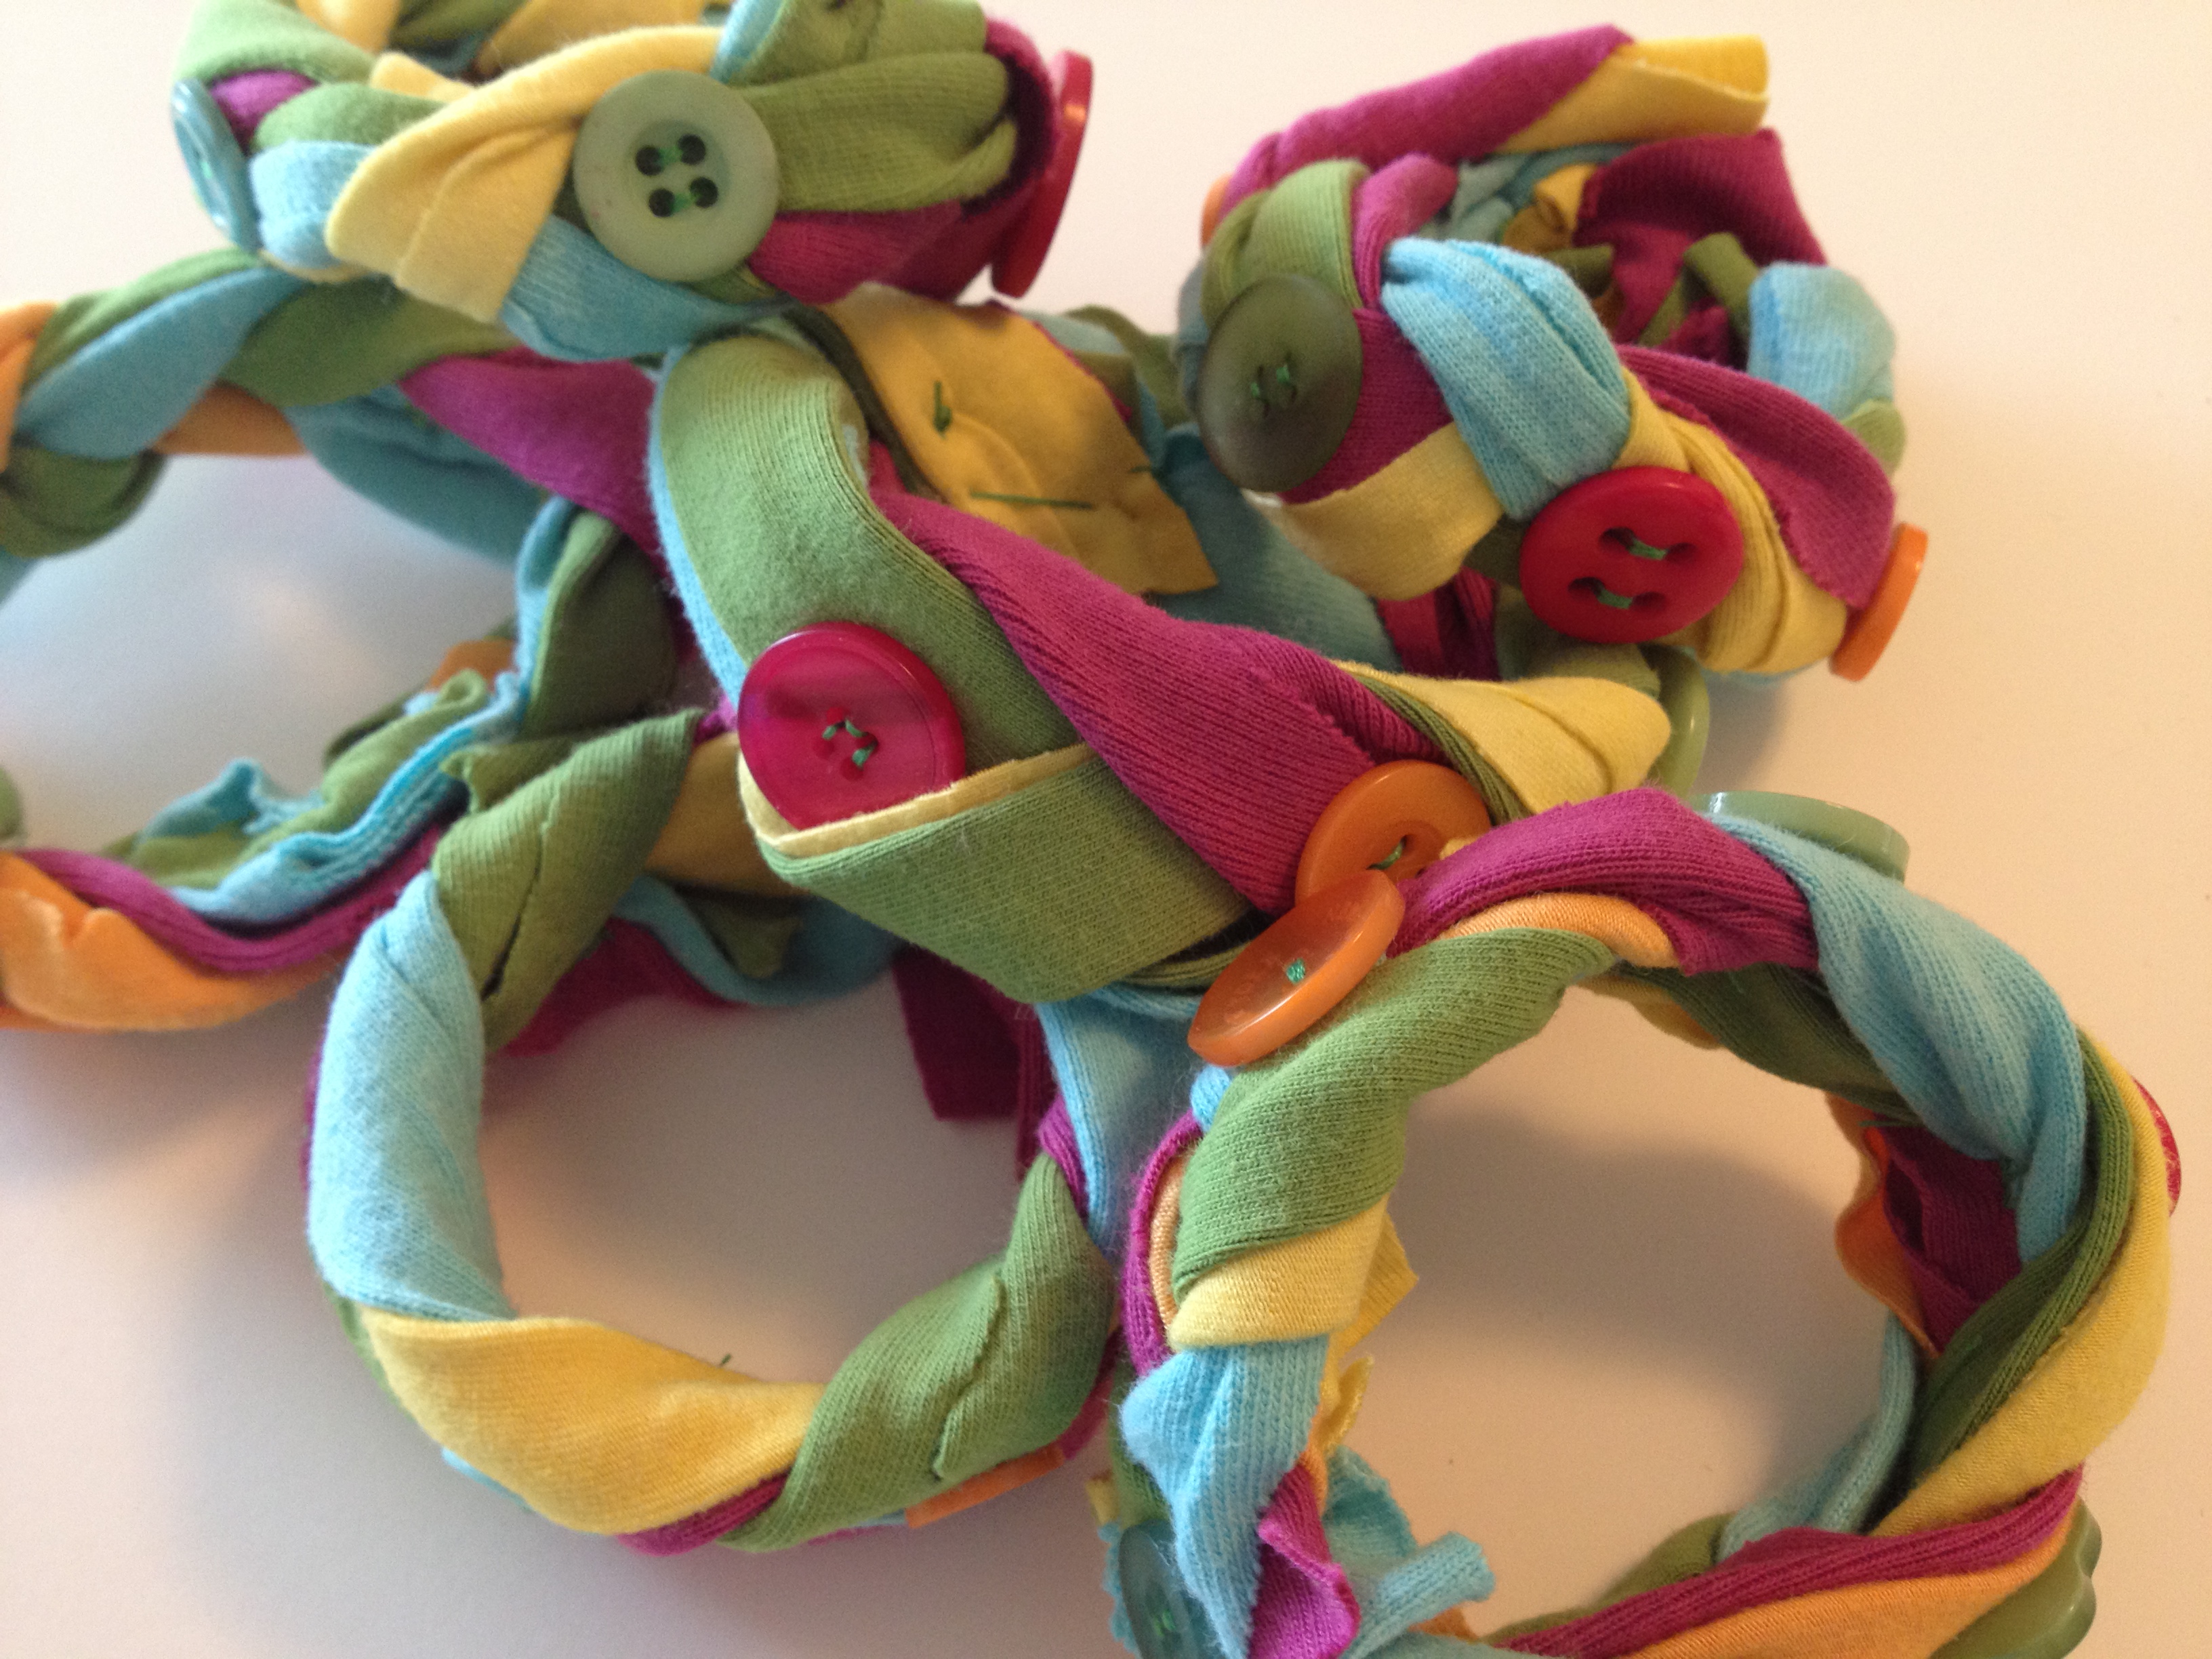
Decide how big your bracelet needs to be to fit your wrist and cut off the excess end if needed.
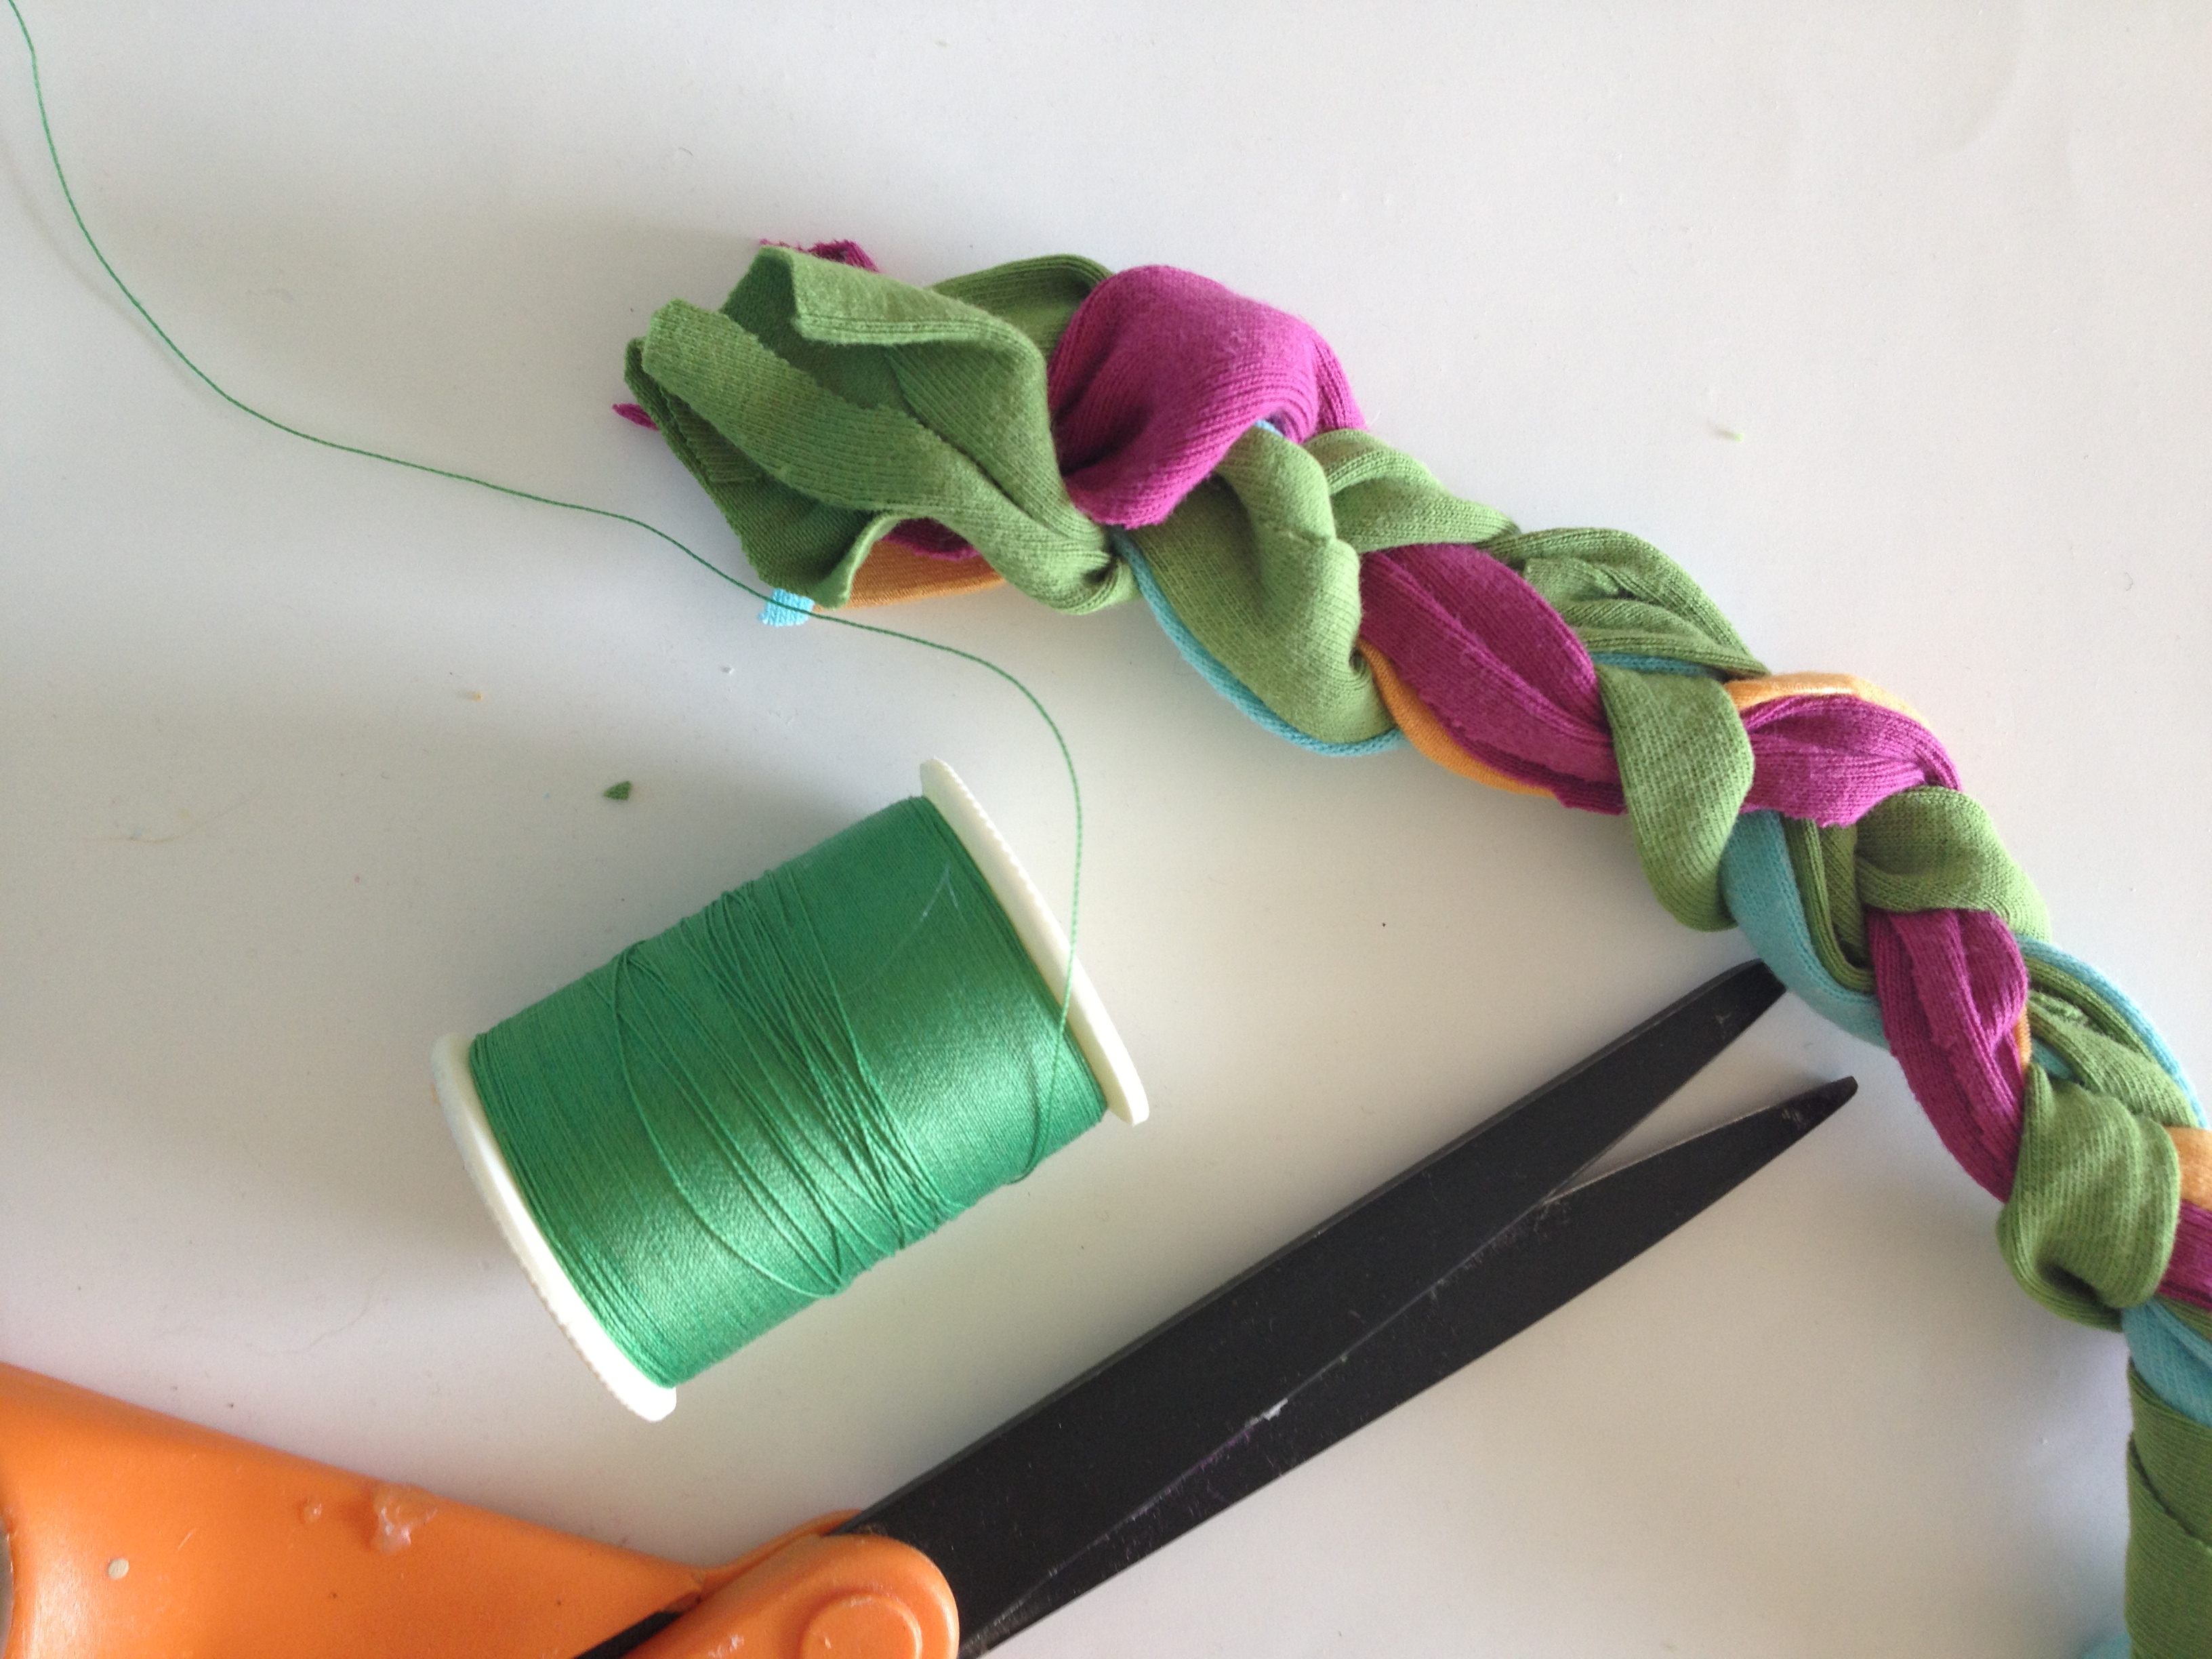 Secure the end of the bracelet with a hand sewing needle and thread.
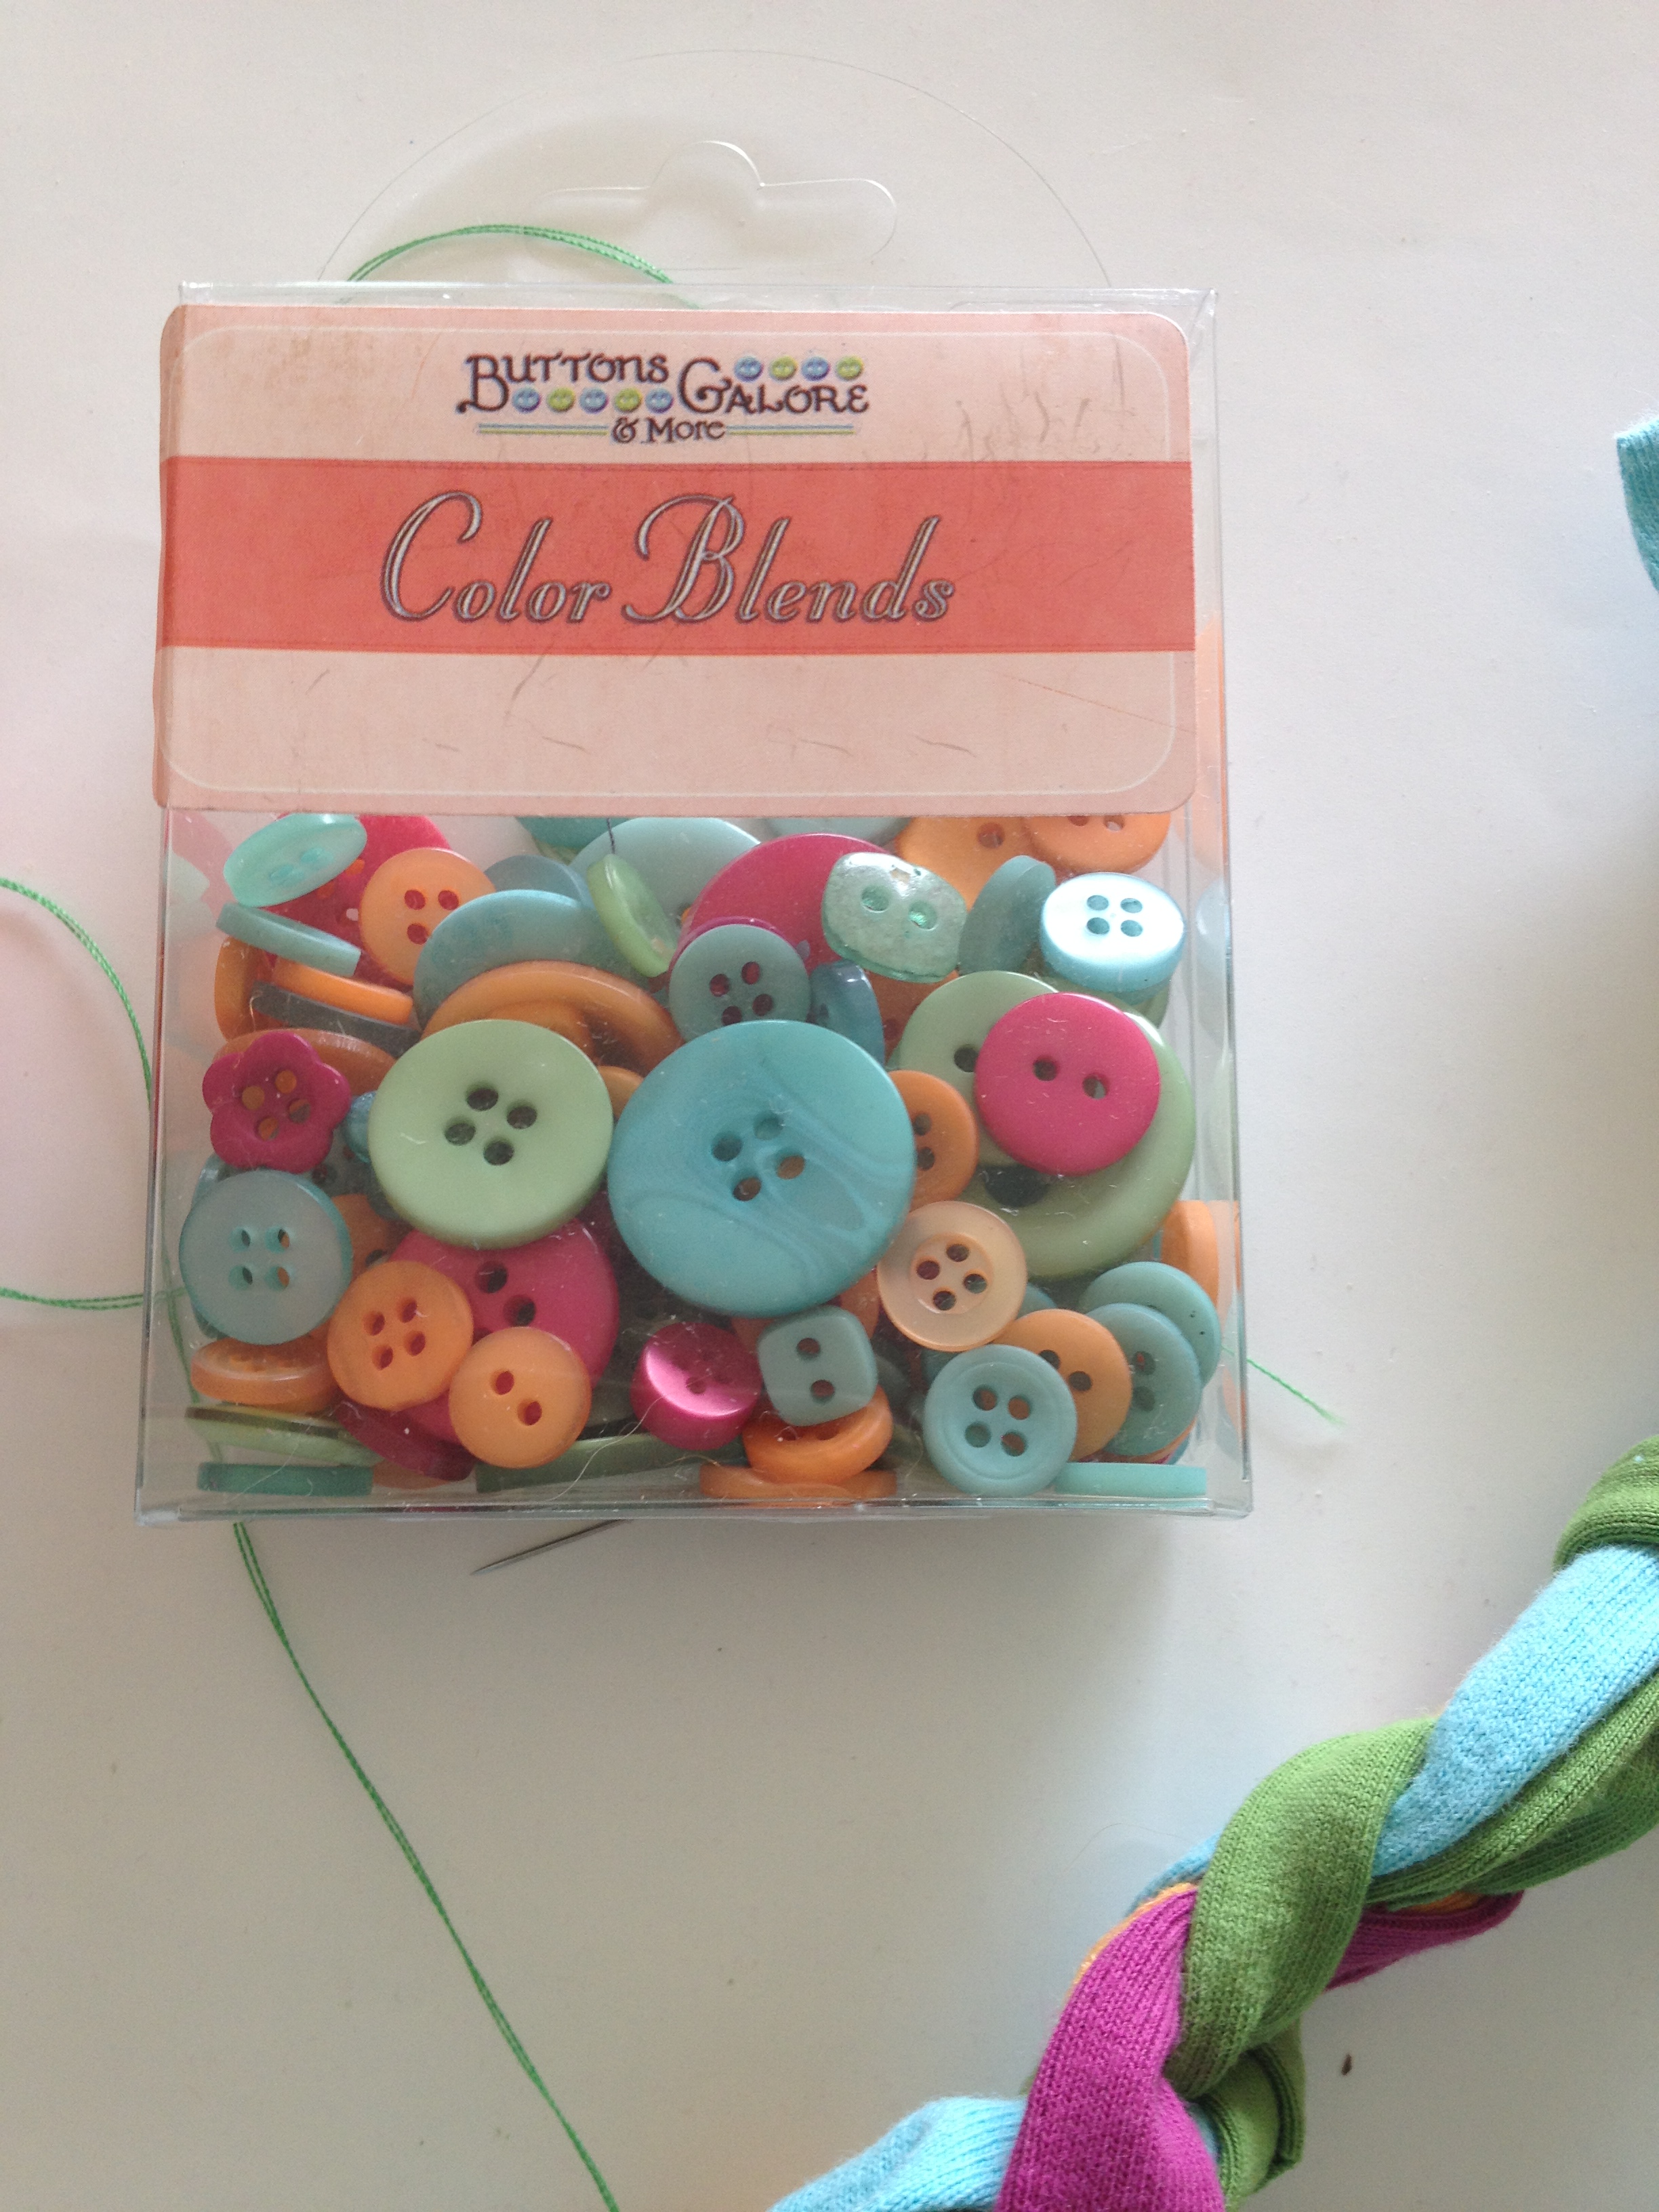
To secure the braided bracelet, I chose these Color Blend Buttons by Buttons Galore and More.
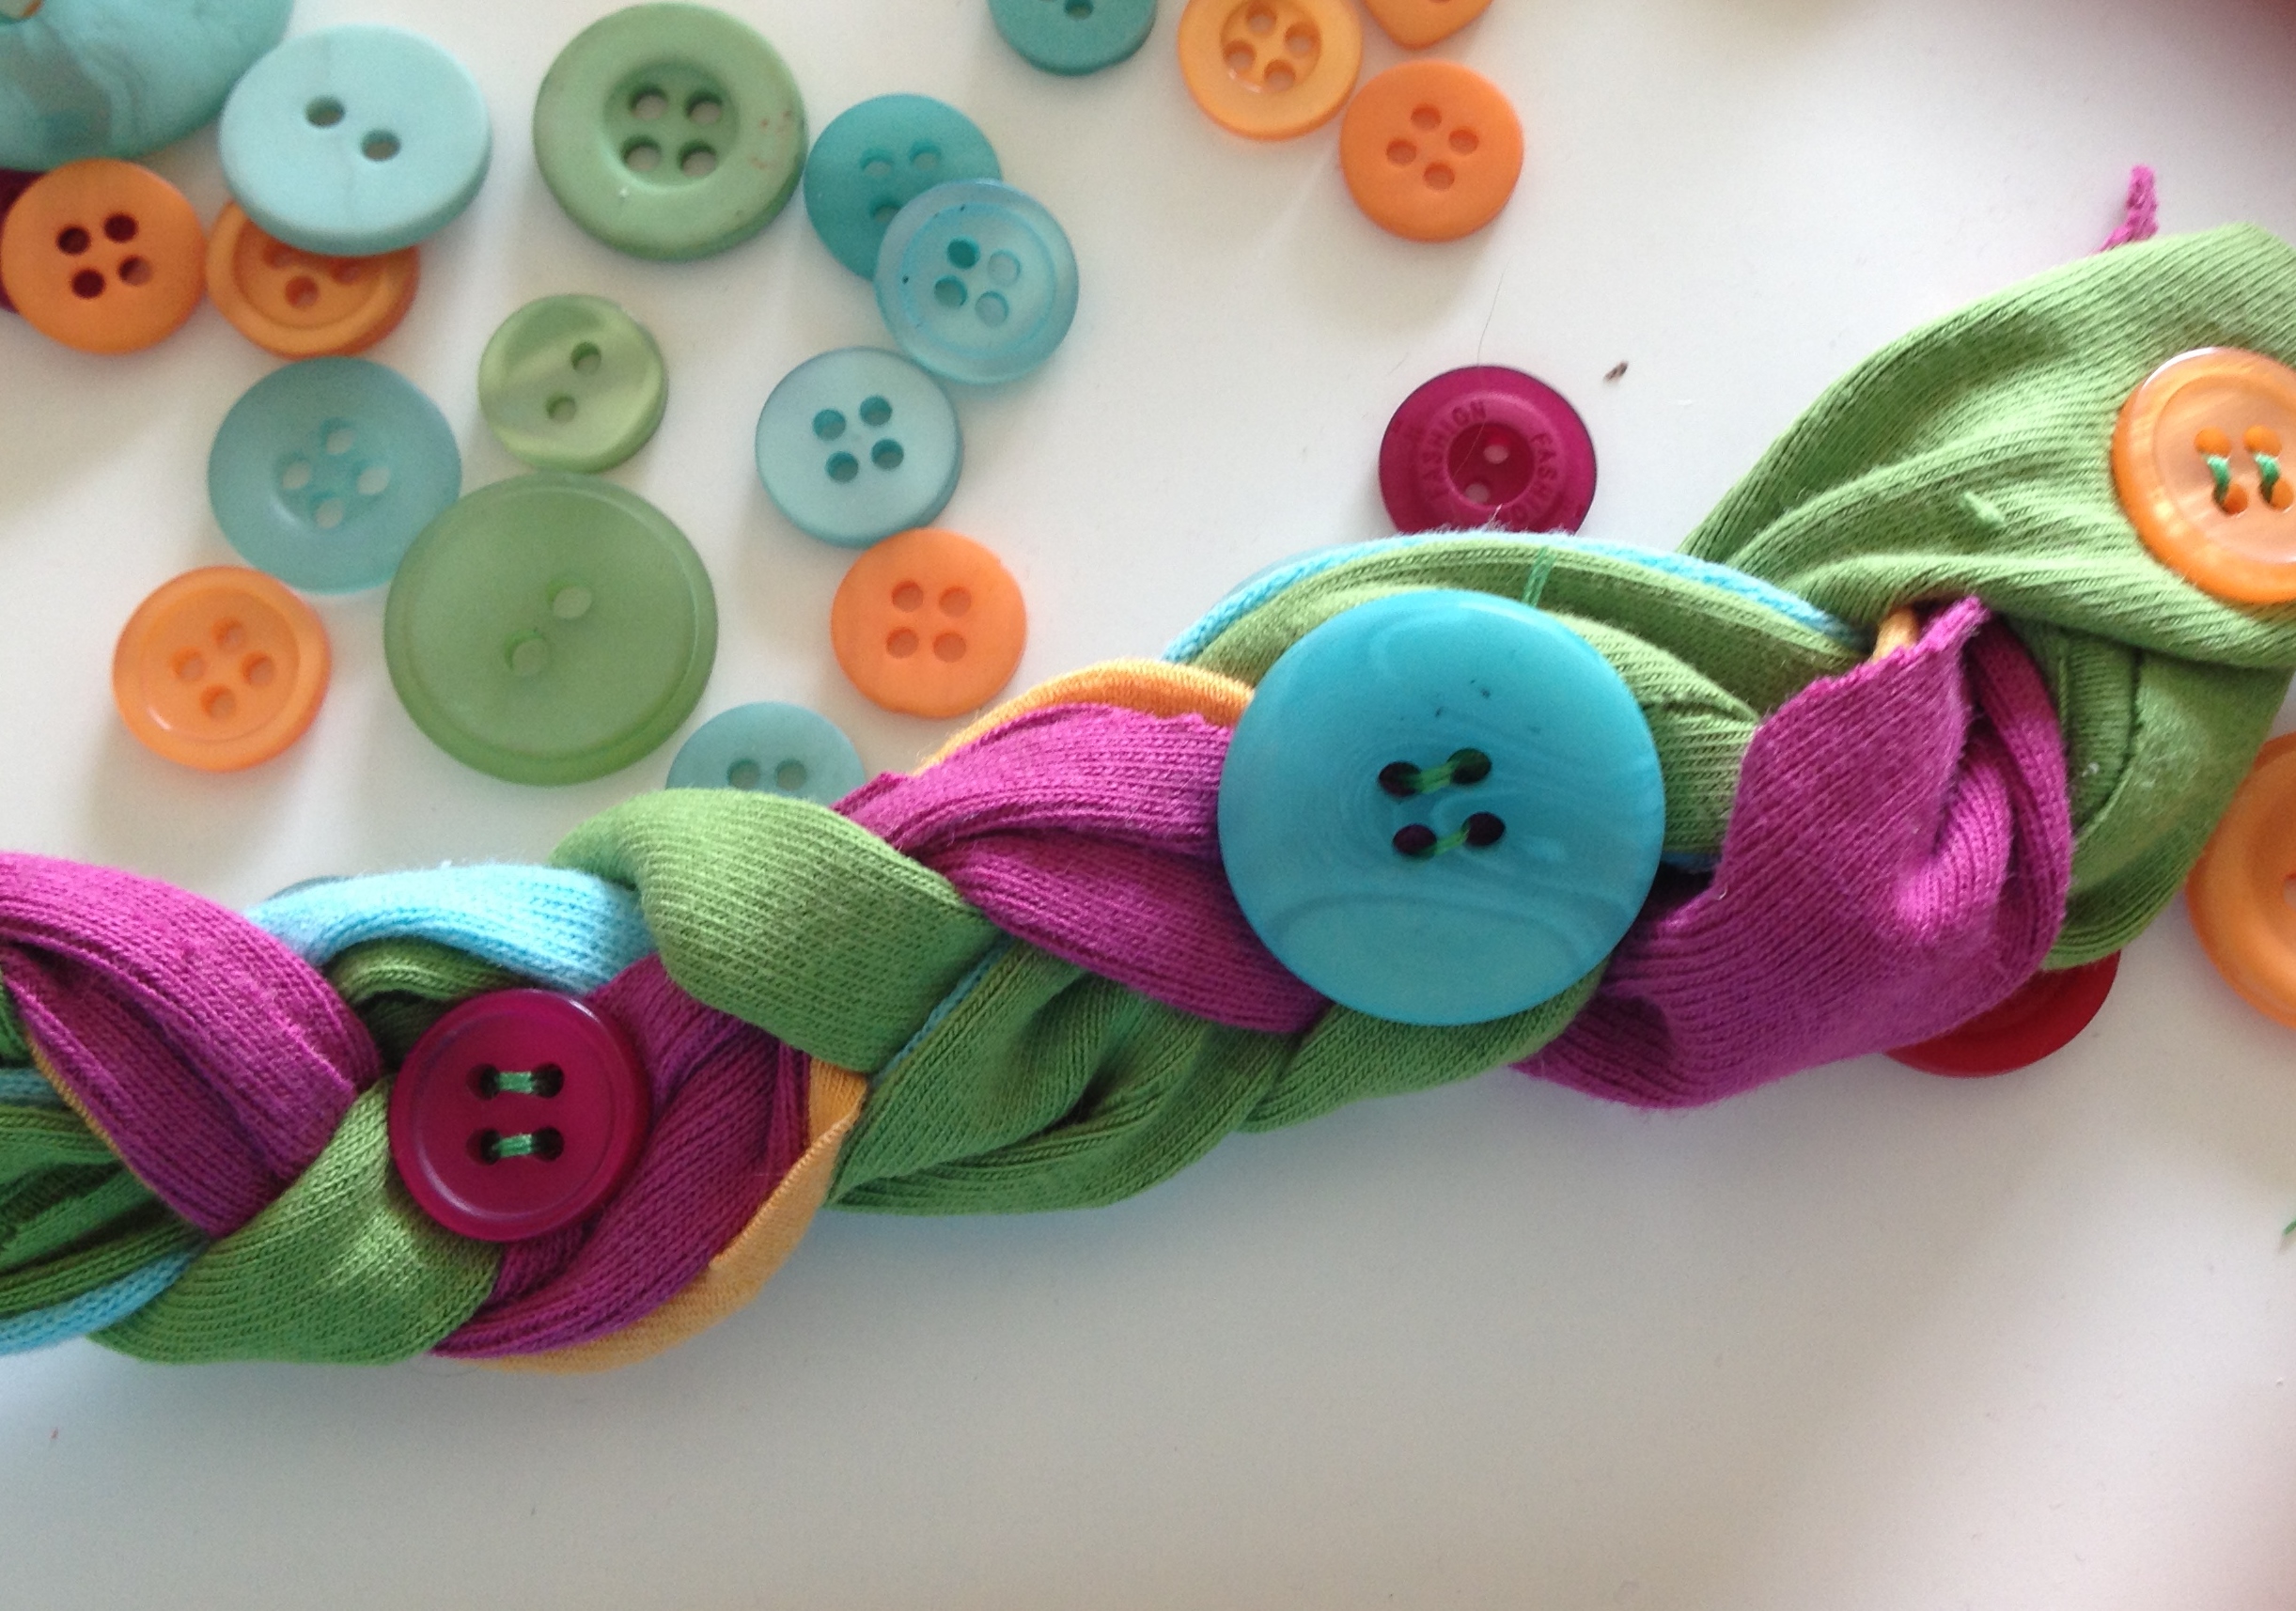 I spaced them somewhat evenly on the braided bracelet and sewed them down with the hand sewing needle and thread. This is what will keep your bracelet in tact during heavy periods of wear and tear and sweat, like dance class!
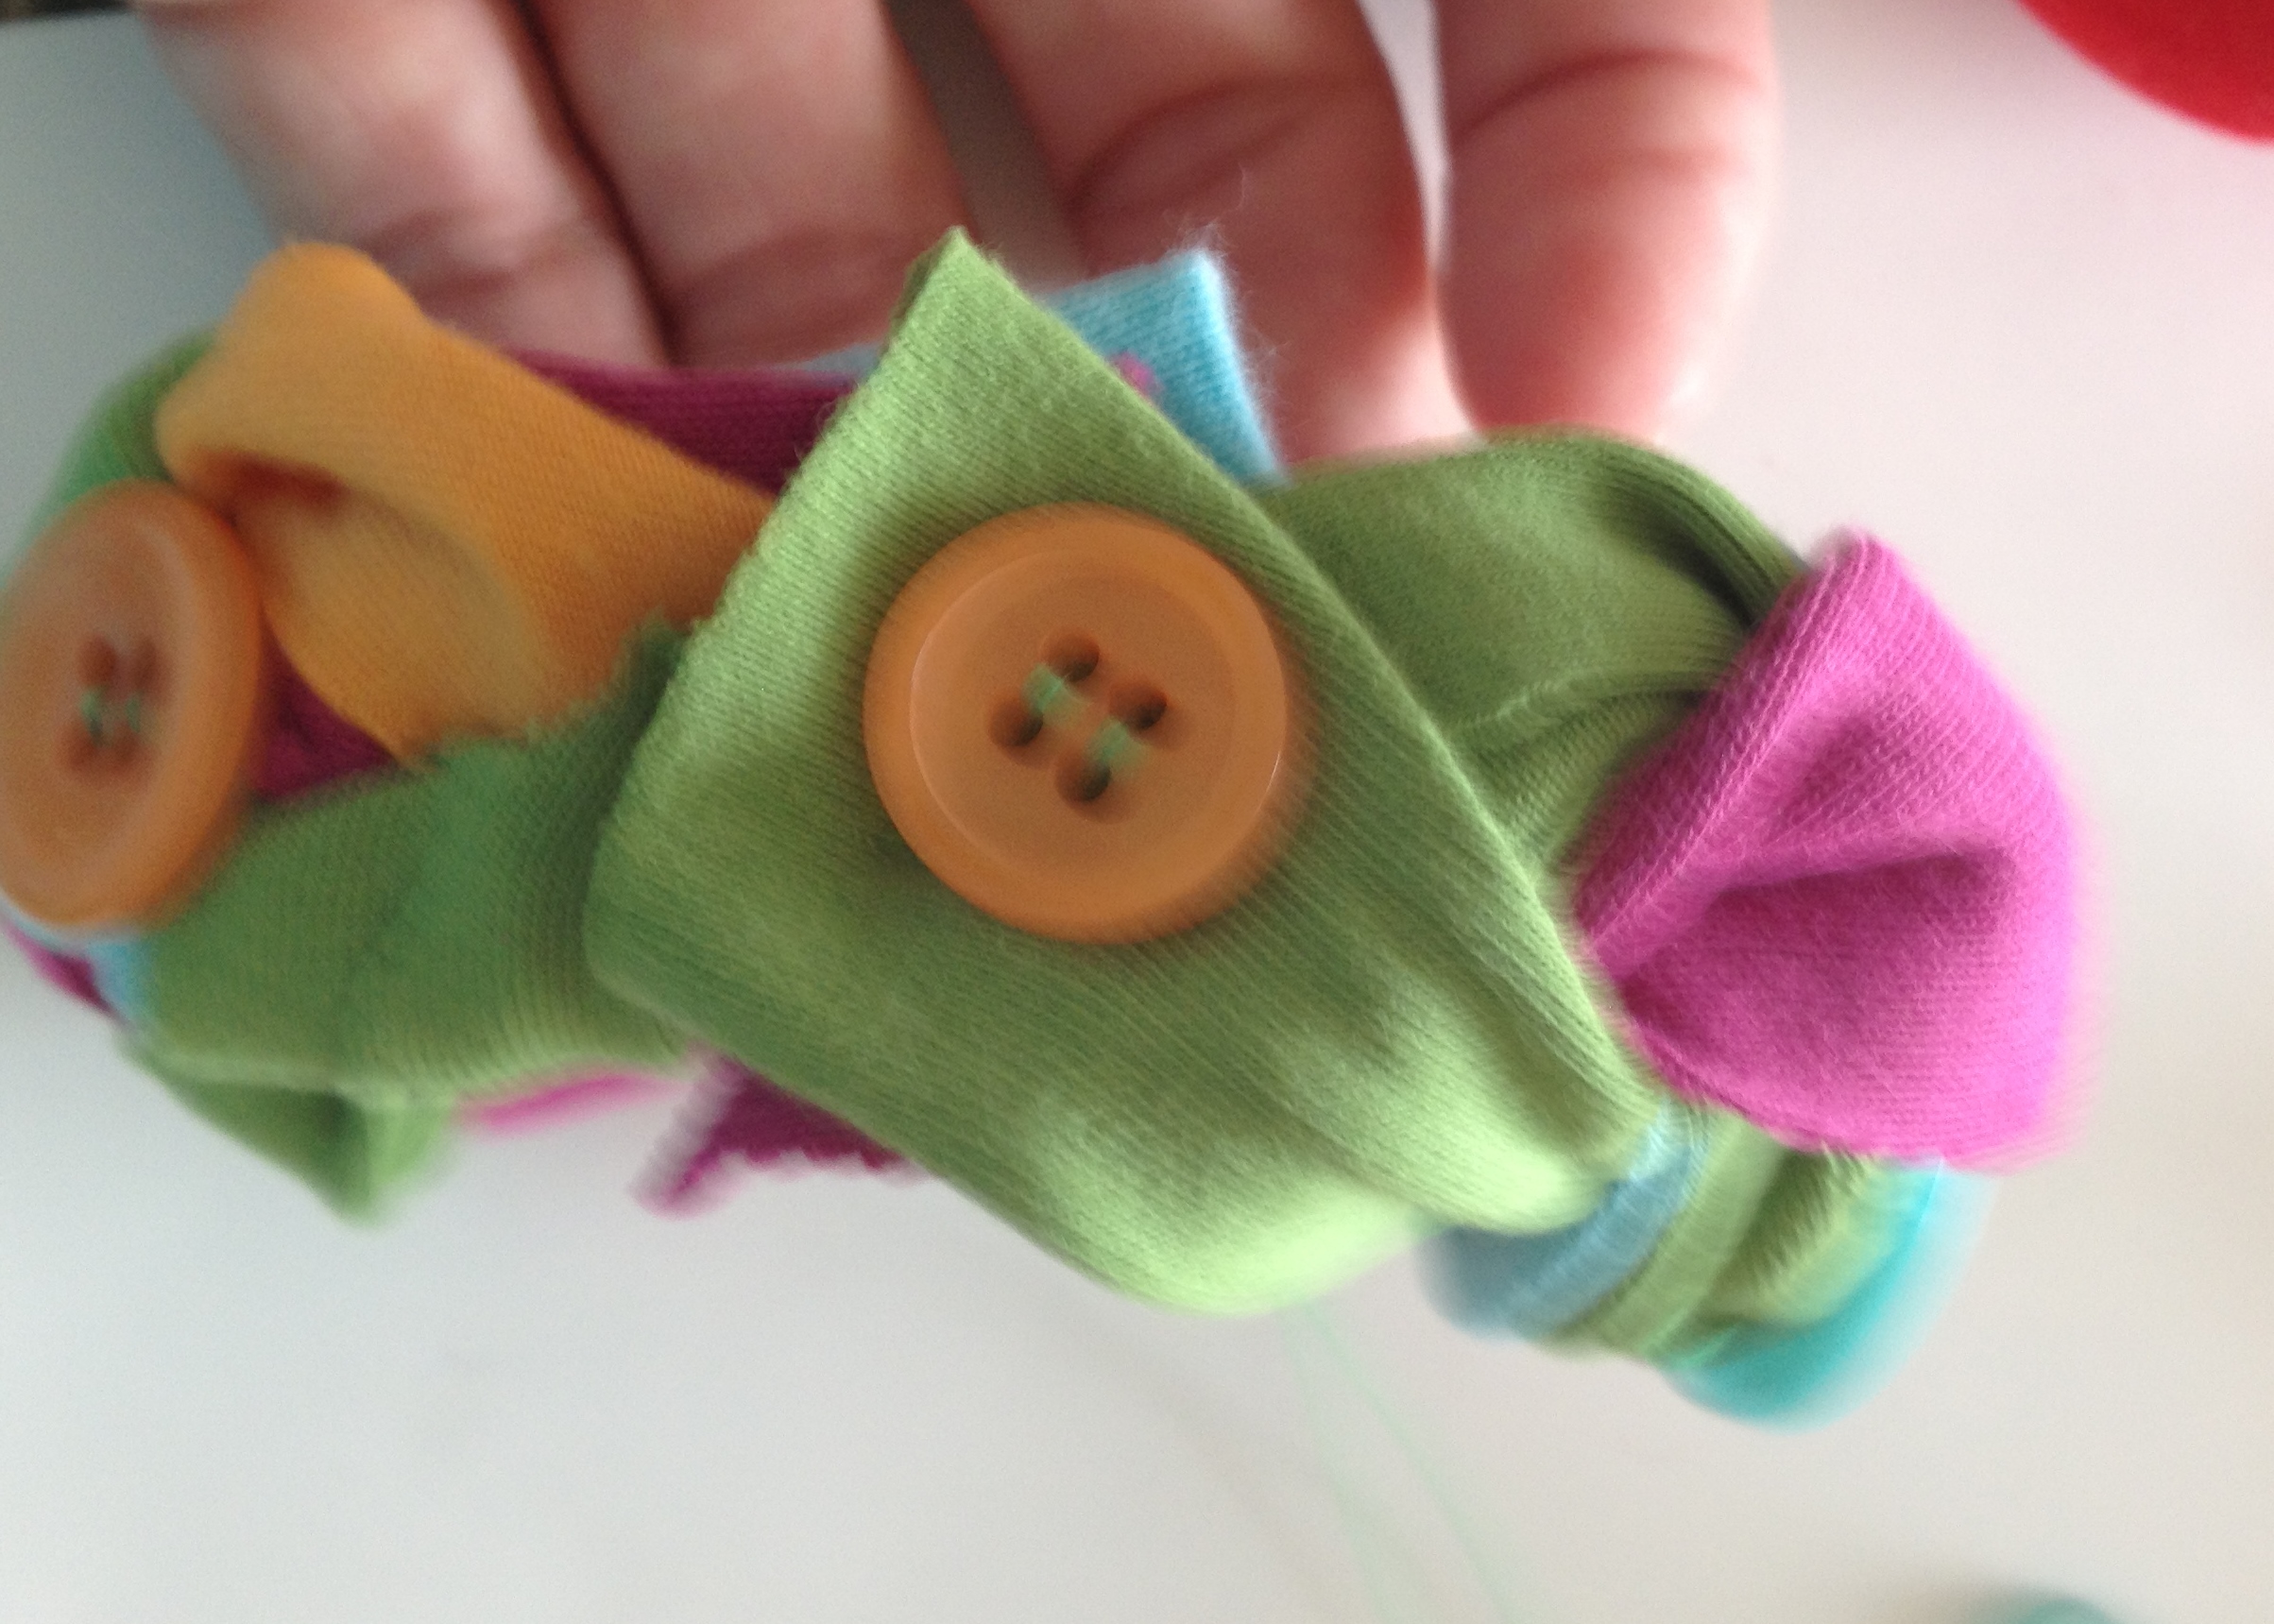
Finish your bracelet with a button, sewing the ends together.
 Live Life Creatively,
Melony