Header

Tag Archives | canvas art

Make a Fun Wall Hanging with 28 Lilac Lane

Hey y’all! It’s Lorrie here with my first project for the Buttons Galore team! Today I am sharing a cool wall hanging canvas featuring an embellishment kit from 28 Lilac Lane.
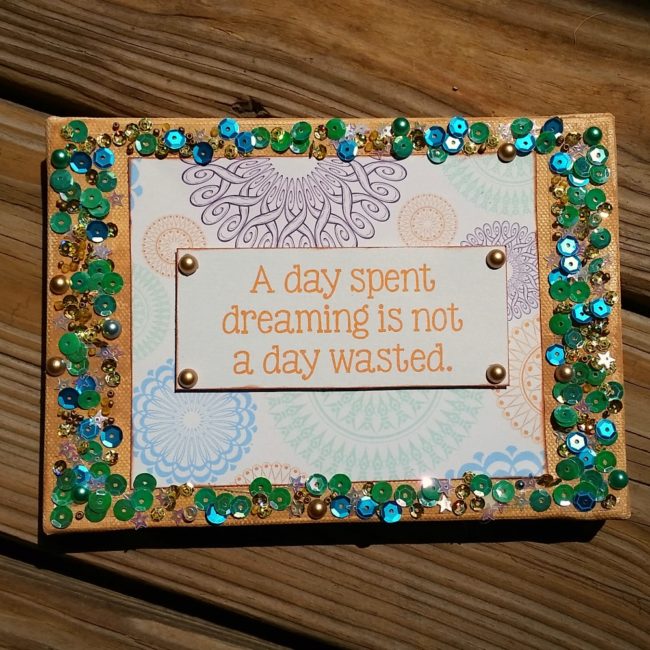
quote wall hanging

I had this cute quote that I loved and I wanted to show it off, so I decided to make a wall hanging using the quote and matching scrapbook paper on a 5″x 7″ canvas. Such an easy and fun project!

Supplies needed:

  • 28 Lilac Lane “Let’s Go” embellishment kit
  • 5″x 7″ stretched canvas
  • light brown acrylic paint
  • paintbrush
  • red liner tape
  • adhesive dots
  • brown ink
  • foam adhesive dots
  • patterned scrapbook paper
  • quote (from patterned paper, or use a stamp)

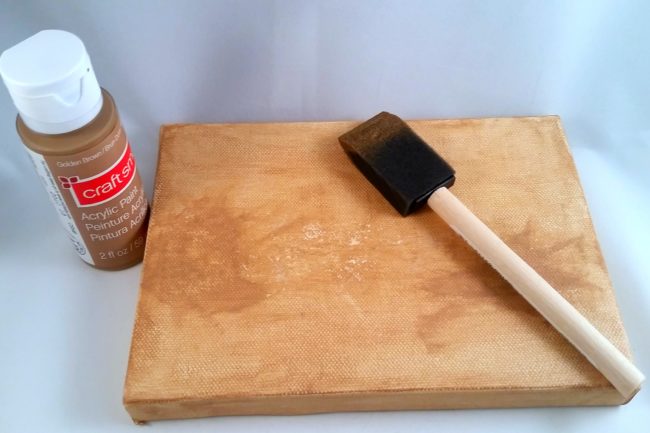
I started by painting the canvas using a light brown acrylic paint. I then cut out the quote and a 3″x 5″ piece of coordinating paper (the quote came from a sheet of quotes as part of a paper collection), and inked the edges.
quote wall hanging

I attached the paper to the canvas using double-sided tape. Then I used adhesive foam dots to “pop up” the quote —  this is an easy way to add dimension to your paper projects. Next came the fun part: adding the embellishments from this adorable “Let’s Go” embellishment kit by 28 Lilac Lane!
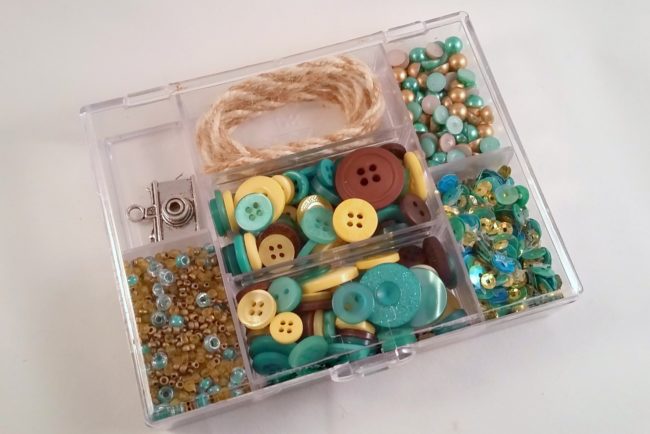
28 Lilac Lane Let's Go embellishment kit

I will let you in on a little secret — I am not a big fan of liquid adhesives. I use them on projects, but they aren’t my favorite, mainly because here in the hot, humid south they take forever to dry. So to hold the sequins and beads from the embellishment kit onto my wall hanging, I used my not-so-secret weapon: red liner tape! Red liner tape is a double-sided tape that holds just about anything. It is the perfect alternative to liquid glues.
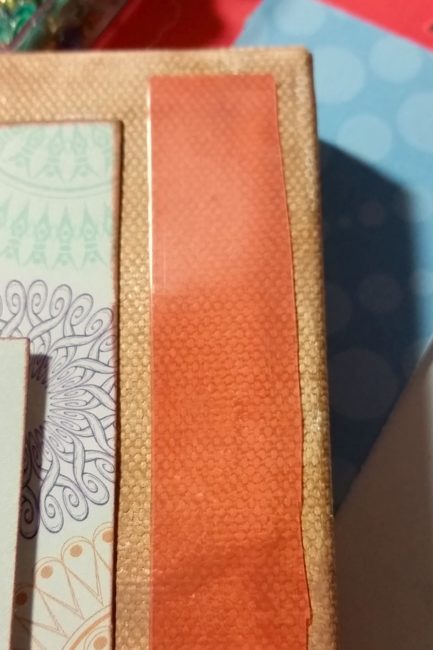
red liner tape

I applied red line tape to the edges of the canvas, and then sprinkled the sequin mix onto the tape. Just like when you’re using glitter, sprinkle the sequins liberally onto your project, then pick up and shake the item to remove the excess. Once most of the tape has been covered, fill in any empty spaces with the tiny seed bead mix and pearls from the kit.
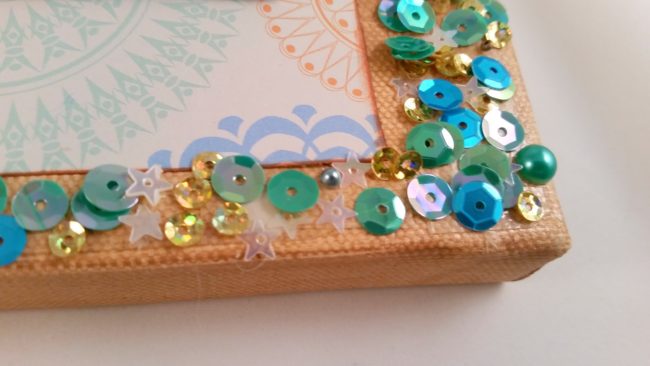
quote wall hanging

For the finishing touch, I placed gold pearls from the Embellishment Kit on each corner of the quote using mini adhesive dots.

quote wall hanging

Now you have a fun quote wall hanging that would look great on any wall in your home – and plenty of embellishments left over in your “Let’s Go” kit for lots more creative fun!
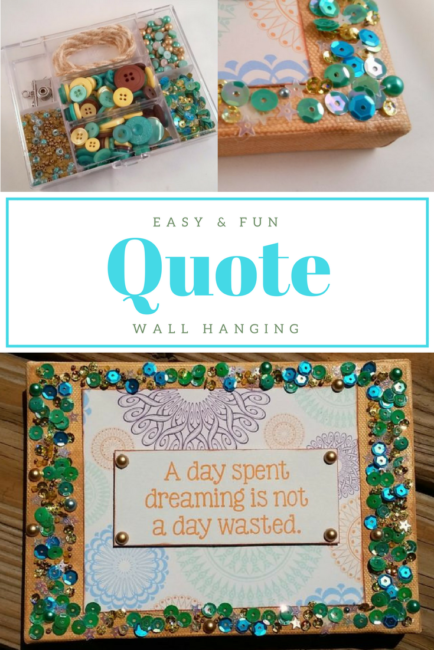
Quote Wall Hanging by Lorrie McCullers for Buttons Galore using 28 Lilac Lane embellishments. Great wall art for office

0

This Easy 3 Step Mixed Media Canvas is Fruity Fun!

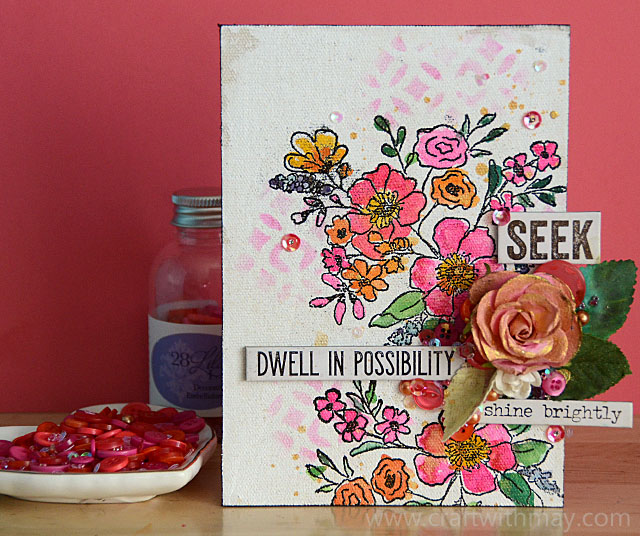
Our fabulous 28 Lilac Lane designer May Flaum is at it again, showing us all the beautiful things that can be done with her exciting new 28 Lilac Lane products that were announced at Creativation in January! This time, it’s a mixed media canvas with a profusion of pink flowers that will brighten your day – especially if winter is dragging on a little longer than you’d like!

Fruity Fun Mixed Media Canvas by May Flaum

This surprisingly easy mixed media canvas project can be made in only three easy steps, with just a few supplies, and is easy to customize o a theme or color scheme for your home or occasion.

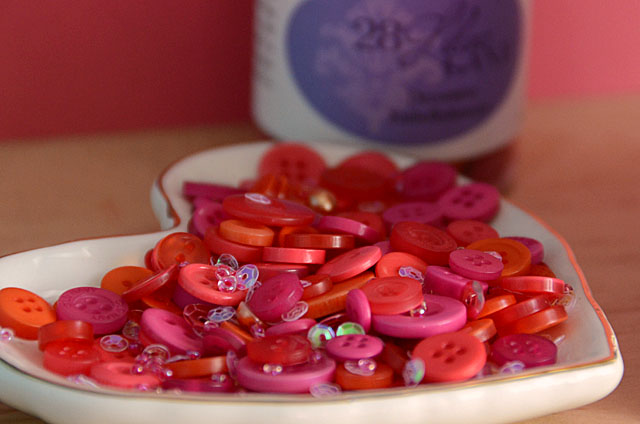
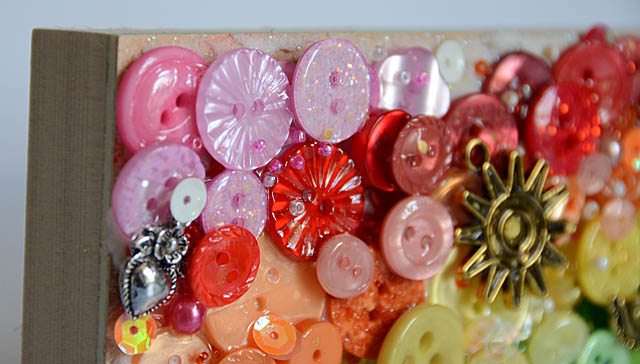
May’s project uses her fun new 28 Lilac Lane “Fruity Fun” embellishment bottle that features an assortment of shades of (what else?) fruity pink! These brilliant shades bring to mind summer berries, watermelon, a cool glass of punch, or  even flamingoes. It’s great for summer themes, flowers, and oh-so-many things!

28 Lilac Lane Fruity Fun

To see more of this mixed media canvas project – and get the full 3 step instructions – visit May’s blog. Also, don’t miss the challenge on the mixed media challenge blog this month that is based on this project! (Did I mention that there is a giveaway?)

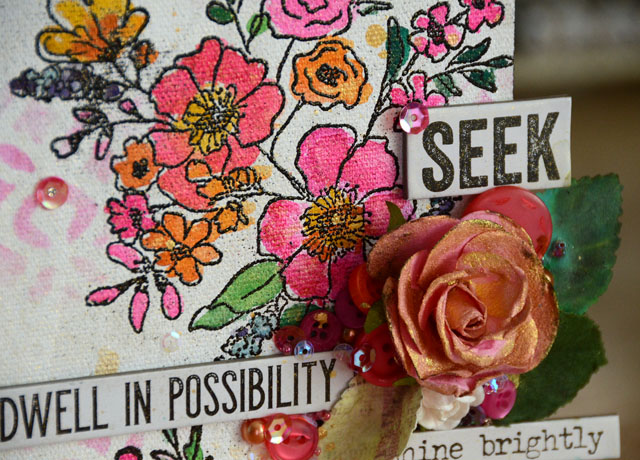
Mixed Media Canvas close-up

Our “Fruity Fun” embellishment bottle is just one of six new 28 Lilac Lane embellishment bottles that are shipping now from our online store: Fruity Fun, Queen Bee, Fiesta, Gemstone, Stormy Skies, and Farmhouse. Get them all!

0

Make a Rainbow Canvas with 28 Lilac Lane!

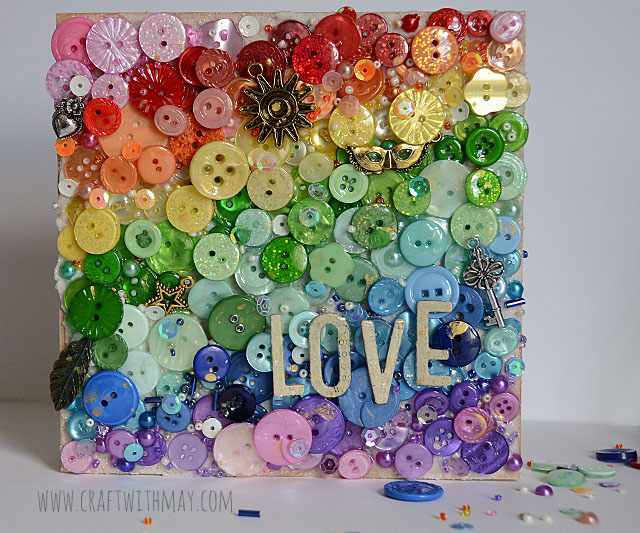
Wanting an uplifting, fun, and carefree kind of project this week I pulled out the entire 28 Lilac Lane line, some paste, liquid adhesive, and a 6×6 wood board to make a rainbow!

Rainbow Love Canvas with buttons by May Flaum

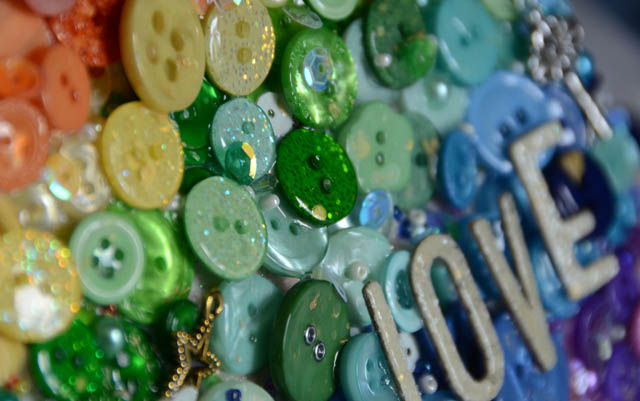
Did I really say the entire line? Yes, yes I did! I wanted to create a rainbow of buttons, beads, sequins, and pearls across this canvas and I wanted to have a wide variety. Beginning in the middle with green and working towards the edges, I just love the finished piece! Some charms from various kits as well as a few chipboard letters finished off my project before I used a glossy sealant to complete this piece. Note that I worked in layers, meaning that I built a base layer then went back over it several times to add more pieces and details. This project was such fun to make, and I love that it features at least one thing from every bottle and kit.

Rainbow love canvas close-up

Rainbow Love Canvas close-up

Want to make this with fewer items? Using the Dragon Fire, Pumpkin Spice, Hello Sunshine, Oh Christmas Tree, Winter Blues, and On Lilac Lane bottles would get you a lovely rainbow as well. I hope I’ve inspired you to create a bit of a rainbow with your next craft project, and get those fun buttons on display. For complete details and instruction be sure to watch my video below!

0

Inspirational Mixed Media Canvas with 28 Lilac Lane

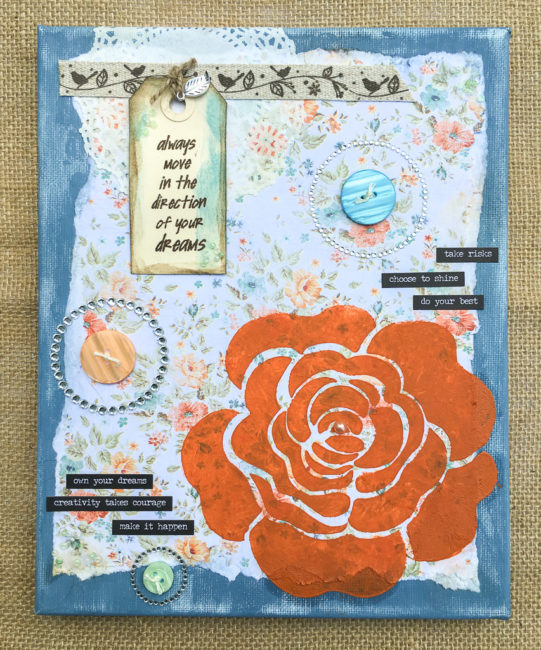
This time of year sees a lot of people we love embarking on new adventures, headed off soon to new schools, or new jobs. Wouldn’t it be nice to send a piece of ourselves, and a positive message, along with them? This inspirational mixed media canvas using 28 Lilac Lane products will remind them to reach for their dreams!

Inspirational Mixed Media Canvas by Nancy Nally using 28 Lilac Lane

Supplies from Buttons Galore:

Other Supplies:

  • Blank 8″x10″ canvas
  • Plaid Milk Paint (Lexington Blue)
  • Quick Quotes “Farmhouse” Paper Collection
  • Plaid FolkArt Stencil (Single Rose)
  • Plaid FolkArt Sencil Creme (Rainbow)
  • Ranger Tim Holtz Distress Ink (Antique Linen, Broken China, Ground Espresso)
  • Stamper’s Anonymous Rubber Stamp “Always Move…”
  • Prima “Say It In Crystals” embellishments
  • Wilton Doilies (4″)
  • Tim Holtz idea-ology Small Talk Stickers
  • Tim Holtz idea-0logy Jute String
  • Embroidery Floss
  • Manila Tag
  • Sizzix Big Shot Machine
  • Sizzix Tim Holtz Alterations “Tiny Tabs & Tags” Die

To get started on your inspirational mixed media canvas project, paint the front and edges of the canvas with the blue Milk Paint. Let the paint dry.

Tear the floral “Farmhouse” paper and adhere it to the front of the canvas using the PPA Matte Adhesive. Use a baby wipe or damp paper towel to smooth down the edges of the paper and adhere them firmly. (This will have the effect of also distressing the milk paint finish on the canvas.)

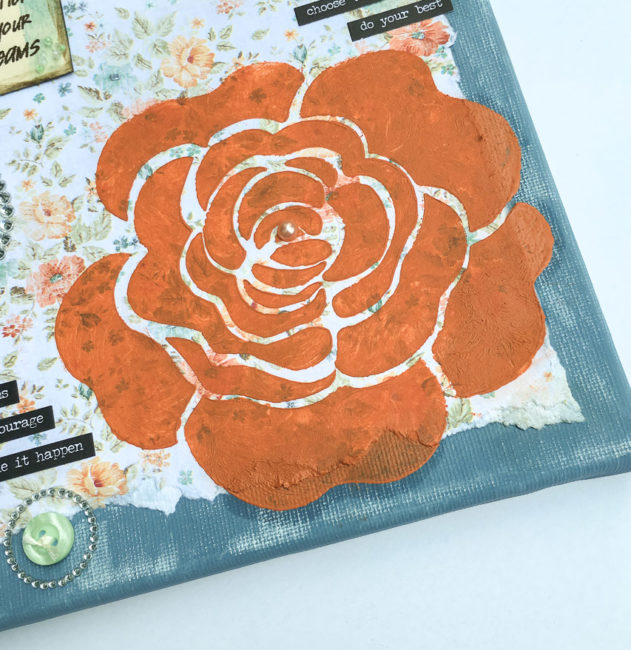
Once the paint and glue is dried well, use the stencil and stencil creme (in orange) to apply a rose design to the lower right hand corner of the canvas, over the paper.

Stenciled Rose on Mixed Media Canvas

In the upper left hand corner, glue down a doilie on top of the patterned paper. When the glue is dry, smudge some Antique Linen Distress Ink on top of the cut outs in the doilie to highlight the design in them. Next, apply the twill ribbon from the “A New Leaf” kit across the top of the canvas.

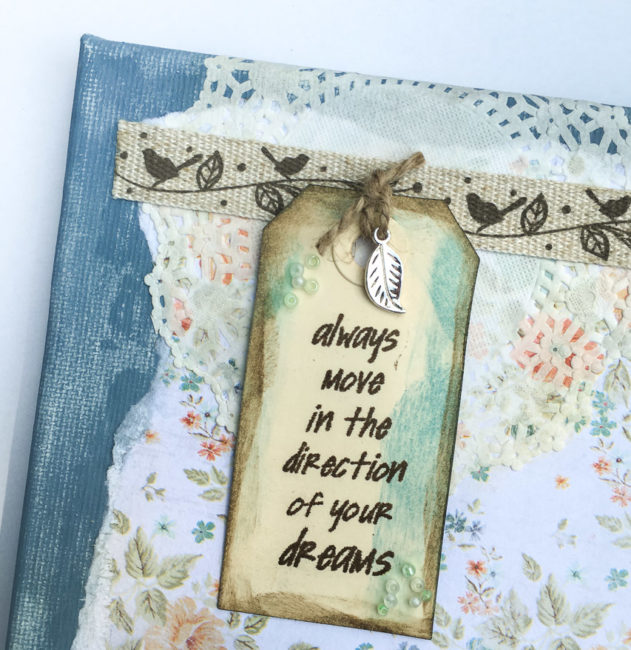
To make the tag, die cut the tag shape out of a larger manila tag. Ink the edges with Broken China and Ground Espresso Distress Ink, and stamp the sentiment in Ground Espresso. Tie the charm from the “A New Leaf” kit onto the tag with some jute string, and glue some seed beads from the kit to the tag’s corners to finish it off. Glue the tag down.

quote tag on mixed media canvas

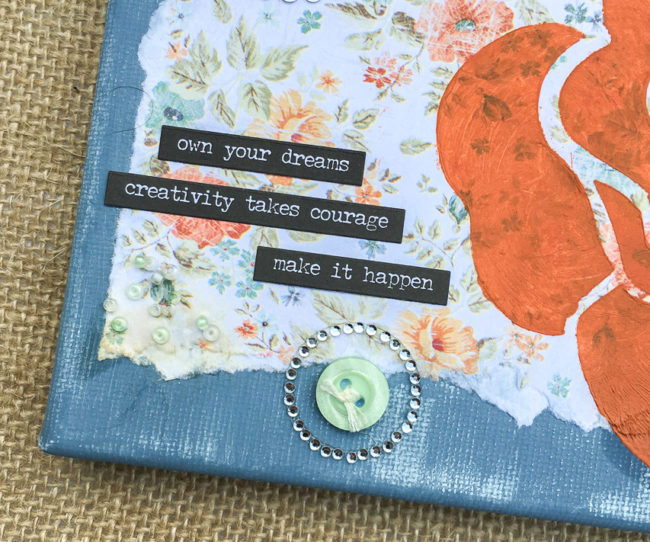
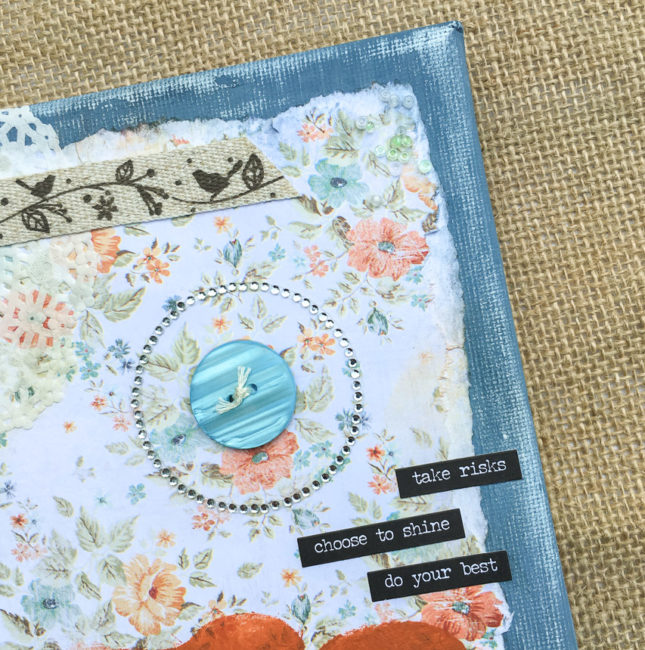
Apply some PPA Matte Adhesive in the corners of the canvas and embed some seed beads from the “A New Leaf” embellishment kit in it. Once that is dry, you can begin building the stickers, rhinestone and button elements in the rest of the canvas. Don’t forget to thread your buttons before adhering them so they look finished!

Mixed media canvas embellishments

mixed media canvas embellishments

This inspirational mixed media canvas is fun and simple to make…and will let someone you care about know how much you believe in them. Who will you give it to?

0

Mixed Media Canvas by StudioBeeCreations – Guest Designer

Mixed Media Canvas by StudioBeeCreations

Mixed media Canvas

OH ME…OH MY!!!….I am soooo “over the top” excited about my guest designer post here at Buttons Galore & More!
Buttons have ALWAYS been a passion of mine…one of my favorite “collections”.
I have been crafting some way or another most of my life….Recently I have been drawn to mixed-media….because I can use bits & bobs of all my “stuff” to make ART!
I also enjoy music…and wordage….so, here I have encorporated my “loves” into this canvas.

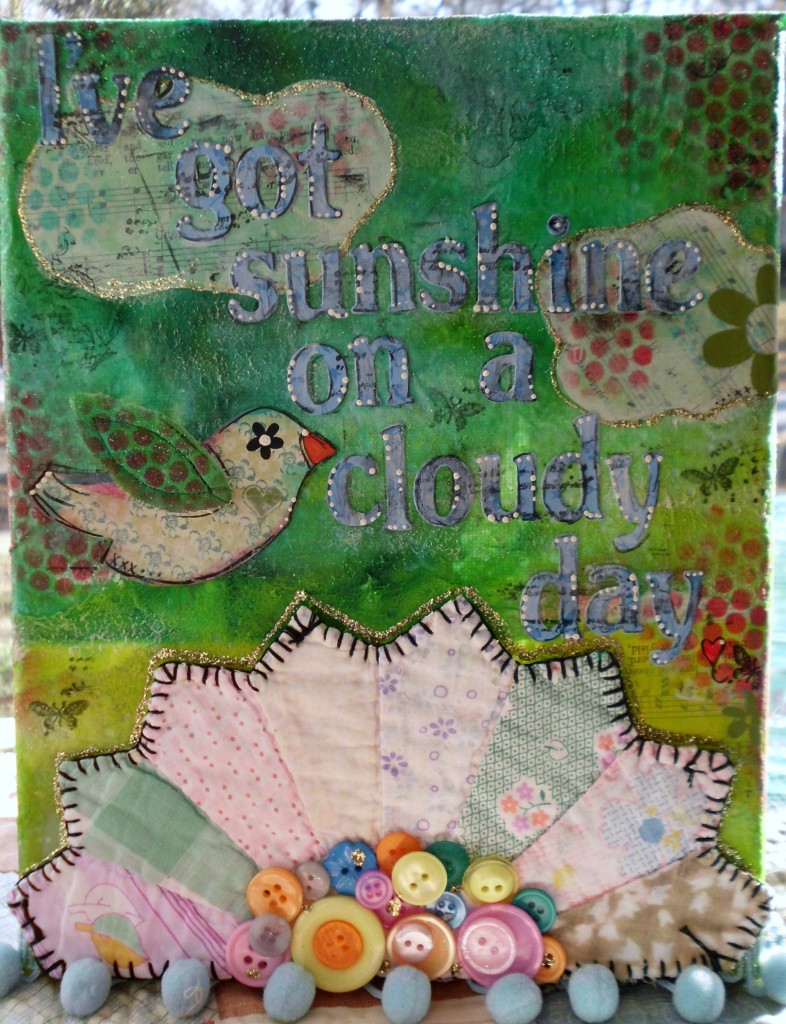
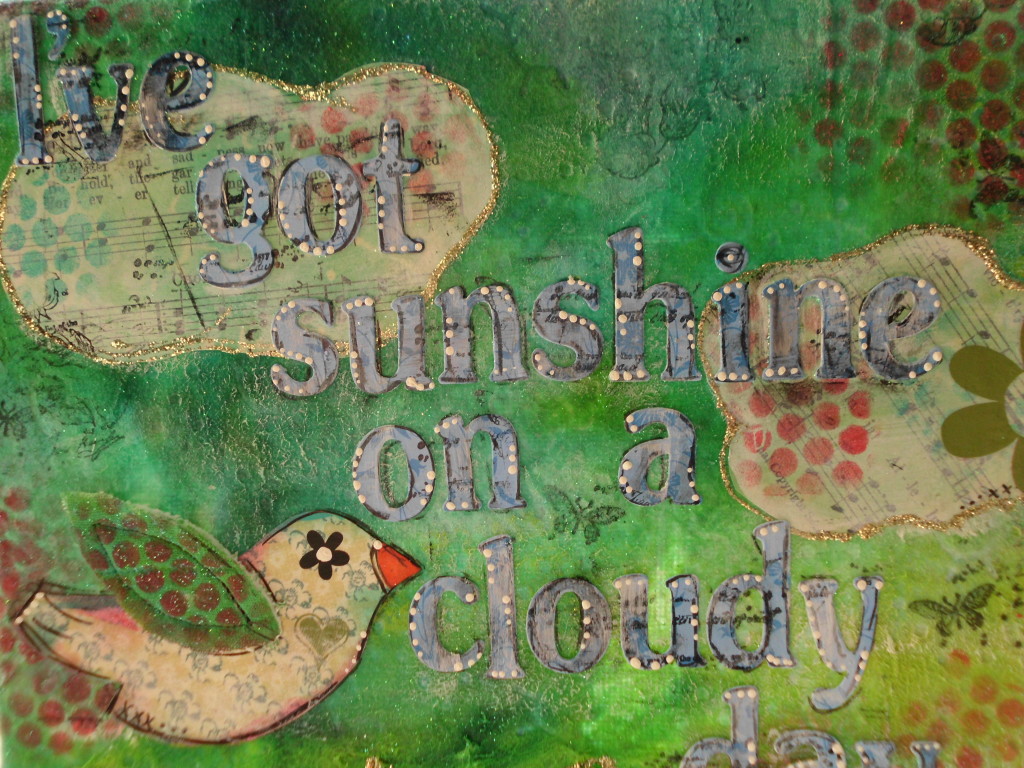
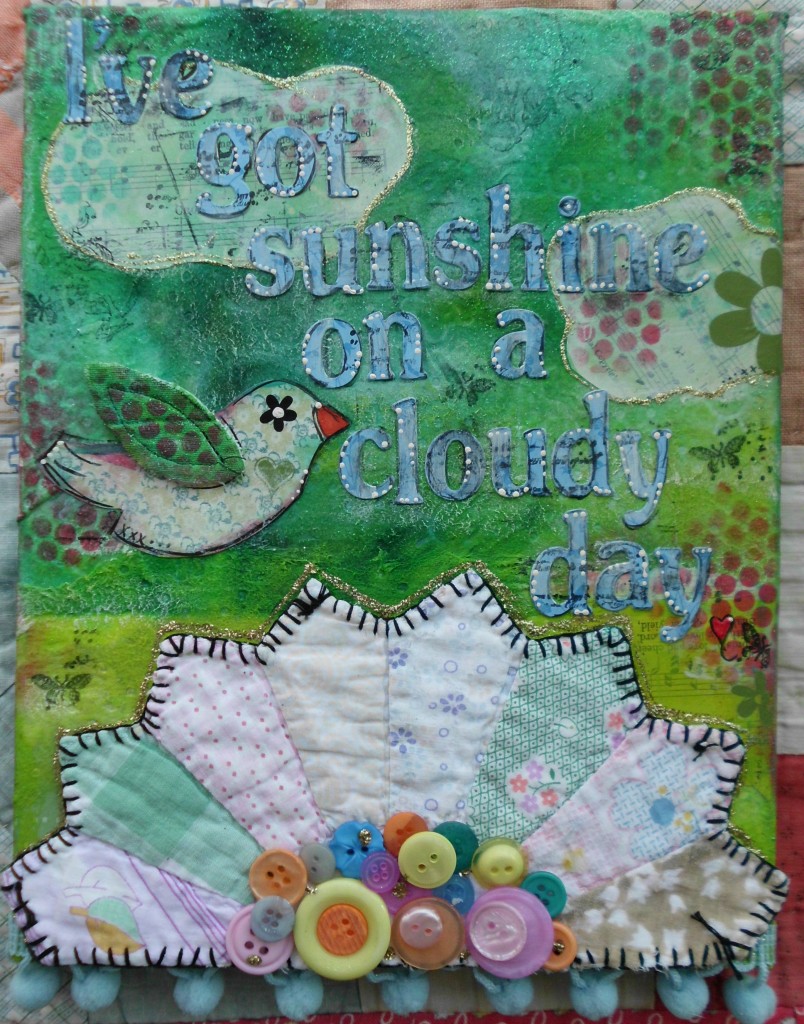
Mixed Media Canvas – “Sunshine on a Cloudy Day”

Mixed media Canvas

Directions and materials to make a Mixed Media Canvas:


I have taken an 8×10 canvas….added loads of texture….vintage music pages,along with (believe it or not) babywipes that I used to wipe up some inks and paints from a previous project…..some inks, rubber stamps,rub-ons, great alpha stickers from my stash and an ANTIQUE quilt piece “rescued” from a dresden plate quilt piece….it realy looks like sunshine…doesn’t it?…..and to top it all off….a YUMMY assortment of buttons from ButtonsGalore&More….these just make me HAPPY!
With my favorite medium Mod Podge, it all comes together in a fun piece of art…..Each time I create these canvases…even tho the same products are used, they all come out uniquely OOAK!(one-of-a-kind)
I currently have my wares for sale at my etsy shop http://www.etsy.com/shop/Studiobeecreations
..more items being added this week!
Loveeeeeeeeeeee all of the assortments BG&M offer for my creative pleasure!
creative blessings, Debbie

Mixed media Canvas

3

Powered by WordPress. Designed by WooThemes