Header

Tag Archives | button art

Button Up Some Christmas Ornaments with Laura from Pet Scribbles!

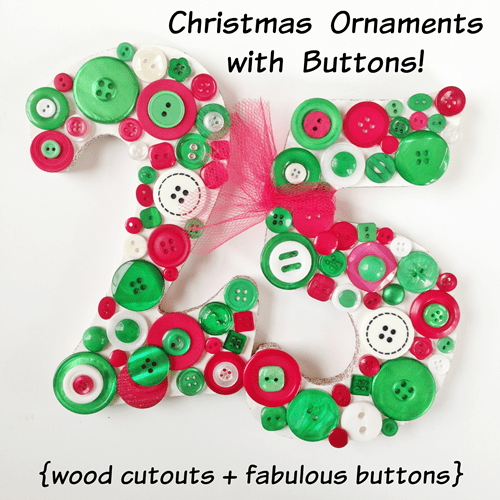
Christmas Ornaments with Buttons

Laura here from Pet Scribbles, sharing an easy way to dress up those wood cutouts you see at all the craft stores:

Use some fabulous buttons! (Of course, right?)

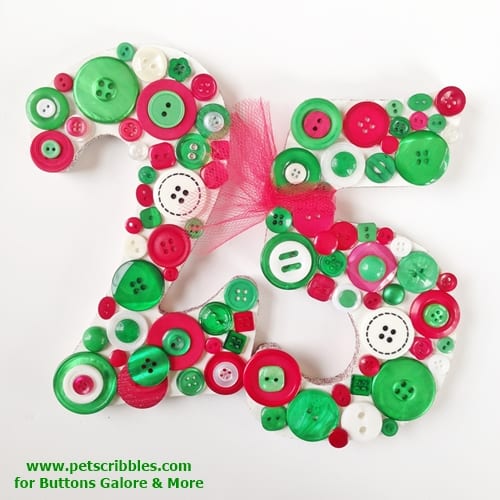
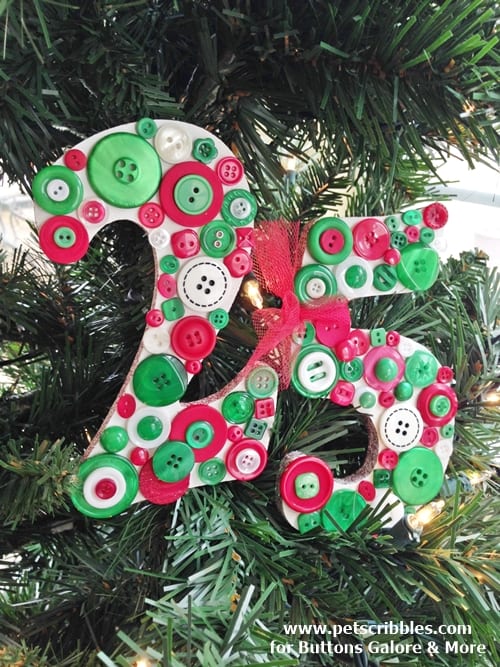
I made this large 25 in honor of December the 25th, and I’ll show you just how easy it is to make your own!

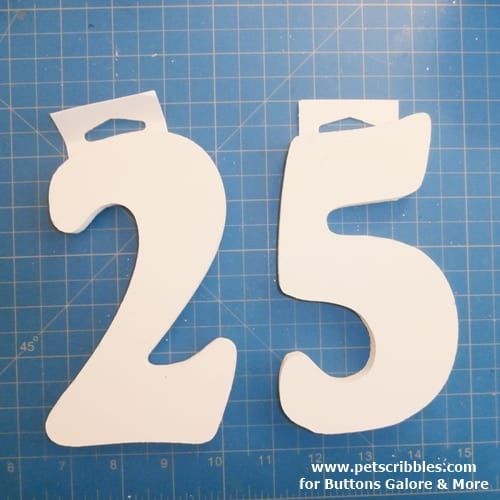
It all starts with wood cutouts of your choice. I picked up these, which were already painted white:

Christmas Ornaments with Buttons

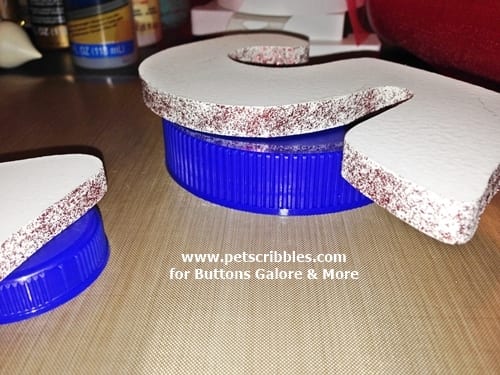
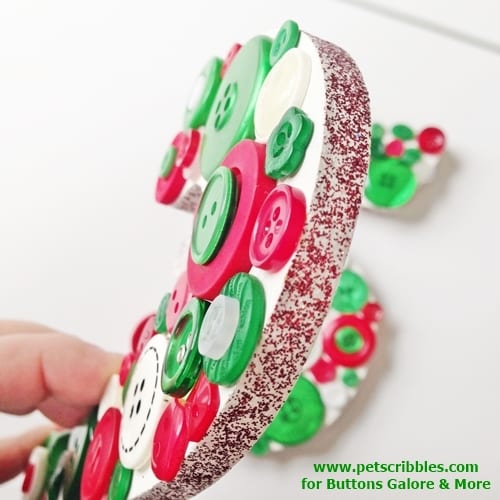
I painted the edges of each number with red glitter paint, and set them to dry on some recycled jar lids overnight.

Christmas Ornaments with Buttons

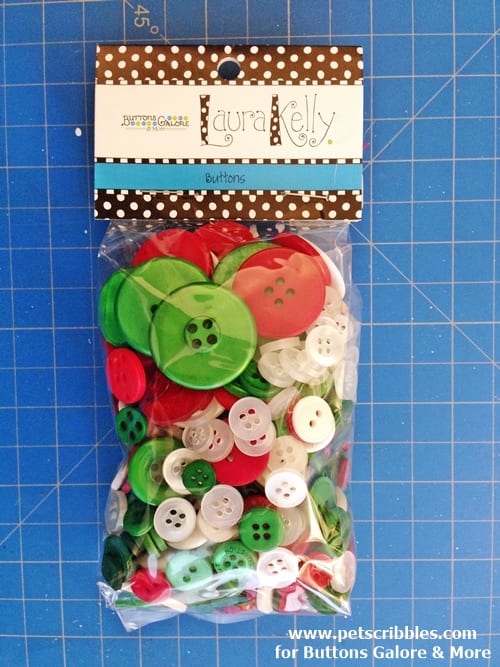
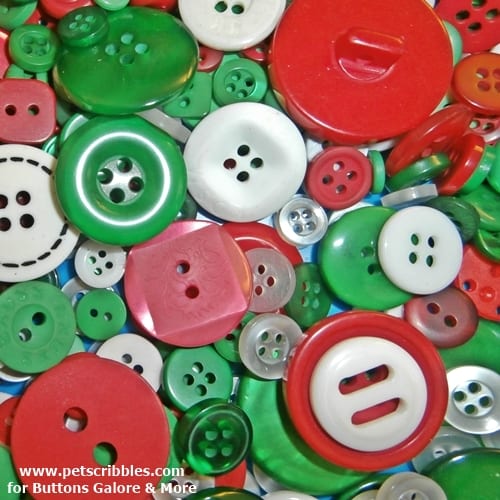
The next morning was the super-fun part: playing with the gorgeous buttons in the Laura Kelly Traditional Christmas Mix from Buttons Galore & More!

Christmas Ornaments with Buttons

Check out these beauties up close!

Christmas Ornaments with Buttons

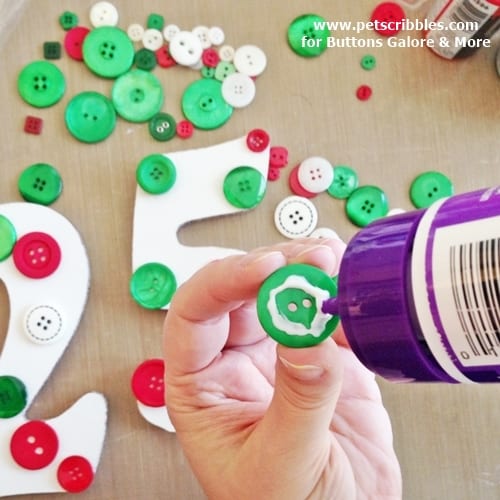
To make easy work of attaching many buttons to wood (and to each other), I use Aleene’s Fast Grab Tacky Glue.

Christmas Ornaments with Buttons

After applying the glue to the back of each button, just set in place and hold it there for a few seconds to set.

I began with some of the largest buttons first, then filled in with smaller buttons down to the tiniest (and totally adorable) sizes. And in some cases, I layered buttons on top of each other, for more texture and interest.

Christmas Ornaments with Buttons

Once finished, I added some red tulle around the number 5 as a scarf, keeping with the cozy idea of Christmas Day.

Christmas Ornaments with Buttons

These wood cutouts are great to have on your Christmas tree, on a wreath, or maybe as shelf sitters.

Christmas Ornaments with Buttons

I think what makes these ornaments look so fun is the different styles, colors, shapes, sizes and textures of the buttons in the Laura Kelly Traditional Mix. There are buttons that are shiny, metallic, pearl, flat (no sheen), square, round, solid, and I could go on describing them for days. I even found buttons that had some glitter-like dazzle on them!

Supplies used:
Wood numbers
Red glitter paint
Aleene’s Fast Grab Tacky Glue
Laura Kelly Traditional Christmas Mix buttons

Thanks so much to Buttons Galore & More for inviting me to guest post here today!

Stop by my blog Pet Scribbles to see more button crafts and holiday inspiration!

~Laura

1

Create Personalized Monogram Home Decor using Buttons, Brads & Beads

It’s time to get busy making something to freshen up the house! We have been busy all summer and as the Autumn season fast approaches having a few handy tutorials on how to make personalized gifts and hand made home decor just seems fitting. So today I have a Personalized Monogram Home Dec project to share with you. Enjoy!

Supplies Needed: Buttons, Brads, Micro Beads, Gem Tac (R), Scrapbook Paper, Hot Glue Gun, Scissors, Frame


Print letter of your choice as large as you would like finished monogram to be. Place beneath paper and put against a well lit window to serve as a light box. Then trace onto scrapbook paper.


Outline one third of the traced letter with Gem Tac.

Fill in the area fully with Gem Tac.


Place as many buttons as fit onto the glue covered area.


Quickly cover the entire surface with micro beads.


Remove excess beads before moving onto next step.


Continue covering the entire traced area a bit at a time following the steps above.


Cut the prongs off of the brads using strong sharp scissors.


See how much flatter brads lie once the prongs have been removed?


Hot glue the altered brads to the surface of the monogram randomly. Here I chose to hide "barren spots" with the brads. :)

Once your piece has fully dried, place in a frame and you are ready to enjoy your brand new PERSONALIZED home decor!!!


I would love to see what you make! Please leave a comment with a link to your personalized home decor projects! :) I will be sure to pop over and leave you some love on your project!! :)


1

Giant Button in New York City

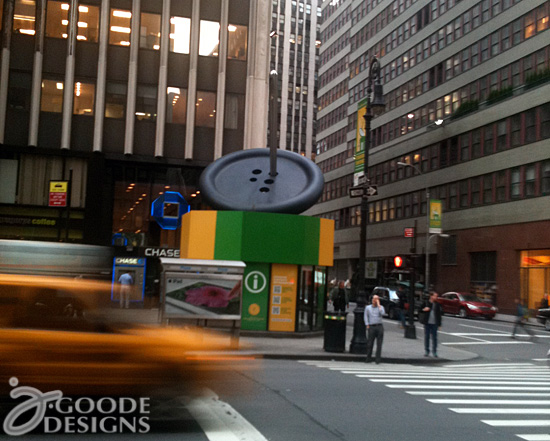
I was at a show last week and spotted this giant button in New York City. I really wanted to be able to get a giant set of chalk markers to color in some fantastic, vibrant art on it. You know, liven it up a bit, add some personality. A big black button is just begging for some color!

I didn’t get closer, so I’m not sure what that little building is the button is sitting on. I’m also a little confused why there are 5 button holes instead of just 4, but regardless… how fun is that!?

Giant button in NY City

Giant button in NY City

0

Create a Cute as a Button Frame!

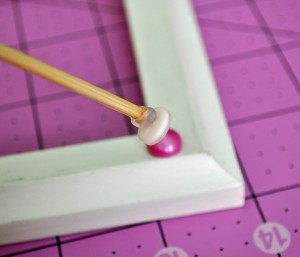
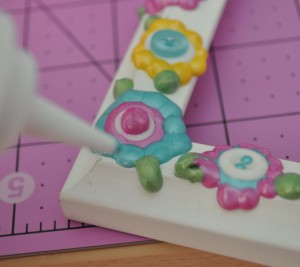
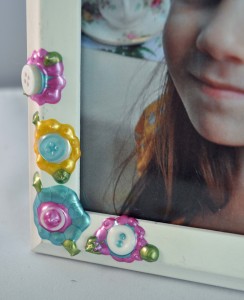
You probably know by now that I love all things bright, cute and floral.  I found a plain, white, photo frame in my closet and knew that plain just wasn’t going to cut it around here, so I grabbed a few bottles of Jacquard’s Lumiere 3D paint and some buttons and got to work.  The great thing about using the 3D paint is that it’s also an adhesive, allowing you to have a seamless look without dealing with a glue mess.  I also love how the paint squeezes through some of the button holes to give more interest to the design.

Supplies:

Instructions:

  1. The best way to create a flower design with paint is to use dots.  Squeeze a large dot of paint for the center of your flower.  While the paint is still wet, press a button into the center.
  2. For petals, simply squeeze dots around the center.  Try to use the same pressure when squeezing the bottle to ensure that the petals are roughly the same size.
  3. Once you have all your flowers on your frame, set aside to dry for 72 hours.  Put your favorite photo in the frame.


0

Regal Wall Art-Pin of the week

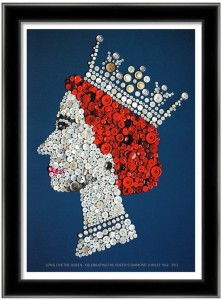
Wall Art it its most regal

Wall Art it its most regal

Are you a fan of the Monarch?  If not surely you can appreciate that time and the talent that went into this regal creation.  The creator of this piece also designed a Union Jack that is pretty complex too.

Check out this pinboard on Pinterest 

1

Fun button art with scraps from your stash

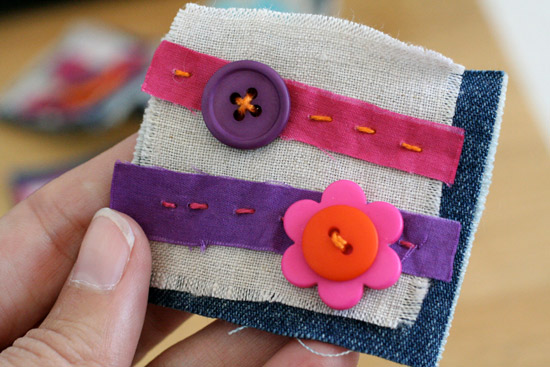
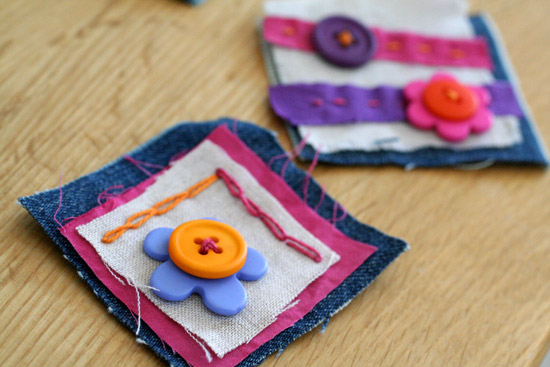
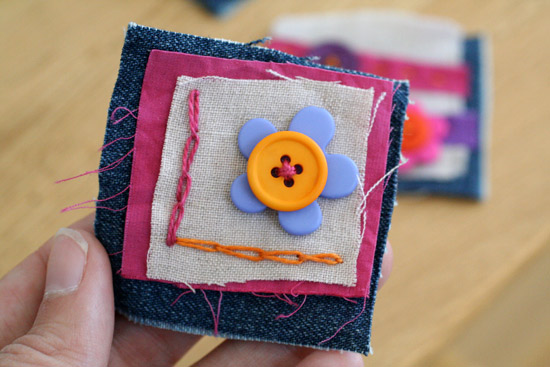
I love to make new fun with old scraps and recycled do-dads. Buttons are a perfect addition to any mix and match project because you can get buttons in a million different colors and sizes so you’re sure to find something that fits what you’re doing. Next time you’re looking for a little creative project that’s quick and easy, pull out your fabric stash and some buttons and make a pile of these mini art pieces.

Mini button art from craft scraps and buttons

Mini button art from craft scraps and buttons

You can either stitch everything together or use fabric glue, whichever you prefer. Mix in some paper, embroidery thread, fabric and whatever else you’d like to add. You can turn these mini button art pieces into pins to wear, keepsake gift tags or even frame them for a truly unique piece of decor.

make cute button art with fabric and buttons

make cute button art with fabric and buttons

The flower button in this project was one of the special crafter buttons called Start Ups. You can color them to make your own unique look so I put mine in some Rit dye along with some fabric scraps to get the vibrant new colors out of old drab fabric. You can also color the Start Ups with alcohol ink markers.

make your own cute button art

make your own cute button art

I used denim, linen and cotton fabric along with a variety of individual buttons, some Start Ups and embroidery thread. Any kind of extras would work. So the next time you find yourself wondering what to do with some of your craft scraps, grab a bag of buttons and make yourself some fabulous mini art pieces. They make great gifts and are simple enough that your kids can help too!

0

Powered by WordPress. Designed by WooThemes