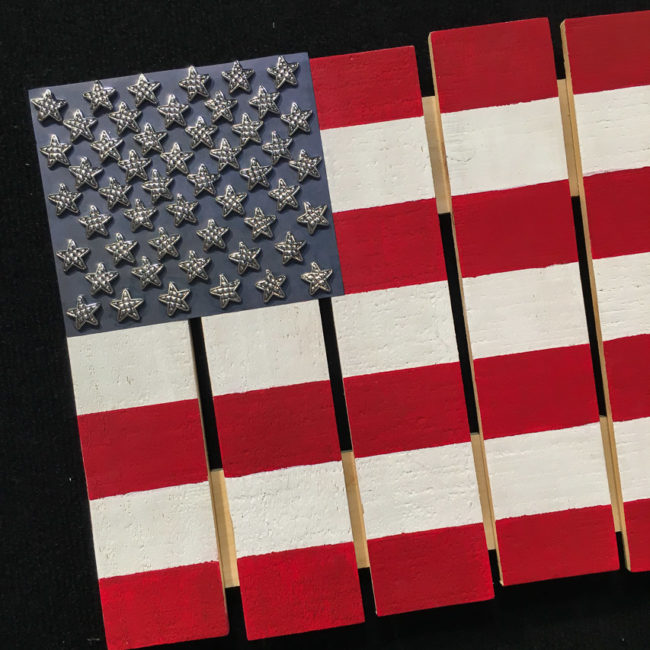
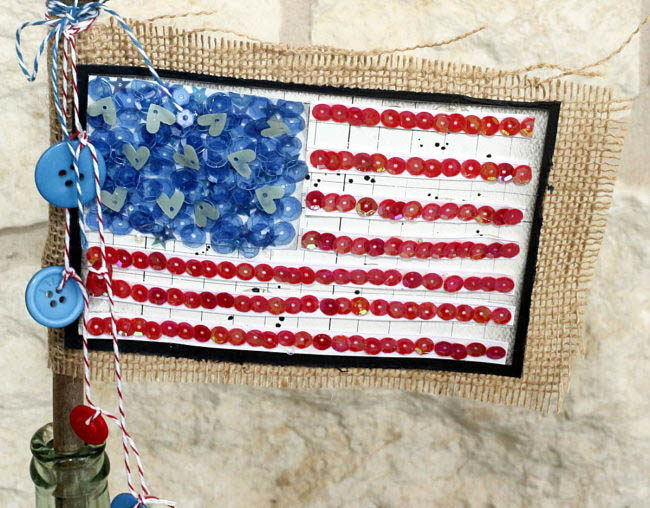
Hi, Connie here with Buttons Galore & More design team! This fun handcrafted sequin flag project is great to create with children, and will look fabulous in your home or on your front door, tucked into a grapevine wreath.
This sequin flag project was created using the brand new Bon Voyage Sequin tin by 28 Lilac Lane. Take a closer look at this beautiful new premium sequin tin!
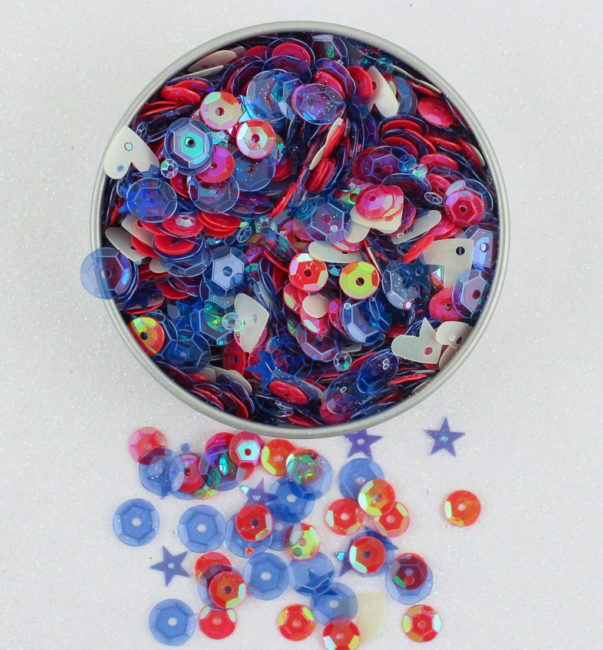
The inspiration for this sequin flag project came from the Bon Voyage sequin tin itself. It is full of red, white and blue sequins along with white hearts and blue stars – so lush! Can’t you see a child waving this flag at a celebration parade and then saving it, by tucking it away in a grapevine wreath for the front door? Or displaying it in a vintage soda bottle? Either way this flag will be a super cute was to display your patriotism!
Supplies needed to make a sequin flag:
- 28 Lilac Lane “Bon Voyage” Premium Sequin Tin
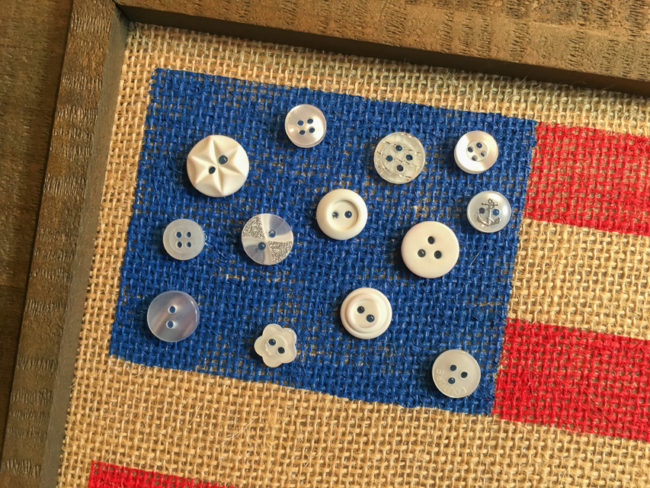
- Buttons Galore & More “Bright Mix” Button Basics
- cardstock (white/black)
- Authentique pattern paper
- clear drying glue
- red and blue twine
- burlap, stick & soda bottle (optional)
How to make your sequin flag:
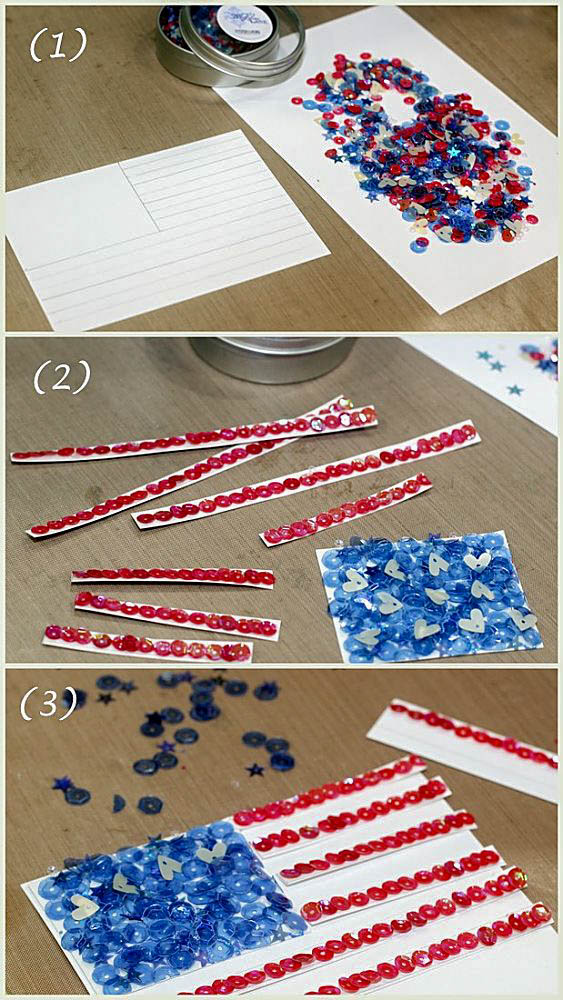
(1) Sketch out a USA flag on white cardstock that is about 4″ X 6″. Separate the large blue sequins, using a toothpick, from the sequin tin.
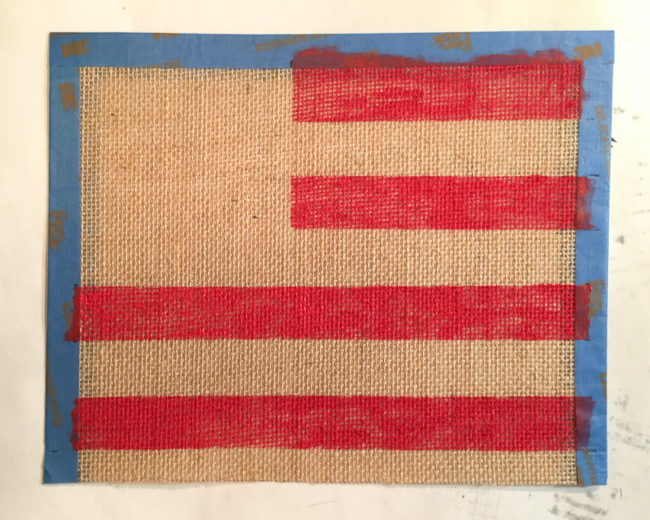
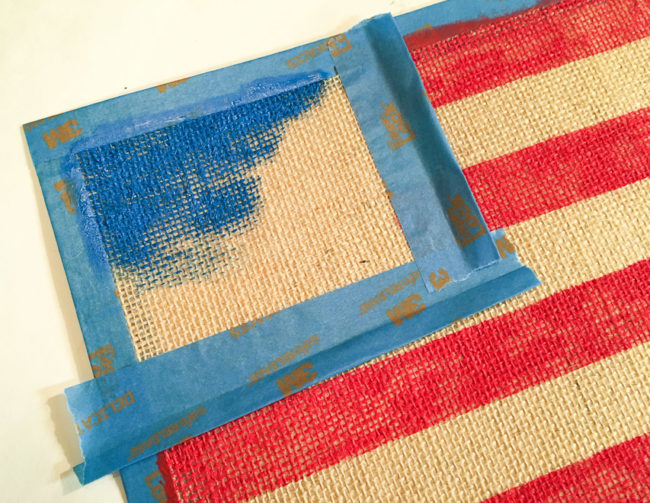
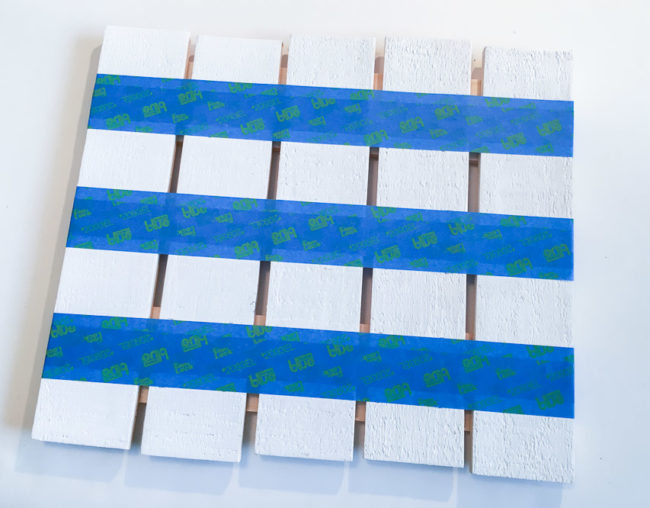
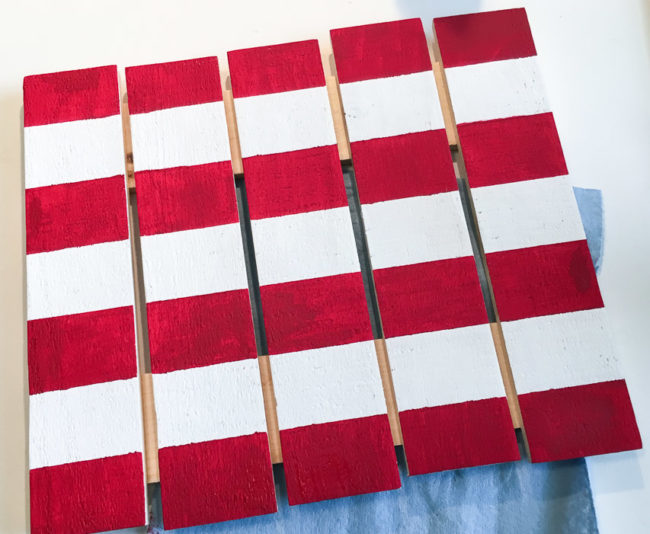
(2) Glue the large blue sequins on the flag with clear drying glue. Add the white hearts to the blue section and let dry. Do the same with the small red sequins, placing them in strips. Let dry.
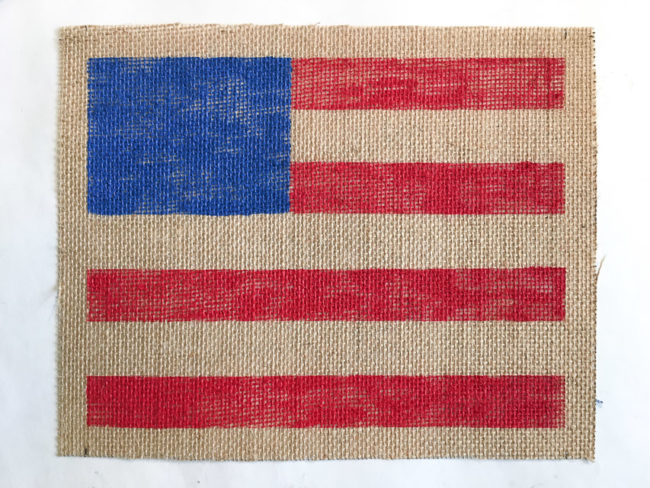
(3) Cut the blue section out, and then the red strips. Piece them on a 4″ X 6″ piece of white cardstock or grid paper. When it is dry, mat the flag on black cardstock.
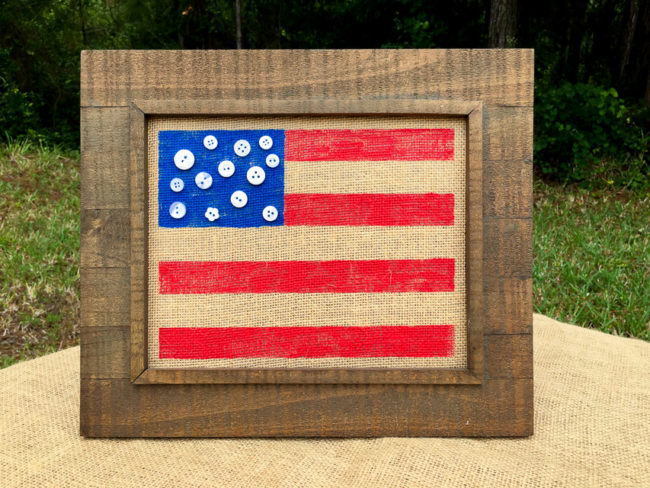
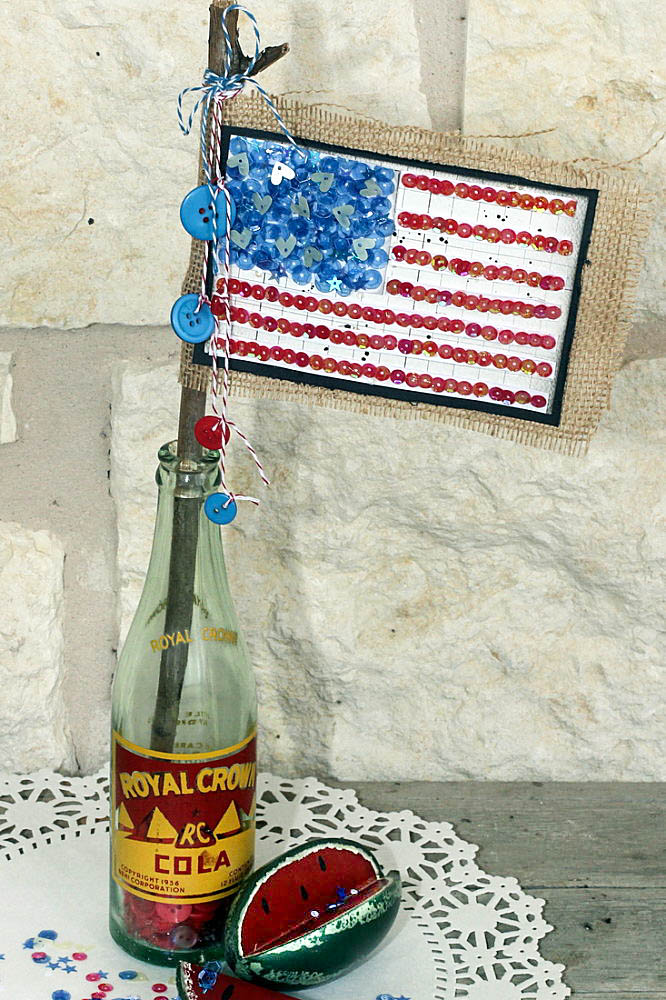
(4) Glue the flag to a piece of burlap ( 5″ X 7″ ) and then glue a stick to the reverse side. (I used a stick from my yard.)
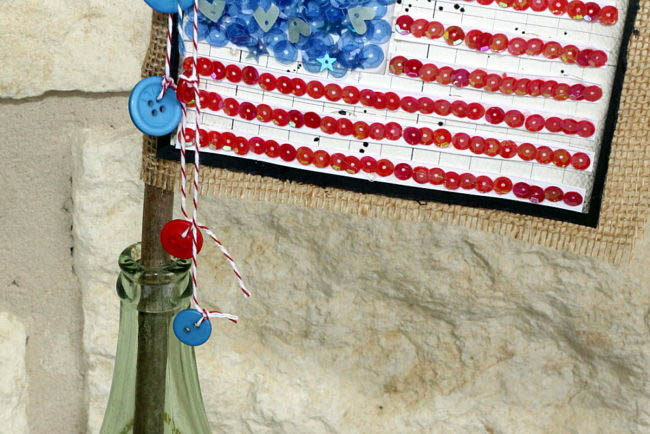
(5) Use twine and buttons, create streamers for the side of the flag. Tie these to the top of the stick.
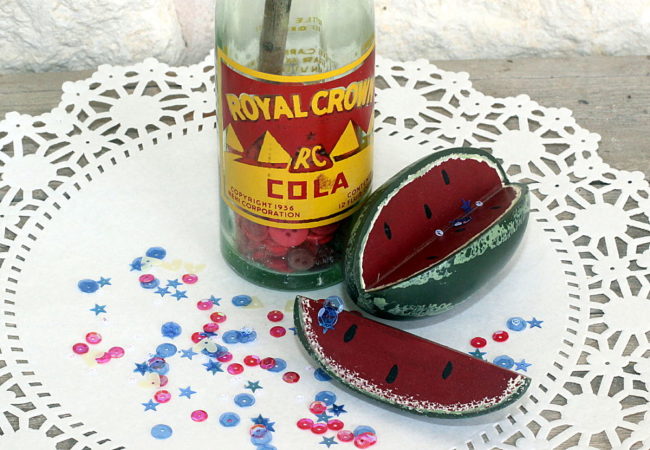 I chose the vintage soda bottle to display my flag instead of a grapevine wreath. The soda bottle is full of red buttons to hold the stick in place. I really love the finished look!
Thanks for stopping by~
Connie Mercer/DT Member