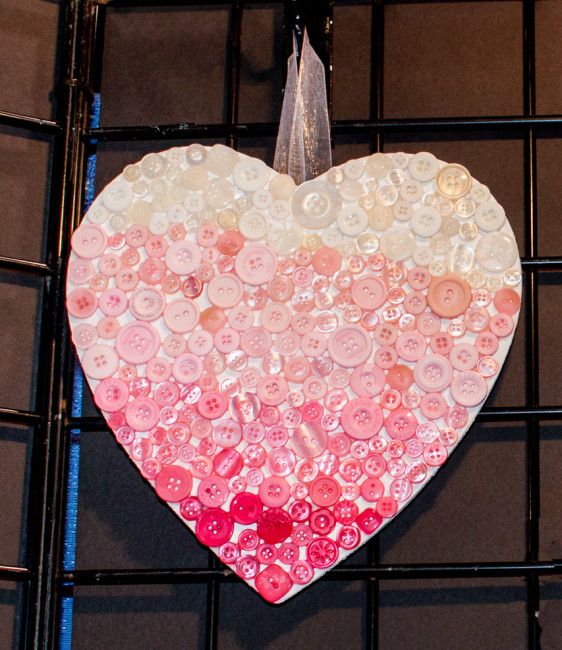
Now that the CHA Mega Show is over, we can start sharing with you a closer look at the projects that were designed for our booth, like this ombre heart!
I designed this ombre heart wall art by combining several of our button assortments that contain great shades of pink that work together to make the ombre shift.
This project is surprisingly easy. The biggest challenge is the first step working with the buttons, which is simple but can be tedious. This is a great project to do with kids, to help teach color distinction!
Step 1: Paint the wood heart base with chalk or acrylic paint.
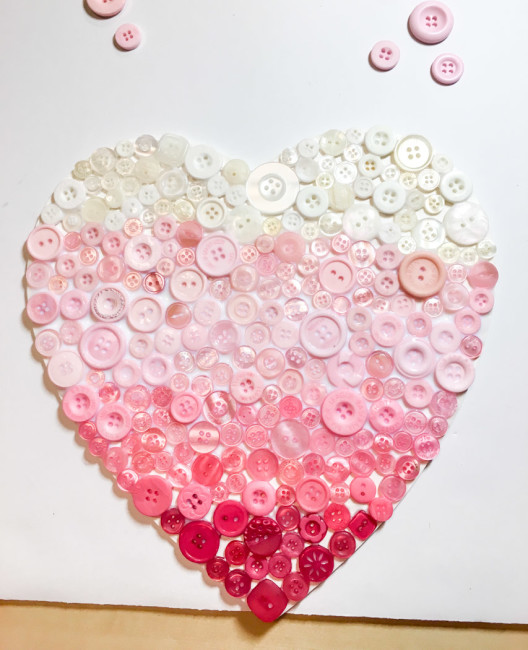
Step 2: Sort the pink buttons into five gradual color shades.
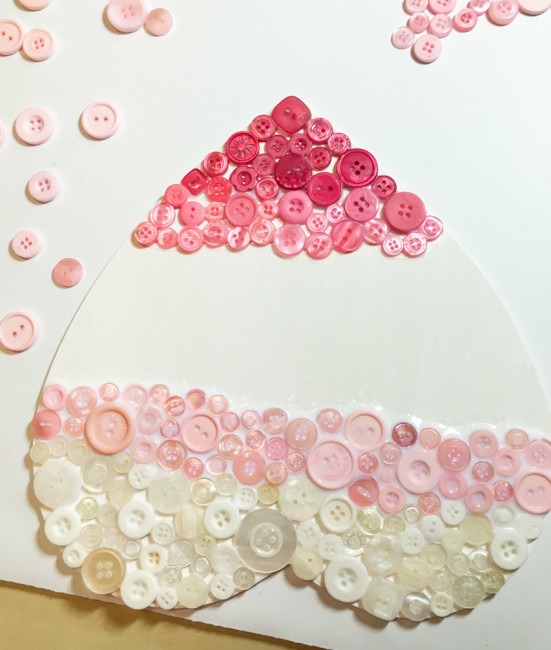
Step 3: Measure the heart from top to bottom. Divide that amount by six to get the width of each color band in the ombre heart. Mark off the divide between each color.
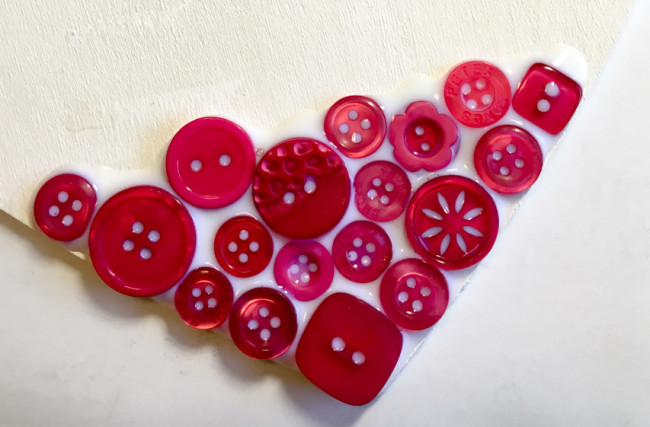
Step 4: Begin to apply the buttons. Apply a thick coat of glue in the first color band, and begin filling with the color for that band.
Step 5: While the first color dries, turn the heart around and work from the other end. Repeat until you meet in the middle and finish the final color.
Step 6: Allow the glue to dry.
Step 7: Use hot glue to attach a loop of ribbon to the rear side on the top of the ombre heart to allow for hanging.
Supplies:
- Bubblegum Button Bonanza
- Vacation Button Box
- Love Button Box
- White Button Bonanza
- White chalk paint
- Wooden heart
- White ribbon
- White glue that dries clear (I used ArtQuest PPA Matte)
- Hot glue gun
Also…don’t miss our winter sale! We’ve got great deals now through January 31st on Christmas, Winter, and Valentine’s Day themed buttons!
Nancy Nally
Latest posts by Nancy Nally (see all)
- We’re blog hopping with Poppy Stamps! - September 28, 2017
- Announcing…New 28 Lilac Lane Premium Collection Sequin Tins! - June 30, 2017
- Announcing…the new Buttons Galore Design Team! - May 18, 2017


No comments yet.