Header

Author Archive | Ann Butler

ART Quilt – Mixed Media Button and stamp design

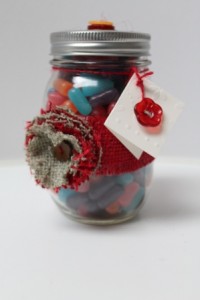
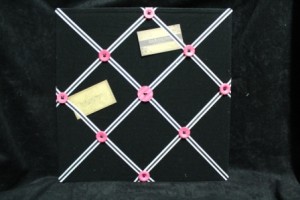
Art Quilts are fun to make. Create some ART by making a little Mixed Media Quilt using some great buttons, trims and specialty stamps.  Once you create one you will be hooked and want to create several using words that inspire you.  Oh, by the way the specialty stamps used in this project are from my new line of stamps from Unity Stamp Company so be sure and check them out as they have so many possibilities! You can use them for making cards, scrapbook pages, mini books and so much more.

 art quilt Designs 004

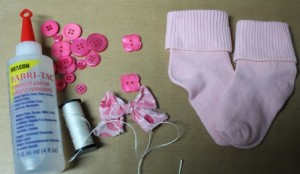
Supplies for an ART Quilt:

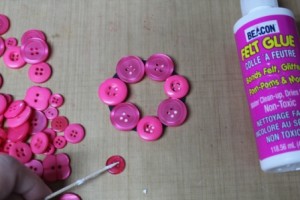
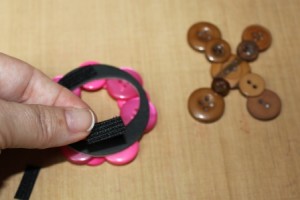
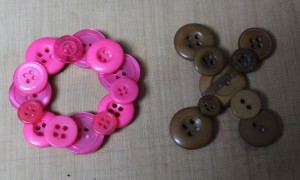
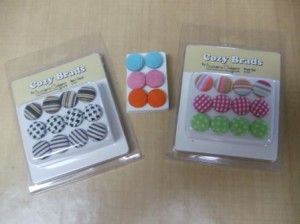
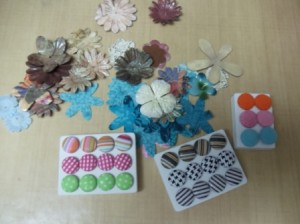
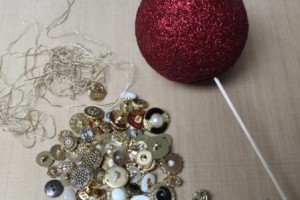
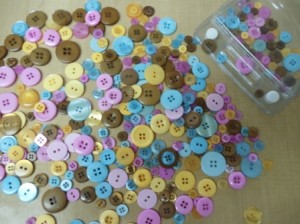
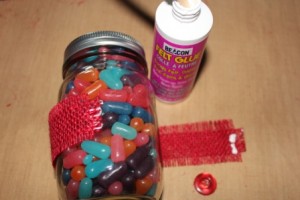
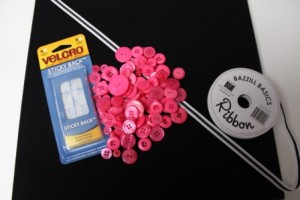
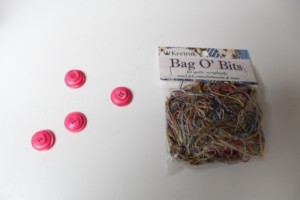
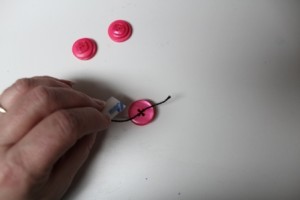
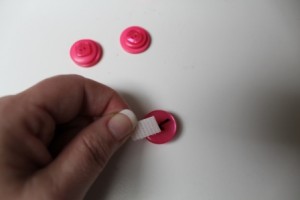
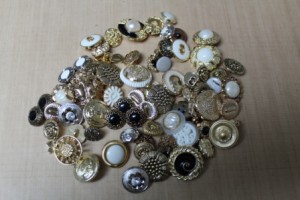
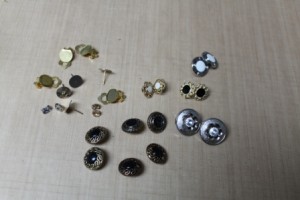
Assorted Buttons by Buttons, Galore and More

Faux Quilting Stamps by Unity Stamp Company

KellyCraft Laser Square

Crafter’s Ink by Clearsnap color of choice
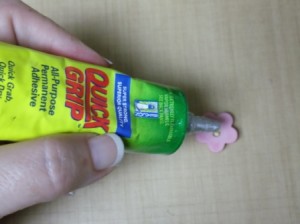
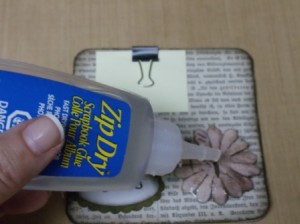
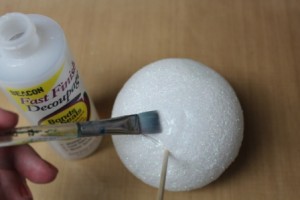
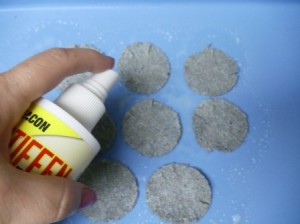
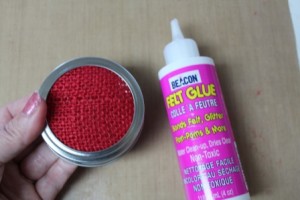
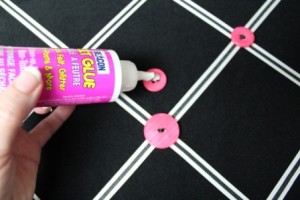
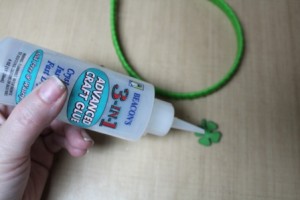
Beacon Fabri Tac

Threads by Kreinik 

Trims by Expo International

Font by Duetica

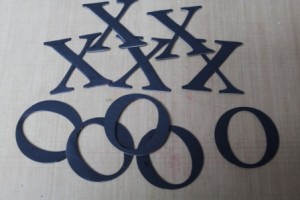
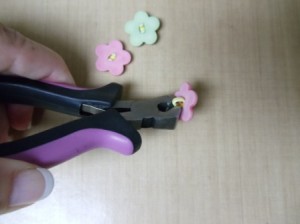
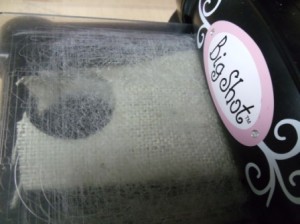
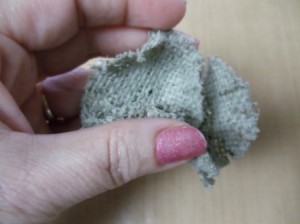
Assorted Flower Dies by Sizzix

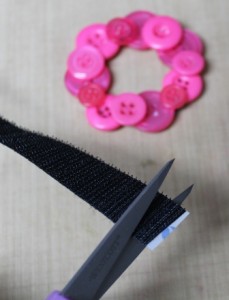
Non Stick Scissor by Westcott 

8” x 8” Muslin (2), 8” x 8” Batting, Needle, Pins, Acrylic Block, Paper Towels
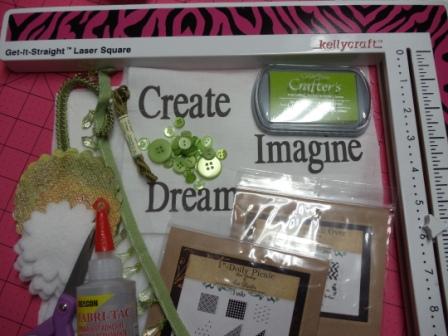
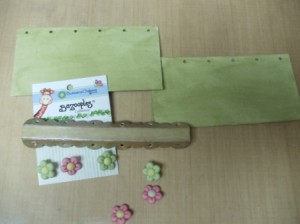
Designs 037

Gather supplies

Designs 040

Directions for making an Art Quilt:

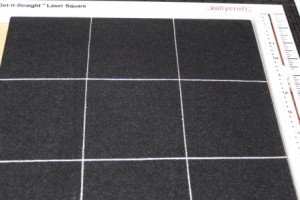
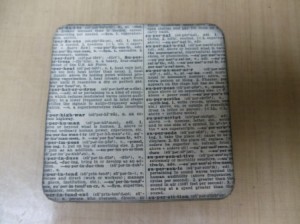
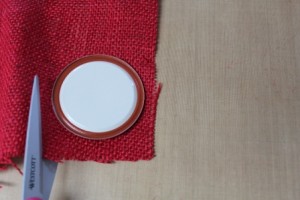
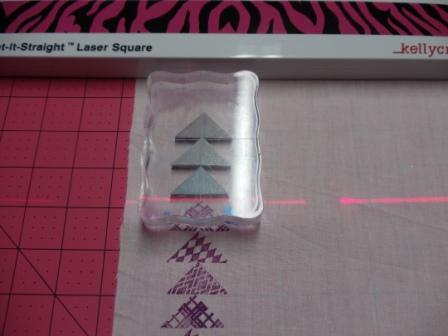
Square fabric using laser square.

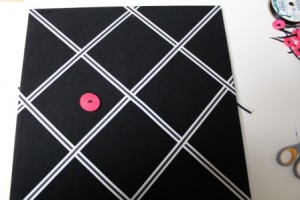
Place 3 one” triangle stamps onto clear block, ink up and stamp onto fabric three times to create a Flying Geese Quilt Pattern, using the laser square to line everything up straight.

Place fabric on top of  batting and second square of fabric; use thread to quilt around flying geese pattern.

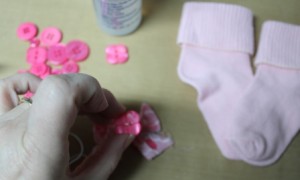
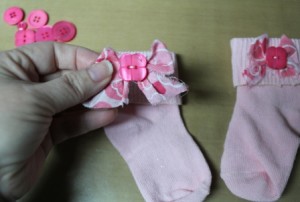
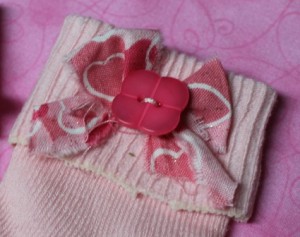
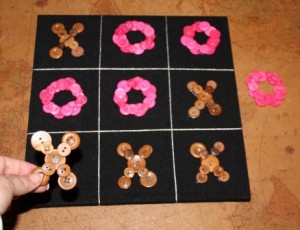
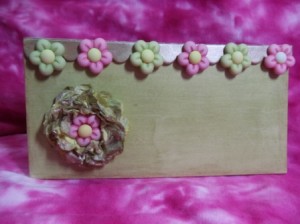
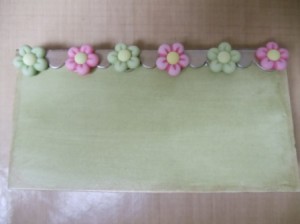
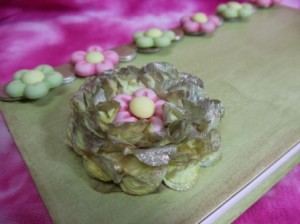
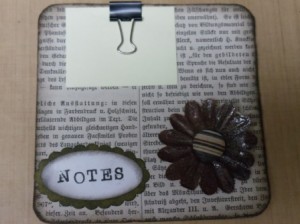
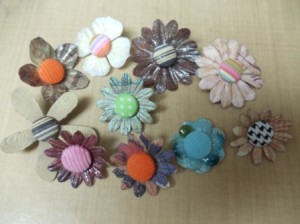
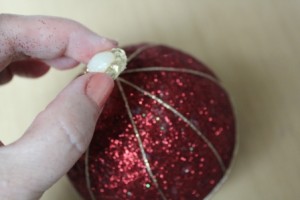
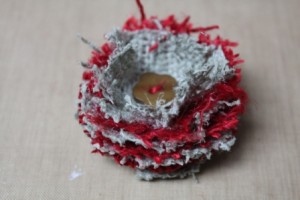
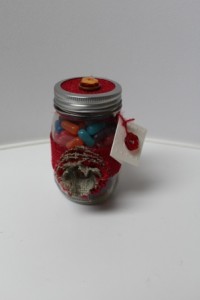
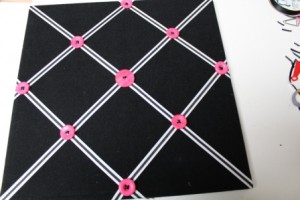
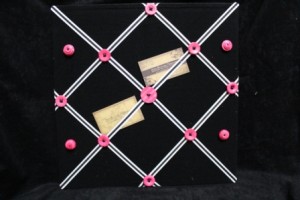
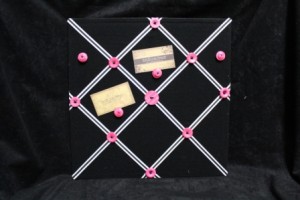
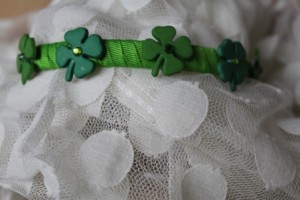
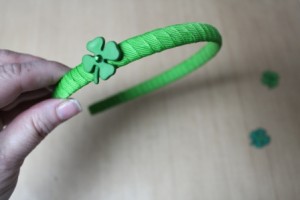
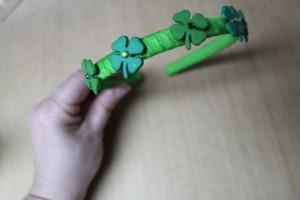
This is where the you use your creativity to arrange the die cut flower, buttons, words and trims into a pleasing manner then sew or glue into place.

Designs 005

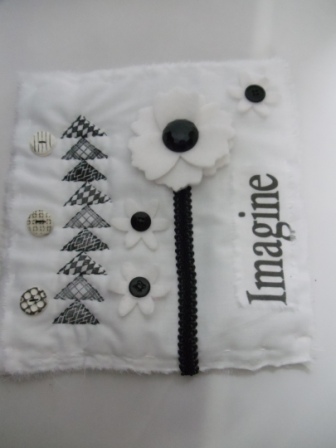
Each mini quilt will take on a look all their own, be creative and have fun!

0

Button and Bow – Make cute Socks with Buttons and Bows

Buttons are the perfect addition to most any craft, they come in every color, size and shape you can imagine.  I have been making things for my granddaughter and decided to decorate some socks.

Directions to make button and bow socks.

I started out with a plain pink pair of socks which I pre-washed and dried without fabric softener.

I got out some of my pink buttons from my BB84 Brilliant Pink Buttons package, Fabri-Tac, Kreinik Thread and some scrap pink fabric which I tore and tied into 2″ bows.

I threaded some Kreinik Thread through the button holes and glued them on top of the bows.

Then glue the bows onto the sock being sure to glue them on opposite sides of the socks.

Let dry….

Make these cute little socks in every color for a special little girl!

1

Country Chic Christmas Ornament – buttons and bows

Create this cute country chic Christmas ornament for your tree this year as they are so quick and easy to make!  The would be perfect for a handmade ornament exchange.  They look great and are easy to make with minimal costs involved.

Supplies to make country chic Christmas ornament:

Directions to make the country chic Christmas ornament.


Tear a strips of fabric 3/4″ by the following lengths 3 1/2″, 3″ and 2″.  The more fringe along the edges the better.  If your fabric does not fringe well, you can make fringes by hand and pull the threads at the edges.  Knot each piece in the middle. This will create three symmetrical bows

Glue fabric onto green pine pieces.  Allow to dry and then apply glue to the back and press  onto twig.  You might want to hold them in place for a few seconds to allow the glue to dry.  It is okay to be generous with the glue as long as you do not let it show.  The ornaments get a lot of handling in our house.

Glue buttons over knots of fabric.  Cut a string or ribbon of your choice to the top.  Glue star on top of that and allow to dry.  There you have it a cool country chic Christmas tree ornament for your tree.


0

button and bead bracelet with Christmas novelty buttons

Button and bead bracelet is so quick and easy to make you will want to whip up several pieces to have on hand for holiday gifts! They do not have a clasp so they are great for people with wrist and hand problems and also for children. You can also use different novelty themed buttons to make them for other seasons.

How cool would it be to give one for Valentine’s day made from heart buttons, an Easter piece with eggs and bunnies.  I think there are novelty buttons for almost every holiday or event you could imagine in the Buttons Galore and More store.

When I received the new winter themed buttons I knew immediately they would be perfect for jewelry.

Materials to make the novelty button and bead bracelet:

 Directions to make  button and bead bracelet:

I got out some red and green faceted beads to place in between the buttons so the buttons and started stringing them onto elastic cording alternating with three beads between each button.

I checked the placement and once I was happy with it…..

I tied it off and placed a dab of Beacon Adhesives Tacky Glue on the knot, let it dry and trimmed the ends.


0

Tic Tac Toe with Buttons

I love playing board games and discovered the VELCRO® Brand Memo Board was the perfect base to create a board game.  I decided on a Tic-Tac-Toe Board that would use Buttons as the game pieces….this was quick and easy to make, now when the grand kids come over we can sit down to a fun game of Tic-Tac-Toe; the added bonus they can also count all the buttons on each game piece to help them with their counting.

Here’s how you can create Tic Tac Toe with Buttons:

Cut out 5 circle and 5 X shapes, I did this with mat board, Sizzix Serif Alphabet and Big Shot….

Use Beacon Felt Glue to cover each game piece with buttons; I did two layers to completely cover the mat board; let dry.   I use BB84 Brilliant Pink Buttons for the circles and Latte Buttons for the X’s.

I used my KellyCraft Get-It-Straight Laser Square to perfectly align my Metallic Krenick  Thread onto the VELCRO® Brand Memo Board so that I had 9 squares the same size.

Use Westcott Non-Stick Scissor to cut small pieces of Sticky Back Velcro.

Place these onto the back of each game piece.

Now your game pieces are ready to use….Have Fun playing Tic Tac Toe with Buttons!

1

Make a checkbook cover – Button up your Checkbook –

A creative checkbook cover has never been easier when using Eileen Hull’s “Checkbook Scoreboard Die” from Sizzix.   Combine the die cut with Buttons makes a perfect combination.  While narrowing down your button choices is the hard part….but then again it is a die so you can make several in no time at all.

I chose novelty buttons from the BaZooples Collection for this checkbook cover as I knew I wanted shades of green for the cover and the flowers in this collection matched perfectly and will remind me of beautiful springtime flowers in the chilly months ahead here in Minnesota.

Materials to make a creative checkbook cover

2 Packages Buttons Galore & More BZ108 Multi Flowers

Checkbook Scoreboard Die by Sizzix

Earth Safe Finishes Shimmers

Quick Grip Adhesive by Beacon

Mat Board

Paper Towel Flowers

Shank Remover

Paintbursh

Die cut the checkbook cover, painted with different shades of shimmers.  Let the pieces dry and chose  the buttons.

I removed the shanks from the buttons.

Used Quick Grip to assemble the checkbook cover and to attach the buttons to the top edge.

I knew it needed a little something to make it complete.

I cut some scallop circles from paper towels.  I then used a paint brush to add some shimmers on them. I stacked the flowers and created a big layered flower.  For the center I placed an additional flower button.  It made the perfect  finishing touch!  Quick and Easy that’s what I like to do make a creative checkbook cover.

0

paper craft flower idea – a brad for the center

A quick paper craft flower idea

I love brads and I love flowers.  I have also been creating a lot of things with flowers recently and thought combining brads and flowers together would work for so many creative projects and have a great look. There are so many creative paper craft flower ideas out there.   I wanted to show you how to make an easy center for your flower.   I chose a quick and easy one, BRADS!  Buttons Galore & More has a great selection of brads.  They carry  are metal brads, pattern fabric covered and corduroy and many more.


I created this little post-it-note magnet for the fridge and adding the brad to the center of the craft flower.  I think it is just the right finishing touch!

I started out with a great selection of Brads from Buttons Galore and More which included Men’s Closet # CZ101 and Pretty Girl #CZ103 (I just love the names of the brads….)

I gathered up some of my die cut, silk, mat board and fabric flowers to see what would work.  I have a stash of paper craft flowers.  They are one of my favorite staples right now.

I pierced the center of each flower and started adding the brads, they looked so great as the large brads really gave the flowers some substance.

Once my flowers were ready I got out some square coasters and covered them with old dictionary pages using Zip Dry Adhesive by Beacon and inked up the edges.

I added a stamped oval saying “notes” and a binder clip to hold the post-it-notes….then glued the flower into place….

Then I added a magnet to the back and it is all ready to place on the fringe!  There you have it a simple paper craft flower idea – using brads for the center.


4

Button up Christmas in July!

July is a great month to get a head start on those Christmas decorations and using BUTTONS in your creations is always FUN!  For this project I am using a Styrofoam Ball, Glitter, Kreinik Thread, Beacon Adhesives and beautiful BUTTONS!

Supplies:

  • Buttons Galore and More Buttons: Fancy Gold Grab Bag GB102
  • 6″ Styrofoam Ball
  • Gold Thread by Kreinik
  • Fast Finish Decoupage byBeacon Adhesives
  • Quick Grip Adhesive by Beacon Adhesives
  • Red Ultra Fine Glitter by Clearsnap
  • Skewer
  • Scissor

Instructions:

Apply Fast Finish Decoupage to entire Styrofoam Ball

Place Styrofoam ball onto skewer.  Sprinkle Glitter to cover; let dry.  Apply second coat of Fast Finish Decoupage; let dry.

Choose thread of choice and buttons.

Wrap thread around ball making 8 sections, then around center to create 16 sections.  Glue white and gold buttons at the top and bottom of ball where all threads meet.  Glue gold buttons around center where threads meet; let dry.

You have a beautiful ornament for your tree or a gift….Enjoy!

0

Button Up Candy Jar

Candy Jars are quick and easy to make so it is a good idea to have several on hand for last minute gifts.  The one pictured below is no exception, it combines buttons and burlap which has great texture.  There is also a small gift tag with a flower button on the front on the front to go along with the burlap flower…..check out the instructions below….


Supplies:

Buttons from Confetti BB87 and Mardi Gras GB127

Burlap 6″ x 18″ 2 colors of choice

Beacon Adhesives Stiffen Stuff

Beacon Adhesive Felt Glue

Sizzix Big Shot

Sixxix Fringe Flower Die

Mason Jar with Lid

1 1/2″ x 3″ cardstock

Scissors, hole punch

Instructions:

Die cut 6 – 8 medium fringe flowers.

Spray both sides with Stiffen Stuff; let dry.

Scrunch each flower piece up to give it fullness.

Pick out your buttons.

Layer flower pieces together gluing between each layer.  Pull a thread from burlap to insert through holes of button and blue to top of flower.

Cut out burlap to fit lid.

Glue burlap to lid and place inside jar band; then place on jar that is filled with candy.

Cut burlap 1 1/2″ x width of jar, fringe by pulling threads; wrap around center of jar and glue in place.

Glue burlap flower onto front.  Fold cardstock in half to form a gift tag, glue threaded button to the front; punch hole in corner.  Pull thread from burlap, wrap around top of jar and thread through gift tag, tie.  Layer and thread three buttons together, glue onto the top of jar.

There you have it; a quick and easy button and burlap candy jar….


0

Buttoned up Memo Board – May

Make a quick and easy memo board using a VELCRO® Brand Memo Board, Buttons and Ribbon…..the theme of these can change easily by the buttons you use….Make several for gifts but be sure to keep one for yourself!

Supplies:
Assorted Buttons (Brilliant Pink BB84 was used here)
VELCRO® Brand Memo Board
VELCRO® Brand Sticky Back Adhesive
Beacon Adhesives Felt Glue
Kreinik Threads
Scissor

Gather your supplies


Place ribbon on memo board from corner to corner in a large X; cutting as needed; then place ribbon to create a square as shown in photo. Glue in corners and where ribbons cross.


Sew thread onto buttons then glue onto board....


where ribbons cross. For a finished look glue ribbon around edge of memo board also.


Now you can place cards onto the memo board under the ribbons.


For a more useful board pick out some buttons to layer on top of each other....


stack them together and tie off with thread.


Add Velcro Sticky Back Adhesive at the bottom over thread.


These buttons will stick the the memo board giving.....


you more ways to hold your papers on the memo board.

0

Antique Button Earrings in a FLASH!

When I opened up my package of Antique Button Mix I knew right away that I had to make some earrings in a FLASH!


When this package of antique buttons arrived.  I immediately knew what they were going to be.  Button Earrings!  The antique buttons are elegant and sophisticate.  You  will be surprised at how quick and easy it is to make button earrings.

Supplies:

Antique Button Mix (Tin 100)

Shank Remover

Earring Post (Clips optional)

Beacon’s Dazzle-Tac

Instructions:

Match up buttons into earring pairs.

Match up buttons into earring pairs; there are so many great options.

Remove shanks off backs of buttons.

Remove shanks off backs of buttons.

Glue earring backs or clips onto back of buttons; let dry.

Glue earring backs (or clips) onto back of buttons; let dry.

Done....finished in a flash....quick and easy earring; make them today and wear them tonight!  Enjoy this super easy project!

Done….finished in a flash….quick and easy earrings made in a FLASH!  Make them today and wear them tonight! Enjoy this super easy project!


2

Easy St Patrick’s Day Headband with Novelty Buttons

St Patrick's Day Headband

St Patrick’s Day Headband

Make this Quick & Easy St Patrick’s Day Headband today and wear it this evening….using “Match Ups” makes it so easy to do!

Supplies:

• Match Ups Spring Collection #2133 (5 clovers)

• Thin White Headband

• 2 yards ¼” Green Grosgrain Ribbon

• Beacon’s 3 in 1 Glue

• 5 Rhinestones

Scissor

Instructions:

Glue small piece of ribbon onto ends of headband

Glue small piece of ribbon onto ends of headband

Then glue one end of ribbon at the end of headband and wrap around at an angle until headband is covered, glue end; let dry.

Then glue one end of ribbon at the end of headband and wrap around at an angle until headband is covered, glue end; let dry.

Glue rhinestones onto center of clovers.

Glue rhinestones onto center of clovers.

Glue clovers to headband starting on one side.

Glue clovers to headband starting on one side; you can stop with just one clover or

Glue and space clovers evenly onto headband as shown.

Glue the rest of the clovers onto headband as shown.


0

Powered by WordPress. Designed by WooThemes