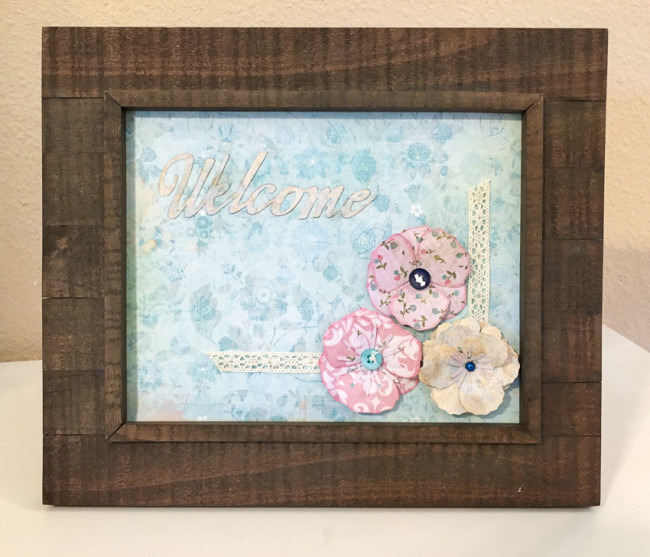
For those of you following along with the holiday frame project, there may be times when you don’t want a seasonal element in it. Today, I’m here to show you a welcome frame design for your frame for those in-between times of year!

This simple design makes use of beautiful elements from our 28 Lilac Lane “Attic Findings” kit, as well as 3D die cut elements. All of the paper elements are created from a single paper pad for easy coordination of colors and designs.
To create this welcome frame project, the background paper was cut to 8″ x 10″ to fit the frame opening. Then the crochet trim from the Attic Findings kit was cut to create the border and glued in place. The word “welcome” was die cut (sized to just slightly more than 5″) and the edges were inked to provide a drop shadow before adhering it as well.

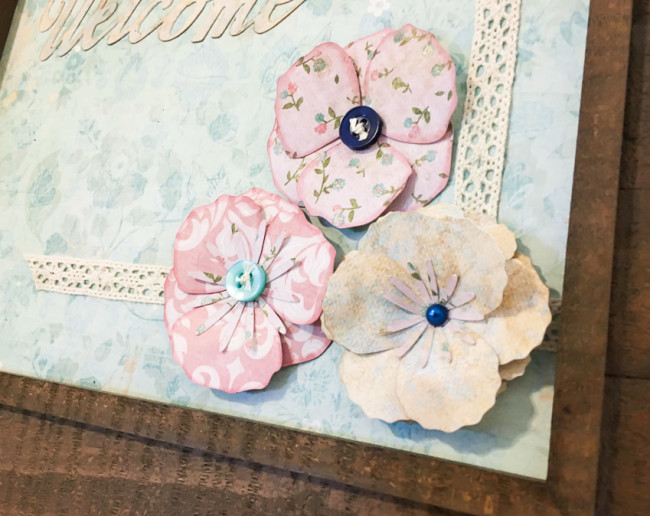
The three flowers were sized to about 2.25″ in diameter, and then cut from different papers. (The stamens on two of the flowers were cut from another flower design that wasn’t used on the frame.) The edges of the pink flowers were inked, and then the flowers were assembled.
The finishing touch on the flowers were the embellishments from the Attic Findings kit. Each flower got its own touch of contrasting color. The buttons were threaded with embroidery floss and tied off before adhering to give them a finished look.
Supplies:
- Buttons Galore 28 Lilac Lane “Attic Findings”
- PPA Matte Adhesive
- DCWV “The Primrose” Stack
- Colorbox® Mix’d Media Inx® in Chiffon
- Colorbox® Cat’s Eye Metallic Pigment Ink in Copper
- Cricut Explore Machine
- Cricut 3D Floral Home Decor cartridge
- Cricut “welcome” cut file
- Embroidery floss
- 8″ x 10″ photo frame
This welcome frame is a beautiful way to fill your holiday frame in between holidays! In case you’ve missed them, don’t forget to check out the previous installments in the holiday frame series. What holiday would you like to see added to the series next?

