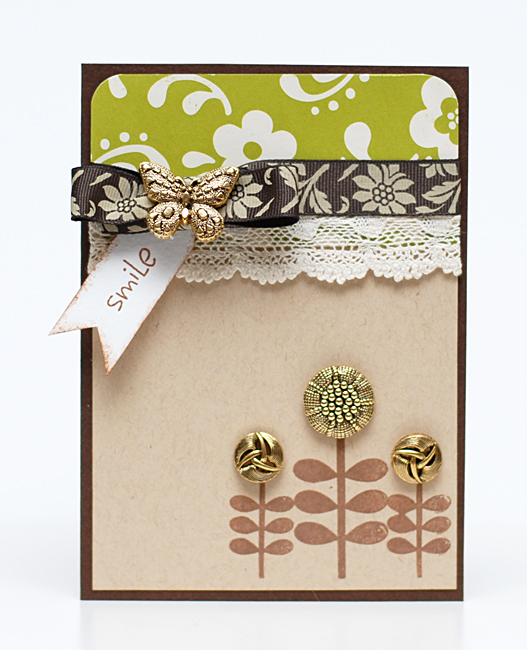
Check out my paper flower tutorial and create a pretty paper flower Pick me up- The winter months can be long, dreary and very cold depending on where you live. Here on the east coast of Canada it has been one wicked winter so far. Sometimes you just want to create something to brighten someone’s day, or even your own day. So that is what I did one afternoon. I created this sweet and simple little bouquet of paper flowers in quirky and bright tones. Sure to brighten anyone’s spirits. Try this one for someone special or for yourself. It’s amazing what a simple crafted surprise can do a person in the hectic world that we live in.
Materials used to make this paper flower project:
- Victorian Rose Vintage Buttons
- EK Success XXL Retro Flower Punch
- Fabri-Tac Adhesive by Beacon
- Fancy Pants Patterned Papers~ The Good Life Collection
- Floral Wire
- Craft Clay
- Coordinating Ribbon
- Hot Glue Gun
Instructions for paper flower craft:
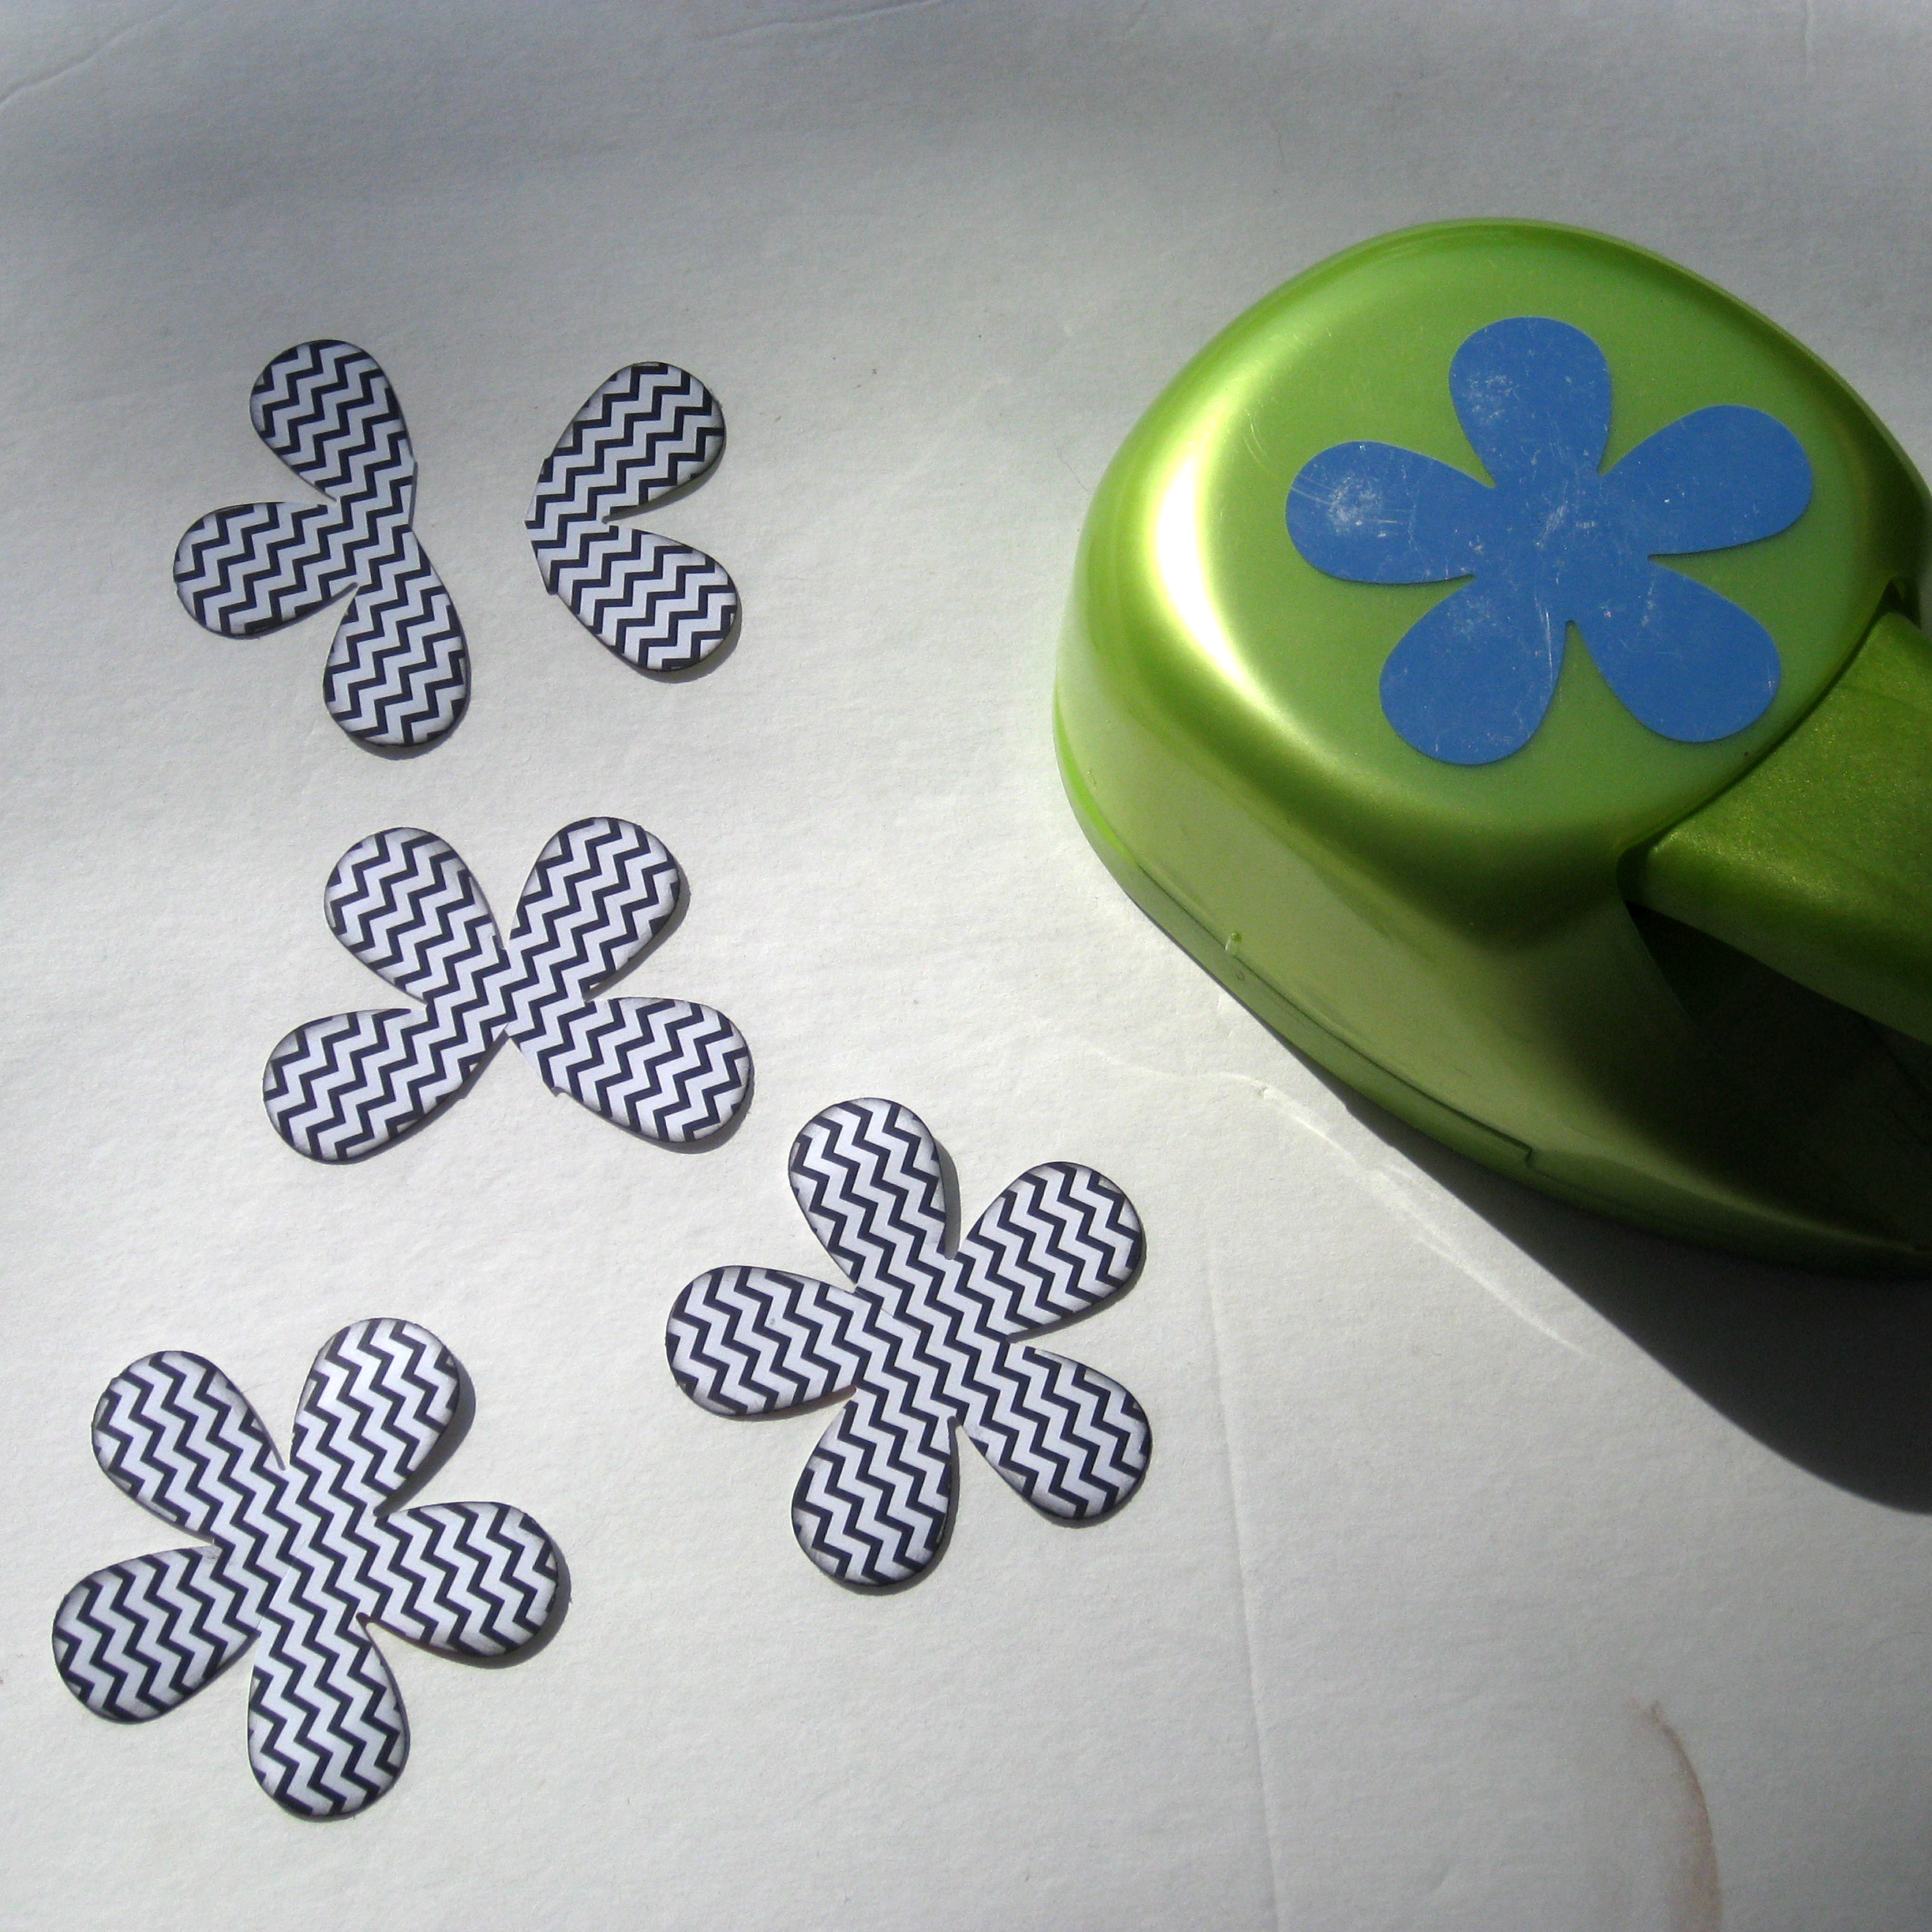
First you are going to select your pattern paper. Using the XXL flower punch, you are going to cut out 4 flowers from each pattern you would like to use. Once you have all your flowers punched, you are going to cut them accordingly. Two of the flowers remain as they are with just a simple cut up the to middle of the flower between 2 of the petals. One flower is going to have one petal removed completely. The remaining flower will be cut so that you have a section with 2 petals and a section with 3 petals. The image below shows what your pieces should look like for each of the flowers you want to create.
Next, you are going to take these pieces and glue them into shape using Fabri-Tac adhesive. Starting with the 5 petal flowers, you are going to put adhesive on one of the petals next to where you have cut. Then you are going to pull the petal on the other side of the cut, on top of the one you just added glue to. This creates sort of cone shape. You are going to repeat this with your remaining pieces. Treating the missing petals as your cut. For these flowers I actually did not end up using the 2 petal piece, as the buttons I chose to use were larger. However if you have a small button in mind, you will want to keep the 2 petal piece. The photo below now shows the shape of all the pieces.
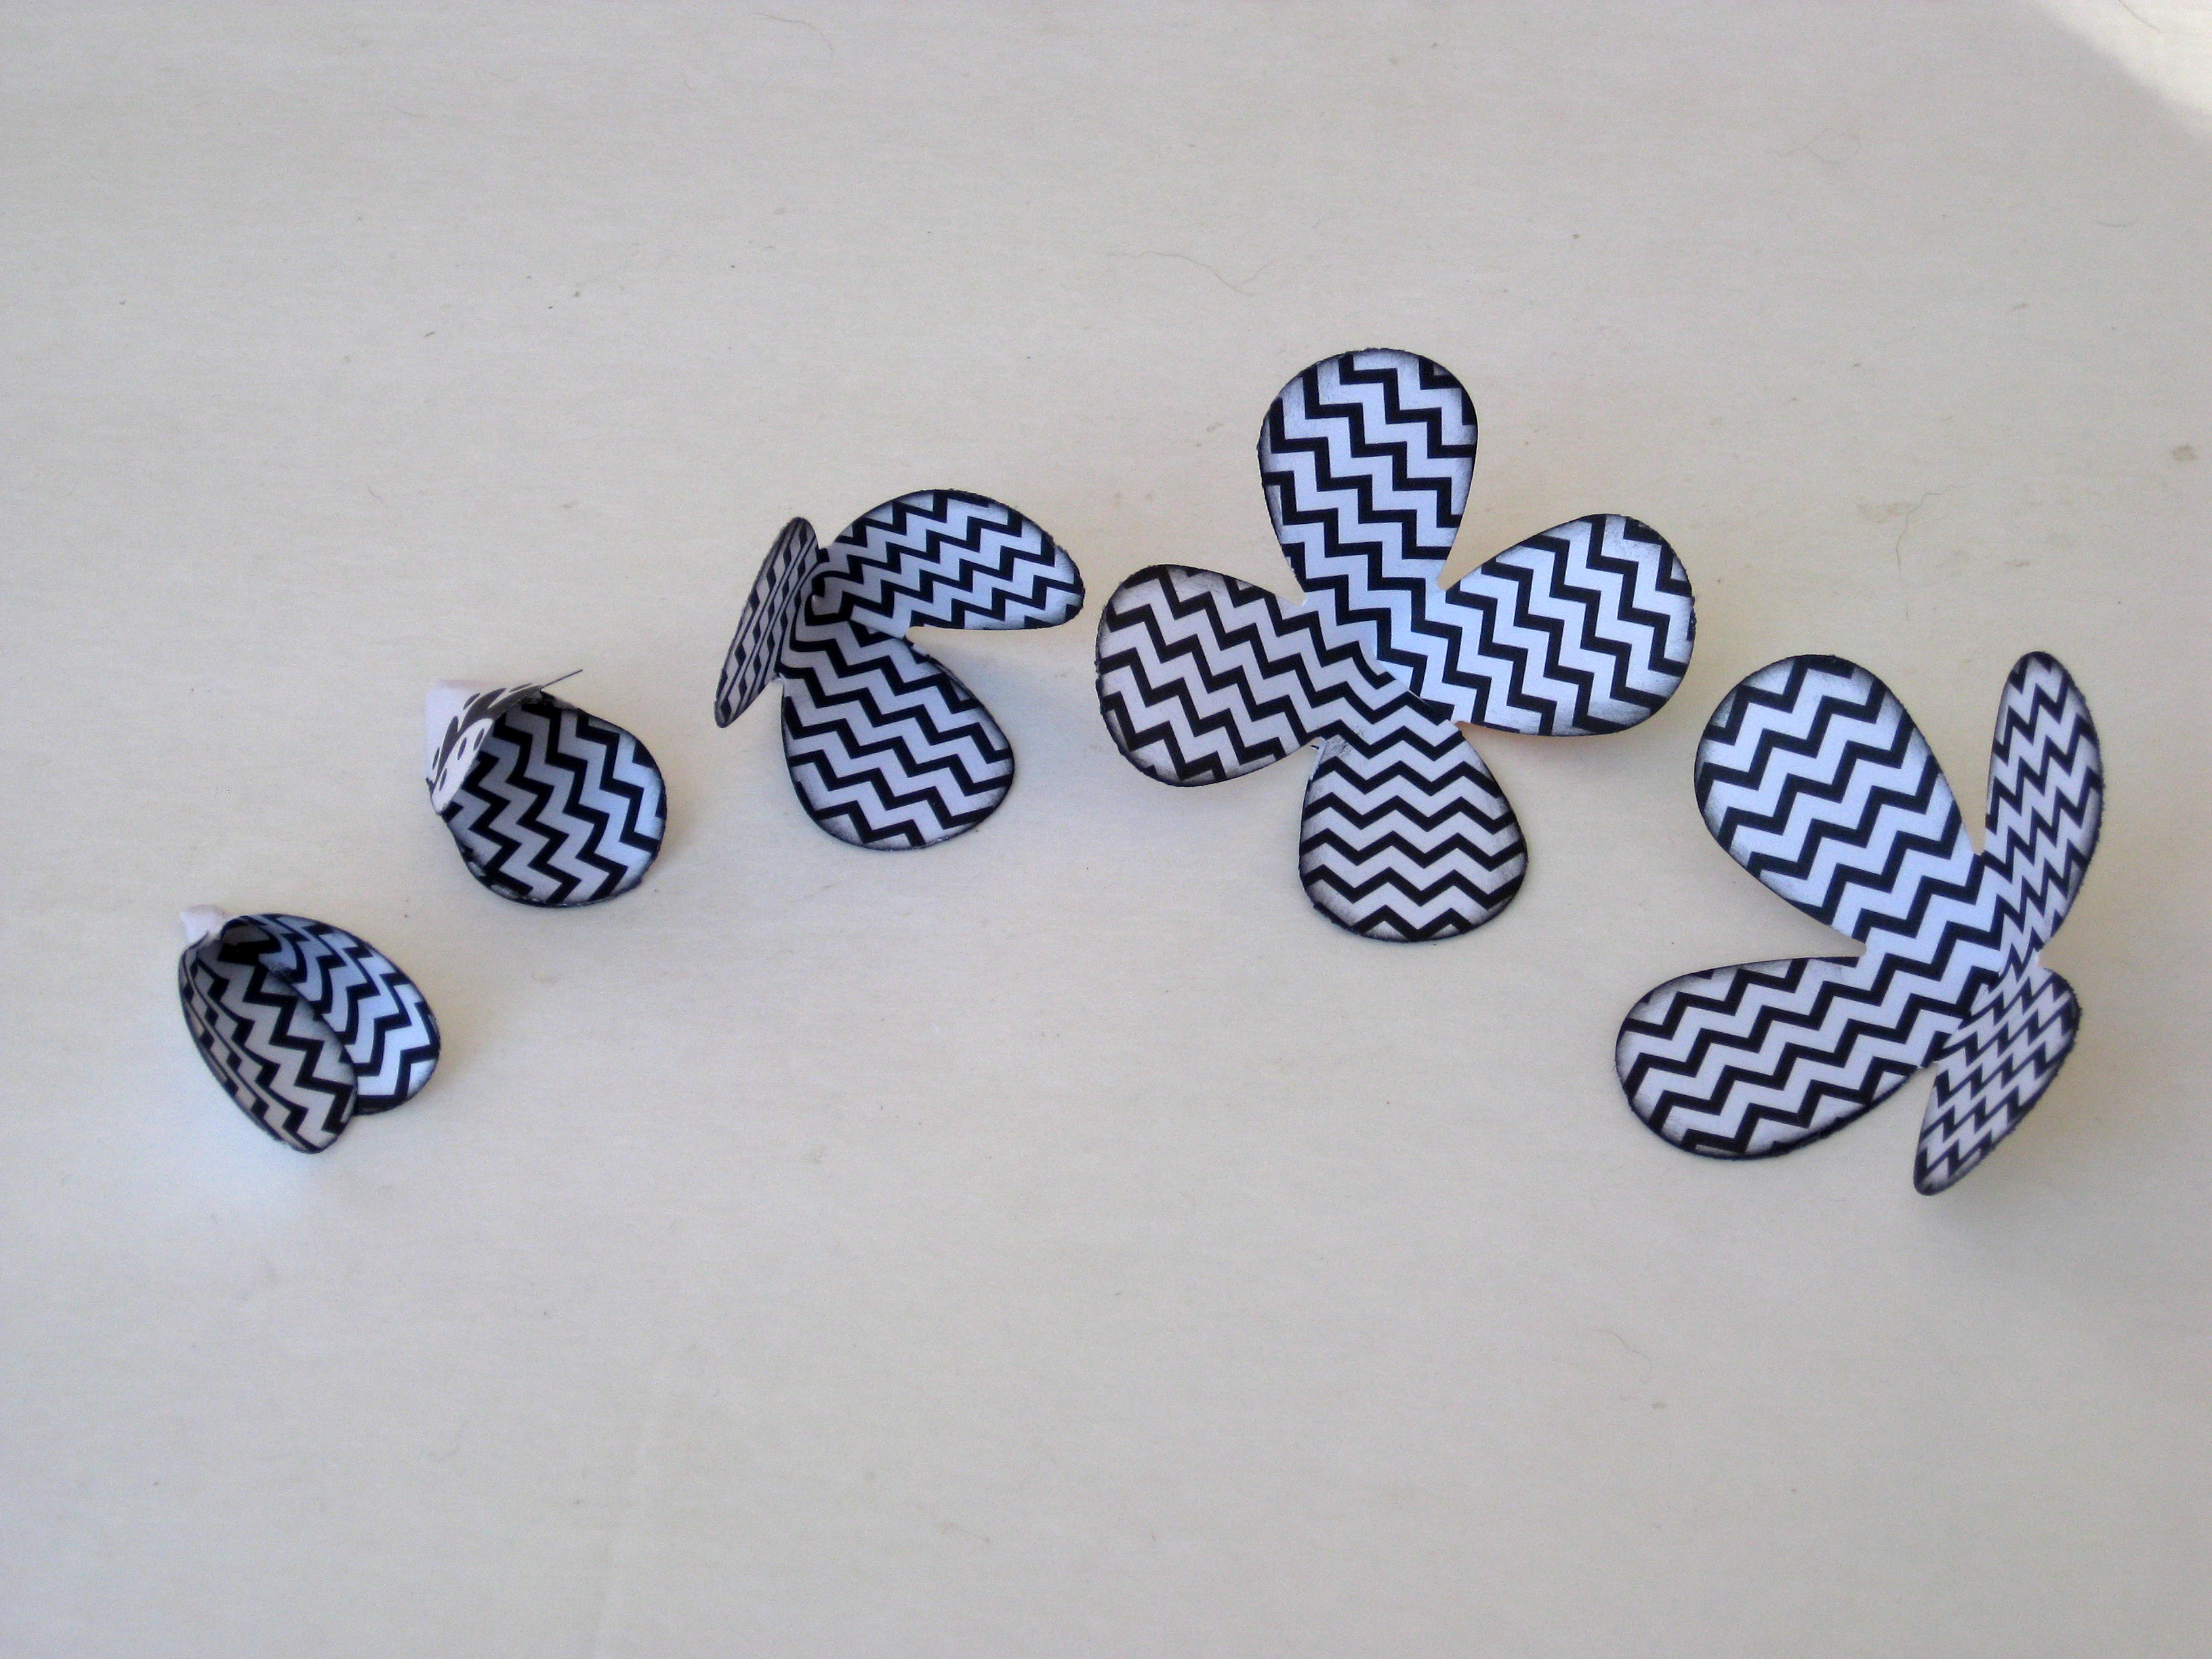
For the next step you will need something to roll your petal around to shape them. This can be a multitude of things. I use a BBQ skewer, it seems to give the the amount of curl that I like. Some other objects that could work would be a pencil or pen, an actual paper shaping tool, a nail or even just rolling the paper in your fingers can work. The image below shows some of the pieces after they have been rolled and shaped. They are now ready to assemble.

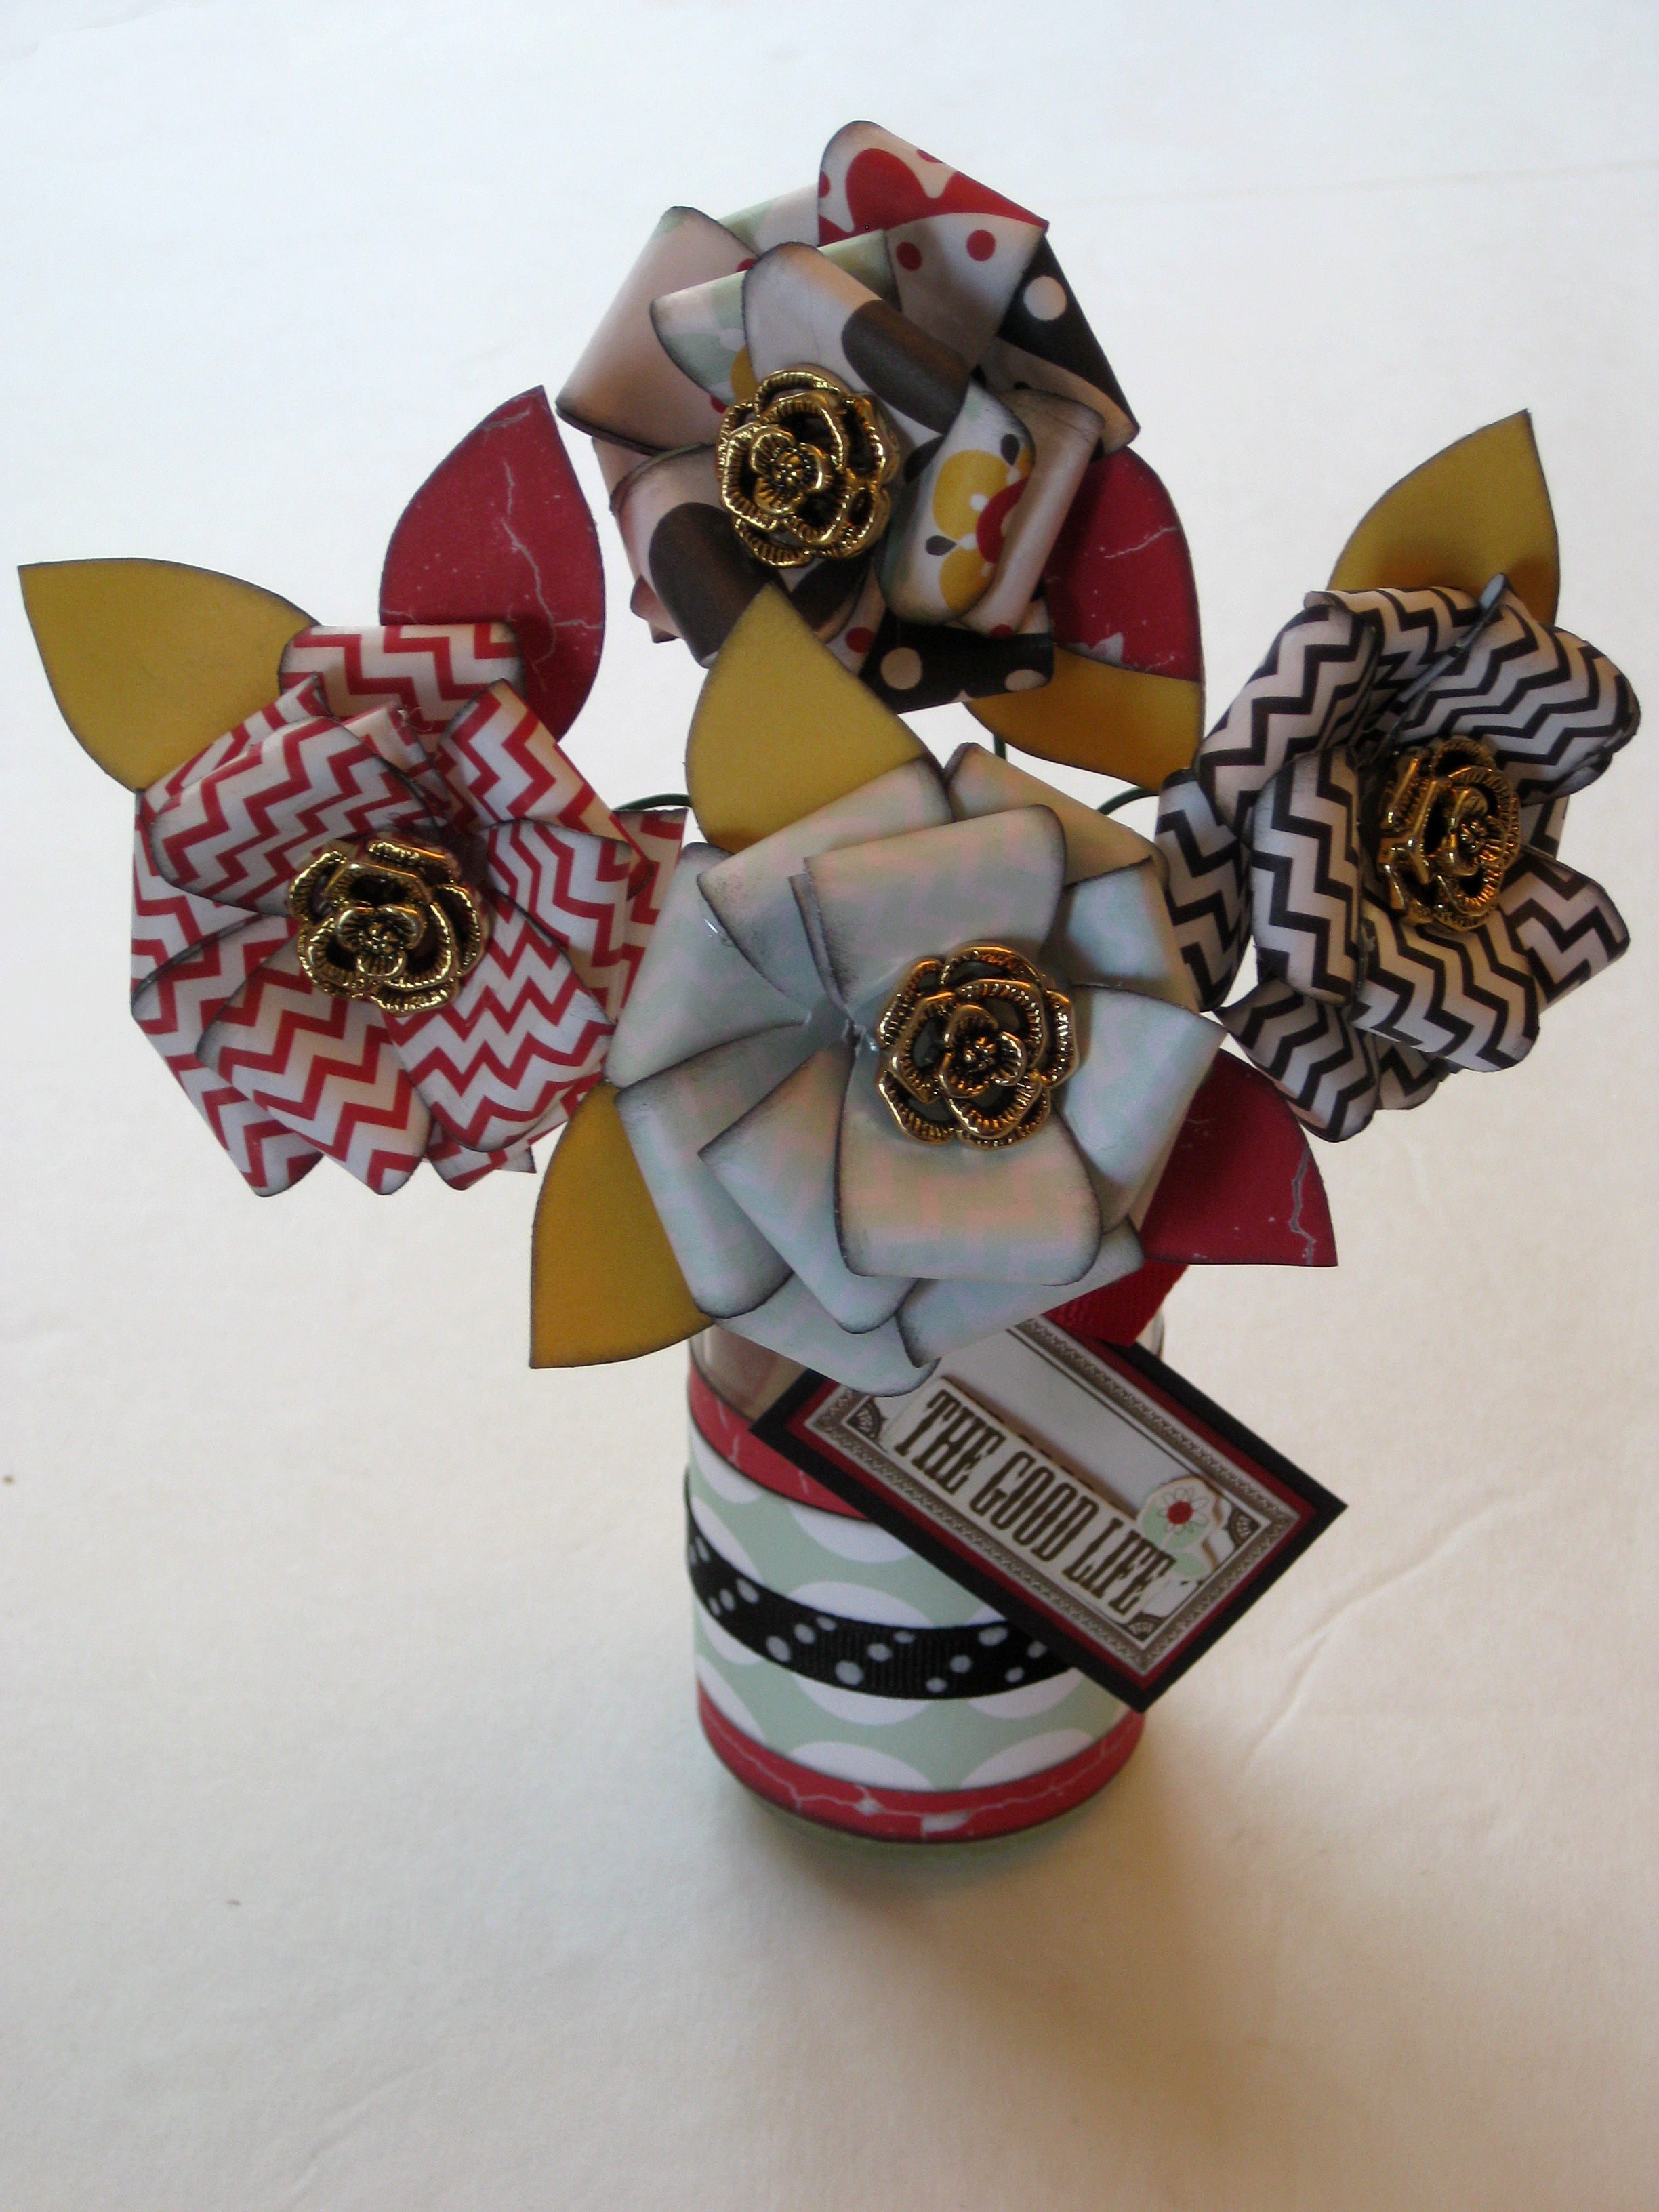
For assembly I used hot glue, as always just be careful. You are simply going to layer your flower gluing from largest to smallest. However if you would like your flowers to be on craft wire like mine, it starts with the first 4 petal flower. I poked the wire through the bottom of the flower and then looped the end of the wire so that it would not go back through the hole. Add a generous amount of hot glue and adhere the other 4 petal flower on top. Once all your layers are secured, you are free to add your gorgeous vintage button to the middle of your flower. These vintage buttons can add flare to any project, I thought they added such pizzazz to these funky little flowers.
I used a small unwanted empty crafting flower jar as my vase. I put a small amount of craft clay in the bottom for the wire to stick into and stay in place. Then I added strips of coordinating paper around the bottle to hide all the goings on inside. Then I added a bit of coordinating ribbon. I also made a tag from a coordinating cardstock sticker. Tie your tag around the top of your vase and your beautiful little bouquet is complete.
Thank you so much for crafting along