Header

Tag Archives | Vacation Buttons

Send Some Halloween Love with Buttons

Even though summer is in full swing, Halloween is sneaking up on us (boo!). Today’s project will show you how to use some Halloween products without having to wait for Halloween – and how to kick it up a notch with buttons!

Halloween love card

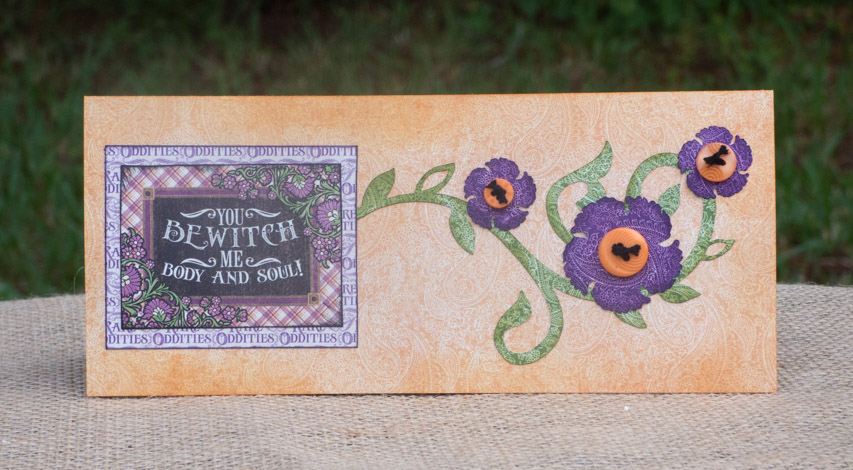
You won’t have to wait until Halloween to give someone this card! With it’s message of love, it can be delivered anytime during the Halloween season.

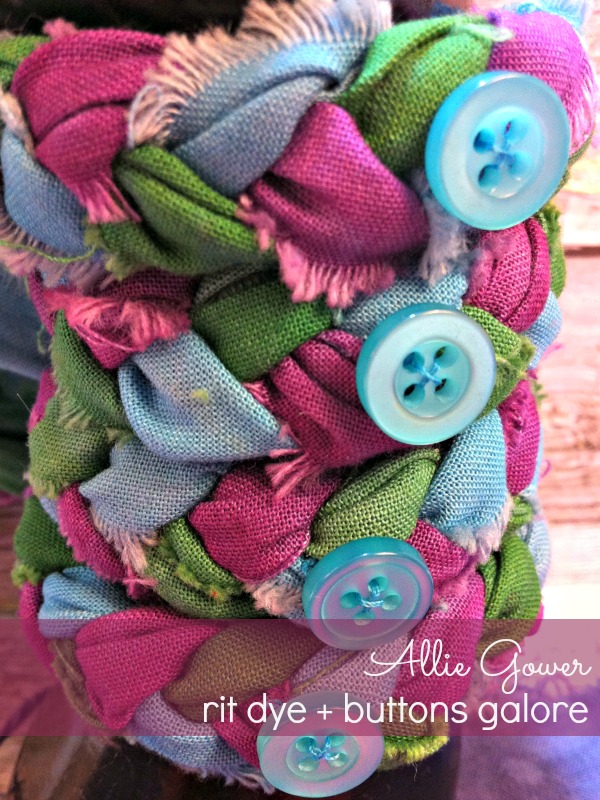
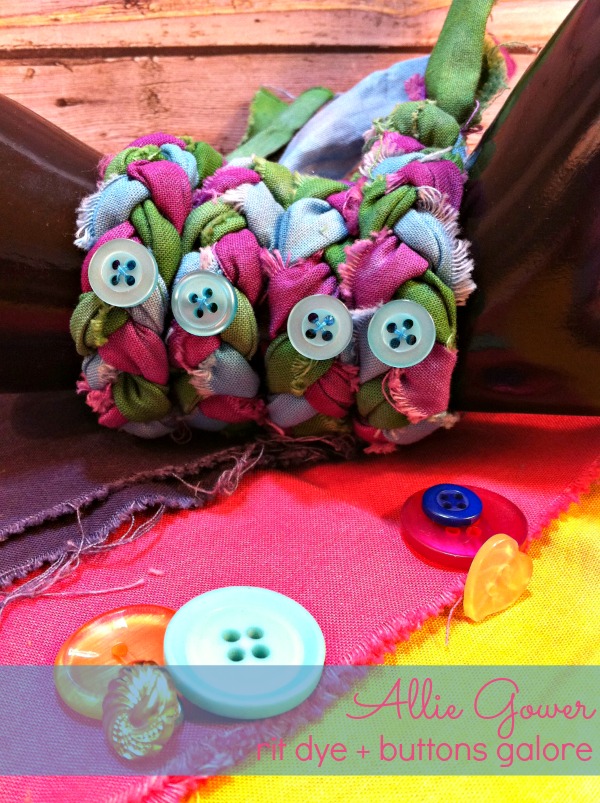
The buttons are a critical element in this design. They add a pop of color that breaks up the dark purple, but more importantly they add dimension to a design that would otherwise be entirely flat.

Supplies:

  • Patterned Paper (all patterned paper from Graphic 45’s “Rare Oddities” collection – 6×6 & 8×8 pads)
  • Cricut Explore machine & Cutting Files
  • Inkpads in black, purple, green and brown
  • Adhesive dots
  • Black thread & needle
  • cream cardstock
  • Buttons Galore “Vacation” button pack

1. Cut a 3.5″ by 8″ piece of background paper for the card base. Ink edges. (While this is a non-standard card size, it will fill in a standard business sized envelope.)

2. Use die cut machine to cut out vine and flowers. Ink edges of all pieces.

3. Cut sentiment block from patterned paper. Ink edges and mat on patterned paper.

4. Adhere all pieces to background.

button flower centers

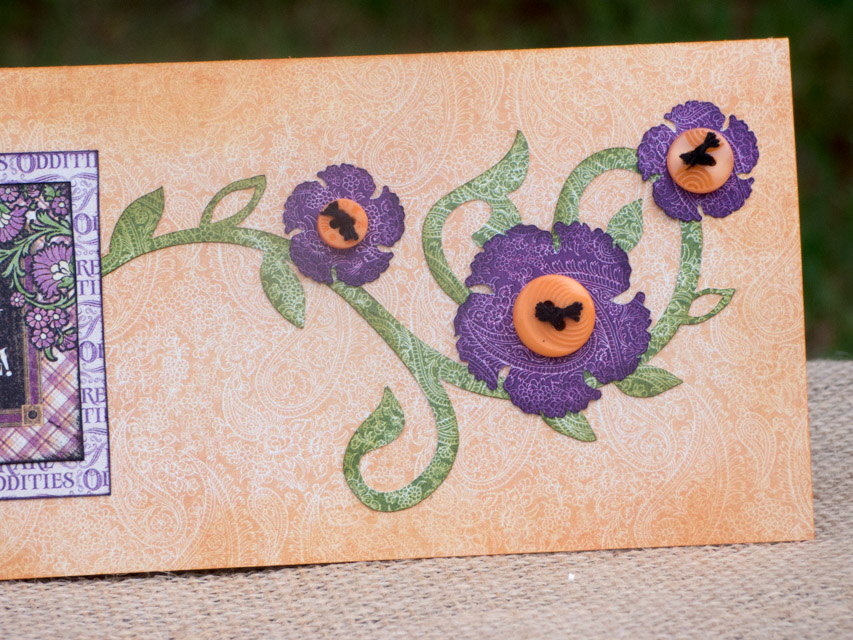
5. Sew thread through buttons and tie off. Adhere buttons on the center of the flowers.

6. Cut an 8″ x 7″ piece of cream cardstock to use as cardbase and fold. Adhere card front to base.

Who would you like to send a bewitching message of Halloween love to this season?

1

ScrapFest Samples – Create a Disney Style Embellishment

Allie Gower has created a fun and happy Disney Style Embellishment using the Vacation Button Assortment, an Archiver’s Exclusive.

ScrapFest – Disney Style Embellishment Sample

Archivers Logo

Buttons Galore is heading to Archivers Mall of America for ScrapFest 2013.

Join us for fun make and takes each day of ScrapFest.

Create a Disney Style Embellishment for your Scrapbook page with Vacation Buttons.

Supplies for ScrapFest – Disney Style Embellishment

  • Vacation Assortment – Archiver’s Exclusive
  • Cardstock  – Archiver’s
  • Wish Ticket – Silhouette Online Store – adapted to include a mat and mouse ears
  • Adhesive – Scotch Quick Dry Adhesive

Directions for Creating Card

  1. Modify Wish Ticket and cut all appropriate pieces. Assemble.
  2. Add Vacation Assortment buttons.

Please note that all of these supplies used to make the ScrapFest projects are readily available in your local Archivers, and many of them are available in the Archiver’s Annex Online. Projects will be on display in the Archiver’s at the Mall of America.

See more of Allie’s work at her blog, My Card Party.

0

Dyed Boho Bracelet DIY

Buttons and Boho Bracelets … Say that three times fast.

This Dyed Boho Bracelet DIY is extra fun and special. Why BUY when you can DIY? Right?

We’ve all been having a lot of fun with the Rit Dye, and I had a lot of Moda Jelly Roll Strips left, so I was playing around with braiding and made this Boho style bracelet. It’s actually braided, but it has that vibrant, Boho feel.

Boho Bracelet


It’s funny, I work with buttons a lot, obviously … but it had been a while since I’d sewed. My fingertips would highly recommend you use a thimble!


Boho Bracelet


Dyed Boho Bracelet DIY Instructions:

Take three dyed Moda Jelly Roll strips and braid them. Determine placement for the buttons on your wrist and add the buttons. For specifics on how I dyed my fabric, please see my Rit Dye Blog Hop Post. It was really very easy! The strips naturally fray a bit and will fold and show different bits, it really adds to the look of the braid.

Knot your braids at each end. Tip – use a clip board to hold your strips and leave plenty of extra length at each end so that you can knot the ends and also tie it on your wrist.

Supplies for creating bracelet:

  • Rit Dye – Aquamarine, Kelly Green, and Fucshia
  • Buttons – Vacation
  • Thread – Coats & Clark


You will also need needles, and as suggested by my fingertips, a thimble! I hope you enjoyed this Dyed Boho Bracelet DIY.

Have you hopped with us? There are so many fun projects with buttons and dye that you won’t want to miss.


Don’t forget to enter our Rit Dye and Buttons Galore and More Giveaway

Rafflecopter giveaway

1

Powered by WordPress. Designed by WooThemes