Header

Tag Archives | Spellbinders Paper Arts

Winter Card Ideas: Sunday Cardmaking

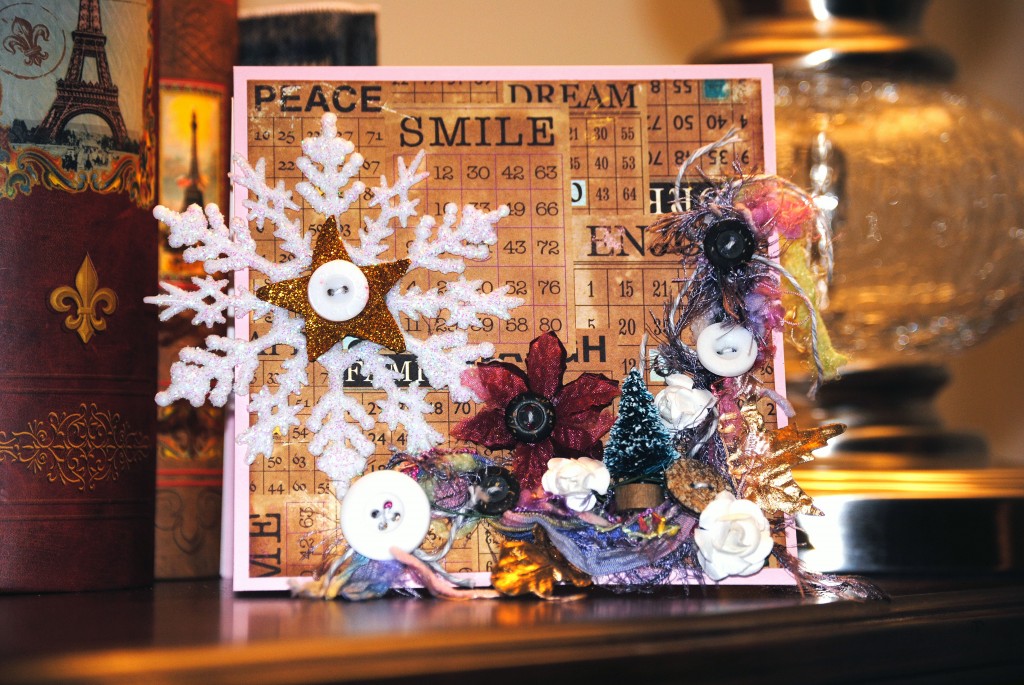
I’m back with more winter card ideas. I had some holiday pictures to mail off, and I thought this was a fun card to create, to accompany those pictures.

Let me walk you through the process. It’s not hard at all!

WINTER CARD IDEAS

Directions for making Winter card

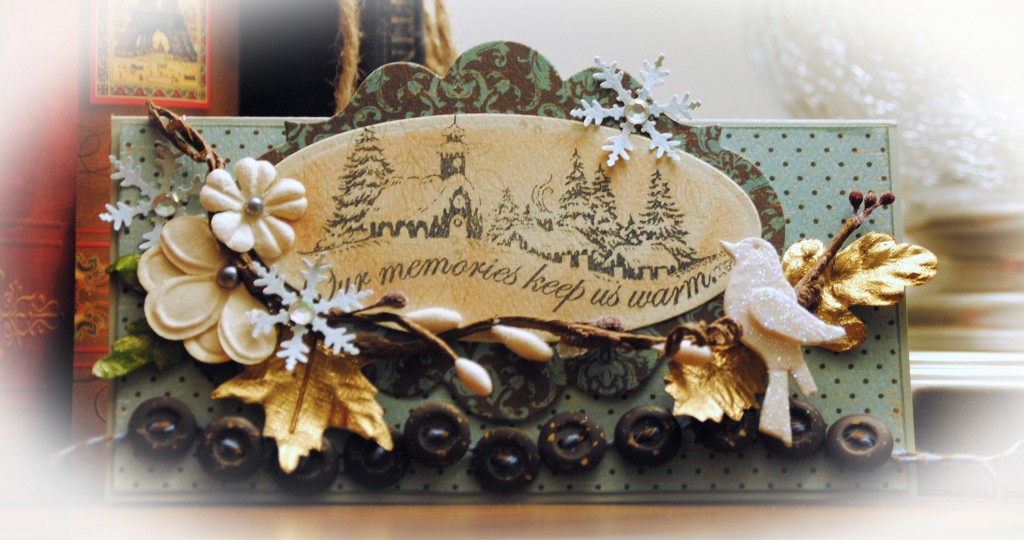
I started with an 8.5 x 11″ sheet of cardstock from  My Favorite Things and cut a piece 6″ square and folded it in half. I chose this size, because inside, I added a Caribou gift card, just a little after the holidays treat! I just stuck it on with a Memory Book Dot ‘n Go glue dot.

A piece of patterned Authentique paper sized 2.75 x 5.75″ was added. I colored the edges of the card with a Copic marker to match the patterned paper. The paper edges are inked in the same color using the broad tip. I stamped the image on cardstock with Memento ink and then taped my die in place using Washi tape to hold it in place. When I removed the die and paper, I left the tape, and sponged on some Close to My Heart ink to distress it.

I placed some white chipboard on a Wacky Tape Sheet and die cut a bird and wing. The bird was then glittered with some Clearsnap Sugar Shimmer.

I bent the vine in the shape I wanted and adhered it with 3 in 1 Craft Glue. I threaded some Rustic Coconut Shell Buttons using some twine, and adhered the buttons using Memory Book Dot ‘n Go glue dots and a few foam squares for added dimension. I added the rest of the embellishments using 3 in 1 Craft Glue and Memory Book Dot ‘n Go glue dots.

Buttons Galore Products Used 

 Promotional Products Used

Additional Products 

  • Sizzix – Bird Die
  • Ivory Flowers – Petaloo
  • Vine – Prima
  • Bling – Want2Scrap
  • Snowflakes – Punch
  • Ink – Copic, Memento
  • Stamp – Close To My Heart
  • Twine – Doodlebug Designs


I am glad you joined us for Sunday Cardmaking. I hope you are enjoying the Winter Card Ideas. I’ll be back next Sunday with another project idea.
4

Shabby Chic Card: Sunday Cardmaking

Cardmaking - Winter I

I’ve got a shabby chic card for today’s Sunday Cardmaking post – and it is very easy. It’s for a friend that loves all things shabby chic.

Let me walk you through the process. It’s not hard at all!

Directions for a shabby chic card:

I started with an 8.5 x 11″ sheet of cardstock from  My Favorite Things and cut a strip 5.5 x 11″ and folded it in half. A piece of patterned Authentique paper sized 5.25″ square was added. I placed some plain cardstock on a Wacky Tape Sheet and die cut a star. The star was then glittered with some Clearsnap gold glitter. I adhered the large snowflake and glittered star and button with 3 in 1 Craft Glue.

I gathered the fibers and ribbons. I cinched them together with Wild White Buttons and Rustic Coconut Shell Buttons using some twine. I punched two small holes in the cardstock behind each button, and tied the ribbon to the card. The rest of the embellishments were adhered using 3 in 1 Craft Glue and Memory Book Dot ‘n Go glue dots.

Once everything was dry, I placed the card, along with a few small gifts, in a bubble mailer. It’s a little late for Christmas, but it’s a nice winter card, too. Don’t you think?

Buttons Galore Products Used for the shabby chic card:

 Promotional Products Used

Additional Products 

Large White Glittered Snowflake and Christmas Tree – Michael’s, Poinsettia and Gold Leaves – Prima, Assorted Fibers – Basic Grey, White Flowers – unknown


Thank you for joining us this Sunday and my shabby chic card. I’ll be back next Sunday with another winter card idea.

3

Cozy Brads + 15 minutes = cute handmade card!

Good Morning! It’s a great day to encourage someone to reach up and go for their dreams….what better way to do that than with a handmade card??? And this one can be created in less than 15 minutes! I know for a fact because…..
Confession time: I should have had it done and up on the Card Positioning Systems blog, ready to run first thing on Tuesday morning, but totally spaced it and didn’t create it or load it!!! So I had to whip it up first thing and it took less than 15 mins start to finish. I just used the weekly sketch, threw in a mix of fun patterned papers, some ribbon and two fabulous Cozy Brads and BAM!!! Done! Enjoy!!


Supplies:

Stamps: Hero Arts – Anytime Messages
Ink: Tsukineko Memento Dye Ink – Tuxedo Black
Patterned Paper: Fancy Pants Designs – Childish 6×6 Paper Pad
Cardstock: Bazzill Basics
Brads: Buttons Galore & More – Cozy Brads: All Boy
Dies: Spellbinders Paper Arts
Ribbon: Generic Grosgrain
Punch: Fiskars Scalloped Punch

0

Powered by WordPress. Designed by WooThemes