Header

Tag Archives | masculine

Sew a Button and Burlap Pencil Case

Sew a button and burlap pencil case for the guy in your life. It’s just right for the high school graduate who is heading off to college in the Fall or it would also be a great Father’s Day gift.

button and burlap Button & Burlap Pencil Case II

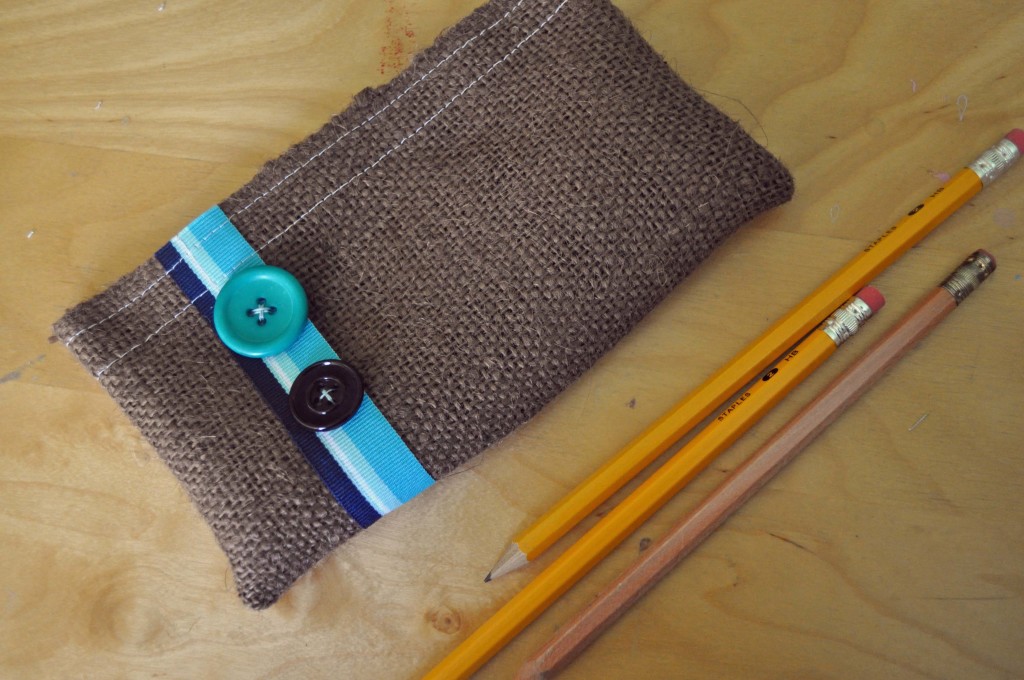
I know I’m always trying to keep my husband organized and he’s always looking for pens and pencils. Do you think there’s any chance a button and burlap pencil case is going to help?  Naw, I don’t think so either, but it’s fun to make!

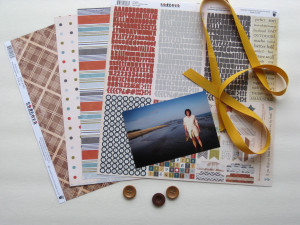
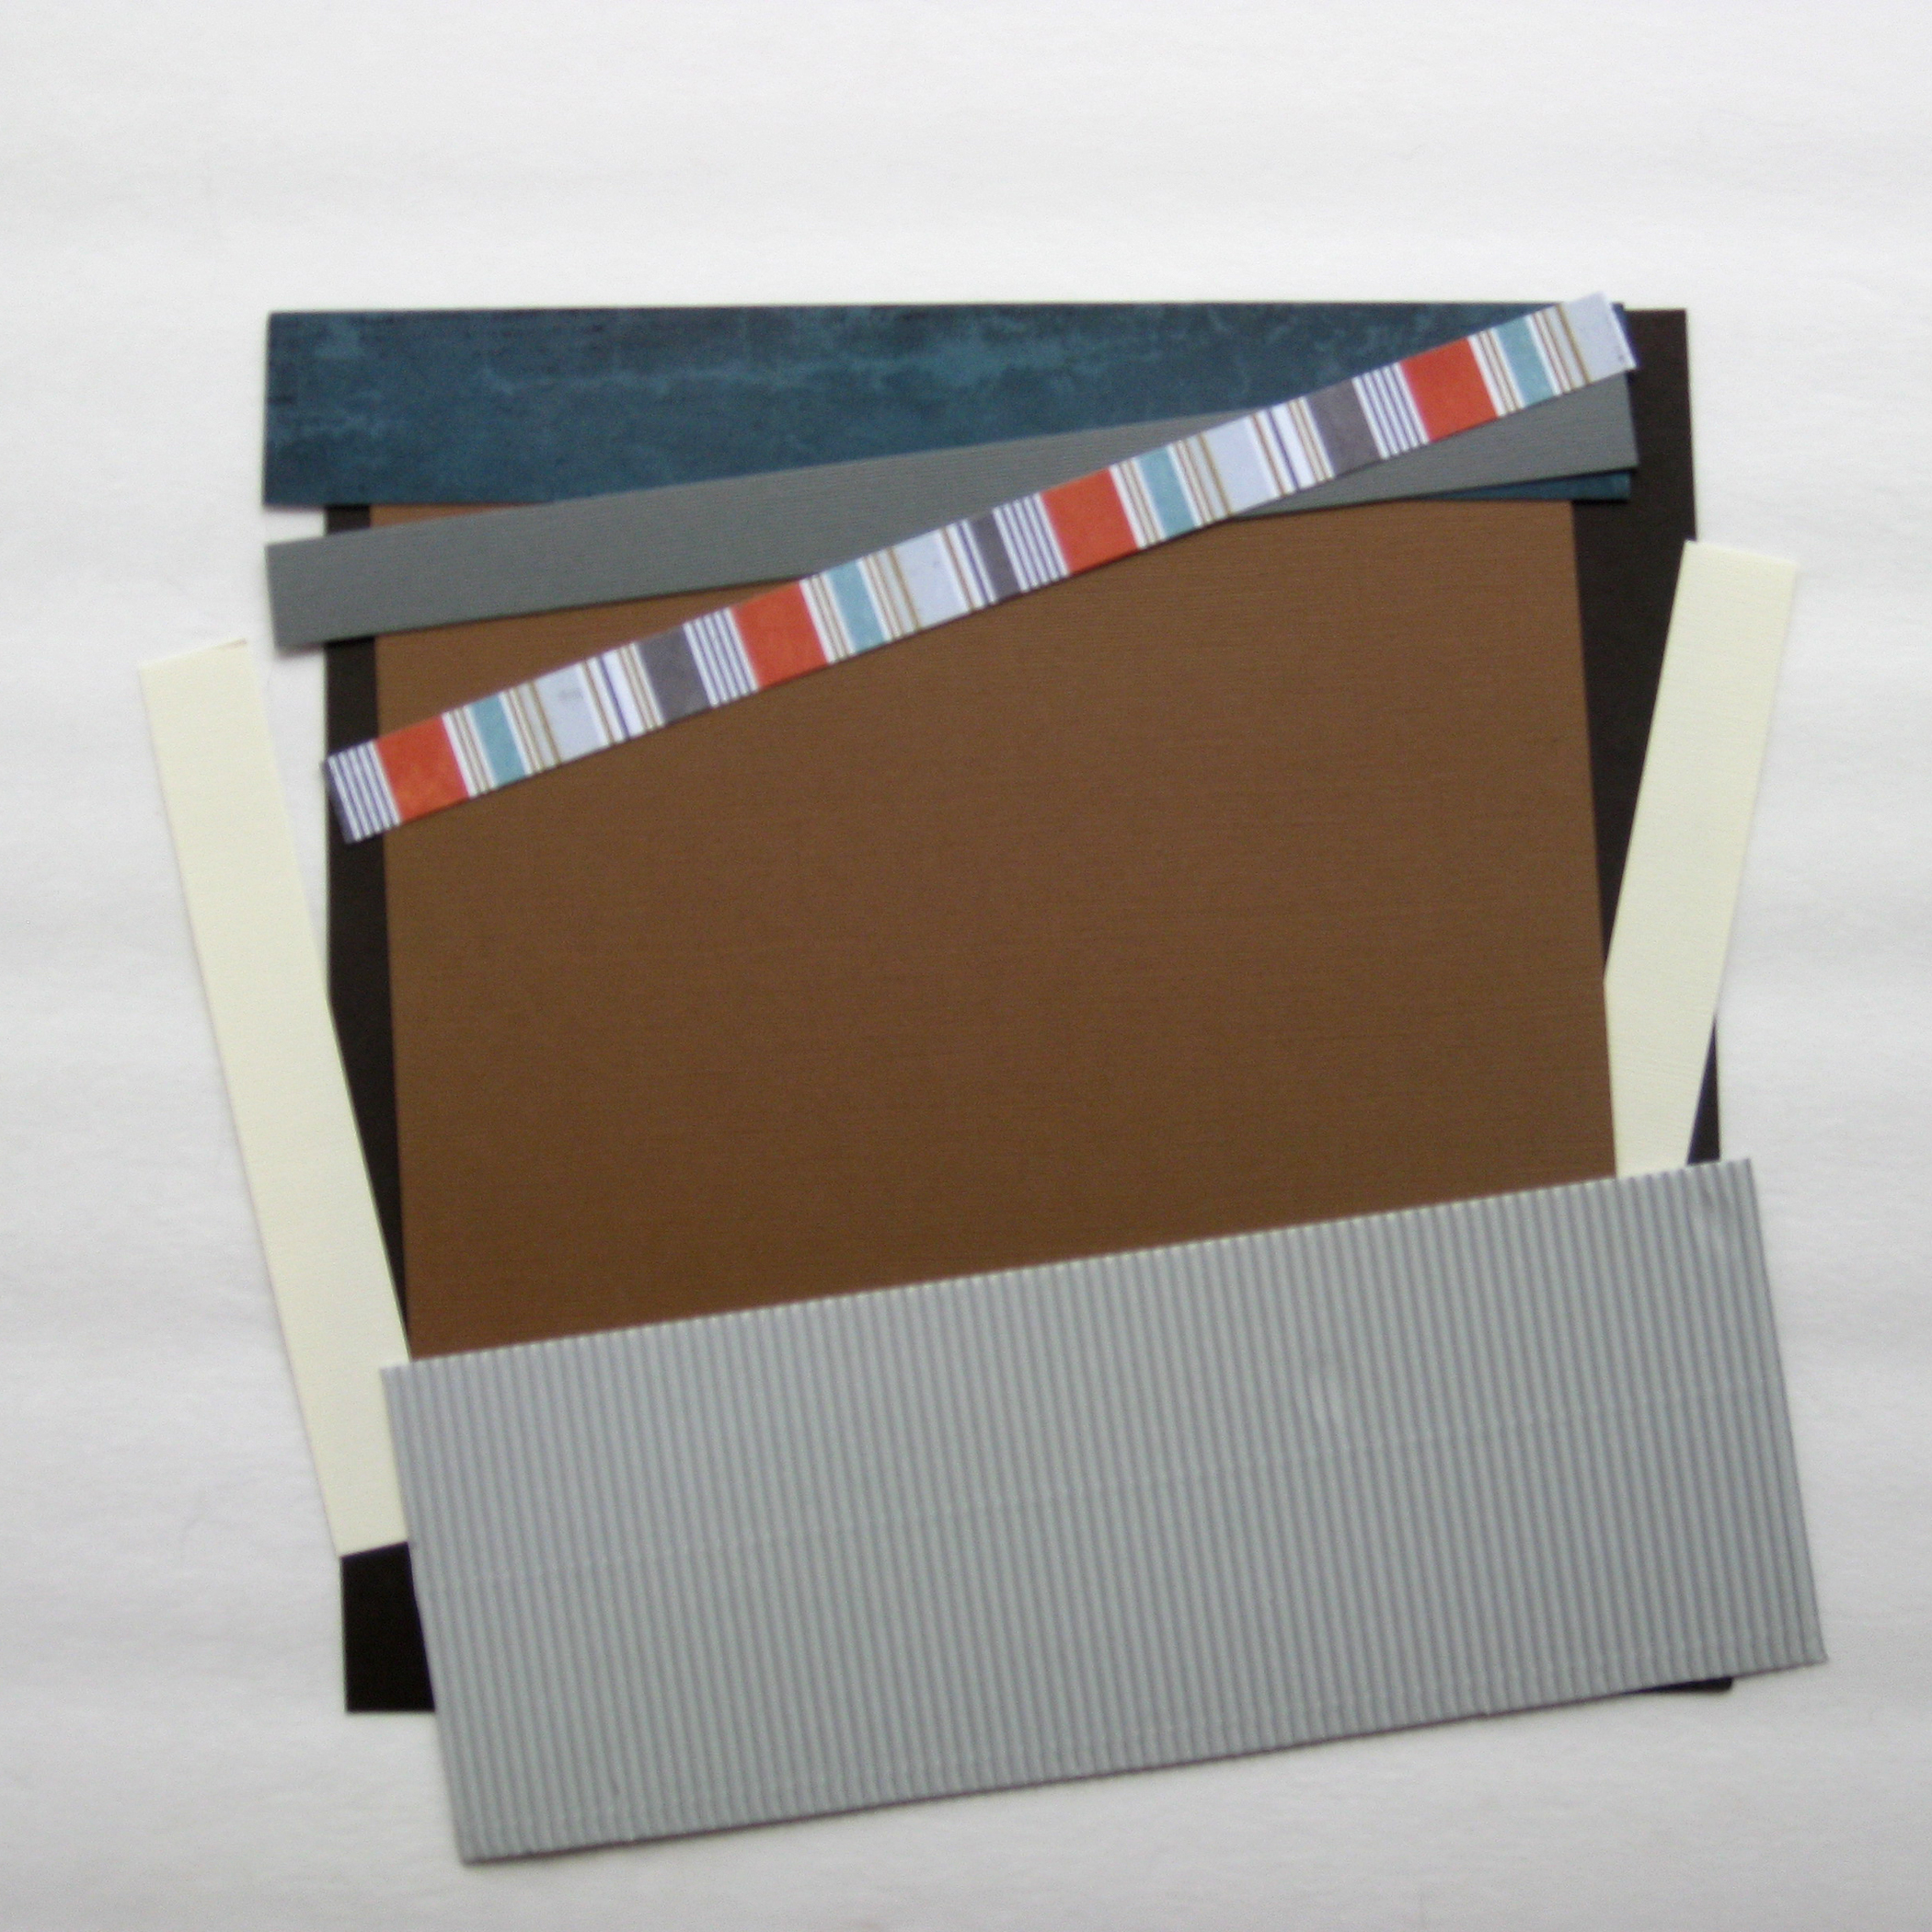
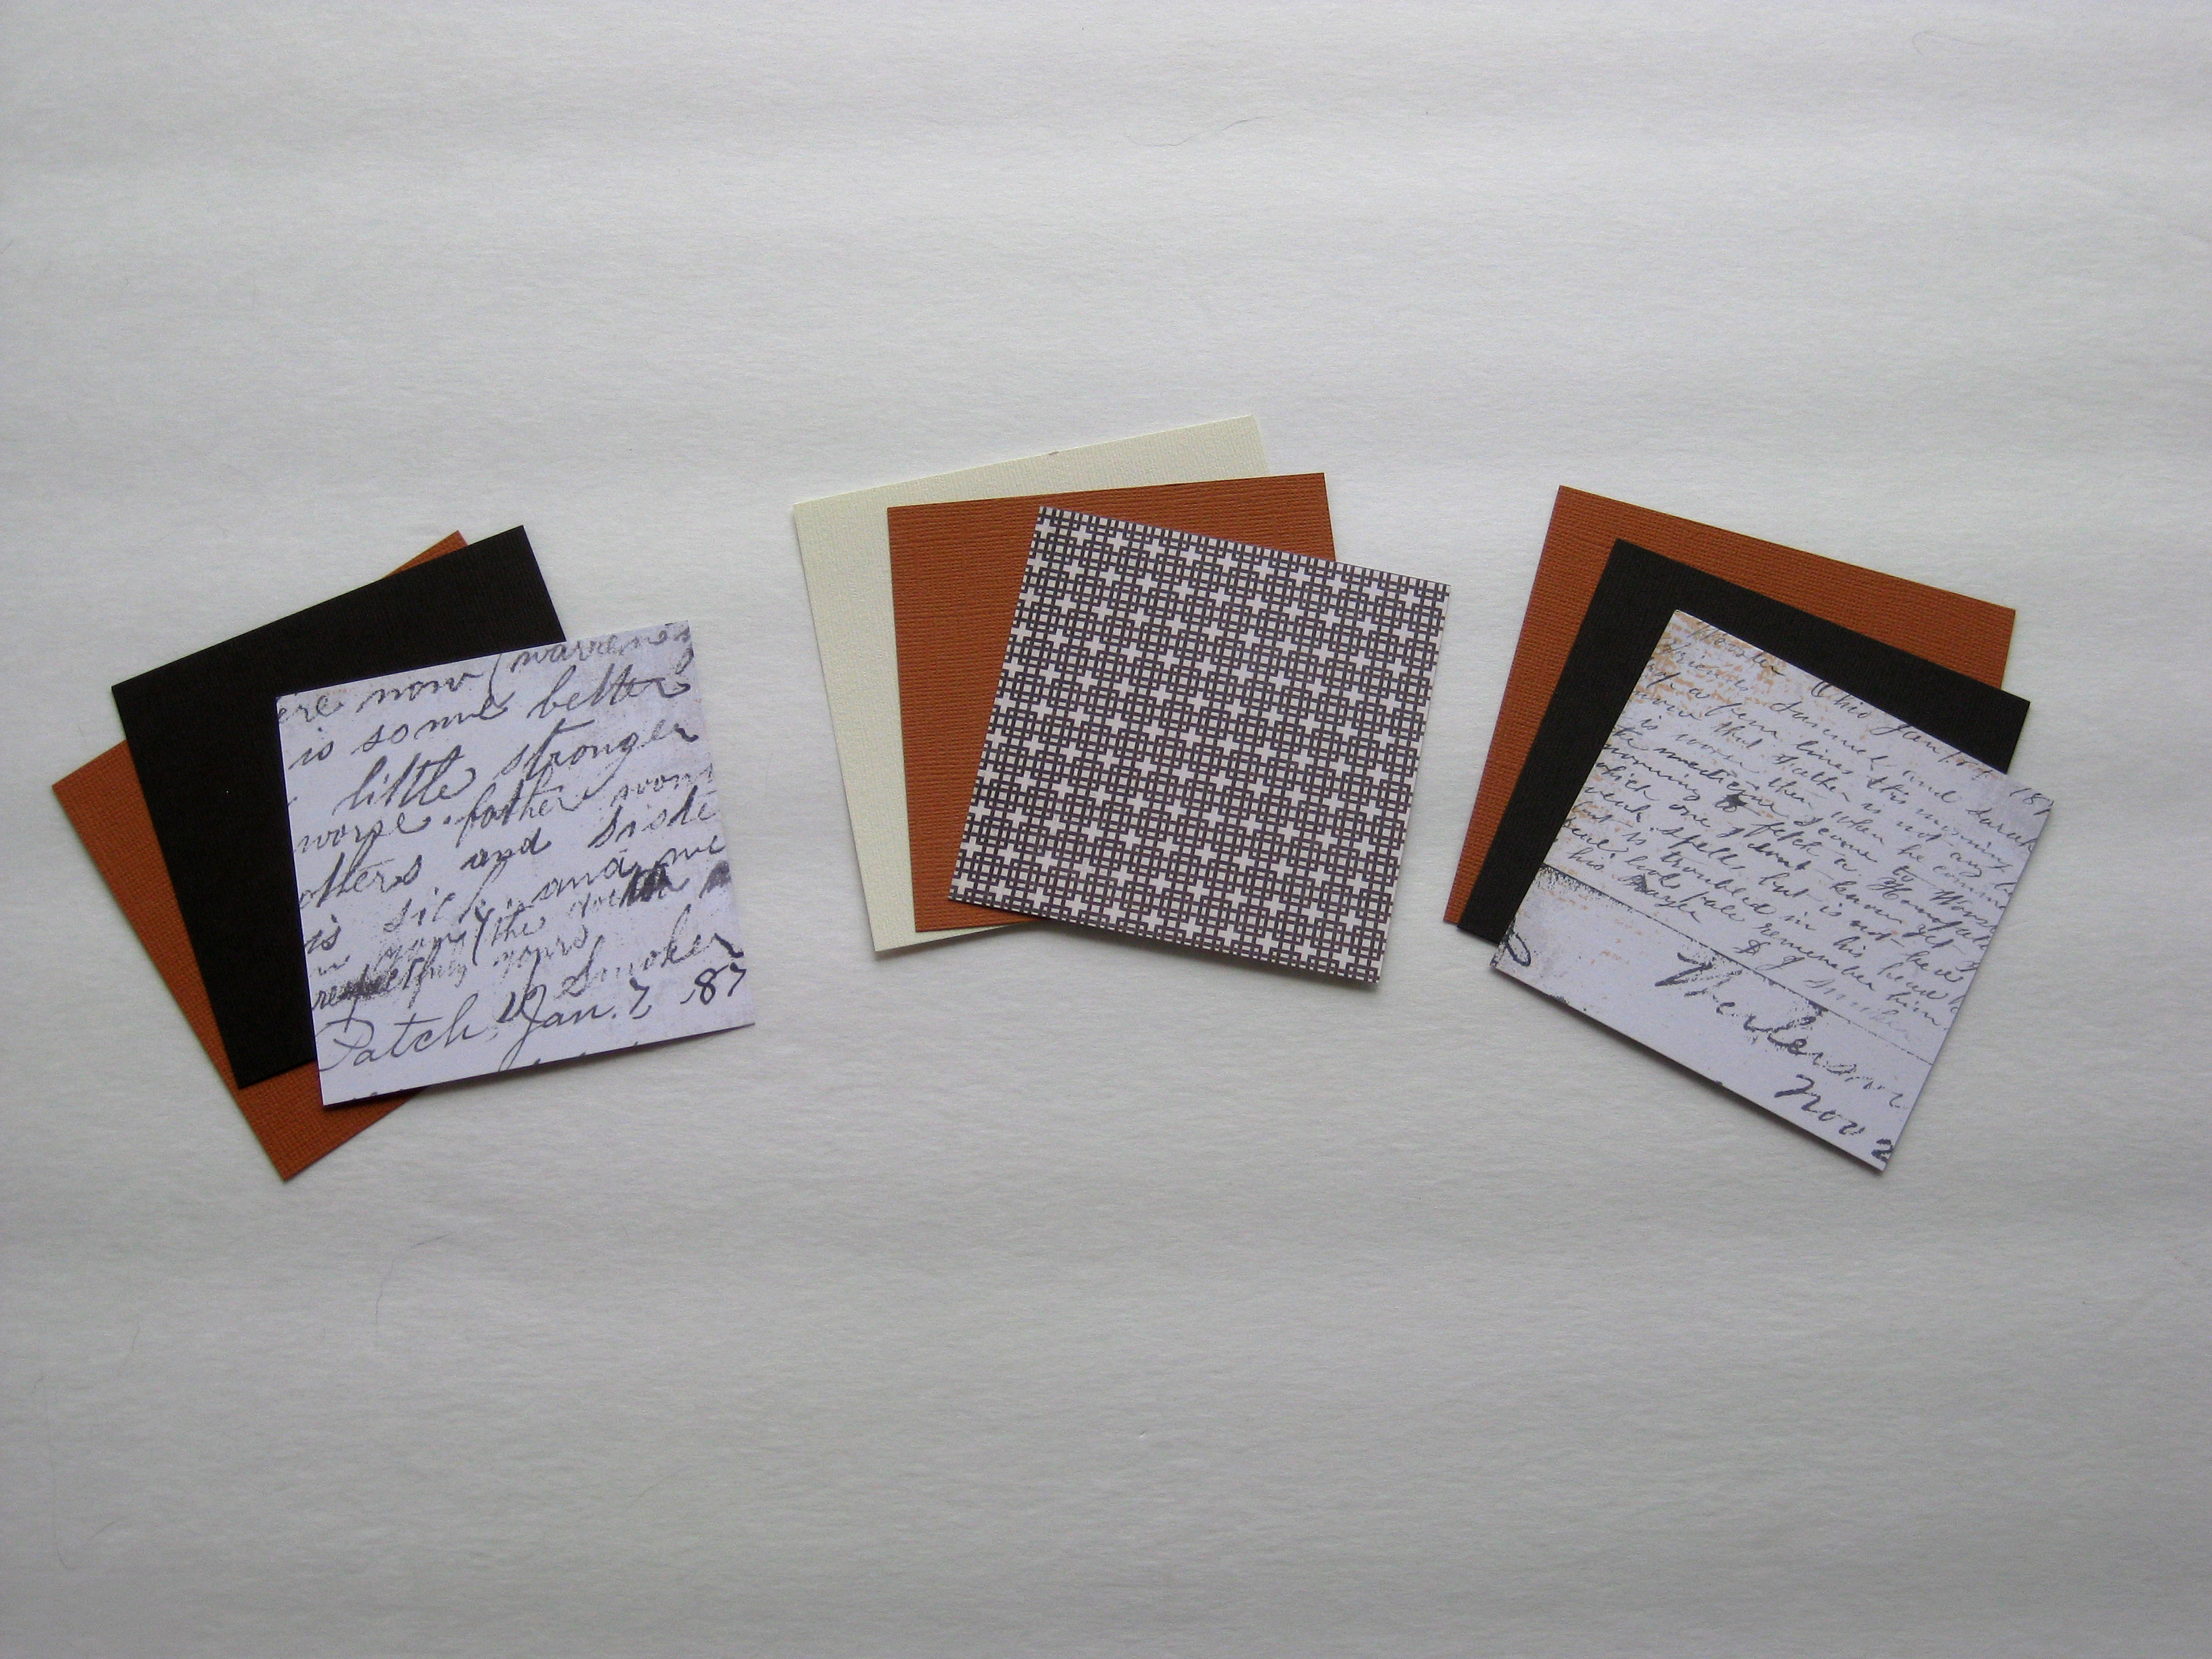
Supplies needed for a button and burlap pencil case

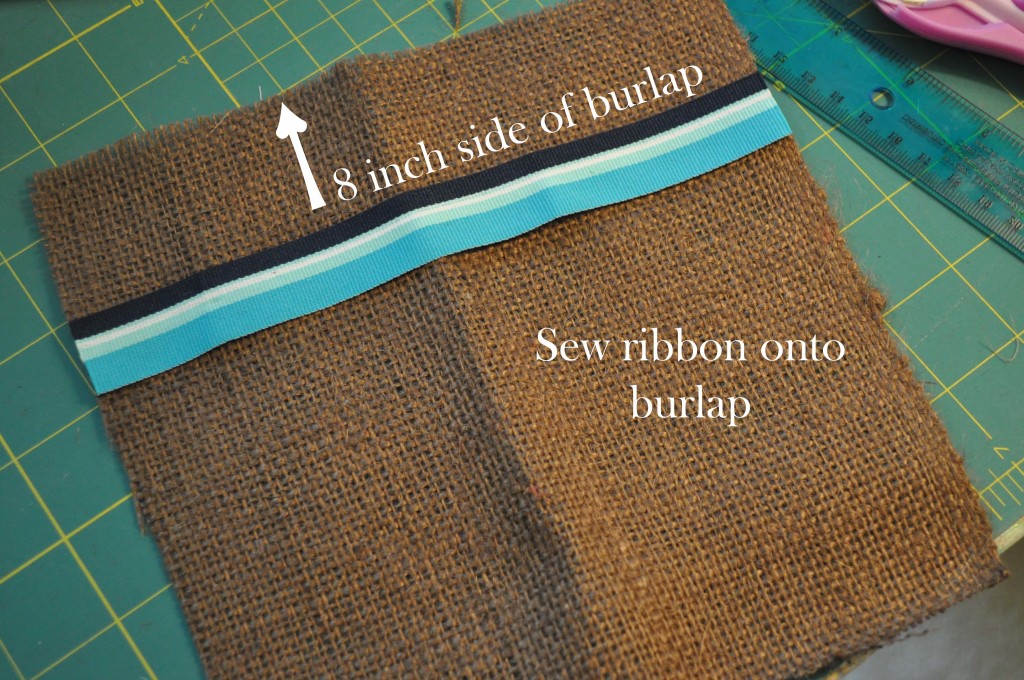
  • Burlap cut to 7.5″  x 8″
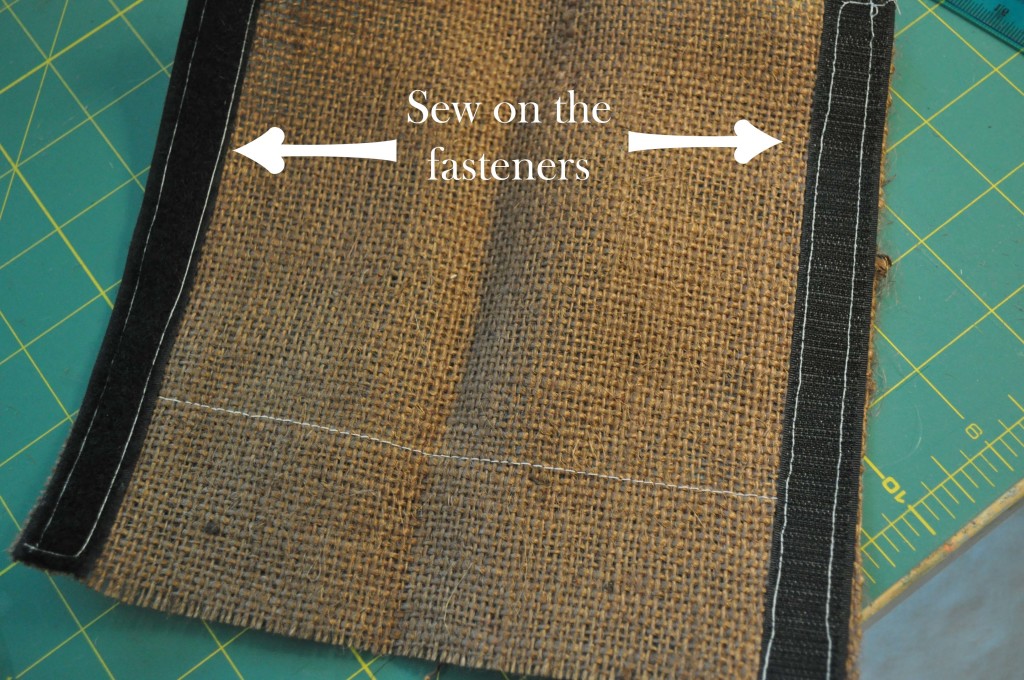
  • Velcro (R) Brand Sew-On Fasteners cut to 7″ long
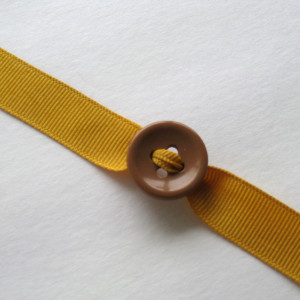
  • Ribbon cut to a length of 8″
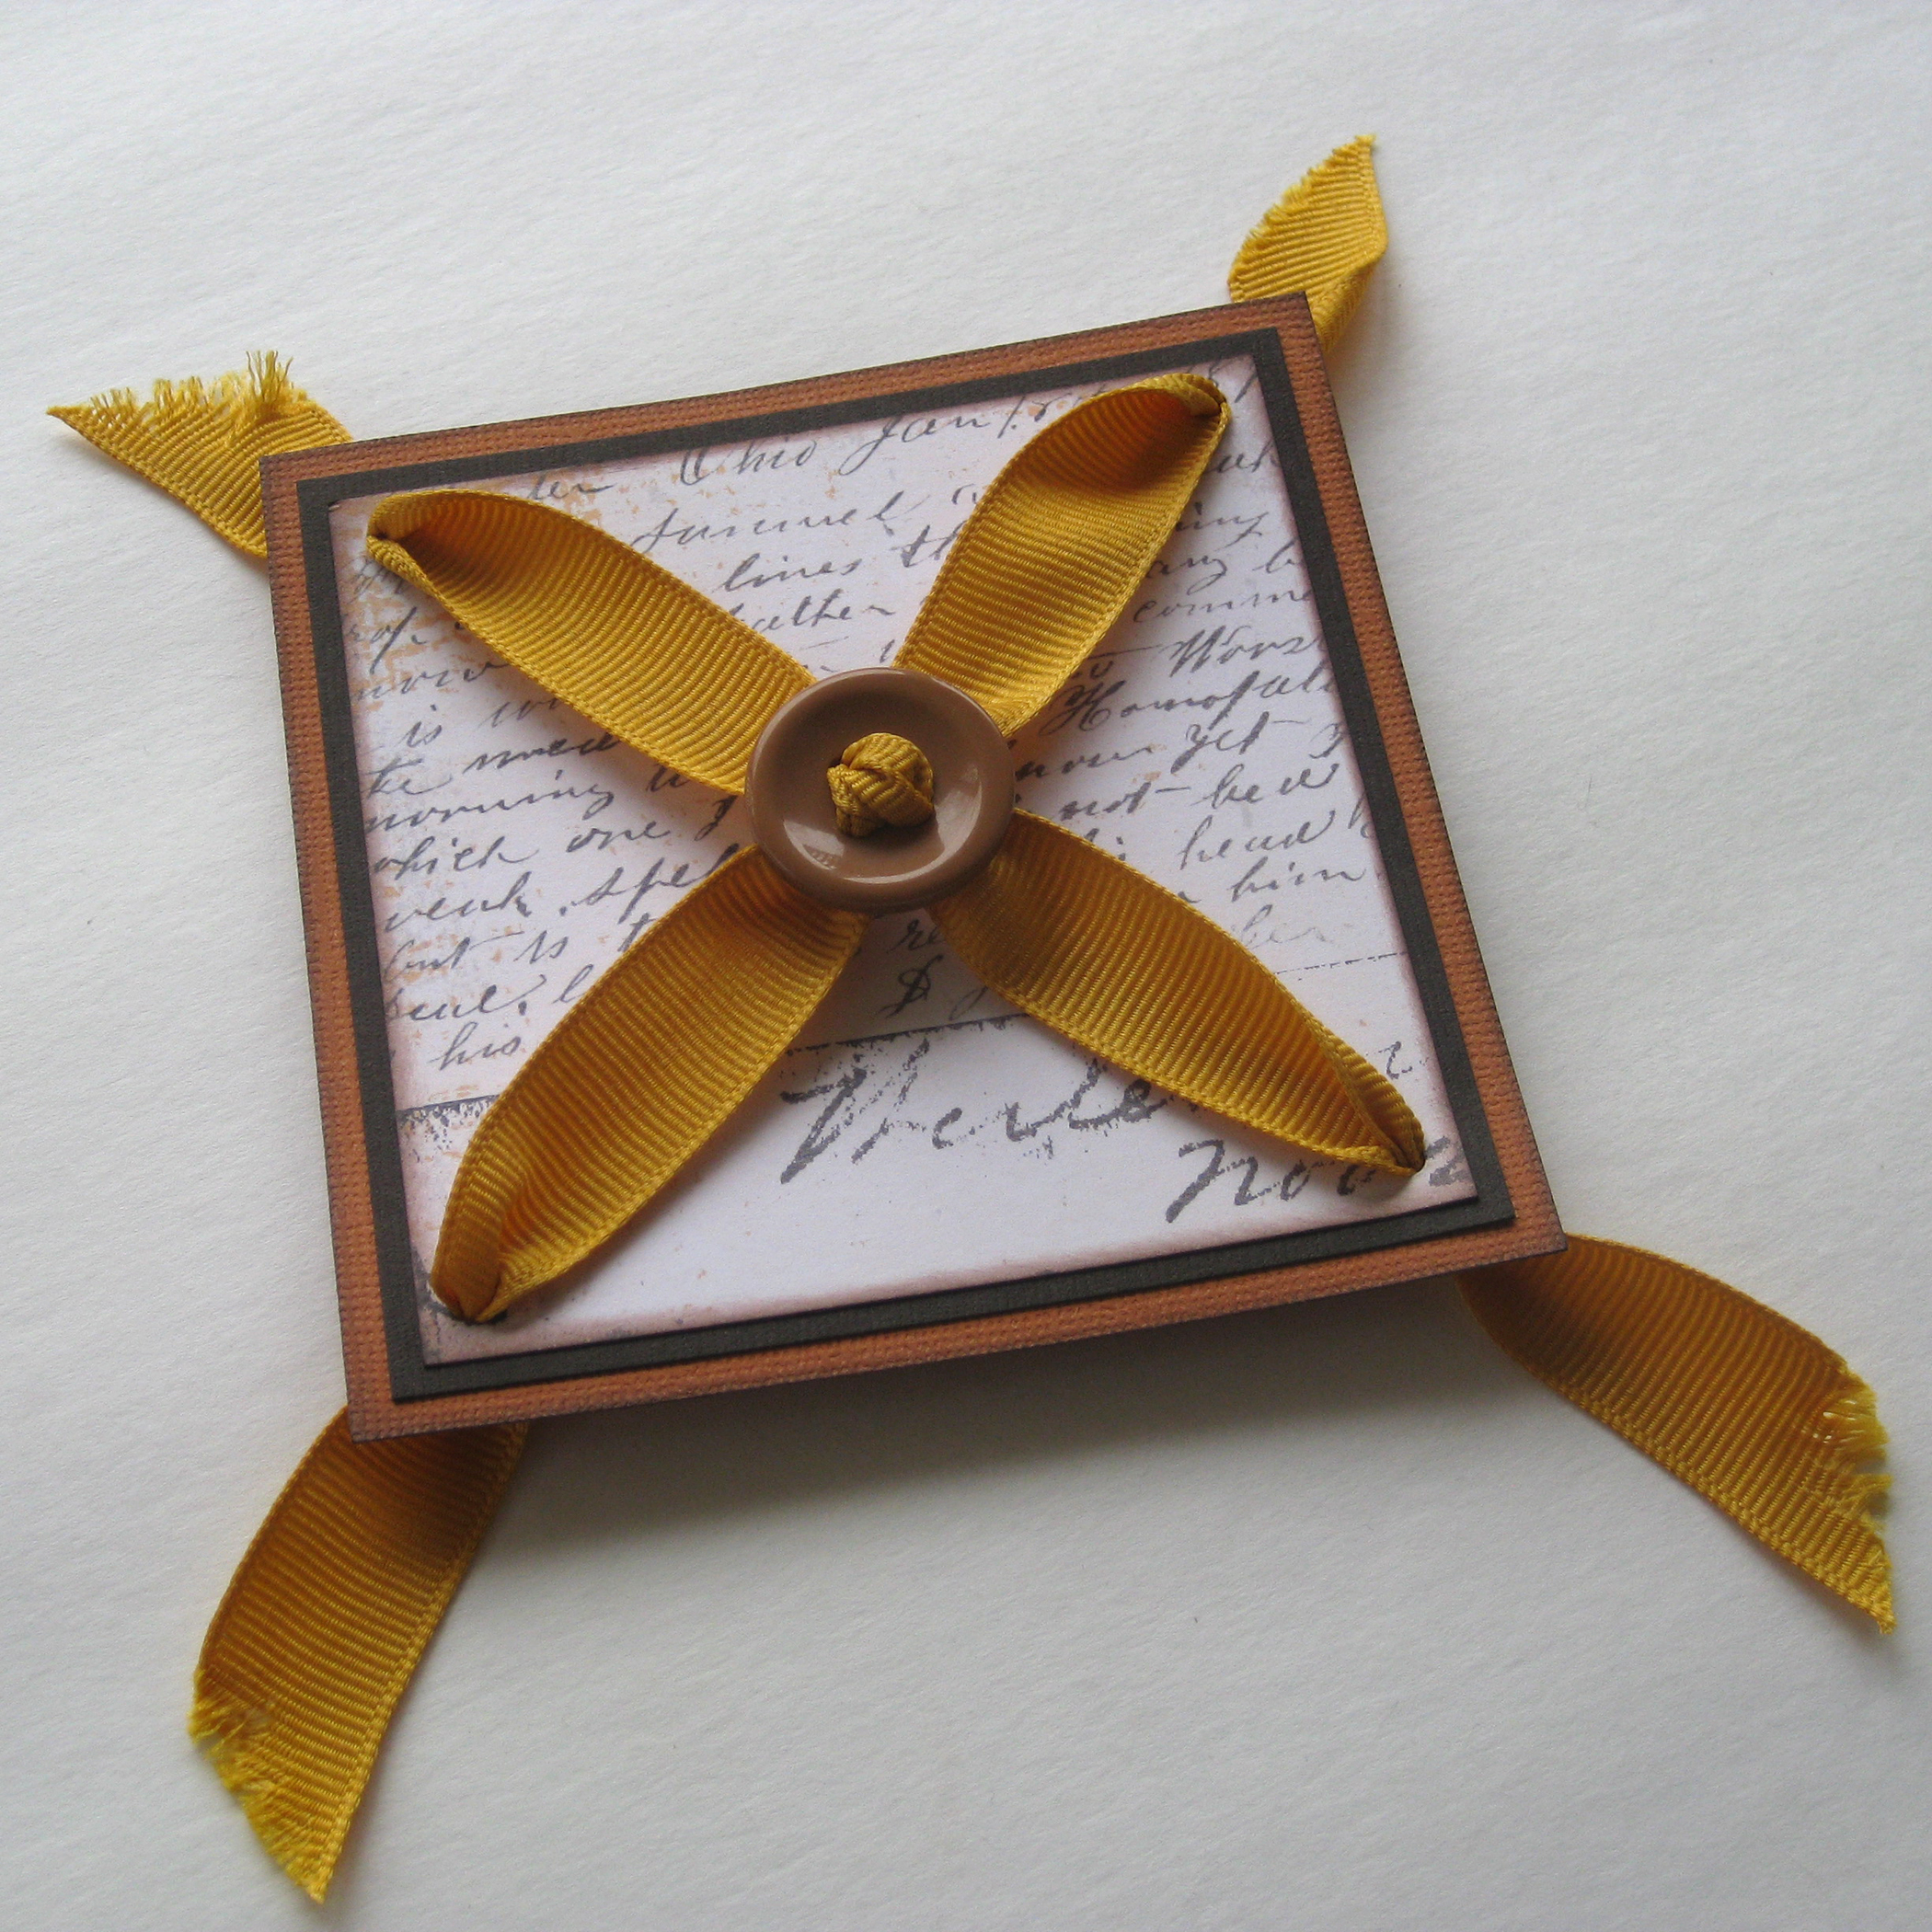
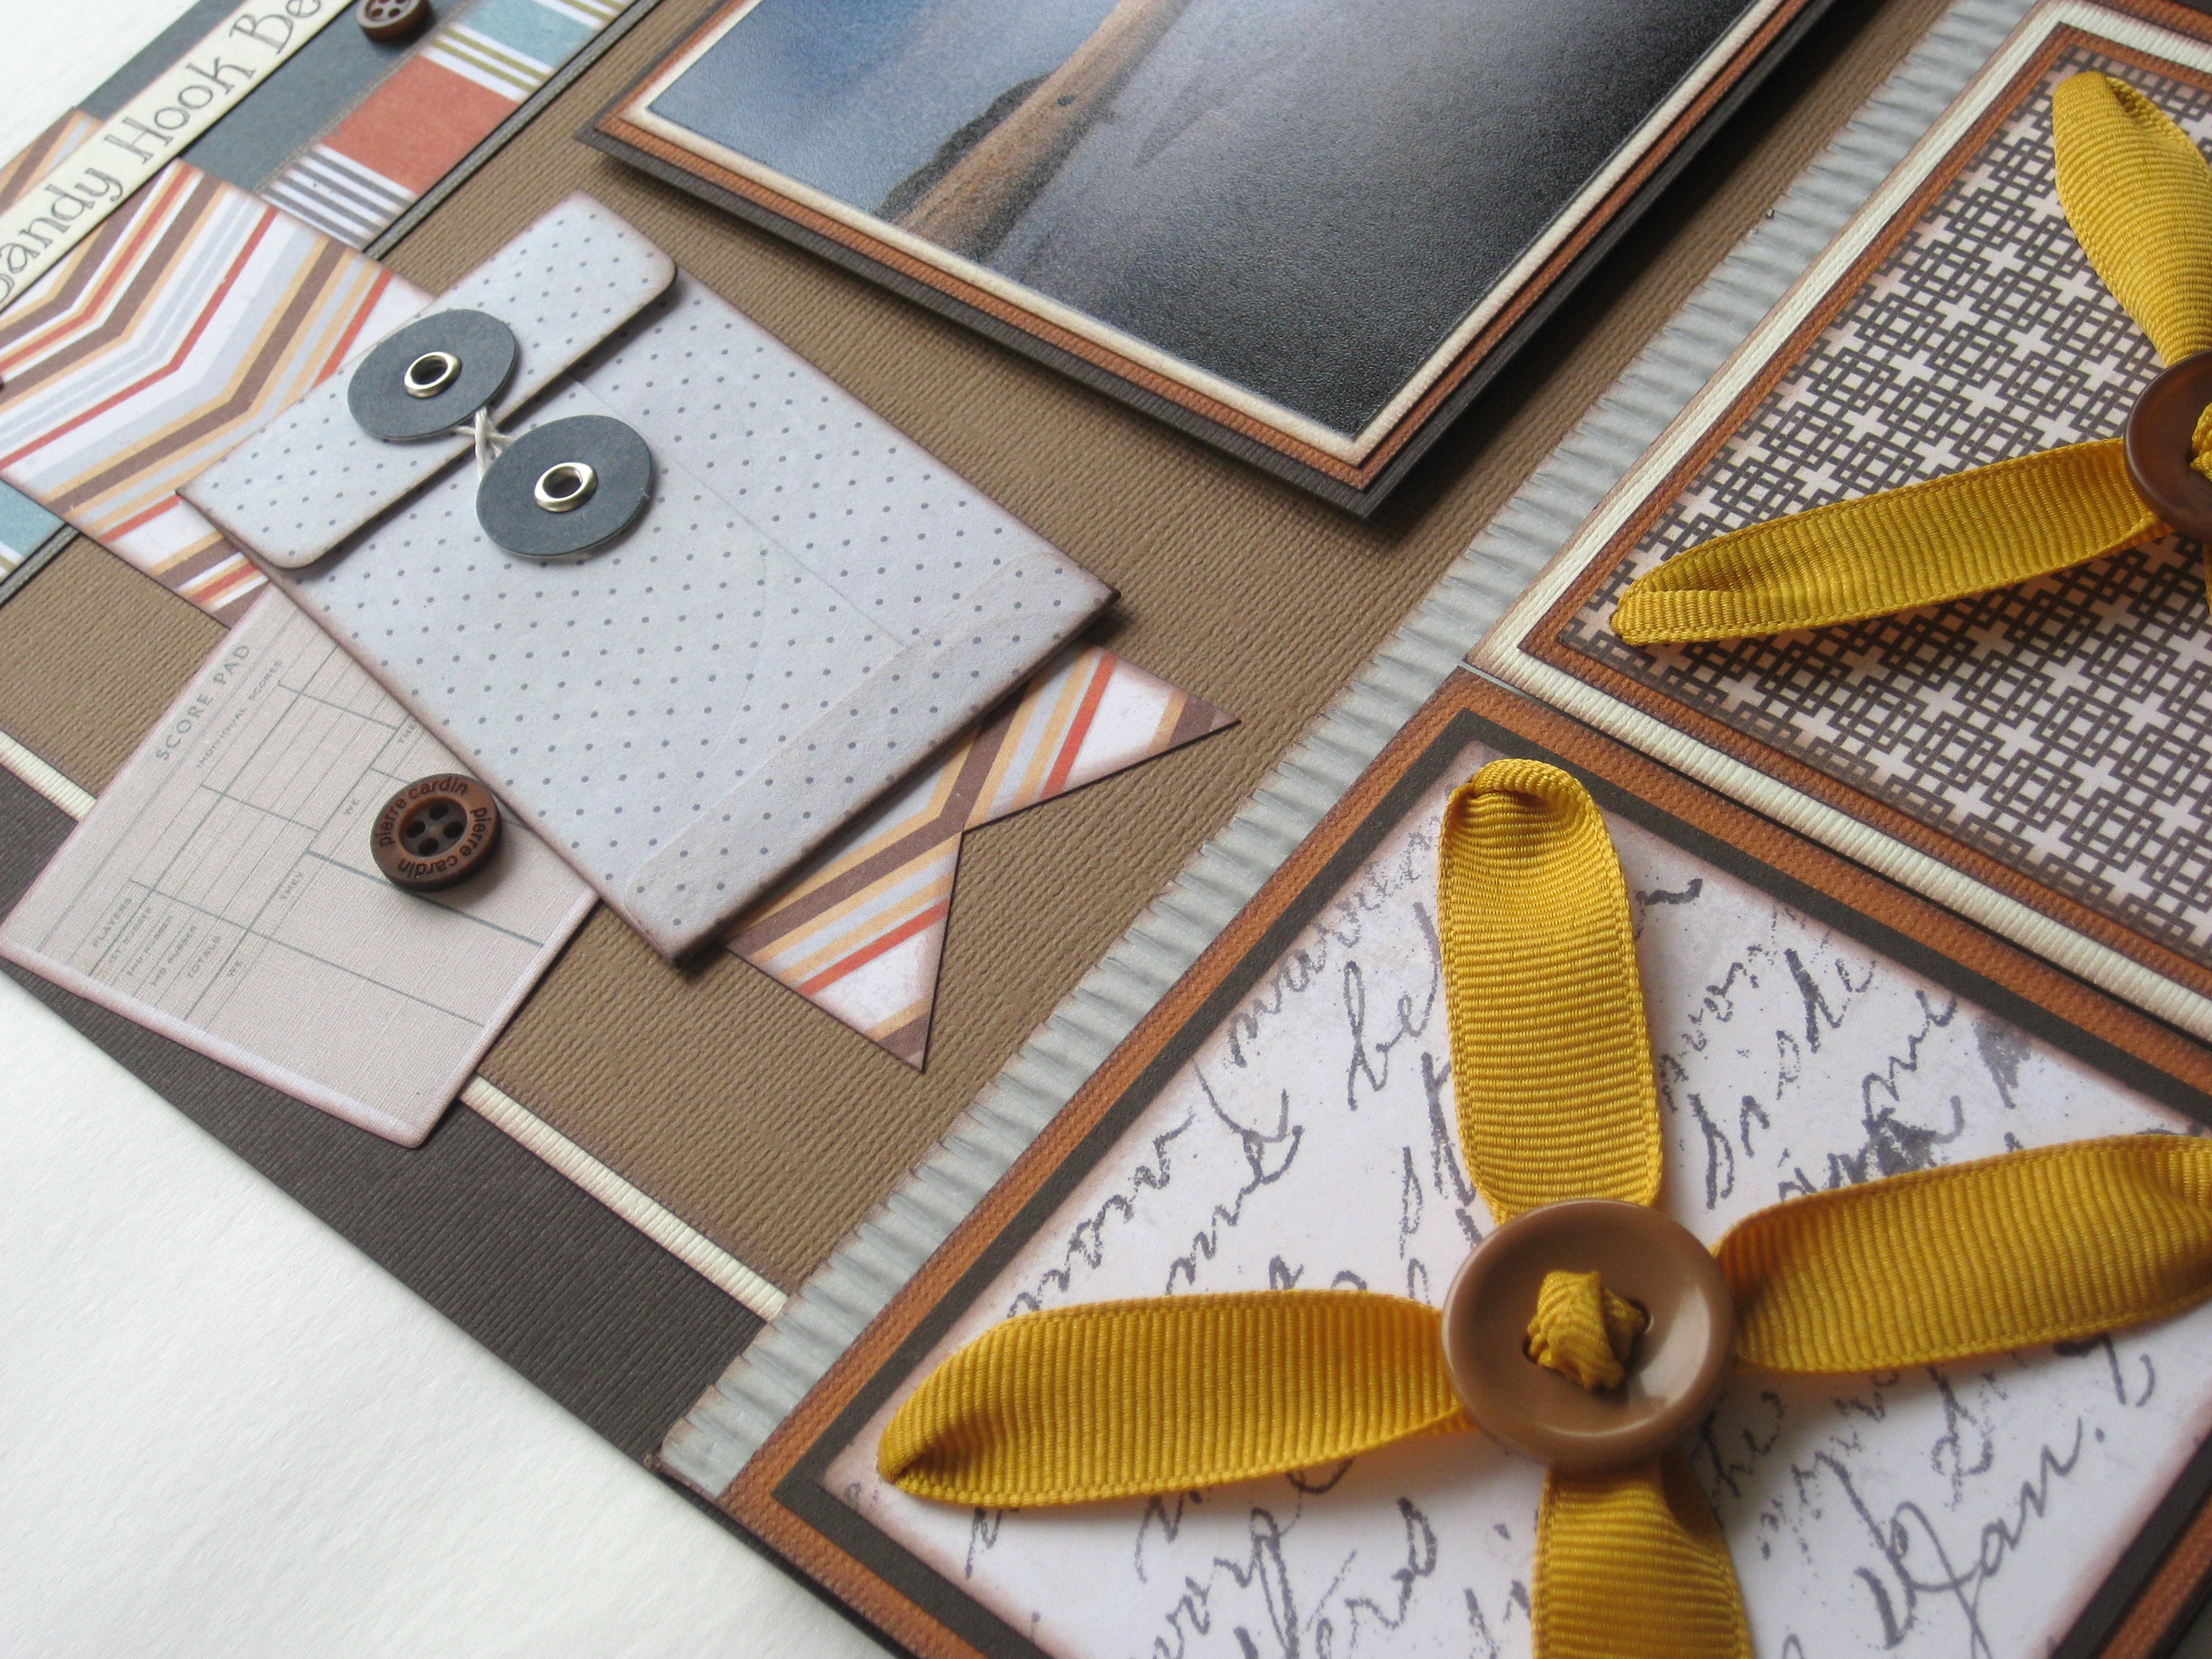
  • Buttons – the Haberdashery line has some great masculine colors!
  • Basic sewing supplies

Instructions for sewing a button and burlap pencil case

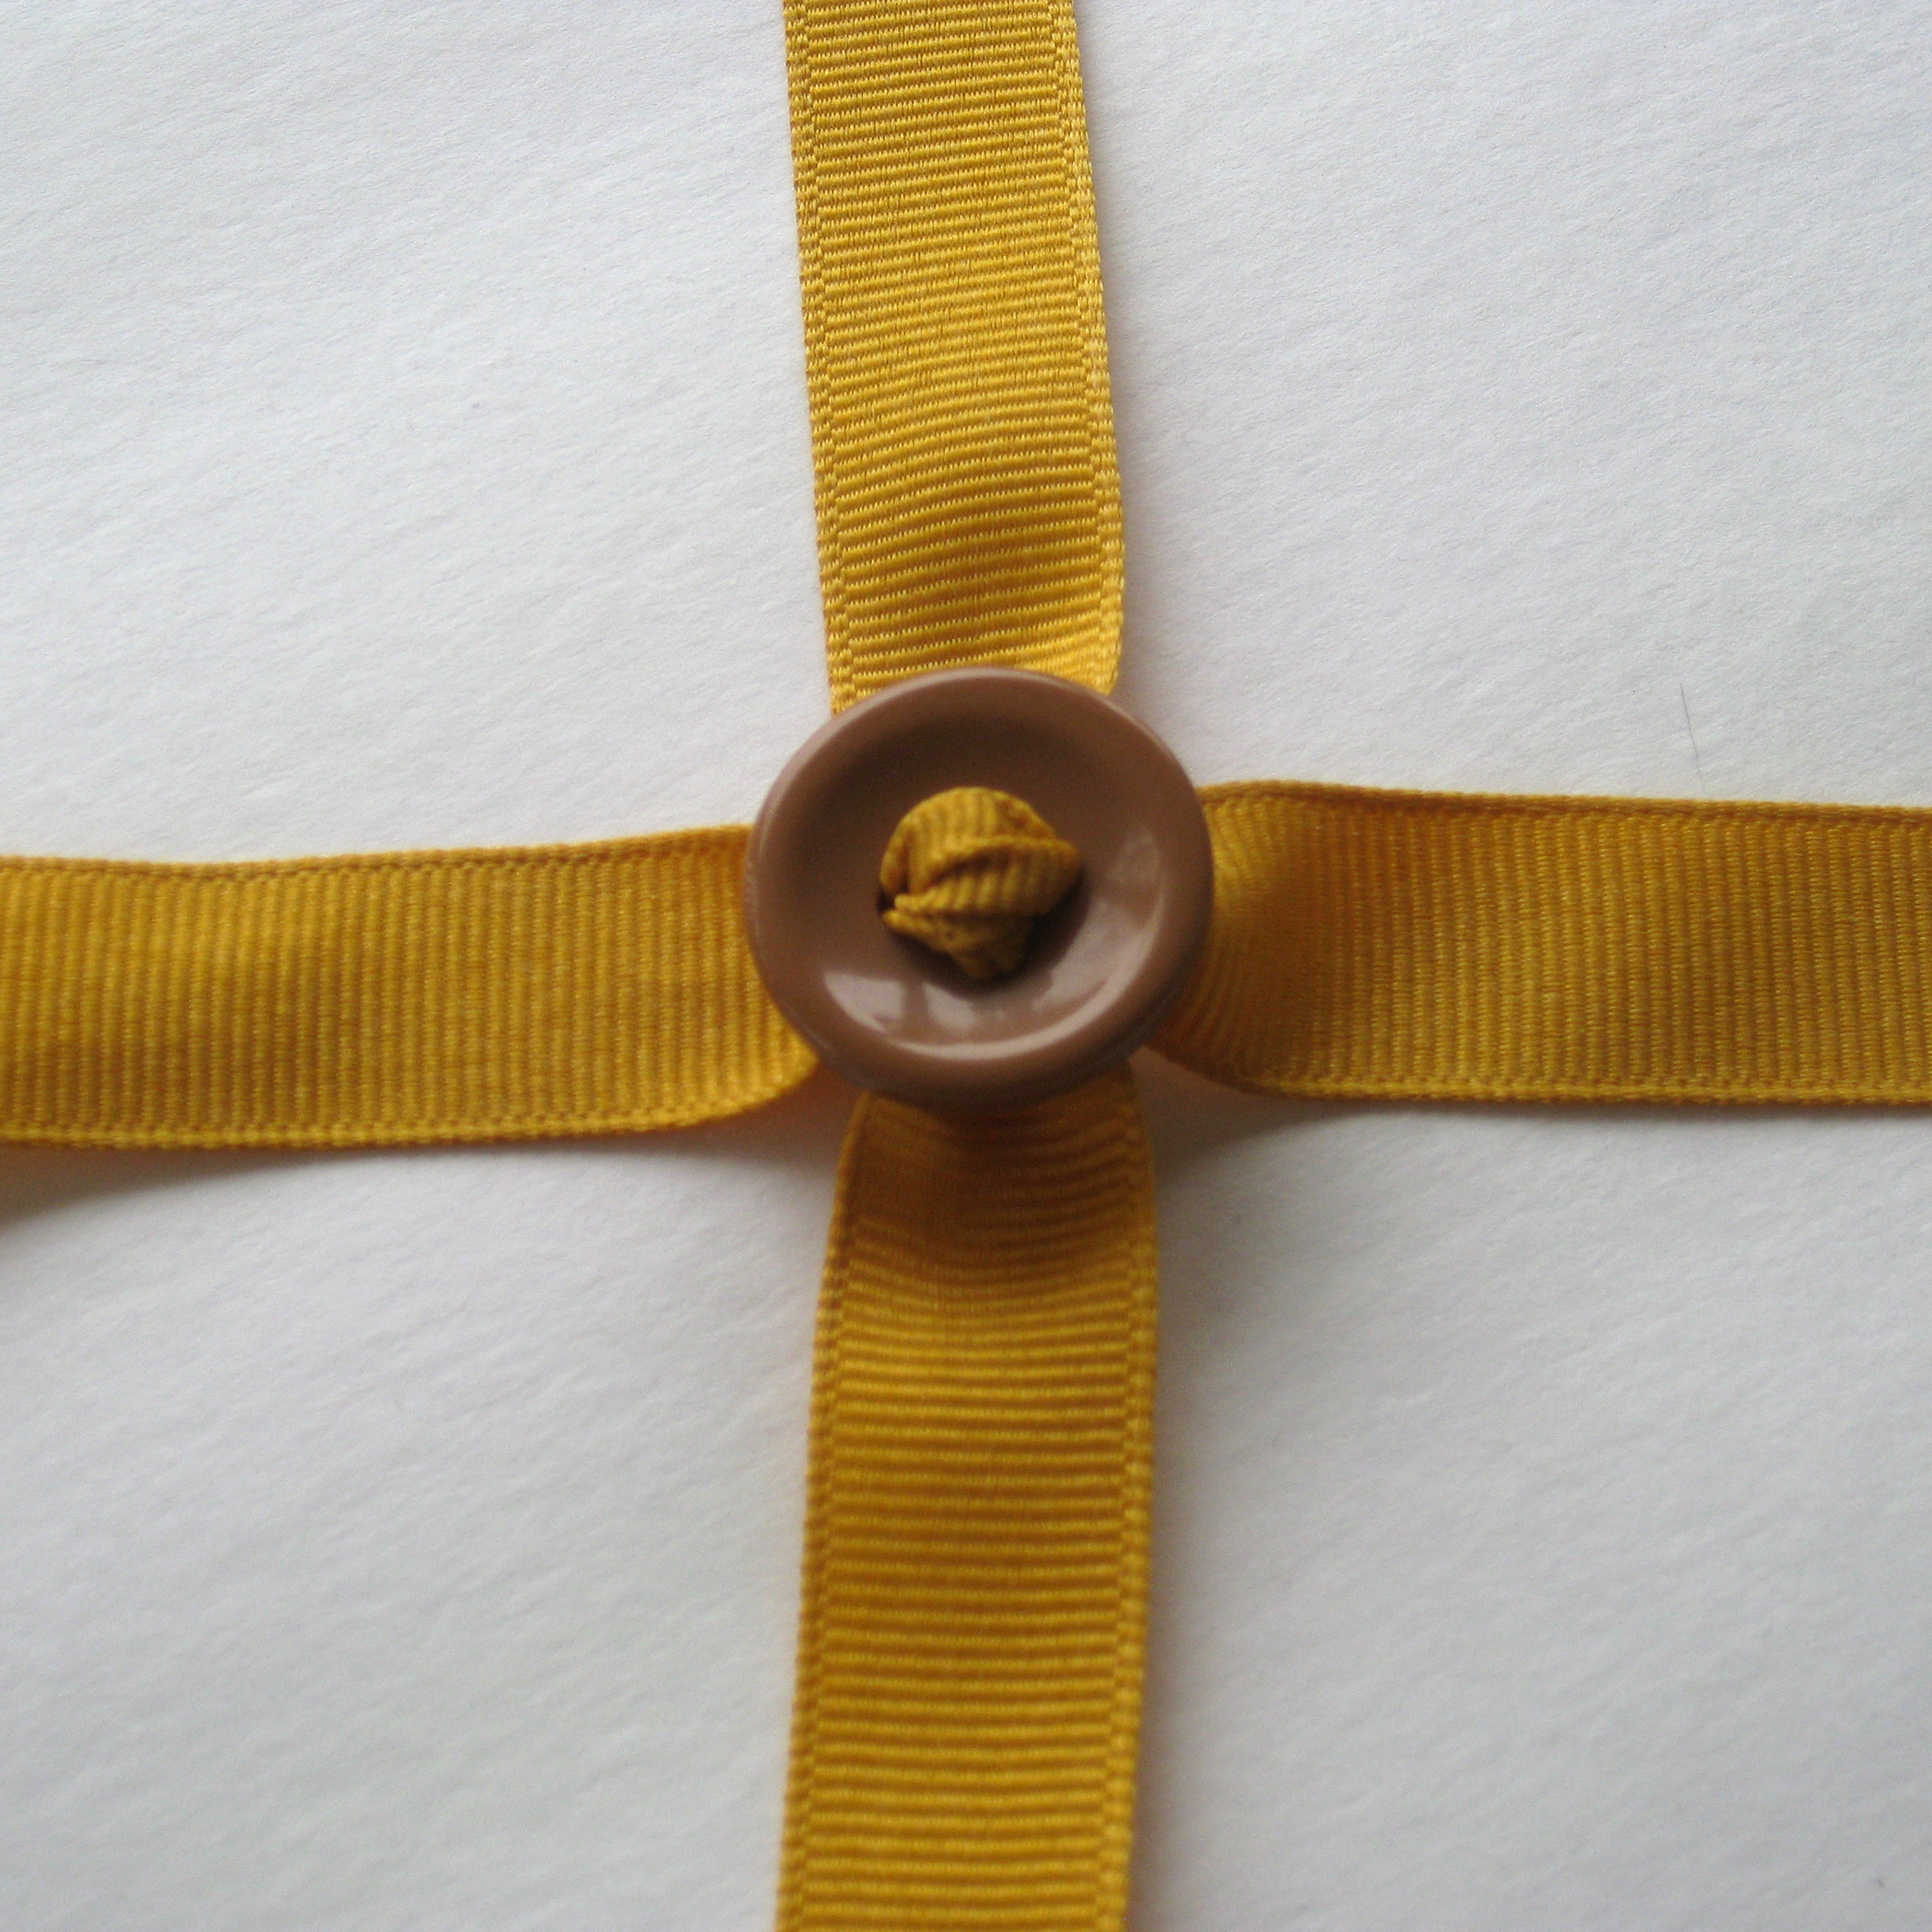
1. Sew ribbon onto burlap parallel to the side that measures 8″. Place it approximately 1.25″ from the edge of the burlap.

Ribbon Onto Burlap

2. Sew the Velcro (R) Brand fasteners onto the 7.5″ inch sides. (These will be perpendicular to the ribbon.) I like to leave the top of the case without finishing it. The rough edge gives it a more masculine touch!

Sew on Fasteners

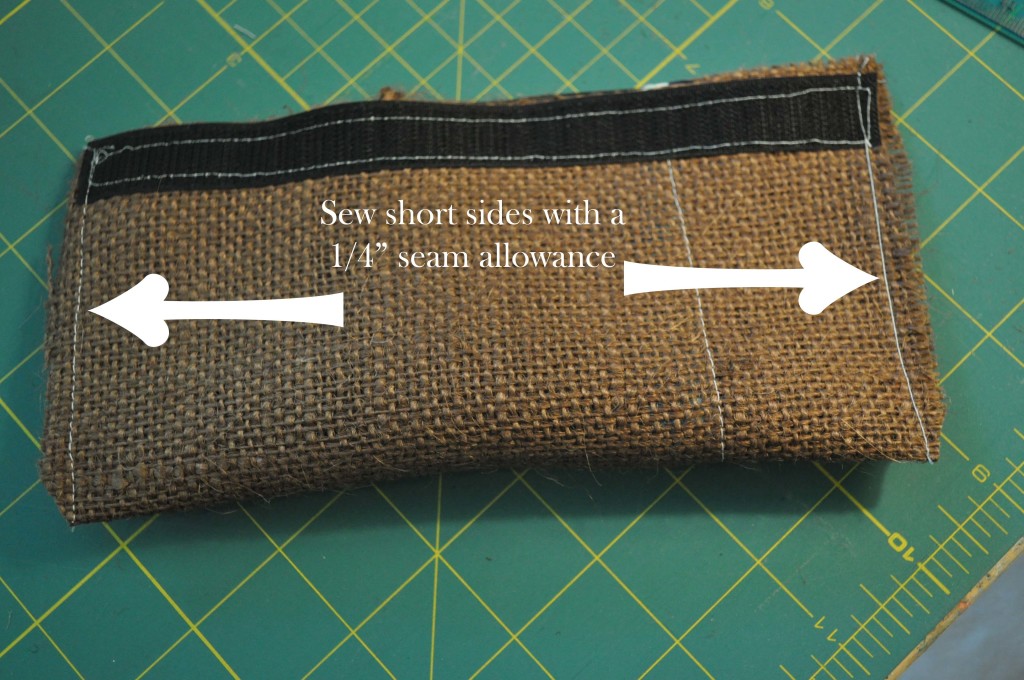
3. Fold in half, right sides facing (the side that you sewed the ribbon onto is the “right” side). The 7.5″ edges should be even. Press with an iron.

4.  Sew the short sides closed.

Sew Closed

5. Clip the corners and turn the bag right side out.

Sew On Button

6. Sew buttons onto ribbon. I know it’s a bit harder to sew them on when the case is sewn, but it’s best to leave this step for last, so you can see the best placement for them.

www.laurabraydesigns.com

1

Make a Ribbon and buttons masculine scrapbook page layout


Ribbon and buttons are something that all scrapbookers should have on hand. The simple combination of the two can add so much texture and dimension to an otherwise simple layout.

One of the things I hear most often from other scrapbookers, is how hard they find it to scrapbook their more masculine photos. Whether it is little boy layouts or those of grown men. Adding flowers, gems or anything that glitters often comes easier to us. Making embellishing a masculine layout often a little harder to do. Adding ribbon and buttons is one of those easy ways to add dimension and texture.

This is a simple layout that I created using the Fancy Pants collection called Swagger, a great masculine line.

Ribbon and Buttons Scrapbook Page Layout

Directions to make a Ribbon & buttons masculine scrapbook page layout:

Here are a few of the patterns and embellishments from the collection and the buttons and ribbon I chose to use with it.IMG_4714

I decided on the patterns and cardstock that I wanted to use as the base of my layout and cut them accordingly.IMG_4717

At the bottom of my layout I have 3 layered squares. The largest layer is 4″. I inked and adhered all my layers together.IMG_4718

Then I punched small holes in each of the 4 corners of all of your squares.

IMG_4722

I cut 6 pieces of ribbon, all about 7 inches long. Start by feeding one piece through 2 opposite holes in your button.IMG_4728

Take a second piece of ribbon and feed it through the other 2 holes in your button. Repeat this for the other 2 squares.IMG_4730

Then you’re going to feed the ends of the ribbon through the holes in your squares. You want to keep the button as close to the middle as possible. I then just taped the ragged ends of ribbon in behind the squares.

IMG_4733

At this point you are ready to assemble your layout. Add a few more DIY embellishments and a few more small buttons. Plus a triple matted photo and you’re done.
IMG_4740

Products use to create this ribbon and buttons layout:

  • Brown Buttons
  • Patterned Paper and Coordinating Embellishments: Swagger by Fancy Pants
  • Dark brown, light brown and cream cardstock
  • Yellow ribbon
  • 1/8″ hand punch
  • Mini Glue Dots

IMG_4744

1

Powered by WordPress. Designed by WooThemes