Header

Tag Archives | Laura Kelly Hand dyed buttons

Halloween Napkin Rings

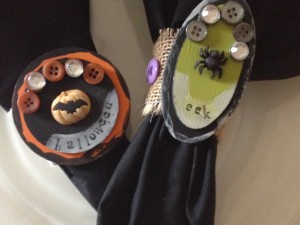
Halloween Nakin RingsLooking to create some fun for this Halloween for your spooky table decor? These Halloween Napkin Rings using Novelty and various flat backed buttons from Buttons Galore and More are as much fun to make as they are to enjoy. With details such as paint, burlap and stamped sentiments, you will love the detail of these Halloween Napkin Rings.

Materials and Supplies

Buttons Galore and More Halloween Novelty Buttons

Laura Kelly Hand Dyed Buttons in colors of your choice

Various unfinished wood shapes of your choice

DecoArt Americana Acrylics in Lamp Black, Pumpkin, Olive Green, Grape Juice and Snow White

Scraps of burlap

Tiny alphabet stamps and ink

Beacon Adhesives Premium Tacky Glue

Buttons Galore and More Shank Remover

Paint brushes, sewing machine and thread, scissors
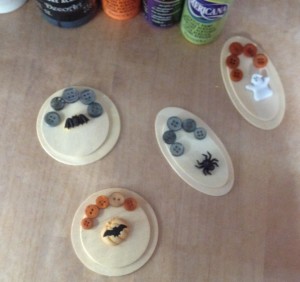
 

Layout designs on napkin ringsTo create your own Halloween Napkin Rings, use the Button Shank Remover to remove the shank from the novelty buttons so that the novelty button lays flat on the wood. Lay out the design, layering the wood shapes and arranging the buttons on the shapes to decide on your design.
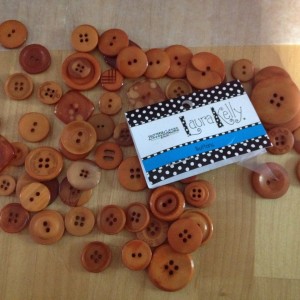
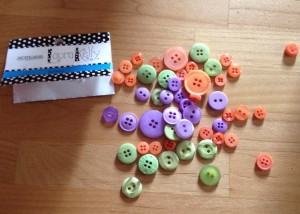
Laura Kelly Hand Dyed ButtonsFor my Halloween Napkin Rings, I used Laura Kelly hand dyed buttons in Smoke and Outrageous Orange.
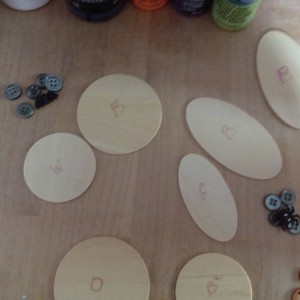
Label shapesSince you will be working with so many shapes and colors, it is helpful to label your shapes with the first initial so you will know what color to paint it.
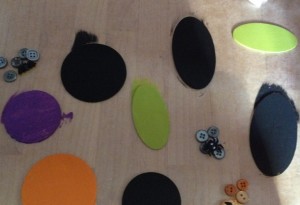
melony 041 (1024x701) - CopyPaint your shapes front and back, using two coats.
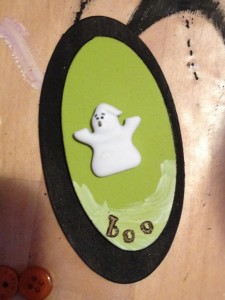
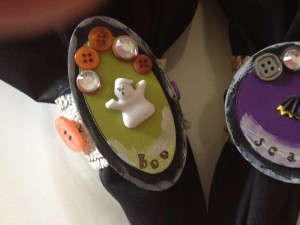
Stamped shape (768x1024)Layer your shapes and glue them together. Dry brush white paint on the bottom of the top shape. Use the alphabet stamps and ink to stamp the shapes. Glue the novelty button to the center of the shape.
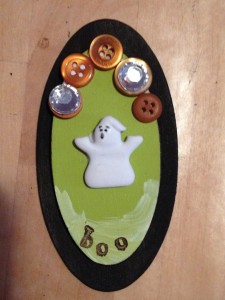
buttons on shapeI also added some 9mm acrylic rhinestones to some of the buttons.
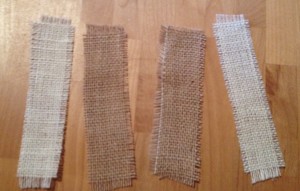
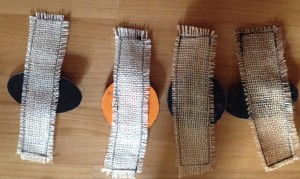
Burlap strips for Halloween Napkin RingsCut some burlap into strips and use the sewing machine, thread and a zig zag stitch to sew the edges of the strips to prevent fraying.

glue strips to back of shapes (1024x611) - Copy

Glue the shapes to the center of each burlap strip and let dry.
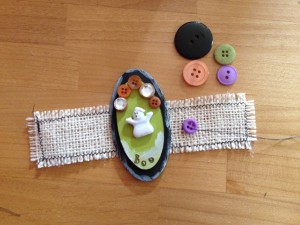
sew buttons on burlap (1024x768)Sew buttons onto the burlap strips. I used orange, purple, green and black from the Laura Kelly Hand Dyed Buttons collection.

Laura Kelly hand dyed buttons 2 (1024x733)

Once you sew on the buttons, use the center button to sew closed the burlap strip, creating a napkin ring.
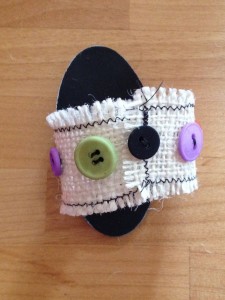
Sew on buttons 2 (769x1024) - CopyCreate a set of these Halloween Napkin Rings to adorn a scary table setting using buttons!

Halloween Napkin RingsLive Life Creatively,


Signature

0

Pumpkin Pillow Wrap

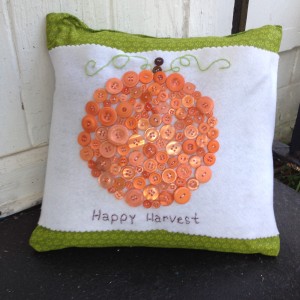
finished pillow wrap 1Its October! Time to think about refreshing your indoor decor with all things fall, spicy and harvest. One of the easiest ways to have found to give my decor a facelift is with pillows. Still easier pillow wraps! This easy to make pumpkin pillow wrap will have whet your appetite for making pillow wraps for every season. With an all seasons color like green, you can make pillow wraps for Spring, Summer, Fall and Winter. Here is my Autumnal version. Creating the pillow cover from scratch requires basic sewing experience but you can use a purchased pillow already covered and add your Pumpkin Pillow Wrap to it.

Materials and Supplies

Square Pillow form in a size of your choice

Two green fabric squares that match your pillow form size plus 1/2″ seam allowance on all sides

Enough white felt to wrap around the pillow form snugly

Laura Kelly Hand dyed buttons from Buttons Galore and More in Outrageous Orange and Bold Brown

DMC Color Infusions Memory Thread in Light Green

Self adhesive Velcro Strips in White

Hand sewing needle and thread in white and light green

Brown embroidery thread (6-ply), embroidery needle

Scalloped edged scissors, rotary cutter and self-healing mat, scissors, sewing machine and thread, fabric marking pen

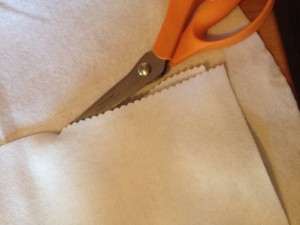
Cutting out the felt for the pillow wrapillow wrap (1024x768) - CopyFirst, cut out the felt using the rotary cutter and mat. Trim the edges with the scalloped edged scissors. This will give your felt nice clean ornate edges that don’t have to be sewn.
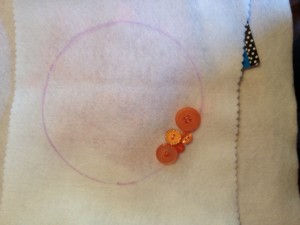
Draw a circle on the pillow wrap Use the fabric marker to trace a circle in the size of your choice. Remember that you will be sewing the hand dyed buttons to fill the entire circle so plan accordingly. Thread your needle and start the sewing the buttons on to create the pumpkin by pulling the thread from the back to the front. Just like you would sew on a button.
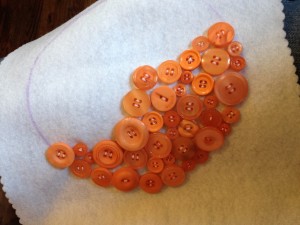
Continue sewing pillow wrapContinue to fill in the traced circle, using the traced lines at a guide to make your pumpkin. Use the smaller buttons in the package to fill in the smaller gaps.
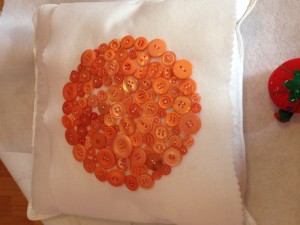
completed circle of buttons (1024x768) - CopyFinally, a complete circle of hand dyed buttons on your pillow wrap that we will now add details to resemble a pumpkin!
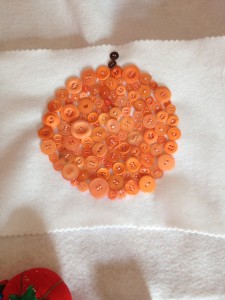
Add a button stem (768x1024) - CopyUse some brown buttons (2 or 3) depending on the size of your pumpkin to create a stem.
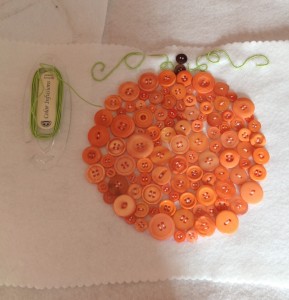
DMC color infusionsTo create vines, I used Color Infusions Memory Thread by DMC in a light green. This can either can glued down or couched down with coordinating thread and a hand sewing needle. I find the couching down method to yield a neater and less messy result.
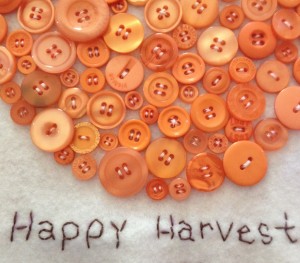
Embroidery stitches

Thread your embroidery needle with three strands of the 6-ply brown embroidery thread. Use the fabric marker to write a sentiment onto the Pumpkin Pillow Wrap just under the pumpkin and back-stitch the sentiment.

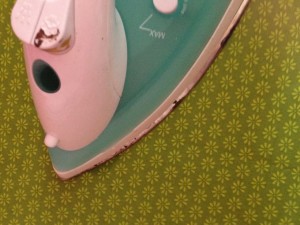
iron fabric for pillow coverIron your squares of fabric for the pillow cover front and back. Place the right sides together and machine stitch the left, top and right sides together using a 1″ seam allowance. Leave the bottom of the pillow open for turning and stuffing with the pillow form. Steam the seams open with the iron set on a steam setting and turn right sides out. Iron again and insert the pillow form into the bottom.
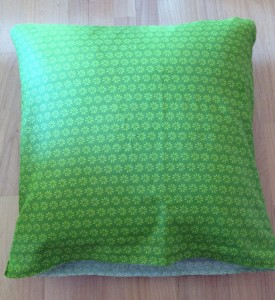
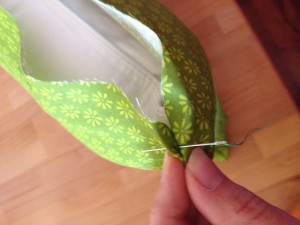
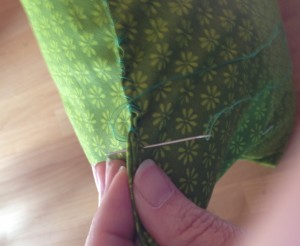
insert pillow formSew the bottom of the pillow closed using a whip stitch, the hand sewing needle and thread.

whip stitch 1

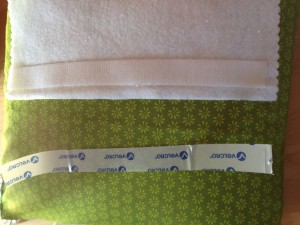
whip stitch 2Add a strip of Velcro to the back of your Pumpkin Pillow Wrap as a quick and easy enclosure. I opted for the self adhesive version the sew on version will work as well.

Velcro Now you have a Pumpkin Pillow Wrap that will not only be adorable for the Fall season, but it can be switched out seasonally very easily. Thanks for letting me share. Happy sewing!

Live Life Creatively,

Signature

0

Canvas Favor Bags

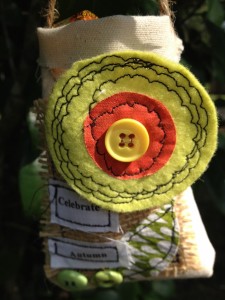
Completed bag 3 (768x1024)

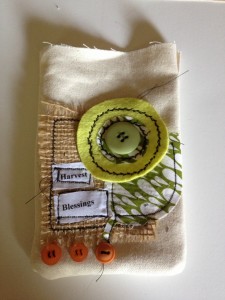
Its time to look forward to cooler days and falling leaves and all the rest of the great things that Autumn ushers in. As a transitional season, Autumn is one of my favorite seasons and it always inspires me to create something new. I love the rustic feel of Fall projects. Its so easy to use canvas, hemp, jute, wood and other natural materials to make something that looks and feels like Fall. That’s why I decided to try my hand at creating these canvas favor bags.

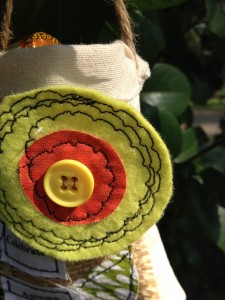
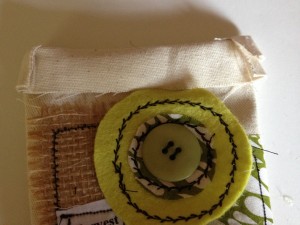
Completed bag detail (768x1024)Inspired, I sat down with my fabric, wool felt scraps and buttons recently and decided to make a bunch of sewn fabric circles recently. Not really knowing what I was going to do with them, I have since used them to make wall art, pillows and now these little Autumn inspired canvas favor bags.

Materials used for Canvas Favor Bags:

1/8 yard of natural cotton canvas

Wool felt and fabric scraps

Inkjet cotton fabric

Burlap Scraps

Buttons Galore and More Laura Kelly Hand Dyed buttons

14″ hemp

Sizzix BigShot die cutting machine and Bigz Leaves Die

Rotary cutter and self healing cutting mat, scissors, sewing machine and thread, hand sewing needle and thread, heavy duty hole punch

Cut canvas (1024x775)

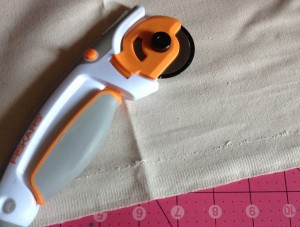
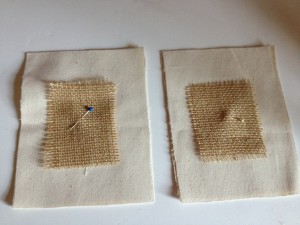
To make a canvas favor bag, cut two canvas rectangles that measure about 6″ x 8.” Pin small scraps of burlap rectangles to the center of one of the canvas rectangles.

pinned burlap

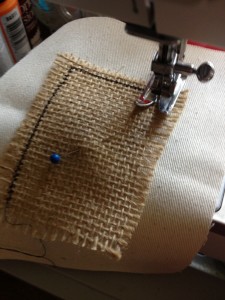
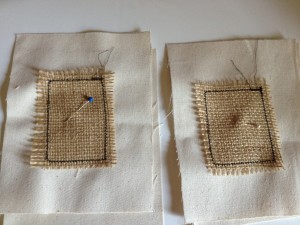
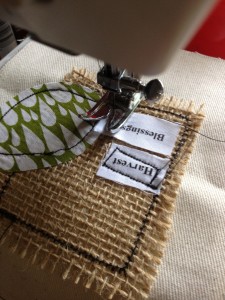
Use your sewing machine and thread to zig-zag stitch the burlap to the one of the canvas rectangles.

machine stitch burlap (768x1024)

stitched burlap (1024x768)

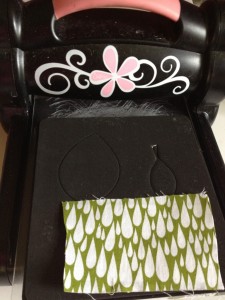
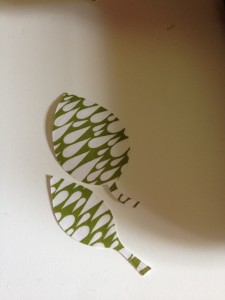
Add elements such as die cut leaves to your canvas favor bags. Fuse webbing to the back of a fabric scrap and die cut a leaf shape.

die cutting leaves (768x1024)

die cut fabric leaves (768x1024)

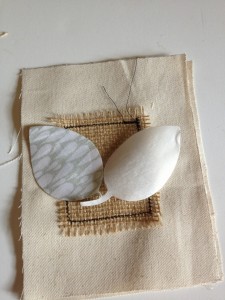
Peel away the paper backing and fuse the leaf shape to the canvas.

peel away paper backing (768x1024)

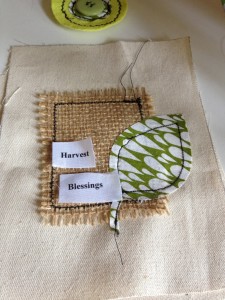
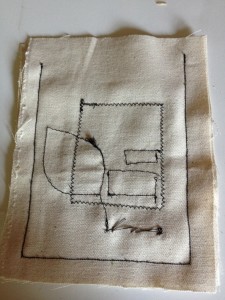
Machine stitch the leaf shape and inkjet fabric sentiments printed from your computer with a straight stitch.

inkjet sentiments (768x1024)

stitch appliques (768x1024)

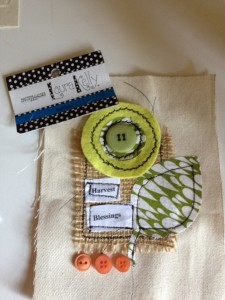
Now the real fun begins! Use hand dyed buttons from Buttons Galore and More to embellish your canvas favor bag. I used Laura Kelly’s hand dyed buttons and one of my previously created fabric circles to embellish these canvas favor bags. Sew them on with a hand sewing needle and thread.

Buttons Galore and More (768x1024)Place the canvas rectangles right sides together and machine stitch using a 1/2″ seam allowance. Leave the top of the canvas favor bag open and start sewing about 1 1/2″ down so you have material to create a top fold.

sew right sides together (768x1024)

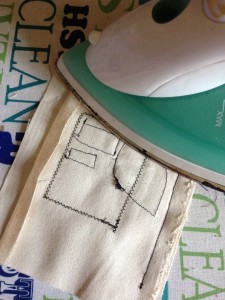
Use an iron on steam to steam the seams open.

steam seams open (768x1024)

Turn the bag right sides out and fold the top down to create a cuff.

turn right sides out (768x1024)

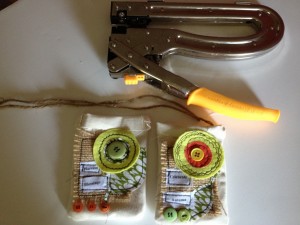
form cuff at top (1024x768)I created a simple handle by punching holes through the fabric layers using a heavy duty hole punch and inserting a piece of hemp through the holes.

make handles (1024x768)Fill your canvas favor bags with candy or other small treats. Surprise a neighbor by hanging on their front door for a nice Autumn surprise!

Live Life Creatively,

Signature


0

Ribbon Spools made from Buttons

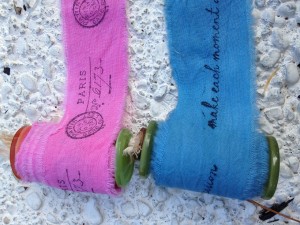
rolled out ribbonsDid you know you can use buttons to create ribbon spools to hold your hand dyed and stamped ribbons and other trims? I ran across this fabulous creative living idea while reading a recent copy of Somerset Life by Stampington and Company. Oh so simple!

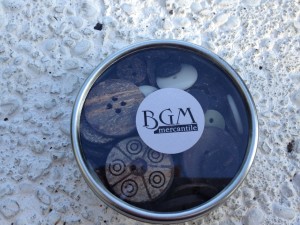
BGM buttons

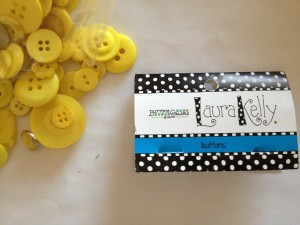
I used these fantastic buttons from Buttons Galore and More along with Laura Kelly’s Hand Dyed buttons  (My favorite by the way)!

Laura Kelly Hand Dyed Buttons

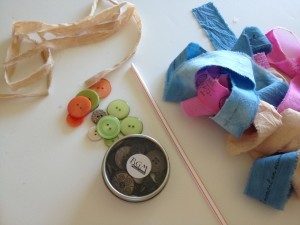
The few supplies you will need to make ribbon spools from buttons:

buttons and supplies

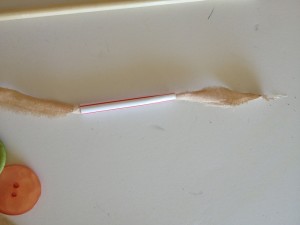
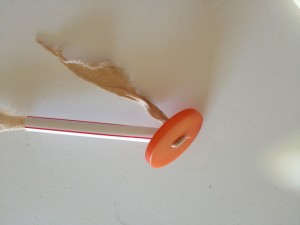
First, thread a very fine piece of fabric such as organza or  lightweight cotton cut into a super thin strip and thread into a plastic drinking straw. I cut my straw down to about 1 1/2″.

threaded through strawNotice how my piece of fabric is sticking out of both ends.

threaded through button Then, simply thread through one of the buttons holes from the inside out and then through the second hole.

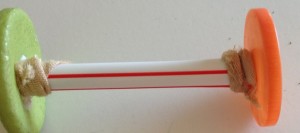
threaded through two buttons

Then, roll you trims, ribbons, etc around the straw! What could be a better use for buttons? Hand made ribbon spools for all your ribbons.

rolled out ribbons

Live Life Creatively,

signature


1

Patriotic Button Card

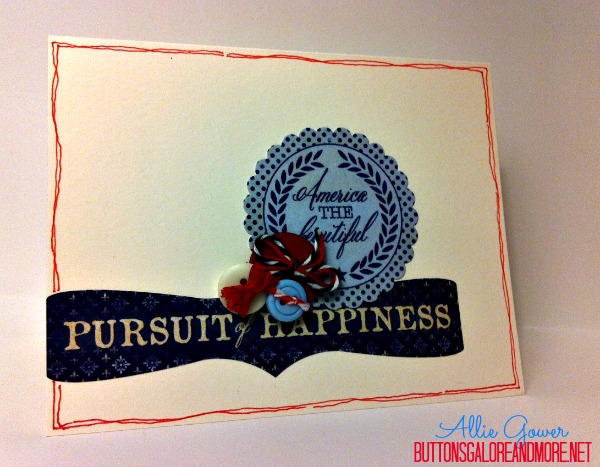
Let’s make another easy Patriotic Button Card.

This is simply stickers and a cluster of Patriotic buttons. I used hot glue which allows me to put buttons where I want, and cluster them together. I finished off the card with some simple doodling.

Let the kids loose with buttons and stickers, and have them make some cards for friends and neighbors.

Patriotic Button Card

Supplies

  • Buttons – Patriotic
  • Stickers – Authentique
  • Cardstock – Discount Cardstock
  • Twine, Embroidery Thread
  • Adhesive – Hot Glue by Adtech
  • Copic Multiliner

How to Make a Patriotic Button Card

  1. Create a card base 4.25 x 11″ and fold in half.
  2. Apply stickers.
  3. Tie twine and embroidery thread to buttons and glue to card.
  4. Doodle edges.


Thanks for joining me today.

See more of my creations at MyCardParty.

0

Patriotic Bracelet with Buttons and Ribbon

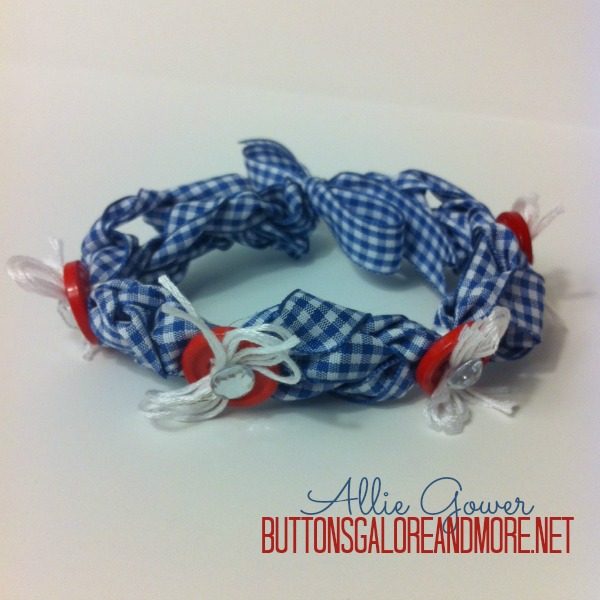
Create a Patriotic Bracelet with Buttons and Ribbon. This could easily be done with the kids in a variety of colors with lots of different buttons.

I’ve knit my ribbon by wrapping it around my fingers. As a child I would sit for hours and make yarn chains and pull them out. I guess I was bored during the summer! If you aren’t familiar with this technique, you could easily braid some ribbons.

It’s fun to find inexpensive craft ideas for the kids during the summer.
Patriotic Bracelet Ideas


Supplies

  • Buttons – Patriotic Value Pack
  • Ribbon – Michael’s
  • Embroidery Thread – Coats & Clark
  • Rhinestones – Want2Scrap Bulk Bling

How to Create a Patriotic Bracelet with Buttons and Ribbon

  1. Knit or braid ribbon, leaving a length at each end to tie on wrist.
  2. Tie a bow with buttons around the bracelet with several strands of embroidery thread.
  3. Hot glue a rhinestone on each bow to hold knots in place.

Thanks for joining me today.

See more of my creations at MyCardParty.

0

Patriotic Cards with Buttons

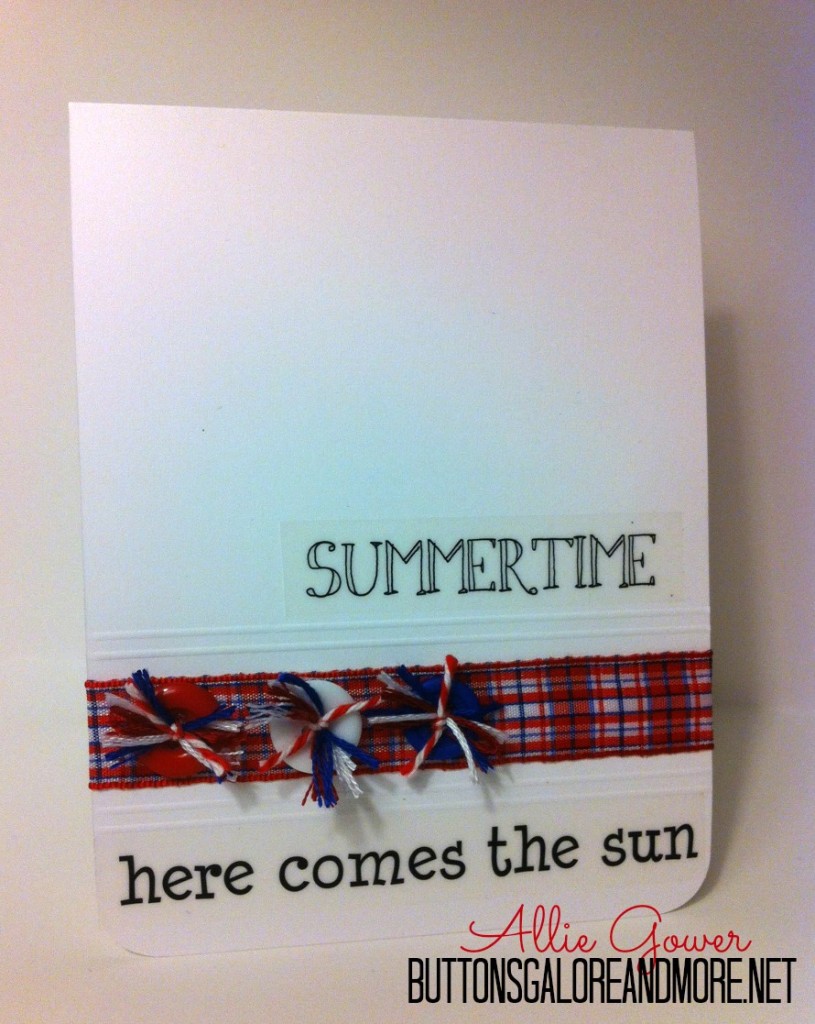
This month I’ll share several Patriotic Cards with Buttons. These would all be fun to do with the kids for friends and neighbors. Now that the kids are out of school, it’s fun to do crafts with them, right?

I’ve been creating several fun projects for an upcoming blog hop, the I LOVE THE USA Blog Hop. I had some embroidery thread left, and thought it would be fun to jazz up some buttons. 


Patriotic Cards with Buttons


Supplies

  • Buttons – Laura Kelly Patriotic Mix
  • Neenah White #110 Cardstock (DiscountCardstock.com)
  • SRM Stickers
  • Ribbon – Michael’s
  • Embroidery Thread – Coats & Clark, Twine – Doodlebug Design
  • Tools – Scor-Board, Floss Threader
  • Adhesive – Hot Glue from Adtech, Redliner Tape

How to Create Patriotic Cards with Buttons

  1. Cut a piece of Neenah Solar White #110 4.25×11 and score in half. On the front of the card, score some additional lines above and below where you would like your ribbon placed.
  2. Adhere ribbon on card with Redliner Tape.
  3. Add stickers.
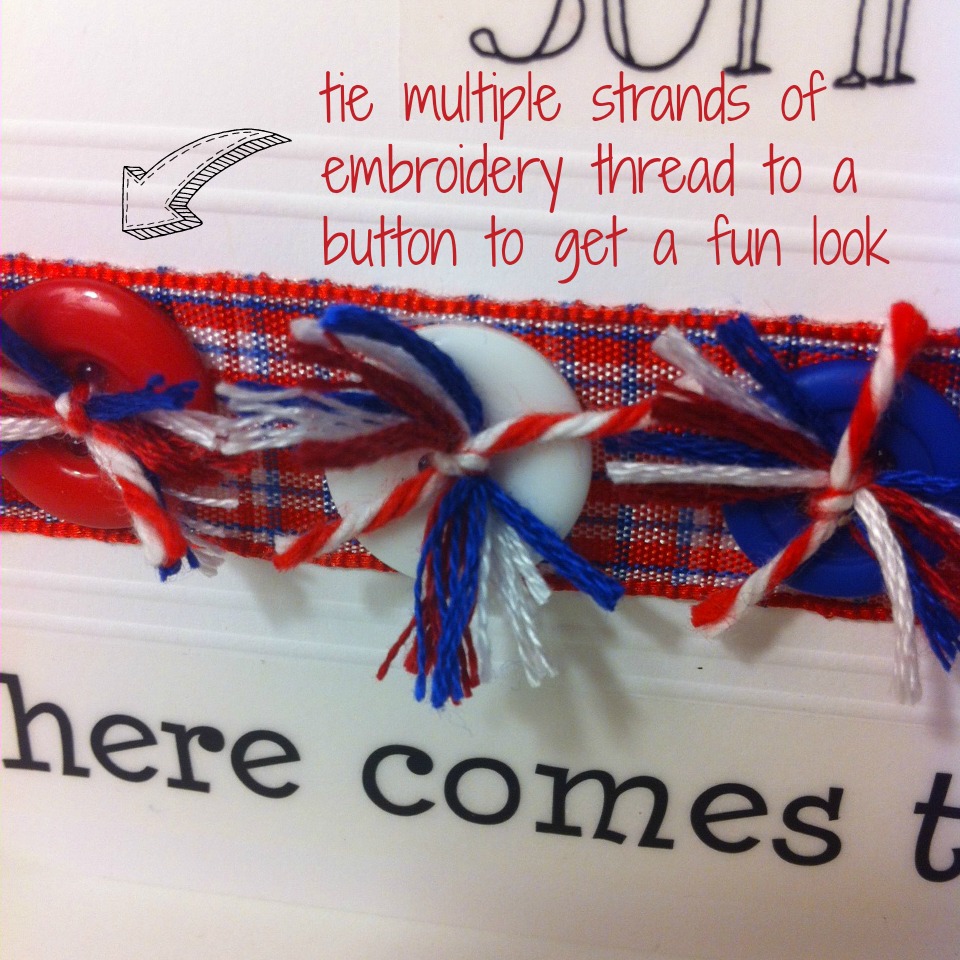
  4. Tie several strands of embroidery thread with twine to Patriotic buttons as shown below.  Trim ends.
  5. Hot Glue buttons to ribbon on card.

Patriotic Cards with Buttons


Thanks for joining me today.

See more of my creations at MyCardParty.

1

Powered by WordPress. Designed by WooThemes