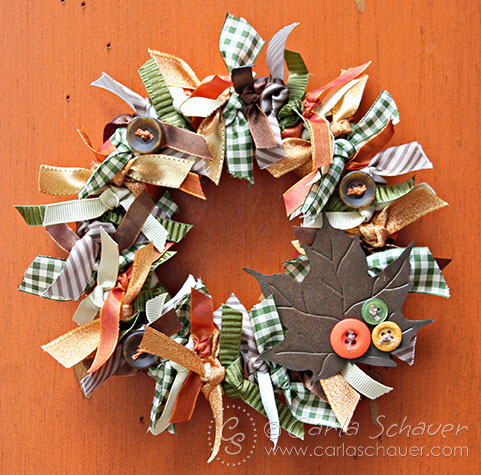
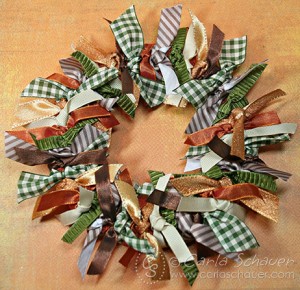
Allie Gower shows you how easy it is to Create a Halloween Wreath using the Halloween Button Assortment, an Archiver’s Exclusive.
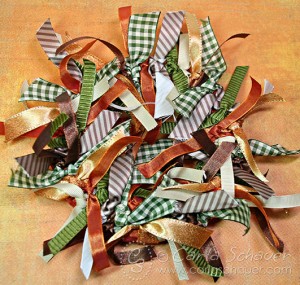
ScrapFest – Halloween Wreath
Buttons Galore is heading to Archivers Mall of America for ScrapFest 2013.
Join us for fun make and takes each day of ScrapFest.

Supplies for ScrapFest – Halloween Wreath
- Halloween Buttons
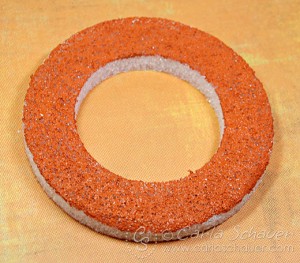
- Wood wreath
- Black paint
- White VersaCraft Ink
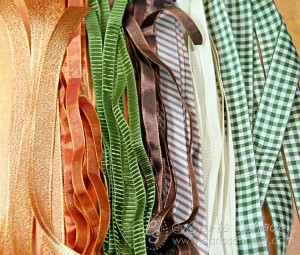
- Polka Dotted Ribbon
- AdTech Hot Glue Gun and Glue Sticks
- Heat Embossing Tool
Directions for Creating Halloween Wreath
- Paint wreath and allow to dry.
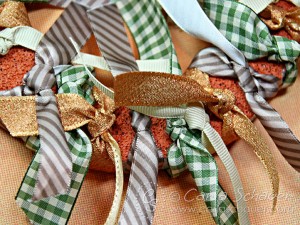
- Glue on ribbon and assorted buttons.
- Add accents with white ink.
- Gently apply heat to ribbon to make it “melt” for a brief period of time using a Heat Embossing Tool.
Please note that many of these supplies used to make the ScrapFest projects are readily available in your local Archivers, and many of them are available in the Archiver’s Annex Online.
Projects will be on display in the Archiver’s at the Mall of America.
See more of Allie’s work at her blog, My Card Party.