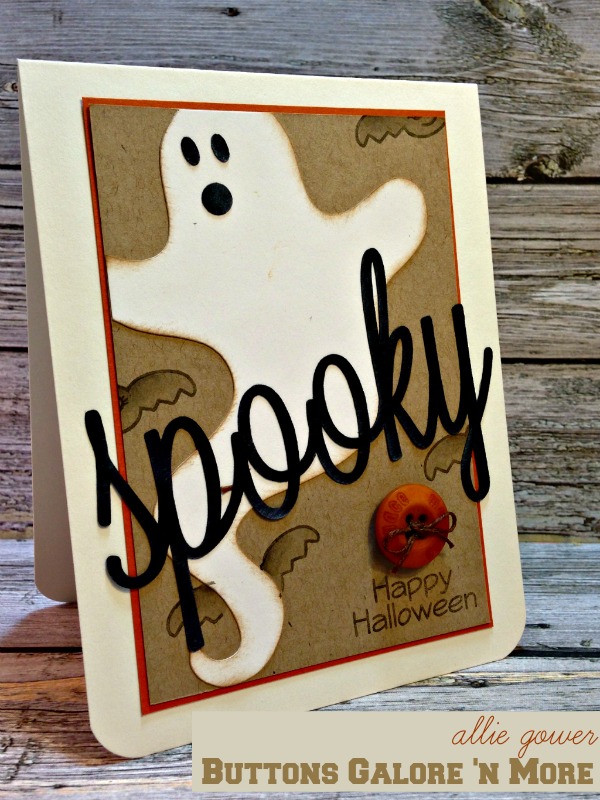
I like Halloween, but I’m not super into the really frightful stuff, I’m more into delightful – so this is about as creepy as I get with this Spooky Halloween Card!
I’ve stamped my batty background and the Happy Halloween sentiment using Happy {OWL}oween Stamps from A Jillian Vance Design. I inked my stamp with a Tombow Marker in sort of an Olive Green, which went well with the Kraft Cardstock. I colored each bat with a few shades of Copic Gray Markers – T1, T4 and W3.
I cut my Ghost and lightly sponged Toffee Crunch Memento ink around the edges, leaving the parts that overlap plain.
The focal word on my Spooky Halloween Card was created using Lavanderia Script from from LOST TYPE. I have a tutorial on my blog if you have a Silhouette and haven’t made fun focal words like this. “Make Pretty Words on the Silhouette” – it’s easier than you think! Once the word was cut out, I lightly inked it with Cloud White VersaMagic Ink.
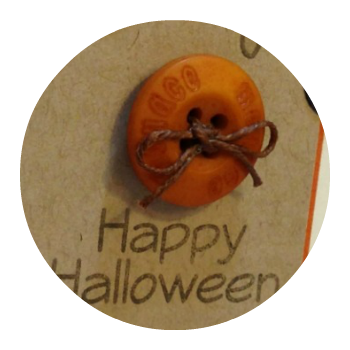
To bring a little attention to the gorgeous Tangerine Button, I tied some waxed linen thread through it. This thread is thick but not super bulky, and it holds its shape perfectly!
Tangerine Tango Buttons are perfect for Halloween. You get about 125 buttons in a reusable Pillow Box, and it’s such a fun assortment. They stay down well with Ultra Thin Glue Dots, also available from Buttons Galore & More.
I save a lot of money using Craft Glue to adhere all my paper. I find for the detailed titles, that painting the adhesive with a foam brush or a foam applicator works really well. It dries clear, without leaving a shiny finish, just in case I get a little sloppy.
Supplies for Spooky Halloween Card
- Button – Tangerine Tango Assortment – Buttons Galore and More
- Cardstock – DiscountCardstock.com
- Stamps – A Jillian Vance Design
- Ink – Tombow Markers; Cloud White VersaMagic Ink, Toffee Crunch Memento (Imagine Crafts)
- Spooky – created using the Lavanderia Script font ( for a tutorial on creating your own cuttable words – please see my tutorial “Make Pretty Words on the Silhouette“
- Ghost – Silhouette Online Store
- Other – Silhouette Cameo, Silhouette Designer Software, Waxed Linen – Beadniks