Header

Tag Archives | Close to My Heart

Missing You Card

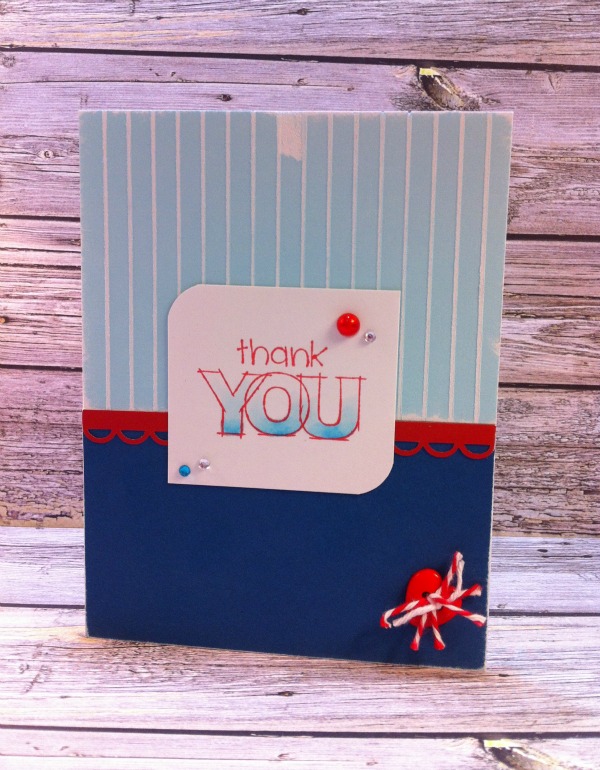
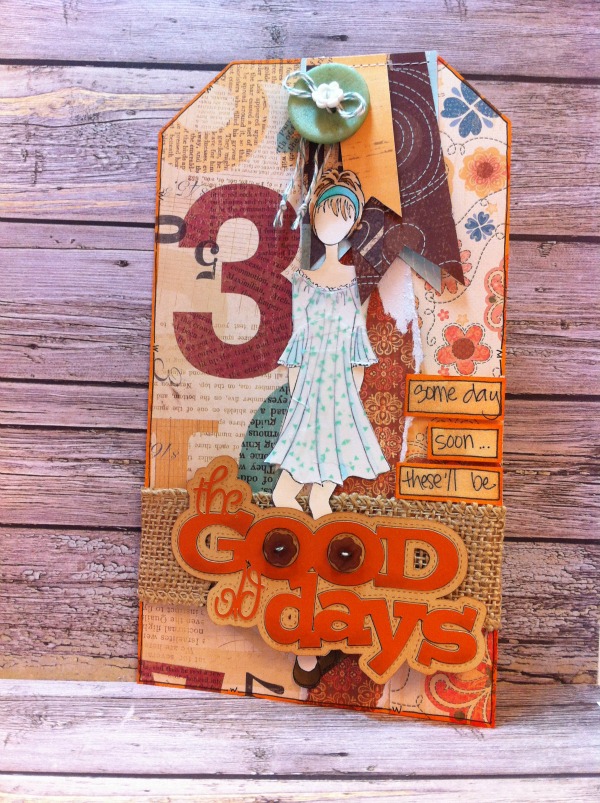
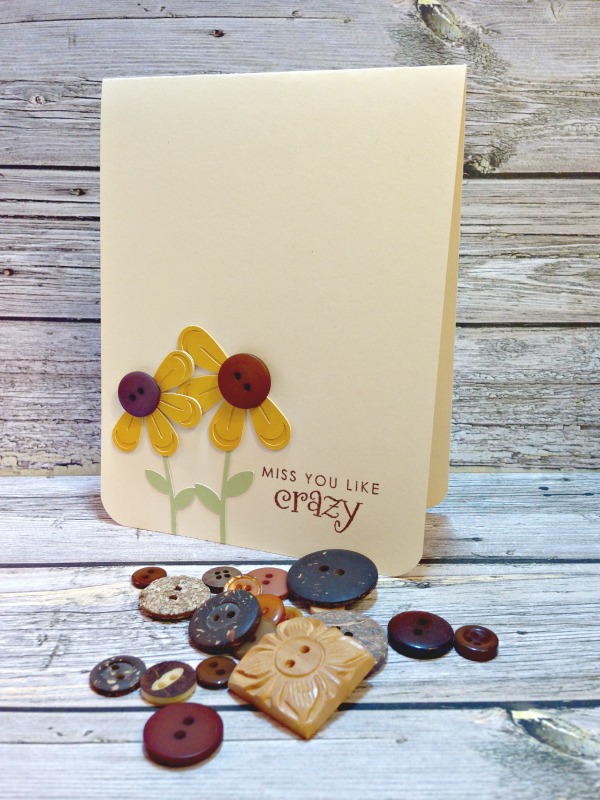
Summer is full of friends and fun, and I already miss mine, so I made a clean and simple Missing You Card. I can’t believe that Fall is here, and I’m missing Summer well … like crazy!

Missing You Card


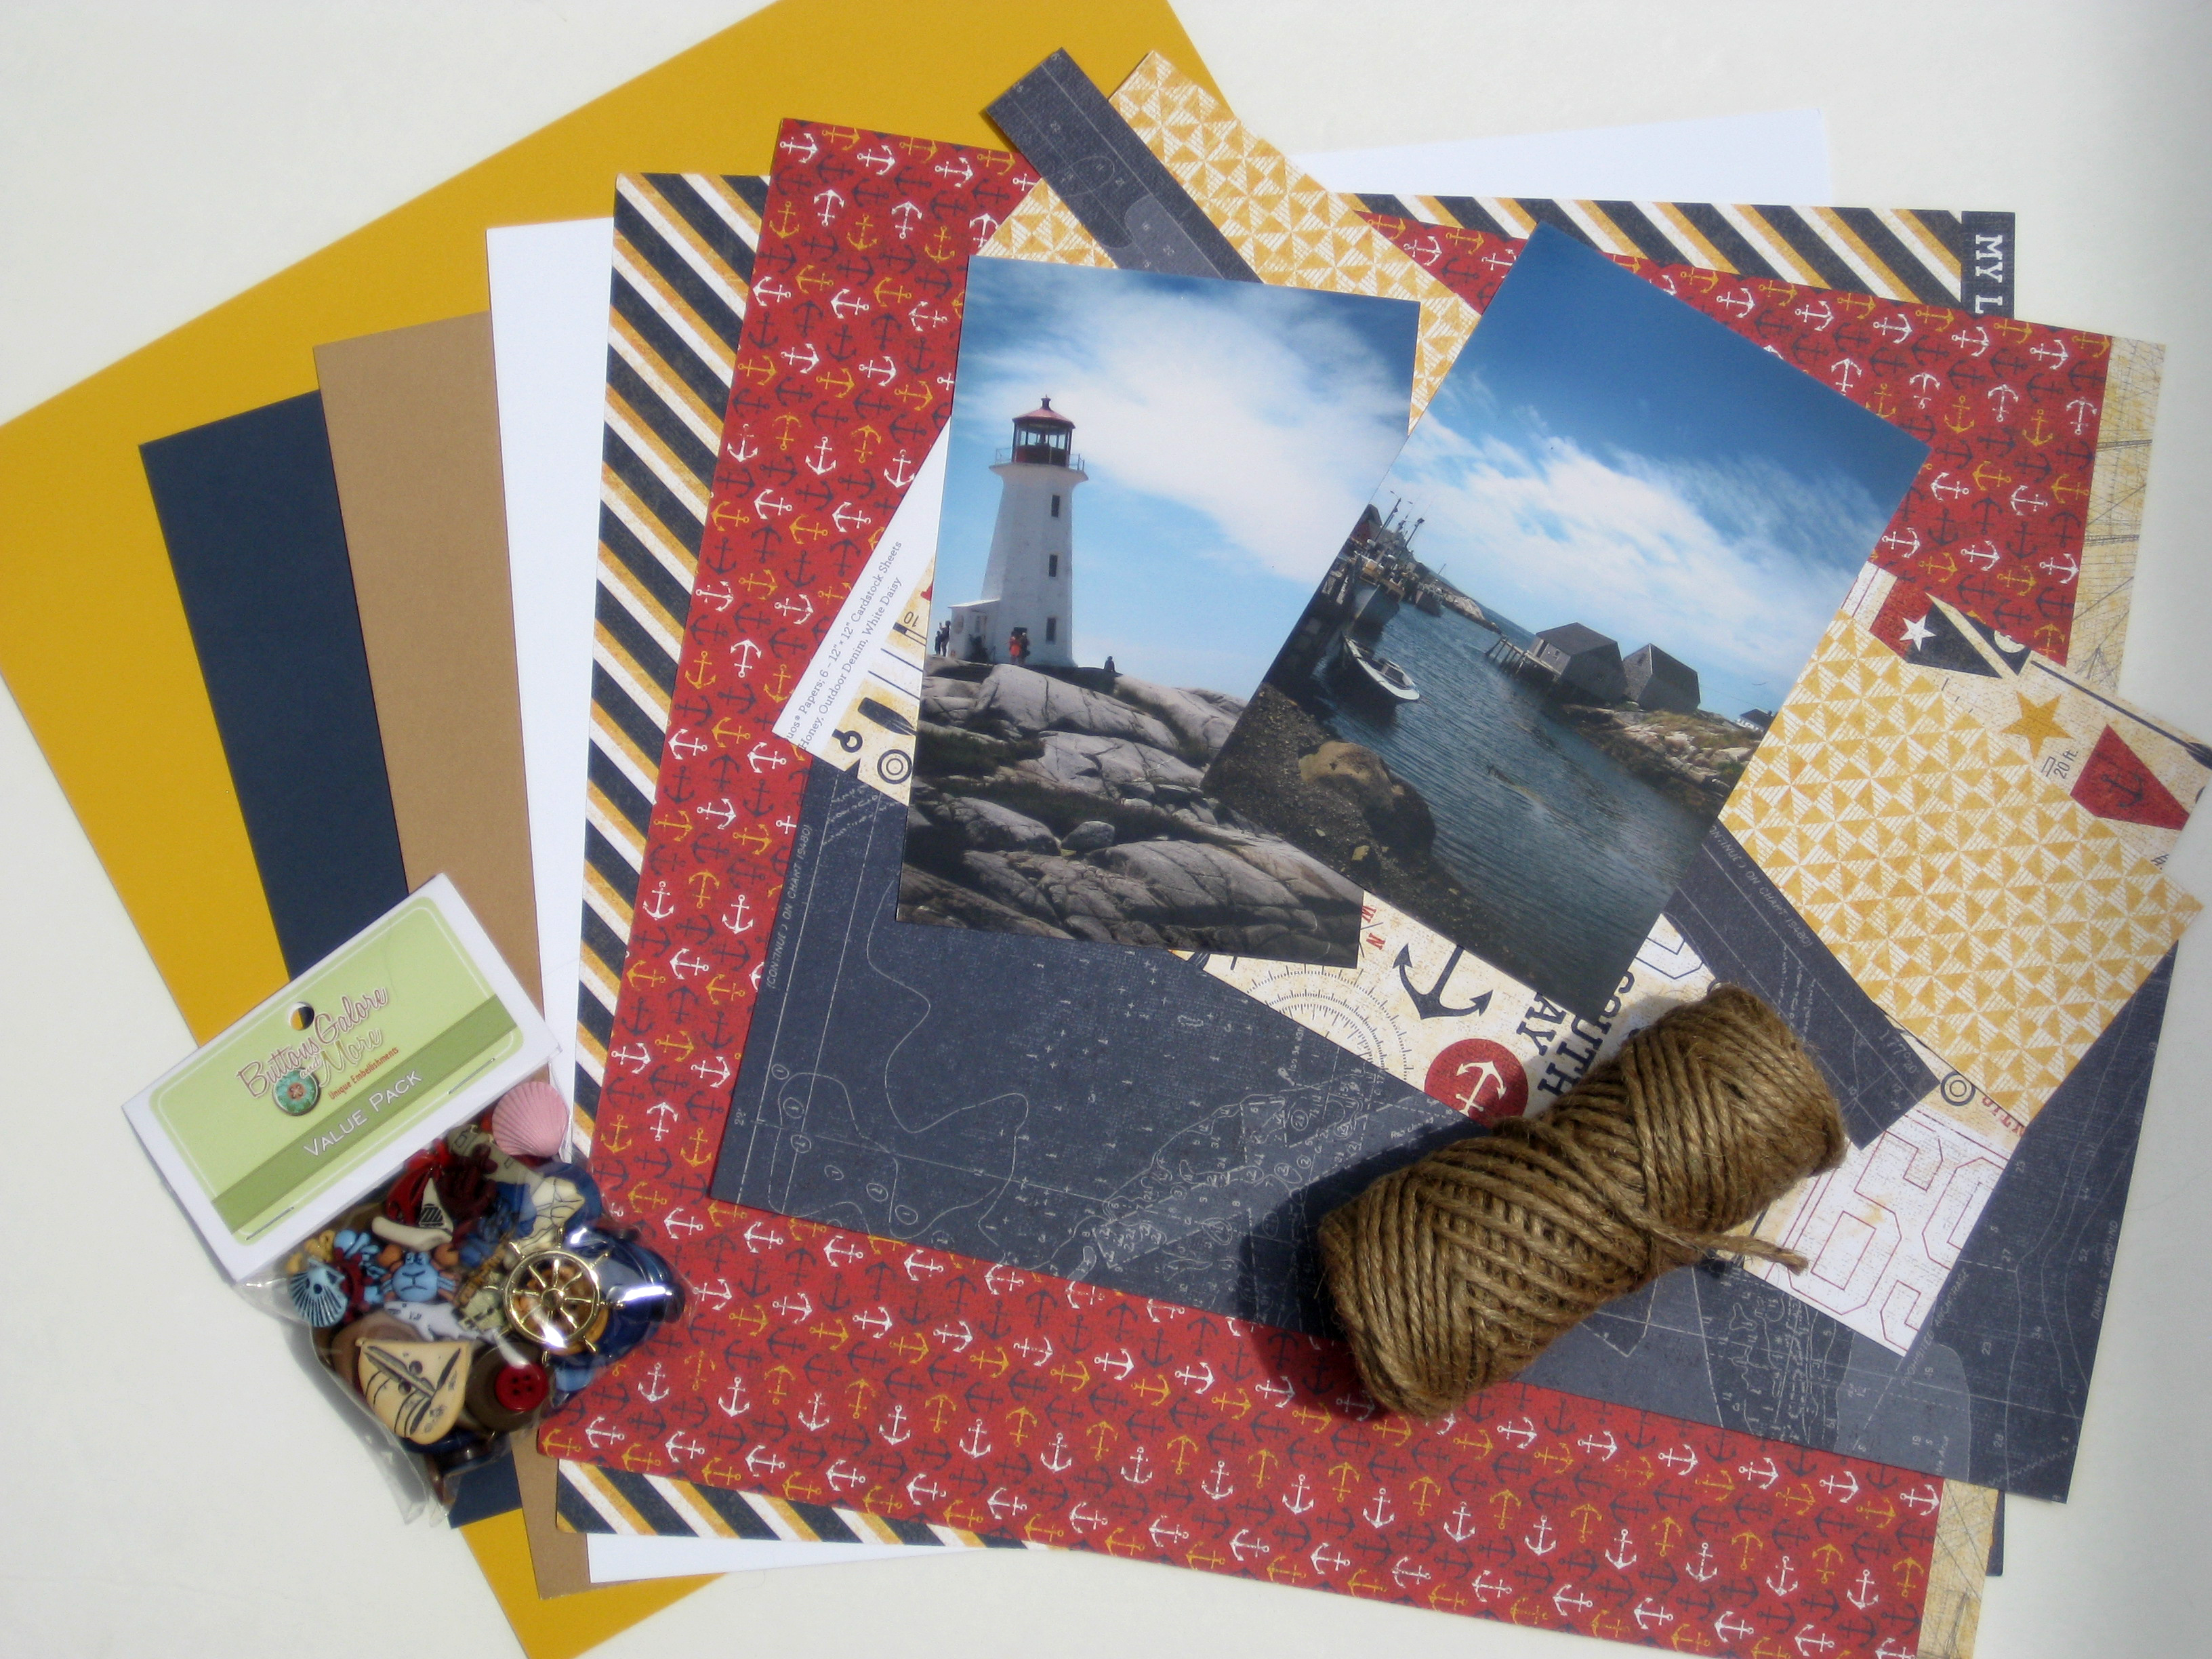
Supplies for Missing You Card:
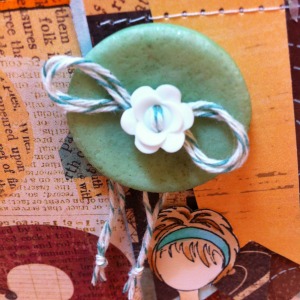
Instructions:

  1. Cut a 4.25 x 11″ piece from Colonial White Cardstock and fold from top to bottom. Round bottom corners with Corner Rounder
  2. Stamp desired sentiment using Coffee House ink.
  3. Cut Leaning Sunflowers pieces in appropriate colors and assemble using Premium Craft Glue. Adhere to card base.
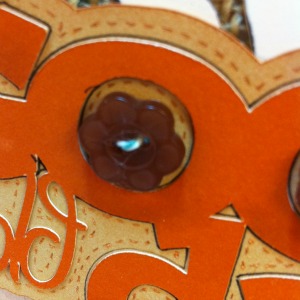
  4. Add buttons to the centers of each sunflower using Glue Dots.


0

Organizing with Nautical Buttons

Try organizing with nautical buttons.

Keep your supplies stored in style this year!

Create a fun storage tray for pencils.

Supplies for Organizing with Nautical Buttons

Additional Supplies

  • Patterned Paper – Tommy Collection, Cardstock (Honey, Cranberry, Outdoor Denim), Burlap Ribbon, Chipboard Arrow – all from Close To My Heart
  • Bling – Want2Scrap Sleek Strips Silver Rhinestones
  • Twine – Doodlebug Design Doodle Twine
  • Ink – Copic R46, R29, C3, C4, Blender (0) and SP05 Multiliner, Cantaloupe and Bahama Blue Memento Dye Ink (Tsukineko)
  • Adhesive – Scor-Tape (Scor-Pal Company) and AdTech Adhesive Hot Glue
  • 3d Pencil Box with Wrap SVG – Designed by Jamie Cripps (Silhouette Online Store)

Create a fun storage tray for pencils.Create a fun storage tray for pencils.Create a fun storage tray for pencils.

Directions:

  1. Cut two outer panels, one of the Tommy themed paper – one of Outdoor Denim (both from Close to My Heart). Adhere together with Scor-Tape. Save leftover patterned paper – on the back there is a word strip that is used in the embellishments. Note – the Outdoor Denim liner is a special addition – it gives the box a little bit of added sturdiness.
  2. Color numbers of choice using Copic Marker R29 and R46. Add shadows with C3 and C4. Add accents with Blender pen and Copic Multiliner.
  3. Cut insert from Honey Cardstock. Assemble and attach to the outer portion of the box.
  4. Cut band from Cranberry Cardstock.
  5. Loop twine through Anchor button and tie through red button. Adhere red button to Ship’s Wheel button using AdTech Adhesives hot glue.
  6. Adhere burlap ribbon and buttons with AdTech Adhesives hot glue.
  7. Ink Chipboard Arrow (From Lucky Level 2 Assortment – Close To My Heart) with Cantaloupe Ink and edge with Bahama Blue Ink (Tsukineko – Memento Dew Drop). Adhere with AdTech Adhesives hot glue.
  8. Choose sentiments from leftover Tommy paper and “pink” edges. Attach to burlap using AdTech Adhesives hot glue.
  9. Outline numbers with Sleek Strips Silver Rhinestones.

Create a fun storage tray for pencils. 

Note – for additional assistance assembling the box, Jamie has a wonderful tutorial on her blog.

http://www.jamielanedesigns.blogspot.com/2013/07/pencil-box-with-wrap.html

 Thanks for joining me today. Hope you have fun getting organized in style.


* * * * * * * * * * * * * * *

Linking up with Transformation Thursday


TT logo

1

Simple Thank You Card

I ran out of thank you cards. I needed to replenish my stash! So … time for a quick …

SIMPLE THANK YOU CARD


A Simple Thank You Card


Top of the card – I used a Scor-Board to make lines on my cardstock, and then I sanded it.

Middle of the card – the strip is a cut from the Silhouette Online store that I sized to fit a standard A2 Card. The sentiment is stamped and colored, and I rounded just two of the corners. I added an adhesive backed pearl and some rhinestones.

Bottom of the card – just some simple card stock that I sanded the edges of, and added a Heart Button tied with some Twine and embroidery thread.

It’s kind of a running joke when it comes time to request more buttons for projects, that I ask for Heart Buttons! I love to accent my cards and projects with HEART BUTTONS.

This is my stash. It makes me happy. I am out of the large RED buttons that I used. Guess what I’ll be asking for …


Hearts Hearts and more Hearts


Supplies for a Simple Thank You Card


1

Prima Doll Tag

I wanted to try something different. So … I hope you like this

PRIMA DOLL TAG

My daughter and I saw the Script in concert recently, and one of the songs has the line “The Good Old Days” over and over and it was just stuck in my head.

I love these Prima Dolls from Julie Nutting, and this particular one reminds me of my daughter!

The Vacation mix of buttons is really fun and had this enormous green button, along with some flower buttons.


Prima Doll Tag featuring Vacation Buttons.


I don’t do much of the Mixed Media, but I really had fun with this. I stitched together some pennant strips. I decorated the Prima Doll with Washi Tape. I colored the rest of her with Copic Markers.

The background is just some torn papers that are layered together.


Prima Doll Tag featuring Vacation Buttons.


I highlighted the letters and outlined the Good Old Days.

Prima Doll Tag featuring Vacation Buttons.


I tied a twine bow through the smaller flower button, and tied it to the large green button from the Vacation mix.

Supplies for Prima Doll Tag:

  • Buttons – Vacation mix
  • Patterned Papers, Burlap Ribbon – Close To My Heart
  • Stamps – Prima
  • Adhesive – Thermoweb iCraft Adhesive 3mm, Mini Glue Dots
  • SVG – The Good Old Days (this is just words welded)
  • Washi Tape – DowntownTape.com
  • Twine
  • Other – ink (Tsukineko / Imagine Crafts) and Copic Markers


Thanks for joining me today. To see more creative ideas, I’d love for you to join me at My Card Party!

1

Button and Twine Medallion Tutorial

Join me for a step by step tutorial where we will make Button and Twine Medallions to use as embellishments for a seaside themed scrapbook layout. Nothing says seaside or nautical like red, white and blue with the texture of rope incorporated.

Products used to create this layout with Button and Twine Medallions:

IMG_5706

You want to start with cutting out circles from cardstock. This is going to be what you create your Button and Twine Medallions on. So make sure you use a punch that is the size you would like the embellishment to be.

IMG_5709

I then used hot glue to start adhering the twine to the outside of your cardstock circle.

IMG_5710

I left a small space in the middle of each of my medallions. That way if you have chosen buttons that have shanks, then you should be able to still just hot glue the buttons to the medallions.

IMG_5712

Here are the buttons that I chose from the Nautical Value Pack for my Button and Twine Medallions.

IMG_5714

I added my Button and Twine Medallions to the border of my scrapbook layout.

IMG_5722

I added a few more buttons from the Nautical Value Pack along with some canvas stickers to the top of one of my photos.

IMG_5723

IMG_5725

Here is my completed scrapbook layout with the Button and Twine Medallions as the perfect accent to my photos from the stunning Peggy’s Cove, Nova Scotia.

Thank you for stopping by and I hope these Button and Twine Medallions make it to your next nautical themed craft project.IMG_5720

1

Sunday Cardmaking: Make a St. Patrick’s Day Card

Let’s make a FUN St. Patrick’s Day Card.

As an Irish lass, I just HAVE to share another St. Patrick’s Day Card.

Sometimes I like to make easy cards. Other times, I like to pull out lots of toys and tools, and for this card, I got out sandpaper, my scor-board and all kinds of goodies.

Let’s get started!

Happy St Patricks Day

How to make this FUN St. Patrick’s Day Card.

  1. The base is a standard A2 size (4.25 x 5.5″) and opens at the bottom. The dark green mat is 4 x 5.25″ and the white mat it 3.75 x 5″. The light green strip is 1.75 x 5″.
  2. Score light green strip at every quarter inch. Turn over and sand score lines.
  3. Stamp sentiment. Assemble card.
  4. Die cut three clovers and sand around the edges. Tie twine through assorted Orange Buttons and adhere to clovers with Beacon’s.
  5. Add ribbon. I like to fold over the top edge and use Red Liner Tape to hold it down. Add bling to ribbon and dot i in St. Patrick’s.

We had a lot of fun using tools, but it wasn’t hard… Was it? Grammar Note – the plural of clover really is clovers, I researched it. It sounds wrong, doesn’t it?

Buttons Galore Supplies Used to make this FUN St. Patrick’s Day Card.

Cross Promotional Supplies Used to make this FUN St. Patrick’s Day Card.

Additional Supplies Used to make this FUN St. Patrick’s Day Card.

  • Sentiment, Twine, and Cardstock – Close To My Heart (I like to use this cardstock because it has a fun white core.)
  • Clover die cuts – Sizzix
  • Sandpaper – Bazzill Sanding tool
  • Ribbon – American Crafts
  • Bling – Want2Scrap
  • Dimensional Foam Adhesive

Thanks for stopping by today. I hope your St. Patrick’s Day is filled with luck to last you through the year.

2

Sunday Card Making: Make an OWL LOVE YOU Valentine Card

Do you like puns?  There is nothing cuter than OWL LOVE. I think this card would work well for Valentine’s Day, or any day with the simple HELLO!

This card is not difficult, but it’s got a little cutting and some die cutting and punching.

I started with Spellbinders Labels 20 and cut two green shapes and embossed them. I though these worked well for bushy foliage. I also die cut a branch from the Spellbinders BUGS set, and I also embossed it and added some ink for added contrast.

I stamped the Owl with some Crystal Blue ink from Close To My Heart – the owl is a Stamp of the Week from Unity Stamp Company. I have a love for owls, and some of my close friends call me Owlie – it’s even the name of my character on the Wii. It’s okay to laugh! I fussy cut the owl – not as hard as SOME shapes. I doodled around his feet and gave him some eyelashes with a Copic multiliner. I stencilled on his nose – I stamped a second owl and cut out the nose. I colored and outlined. An owl can be blue and sit in a tree, but a blue nose – never! I added some metal brads for his eyes.

I punched a heart using a Fiskars punch. The paper is from Canvas Corp and has all kinds of love words on it. I added a Red Heart Button. I tied a little bow with some Doodlebug Design Twine. At the bottom, I stamped “hello” from the same stamp set. I colored in the heart with a Copic Marker and added some Turquoise Rhinestones from Want2Scrap.

I did a little rounding at the bottom of the card and on the sentiment.

That’s it!

I hope you will love this card.


Hello by Allie Gower

Buttons Galore Supplies used to make the OWL LOVE YOU Card:

Additional supplies used to make the OWL LOVE YOU Card:

  • Cardstock – My Favorite Things Replenishments
  • Stamps – Unity Stamp Company (Stamp of the Week Program)
  • Dies – Spellbinders Labels 20 and Bugs
  • Punches – Scalloped Heart and Corner Punch from Fiskars
  • Twine – Doodlebug Design
  • Ink – Close To My Heart and Copic
  • Bling – Want2Scrap

Do you want this OWL to love you forever?

I will send him to a lucky winner.

Leave a comment and PIN him. I know, you were going to do that anyway. Good luck and I’ll see you all next week.

Sunday Cardmaking: Making a Valentine that Hides a Sweet Surprise

Have you ever wanted to hide a sweet surprise in a Valentine card?

Sweet Surprise Card by Allie Gower

This is a standard Easel Card Valentine with a sweet surprise.

If you’ve never created an Easel Card, here is a very easy tutorial. On my Valentine, I’ve made the size a little larger – the card is 6×6.

The sweet surprise is that in the bottom half of this Valentine, I’ve wrapped a Hershey Bar.

I added a panel of black cardstock, and scored it to make a little sleeve for the candy bar. I didn’t glue it, so the card doesn’t have to be destroyed to enjoy the candy. Apparently, no one wants to rip up the card to get to the goods! Nothing stops me from getting to chocolate.

Hershey Valentine

Sometimes people ask about the buttons and other dimensional items, and if it makes the cards hard to mail, or expensive.

Once you get a certain size, you’re paying a premium anyway, so I just pop my cards in a bubble mailer or a small box, and grin and bear the cost of mailing. My only other option is to hand deliver, which I love to do! I don’t want to hold back on my creativity – so I say layer it on, and on, and on.

Buttons Galore and More Supplies Used to Create this Valentine:

Chocolate Covered Strawberries

Strawberries

Mini Glue Dots

Beacon’s 3-in-1 Glue

Additional Supplies Used to Create this Valentine:

Paper – Authentique

Stamps – Gina K Designs

Ink – Close to My Heart

Dies – Spellbinders

Bling – Want2Scrap

Thanks for checking out my Valentine.

If you have any questions, just leave me a comment below.

I’d like to send this card to someone! Leave a comment here, and PIN the photo for a chance to win.

15

Powered by WordPress. Designed by WooThemes