
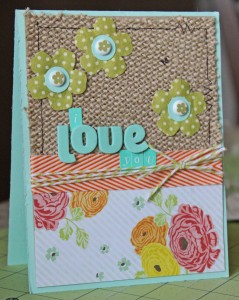
When I initially started creating a card starting with burlap, I thought I would be creating a very masculine project, but it some morphed into a lovely fun card instead. I absolutely love the way this project turned out, so I hope you do too.
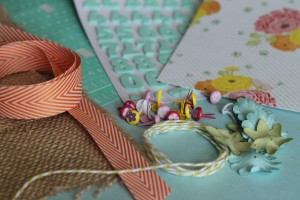
Supplies:
Burlap
Paper Flowers
Alphabet stickers
Twine & Ribbon
Patterned Paper
Sewing Machine & Thread
Circle Punch
Cardstock
Adhesive
Assembly Instructions:
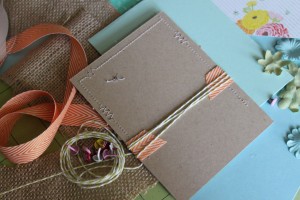
1. Attach a piece of burlap to to the upper half of a piece of kraft cardstock cut to 4″x5.25″ and stitch around the border .25″ from the cardstock edge. Trim excess burlap with pinking shears.
2. Attach a piece of patterned paper trimmed to 4″x2.5″ to the lower half of the cardstock, and cover the seam with a strip of ribbon.
3. Layer brads, punched cardstock circles, and flowers together before adhering them through burlap & cardstock.
4. Attach letter stickers for desired sentiment and add baker’s twine.
5. Secure entire card front to an A2 (4.25″x5.5″) card stock base.
(Tip: I always create my card front entirely before attaching it to the card base in order to hide any artistic imperfections.)
Here’s the finished card all cute & ready to give to your special loved one…

Latest posts by Laura Evangeline (see all)
- Handmade ‘i love you’ Card Idea with flowers - August 3, 2012
- Buttons and Burlap Love - June 25, 2012
- Bib Tank Tutorial - May 30, 2012
No comments yet.