Header

Tag Archives | treat bags

Spooky Button Eye Treat Bags


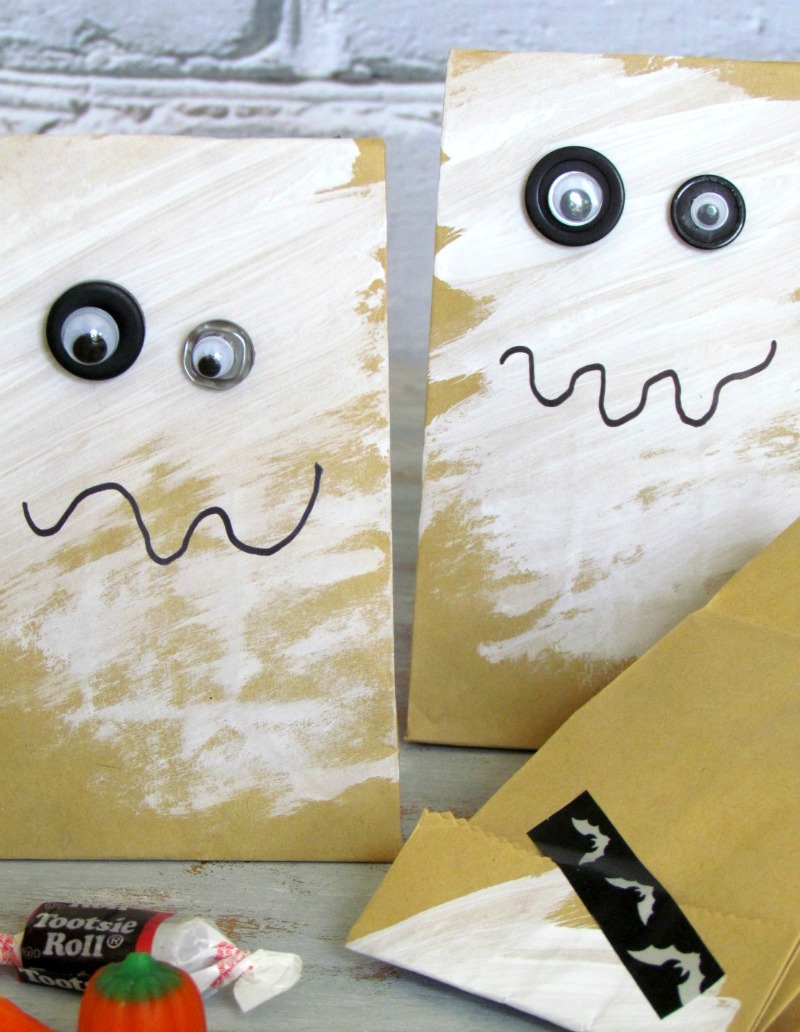
Lots Trick-or-Treaters will visit our house during Halloween and I like to give special treats to a few of my kids friends that come by.   Something special and fun like these Spooky Button Eye Treat Bags.

Kids could easily make these spooky treat bags for there friends too.


BGM ghost bags

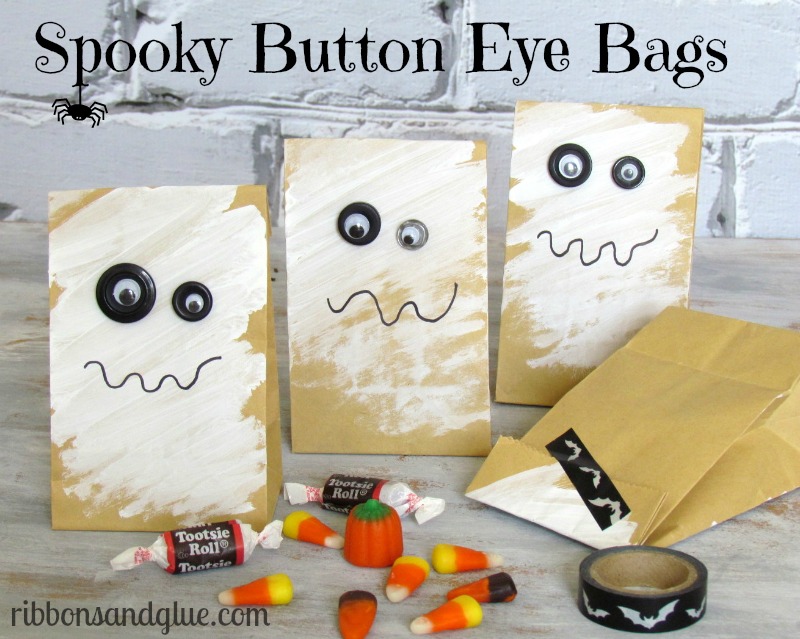
How to make Spooky Button Eye Treat Bags


BGM ghost tutorial

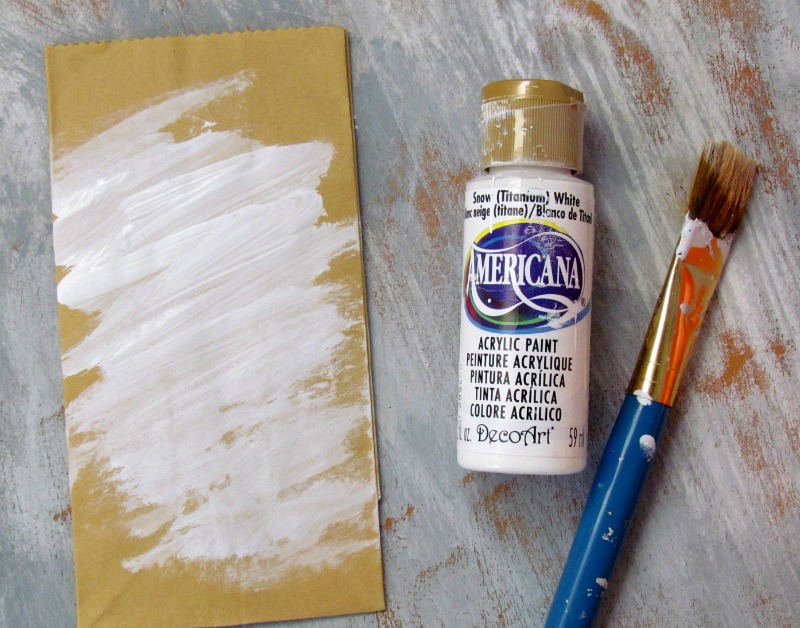
  • Use DecoArt  paint and a dry brush technique to paint  the front of your bag.

BGM ghost tutorial 2

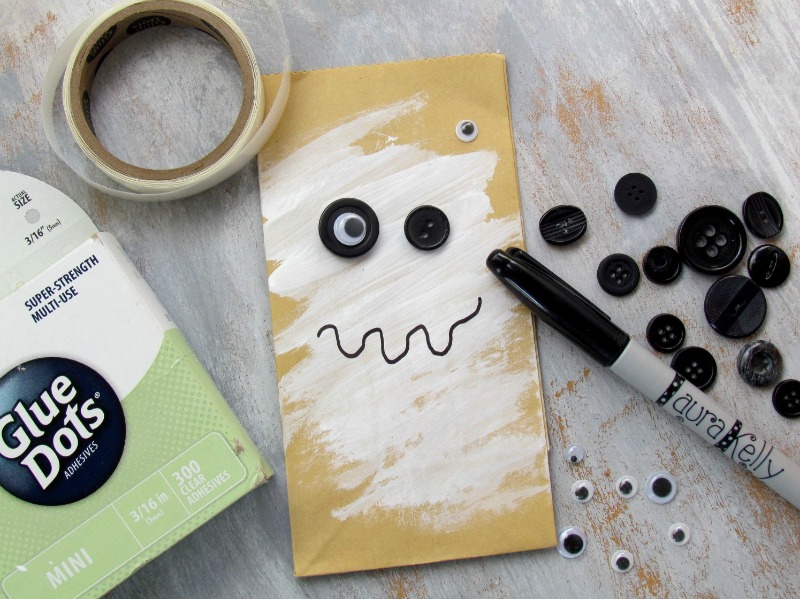
  • Adhere Haberdashery Buttons using Mini Glue Dots.
  • Adhere Googly Eyes to center of black button.
  • Use a Sharpie to make a funny face.
  • Fill with yummy treats
  • Fold top of bag over, adhere a piece of  Halloween Washi tape to keep bag closed.


BGMghostbags2


Supplies Used to make Spooky Button Eye Treat Bags:


newsignature

Like Me on Facebook!


2

Personalize Lunch Bags for back to school and de-stash too!

It’s almost time to go back to school.   We all know what that means…packing lunches!  My daughter loves it when I personalize lunch bags.  No boring brown lunch bags for her, but some mornings it’s tough to feel inspired.  That’s where my craft stash comes in!  Use your scrapbook embellishments to create a designer style, personalized lunch bag in minutes!  Here’s how:

Supplies needed to personalize lunch bags:

Instructions to personalize lunch bags:

  1. Using a border punch, punch a decorative edge along the top of the bag.
  2. Using a white-out pen or a Sharpie Marker, write the lunch bag owner’s name or a sweet message on the front of the bag.
  3. Put lunch inside!
  4. Fold the top of the bag over towards the FRONT of the bag.
  5. Punch a hole in the top middle of the bag.
  6. Punch holes through ribbon and tulle and layer them under the brad. (This is optional.  If you are having a busy morning, just use a brad by itself.  It’s still cute!)
  7. Push a brad through the layers and secure the bag closed.

See?  I told you it was easy.  Quick personalized lunch bags.  I think these would also be great for gift or party treat bags.  You could personalize lunch bags to fit the theme or with a guest name.  Also, the would be easy to make ahead for classroom parties.  Another fun idea would be to gather some friends, get out all your scraps an have a party.  Everyone could personalize lunch bags for a few weeks and you can get rid of your leftovers.


4

Teacher’s Gift: Burlap & Button Gift Bags

It’s the end of the school year and time to give your favorite teacher a token of your appreciation.  This easy burlap gift bag can hold a small gift and has a darling felt & button badge pin.  After the gift is opened, the badge can be worn as a pin on a favorite sweater or tote bag and the burlap bag can be reused for future gifting.

Supplies:

  • Burlap cut into a 6” X 5” rectangle
  • Two 1 ½” diameter circles of felt
  • Buttons-I love Buttons Galore & More’s Sweet Delights Buttons for this project!
  • Embroidery Floss
  • Pin Back
  • Ribbon
  • Basic sewing supplies & sewing machine

Instructions:

  1.  Fold the burlap rectangle in half lengthwise.  Sew a ¼” seam along the long sides.  Leave the top open.
  2. Turn-out the burlap so that the seams are on the inside of the bag.  Pull some strands of the burlap off of the top opening to give the bag top a frayed look.
  3. Hand sew buttons onto one of the felt disks.  Using a straight stitch or running stitch, sew the embellished felt circle onto the blank felt circle. 
  4. Sew a pin-back onto the back of the felt badge.
  5. Pin the badge onto the burlap bag.
  6. Fill the bag with your gift or candy.  Tie the top closed with a decorative ribbon.

Felt & Button Badges by Laura Bray

1

Shamrock Treat Bag

DSC00602-1 

Did your little one just tell you that you need to make party favors for school on St Patricks day? No worries, Laura Kelly has you covered.

Cut a large shamrock out of dark green felt and a smaller shamrock out of light green felt. Laura used pinking shears to give her shamrock a decorative edge.

Sew buttons (or glue them) onto the light green felt and then glue the smaller shamrock onto the larger one.

Attach the finished shamrock to a ribbon or whatever you might have on hand and attach it to the treat bag.

0

Powered by WordPress. Designed by WooThemes