Header

Tag Archives | Silhouette

Pumpkin Spice Latte Card

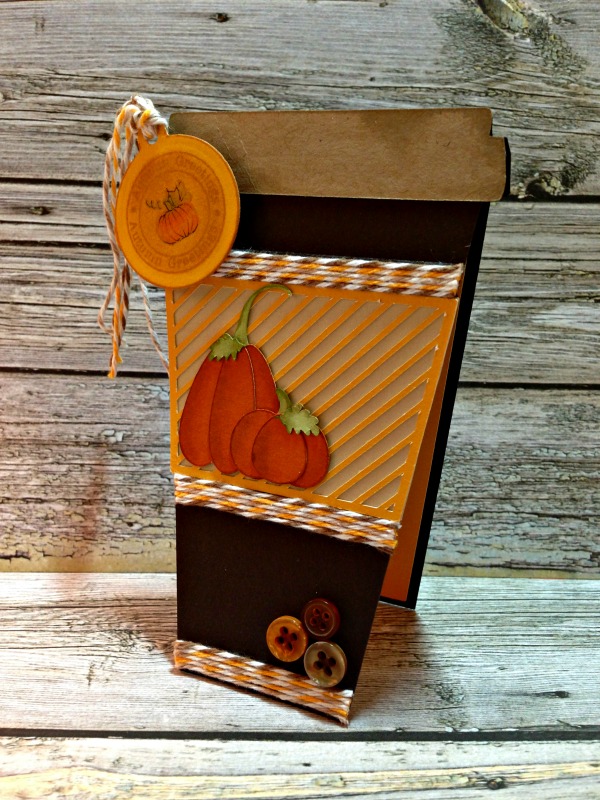
I wanted a cute Pumpkin Spice Latte Card to go with a batch of syrup I was making for a friend. I’ve included links to the recipes for a Latte that tastes just like Starbuck’s, and a recipe on making the syrup yourself.

pumpkin spice latte

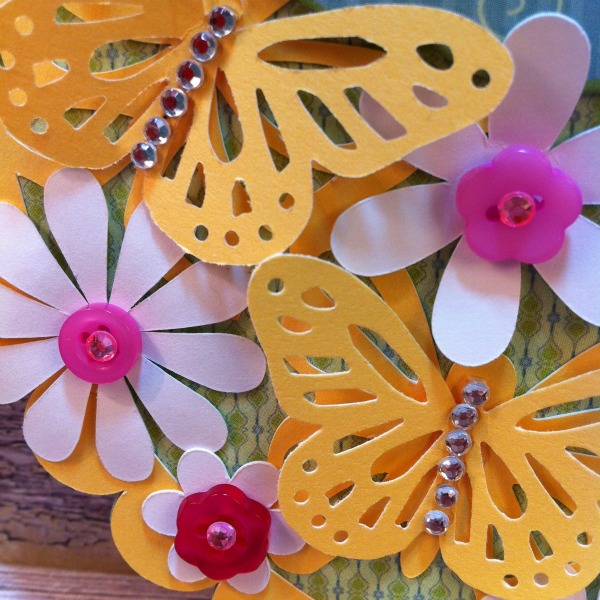
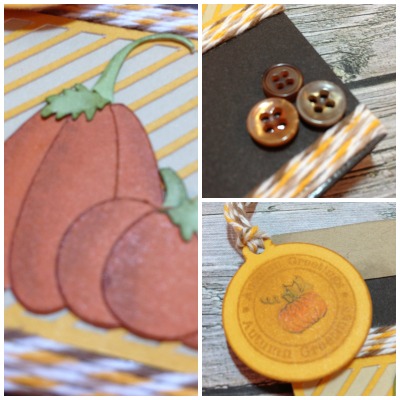
Here’s a close up on the details.

Pumpkin Spice Latte details

Recipe to Make the Latte. Recipe to Make the Syrup.

Supplies for Pumpkin Spice Latte Card

  • Buttons – Latte Mix, of course!
  • Cardstock – Close To My Heart
  • Inks – Peanut Brittle Memento and Copic Markers (for shading on cup, pumpkins and foliage)
  • Twine – the Twinery
  • Stamp and matching Charming Circle Die – A Jillian Vance Design
  • Adhesive – Mini Glue Dots
  • Other – Pumpkins and Coffee Cup are svgs from the Silhouette Online Store – both files were modified to create the card using Silhouette Designer Software


Thanks for dropping by. Happy Fall, Y’all. See more of my projects at My Card Party.

1

Organizing with Nautical Buttons

Try organizing with nautical buttons.

Keep your supplies stored in style this year!

Create a fun storage tray for pencils.

Supplies for Organizing with Nautical Buttons

Additional Supplies

  • Patterned Paper – Tommy Collection, Cardstock (Honey, Cranberry, Outdoor Denim), Burlap Ribbon, Chipboard Arrow – all from Close To My Heart
  • Bling – Want2Scrap Sleek Strips Silver Rhinestones
  • Twine – Doodlebug Design Doodle Twine
  • Ink – Copic R46, R29, C3, C4, Blender (0) and SP05 Multiliner, Cantaloupe and Bahama Blue Memento Dye Ink (Tsukineko)
  • Adhesive – Scor-Tape (Scor-Pal Company) and AdTech Adhesive Hot Glue
  • 3d Pencil Box with Wrap SVG – Designed by Jamie Cripps (Silhouette Online Store)

Create a fun storage tray for pencils.Create a fun storage tray for pencils.Create a fun storage tray for pencils.

Directions:

  1. Cut two outer panels, one of the Tommy themed paper – one of Outdoor Denim (both from Close to My Heart). Adhere together with Scor-Tape. Save leftover patterned paper – on the back there is a word strip that is used in the embellishments. Note – the Outdoor Denim liner is a special addition – it gives the box a little bit of added sturdiness.
  2. Color numbers of choice using Copic Marker R29 and R46. Add shadows with C3 and C4. Add accents with Blender pen and Copic Multiliner.
  3. Cut insert from Honey Cardstock. Assemble and attach to the outer portion of the box.
  4. Cut band from Cranberry Cardstock.
  5. Loop twine through Anchor button and tie through red button. Adhere red button to Ship’s Wheel button using AdTech Adhesives hot glue.
  6. Adhere burlap ribbon and buttons with AdTech Adhesives hot glue.
  7. Ink Chipboard Arrow (From Lucky Level 2 Assortment – Close To My Heart) with Cantaloupe Ink and edge with Bahama Blue Ink (Tsukineko – Memento Dew Drop). Adhere with AdTech Adhesives hot glue.
  8. Choose sentiments from leftover Tommy paper and “pink” edges. Attach to burlap using AdTech Adhesives hot glue.
  9. Outline numbers with Sleek Strips Silver Rhinestones.

Create a fun storage tray for pencils. 

Note – for additional assistance assembling the box, Jamie has a wonderful tutorial on her blog.

http://www.jamielanedesigns.blogspot.com/2013/07/pencil-box-with-wrap.html

 Thanks for joining me today. Hope you have fun getting organized in style.


* * * * * * * * * * * * * * *

Linking up with Transformation Thursday


TT logo

1

Simple Thank You Card

I ran out of thank you cards. I needed to replenish my stash! So … time for a quick …

SIMPLE THANK YOU CARD


A Simple Thank You Card


Top of the card – I used a Scor-Board to make lines on my cardstock, and then I sanded it.

Middle of the card – the strip is a cut from the Silhouette Online store that I sized to fit a standard A2 Card. The sentiment is stamped and colored, and I rounded just two of the corners. I added an adhesive backed pearl and some rhinestones.

Bottom of the card – just some simple card stock that I sanded the edges of, and added a Heart Button tied with some Twine and embroidery thread.

It’s kind of a running joke when it comes time to request more buttons for projects, that I ask for Heart Buttons! I love to accent my cards and projects with HEART BUTTONS.

This is my stash. It makes me happy. I am out of the large RED buttons that I used. Guess what I’ll be asking for …


Hearts Hearts and more Hearts


Supplies for a Simple Thank You Card


1

Encouraging Card

Sometimes, a friend needs to hear they are fabulous, thus the need for an …

ENCOURAGING CARD

An Encouraging Card featuring buttons, Close To My Heart embellishments and papers, along with Close To My Heart bling.

I cut the card base and flowers using the Silhouette. I cut an extra set in green to add some more leaves. Laura Kelly’s Sweet Blush Buttons dot the centers of the flowers, and these are accented with pink rhinestones. I punched some Martha Stewart butterflies from matching card stock to give a little more dimension to the butterflies on the card, and those are accented with rhinestones as well.

An Encouraging Card featuring buttons, Close To My Heart embellishments and papers, along with Close To My Heart bling.

Buttons are always a fun and inexpensive embellishment!

Supplies for an Encouraging Card:

Thanks for stopping by today. To see more cards and creative ideas, please visit me at My Card Party.


5

Powered by WordPress. Designed by WooThemes