Header

Tag Archives | Rustic Coconut Shell

Winter Card: Sunday Cardmaking


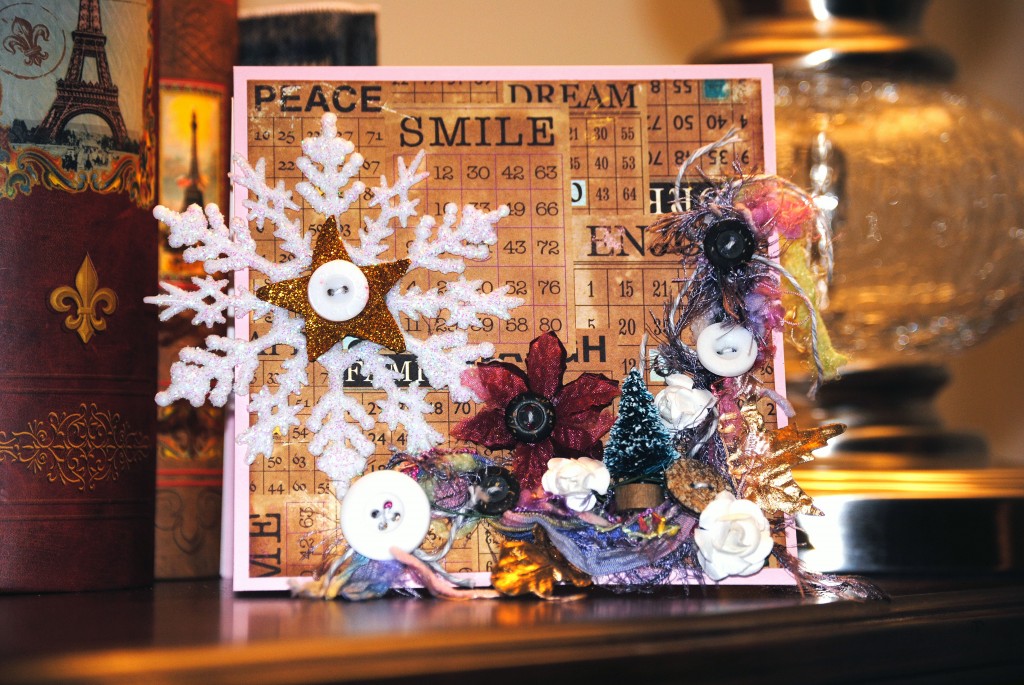
I’m back with another winter card for Sunday Cardmaking here at Buttons Galore. I had some holiday pictures to mail off, and I thought this was a fun winter card to create, to accompany those pictures.

Do you love a winter card that’s easy to make? I used all scraps!

Directions for making Winter Card

I started with an 8.5 x 11″ sheet of cardstock from  My Favorite Things and cut a piece 4 x 8″ and folded it in half. Yes, I like to make cards in all shapes and sizes.

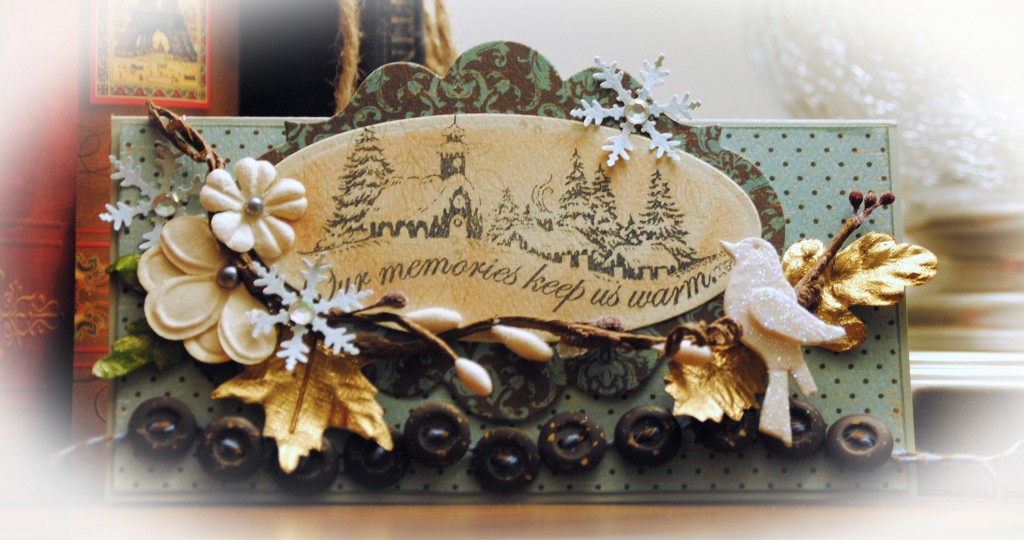
I cut a piece of patterned Authentique paper sized 3.5″ square. I also cut a 1 x 4.5″ strip of the same paper, and flipped it over. I stamped snowflakes on this piece, and accented it with Dimensional Pearls Paint and bling and pearls from Want2Scrap. I colored the pearls with a Copic marker to get a matching shade. I stamped the sentiment on a scrap of white cardstock and trimmed it into strips. The edges were lined with a Copic marker, and then colored with a lighter shade to match the patterned papers.

The sentiment reads …

In the depths of winter, I finally learned that within me was an invincible summer.

I promise, Spring is coming. The trees will soon be singing again.

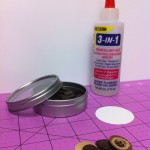
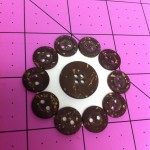
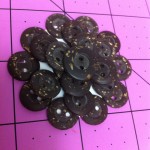
To finish off the winter card, I punched some snowflakes from the matching patterned paper and painted them with some glossy accents and sprinkled Sugar Shimmer. These are adhered with dimensional foam dots. I then chose three matching Clear Round Buttons and punched out small circles of a coordinating Authentique patterned paper. I adhered the paper to the buttons with Glossy Accents then I attached the Clear Round Buttons and two Rustic Coconut Shell Buttons using Memory Book Dot ‘n Go glue dots.

Buttons Galore Products Used 

 Promotional Products Used

Additional Products 

  • Bling – Want2Scrap
  • Glossy Accents, Dimensional Pearls Paint – Ranger Ink
  • Snowflakes – Punch
  • Ink – Copic, Memento
  • Stamp – Close To My Heart


 Thank you for joining us this Sunday. I’ll be back next Sunday with another project idea.
0

Winter Card Ideas: Sunday Cardmaking

I’m back with more winter card ideas. I had some holiday pictures to mail off, and I thought this was a fun card to create, to accompany those pictures.

Let me walk you through the process. It’s not hard at all!

WINTER CARD IDEAS

Directions for making Winter card

I started with an 8.5 x 11″ sheet of cardstock from  My Favorite Things and cut a piece 6″ square and folded it in half. I chose this size, because inside, I added a Caribou gift card, just a little after the holidays treat! I just stuck it on with a Memory Book Dot ‘n Go glue dot.

A piece of patterned Authentique paper sized 2.75 x 5.75″ was added. I colored the edges of the card with a Copic marker to match the patterned paper. The paper edges are inked in the same color using the broad tip. I stamped the image on cardstock with Memento ink and then taped my die in place using Washi tape to hold it in place. When I removed the die and paper, I left the tape, and sponged on some Close to My Heart ink to distress it.

I placed some white chipboard on a Wacky Tape Sheet and die cut a bird and wing. The bird was then glittered with some Clearsnap Sugar Shimmer.

I bent the vine in the shape I wanted and adhered it with 3 in 1 Craft Glue. I threaded some Rustic Coconut Shell Buttons using some twine, and adhered the buttons using Memory Book Dot ‘n Go glue dots and a few foam squares for added dimension. I added the rest of the embellishments using 3 in 1 Craft Glue and Memory Book Dot ‘n Go glue dots.

Buttons Galore Products Used 

 Promotional Products Used

Additional Products 

  • Sizzix – Bird Die
  • Ivory Flowers – Petaloo
  • Vine – Prima
  • Bling – Want2Scrap
  • Snowflakes – Punch
  • Ink – Copic, Memento
  • Stamp – Close To My Heart
  • Twine – Doodlebug Designs


I am glad you joined us for Sunday Cardmaking. I hope you are enjoying the Winter Card Ideas. I’ll be back next Sunday with another project idea.
4

Shabby Chic Card: Sunday Cardmaking

Cardmaking - Winter I

I’ve got a shabby chic card for today’s Sunday Cardmaking post – and it is very easy. It’s for a friend that loves all things shabby chic.

Let me walk you through the process. It’s not hard at all!

Directions for a shabby chic card:

I started with an 8.5 x 11″ sheet of cardstock from  My Favorite Things and cut a strip 5.5 x 11″ and folded it in half. A piece of patterned Authentique paper sized 5.25″ square was added. I placed some plain cardstock on a Wacky Tape Sheet and die cut a star. The star was then glittered with some Clearsnap gold glitter. I adhered the large snowflake and glittered star and button with 3 in 1 Craft Glue.

I gathered the fibers and ribbons. I cinched them together with Wild White Buttons and Rustic Coconut Shell Buttons using some twine. I punched two small holes in the cardstock behind each button, and tied the ribbon to the card. The rest of the embellishments were adhered using 3 in 1 Craft Glue and Memory Book Dot ‘n Go glue dots.

Once everything was dry, I placed the card, along with a few small gifts, in a bubble mailer. It’s a little late for Christmas, but it’s a nice winter card, too. Don’t you think?

Buttons Galore Products Used for the shabby chic card:

 Promotional Products Used

Additional Products 

Large White Glittered Snowflake and Christmas Tree – Michael’s, Poinsettia and Gold Leaves – Prima, Assorted Fibers – Basic Grey, White Flowers – unknown


Thank you for joining us this Sunday and my shabby chic card. I’ll be back next Sunday with another winter card idea.

3

Napkin rings DIY for fall – Make rustic coconut shell button flowers

DIY Fall napkin rings:

Napkin rings are essential to the holidays.  Button napkin rings are even better.  I created a quick and easy holiday craft using Rustic Coconut Shell Buttons. These beautiful buttons have a wonderful natural feel and I thought they would be perfect for a Fall table.


Materials and steps to make DIY Fall napkin rings with rustic coconut shell button flowers:


Layers

 Directions to make DIY Fall napkin rings with rustic coconut shell button flowers:

This is really a simple project. I’ve shown some of my steps above. I use 3-in-1 Glue from Buttons Galore. In addition to being inexpensive and lasting a long time, 3-in-1 Glue holds well and dries relatively fast. When dry, it’s completely clear.

I will share a tip, before gluing, I laid out the buttons until I had them layered the way I wanted them, and then I adhered them to a paper circle. I just punched out some cardstock. In the photo, I’ve shown the buttons on a white circle simply so you can see it. In my completed project, I inked my circle brown so that it wouldn’t be shown.

Once my buttons were dry, I attached the piece to a ring of grungepaper that I had covered in lace [My Mind’s Eye]. I accented it with the leaves [Prima] and bits of bling [Want2Scrap].

I think napkin rings would be a great craft to do with kids. The button centerpiece would be fun on a pin or bracelet, too. Imagine the options with these rustic flower buttons.  They would not only make great napkin rings, but a broach, a hair clip, a scarf holder and so much more.  You could make giant ones for curtain tie backs.

0

Powered by WordPress. Designed by WooThemes