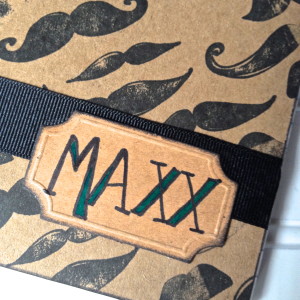
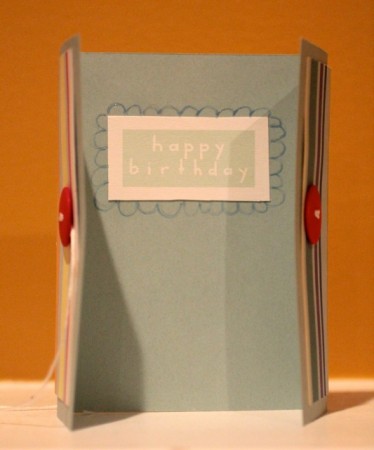
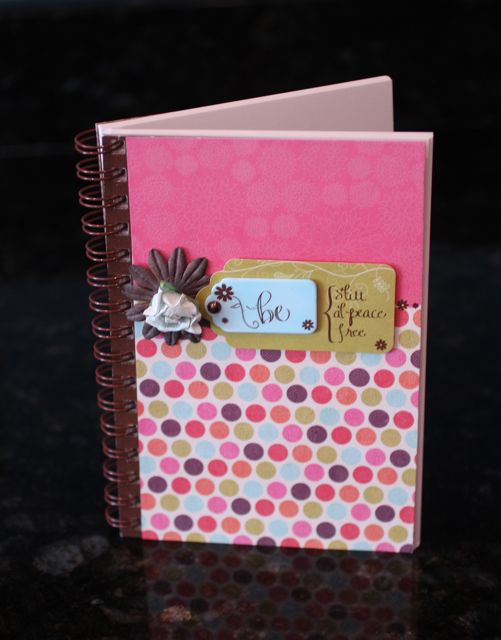
Movember is here again, and it is a great time to make crafts for guys. Former Designer for Buttons Galore and More designer friend Jen Goode of http://www.100directions.com designed a mustache stamp wheel from Clearsnap so you can get your mustache creativity going all over the place. AND, she has asked a group of designers to create whatever they’d like to make, showcasing this fun craft tool and her stamp. One of my favorite things to do with the rollagraph is to make my own pattern paper. I used a piece of kraft card stock to make the cover or this journal. My son is in 5th grade and they have to keep a reading journal. I thought this would be perfect for him. Man was I right. He took it to school last week and I have a request for 4 more.
Materials to make Movember mustache craft:
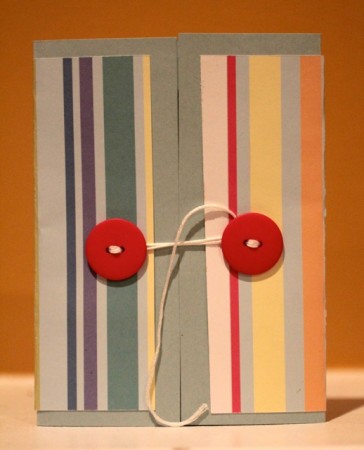
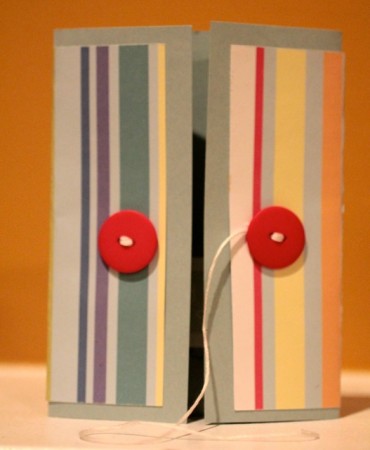
- Laura Kelly Mixed Buttons
- Clearsnap Black Ink & Rollagraph
- Kraft paper
- Sharpie Markers
- Glue Dots
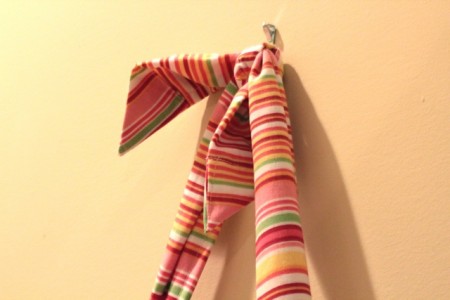
- Black Ribbon

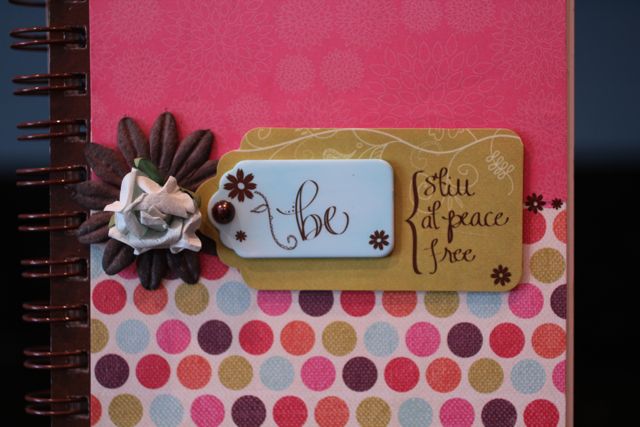
I used the Sharpie markers to make my own name plate, The thin Glue dots to adhere the buttons, and the name plate. The rollagraph to create the pattern paper for the cover and scissors to trim the edges. You can use a craft knife too.