Header

Tag Archives | Melony Bradley

Halloween Napkin Rings

Halloween Nakin Rings
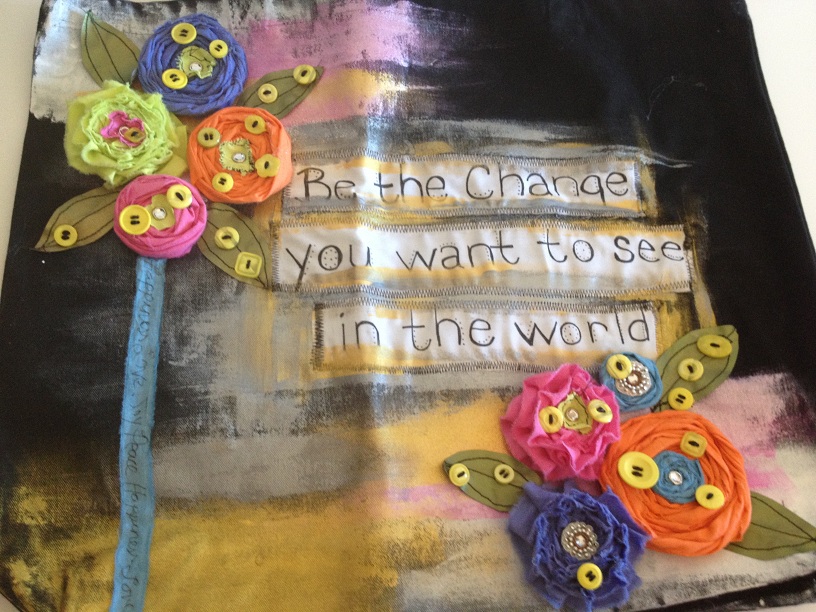
Looking to create some fun for this Halloween for your spooky table decor? These Halloween Napkin Rings using Novelty and various flat backed buttons from Buttons Galore and More are as much fun to make as they are to enjoy. With details such as paint, burlap and stamped sentiments, you will love the detail of these Halloween Napkin Rings.

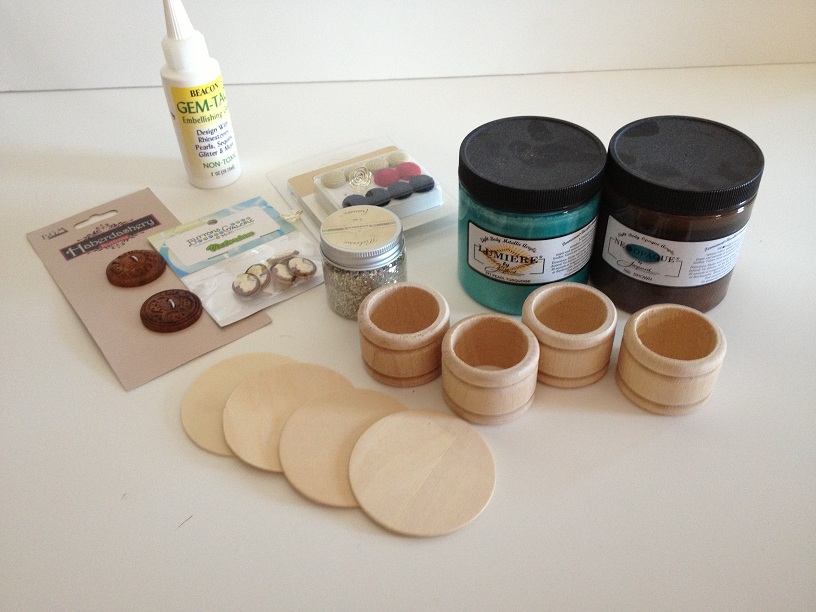
Materials and Supplies

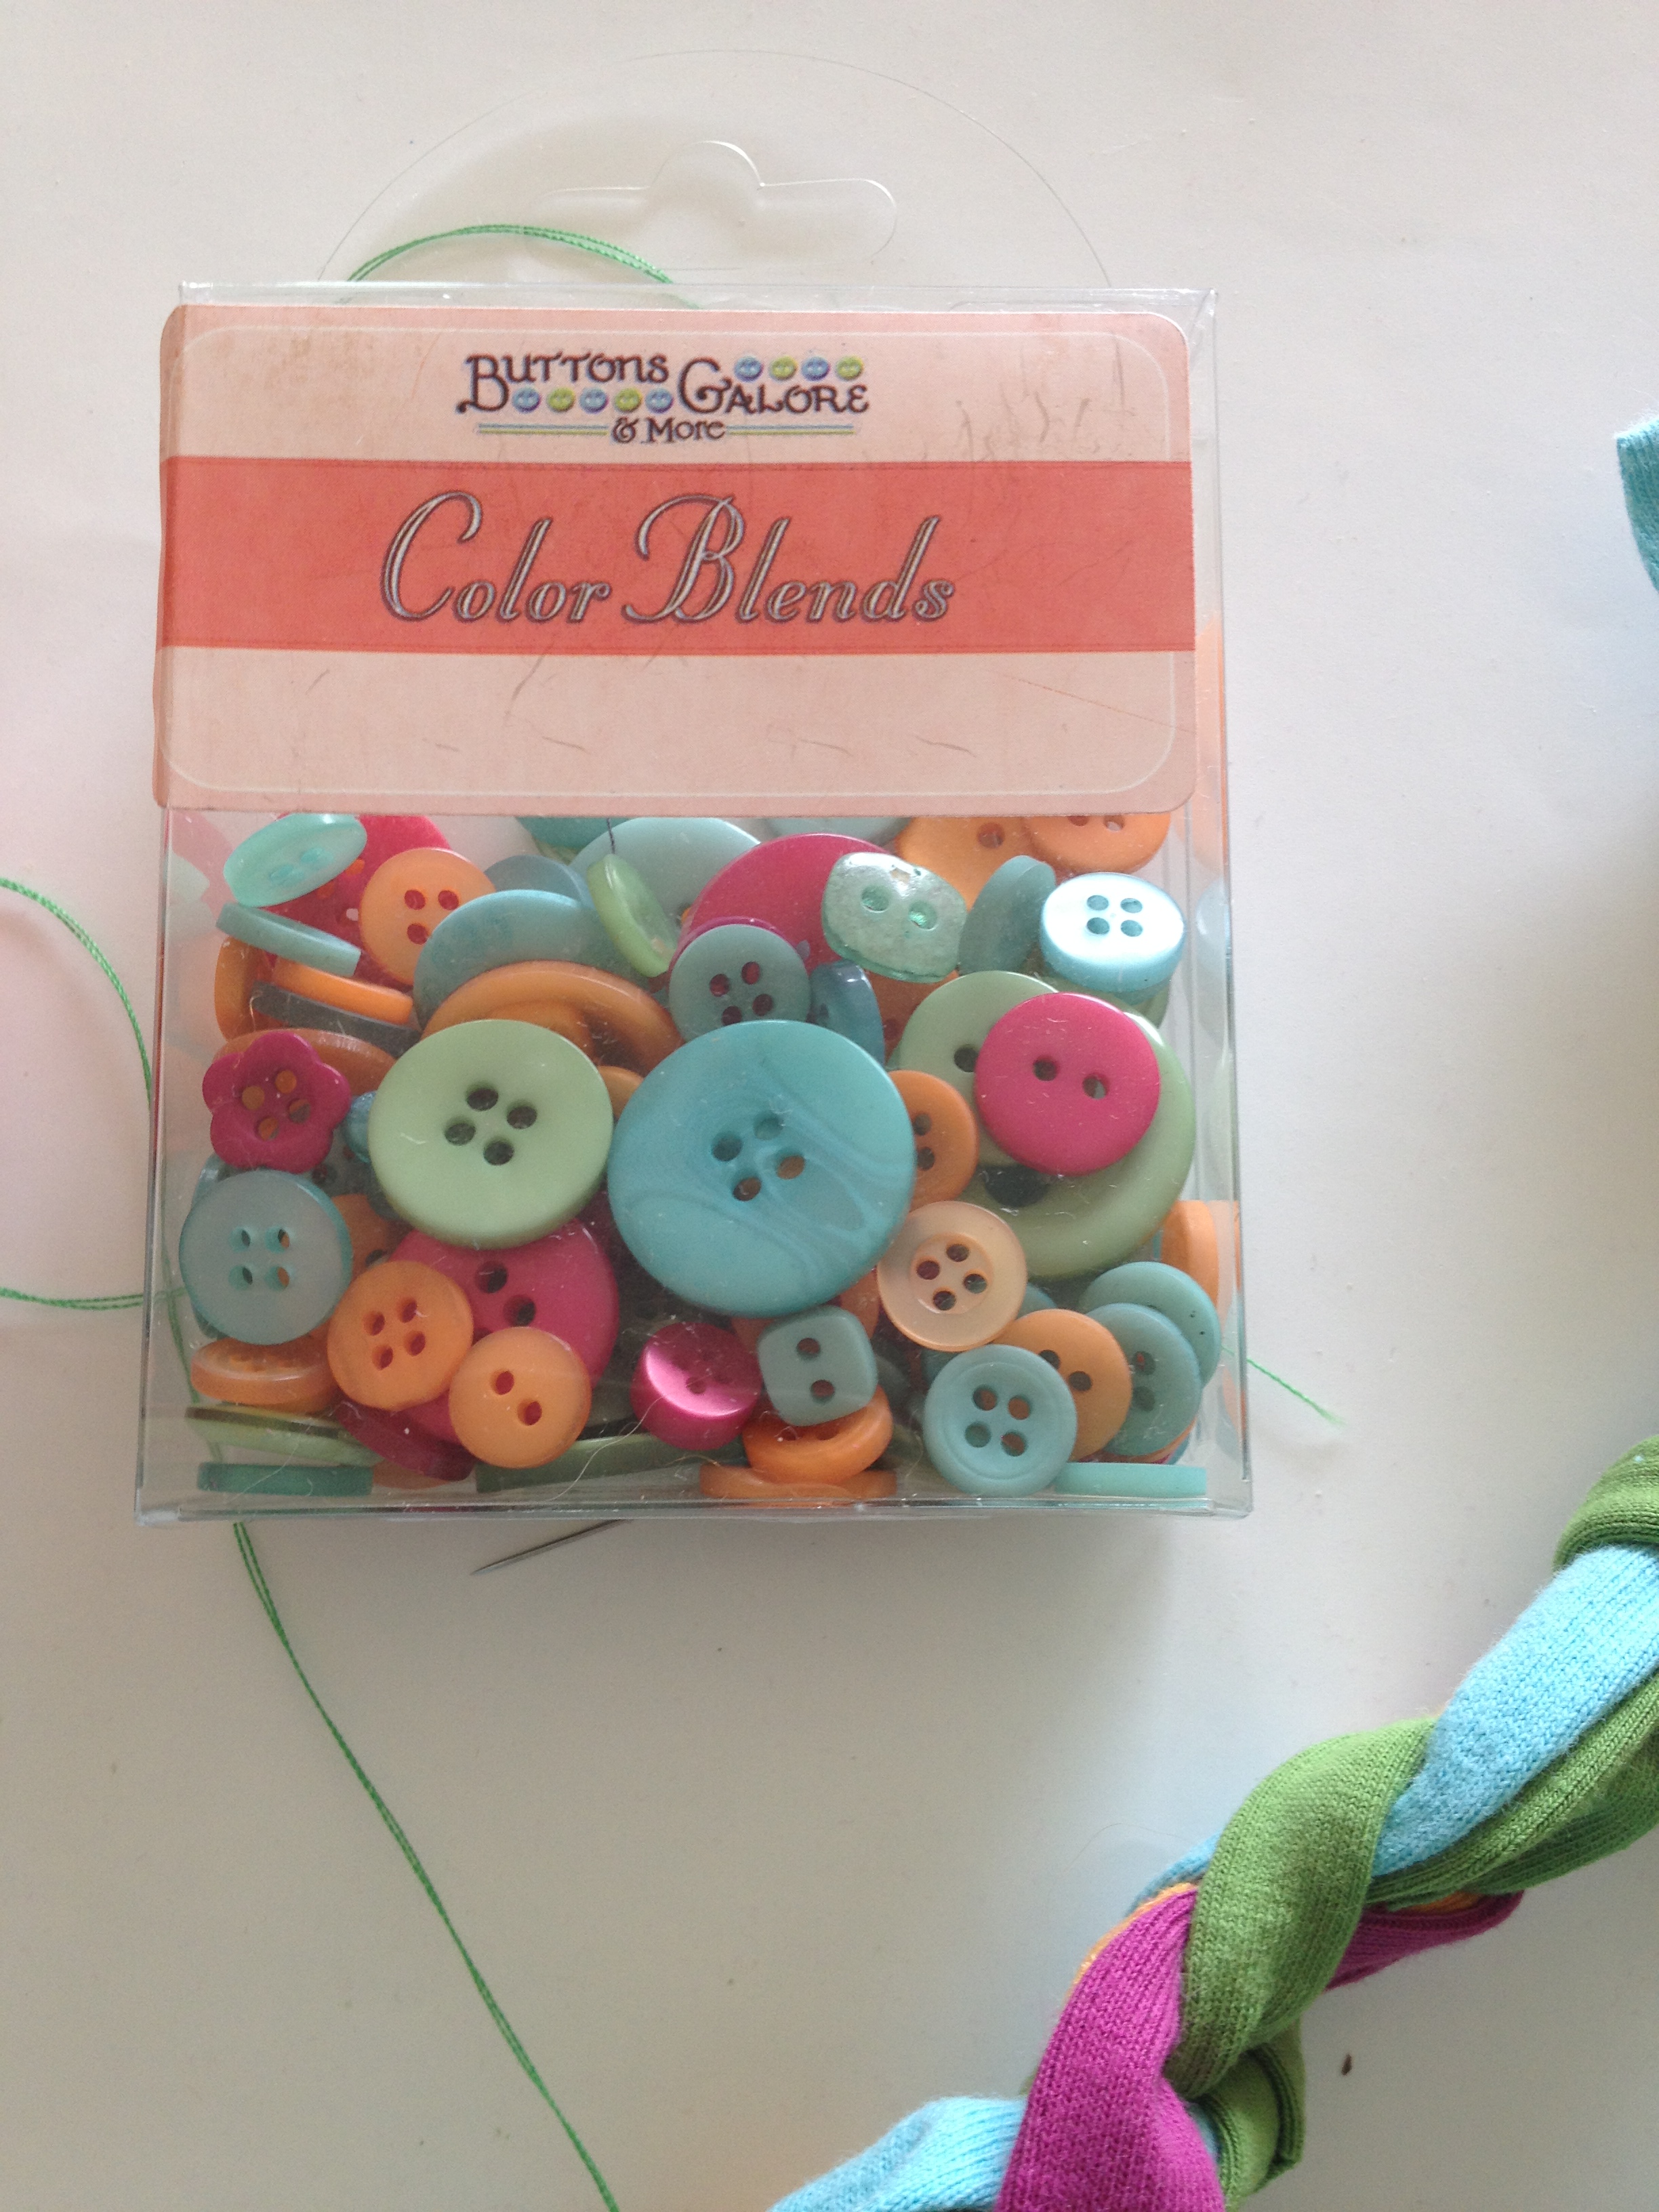
Buttons Galore and More Halloween Novelty Buttons

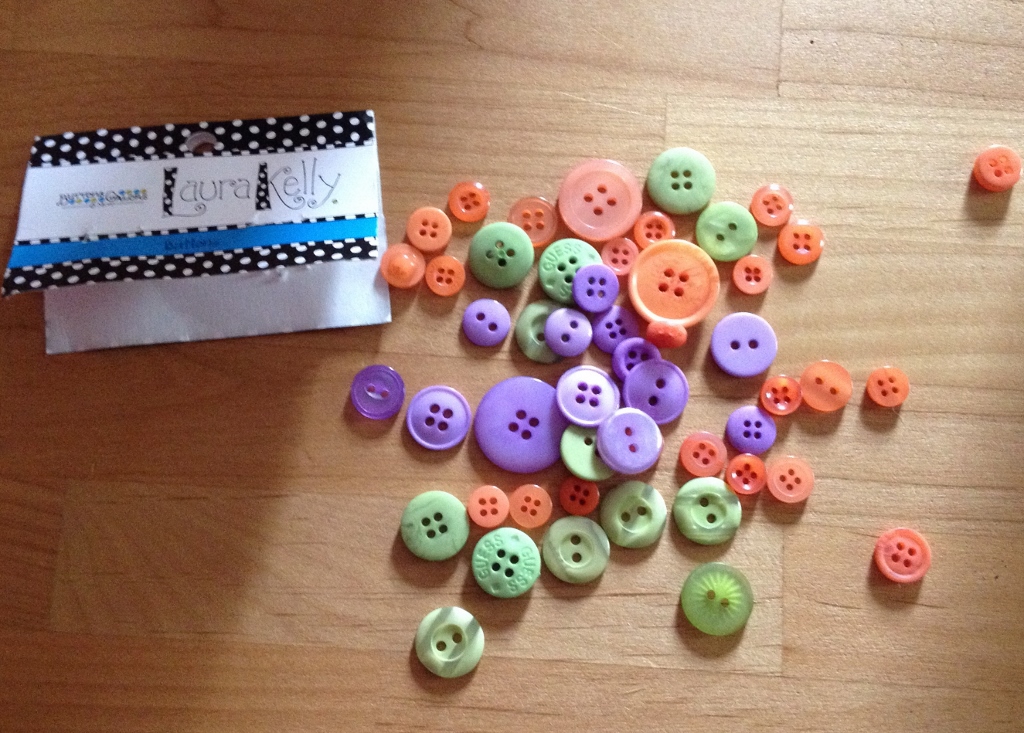
Laura Kelly Hand Dyed Buttons in colors of your choice

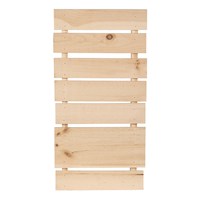
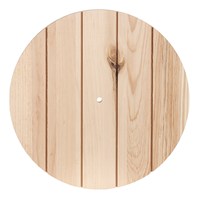
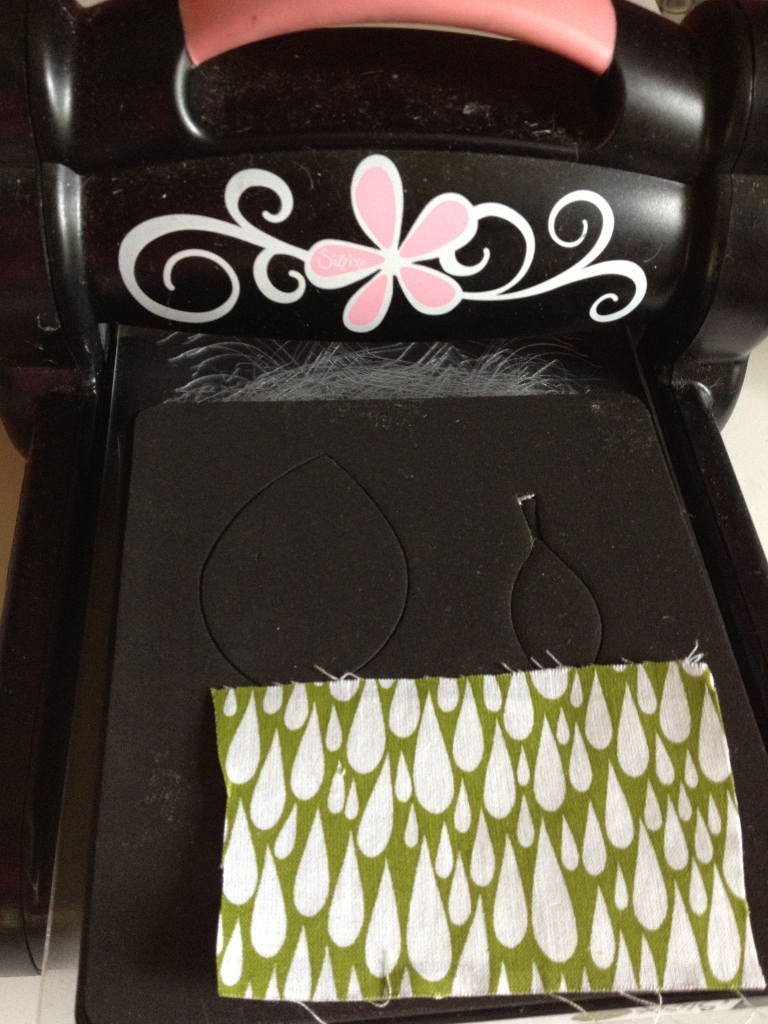
Various unfinished wood shapes of your choice

DecoArt Americana Acrylics in Lamp Black, Pumpkin, Olive Green, Grape Juice and Snow White
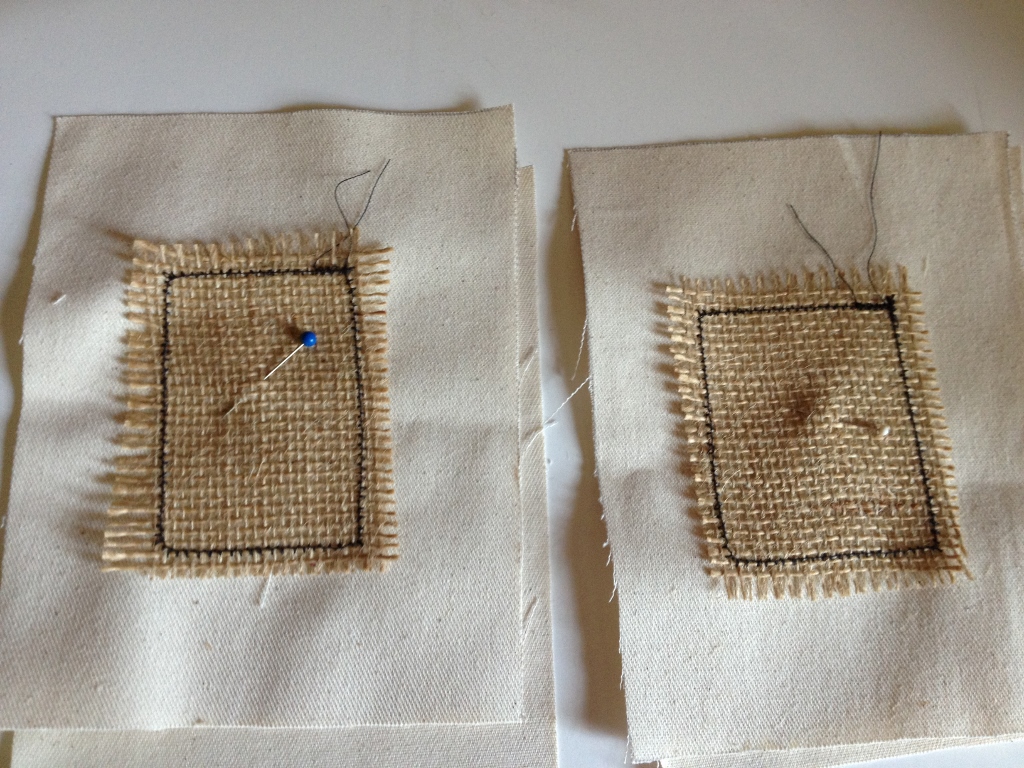
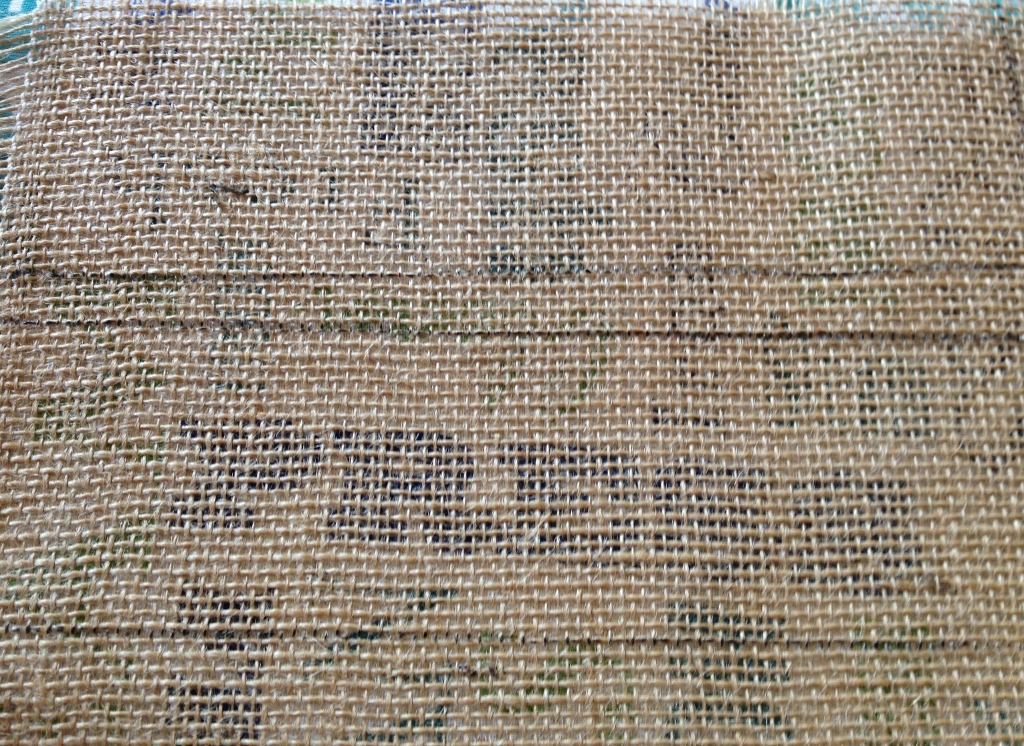
Scraps of burlap

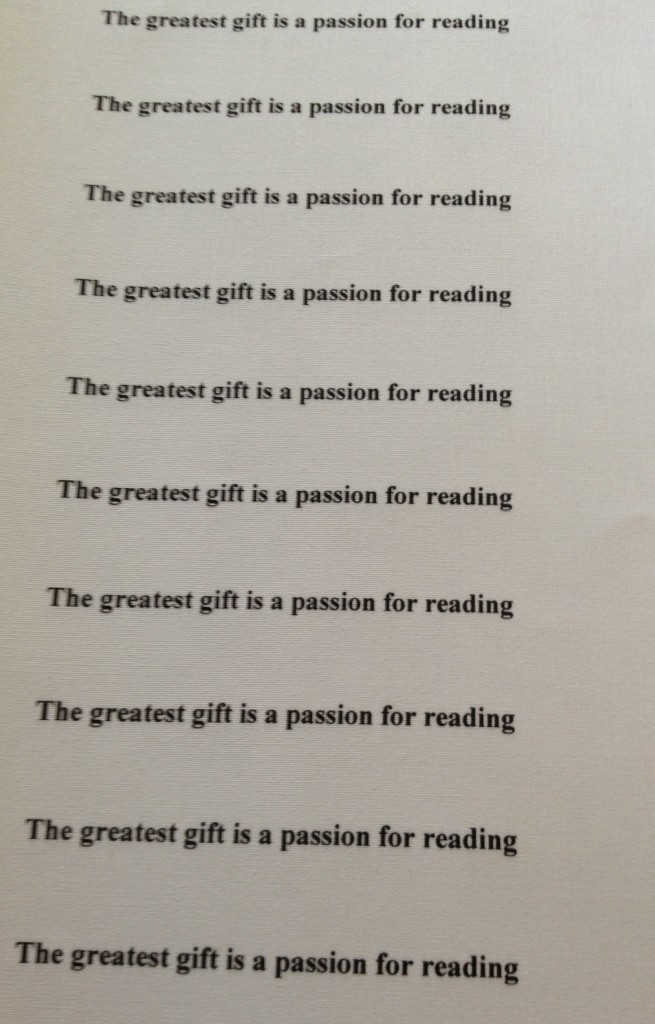
Tiny alphabet stamps and ink

Beacon Adhesives Premium Tacky Glue

Buttons Galore and More Shank Remover

Paint brushes, sewing machine and thread, scissors


Layout designs on napkin rings
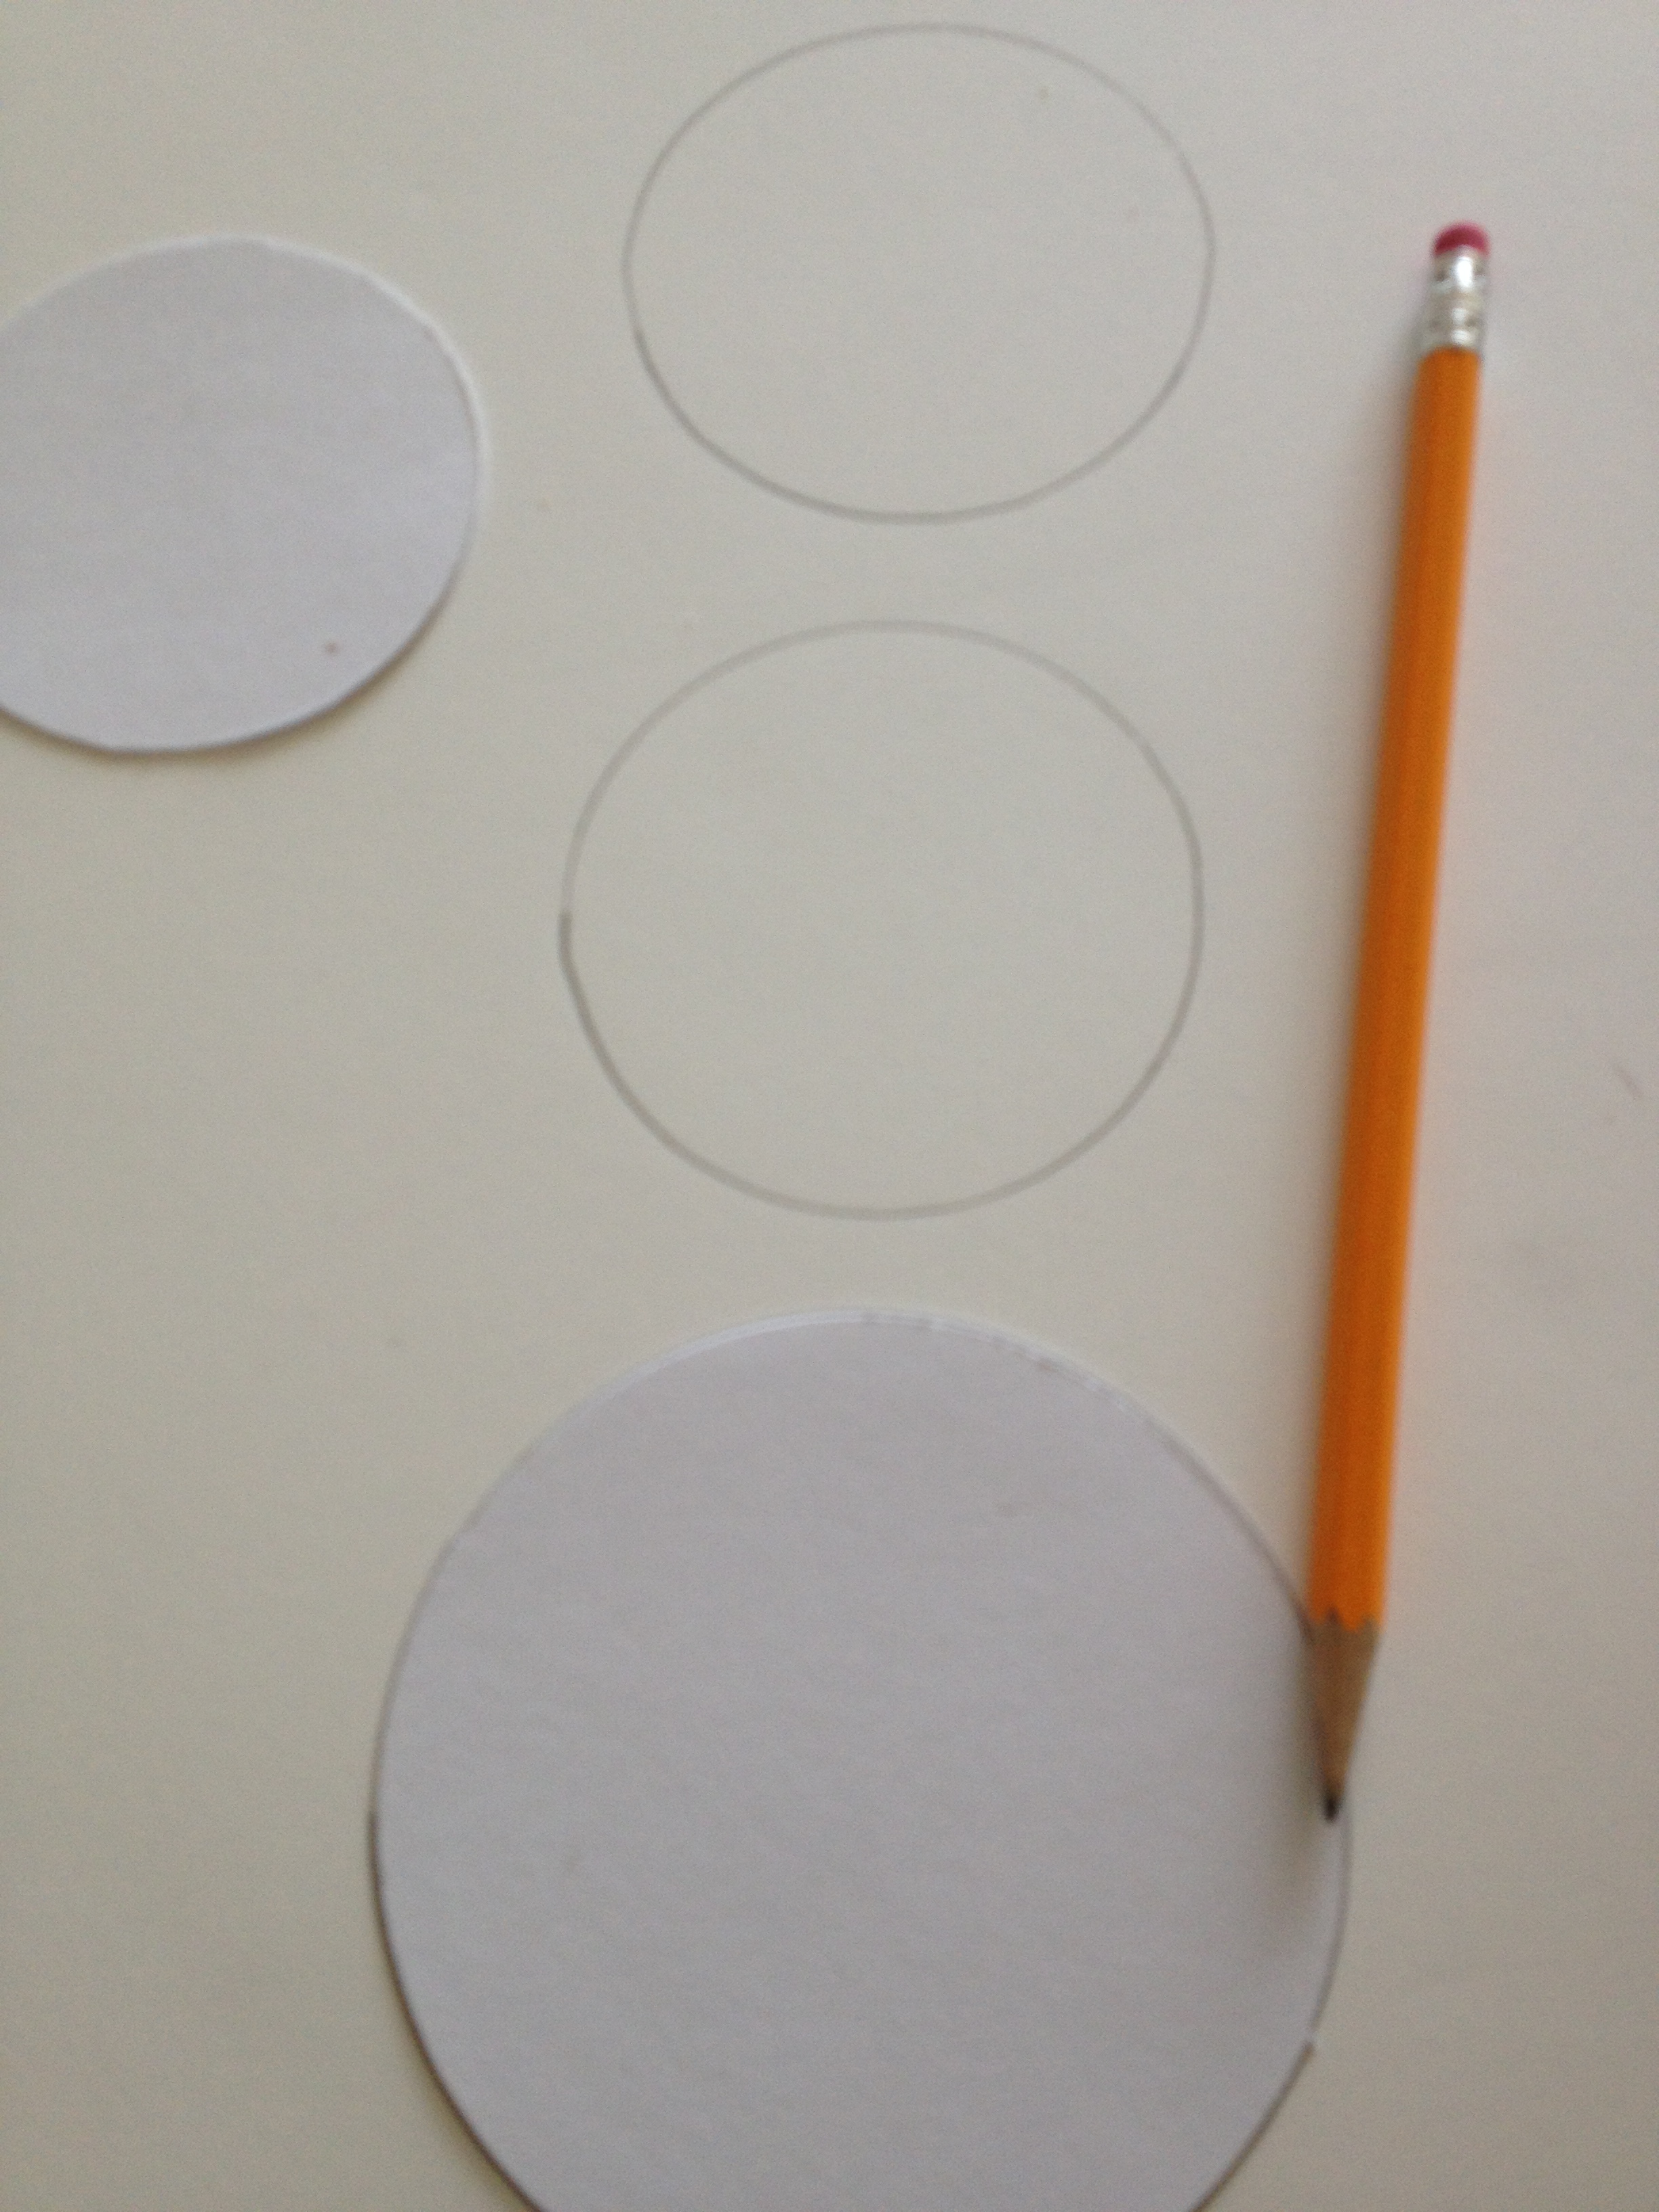
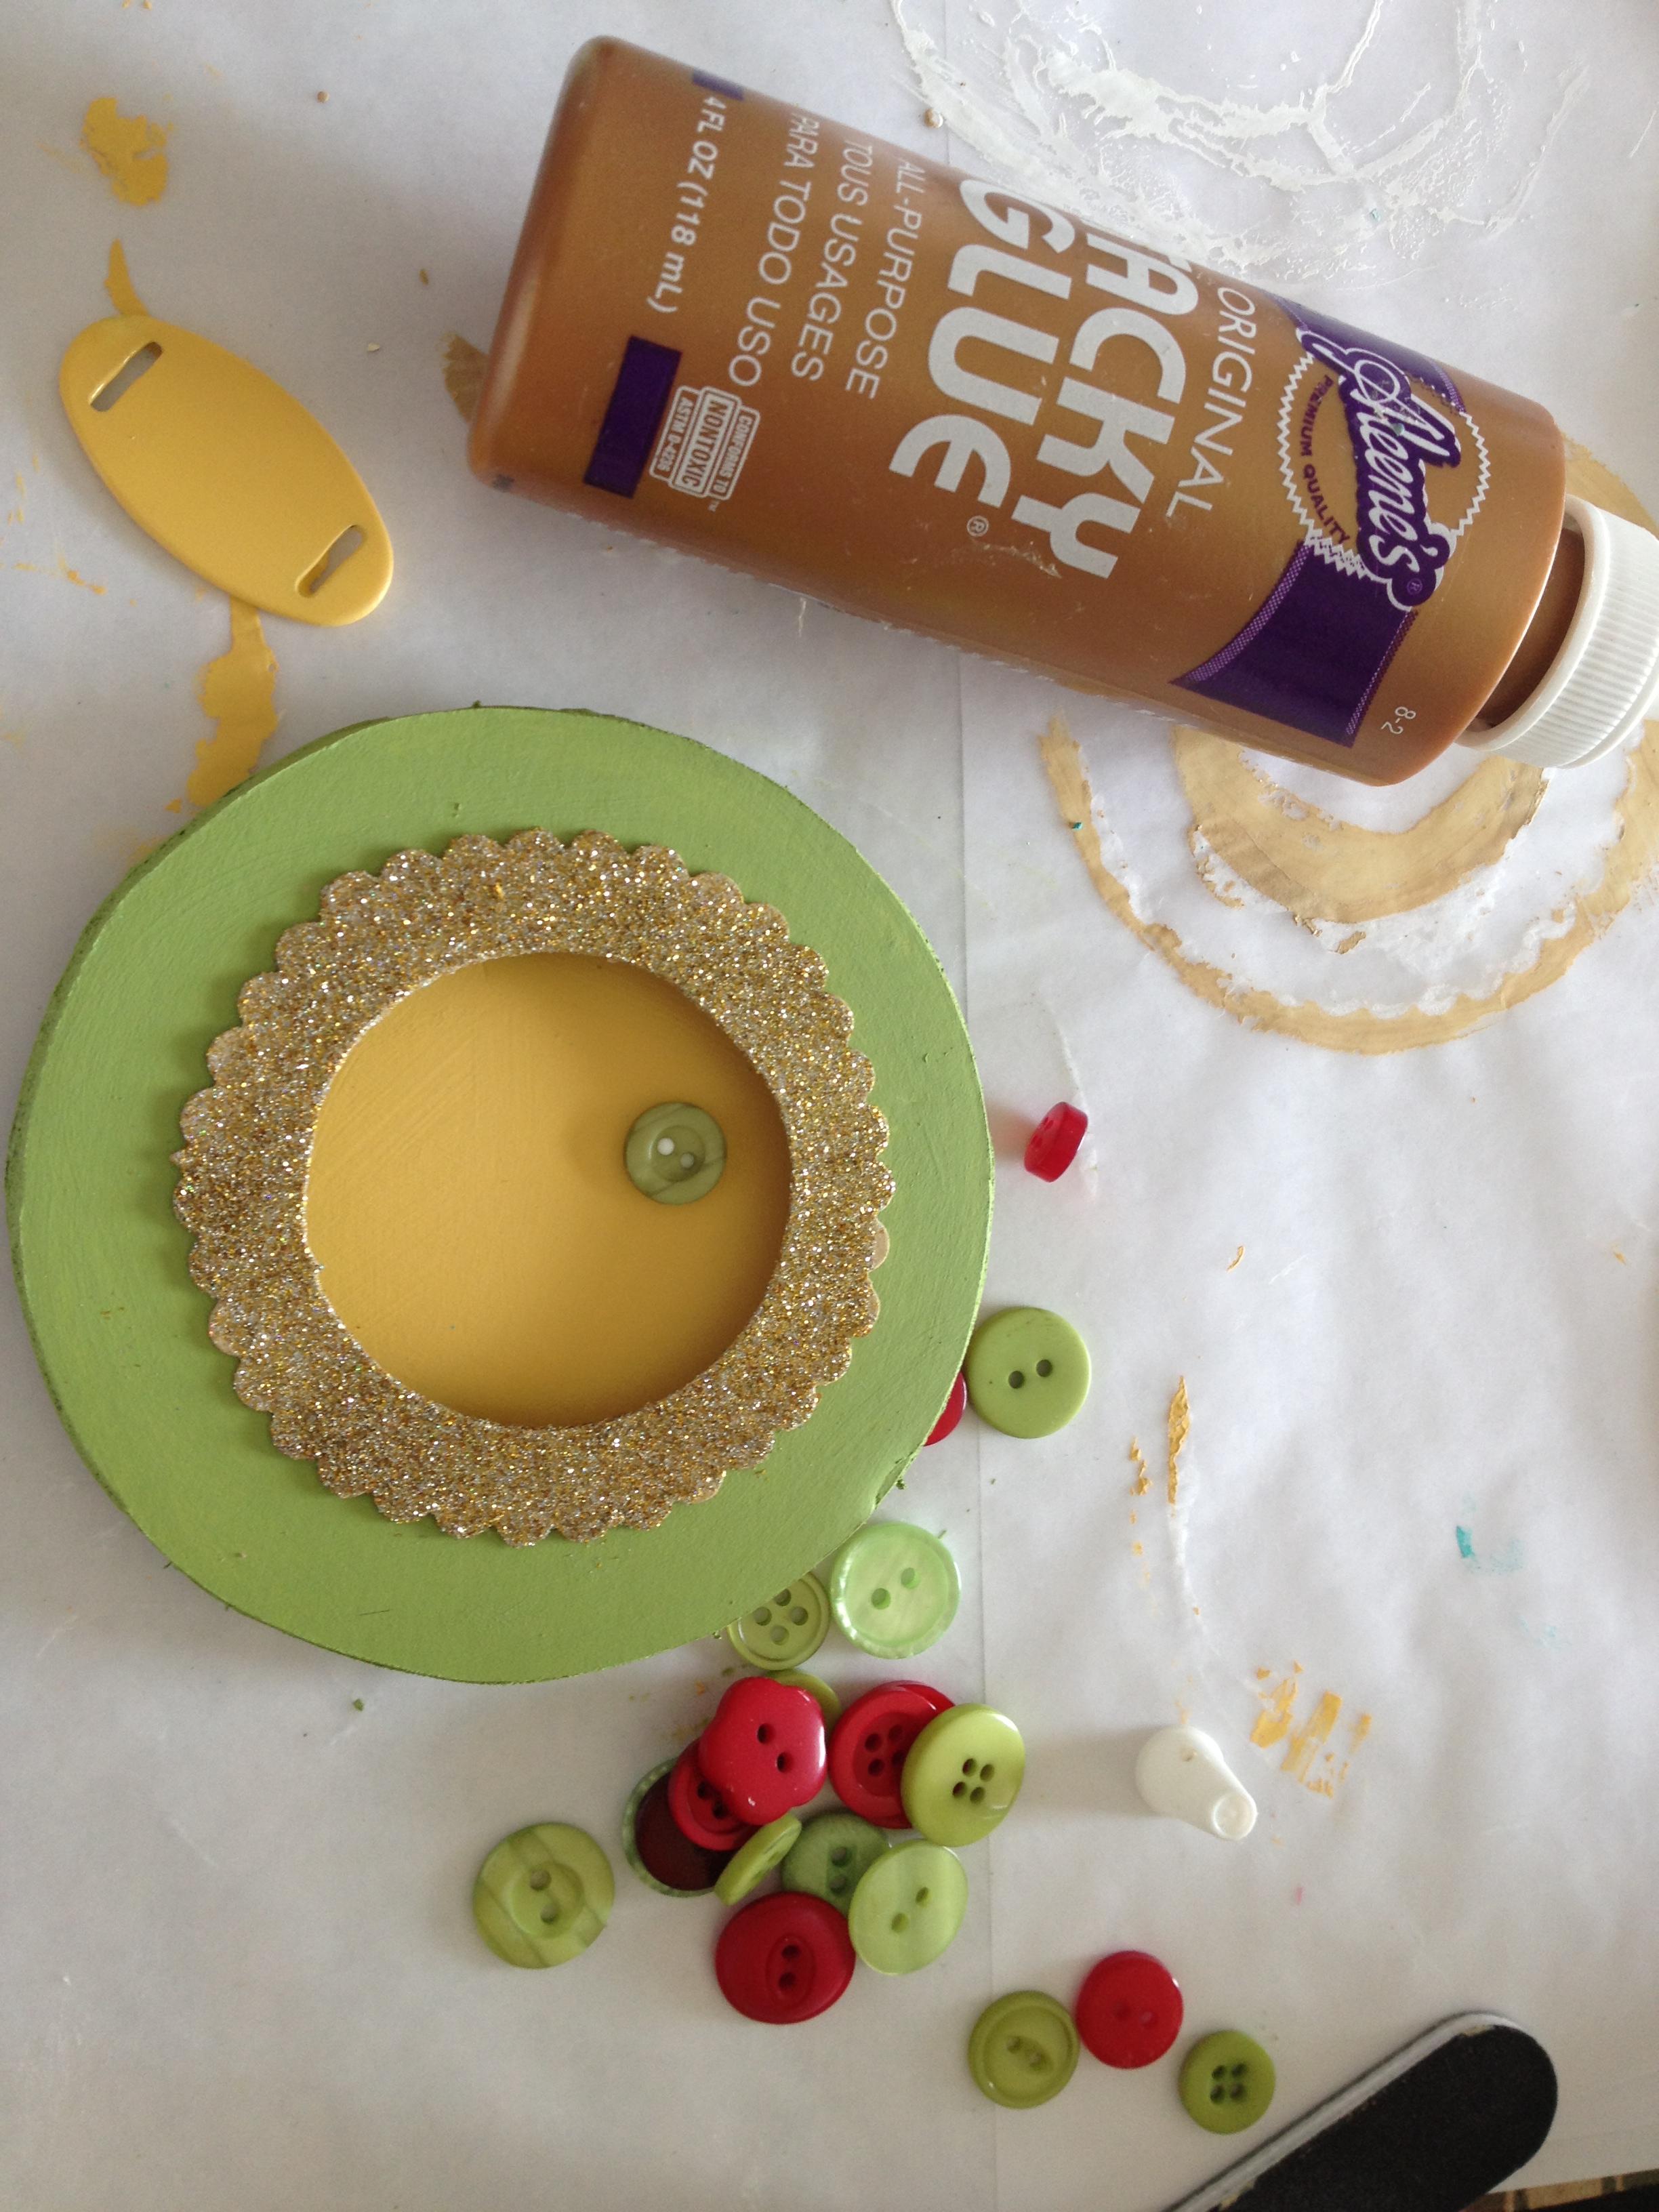
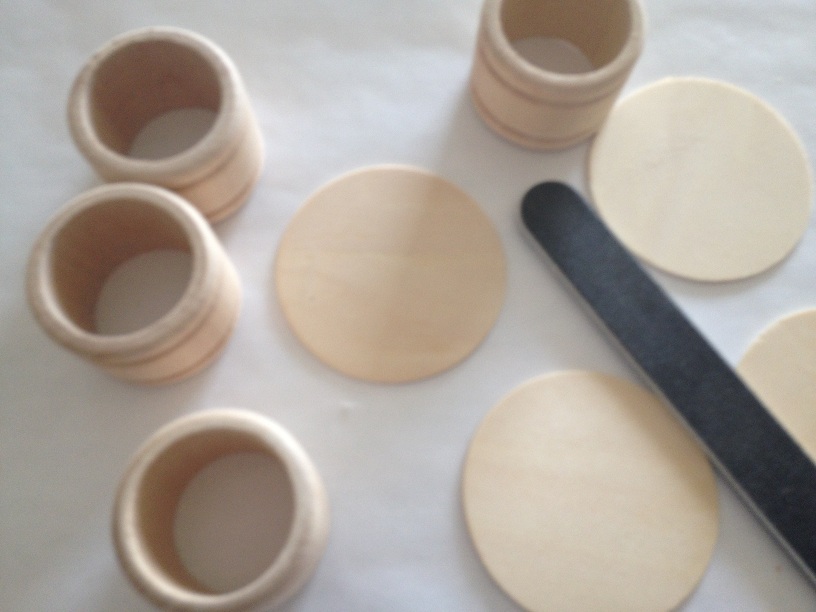
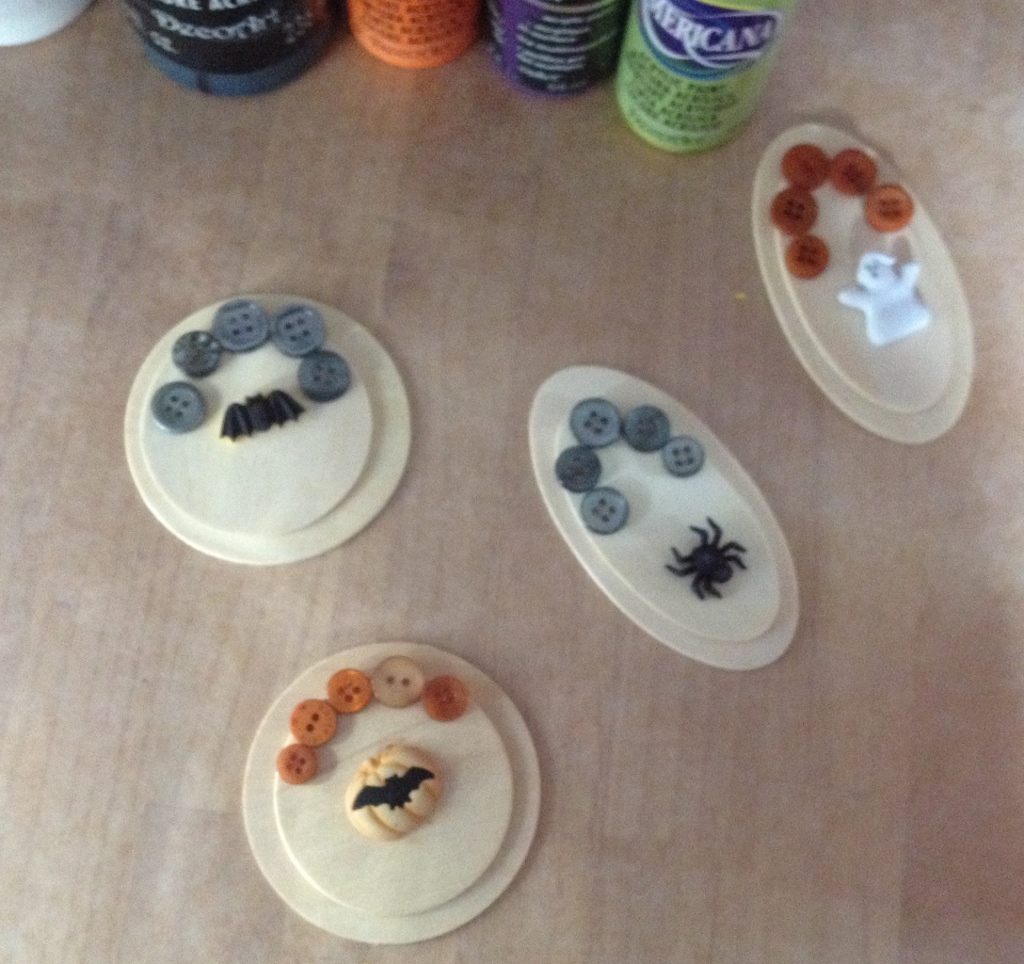
To create your own Halloween Napkin Rings, use the Button Shank Remover to remove the shank from the novelty buttons so that the novelty button lays flat on the wood. Lay out the design, layering the wood shapes and arranging the buttons on the shapes to decide on your design.

Laura Kelly Hand Dyed Buttons
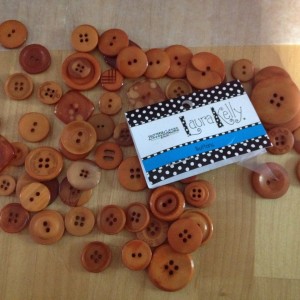
For my Halloween Napkin Rings, I used Laura Kelly hand dyed buttons in Smoke and Outrageous Orange.

Label shapes
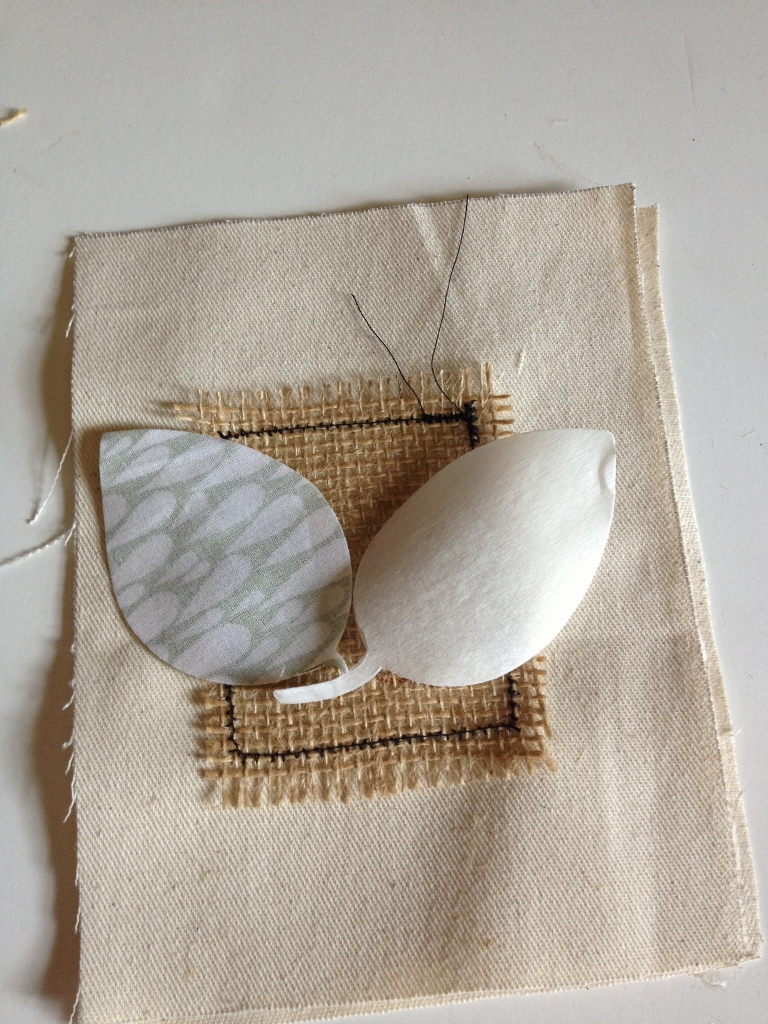
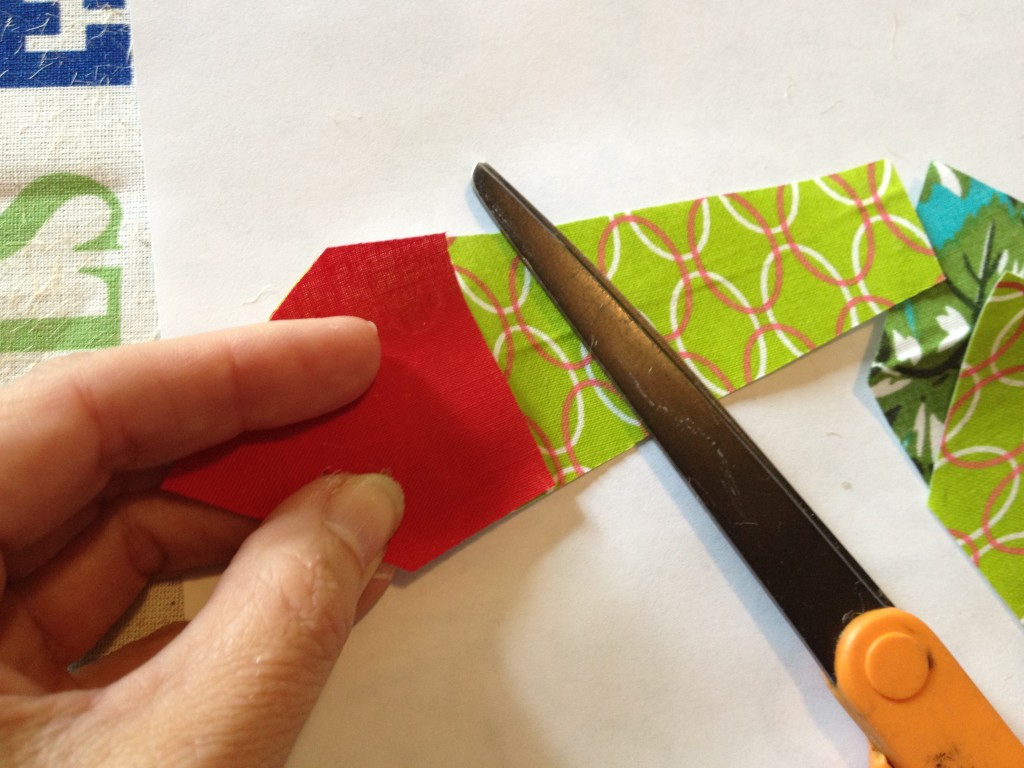
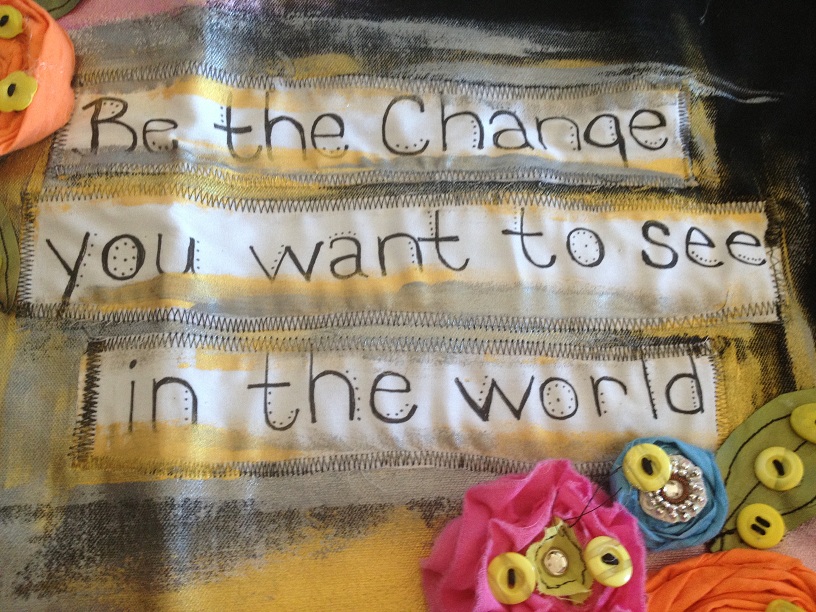
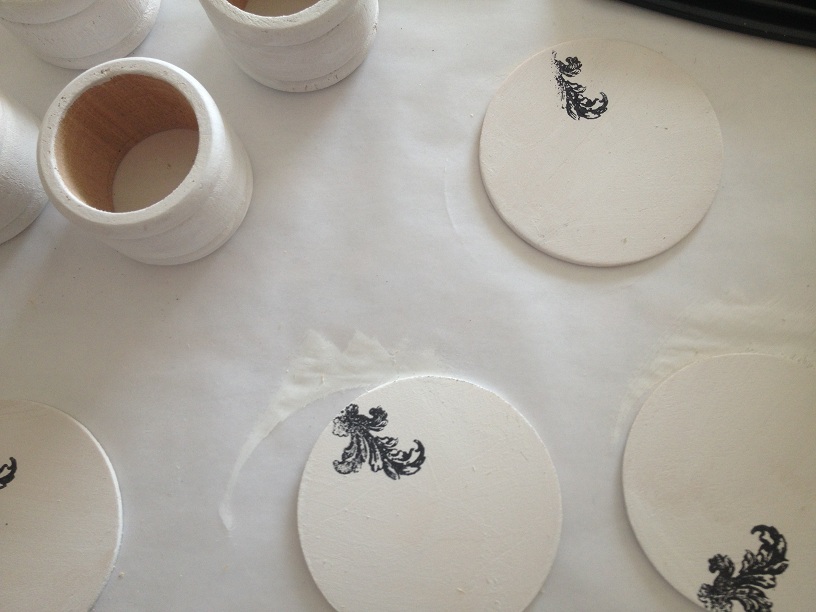
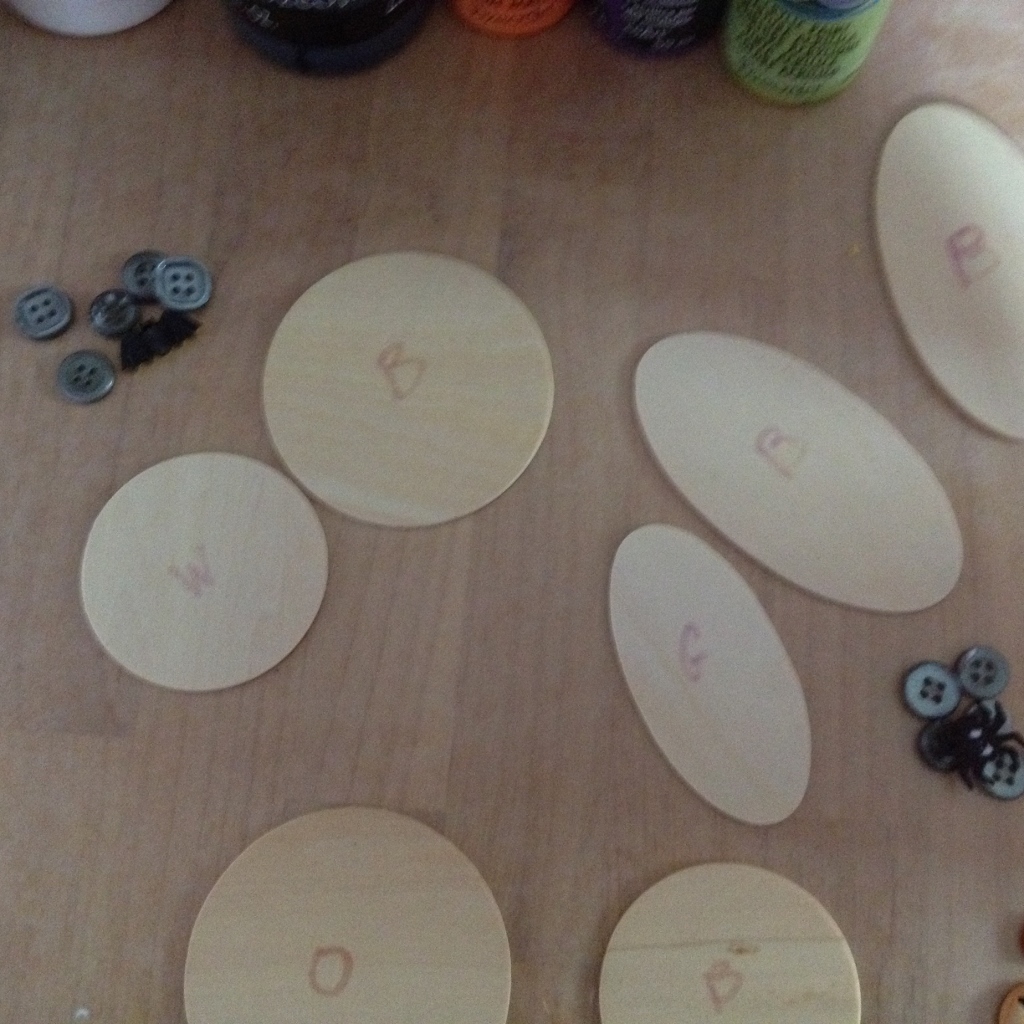
Since you will be working with so many shapes and colors, it is helpful to label your shapes with the first initial so you will know what color to paint it.

melony 041 (1024x701) - Copy
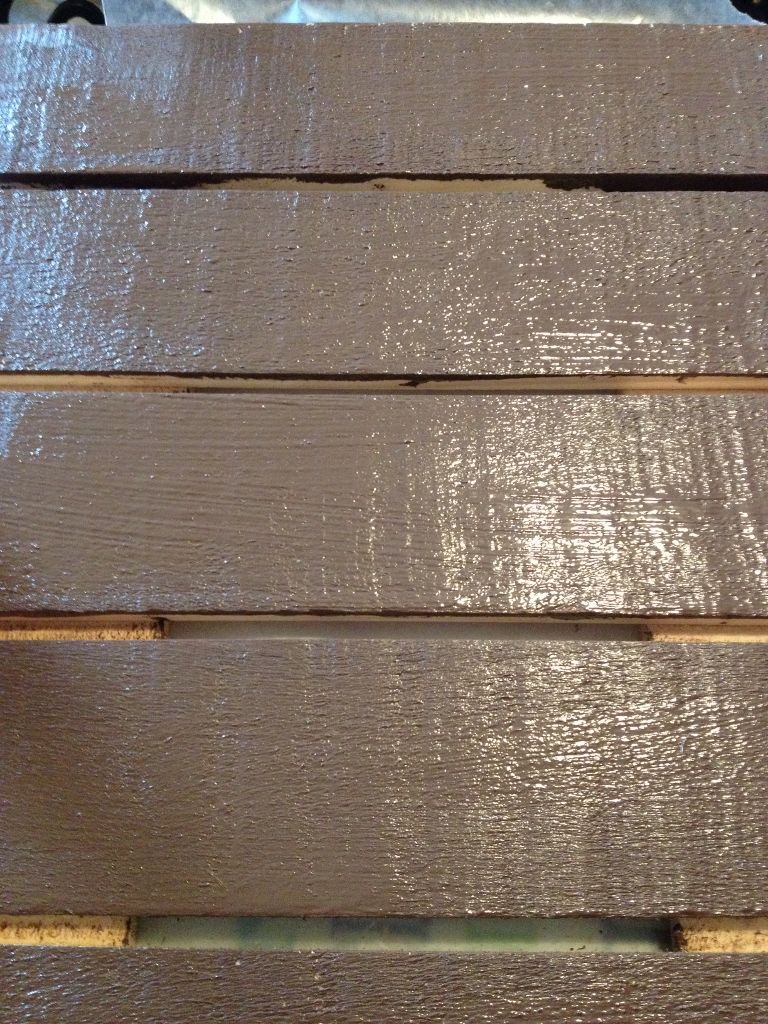
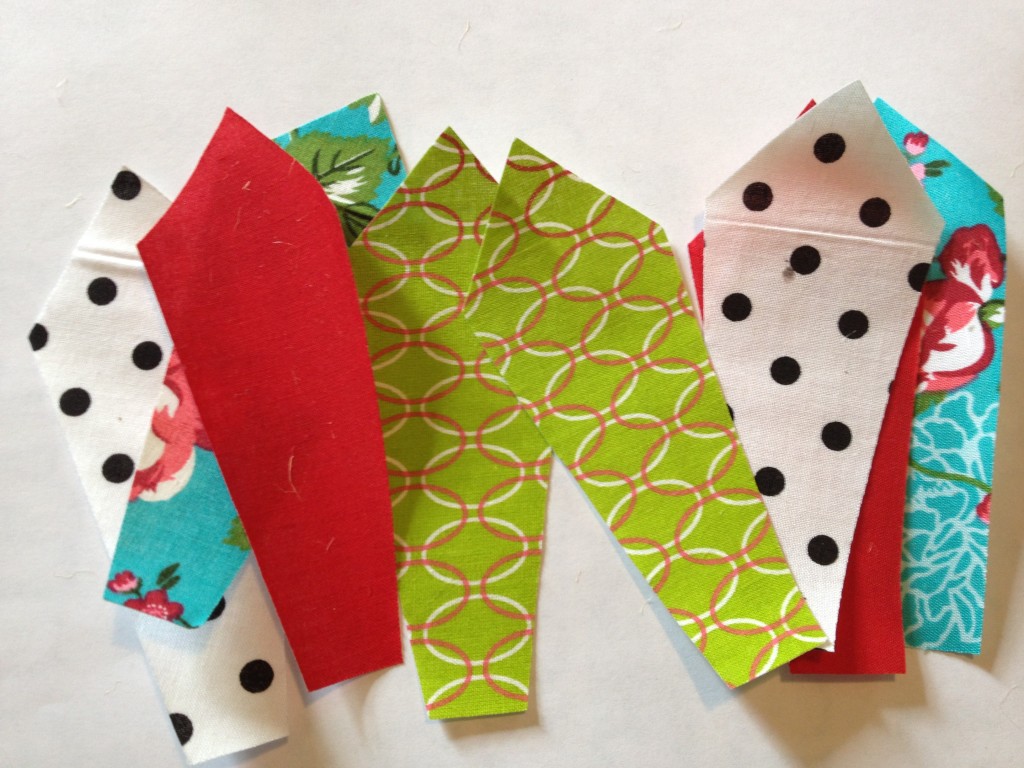
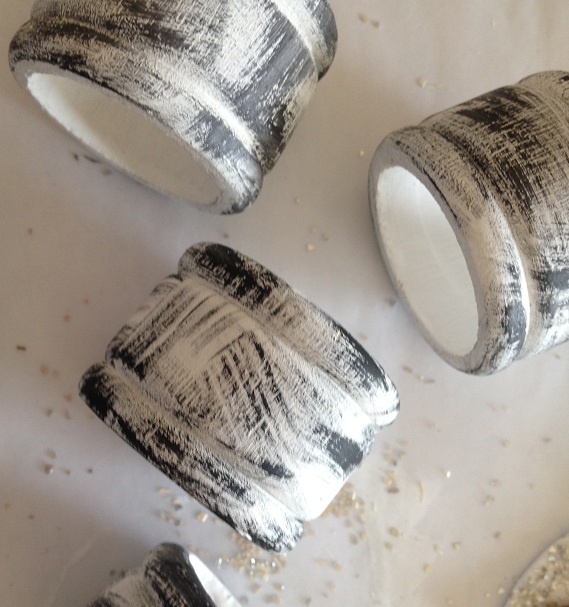
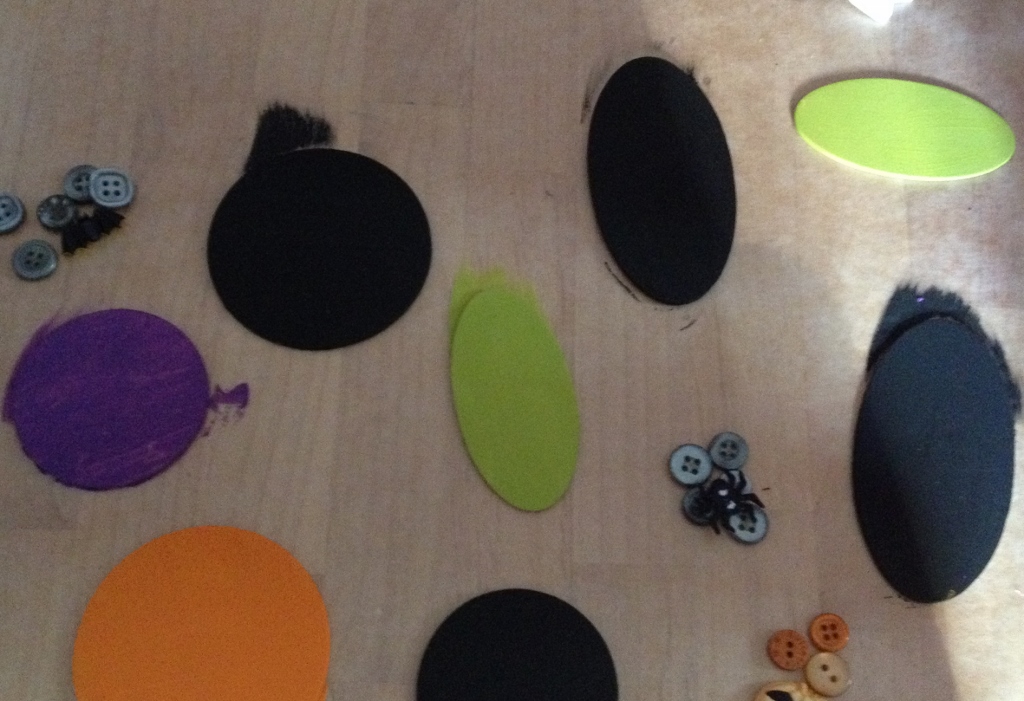
Paint your shapes front and back, using two coats.

Stamped shape (768x1024)
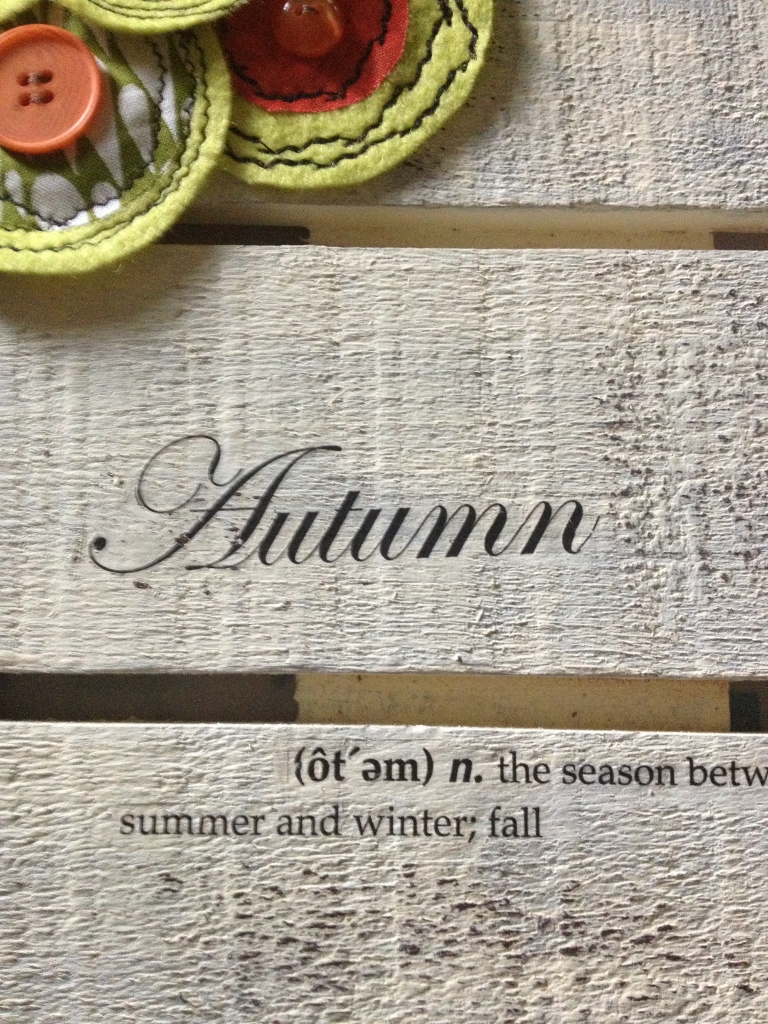
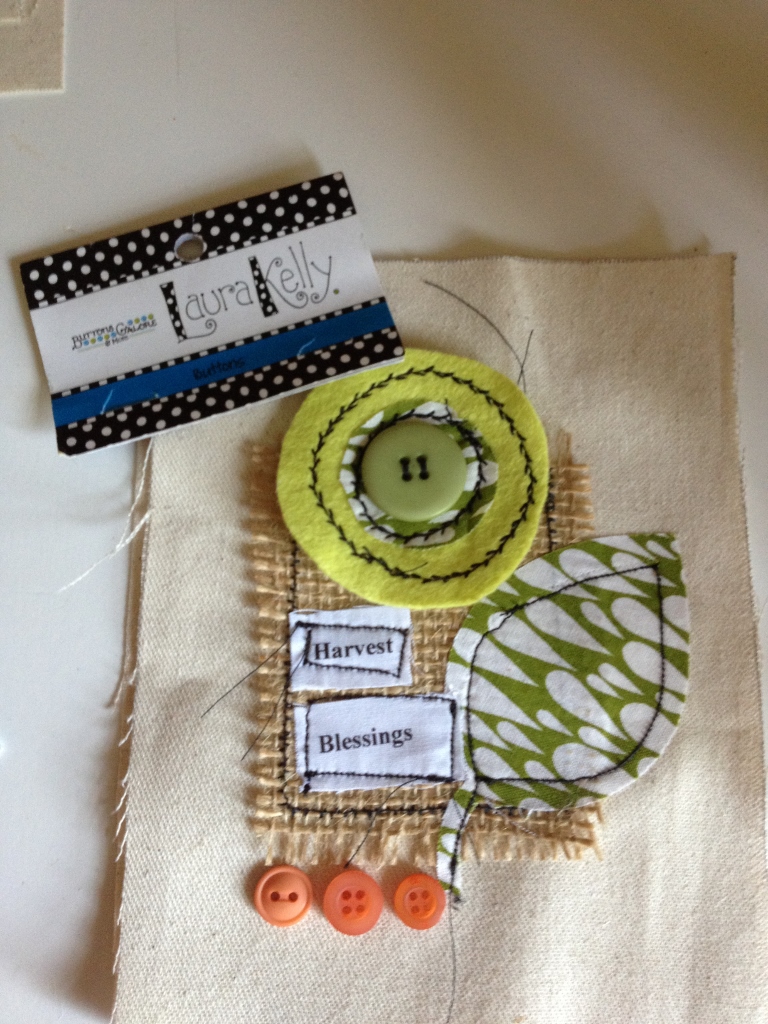
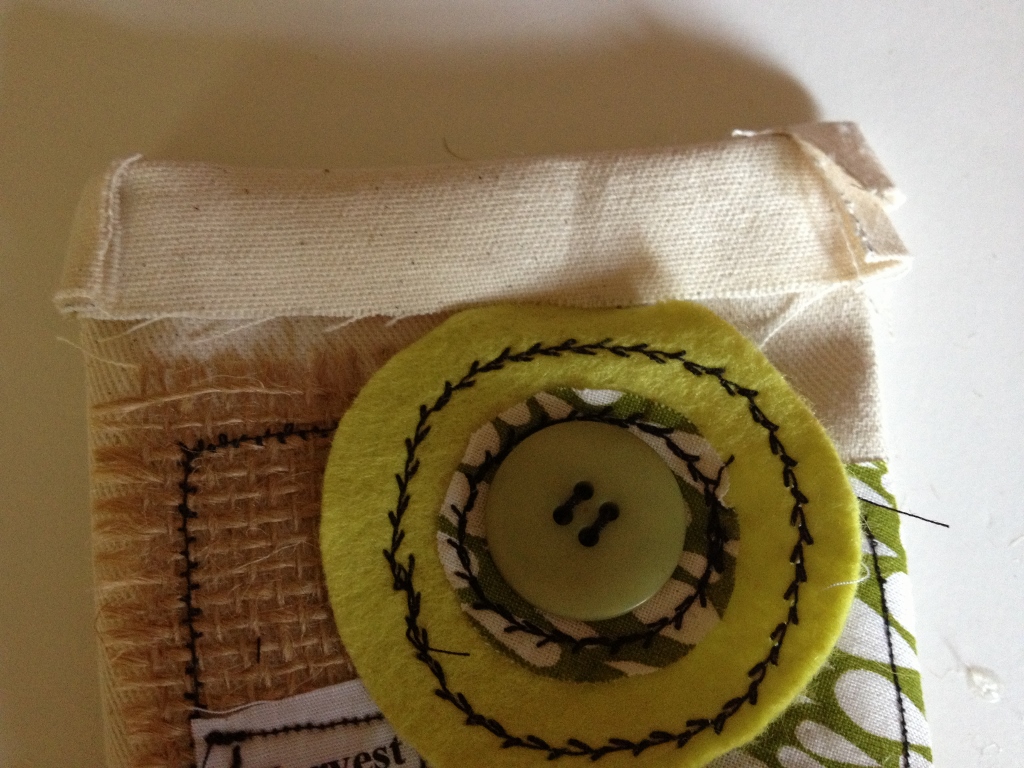
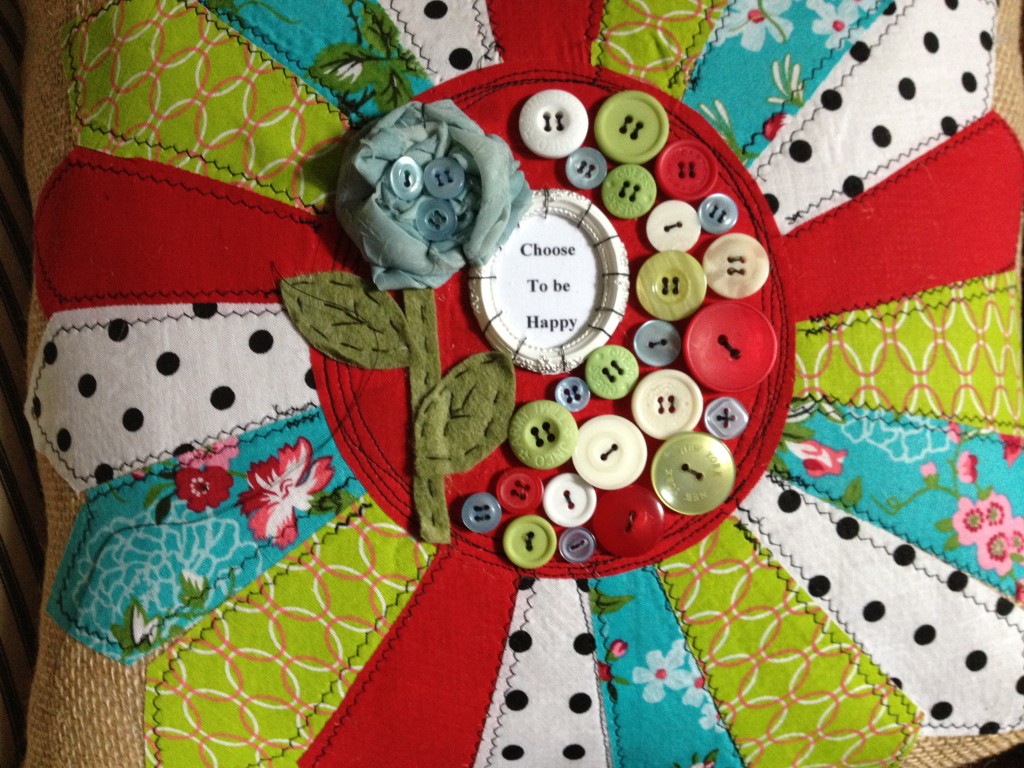
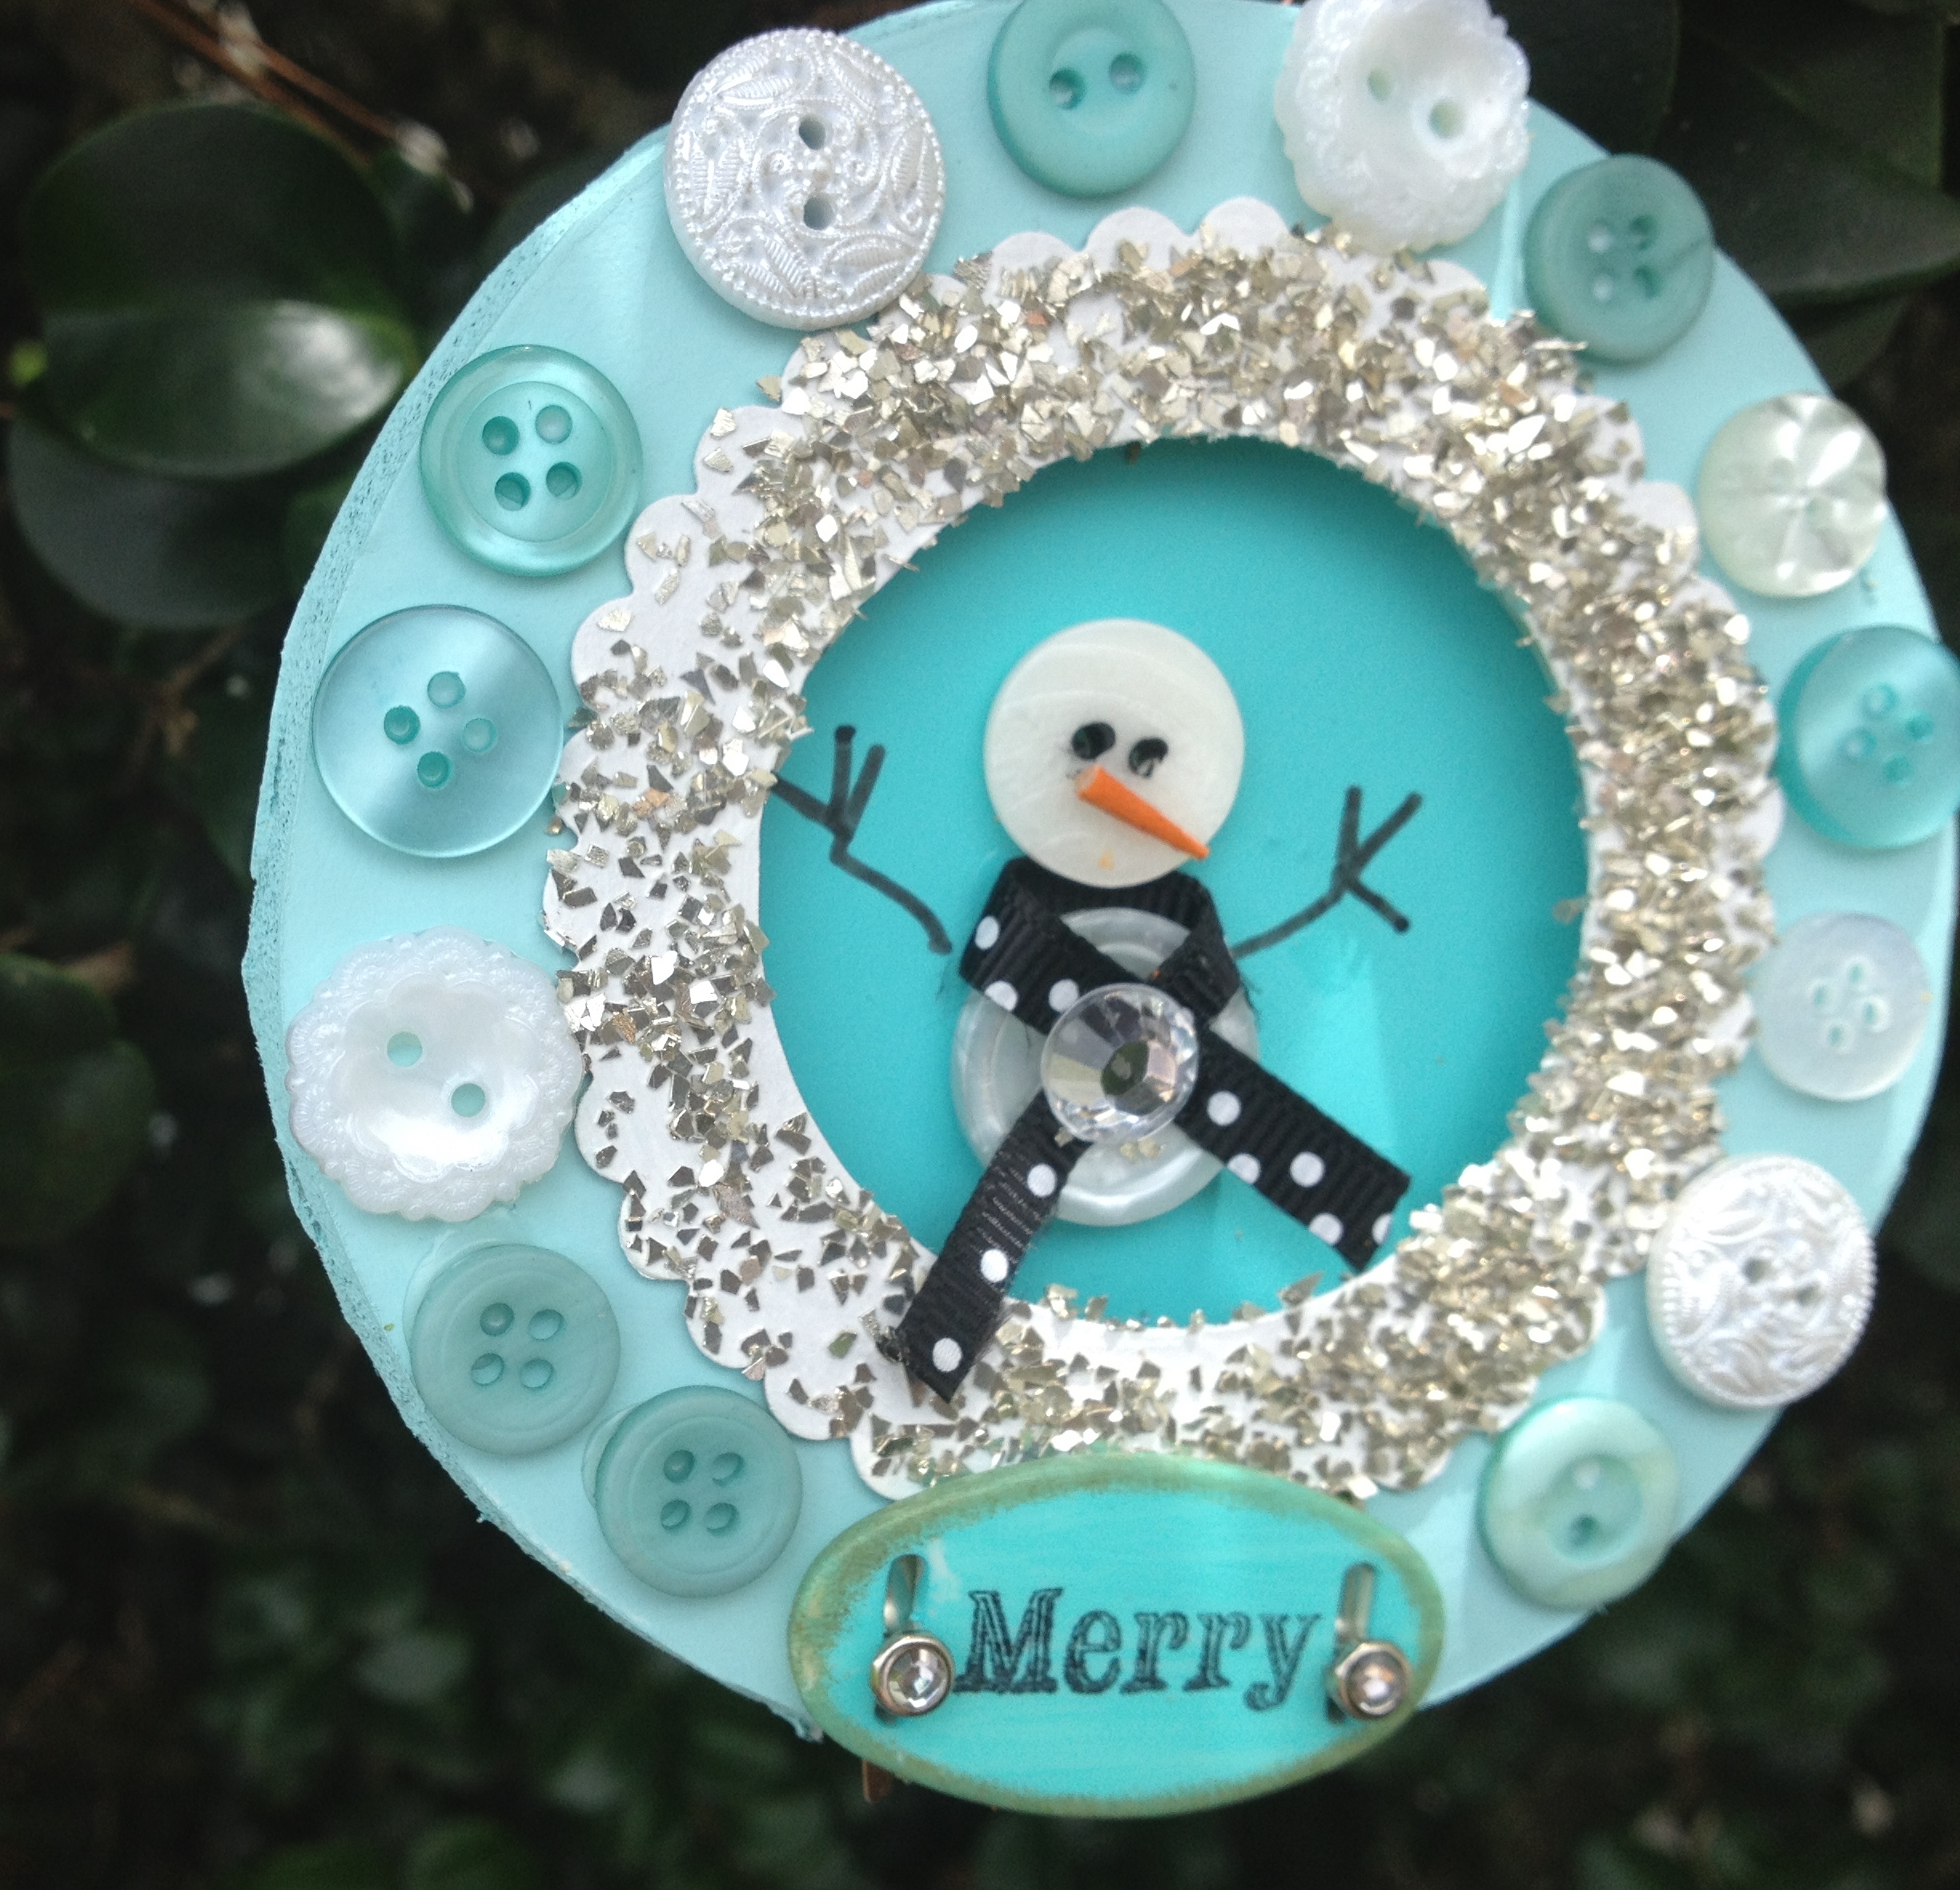
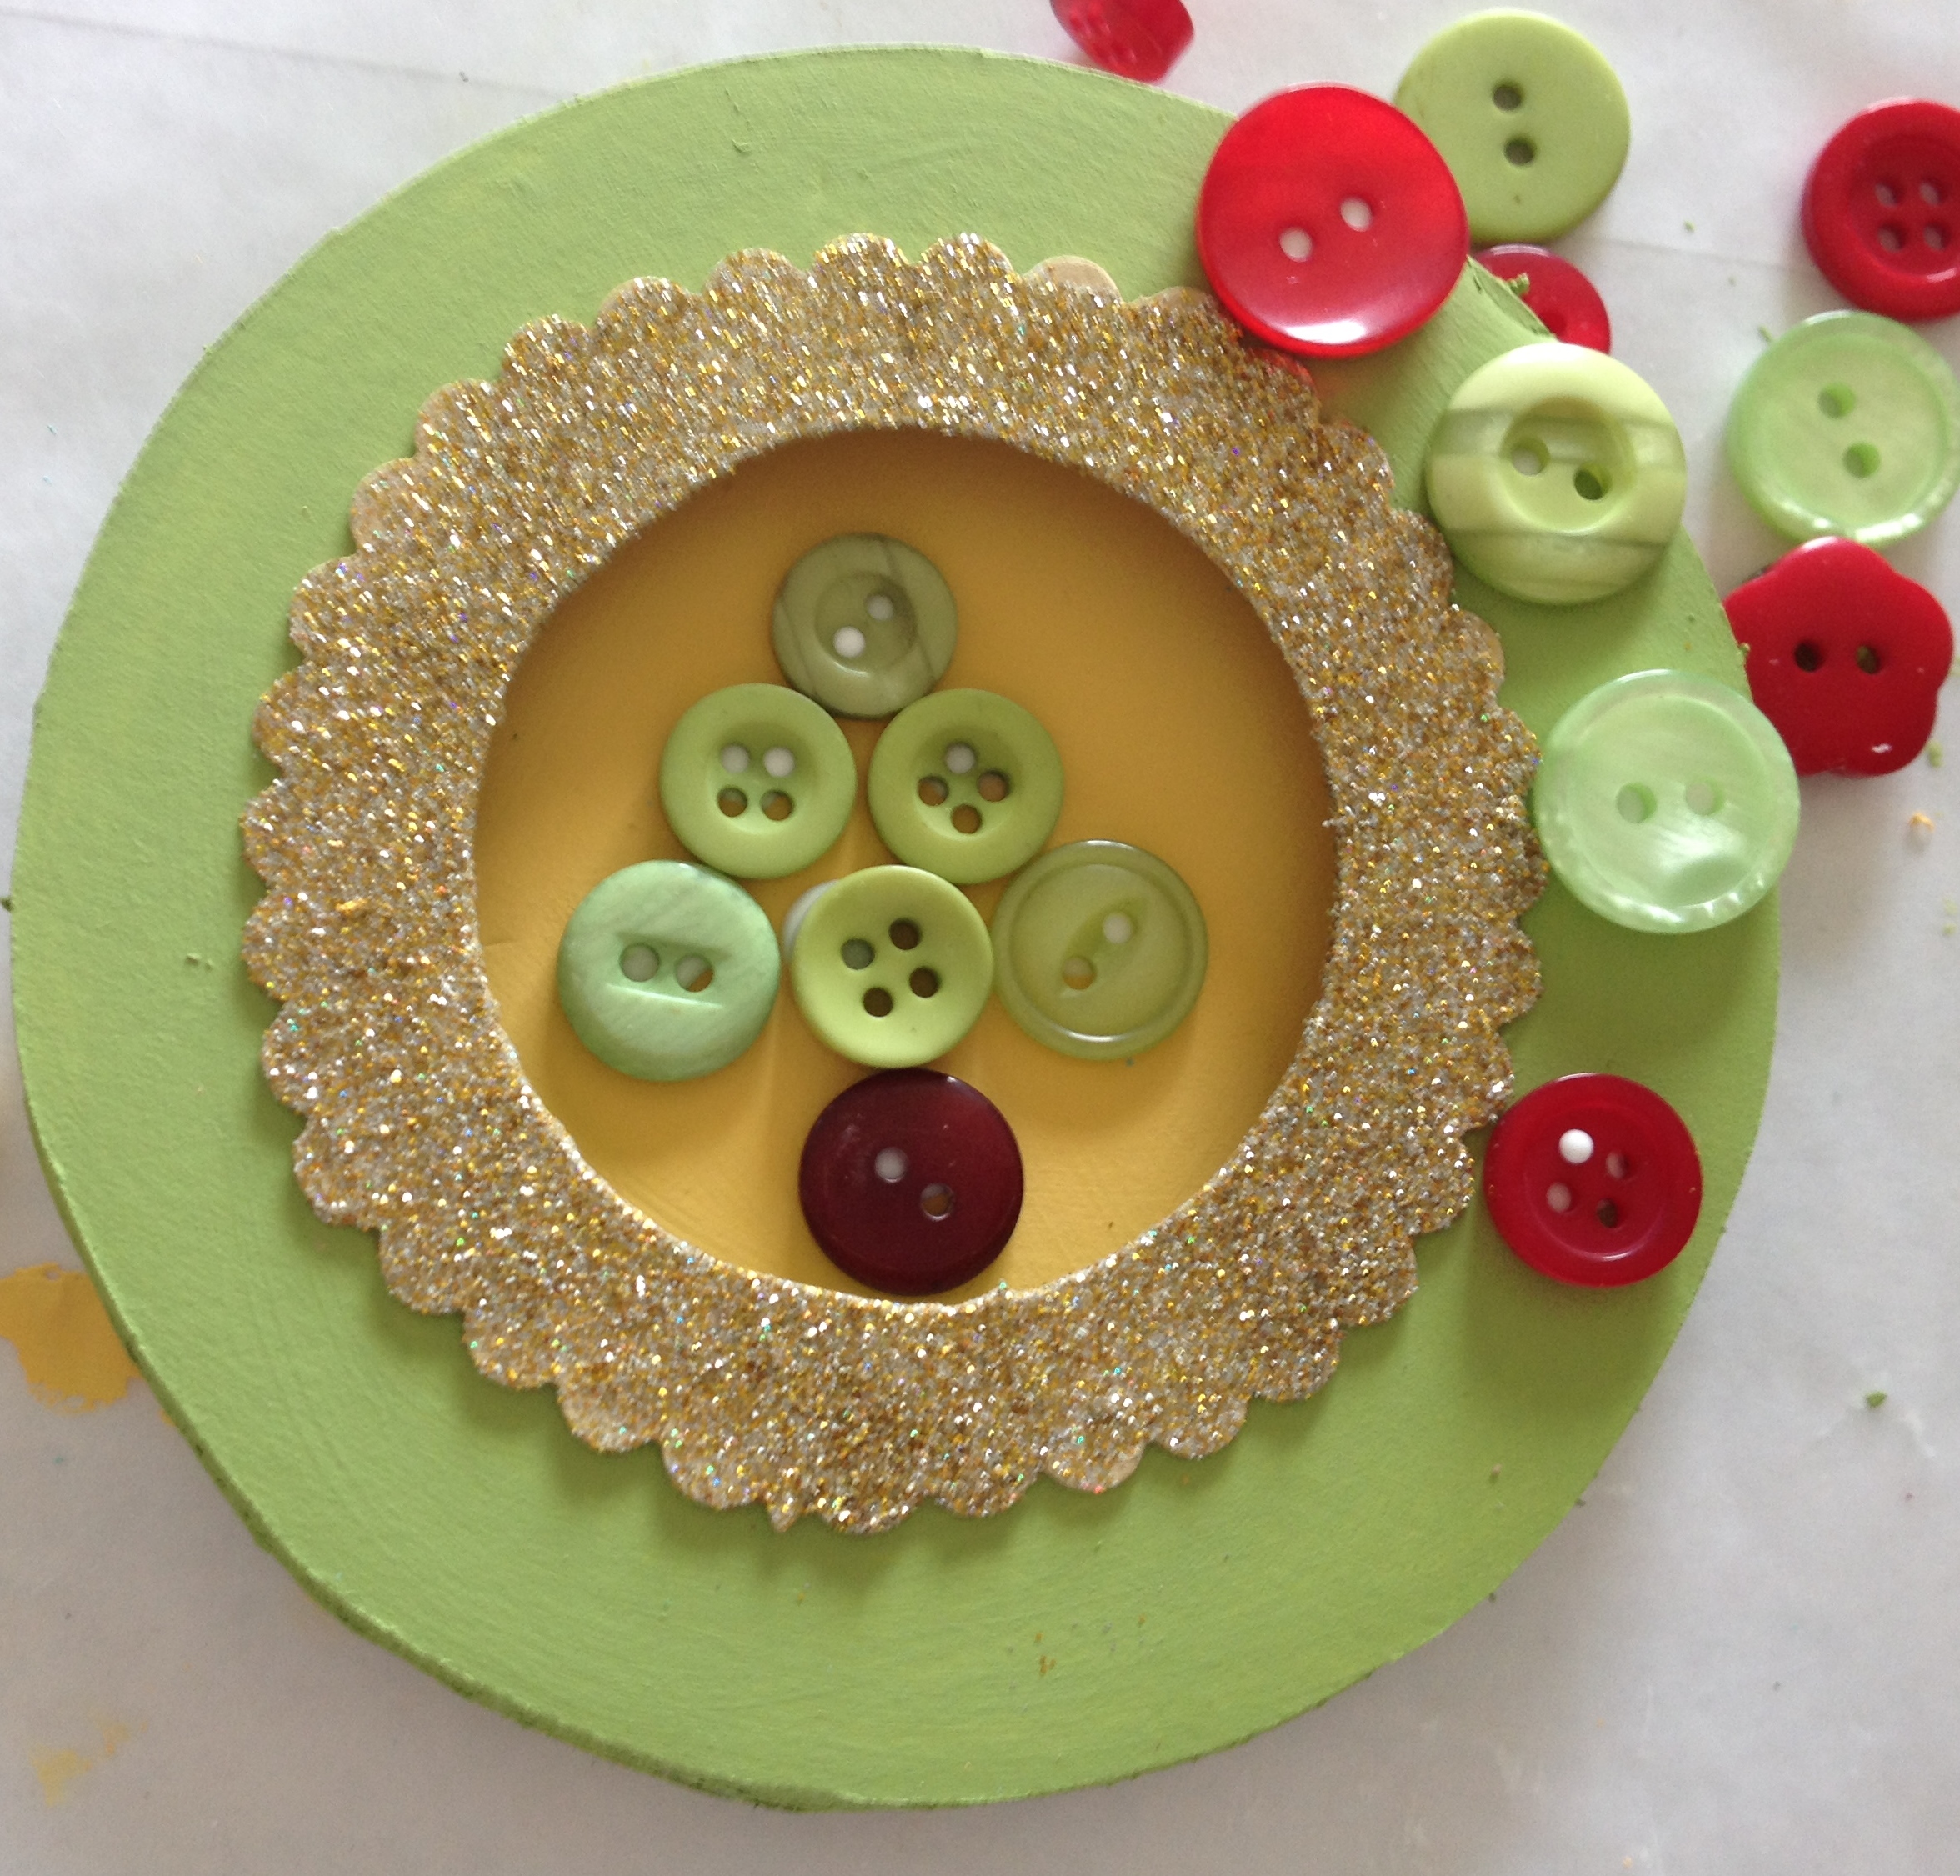
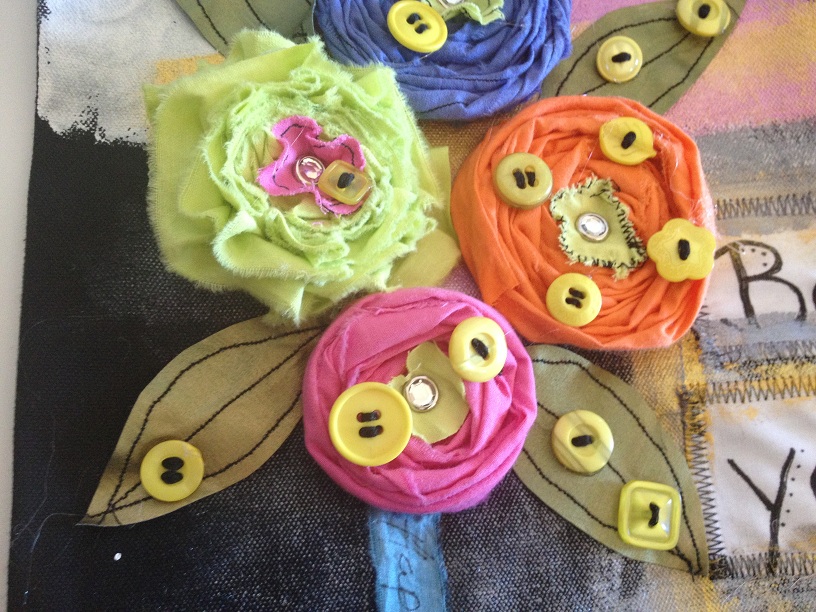
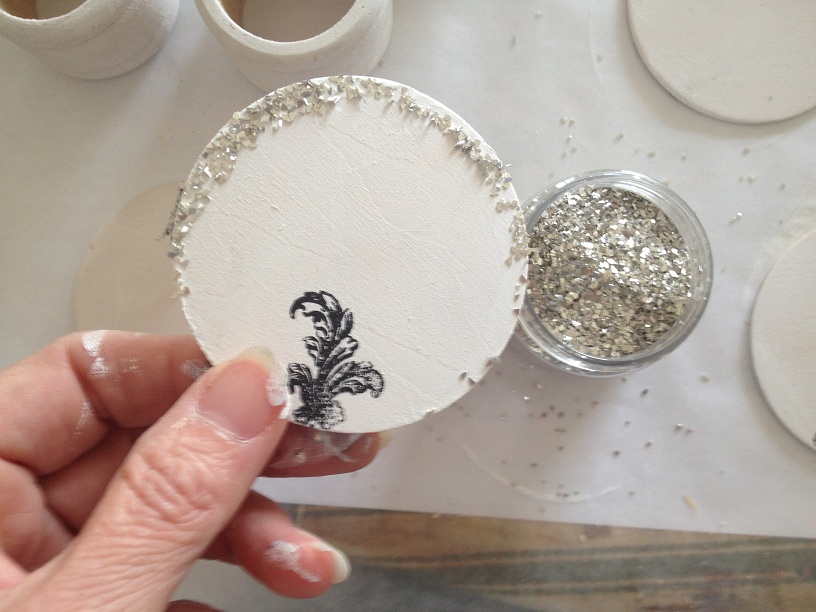
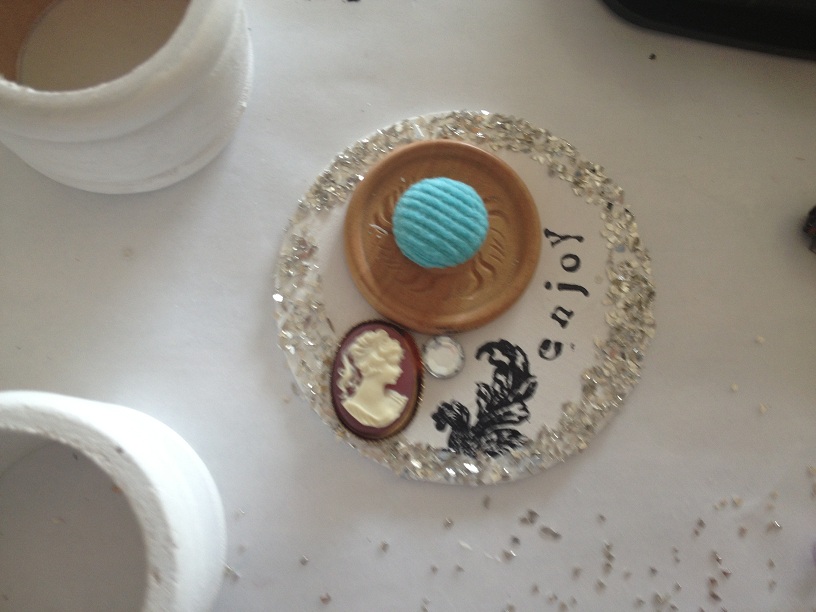
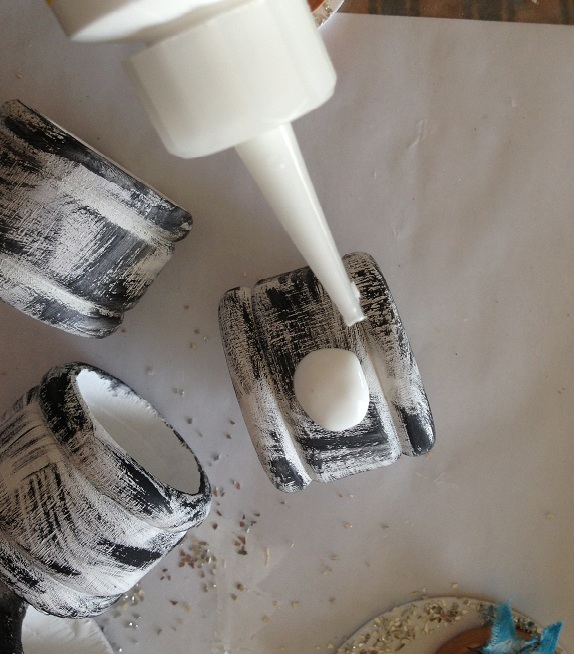
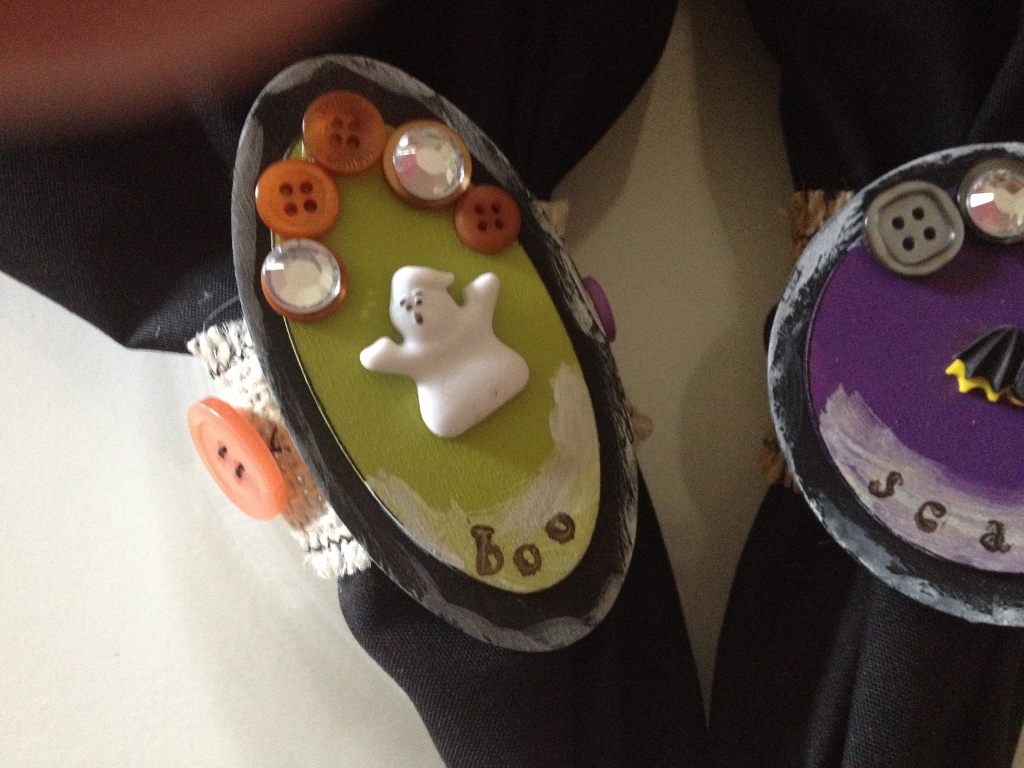
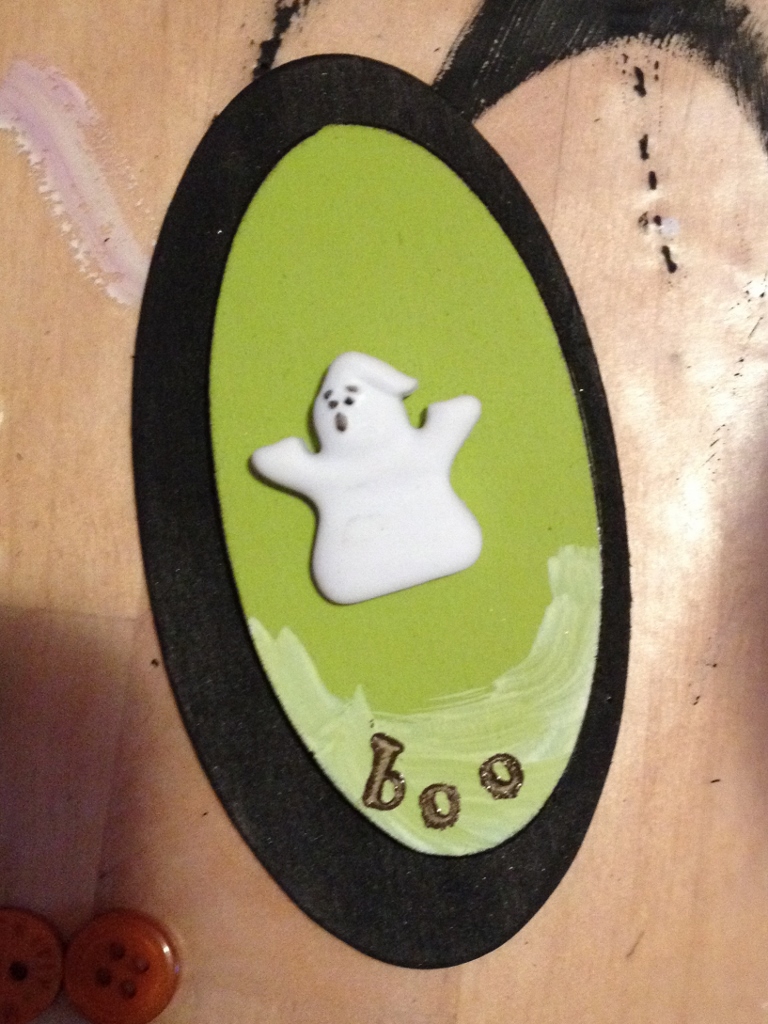
Layer your shapes and glue them together. Dry brush white paint on the bottom of the top shape. Use the alphabet stamps and ink to stamp the shapes. Glue the novelty button to the center of the shape.

buttons on shape
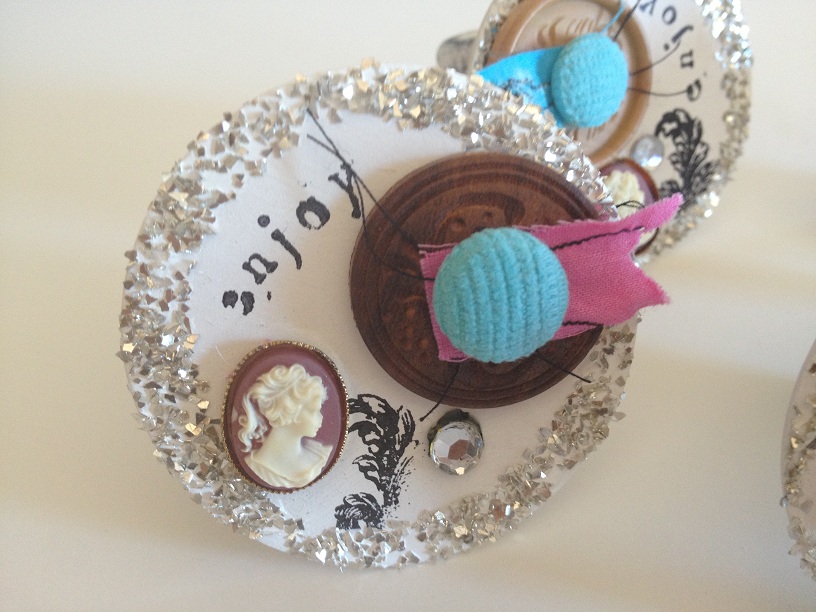
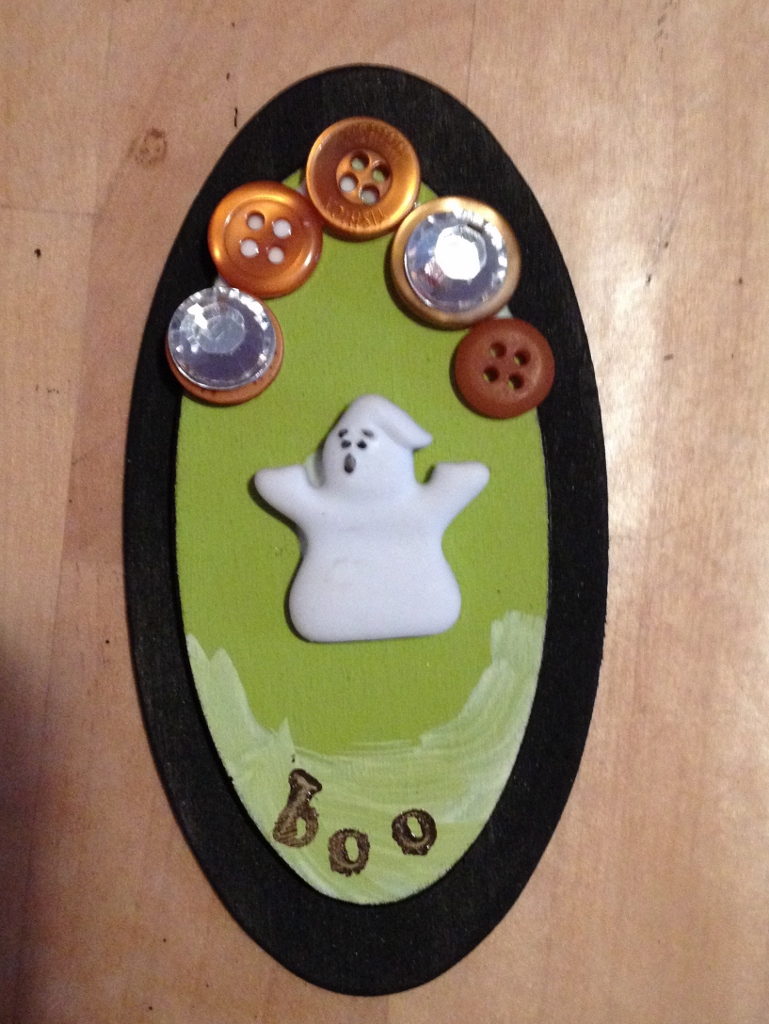
I also added some 9mm acrylic rhinestones to some of the buttons.

Burlap strips for Halloween Napkin Rings
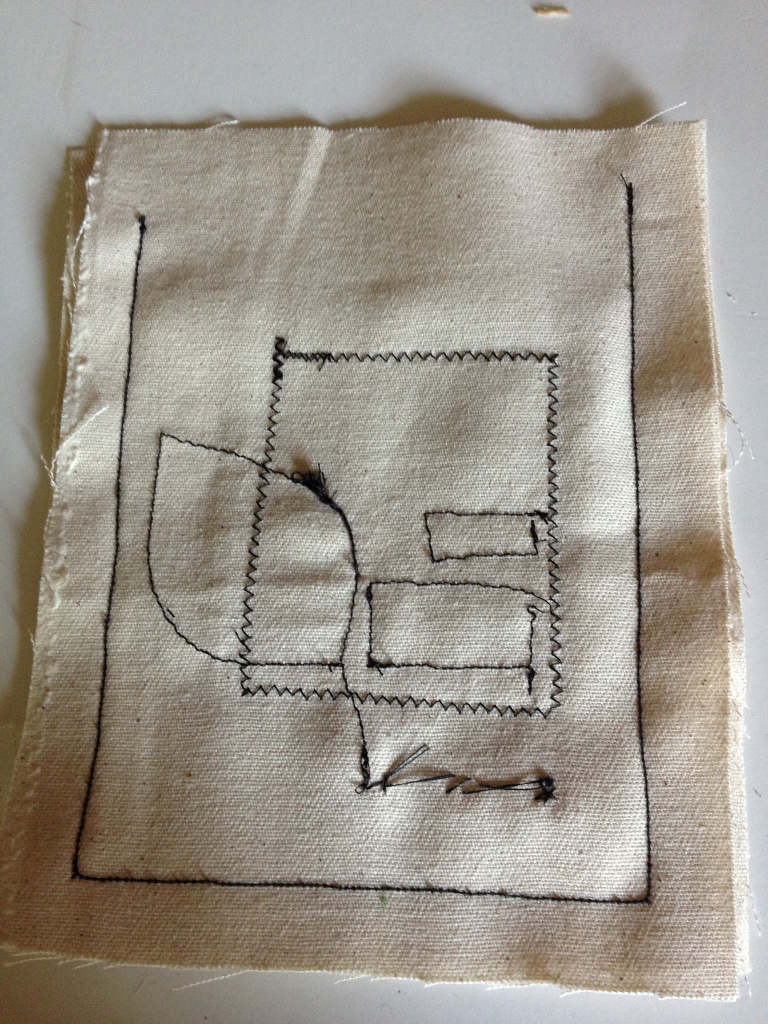
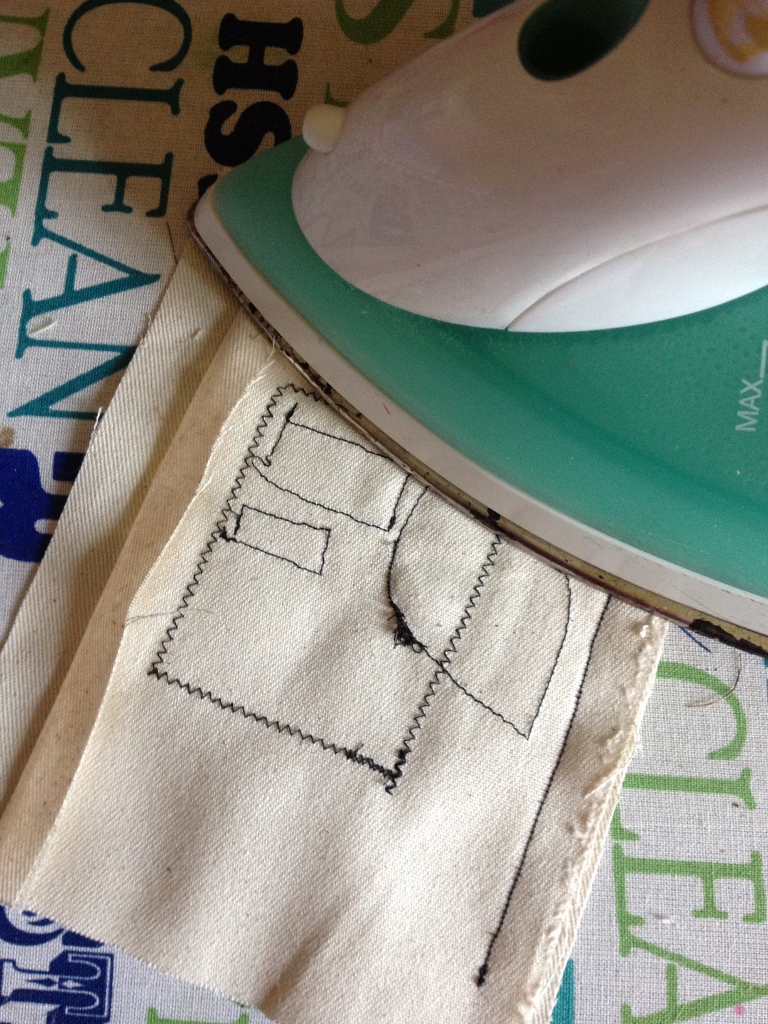
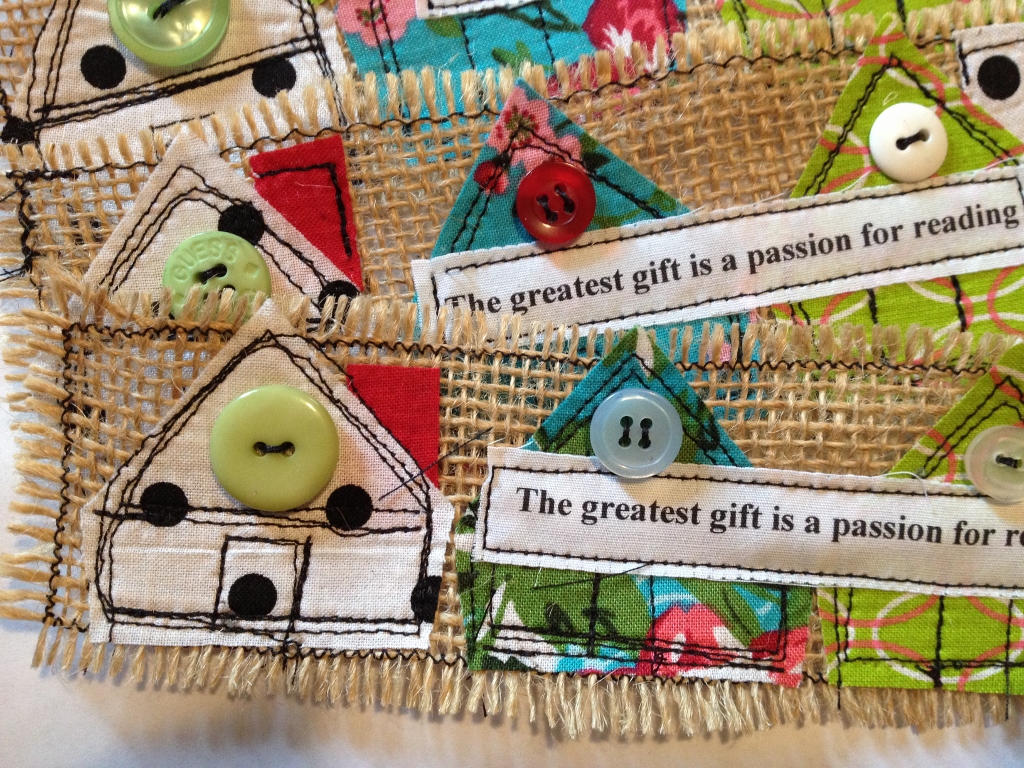
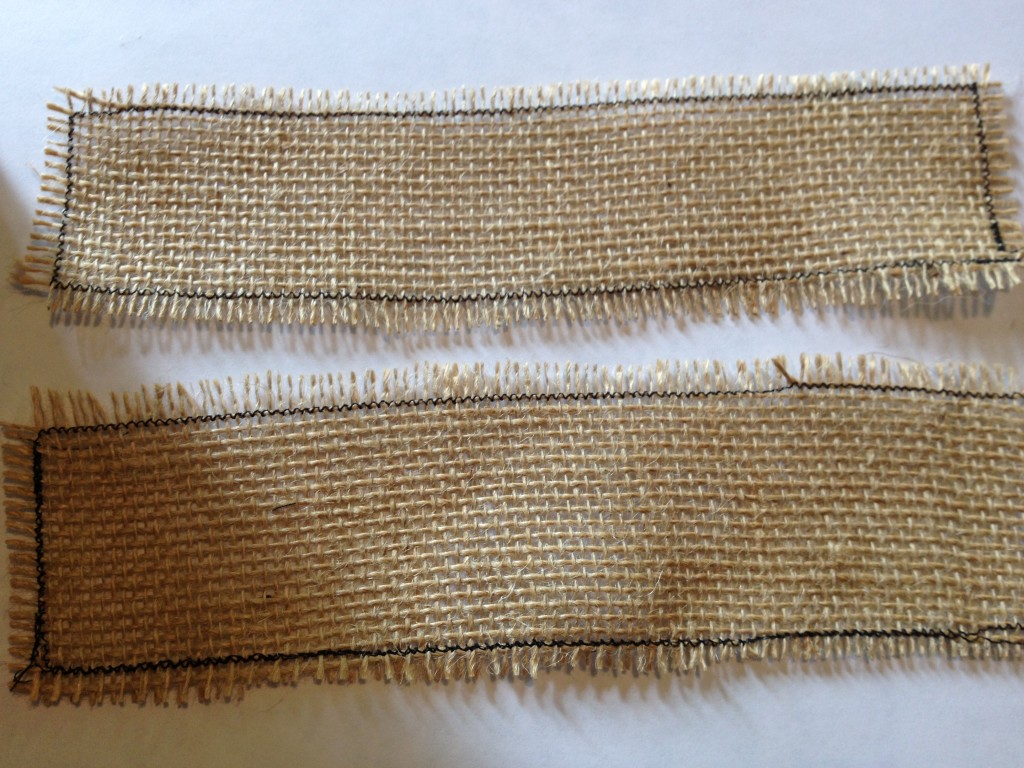
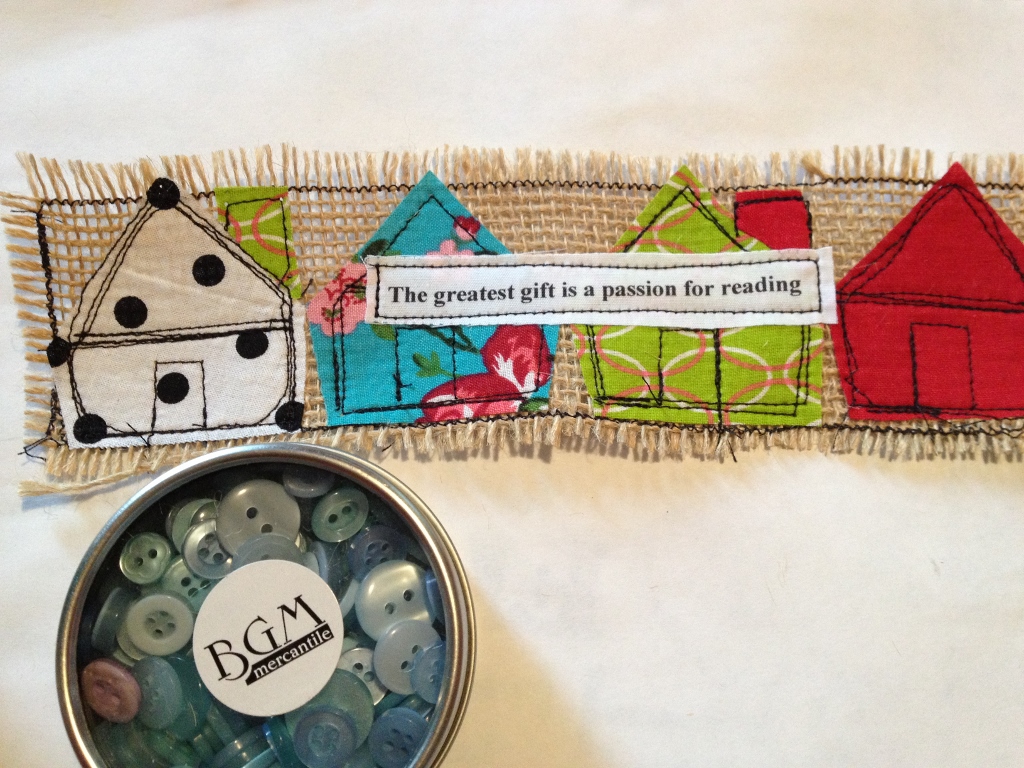
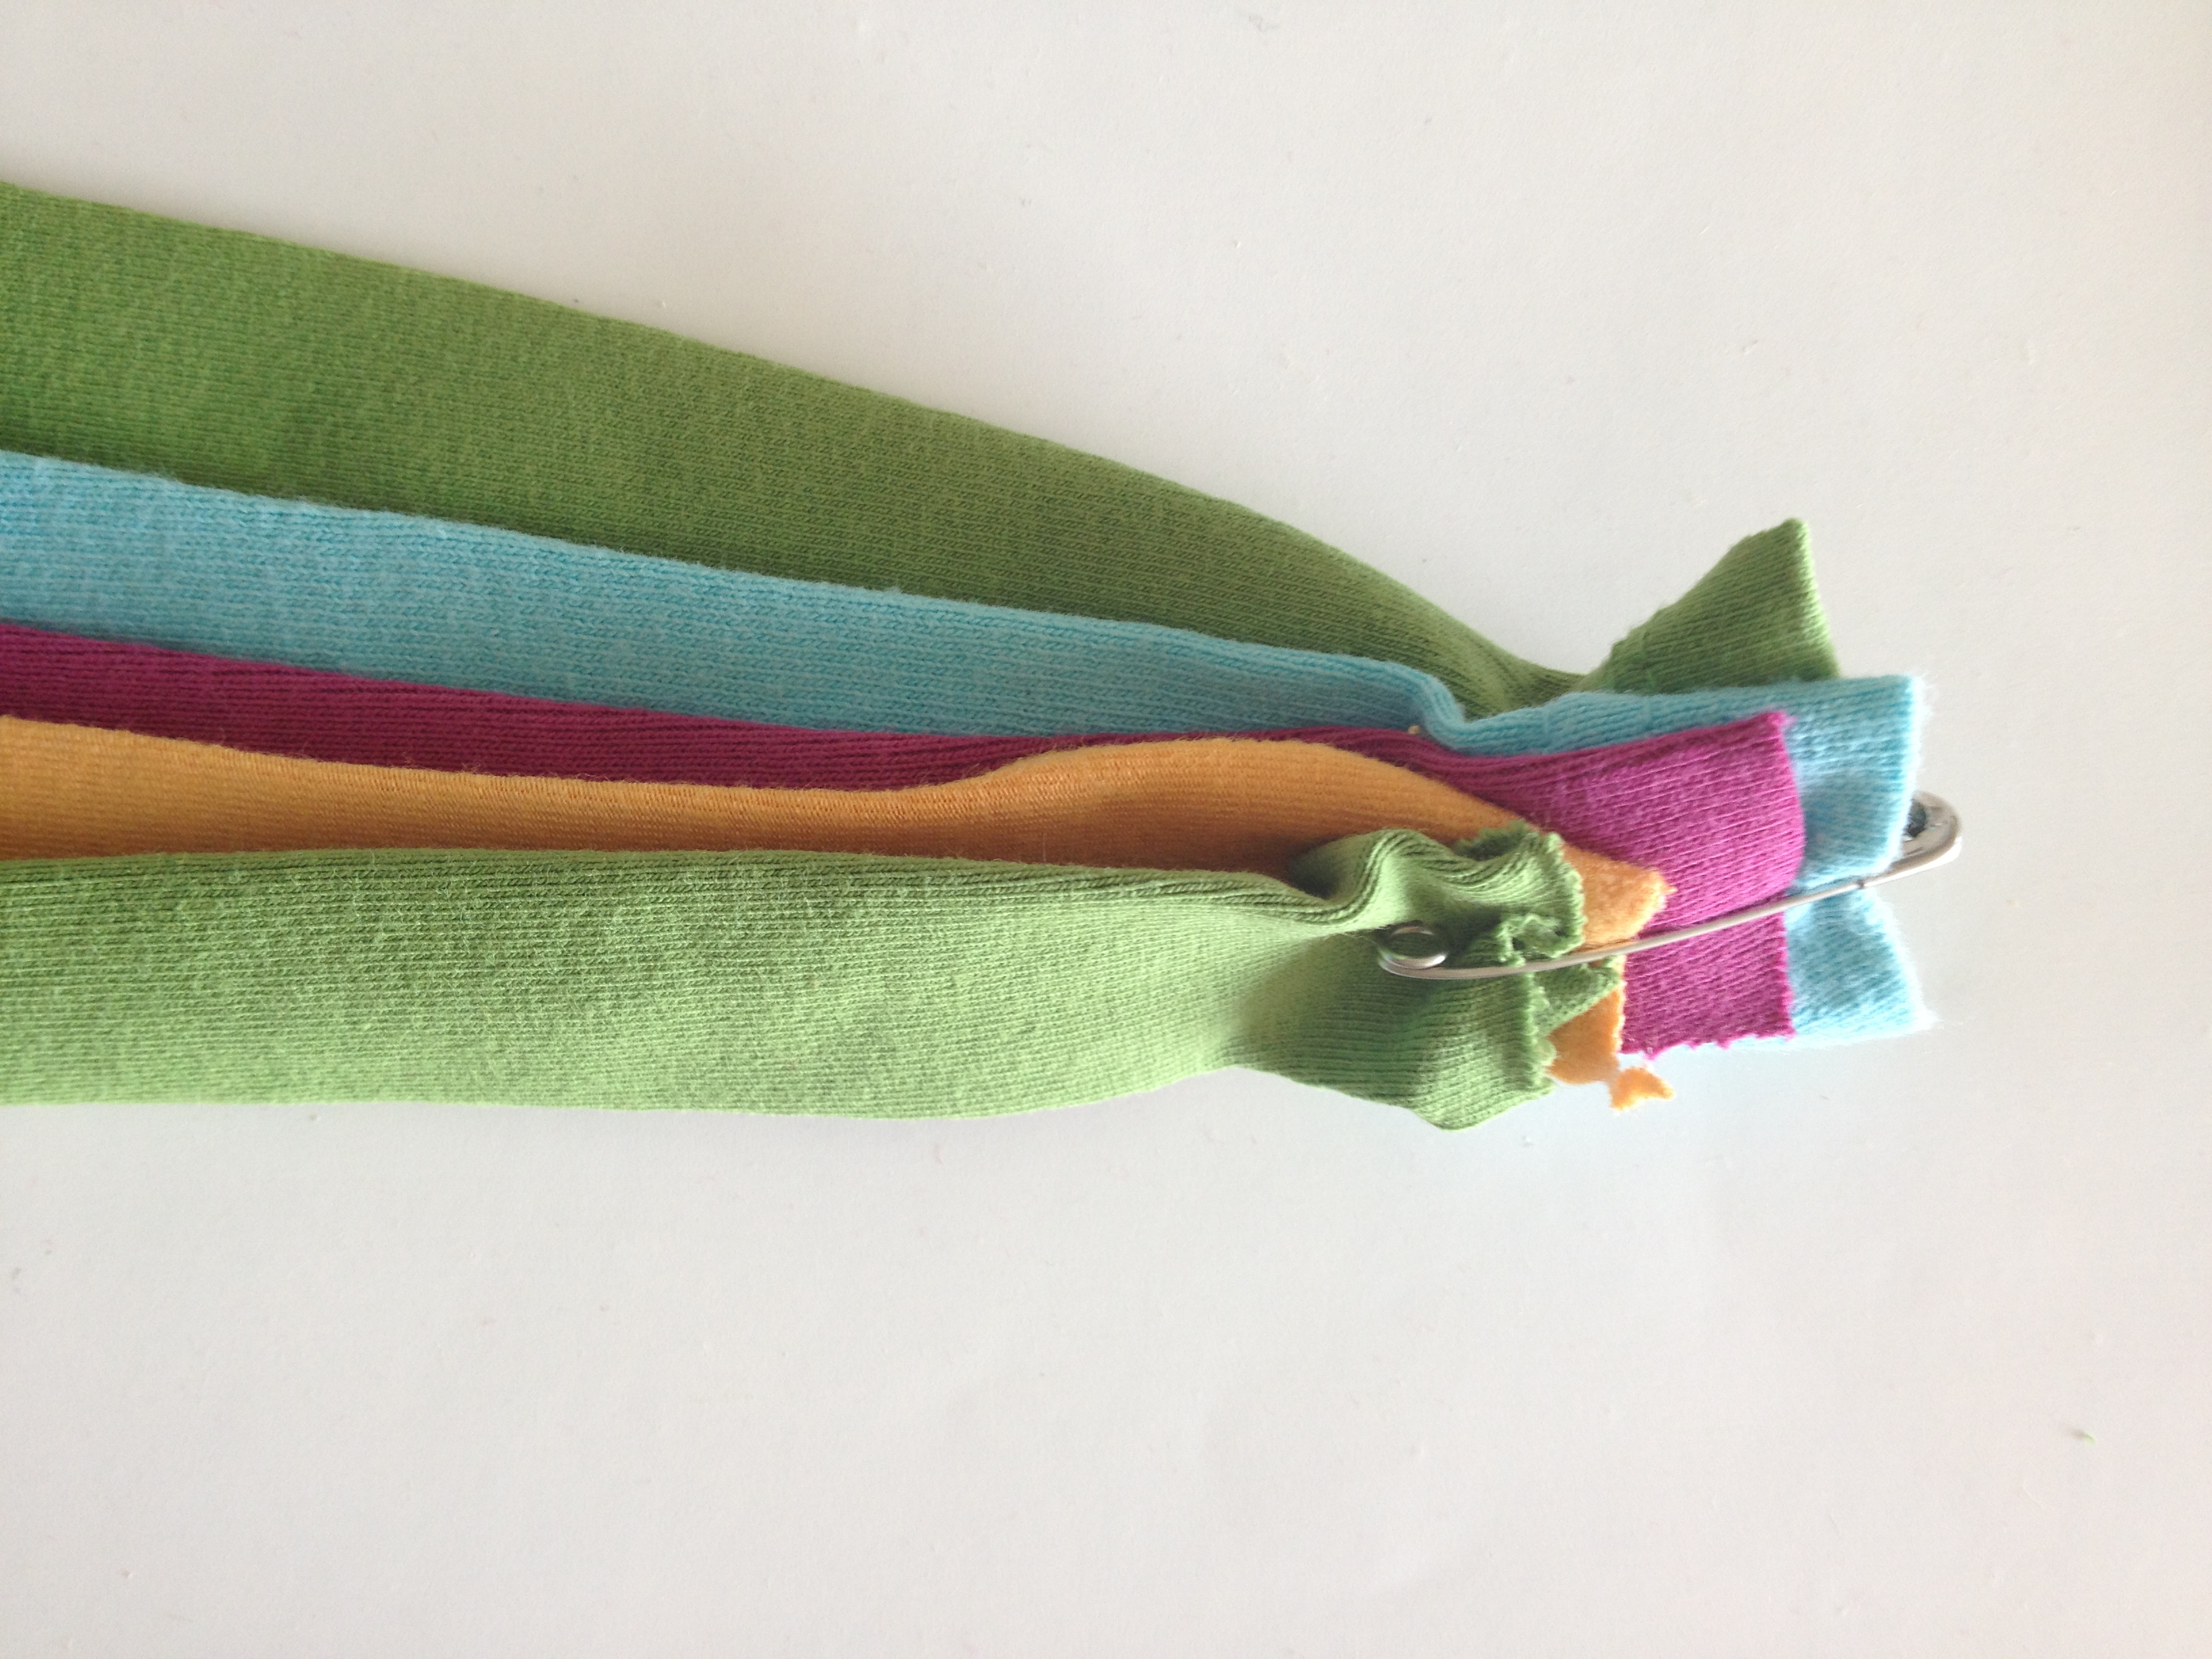
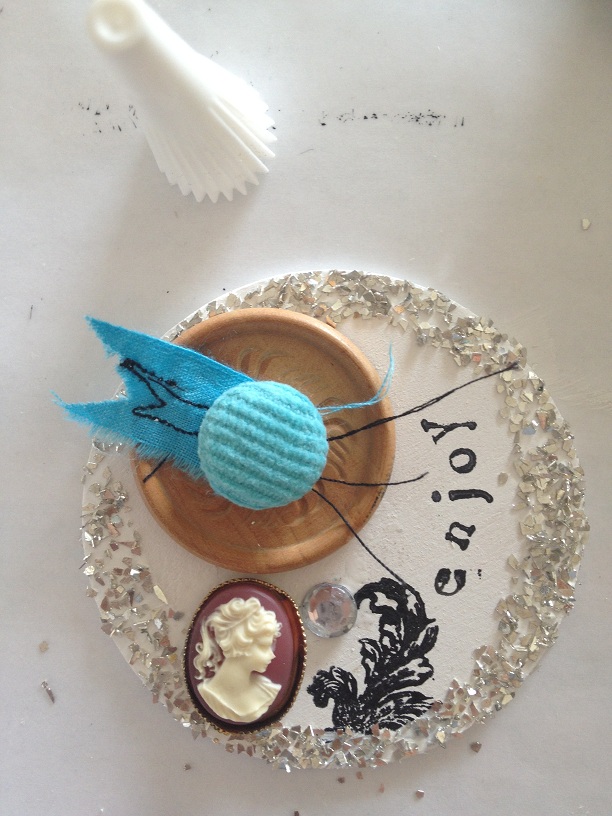
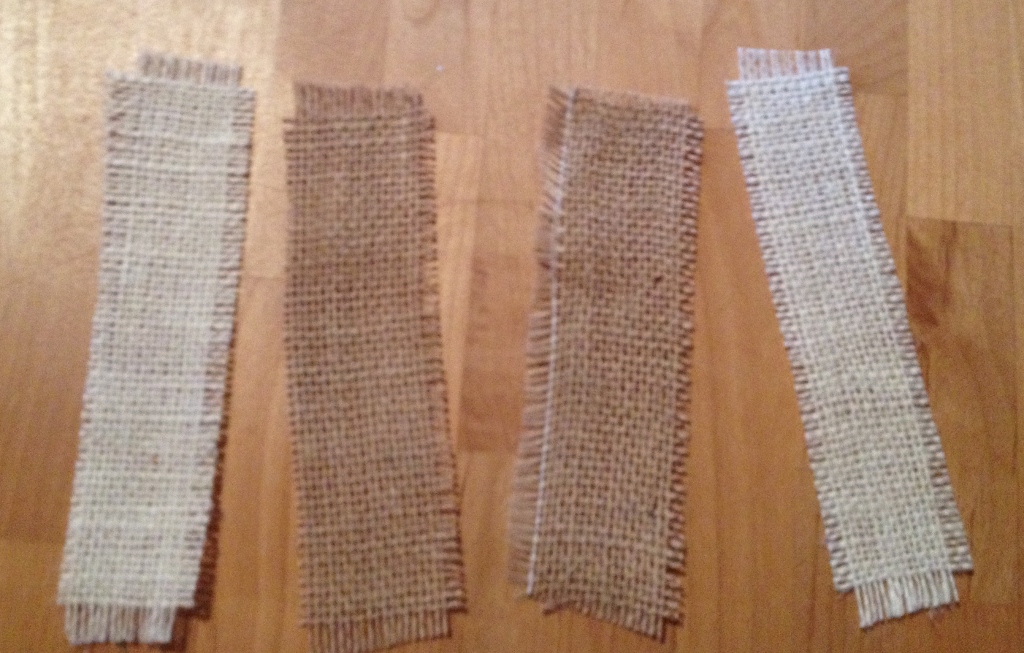
Cut some burlap into strips and use the sewing machine, thread and a zig zag stitch to sew the edges of the strips to prevent fraying.

glue strips to back of shapes (1024x611) - Copy

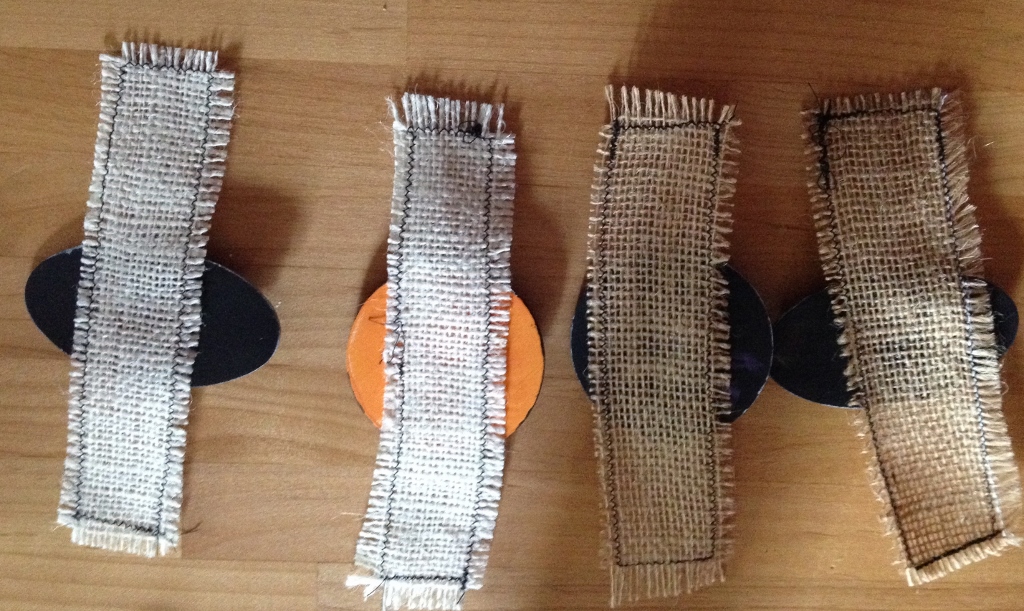
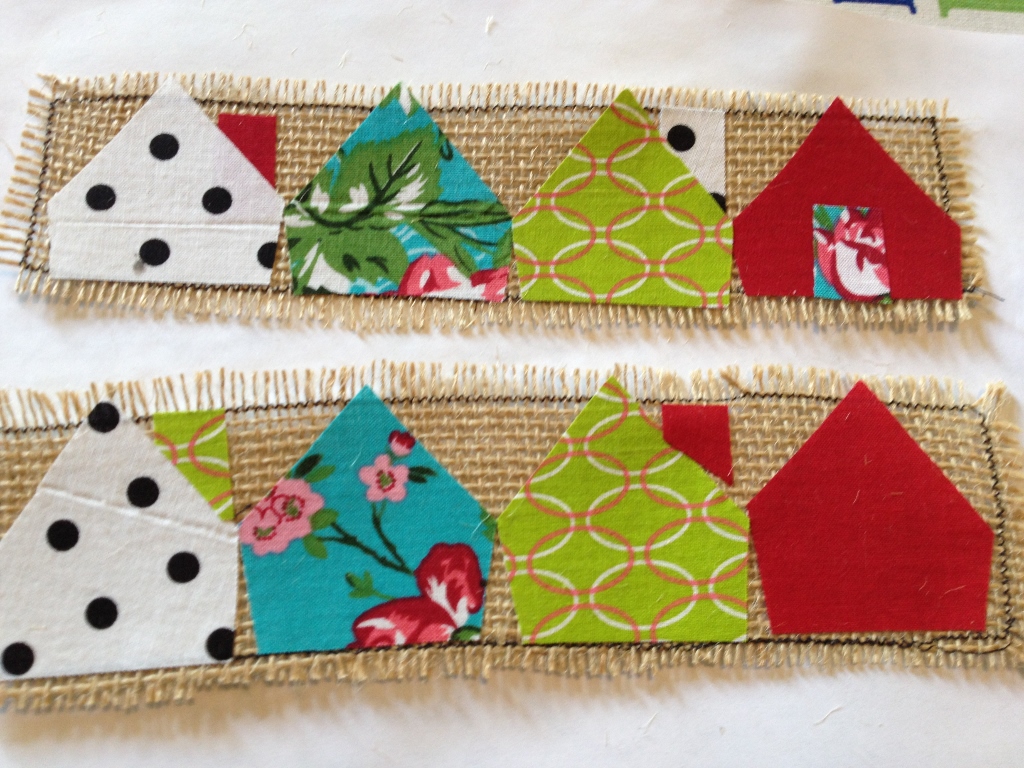
Glue the shapes to the center of each burlap strip and let dry.

sew buttons on burlap (1024x768)
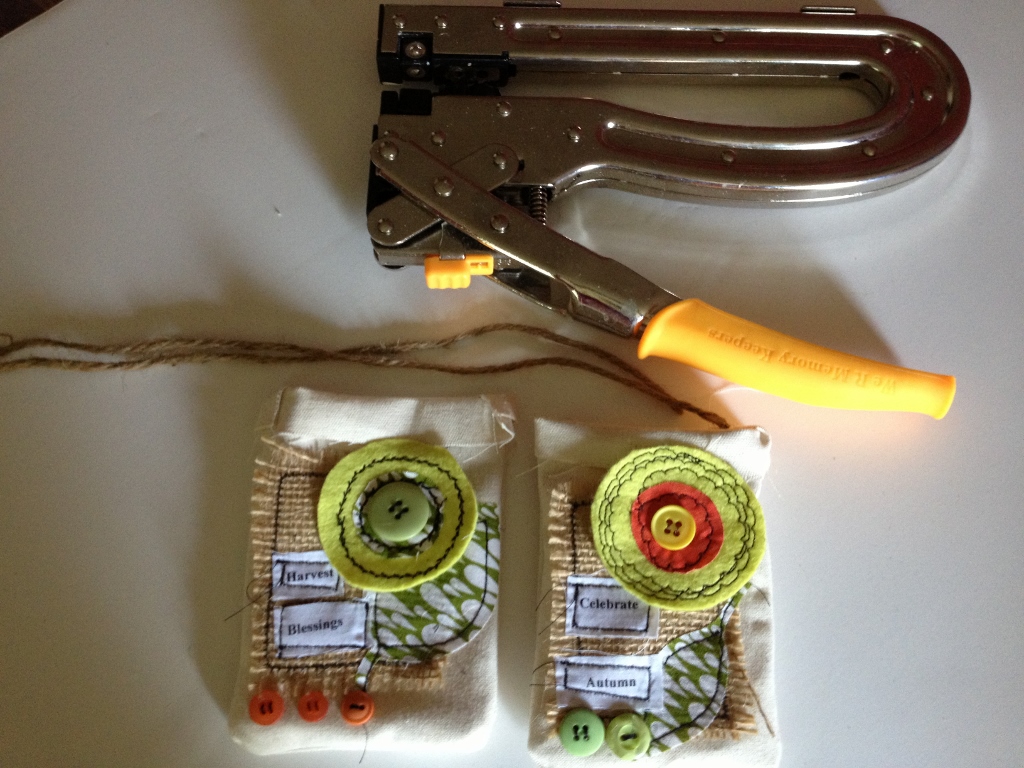
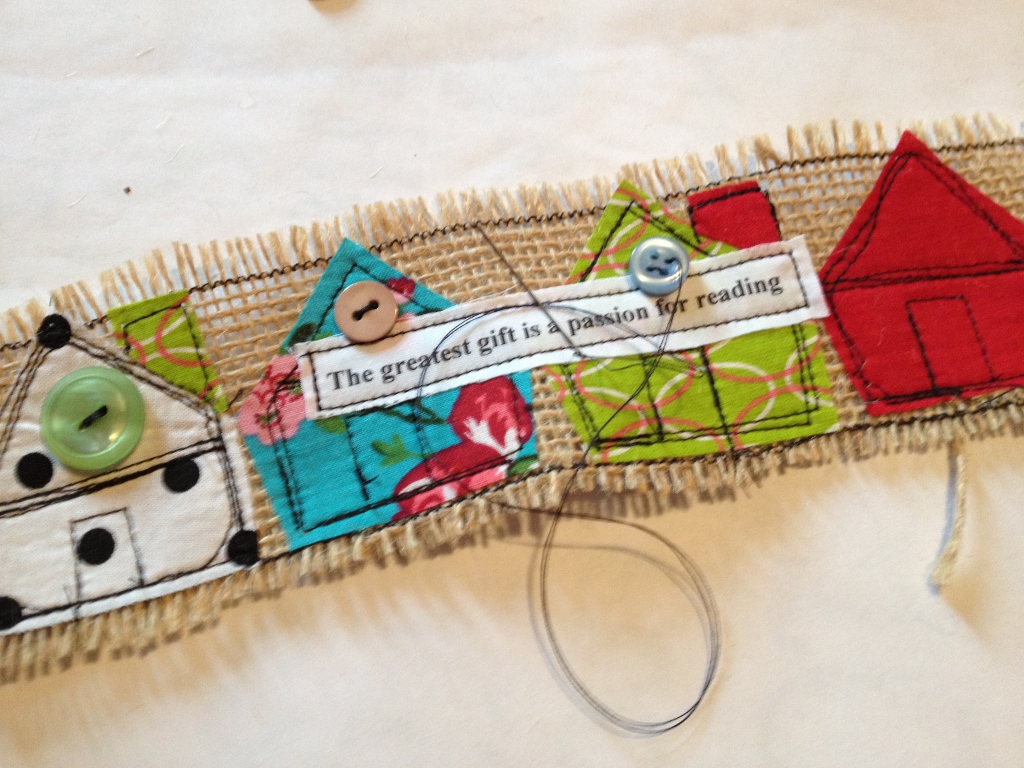
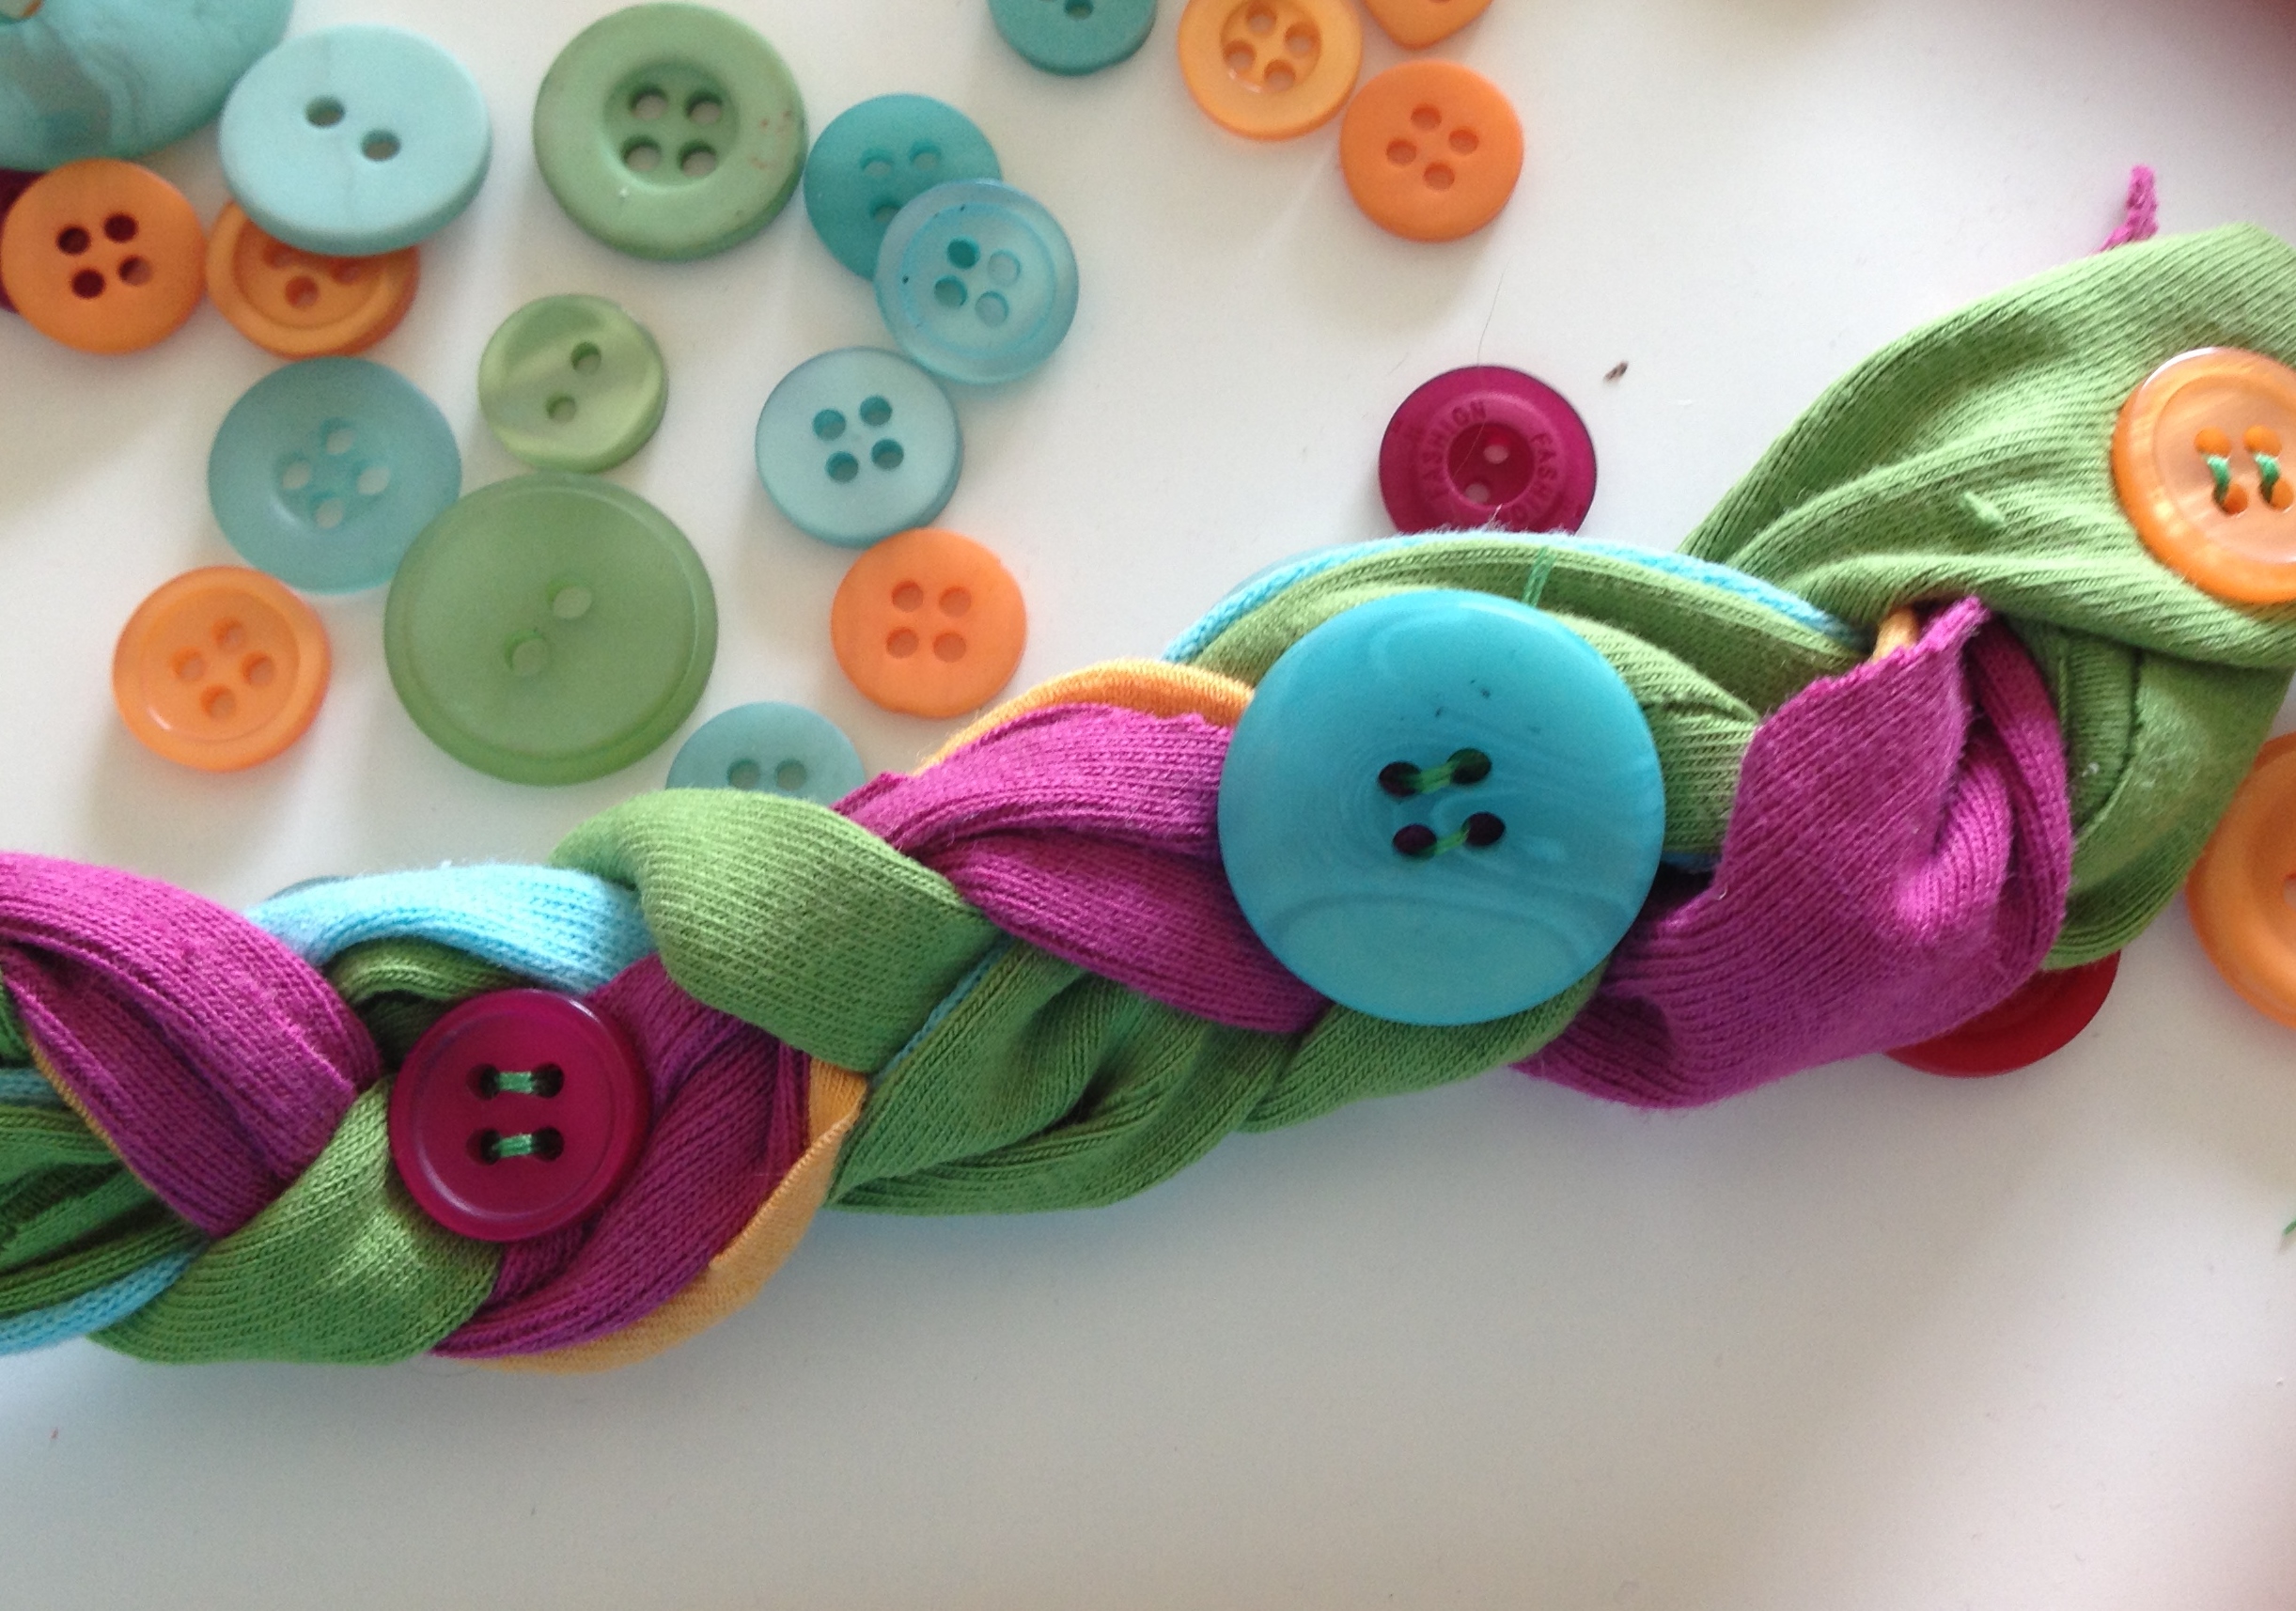
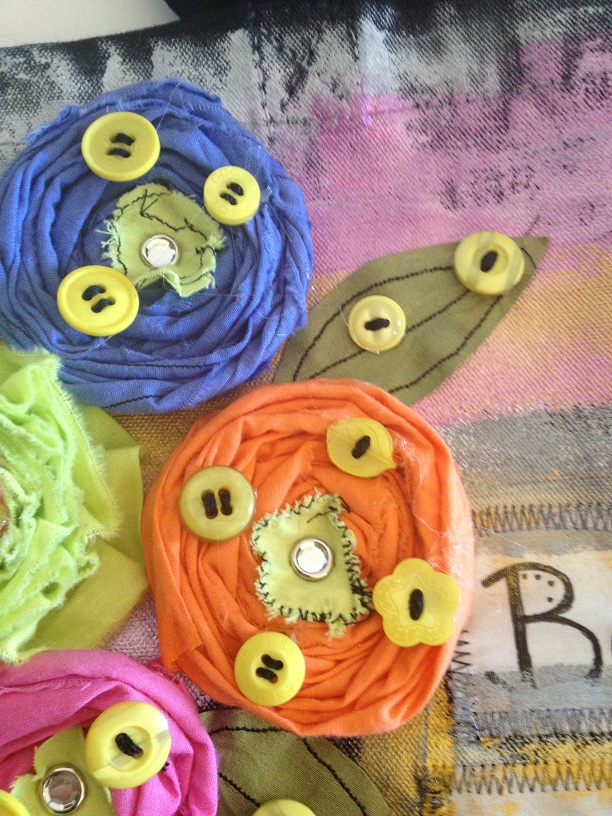
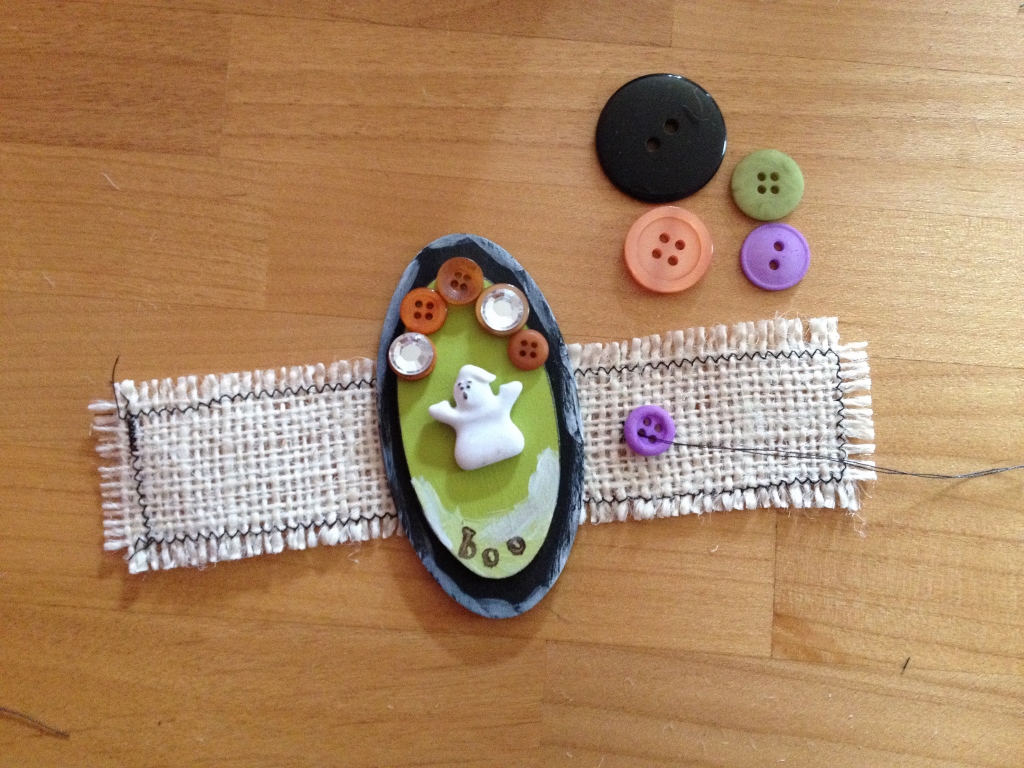
Sew buttons onto the burlap strips. I used orange, purple, green and black from the Laura Kelly Hand Dyed Buttons collection.

Laura Kelly hand dyed buttons 2 (1024x733)

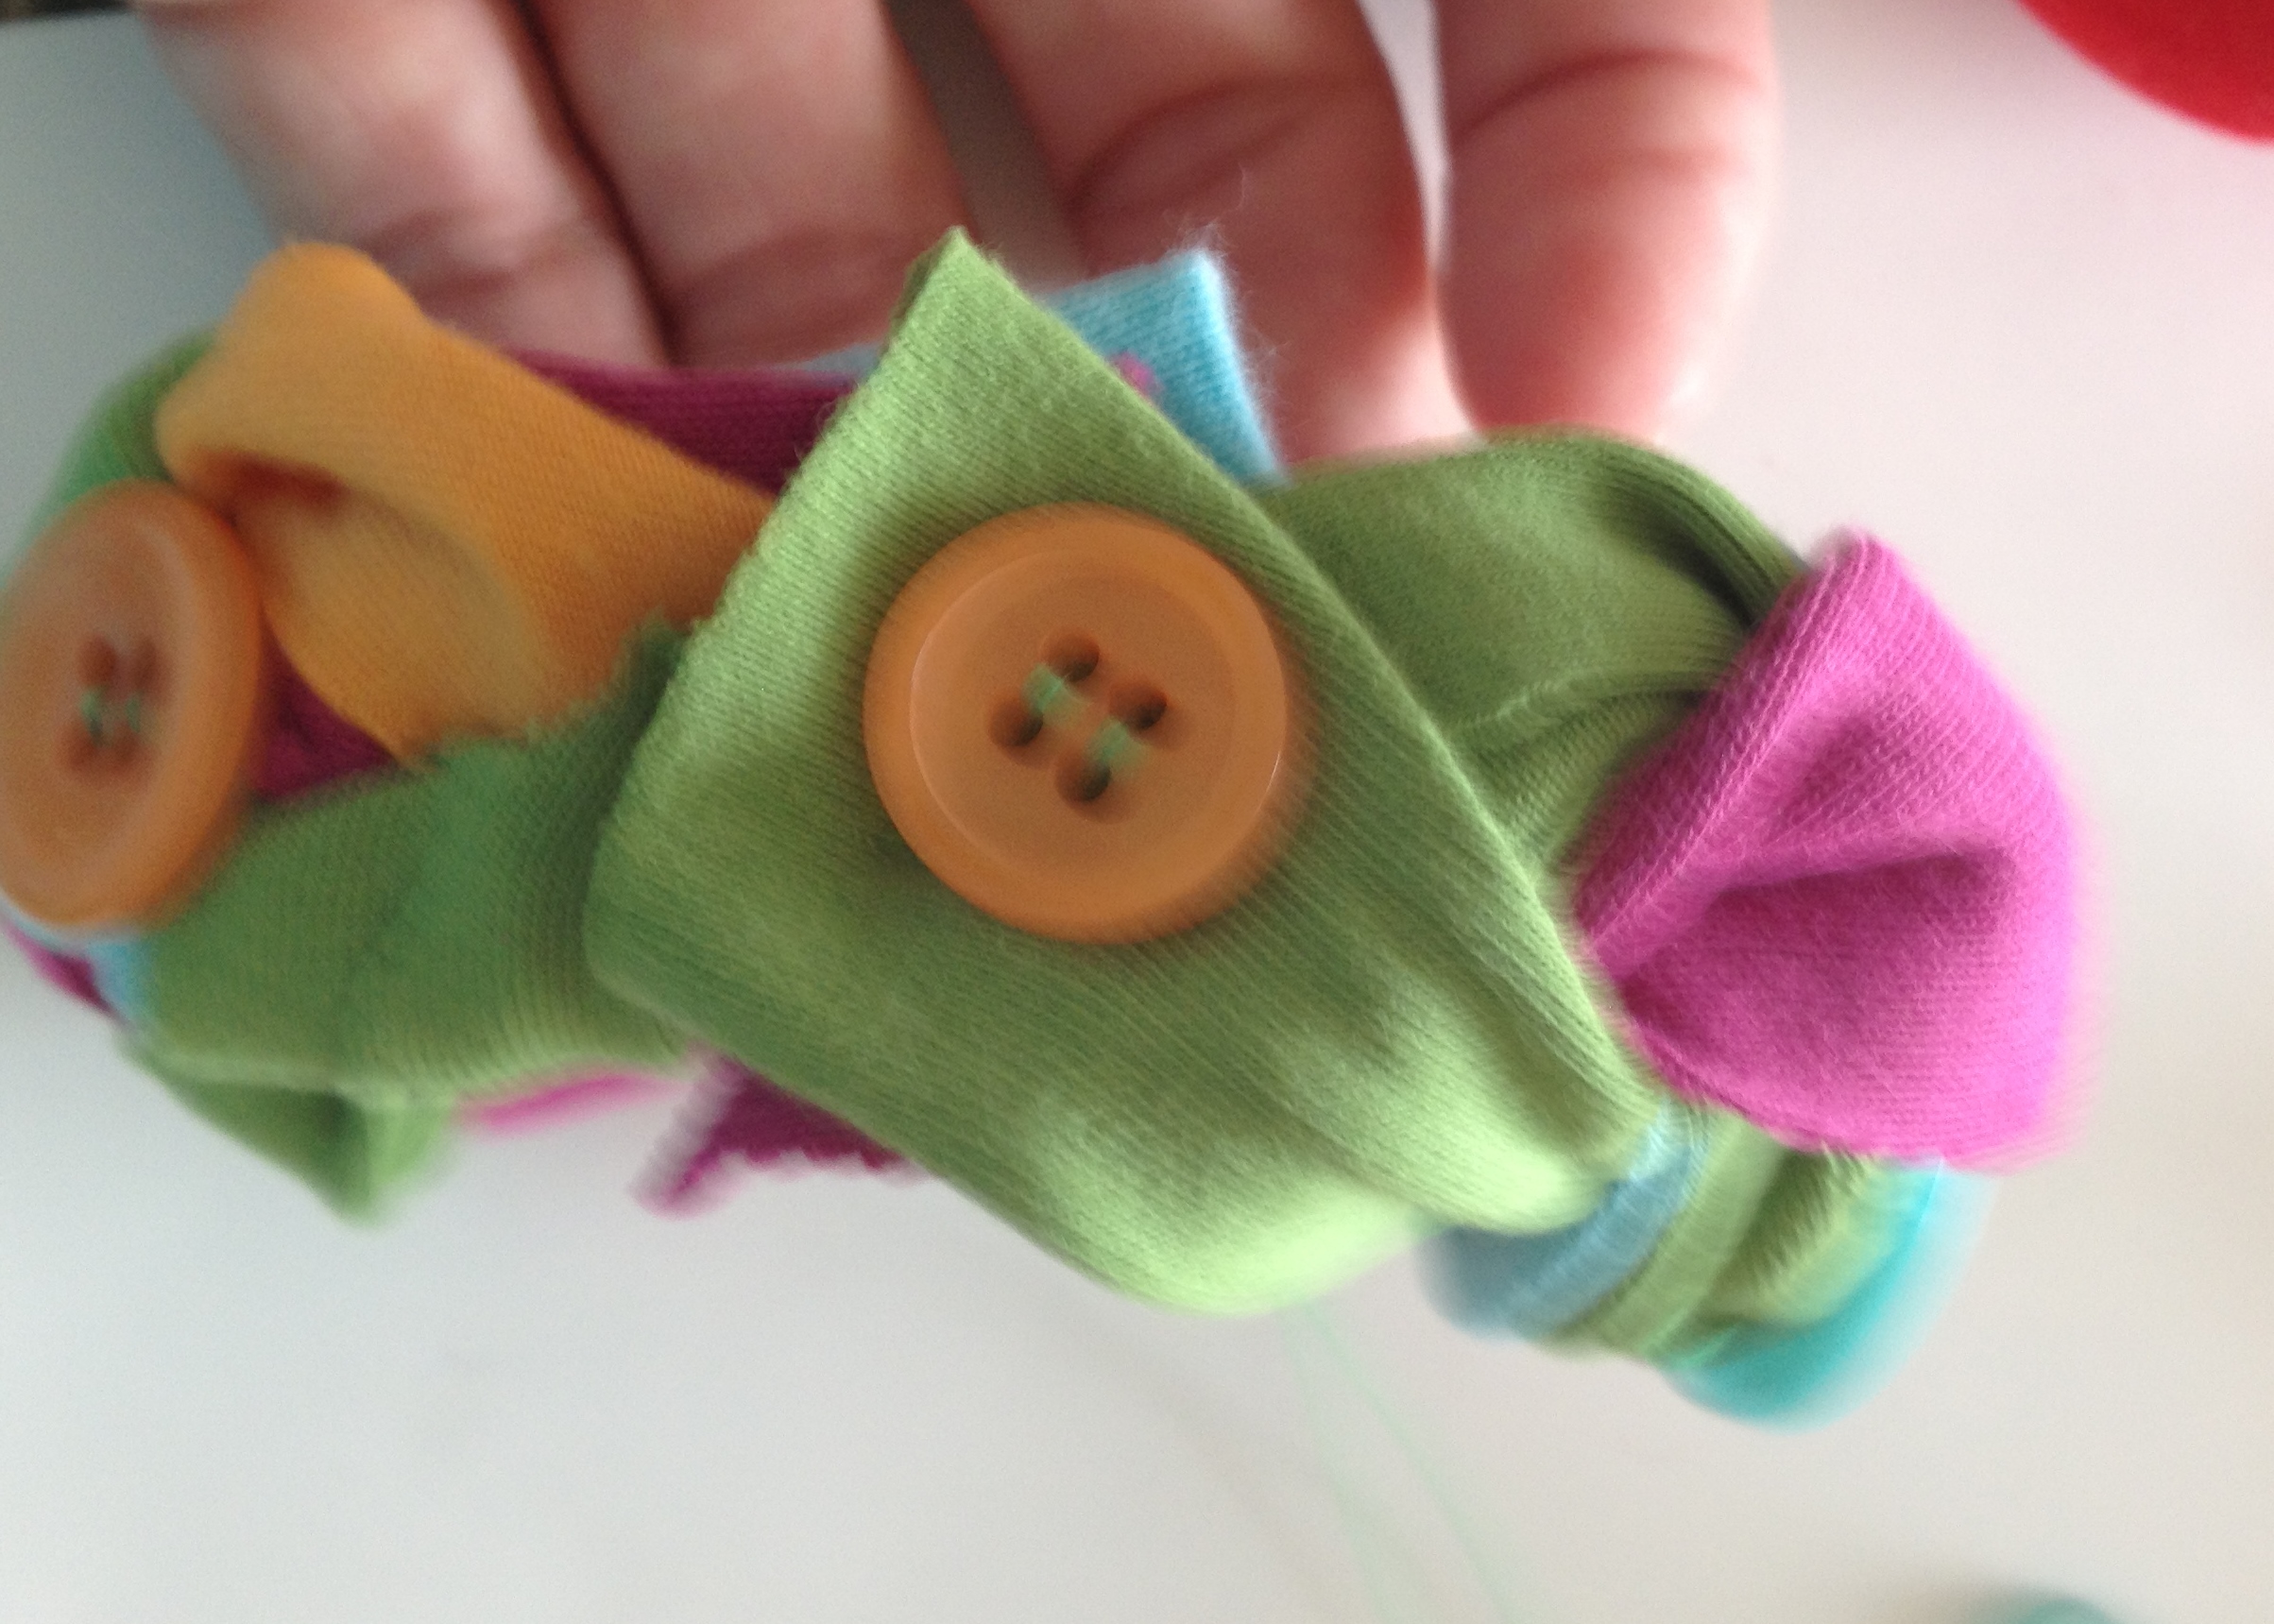
Once you sew on the buttons, use the center button to sew closed the burlap strip, creating a napkin ring.

Sew on buttons 2 (769x1024) - Copy
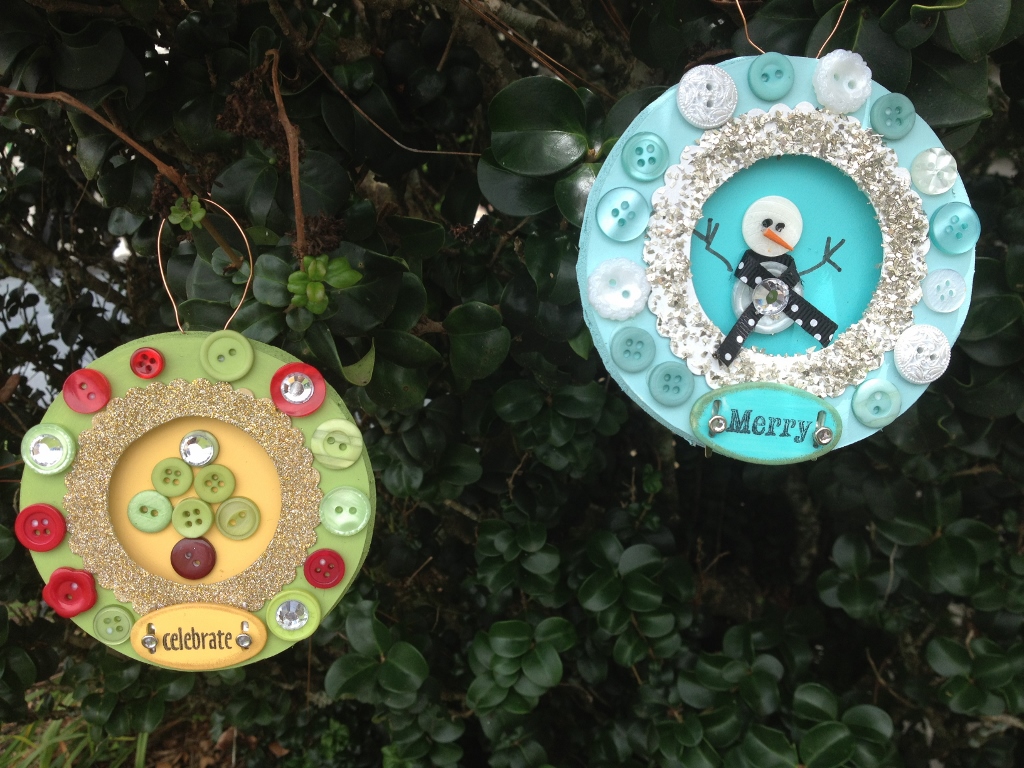
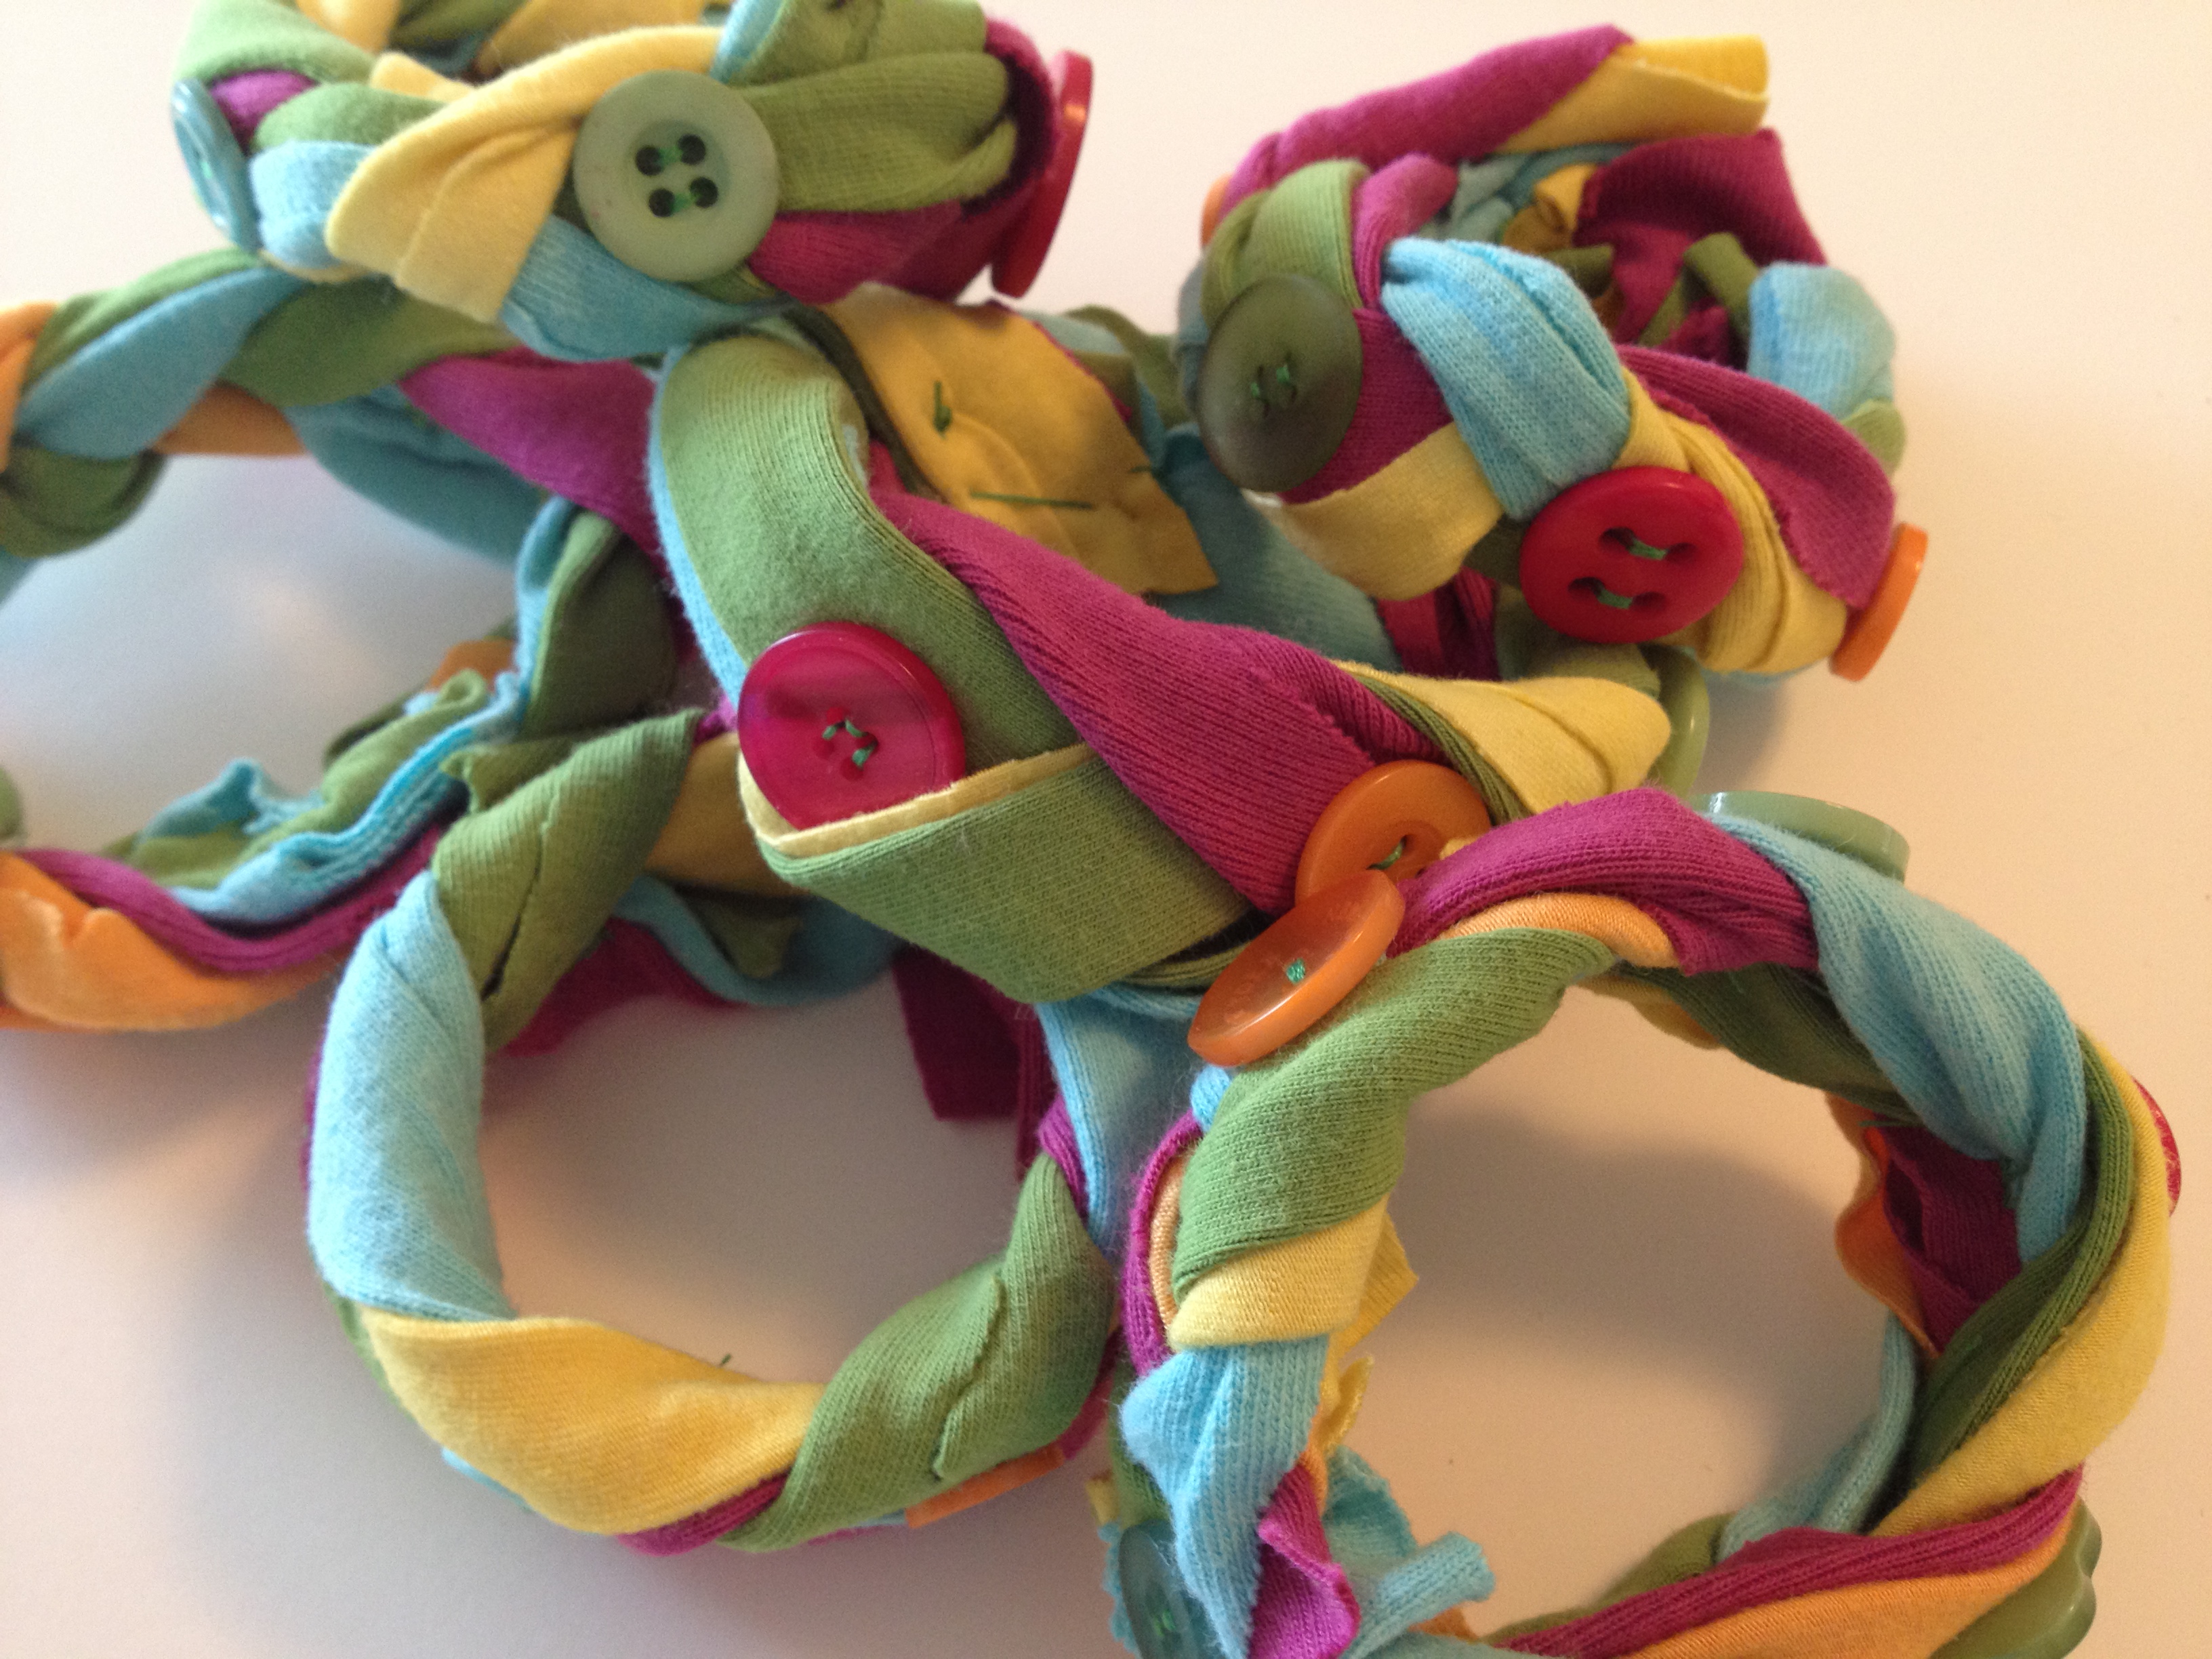
Create a set of these Halloween Napkin Rings to adorn a scary table setting using buttons!

Halloween Napkin RingsLive Life Creatively,


Signature

0

Rustic Pallet Wall Art

Completed project (873x1024)The Autumnal Equinox officially starts September 22nd, 2013. It’s time to start thinking of all of the decorative projects you will be making to usher in this transitional season. How about making some Rustic Pallet Wall Art?

Materials for Rustic Pallet Wall Art

Walnut Hollow’s 14″ x 12″ Rustic Pallet

DecoArt Americana Acrylics in Espresso and Buttermilk

Fabric Scraps, wool felt scraps

Buttons Galore and More Laura Kelly Hand Dyed Buttons

Rub on sentiment

Wax candle, sanding block, sewing machine and thread, hand sewing needle and thread, tacky glue

Taking notice of the recycled wood pallet craze, Walnut Hollow recently introduced their new line of rustic pallets. I have to honestly say that I am super excited about all the cool possibilities for this line. Walnut Hollow came up all kinds of fun ideas for this line. These products can be ordered directly from Walnut Hollow’s website. By the end of December, you will be able to purchase them in Joann’s Fabrics and Crafts and in AC Moore in January.

24" x 12" Pallet

24″ x 12″ Pallet


Rustic Arrow Pallet

Rustic Arrow Pallet


Paneled Wood Clock

Paneled Wood Clock


These are just a few examples of the yummy surfaces offered in this product line. For this Rustic Pallet Wall Art project, I used the 14″ x 11″ rustic pallet.

pallet painted brown (768x1024)

First I used DecoArt’s Americana Acrylics in Espresso to paint the front this brown shade. I waxed the surface once the pallet was dry in random areas and painted the surface Buttermilk.

painted and waxed pallet (818x1024)

Once I painted the entire surface of the pallet, I sanded the surface to reveal the distressed finish. Areas where the wax was applied will rub away easily resulting in a chippy looking finish. This technique also works well with Vaseline but the effect is a little more dramatic.

Fabric Scrap circles and buttons

One of my favorite things to do with my leftover fabric and felt scraps is to create different sized circles and fuse the fabric circles to the wool felt circles. I use my sewing machine to play with the various stitches by sewing around the edge of the fabric to hold it in place on the felt. A button, sewn  in the center makes the look complete. These are some of my favorite. I love the Laura Kelly Hand Dyed Buttons from Buttons Galore and More!

Arrange circles (976x1024) (2)

Use tacky glue to adhere the circles to the rustic pallet. Arrange an outer circle first, leaving a gap at the bottom so you can paint on a simple tree truck with the espresso brown paint.

Rub on sentiments (768x1024)

I finished the rustic pallet wall art with a couple of rub on sentiments to celebrate Autumn. This is wall art that you can display from the end of September into Thanksgiving before the holiday decorations go up! If you are not a huge fan of inside seasonal décor, use colors to coordinate with your home décor and a general sentiment instead. Then you can display it all year long!

Completed project (873x1024)Happy Autumn (soon),

Live Life Creatively,

Melony


4

Gift Packaging Idea

Completed Box 1 (1024x768)

 Are you looking for a creative gift packaging idea? A fantastic gift packaging idea can be very important because the recipient often judges the inside of the gift packaging but what he/she sees on the outside!

I love buttons. I love to create with them and I love to give a little of my excess stash away as gifts. I have used mason jars, baby food jars and other containers to give a gift of buttons. Searching for yet other ways for gift packaging ideas, I ran across this cute sliding drawer box from Sizzix. Used with their Little Sizzles Matboard, the die creates a sturdy little box to present a gift of buttons.

Materials for gift packaging idea:

Sizzix Sliding Candy Jar Gift Box

Sizzix BigShot Die Cutting Machine

Sizzix Little Sizzles Matboard

Sizzix Bigz Die Tattered Florals

Susiebee Studios Patterned Papers

DecoArt Americana Acrylics in Tuscan Red and Boysenberry Pink

Beacon Adhesives Fast Finish Decoupage and Premium Tacky Glue

Buttons Galore and More Assorted Buttons

Sizzix products (768x1024)

To create this gift packaging idea, I used my Sizzix BigShot die cut machine to cut the box pieces from the matboard. There are visual instructions included with the die but the box was very easy to construct.

die cut peices and instructions (1024x768)

The matboard is great because it accepts paint very well. I painted this box using DecoArt’s Americana Acrylics in Tuscan Red.

DecoArt Tuscan Red (1024x768)

cut papers susiebee studios (768x1024)

I also cut patterned papers from SusieBee Studios to fit the sides and top of the box.

decoupage box (1024x734)

Patterned papers can be decoupaged using Fast Finish decoupage from Beacon Adhesives. I used a foam brush for this step. I chose to paint a blank craft shape from Buttons Galore and More in DecoArt’s Boysenberry Pink.

stamp blank craft shape (1024x768)After I painted my blank craft shape, I sanded it to lightly distress and stamped buttons with Clearsnap’s Colorbox pigment ink.

felt flower die cut with button (1024x768)I topped off my die cut button box with a die cut felt flower with a button sewn in the center.

button feet (1024x768)Create these little cute button feet for your box by stacking buttons together starting with the largest on the bottom and working towards the top with the smaller buttons. Getting the button feet to be even can be tricky but well worth the effort!

completed box 3 (1024x768)Glue the button feet to the bottom corners of the box. Super cute gift packaging idea! Especially when filled with buttons.

completed box 4 (1024x768)

Hope this inspires you to create your own creative gift packaging version of this die cut button box.

Live Life Creatively,

Signature


0

Canvas Favor Bags

Completed bag 3 (768x1024)

Its time to look forward to cooler days and falling leaves and all the rest of the great things that Autumn ushers in. As a transitional season, Autumn is one of my favorite seasons and it always inspires me to create something new. I love the rustic feel of Fall projects. Its so easy to use canvas, hemp, jute, wood and other natural materials to make something that looks and feels like Fall. That’s why I decided to try my hand at creating these canvas favor bags.

Completed bag detail (768x1024)Inspired, I sat down with my fabric, wool felt scraps and buttons recently and decided to make a bunch of sewn fabric circles recently. Not really knowing what I was going to do with them, I have since used them to make wall art, pillows and now these little Autumn inspired canvas favor bags.

Materials used for Canvas Favor Bags:

1/8 yard of natural cotton canvas

Wool felt and fabric scraps

Inkjet cotton fabric

Burlap Scraps

Buttons Galore and More Laura Kelly Hand Dyed buttons

14″ hemp

Sizzix BigShot die cutting machine and Bigz Leaves Die

Rotary cutter and self healing cutting mat, scissors, sewing machine and thread, hand sewing needle and thread, heavy duty hole punch

Cut canvas (1024x775)

To make a canvas favor bag, cut two canvas rectangles that measure about 6″ x 8.” Pin small scraps of burlap rectangles to the center of one of the canvas rectangles.

pinned burlap

Use your sewing machine and thread to zig-zag stitch the burlap to the one of the canvas rectangles.

machine stitch burlap (768x1024)

stitched burlap (1024x768)

Add elements such as die cut leaves to your canvas favor bags. Fuse webbing to the back of a fabric scrap and die cut a leaf shape.

die cutting leaves (768x1024)

die cut fabric leaves (768x1024)

Peel away the paper backing and fuse the leaf shape to the canvas.

peel away paper backing (768x1024)

Machine stitch the leaf shape and inkjet fabric sentiments printed from your computer with a straight stitch.

inkjet sentiments (768x1024)

stitch appliques (768x1024)

Now the real fun begins! Use hand dyed buttons from Buttons Galore and More to embellish your canvas favor bag. I used Laura Kelly’s hand dyed buttons and one of my previously created fabric circles to embellish these canvas favor bags. Sew them on with a hand sewing needle and thread.

Buttons Galore and More (768x1024)Place the canvas rectangles right sides together and machine stitch using a 1/2″ seam allowance. Leave the top of the canvas favor bag open and start sewing about 1 1/2″ down so you have material to create a top fold.

sew right sides together (768x1024)

Use an iron on steam to steam the seams open.

steam seams open (768x1024)

Turn the bag right sides out and fold the top down to create a cuff.

turn right sides out (768x1024)

form cuff at top (1024x768)I created a simple handle by punching holes through the fabric layers using a heavy duty hole punch and inserting a piece of hemp through the holes.

make handles (1024x768)Fill your canvas favor bags with candy or other small treats. Surprise a neighbor by hanging on their front door for a nice Autumn surprise!

Live Life Creatively,

Signature


0

Quilting Arts Bookmarks

Bookmarks up close (1024x768)

Quilting Arts Bookmarks – A recent post on Facebook asked “do you give teacher appreciation gifts for teachers at the beginning of the new school year?” While completing a quilted inspired pillow recently, it occurred to me that I could use the scraps to create a fun bookmark that any teacher would love and appreciate.

Quilted Arts Pillow 1 (2)

I am seriously loving the Dresden applique look that I am seeing on so many inspirational blogs and Pinterest.  Some inexpensive fabrics sold by the fat quarter caught my eye at Walmart the other day and I knew they would be perfect for this Dresden pillow project. I cut lots of Dresden shapes using a pattern and had several leftover.

Leftover Dresden shapes

How to make Quilting Arts Bookmarks:

So, what to do with these fused pieces of shaped fabric? Quilting Arts Bookmarks, that is what.  How about creating a row of houses on a burlap bookmark? (I had this out already too since I created the pillow back and front from burlap).

Cut house shapes from fabric

Trace a rectangular shape onto burlap using a cardstock rectangle pattern (mine were approximately 2 1/2″ x 9.” Leave some room on both the short and long edges for fraying. I used a permanent black marker to trace my shapes. You can also use a rotary cutter and self healing mat in lieu of the cardstock pattern if you wish.

Traced burlap (1024x746)

Cut the shapes out and zig zag stitch the edges approximately 1/4″ from edge to leave some room for fraying. once you fray the edges, the stitches will stop further fraying.

Sewn burlap edges

Now you can use your iron and pressing surface to fuse the house shapes to the burlap. Peel off the paper backing and fuse in place.

8.20.13 053 (1024x768)

Now its time to back to the sewing machine and free motion stitch the house details. Often, you will notice that artists who free motion stitch intricate details such as text, intricate shapes (think animals, arm-chairs,etc) will use a free motion foot. But I have discovered that you can stitch simple free motion shapes with your regular sewing foot. After you have stitched your details, its time to sew on your inkjet fabric sentiment.

Inkjet fabric quote

You can purchase specialty inkjet fabric that is paper backed so it’s easy to use with most inkjet printers. I love this sentiment because its so basic, but I also found another great one that would be perfect for educators. “If you can read this, thank a teacher.” How true!!

Buttons Galore and More (1024x768)

Last but certainly not least and once again the perfect finishing touch, add buttons from a variety of the wide selection from Buttons Galore and More with a hand sewing needle and thread.

Sew on Buttons (1024x768)

Make the Quilting Arts Bookmarks in multiples using your fabric scraps, burlap and buttons to thank those  teachers for all the hard work they do!

Live Life Creatively,

Melony

0

Christmas in July- Shadow Box Button Ornaments

Christmas in July – let’s make some Shadow Box Button Ornaments!

Snowman ornament
To make Button Ornaments:

It seems like its never too early to be thinking about Christmas crafting. When I was asked to do a set of Christmas ornaments using Styrofoam and buttons from Buttons Galore and More, I asked if I could use foam core instead. Lately, I have become somewhat of an addict to manipulating the craft knife to cut various shapes. For these ornaments, I challenged myself to cut circular shapes rather than my usual safe square or rectangular shapes.

trace circles on foam core To make Button OrnamentsFirst I created cardstock circle templates in three different sizes. One for the back, one for the front and one to use to cut a circle in the center of the large circle. I used Elmers Foamboard for this project.

cut out foam coreNow for the hard part. Use a very sharp craft knife with and a self healing cutting mat to cut the circles out. First, score lightly along the traced line, then pass the knife back through cutting almost to the other side. Use a third and/or fourth pass to cut the circle all through way through. This is referred to as the “three pass rule” and when used with patience, will result in perfect cuts. If you do end up with stray bits of foam core, use a sanding block or file to smooth the edges.

cut out center

Trace a circle in the center of the cut circle and cut out with knife. Cut a slightly larger circle to enclose the back of the ornament to create a shadow box effect.


cut cardboard from cereal box


trim with scallop edged scissors

Trim the edges of the circle with scalloped edged scissors.

paint foam core

Paint the pieces of the foam board and cardboard with acrylic paint. I choose coordinating colors of DecoArt’s Americana Acrylics.

cover with glitter

Spray the cardboard circle with a sealer and coat with glitter.

assemble ornament

Next, assemble the ornament with a strong tacky glue.

form motifFor the green and yellow ornament, I formed a tree shape in the center of and used green and red buttons to decorate the edges.

Snowman ornament

Paint and stamp blank craft shapes with a holiday sentiment and attach it to the front of the foam core.

finished ornaments

I hope I have inspired you to try your own Shadow Box Button Ornaments! Choose from an array of inspirational buttons from Buttons Galore and More to come up with your own themes and designs. Start now and you will have plenty of these budget friendly creations ready by the holidays for your tree and to give as gifts.

Live Life Creatively,

Melony


0

Braided T-Shirt Bracelets with Buttons

bracelets 1

Braided T-Shirt Bracelets, we are seeing this unique idea for repurposing old t-shirts everywhere! After having experimented many times making several in different colors and styles, I think this is my best version. The secret? The buttons. I first made a batch of these to wear to my Zumba classes. No matter how sturdy the construction seemed to be, after a few sweat sessions, they kept falling apart.  So finally I decided to give it another try but added buttons to the mix this go-round.

strips of t shirts

To make the Braided T-Shirt Bracelets:

First you will need to cut strips of some old t-shirts. I cut mine into a strips measuring approximately 2″ x 10.” I used about five but you can use 2 or 3 more or less depending on how large you want the end result to be.

secure with safety pin To keep your strips in place while braiding them, secure the ends with a safety pin.

braid stripsStart to braid the strips working in bundles of two or three strips at a time.

continue to braidContinue to braid to the end, tightening the braid as you go along.

cut off excess

Decide how big your bracelet needs to be to fit your wrist and cut off the excess end if needed.

secure with threadSecure the end of the bracelet with a hand sewing needle and thread.

color blends

To secure the braided bracelet, I chose these Color Blend Buttons by Buttons Galore and More.

sew buttons to braceletI spaced them somewhat evenly on the braided bracelet and sewed them down with the hand sewing needle and thread. This is what will keep your bracelet in tact during heavy periods of wear and tear and sweat, like dance class!

finish bracelet

Finish your bracelet with a button, sewing the ends together.

bracelets 2Live Life Creatively,

Melony


0

Make an embellished tote with Hand Dyed Buttons

embellished tote

An embellished tote

Hand journaling is becoming more and more popular in mixed media crafts these days. This tote is a basic pre-made black tote I ordered online and embellished with hand journaled muslin, Jacquard Products paints and dyes (for the hand dyed fabric) and finally, fun buttons!

Jacquard products makes a wonderful product called IDye. It comes in both liquid form and powered packets. I used the powdered packets to machine dye white cotton muslin. Once the muslin was dry, I created happy bright colored fabric flowers using various techniques. Instructions for making flowers by hand from fabric can be found in abundance these days. Search for a myriad of techniques on sites like Pinterest.  You can find other ideas for an embellished tote there, too.

How to make an Embellished Tote:

I started with creating a dry brushed background using Jacquard’s Neopaque and Lumiere paints. Starting with one color, I waited for the colors to dry in between coats before adding the next to create an interesting canvas.

Believing that I have the absolute worst hand writing on earth, I was very timid about hand journaling on these muslin strips. I took on the challenge anyway and pinned and sewed them to the front of the bag. Swiping a coat or two of the paints allows them to blend in nicely with the background while standing out at the same time.

An Embellished Tote bag with hand dyed buttons and fabric

Bright, fun, hand dyed buttons  add the final touch to the flowers. They are perfect for this project since the fabric is hand dyed as well. I used three strands of six ply embroidery floss to sew through the holes of each button. I wanted to create the impression that the buttons were sewn to the bright flowers but in reality, I knotted off the threads in the back and glued them on with Beacon Adhesives Fabri-Tac.

The message of the sentiment speaks well to me. Instead of constantly complaining about how things should be, or how they are not what we envision as “right,” we should lead by example. Show the world what a better place it could be by being just that – better.

Live Life Creatively,

Melony

0

Napkin Rings with buttons – A Mixed Media Masterpieces Shabby Chic Style


Mixed Media Napkin Ring Ideas

Mixed media shabby chin napkin rings with buttons

My love of mixed media runs deep. Very deep. Seldom is there a project that I complete without adding paint, sewn elements, stamped components and especially glitter. When I opened up a delightful assortment of buttons from an ordinary corrugated shipping box last week. my heart leapt when I discovered these fantastic carved wooden buttons from Buttons Galore and More from the Haberdashery line. I immediately started rifling through the remainder of my goodies and discovered these fabric covered Cozy Brads and these amazing camoes.

productsI grabbed some wooden napkin rings, some Gem-Tac Glue by Beacon Adhesives, some art glitter and some Neopaque paints from Jacquard Products so that I could make these fantastic wooden napkin rings.

Directions to make the napkin rings:

I played with the arrangement several times before coming up with one that suited me. I used the button shank remover to remove the wood shank from the wood carved buttons and the cameos. I also discovered that is could be used to remove the flange from the fabric covered brad.

sand wood pieces

I carefully sanded the pieces before setting about painting them. I nail file works well with wood napkin rings since it allows you to get inside the ring in order to sand away the rough areas.

stamped piecesOnce the front of the wood disks are dry enough and while you are waiting to add additional coats to the napkin rings, use an ornate motif and solvent ink to stamp the front of the napkin rings.

add glitter to edges

Coat the edges of the disk with some of the gem-tac glue and sprinkle on glitter to give your napkin rings some extra sparkle.

arrange buttonsNext arrange your buttons as before and glue down using the gem-tac. I also added an appetizing sentiment stamped with alphabet stamped and solvent ink. I placed the de-flanged cozy brad in the center of the carved wooden brad.

gem tacSewn elements were added in the form of small scraps of hand dyed fabric that were gently stitched and then glued to the rings.

sewn elementsUse Neopaque in black to add a very heavy dry brushed coat to the napkin rings.

dry bushed ringsFinally, use a generous amount of gem-tac to glue the embellished disk to the napkin ring.

gluing rings to disksEnjoy your artfully buttoned embellished shabby chic napkin rings!!

finished rings 2Live Life Creatively,

Melony

www.mel-designss.typepad.com

3

Powered by WordPress. Designed by WooThemes