
Your dog is an important part of your family so why not make a Dog Treat Jar? If you’re a dog lover, you’re gonna love the Buttons Galore Dog Gone It buttons.

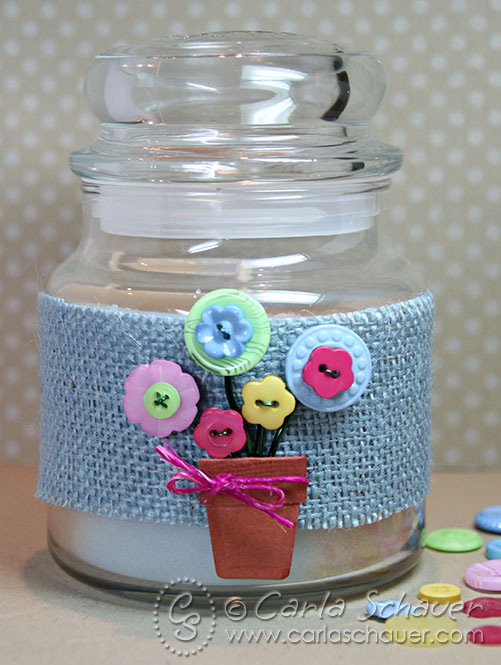
Dog Treat Jar
Ya know anything looks great in displayed in a Mason Jar. Even plain ole’ Milk Bones.

To embellish the jar lid, I adhered a piece of patterned paper on the lid then used Ultra Thin Glue Dots to adhere various Buttons Galore Dog Gone It buttons.

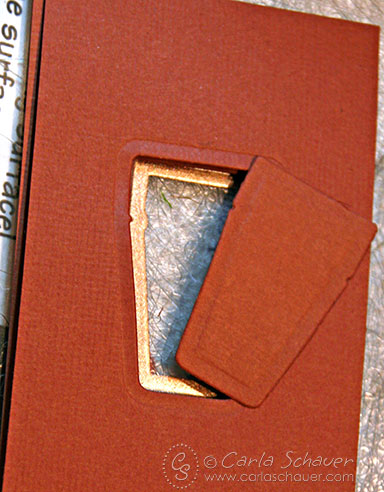
Buttons Galore makel Blank Craft Shapes that are perfect to use if you want to customize a tag.
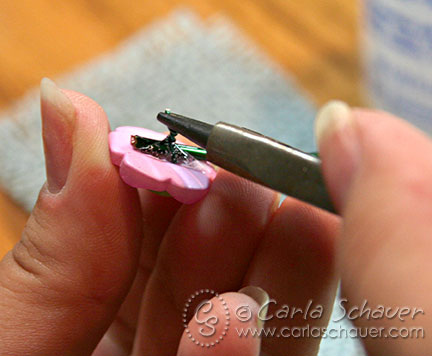
1. Choose a Blank Shape
2. Ink with color
3. Set the ink with a heat gun.

Taa Daa-There you have it, a cute Dog Treat Jar tag!

My dog has no interest in eating plain Milk Bones. She’s only interested in the gravy covered Milk Bones like the in the jar. When I was done taking the photos of this project, I came back in the room a few hours later and noticed my dog bone props were missing off the table. Hmmm…I wonder who might of snatched them??
Supplies Used for Dog Treat Jar:
- Mason Jar
- Buttons Galore- Dog Gone It buttons
- Buttons Galore Blank Craft Shapes
- Pebbles Basics Paper
- Ultra Thin Glue Dots
- Colorbox Ink
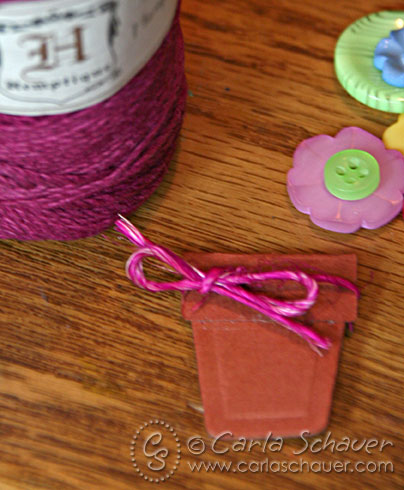
- Hemptique Hemp Cord

Like Me on Facebook!