It’s hard to believe it, but fall is creeping upon us and with Fall comes holiday after holiday. Here is a fun and fairly easy fall countdown calendar project to count down the days till Halloween and/or Thanksgiving using some easy to find craft materials and of course…buttons!
Here’s what you need to make this fun, reversible witch and scarecrow fall countdown calendar.
- Buttons Galore “Trick or Treat” Button Basics
- Buttons Galore “Licorice” Button Basics
- 1 sheet each of craft felt in the following colors: green, black, tan and dark brown
- scraps of green and orange felt for noses
- craft glue
- black embroidery floss or thread
- sewing machine (optional)
- thumb tacks
- black permanent marker
- hot glue gun
- cork board
- witch & scarecrow patterns
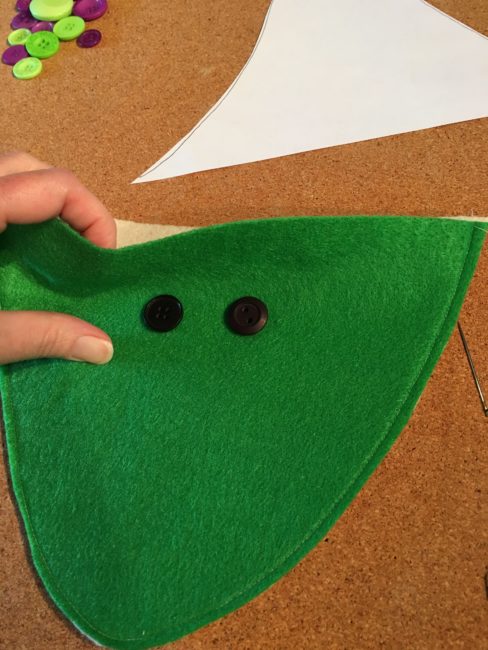
First, print out your patterns and cut out the felt according to the directions on the patterns. You will have 1 brown hat, 1 black hat, 1 green face and 1 tan face. If you are sewing your project together, go ahead and sew around the curved part of the face. Don’t forget to leave the top open! You will then need to sew your black button eyes onto the green face and onto the tan face.
If you are gluing your project, go ahead and glue the two faces together and then glue the black buttons for eyes onto each face. Let dry well before going on to the next step.
Cut out a wiggly, carrot shaped nose for your witch, along with a circle nose for your scarecrow. Attach them to your faces with craft glue. Use the black permanent marker to draw a mouth for each.
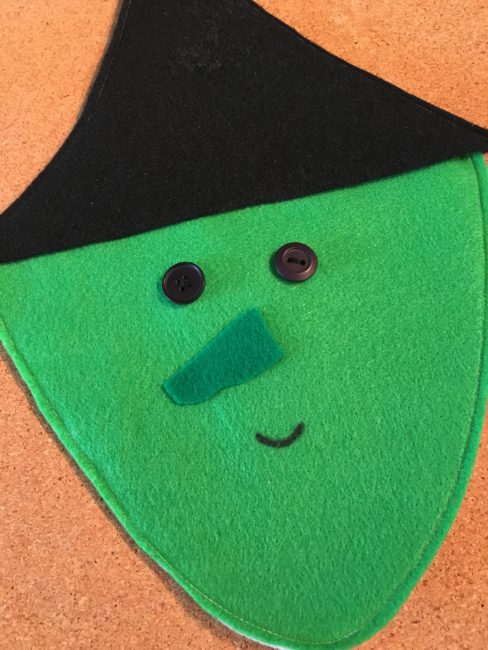
Next, if you are sewing your hats together, sew up and around the two sides, leaving the straight edge of the hat open. Then slide your face inside the two pieces of your hat and sew together; making sure to sandwich all the layers of the felt together when you are sewing.
If you are gluing, glue the hat pieces together and then slide the face inside the hat. You can attempt to glue these parts together, but I would recommend leaving them unattached. They will appear one piece when you attach it to the cork board.
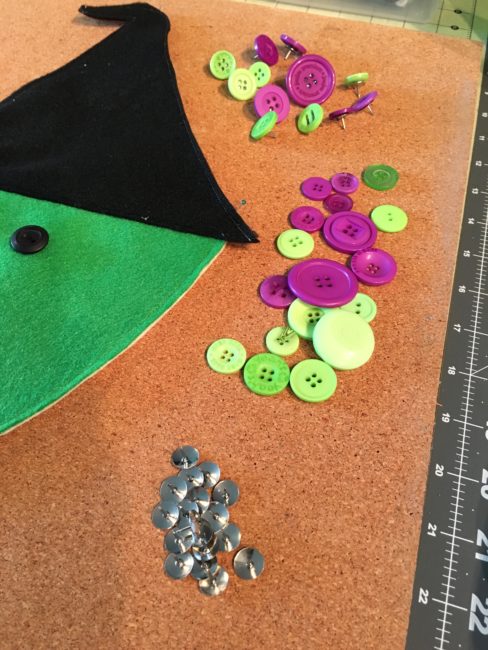
Heat up your hot glue gun and while it’s heating, separate your button pack. The witch hair uses 31 of the purple and green buttons and the scarecrow uses 28 of the orange from the Trick or Treat Button Basics BCB129. Glue the buttons on the thumb tacks and let them cool off.
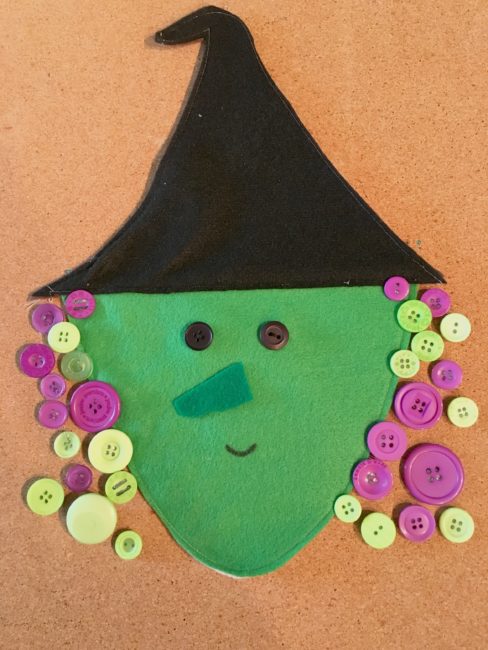
And there you have it! Attach your witch to your cork board with straight pins and either start out with all 31 buttons, taking one off each day until Halloween arrives, or add a button each day as it gets closer! Whichever you prefer!
Once Halloween is past, flip over your witch and start counting down the days till Thanksgiving!
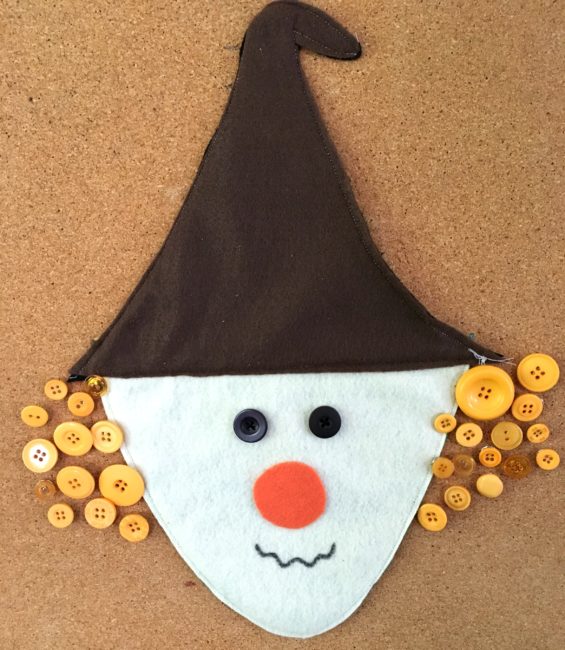
Thanksgiving and Halloween are coming fast…make your fall countdown calendar today!


