Welcome to Day 2 of the Handmade Holidays blog hop on Buttons Galore!  Today, we’re buttoning up a fashionable accessory that will keep someone you love warm and stylish this winter! This project started with an inexpensive store bought scarf, but some embroidery and buttons turned it into a one of a kind keepsake that is practical too!
 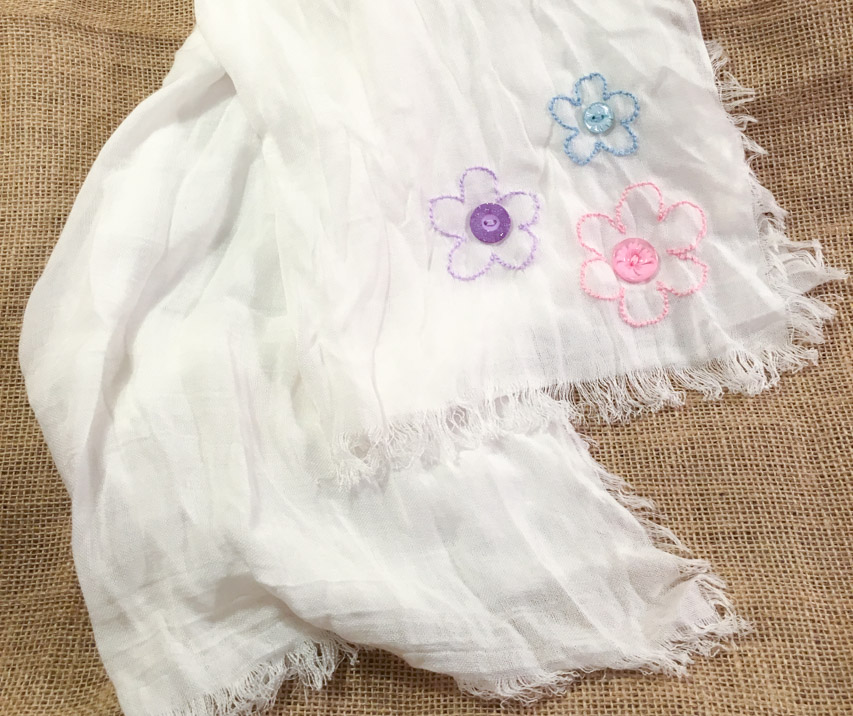 Supplies:
- Scarf
- Cricut Explore Machine
- Cricut Pens
- Tracing Paper
- Embroidery Floss & Needle
- Buttons Galore Button Bonanza in Pastel
The fun thing about Button Bonanzas is that they are, like your grandmother’s button jar, full of an assortment of random sizes and styles of buttons. I love finding little treasures in them that have sparkles and other special designs. This scarf highlights several”fancy” buttons that I found in my Pastel Button Bonanza bag and turns them into feature elements on the scarf. 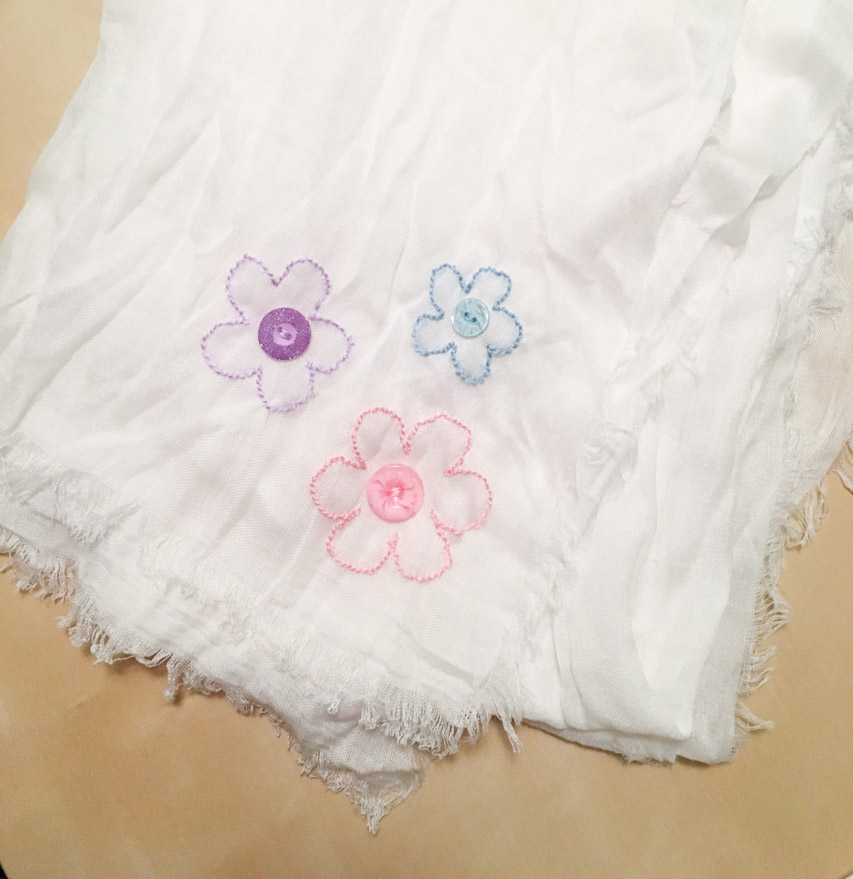 The design is fairly simple – the flowers are backstitched and the buttons are stitched in the middle of them. But how did I get my flowers the right size and shape? That’s where my secret weapon – my Cricut Explore – came in.
  First, I created the three flowers in Cricut Design Space, using files from the Cricut library. Then I used one of my Cricut pens to draw them onto some tracing paper. Once the flowers were sketched out onto the tracing paper, I cut them apart. One at a time, I attached them to the scarf with pins. Then I backstitched on the lines, through both the scarf and the paper.
 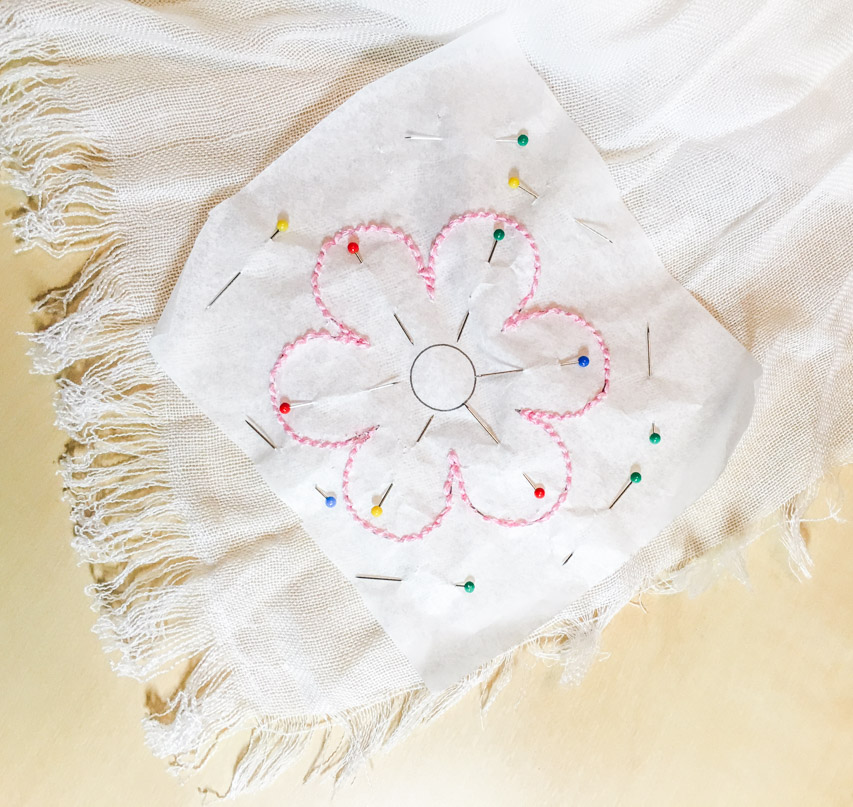 Once the stitching is done, the paper needs to be (carefully) removed. I used a combination of delicate tearing and a craft knife to tear the paper away from both sides of the stitching. The stitching holes serve as a sort of perforation that aid in the tearing away of the paper, but some effort is still required.
The final step is to use a few quick stitches through the holes to attach the buttons. And then you are ready to wear – or wrap! 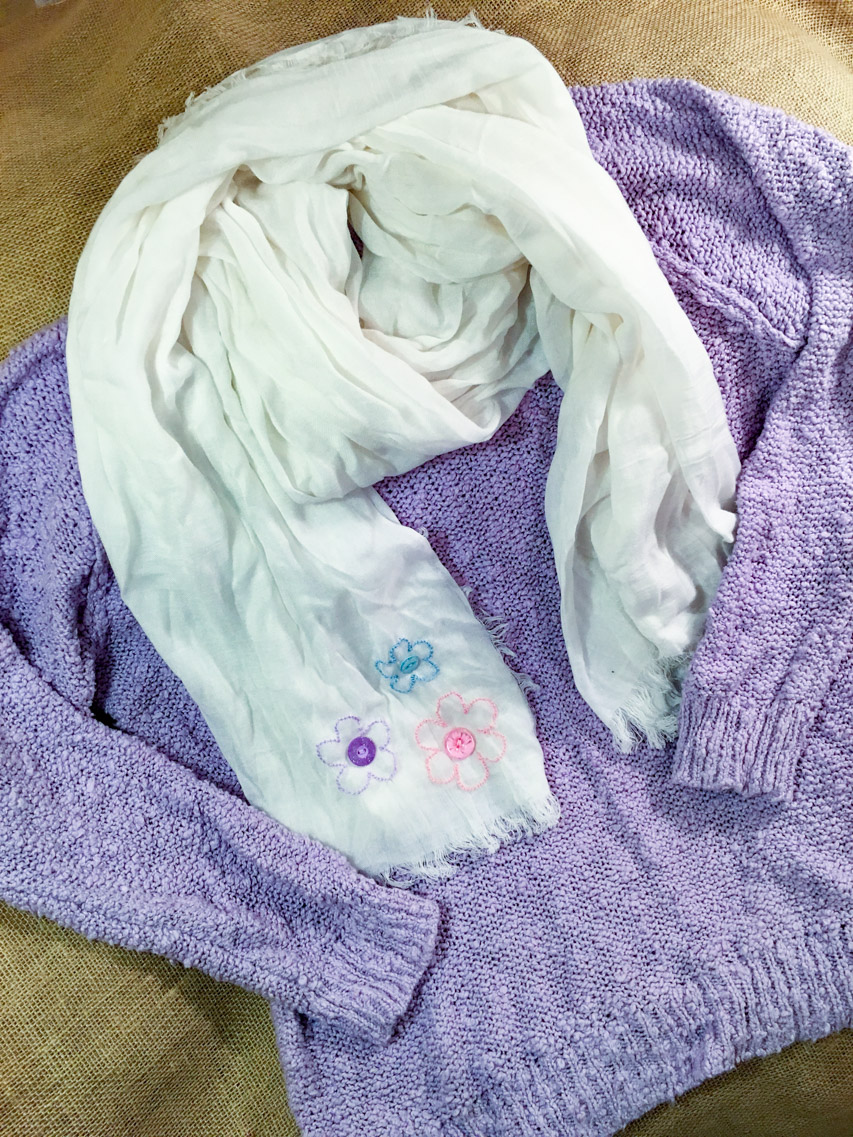
I recommend hand washing for this completed project, no matter what the recommendation is for caring for the scarf that is used for the base.
And now…it wouldn’t be a blog hop without fabulous prizes! 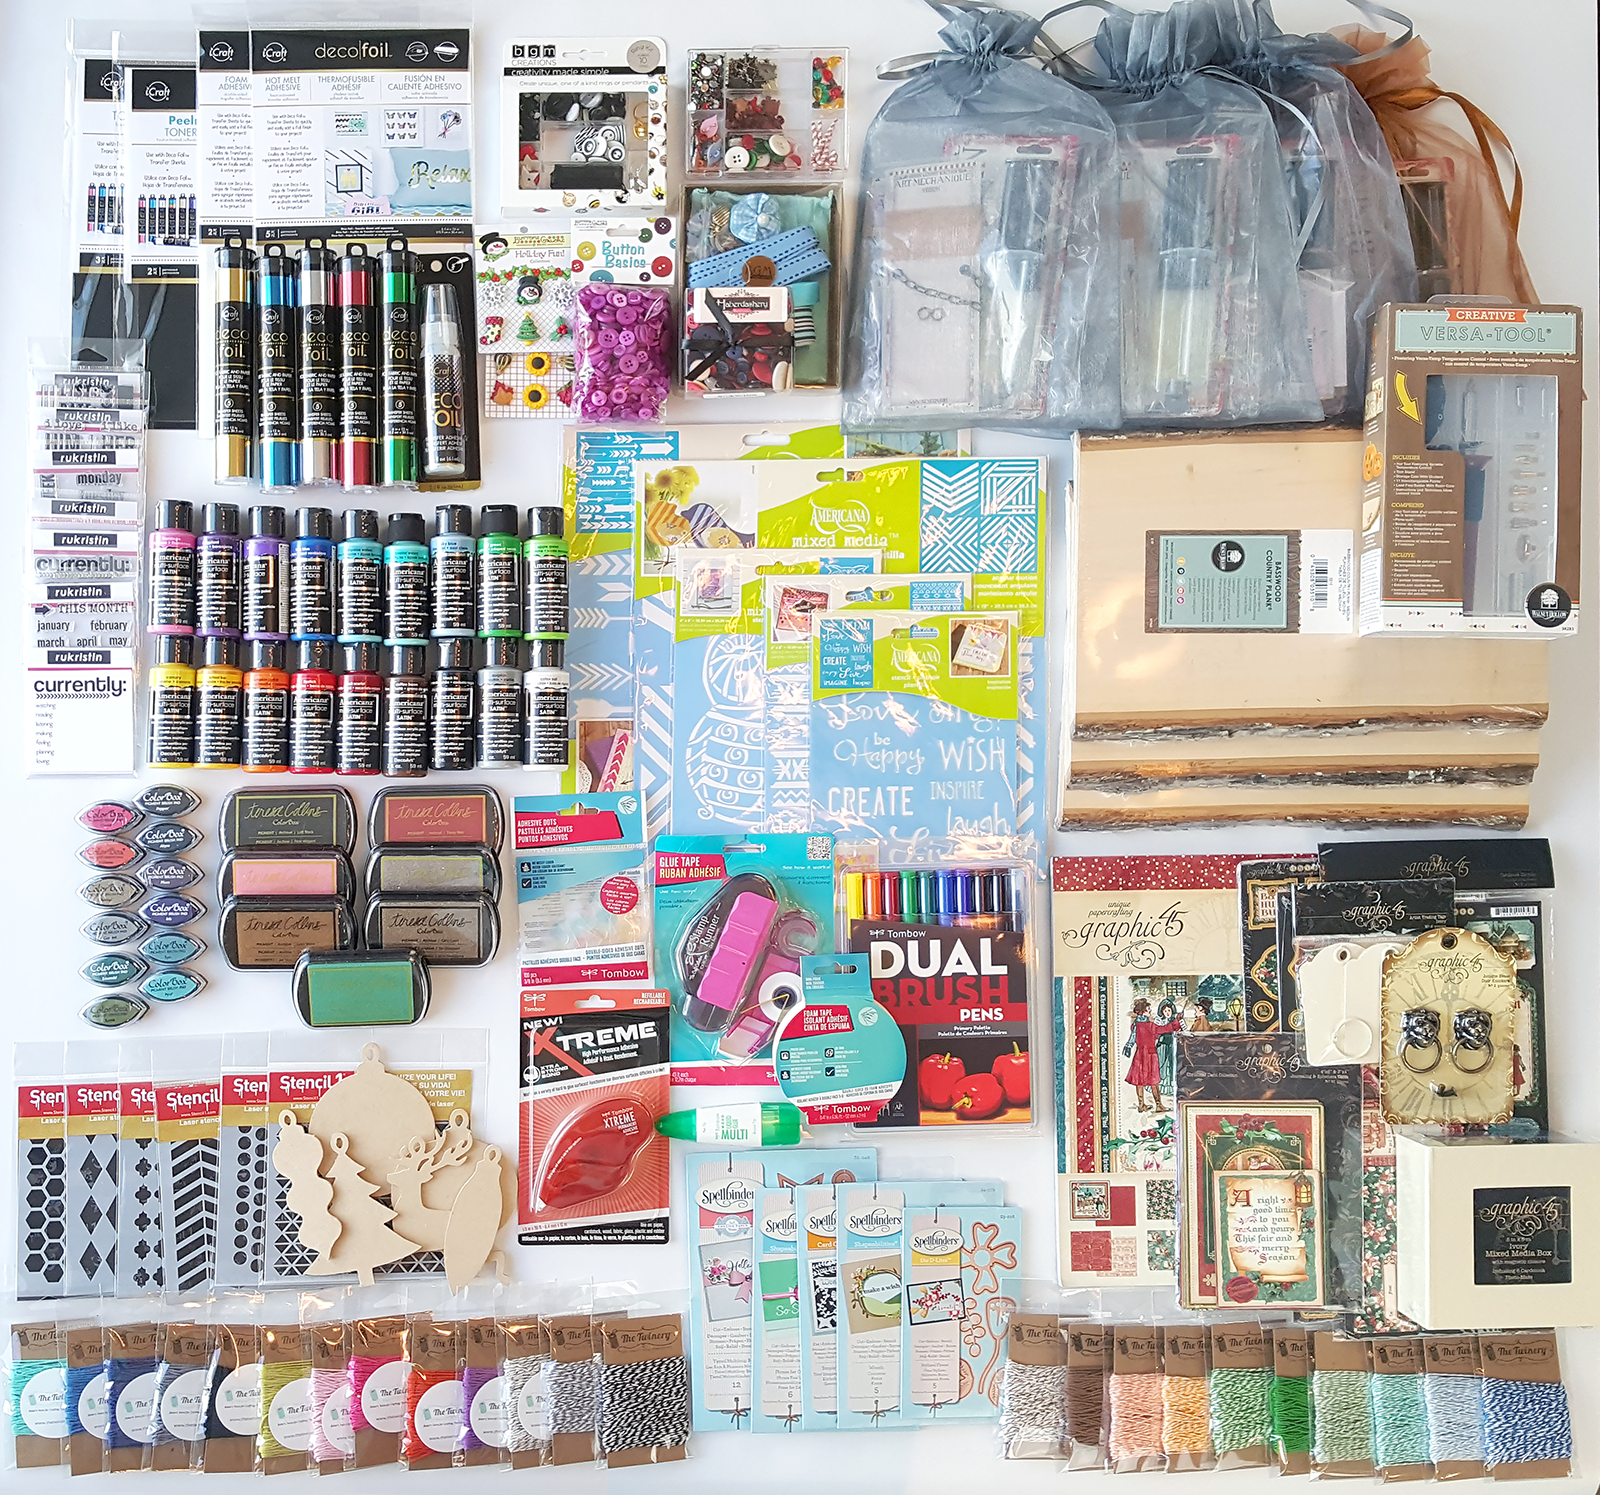 We are having a giveaway of over $600 in craft supplies to help you make this holiday handmade! Enter to win using the widget below:
Many thanks to all of the sponsors of the hop and giveaway!  Thanks for stopping by, and make sure to use the widget below to visit the other hop participants!
 ![]()
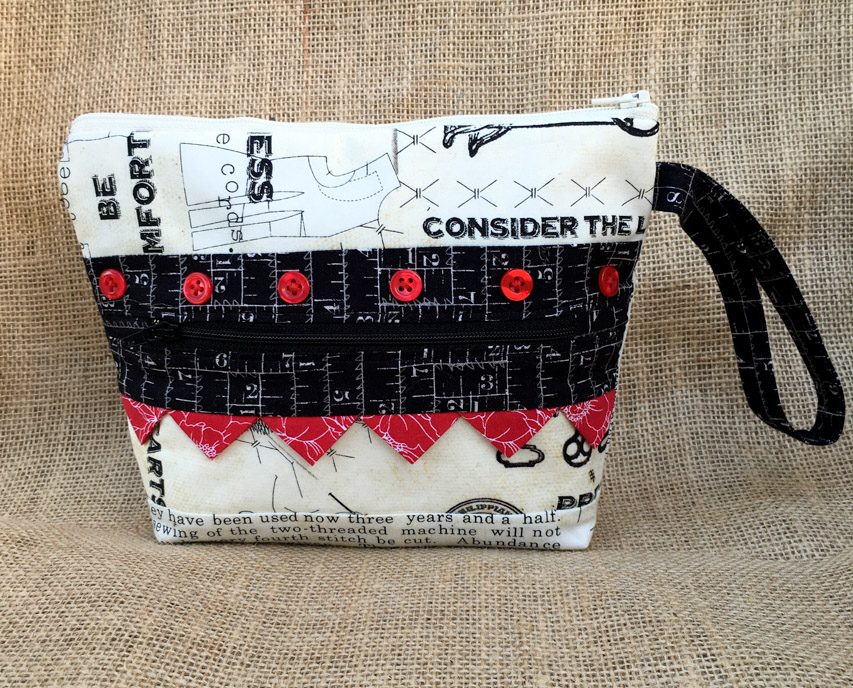
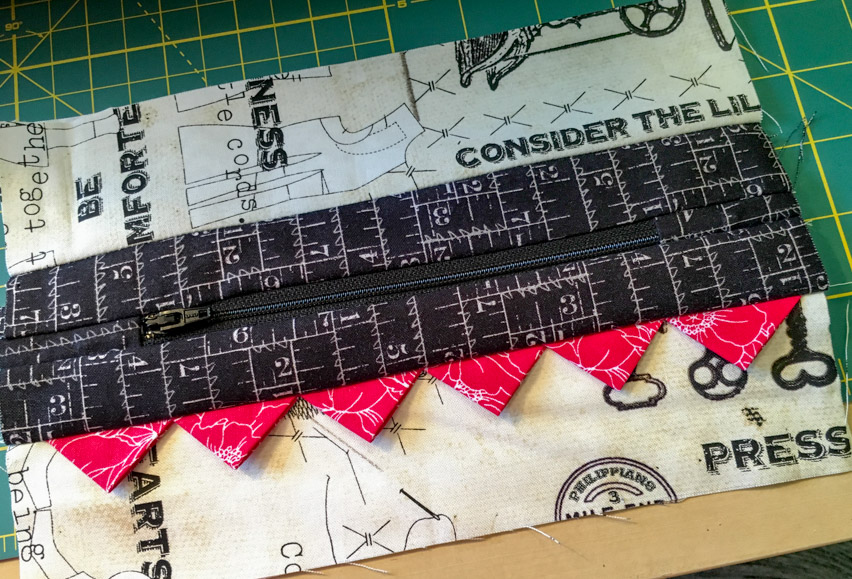
And don’t miss our contribution to day one of the hop….a practical and pretty zip pouch for the sewer or traveler in your life!