Header

Tag Archives | Gina K

Button Key Ring

Hi all, Allie here with a quick Button Jewelry project. C’mon and get your Shine on!

a Button Key Ring

Shine On Keychain for Buttons Galore


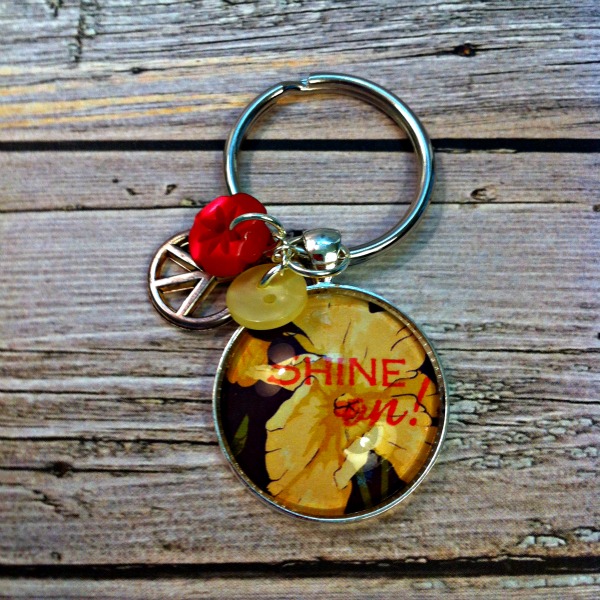
I created a fun key chain using a Charmed Key Chain Kit and some buttons from the Laura Kelly Designer Mix. To finish it off, I added a peace charm that was left over from another button jewelry project.

Directions:

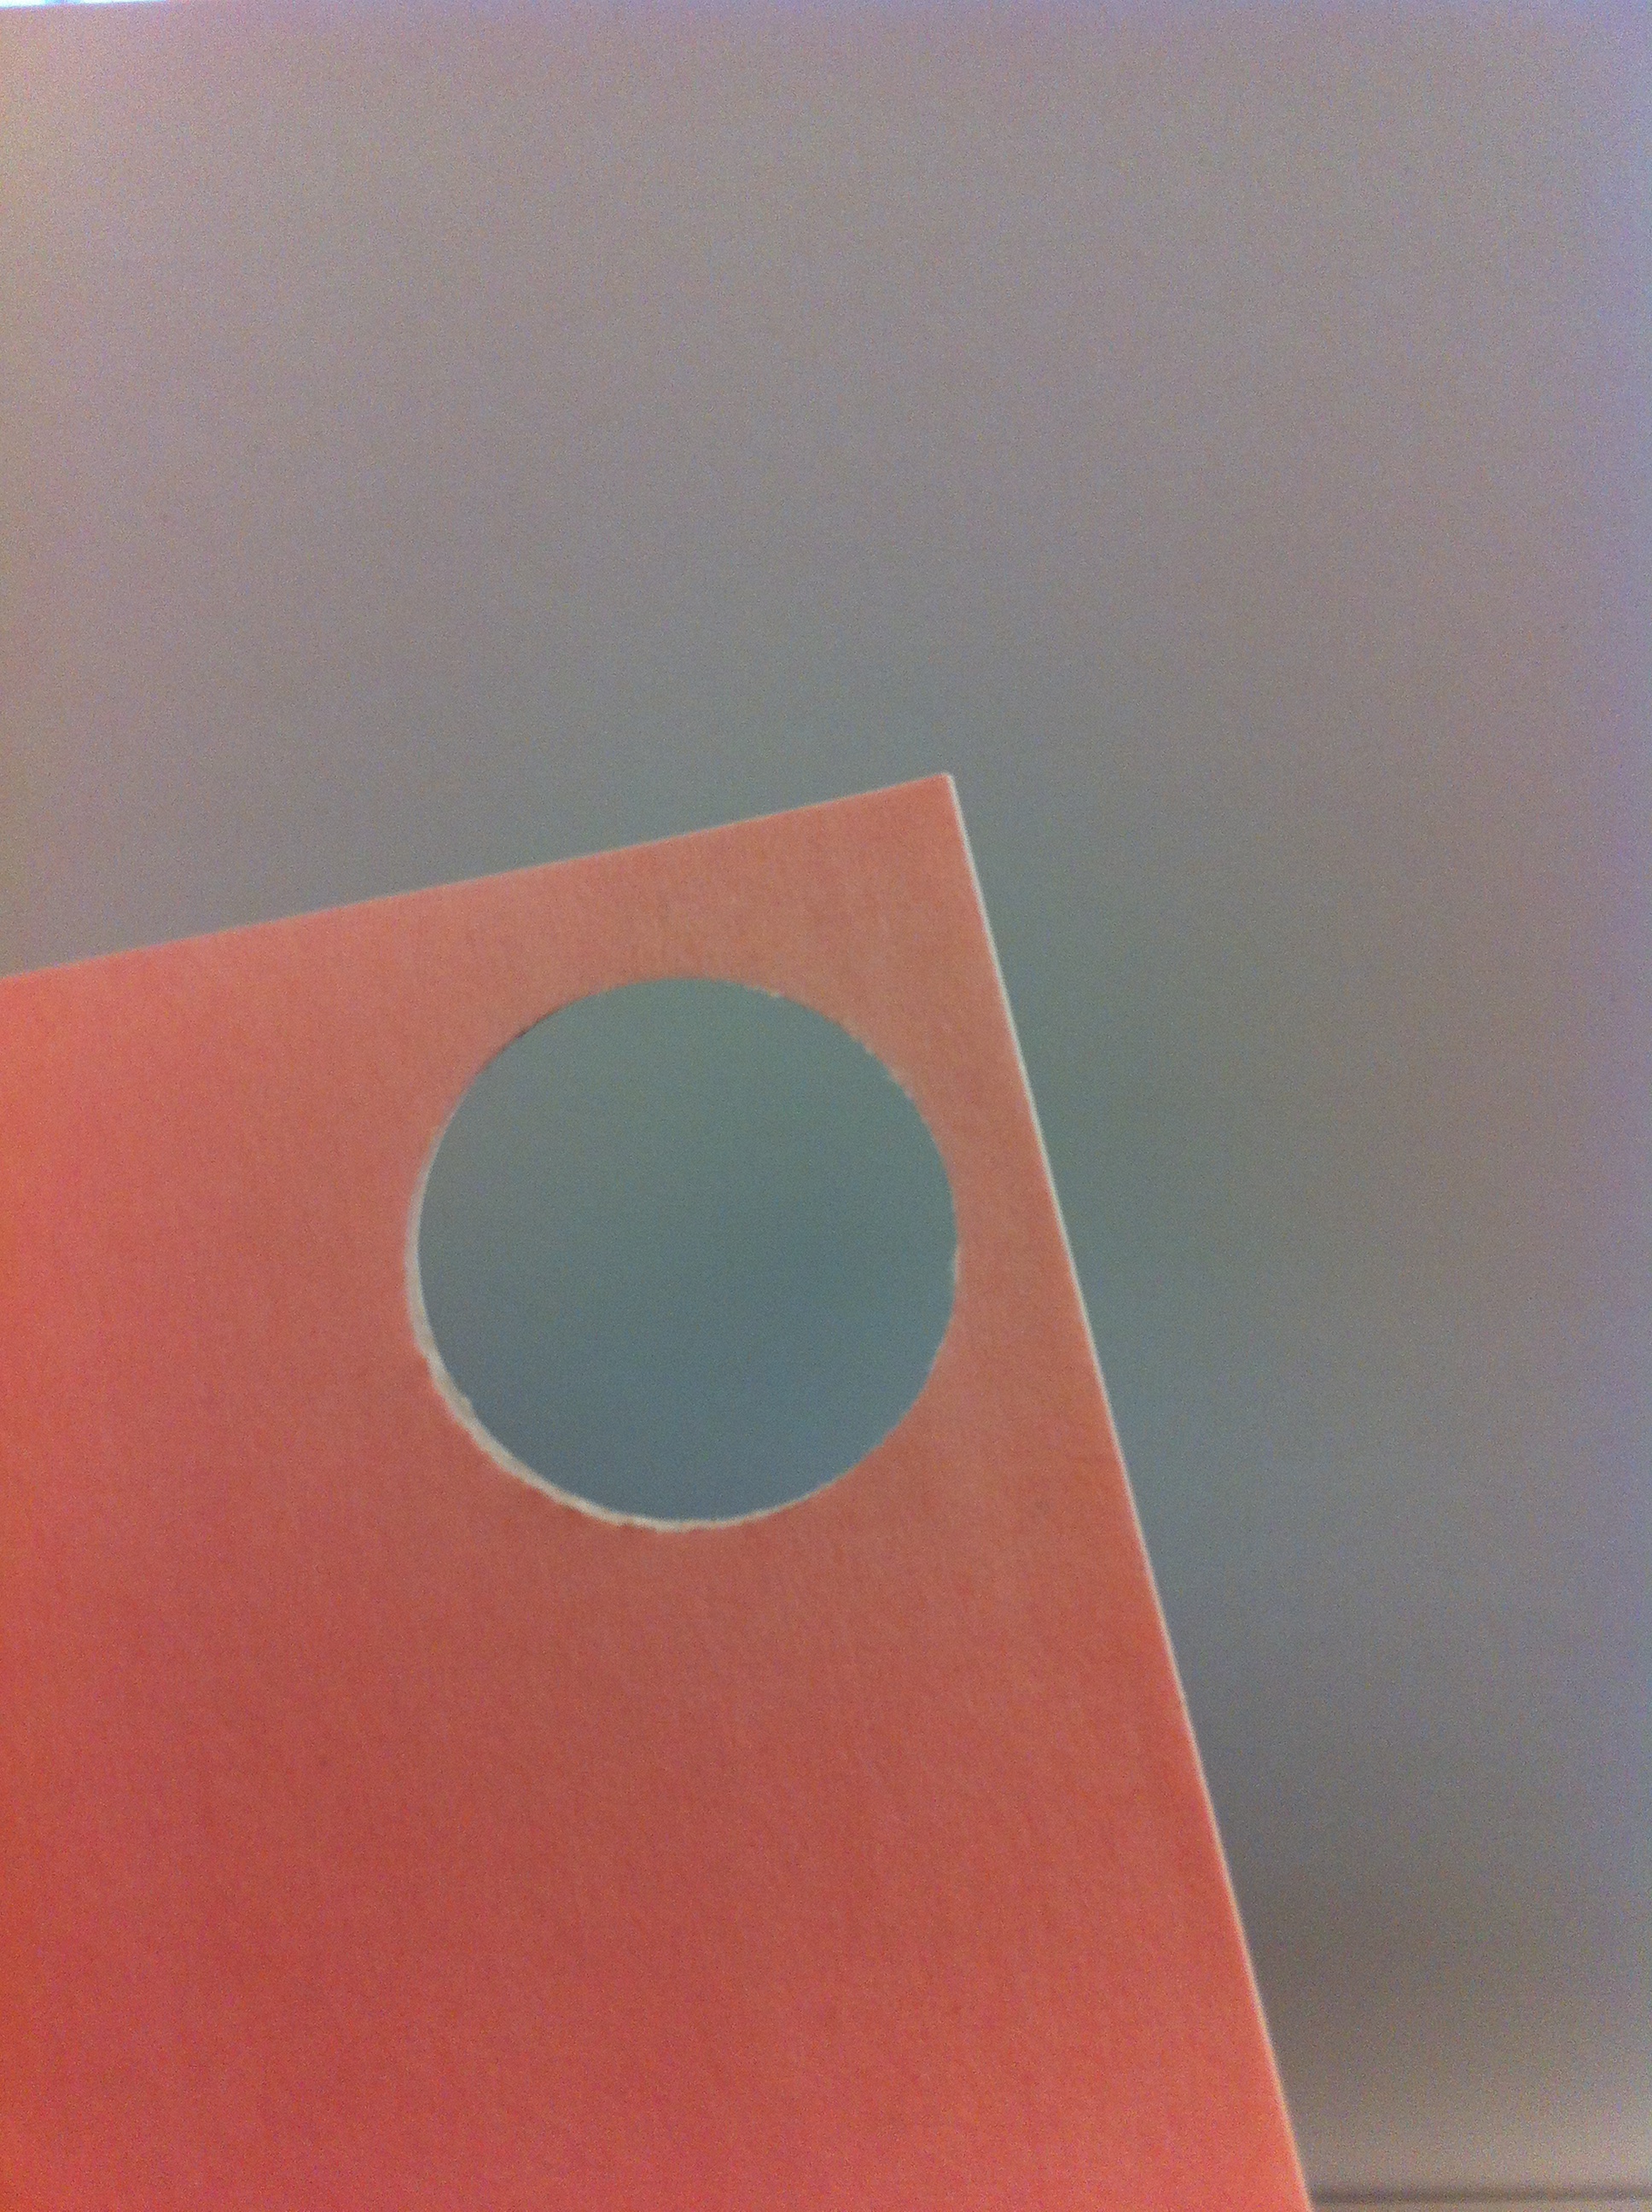
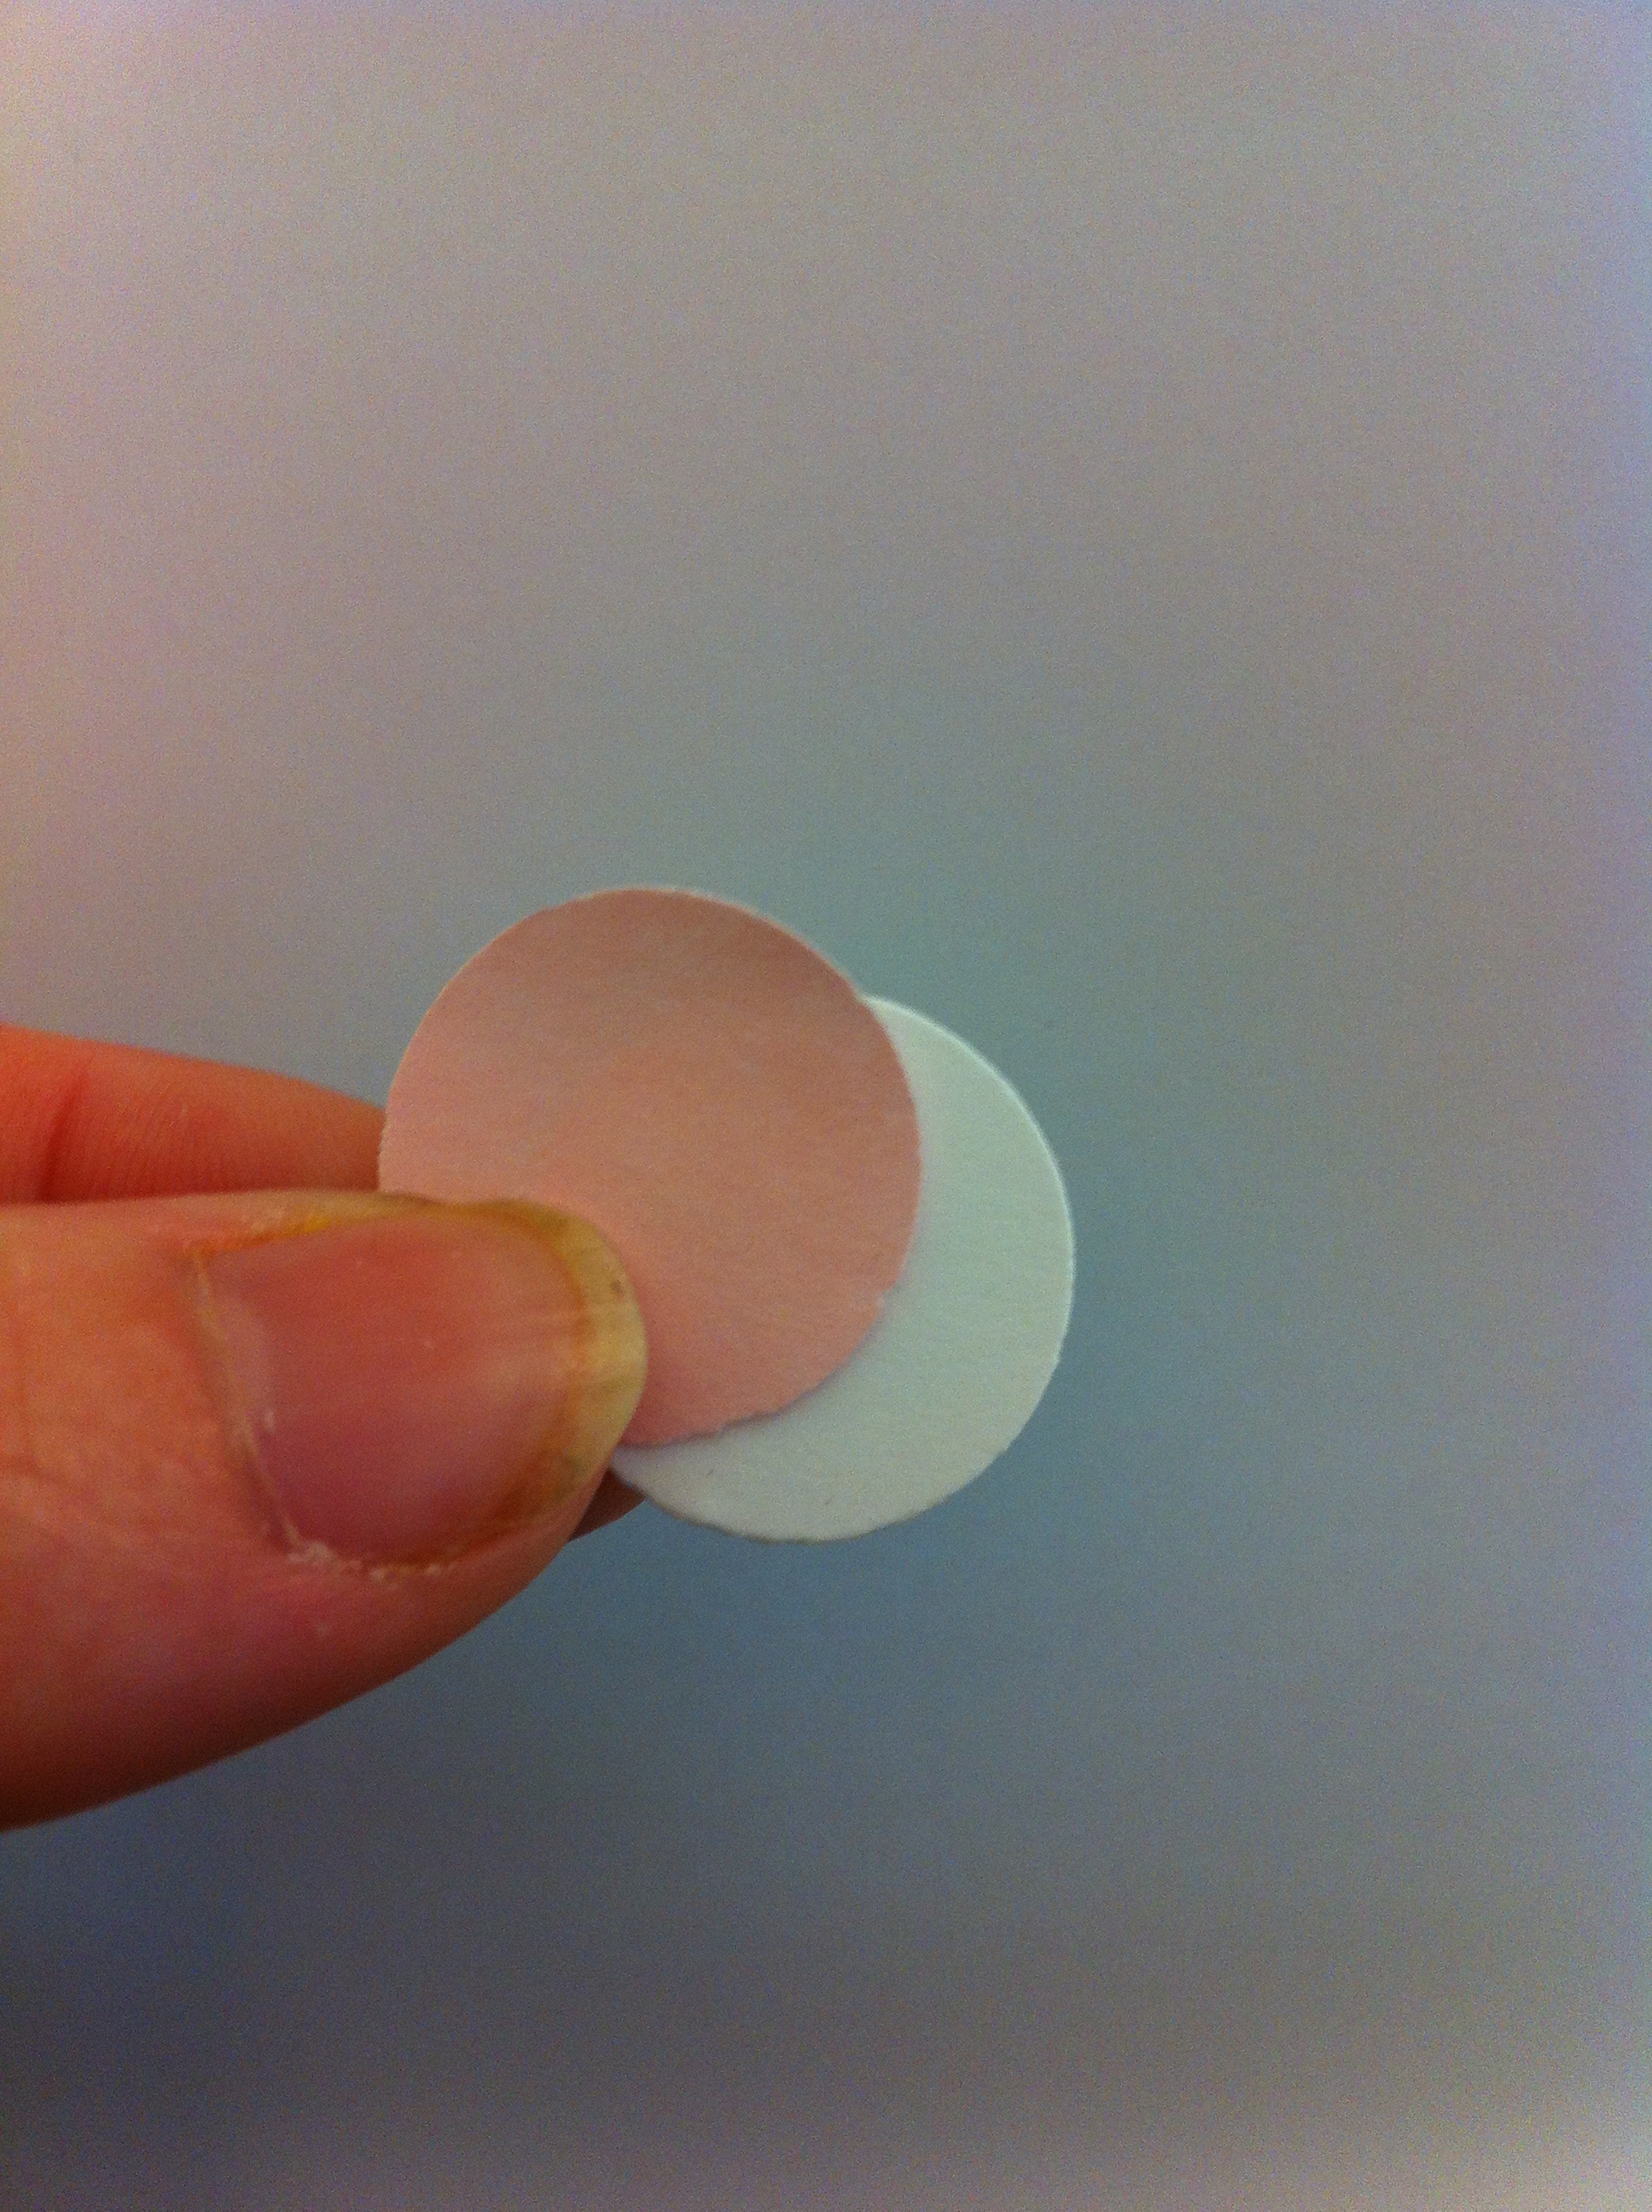
  1. Stamp Shine On! sentiment on Watercolor Garden Paper. Adhere Jeweler’s Blank to paper using Glitter it Glue. Remove excess with a Q-Tip and cut out with non-stick scissors. (Note – any residue can be removed from scissors with hot water.)
  2. Adhere Jeweler’s Blank in Pendant Tray with Adhesive Tape.
  3. Place Pendant Tray onto Key Chain.
  4. Place buttons 9 mm jump rings. Place charm on a 7 mm jump ring. Attach a 9 mm jump ring to the loop on the Pendant Tray. Attach each charm using a 6 mm jump ring.

Supplies for Button Key Ring:

Tools Needed:

  • One pair of beading pliers, optional – split ring tool
  • Westcott Scissors
  • Q-tip

Thanks for joining me today. To see more ideas and jewelry, please join me at My Card Party.

1

Inspirational Card

When your friend needs a pick me up, it’s time for an Inspirational Card.

Make some quick and easy cards. I like to make a bunch and leave the insides blank, so I have them ready when a friend needs a quick pick me up.

Inspirational Card

I love finding new ways to use buttons in my card making, and it was fun to make a border with the buttons. This was really easy to do, and would look fun with different kinds of buttons. I’m not great with bows, but this … I can do!

Supplies for making an Inspirational Card

  • Buttons – White Buttons by the Pound
  • Twine
  • Stamps – Gina K Designs
  • Cardstock – Discount Cardstock
  • Patterned Paper – Authentique
  • Ink – Tsukineko, Copic Markers
  • Bling – Want2Scrap
  • Adhesive – Scor-Tape and Dimensional Foam

Directions

  1. Cut and score cardstock to create a standard A2 Card (4.25 x 5.5″)
  2. Cut a 3.5 x 5″ black mat.
  3. Add a 3.25″ square of patterned paper mat and a white strip (1 x 3.25″) at the bottom.
  4. Cut a 2.5″ square black mat. Cut a 2.25″ square white mat.
  5. Stamp and color image, mat and adhere with dimensional foam. Stamp sentiment on white strip (1 x 3.25″) at the bottom.
  6. Cut a piece of twin four times the width of your card. Wrap around the back of the patterned paper. String buttons on both ends of the twine and tie a bow. Trim excess.
  7. Embellish butterfly and sentiment with bling.
0

Sunday Card Making: Make a St. Patrick’s Day Card

Make a St. Patrick’s Day Card with hearts. I found that I did not have many St. Patrick’s Day themed stamps and embellishments in my stash. I decided on an Irish styled saying and a clover made of stamped hearts. You can make a card any size you like. My card is 4×4″.

Buttons Galore celebrates St. Patrick's Day with Allie Gower

Material used to create St. Patrick’s Day card:

Buttons Galore Product used:

I also used:

In addition you will need:

  • Post-it Note
  • Circle punch or die
  • Finger Dauber or Sponge
  • Copic Multiliner ( for drawing stem )

Directions for making the St. Patrick’s Day Card:

  1. Create a card base by cutting a piece of cardstock 4×8″ and fold in half.
  2. Cut a mat – 3 3/4×3 3/4″ and adhered to card base.
  3. Tie ribbon around card base and attach button using twine.
  4. Die cut scalloped square and adhere to card.
  5. Die cut a classic square.
  6. Stamp sentiment on classic square. Stamp heart four times to create a shamrock, and hand draw a stem.
  7. To create the cloud around the sentiment, you can make your own stencil, as shown below. Attach a Post-it Note to some scrap paper and punch a circle out – near the sticky edge of the Post-it note. Remove sticky circle and place on card and gently sponge around it, moving as needed, to create a cloud shape.
  8. Adhere classic square to card and add bling.

create a cloud step onecreate a cloud step two create a cloud step three create a cloud

I hope you enjoyed this St. Patrick’s Day card and the quick cloud tutorial. May the wind be ever at your back!

Thanks for stopping by.

Allie

5

Powered by WordPress. Designed by WooThemes