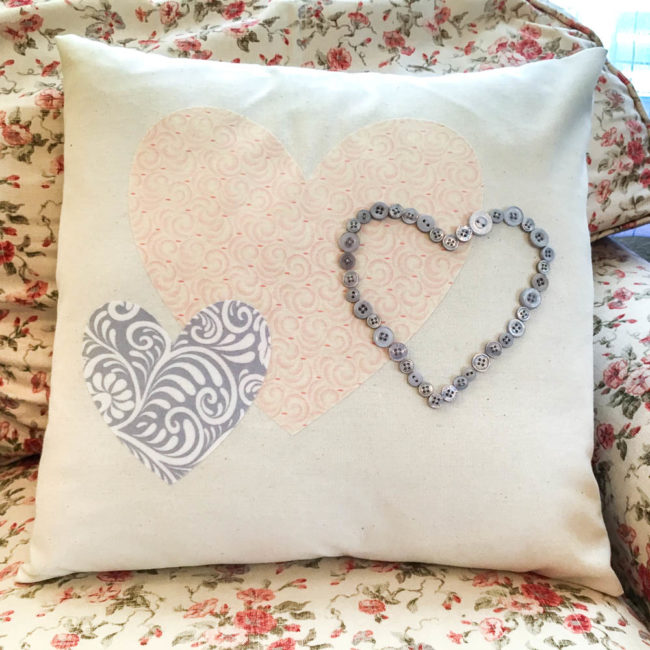
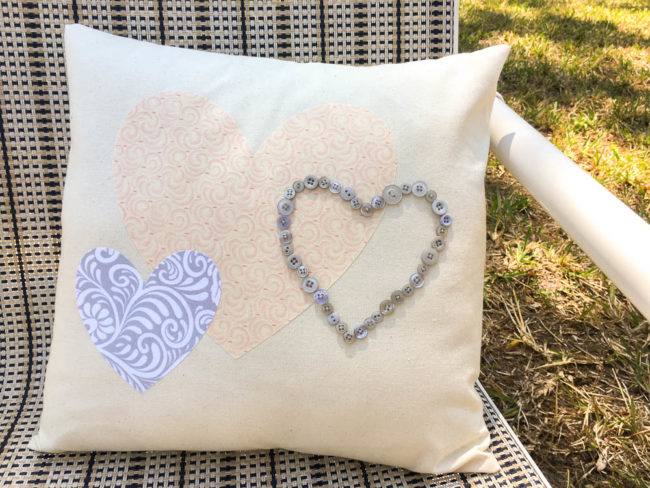
Buttons are a great embellishment for home decor projects – especially pillows! On my button heart pillow project, I used some gray buttons to create the third shape in a trio of hearts.
Supplies Used for Button Heart Pillow:
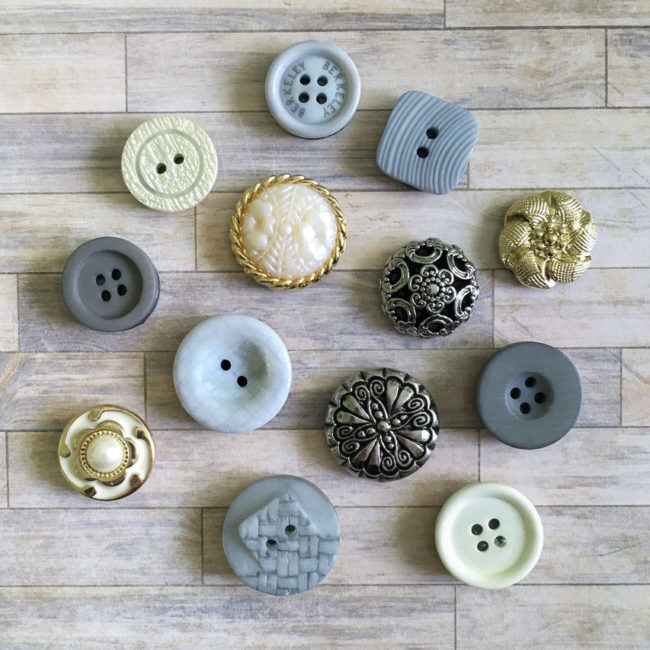
- Buttons Galore “Silver Gray” Button Basics
- Canvas Fabric – 17″ x 36″
- Cotton Fabric Scraps – approximately 10″ x 10″ and 6″ x 6″
- 16″ Pillow Form
- Die Cut Machine (optional)
- Therm O Web HeatnBond UltraHold Iron-On Fabric Adhesive (optional)
- Fabric Marking Pencil
- Needle & gray thread
- Sewing machine (optional but preferred)
This button heart pillow project utilizes on of our versatile Button Basics bags of buttons. These bags contain approximately 150 two and four hole buttons between 1/2″ – 7/8″ in size, and come in a variety of colors. The beautiful color used today is Silver Gray, a lovely neutral shade of medium gray.
How to Make a Button Heart Pillow:
To start your button heart pillow, cut a piece of canvas fabric to 17″ by 36″ in size to serve as your pillow cover. This pillow cover is made using the envelope method, so it is removable to wash, clean, or to replace the pillow form.
Next select two fabrics, one for the large heart and one for the small heart. Cut the fabric to the sizes indicated in the supply list. Then, following the package instructions, iron the Therm O Web HeatnBond to the back of the two pieces of fabric. (Skip this step if you are going to hand cut your hearts and then sew them onto your pillow)
To cut out the heart shapes, there are two options. One is to create the hearts on your electronic die cutting machine and cut them out of the fabric that way. (That is what I did.) The other option is to draw them and cut them out by hand.
Place the hearts so the design they create is centered approximately vertically and horizontally on the canvas fabric. Iron them to adhere with the iron on adhesive. (Or pin in place and then sew them on if you are using that method.)
Next, draw or die cut and trace a third heart shape to serve as the outline for the button heart. Using a fabric marking pencil, trace that heart onto the pillow cover. This heart will serve as the lines to follow for placing buttons.
Hand sew buttons along the line of the heart design, keeping them centered on the traced line. Use smaller buttons at the angled parts of the heart, to avoid the buttons being too close together and making the lines indistinct.
After the buttons are completed, fold over and hem the short sides of the fabric so that the raw edge of the fabric is on the side away from the hearts. Lay the fabric out with the design facing up. Measure 15.5″ across the front of the design on the long axis of the fabric, centering the measurement on the design. Put a pin in the fabric on each side of the design where the 15.5″ extends to.
Using the pins as your fold lines, fold the long edges of the pillow in over the design to make a square. They should overlap, forming the opening that will let the pillow form in and out. Pin and then stitch a 3/4″ seam along the raw edges.
Clip the four corners, and turn the pillow cover right side out. Insert a pillow form and you are done!
(If you need more instruction on how to assemble an envelope pillow cover, there are plenty of great tutorials available for searching on Pinterest.)
This simple design can be adapted to plenty of decor styles and colors! In bright colors, it would be perfect for a teenage girl’s room. Do it in Valentine’s Day colors for a seasonal look. What will you heart doing with a button heart pillow?