Header

Tag Archives | Cookies and Cream Buttons

Reversible Button Bracelet

A quick and simple Reversible Button Bracelet.

Reversible Button Bracelet Reversible Button Bracelet

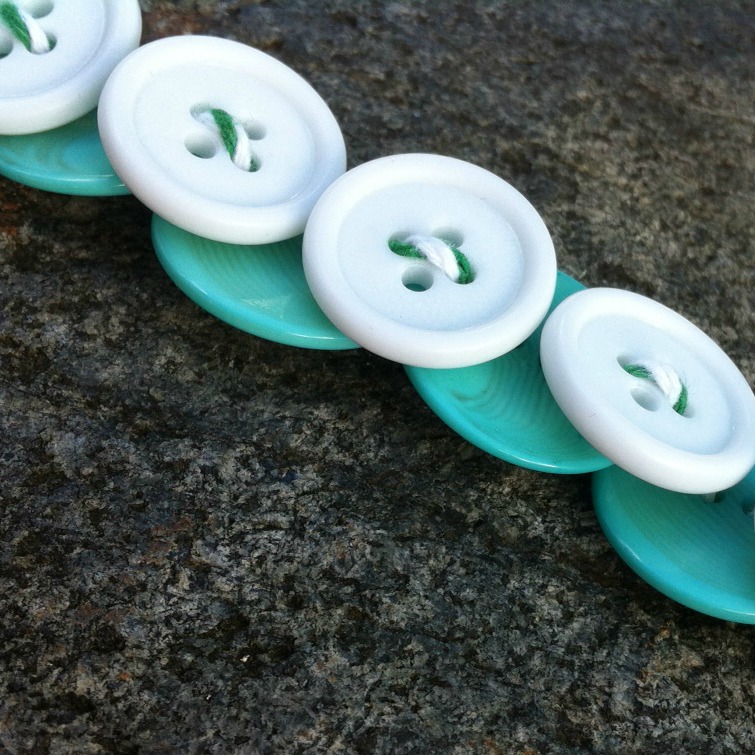
Thread twine down then up in the lower row, and up then down in the top row. The lower button will overlap, but when you get to the end, it all lines up just right.

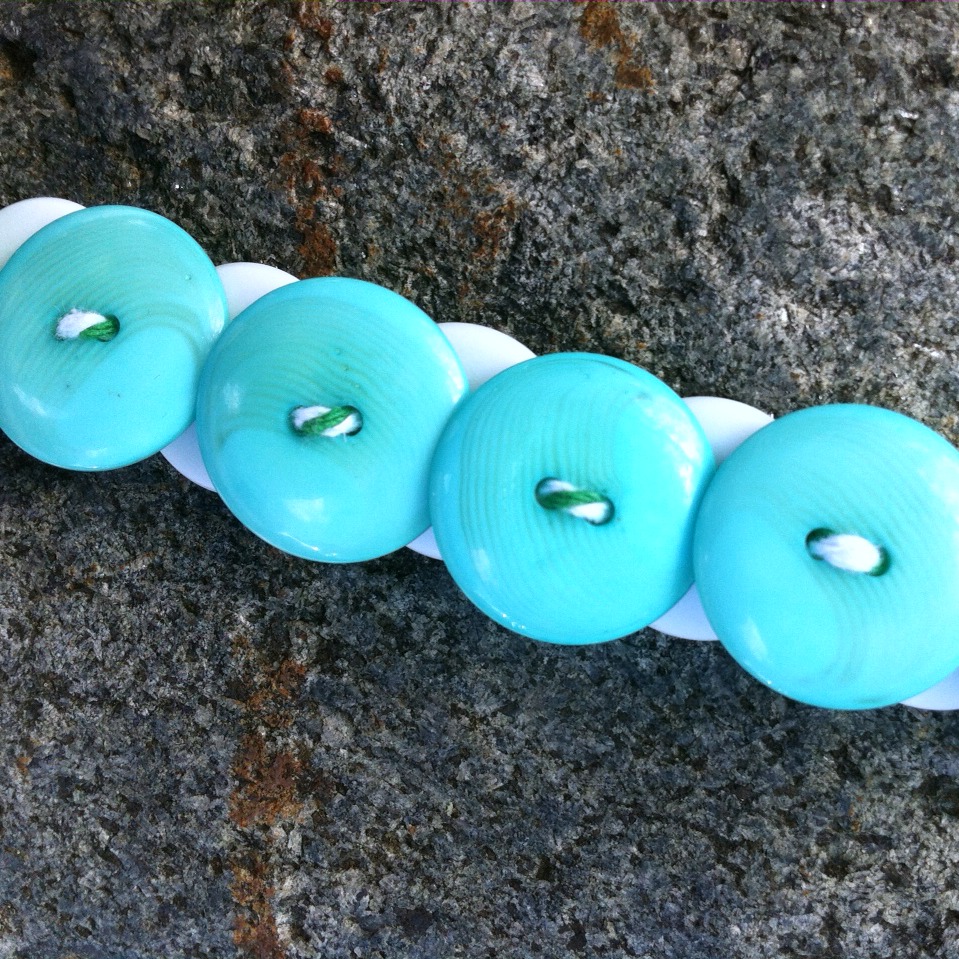
Be sure to get each set of buttons pretty snug before moving on so that your bracelet lays nicely. Leave room at the ends to tie off. I like to put small knots at each end so the buttons can’t move anywhere, then just tie a little bow to keep it on my wrist.

Another note: when measuring your wrist, remember that larger buttons need more room to go around your wrist. I found it best to check sizing as I went along, rather than the actual length of the bracelet. The average woman’s wrist is 7.5″ and while my wrist is actually a bit smaller, my bracelet is 8 inches and fits snugly.

Supplies for Reversible Bracelet

Thanks for joining me today.

See more of my creations at My Card Party.

2

Red White and Blue Card

Create a quick Red White and Blue card to celebrate Summer

Hi, it’s Allie here from My Card Party. I had some extra patriotic stickers from Authentique, and lots of patriotic cardstock from DiscountCardstock.com so I thought I’d make a summery card.

Red, White, and Blue

Happy Summer to you!

Red White and Blue Happy Summer to You


Shopping at Buttons Galore is always fun. There are so many categories and styles. My favorite thing to do is Shop by Color. I had so much red, white and blue going on in this card that black buttons seemed to be the way to go. There are many choices in the Black and White category.  I settled on a package of Cookies and Cream Buttons.

Supplies for creating Red White and Blue Card

  • Cookies and Cream Buttons
  • Ivory Smooth Cardstock #80 and Currant Red Cardstock (Discount Cardstock)
  • Bulk Bling (Want2Scrap)
  • Stickers (Authentique, Sentiment – SRM)
  • Twine and Baker’s Floss (Jo-Anne’s Fabrics)

Tools

  • Other – Martha Stewart Butterfly Punch, Martha Stewart Score Board
  • Hot Glue (AdTech)
  • Scissors (Westcott Brand)
  • Desert Sand Ink and Ink Sponge (Tsukineko)

Instructions

  1. Create a card base 4.25 x 11 and fold in half.
  2. Ink edges of card front with Tsukineko Desert Sand Memento Dew Drop.
  3. Tie multiple colors of floss through Cookies and Cream Button.
  4. Add twine and embellishments. Finish with sentiment and bling.

Thanks for joining me today. I’ll see you next Sunday.

See more of my creations at My Card Party.

0

Powered by WordPress. Designed by WooThemes