Header

Tag Archives | Bazzill

Sunday Cardmaking: Make an Easter Magnet

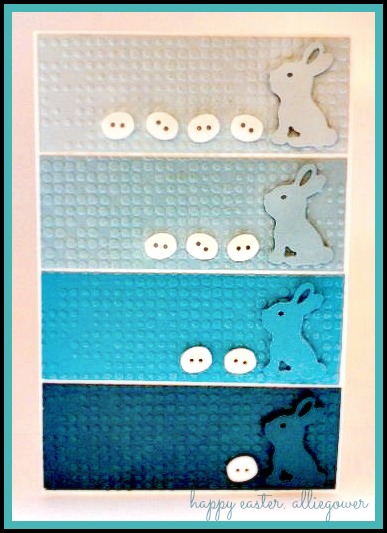
Make an Easter Magnet.

Do you keep a calendar on the fridge? When my kids were little we would keep our calendar on the fridge and mark special days with a holiday magnet.

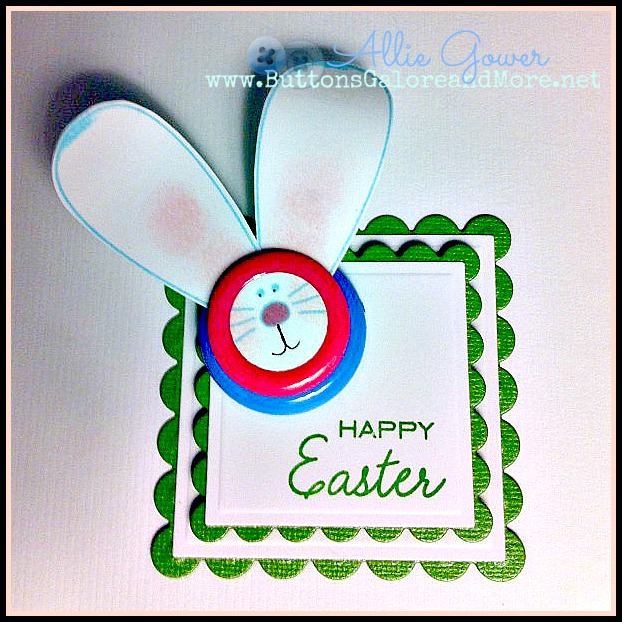
I used an Inky Antics stamp set to make my ears and face for this project, but you could EASILY cut some and draw your own face! This is a fun magnet that can be used on the fridge. You could easily swap the magnet for a pin back and have a holiday pin.

Happy Easter Magnet

How to Make an Easter Magnet:

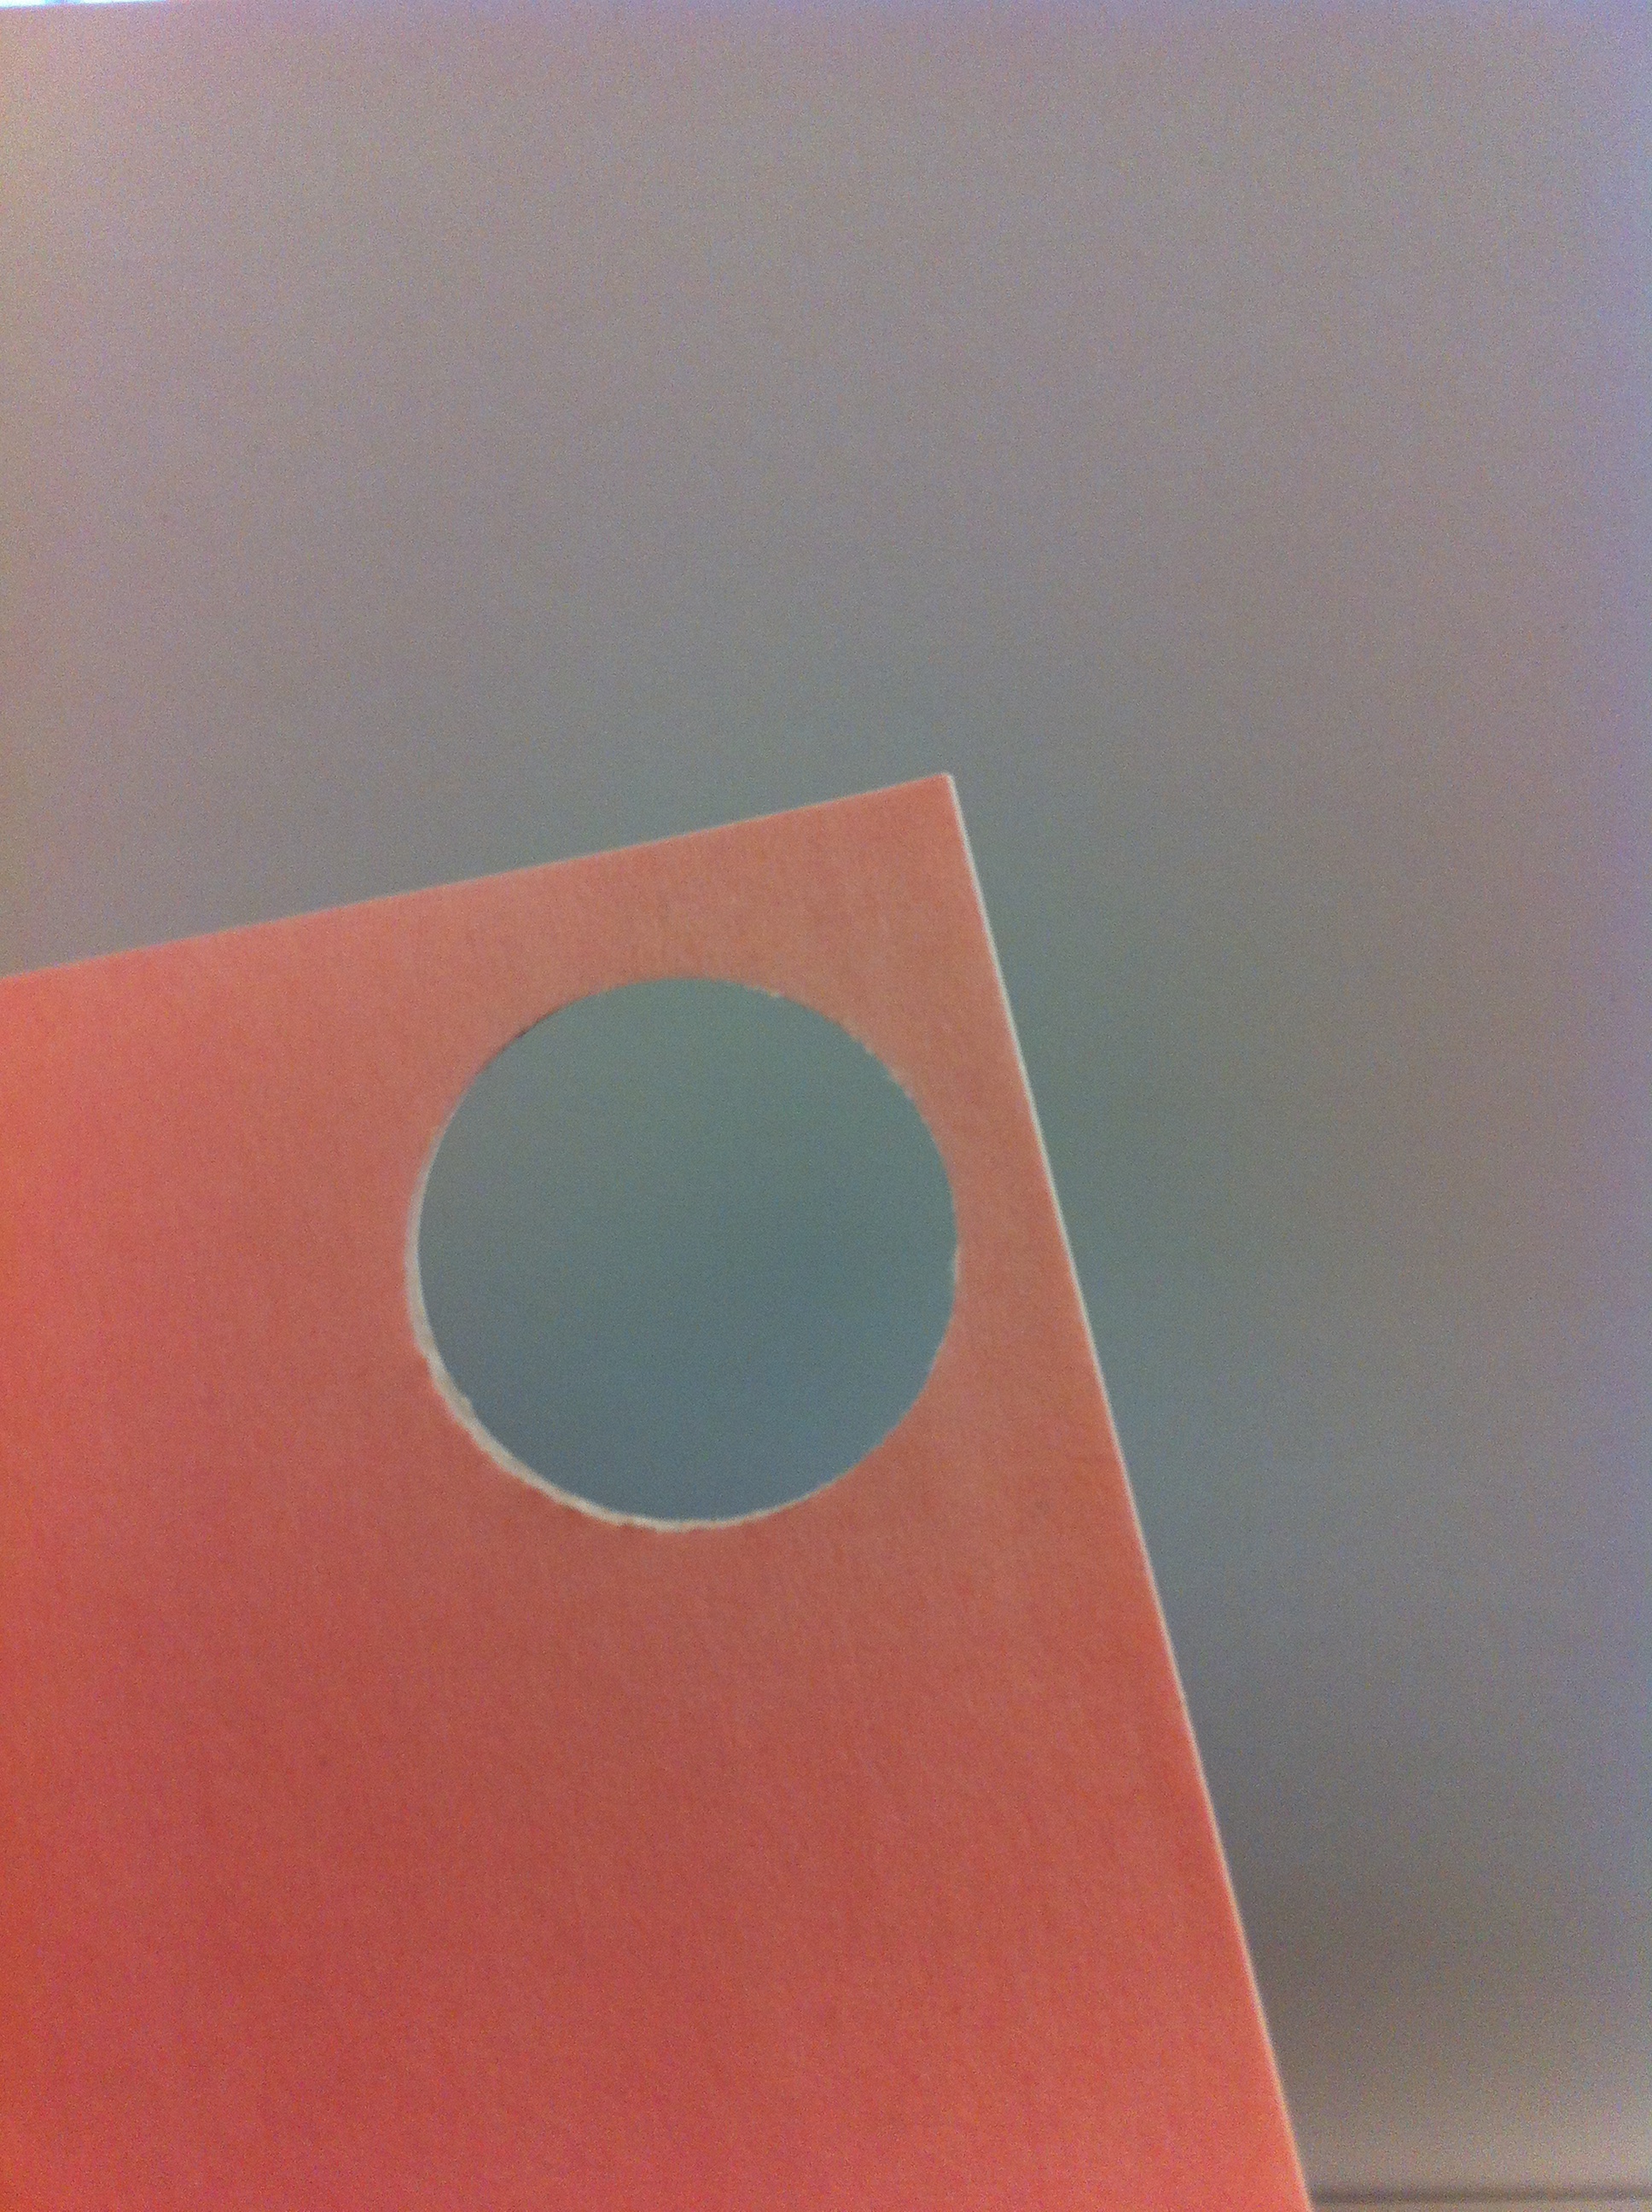
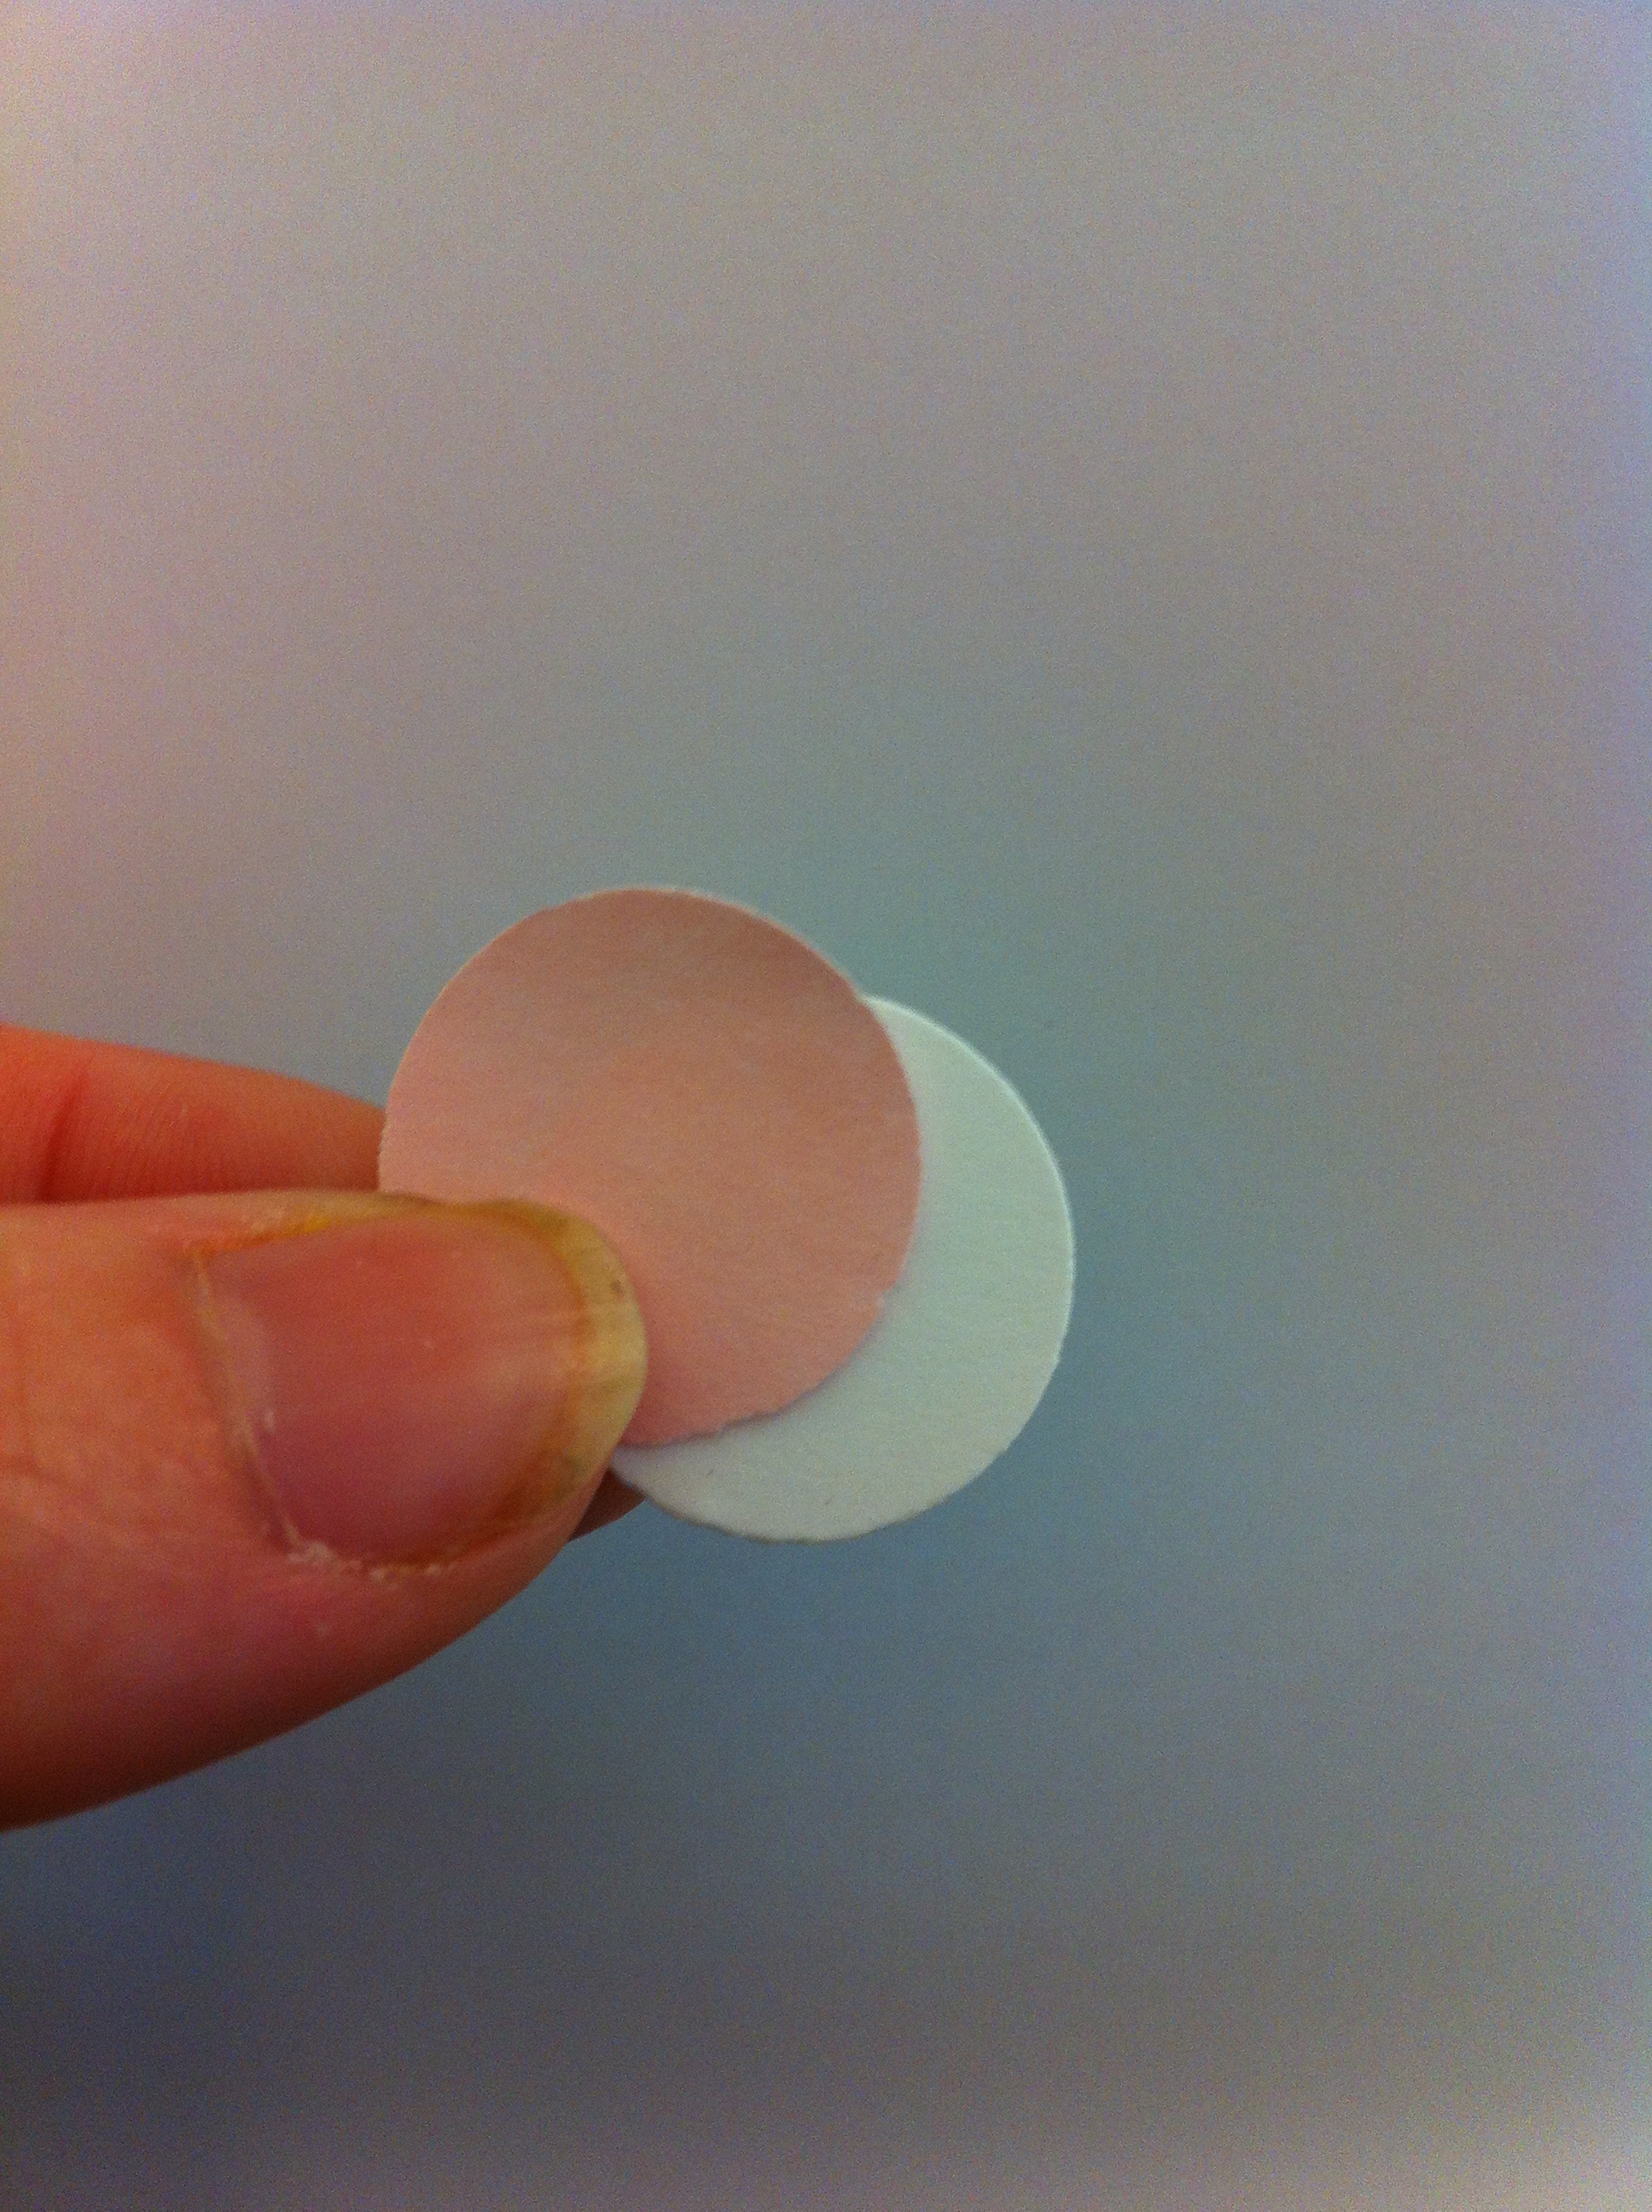
  1. Stamp or draw and cut out ears. Stamp or draw a face and cut out with a circle punch.
  2. Sponge on pink ink on ears.
  3. Stack two Big Ol Buttons, nestling ears between them.
  4. Adhere a magnet to the back of the button bunny. I use Beacon’s Adhesive
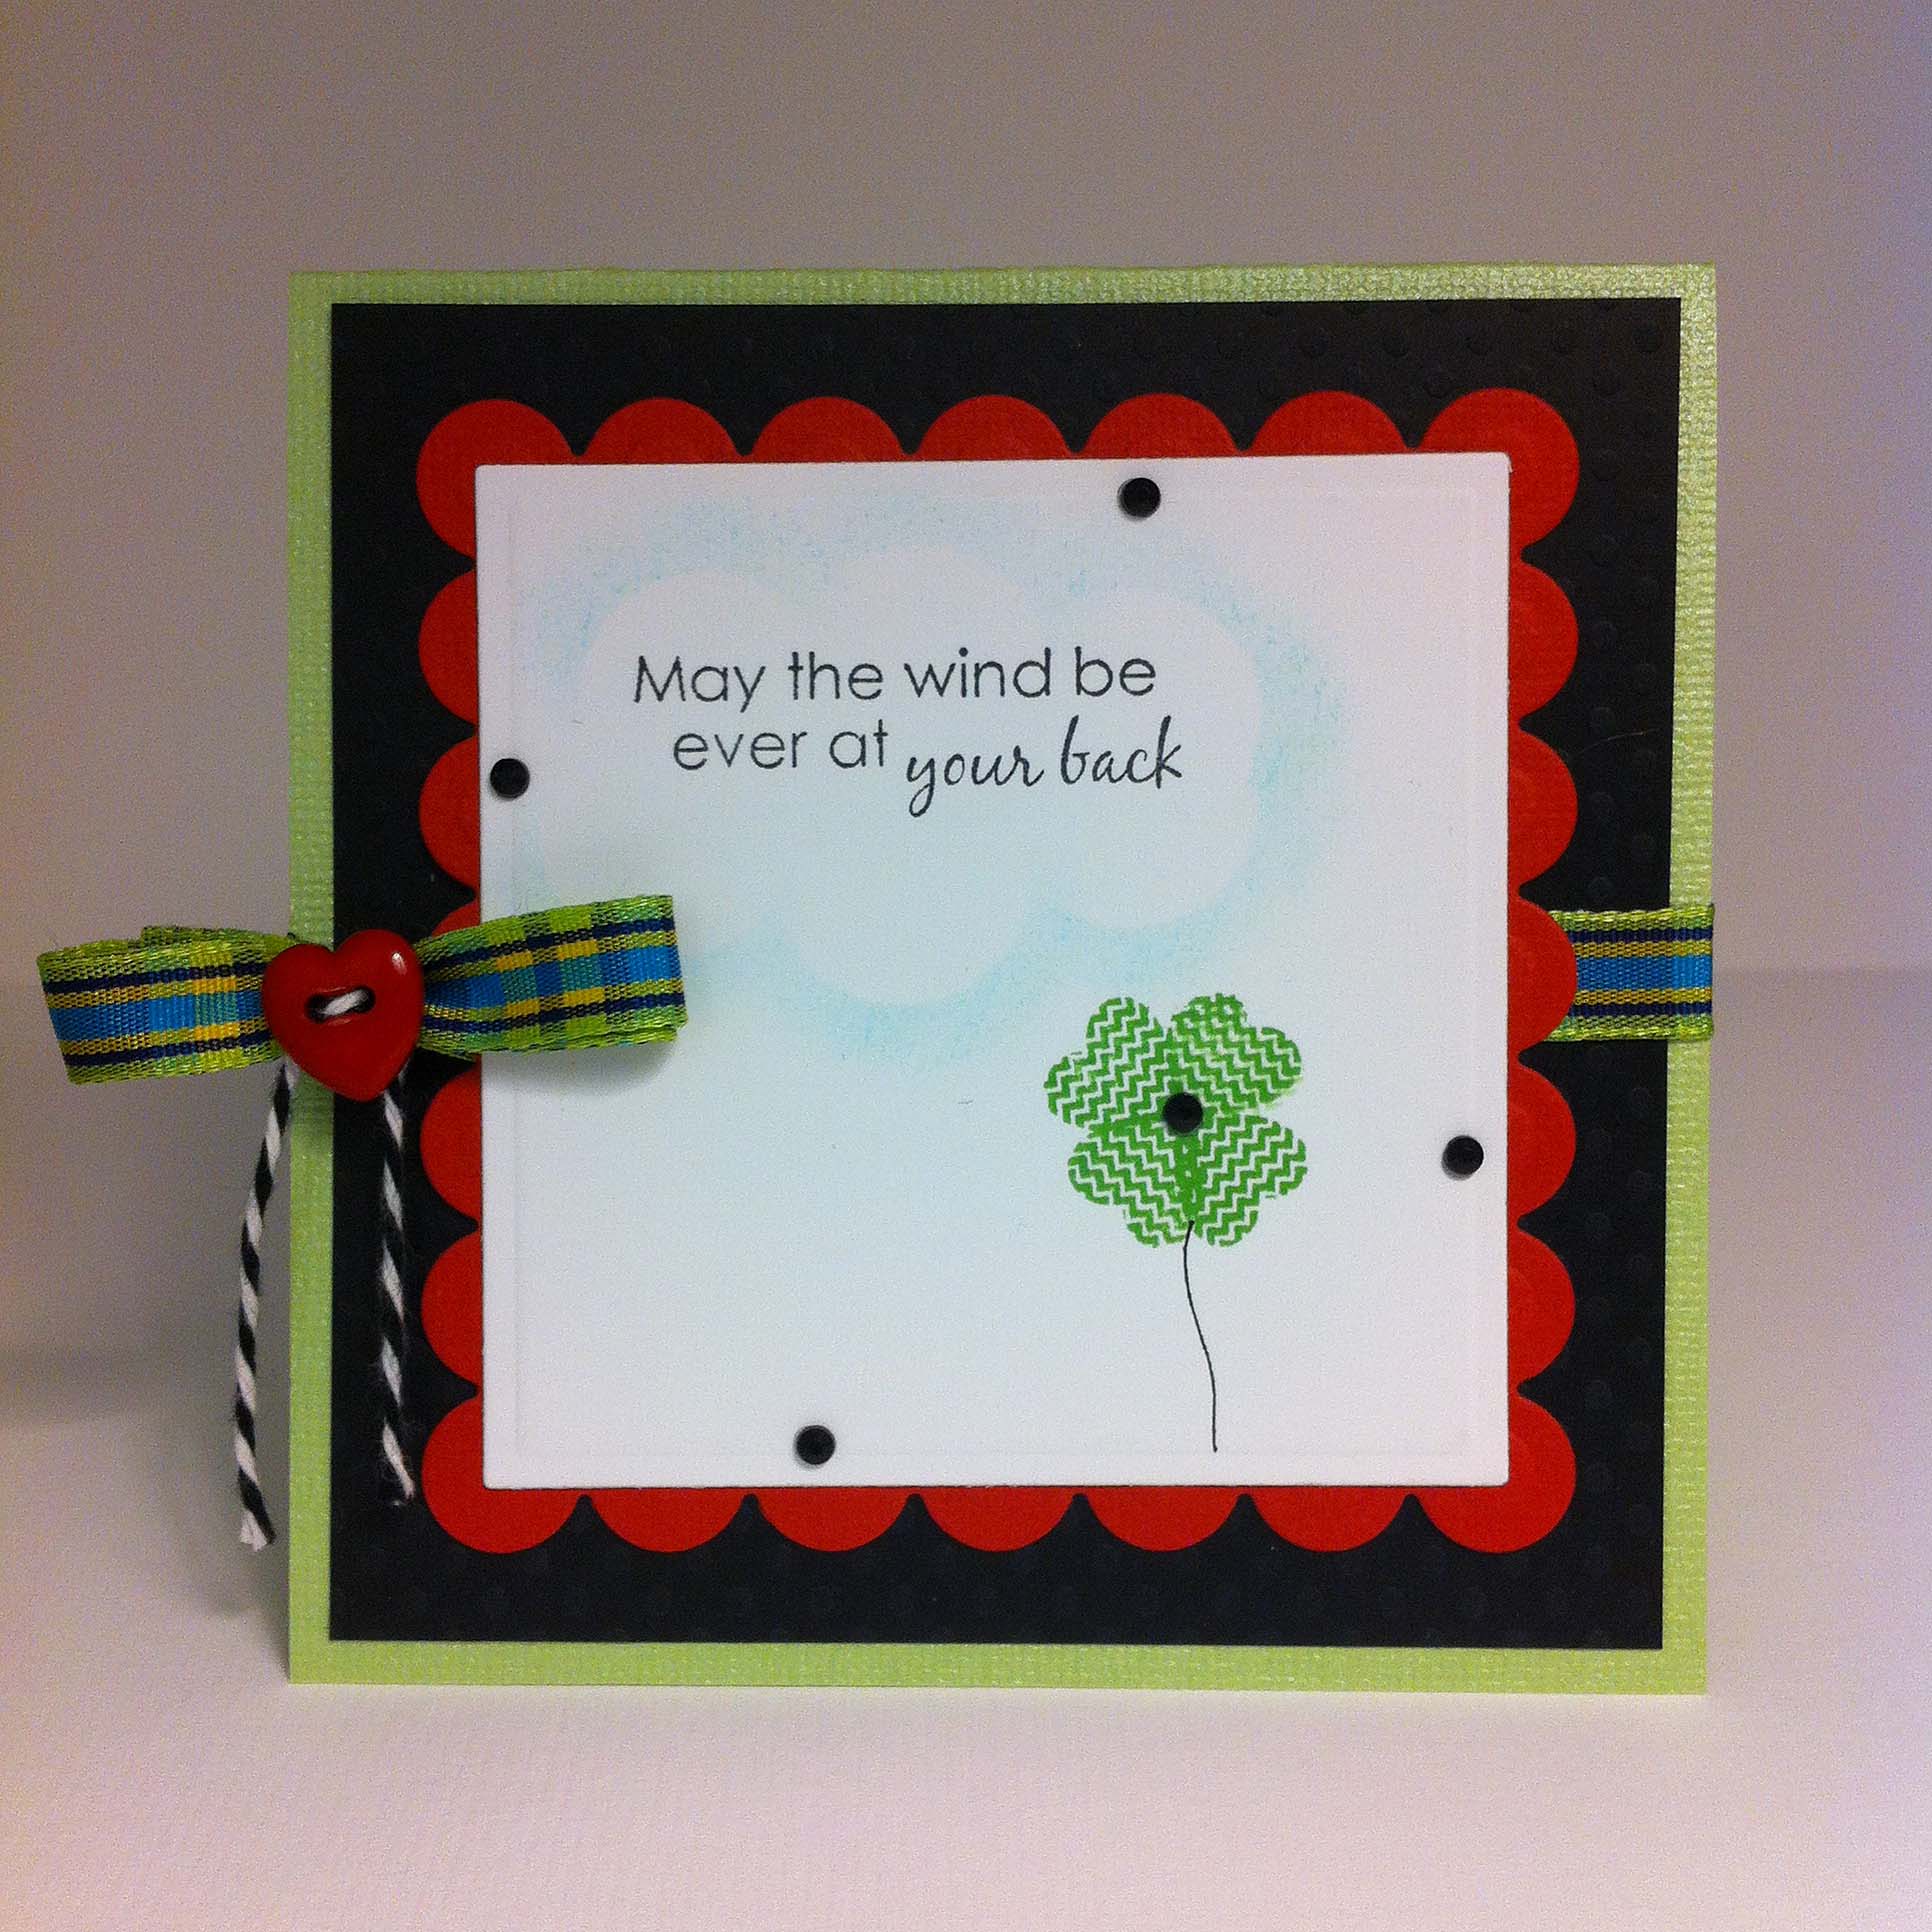
  5. Die cut and emboss scalloped squares and classic squares.
  6. Stamp sentiment and assemble card.

I slid a small disc of metal under the top square, so that the magnet could stay in place and be removed easily. This is also how I wear the magnet.

Buttons Galore Supplies Used to make an Easter Magnet:

Cross Promotional Products Used to make an Easter Magnet:

Additional Supplies Used to make an Easter Magnet:

  • Sponge – Tsukineko/Imagine Crafts
  • Cardstock – Bazzill


0

Sunday Cardmaking: Create an Easy Ombre Easter Card

Let’s Create an EASY Ombre Easter Card. Ombre is a Spanish word that simply means graduated colors. I really wanted to make a simple, sweet Easter card, and I did not want to use traditional colors. These blues are calm and happy to me. I like the tone on tone bunnies on the blue strips, and the bunnies and button eggs add a little bit of fun. I used a paint sample as my inspiration. This simple construction allows you to make a lot of cards, without a lot of work.

Easter Card

Material used to create an EASY Ombre Easter card:

Buttons Galore Product used:

I also used:

  • Dies – Quickutz
  • Embossing Folder – Sizzix
  • Cardstock – Bazzill
  • Dimensional Adhesive

Directions for making the EASY Ombre Easter Card:

  1. Create a 5×7″ card base.
  2. Cut four pieces of graduated blue cardstock 4 3/4 x 1.5″ and emboss. Place on card, leaving room in between each strip. Adhere to card base.
  3. Die cut four bunnies from same graduated card stock. Adhere to graduated blue rectangles with dimensional adhesive.
  4. Add buttons.

I hope you enjoyed this Ombre Easter card. When I’m making a lot of cards, I love to do something simple, but different. You can get a lot of strips out of each piece of blue card stock, and cut all your bunnies out of the scraps. When my kids were little we used to have their friends over and make fun cards for friends and family.

Thanks for stopping by.

Allie

1

Sunday Card Making: Make a St. Patrick’s Day Card

Make a St. Patrick’s Day Card with hearts. I found that I did not have many St. Patrick’s Day themed stamps and embellishments in my stash. I decided on an Irish styled saying and a clover made of stamped hearts. You can make a card any size you like. My card is 4×4″.

Buttons Galore celebrates St. Patrick's Day with Allie Gower

Material used to create St. Patrick’s Day card:

Buttons Galore Product used:

I also used:

In addition you will need:

  • Post-it Note
  • Circle punch or die
  • Finger Dauber or Sponge
  • Copic Multiliner ( for drawing stem )

Directions for making the St. Patrick’s Day Card:

  1. Create a card base by cutting a piece of cardstock 4×8″ and fold in half.
  2. Cut a mat – 3 3/4×3 3/4″ and adhered to card base.
  3. Tie ribbon around card base and attach button using twine.
  4. Die cut scalloped square and adhere to card.
  5. Die cut a classic square.
  6. Stamp sentiment on classic square. Stamp heart four times to create a shamrock, and hand draw a stem.
  7. To create the cloud around the sentiment, you can make your own stencil, as shown below. Attach a Post-it Note to some scrap paper and punch a circle out – near the sticky edge of the Post-it note. Remove sticky circle and place on card and gently sponge around it, moving as needed, to create a cloud shape.
  8. Adhere classic square to card and add bling.

create a cloud step onecreate a cloud step two create a cloud step three create a cloud

I hope you enjoyed this St. Patrick’s Day card and the quick cloud tutorial. May the wind be ever at your back!

Thanks for stopping by.

Allie

5

Powered by WordPress. Designed by WooThemes