
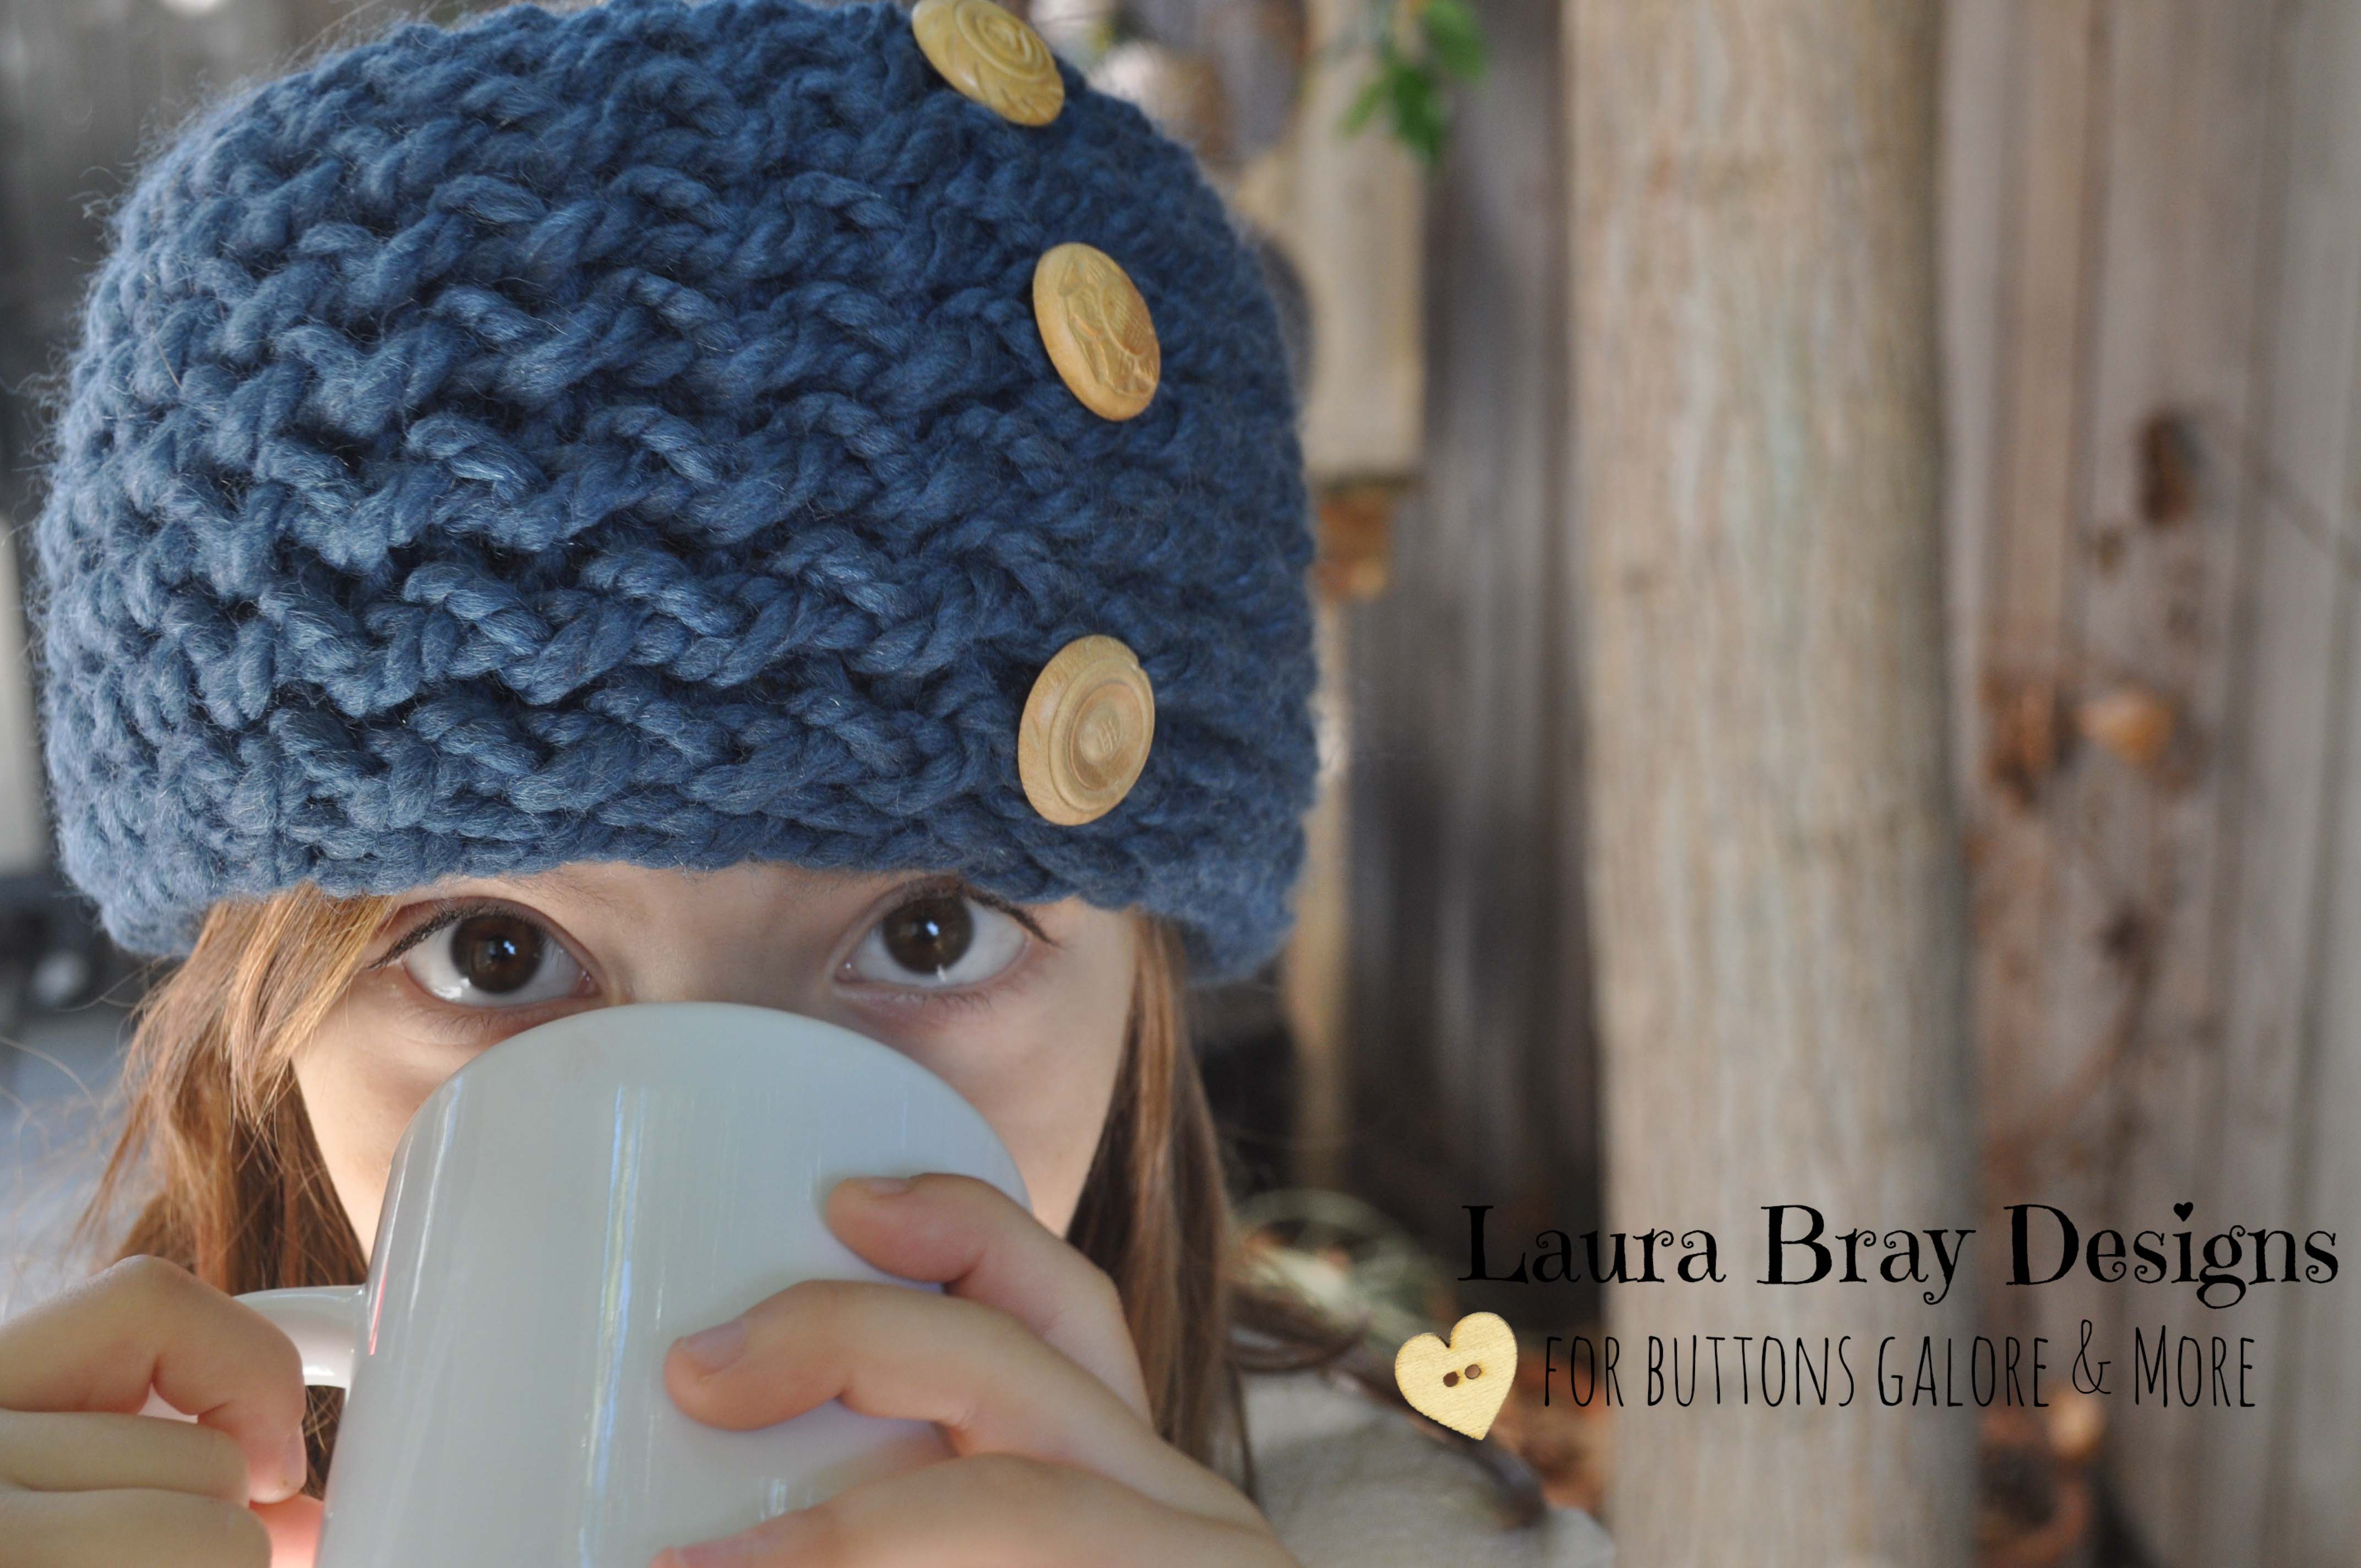
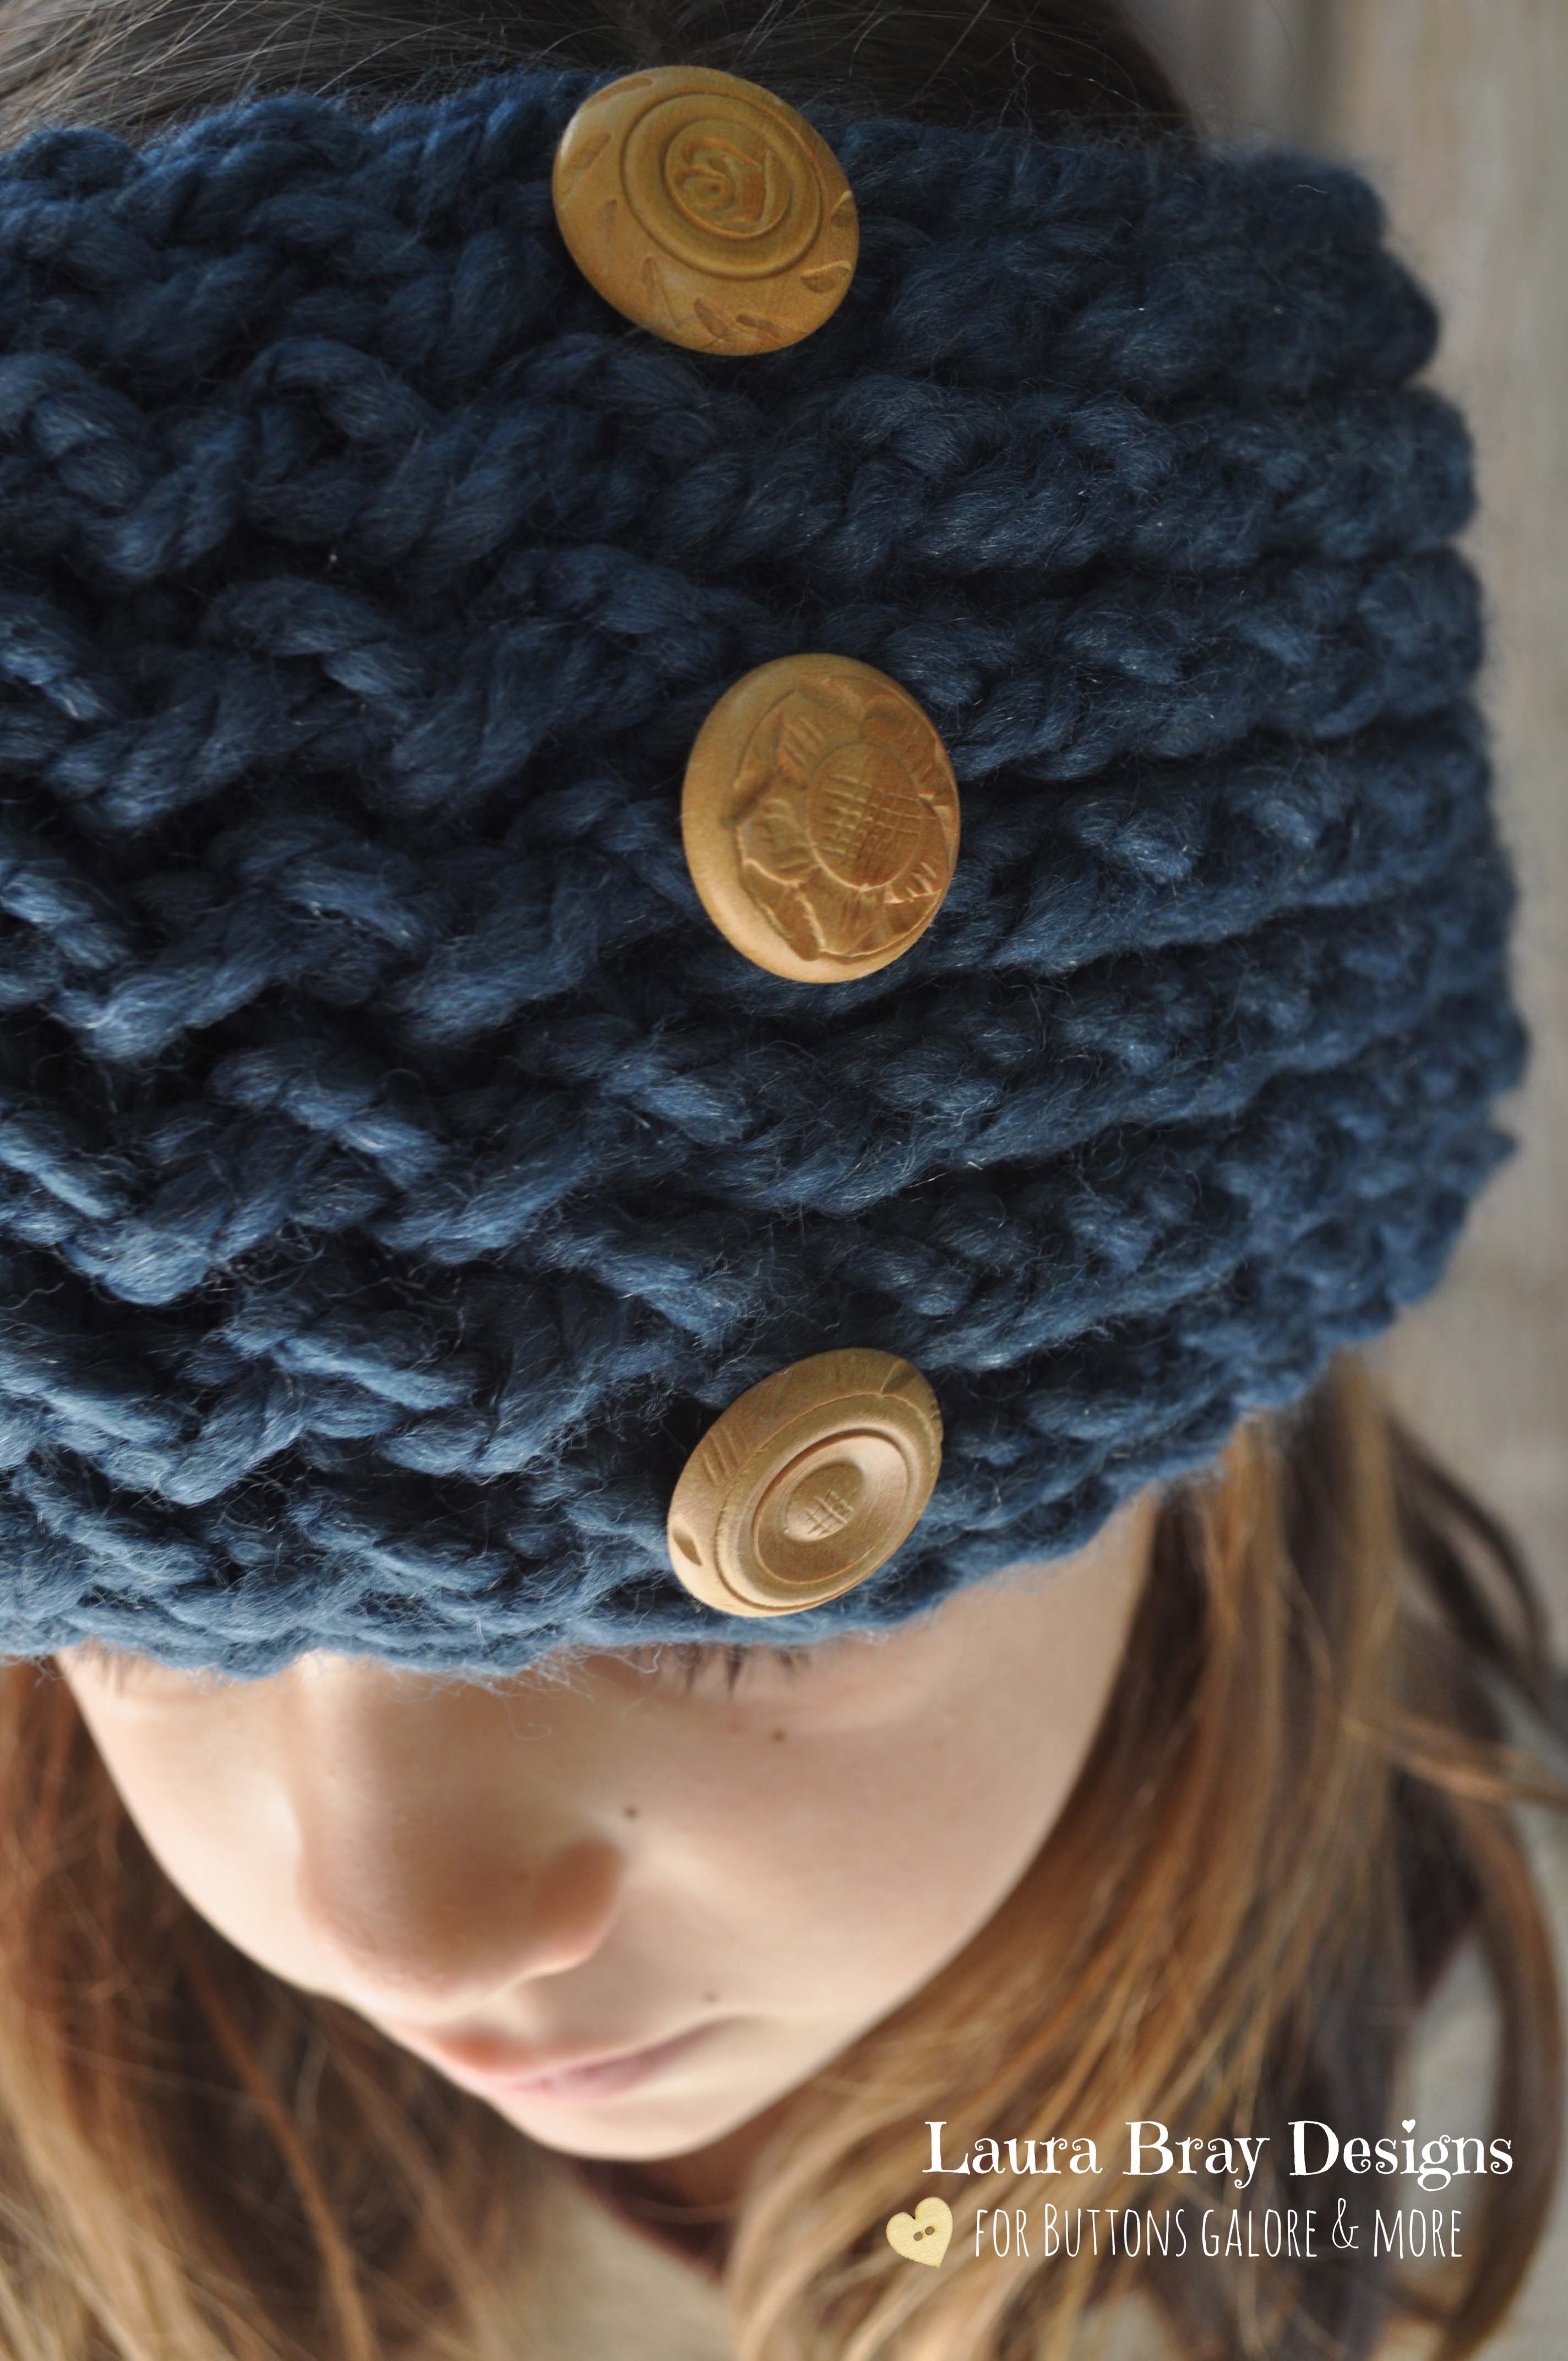
I have a secret to tell you. I can’t knit. Three people have tried to teach me and have failed. It’s the one craft I can’t seem to master. But I haven’t let that stop me. I can knit like a pro on a loom. You would be surprised by what you can make, looms aren’t just for hats and scarves. You just have to be more creative. I recently knit a headband on the loom. With wood buttons. Because there isn’t anything better than a nice knit and wood buttons. There is just something so organic about the combination of wood and wool. It’s winter. It’s cozy.
If you are interested in knitting on a loom, just go to YouTube and search loom knitting and you’ll get tons of tutorials. Here’s a general idea of how I made mine. Did I mention I’m not a knitter? Don’t expect to see anything that resembles a knitting pattern below. This is a seat-of-my-pants tutorial. If you don’t knit, I’m sure you’ll appreciate it.

Supplies for Knit Headband with Wood Buttons
- Yarn
- Wood Buttons
- Knitting Loom
Directions:
- Take a piece of yarn and wrap it around your head, where you want the headband to sit. Cut it to size. This is the easiest way to measure the length of the headband. Alternately, you can use a measuring tape, but I liked having the piece of yarn. I kept it with me while I was knitting and would just hold it up against the piece to check on the length every now and then. (I told you this wasn’t going to be technical, right?)
- Then decide how wide you want your headband. Mine is 4.5″ and is quite wide. I wear it more like a hat. Use a 2-3″ measurement if you want to wear it more like a headband.
- Take your long loom and measure out how many pegs you need to work on in order to get your desired width. Then start knitting.
- Pay attention to the length, holding your measured yarn up to your length. Once you have reached your desired length, cast off.
- Whip stitch the ends of the headband together.
- Sew the wood buttons on to the headband.
Here’s a helpful tip. If you are like me, you might think that using the round, hat loom would work for this project, but it won’t. Casting off leaves you with a wonky side edge. Trust me when I tell you to the scarf loom is best for this project.
If you are even more resistant than I am to knitting, you can also sneak off to the store, buy a knit headband and stitch a few wood buttons on to it. That counts as handmade too. At least in my world it does!
Want to see other projects I’ve knitted with my loom (and yes some have wood buttons)? Visit my Pinterest Board.
![]()


