Header

Tag Archives | white

Button and Felt Halloween Wreath

Halloween Wreath

I’m not into the traditional, spooky look of typical Halloween décor.  I like cute and cute means buttons and felt.  I created this Halloween wreath with that in mind.  I love how the black and white reminds me striped witch’s stockings!
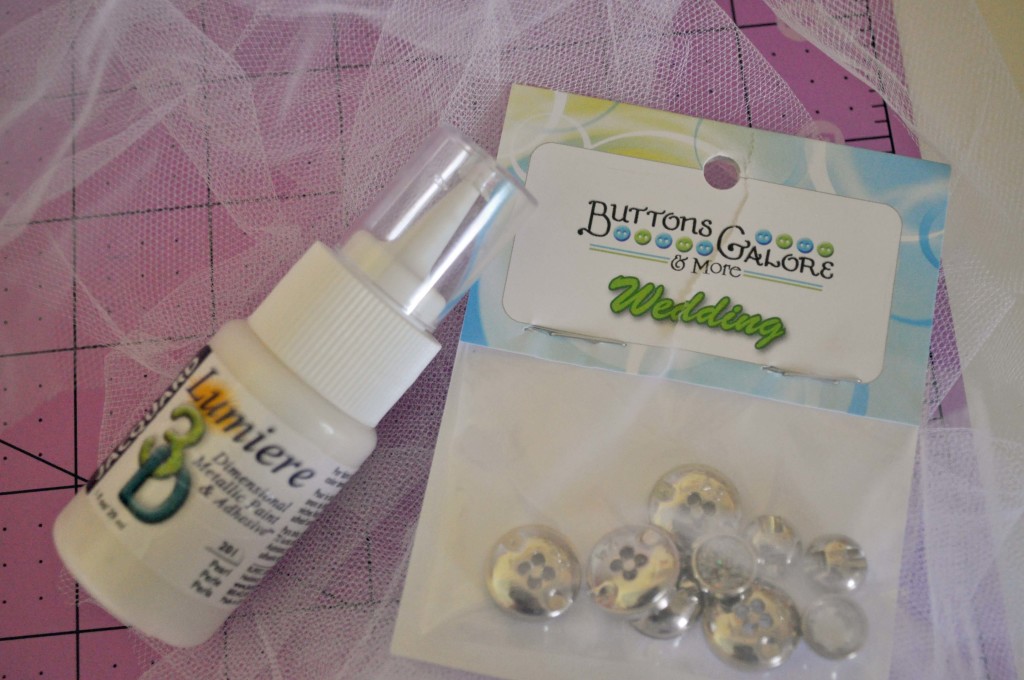
Supplies

  • 10″ Styrofoam wreath
  • Black and white felt, cut into 8″ x 2″ strips
  • Orange felt
  • Black buttons
  • Glue
  • Flower shaped die and die cutting machine.  (optional)

Instructions to make a button and felt Halloween wreath

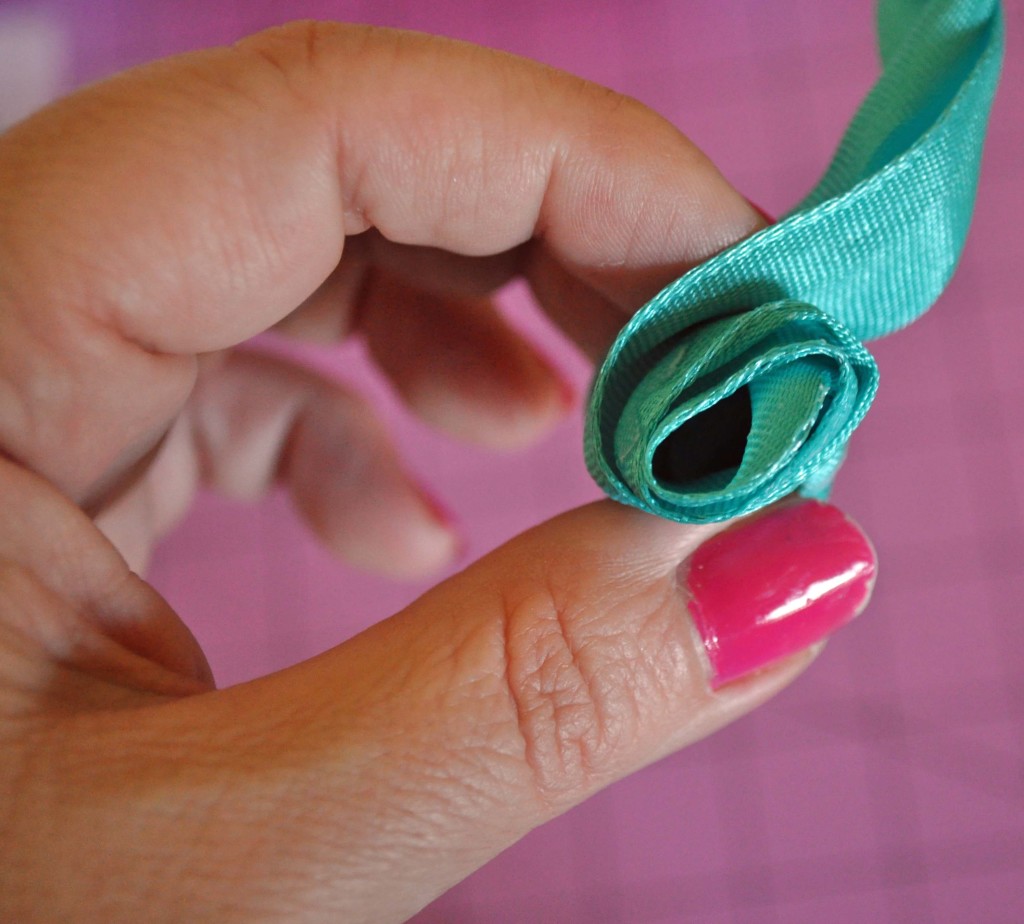
  1. Wrap the black and white strips of felt around the wreath, alternating between the black and white felt. Glue into place.
  2. Die cut flower & leave shapes from white, black, and orange felt.  If you don’t have a die cut machine, simply cut the shapes by hand.
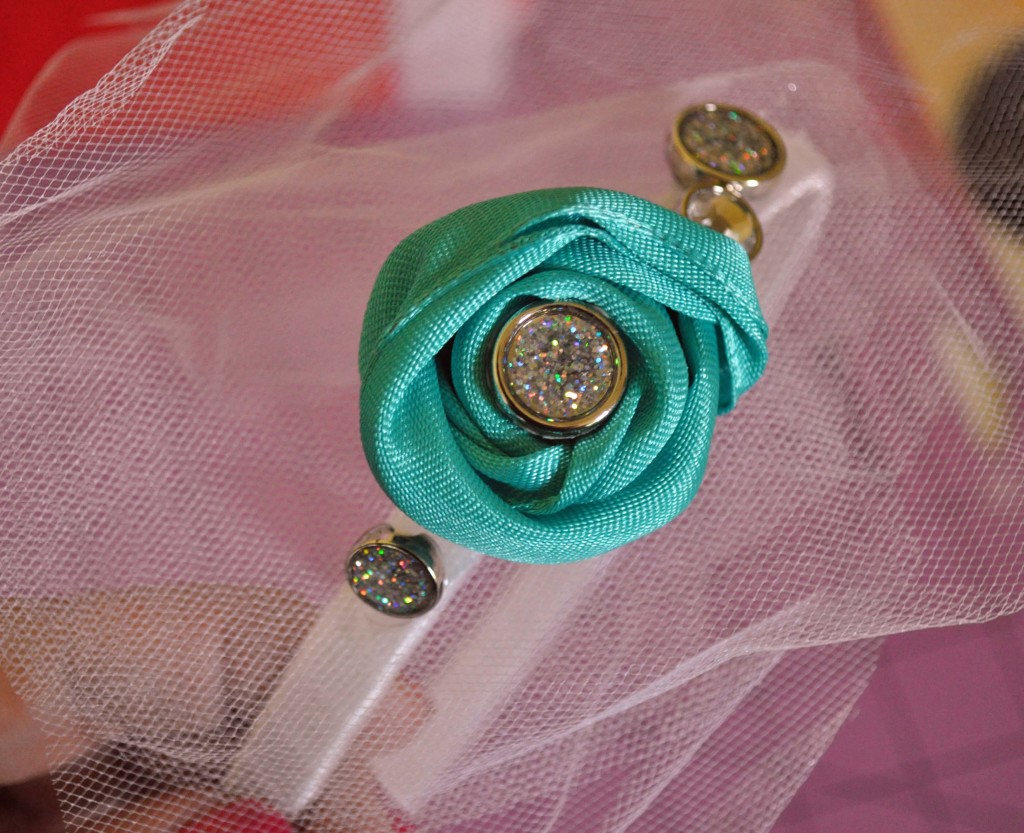
  3. Glue the flowers and leaves onto the wreath.

Halloween Wreath Close-Up

4. Glue buttons into center of flowers.  Tip: If you want the flower centers to have little extra pop, slide white-topped pins into the button holes.  So cute!

Thanks for crafting a cute Halloween with me today!  For my holiday inspiration, visit my blog at Laura Bray Designs

Business Card Logo in Black copy.


1

Button Bib Necklace

I’ve admired bib necklaces for quite some time now.  I love how whimsical they look, especially if they are covered in buttons.  They can elevate a plain t-shirt and jeans outfit into something really special and it doesn’t have to cost much.  Yes, you can buy very expensive “statement” necklaces, but with a little felt and a jar of buttons you can create something really beautiful.

Button Bib Necklace: Buttons Galore and More

Supplies for a button bib necklace

Instructions for a button bib necklace

1. Lay the bib necklace template onto felt, pin in place, and cut out two bib shapes.

Button Bib Necklace: Buttons Galore and More

2. Starting at the center of one of the bib shapes, begin sewing buttons onto the felt.  Working your way out from the center will give your necklace a centered focal point.

Button Bib Necklace: Buttons Galore and More

3. Leave about 1″ of the felt on the ends unembellished.

4. Measure two pieces of ribbon (one for each side) to the length you want your necklace to hang.  Bib necklaces usually look best hung at your collar bone.  Don’t forget to allow some length so you can tie the necklace around your neck!

5. Lay the unembellished piece of felt down on your work surface.  Place the front piece over it.  Make sure it lines up nicely.  Gently lift the ends and slide your ribbon ties in places.  Pin and either hand or machine sew the ribbon between the two pieces.

Button Bib Necklace: Buttons Galore and More

6. To attach the front and back of the bib, use a strong fabric glue or whip stitch them together.

Button Bib Necklace: Buttons Galore and More

Thanks for getting crafty with me today!  For more button crafts, stitching and lifestyle ideas visit me on my blog at www.laurabraydesigns.com.

Logo copy

2

DIY Bridesmaid Headband – Tiffany Blue Wedding

Something borrowed, something blue.  This cute, DIY bridesmaid headband is perfect for your wedding.  I love the “Tiffany” blue of the ribbon and the Buttons Galore & More Wedding Glitz buttons give it lots of sparkle.  This headband is a great wedding project.  It would look great on your bridesmaids, flower girls, or even as a alternative to a veil for a bride.DIY Bridesmaid Headband - Tiffany Blue Wedding

Supplies needed for a DIY Bridesmaid Headband:Wedding Headband Supplies


Instructions for making a DIY Bridesmaid Headband:

1.  Using scissors, cut 3 circles, measuring approximately 6 inches in diameter, from the tulle.  This doesn’t have to be perfect!  Cut them freehand and let the edges be a little ragged.  This will give the headband a soft, romantic look.

2.  Cut 12 inches of ribbon.  Twist and roll it into a flower shape.Roll a ribbon flower


3. Using the Lumiere paint, apply a dab of glue to the side of the headband and attach the tulle circles to the headband.  It should be placed 1-2 inches from the top, center of the headband.

4. Again using the Lumiere paint, attach the the ribbon flower and some additional Wedding buttons to the headband over the tulle.  Add as much or as little bling as you like!Wedding Headband Glue on buttons and flower


Tip:  Lumiere 3D Dimensional Paint works great for this project as it works as both a glue and design element.  When the paint dries it gives you a 3D pearl effect-perfect for a wedding.

www.laurabraydesigns.com

0

Valentine's Day Countdown Calendar


If your little one is anything like mine, you pretty much start looking forward to Valentine’s Day right after Christmas.  I created this felt and button Valentine’s Day Countdown Calendar to channel some of my daughter’s excitement.


Supplies:

  • White felt
  • Red felt
  • Pink felt
  • Wave rotary cutter
  • Sewing machine
  • Buttons-I used Buttons Galore and More’s Raspberry Bulk Pack, because you can never have too many pink buttons!
  • Embroidery floss & Needle
  • Ink jet, printable fabric
  • 13″ wood dowel
  • Red & white bakery twine

Instructions:

  1. Cut a piece of white felt into a 17″ x 11″ rectangle.
  2. Fold one short side over 1″ then sew to create a pocket to put your dowel through later.
  3. Trim other short end using a wave rotary cutter or pinking shears.
  4. Cut a 7″ x 3″ rectangle from the pink felt.
  5. Using your printable fabric and word processing software, create a sign for the top of your calendar.  Mine says “Be My Valentine”.
  6. Cut the printable fabric into a 6.5″ x 2.25″  rectangle.
  7. Place pink felt triangle, centered and about 1″ inch down from top of white piece of felt. Remember, the top of your calendar will be where you stitched a pocket for the dowel.  Pin and sew.
  8. Center your printable fabric on the pink rectangle.  Pin and sew.
  9. Cut 14 2″ x 2″ squares from your red felt.
  10. Sew one pink button into the center of each red felt square.  I found the middle by folding the square in half, finger pressing, then folding it the other direction and finger pressing.  Attach you button where the lines cross.  Easy!
  11. Cut fourteen hearts from your white felt.  To get evenly sized hearts, I cut 2″ x 2″ squares from the white felt, folded them in half and cut half hearts.
  12. Carefully cut a small slit into the center of each heart.
  13. Measure down 1/2″ from the pink felt and 1/2″ in from edge of white felt.  Place your first red square there and pin.  Measure 1/2″ over to the right and pin.  Continue pinning on red squares, making sure you line them up evenly.  Sew the squares onto the fabric.  You can use your sewing machines to do this (just be careful not to run over the buttons) or attach them using a cute embroidery stitch.
  14. Cut a 5″ x 3″ rectangle from the pink felt.  Using your wave rotary cutters or pinking shears, cut a decorate edge along one of the long sides.
  15. Cut a 5″ x 1.5″ rectangle from the red felt.  Using your wave rotary cutters or pinking shears, cut a decorate edge along one of the long sides.  If you want to add a decorative ribbon, sew it on now.
  16. Place the red felt rectangle onto the pink felt rectangle, lining up the straight, long edge.  Sew three sides together, leaving the long, decorate edge of the red rectangle open.  You now have a pocket for your extra hearts.
  17. Sew the pocket onto the white base, 1/2″ down from the last row of red squares, 1/2″ from the right side of the white base.
  18. Cut out additional felt hearts in pink, red, and white and sew onto the calendar randomly.  Use cute embroidery stitches to attach them.
  19. Slide dowel through the top pocket of your calendar.  Tie baker’s twine to end of dowels and hang.

You are done!  Store your white hearts in the pocket.  As each day dawns, allow your child to button a heart onto one of the red squares.  When the all the squares are full, it’s Valentine’s Day!  Use the now empty pocket to store a few Valentine’s and enjoy your calendar for a couple of extra days after the holiday.


Valentine Countdown Calendar by Laura Bray


I know this calendar is a lot of work, but I was able to get mine done in about 3 hours total.  I think it’s worth the work-after all it’s a heirloom item.


2

Powered by WordPress. Designed by WooThemes