Header

Tag Archives | Crafts with Kids

Reversible Halloween & Thanksgiving Fall Countdown Calendar

It’s hard to believe it, but fall is creeping upon us and with Fall comes holiday after holiday. Here is a fun and fairly easy fall countdown calendar project to count down the days till Halloween and/or Thanksgiving using some easy to find craft materials and of course…buttons!

Here’s what you need to make this fun, reversible witch and scarecrow fall countdown calendar.

First, print out your patterns and cut out the felt according to the directions on the patterns. You will have 1 brown hat, 1 black hat, 1 green face and 1 tan face. If you are sewing your project together, go ahead and sew around the curved part of the face. Don’t forget to leave the top open! You will then need to sew your black button eyes onto the green face and onto the tan face.

If you are gluing your project, go ahead and glue the two faces together and then glue the black buttons for eyes onto each face. Let dry well before going on to the next step.
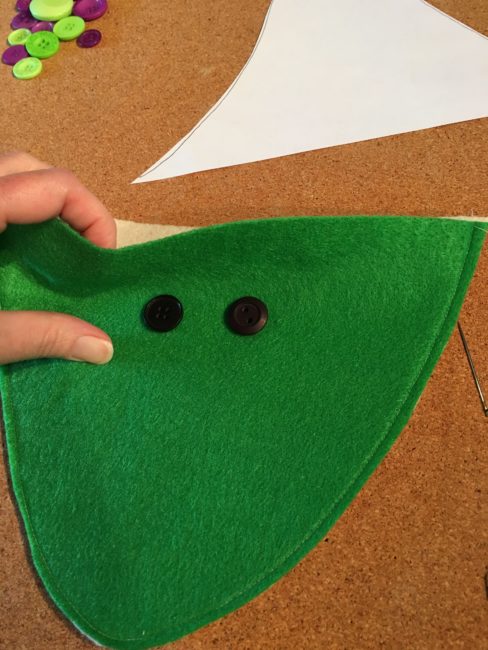
Cut out a wiggly, carrot shaped nose for your witch, along with a circle nose for your scarecrow. Attach them to your faces with craft glue. Use the black permanent marker to draw a mouth for each.
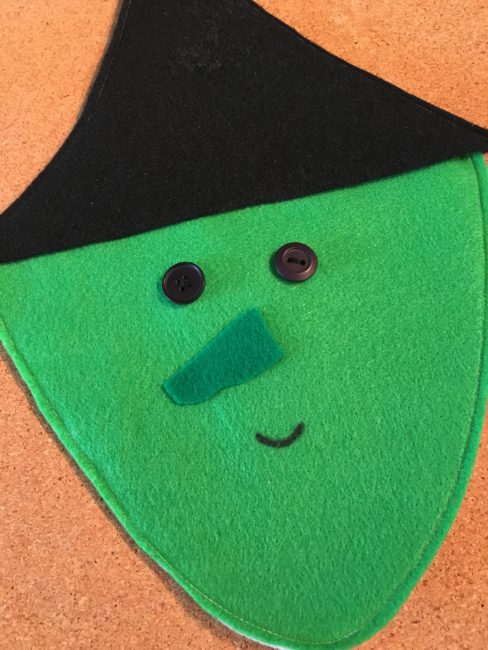
Next, if you are sewing your hats together, sew up and around the two sides, leaving the straight edge of the hat open. Then slide your face inside the two pieces of your hat and sew together; making sure to sandwich all the layers of the felt together when you are sewing.

If you are gluing, glue the hat pieces together and then slide the face inside the hat. You can attempt to glue these parts together, but I would recommend leaving them unattached. They will appear one piece when you attach it to the cork board.
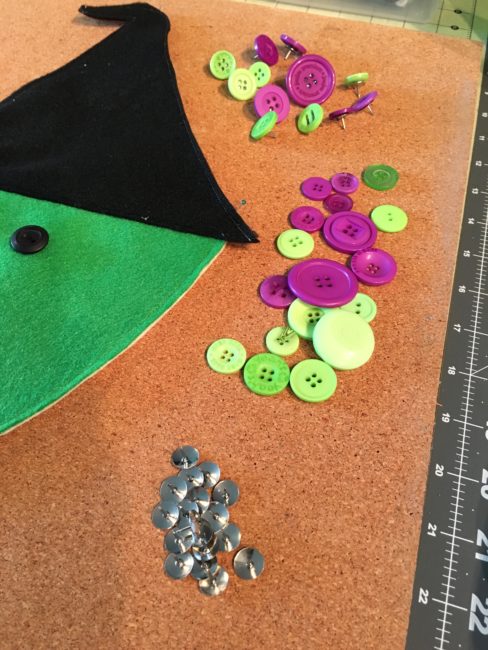
Heat up your hot glue gun and while it’s heating, separate your button pack. The witch hair uses 31 of the purple and green buttons and the scarecrow uses 28 of the orange  from the Trick or Treat Button Basics BCB129. Glue the buttons on the thumb tacks and let them cool off.
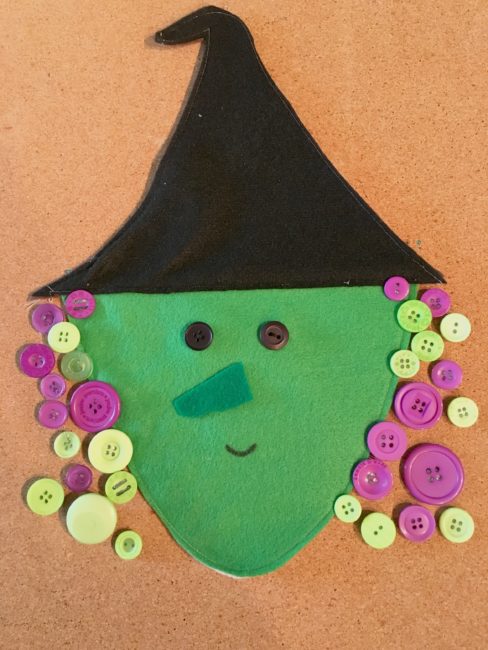
And there you have it! Attach your witch to your cork board with straight pins and either start out with all 31 buttons, taking one off each day until Halloween arrives, or add a button each day as it gets closer! Whichever you prefer!

Once Halloween is past, flip over your witch and start counting down the days till Thanksgiving!
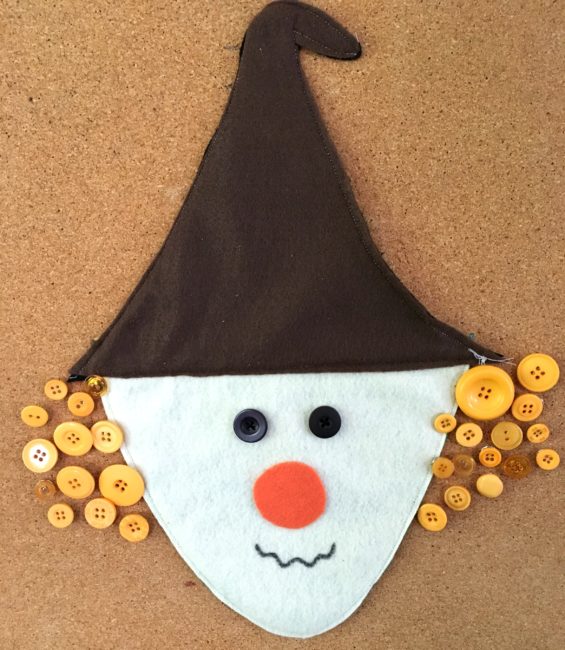
fall countdown calendar

Thanksgiving and Halloween are coming fast…make your fall countdown calendar today!

0

Make a fun DIY Sequin Coaster Set with the Kids

Hello everyone! This is Katie from the Buttons Galore & More Design Team, and today I have a super fun DIY Sequin Coaster Set that you can make with your kids!

DIY Sequin Coasters

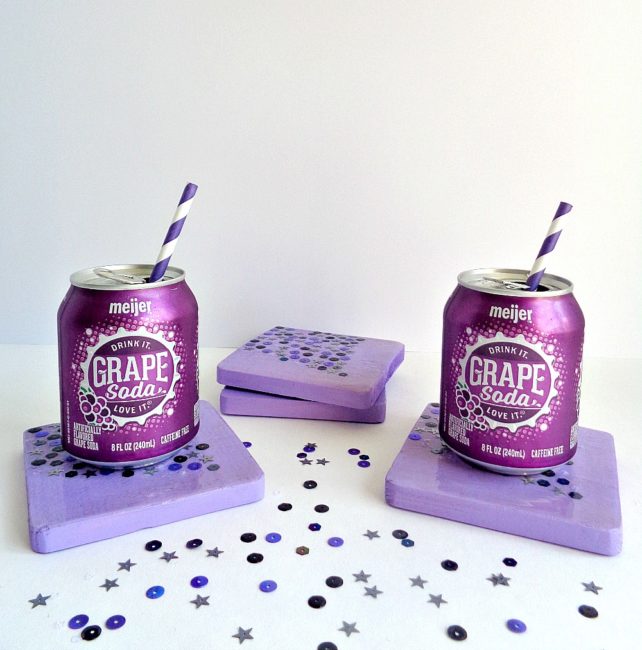
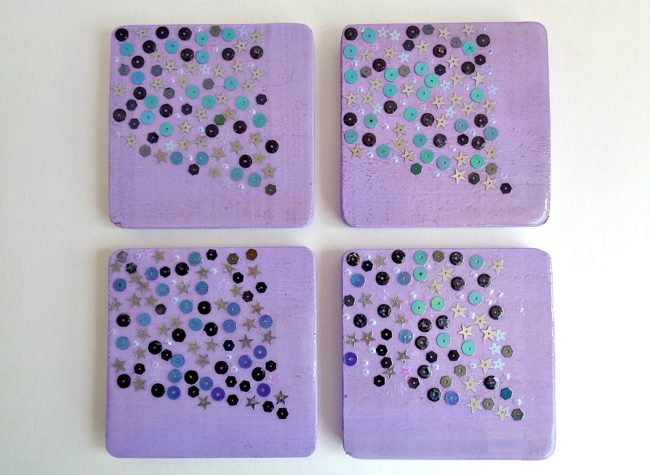
The project I will be showing you how to make today is a DIY Sequin Coaster Set! Now, you may be thinking that sequins and coasters don’t belong together. However, this DIY Sequin Coaster Set has a protective coating on top which seals in all the sequins and creates a barrier between your drinks and the actual coasters. In addition, this project is kid friendly and can be completed in just 3 easy steps!

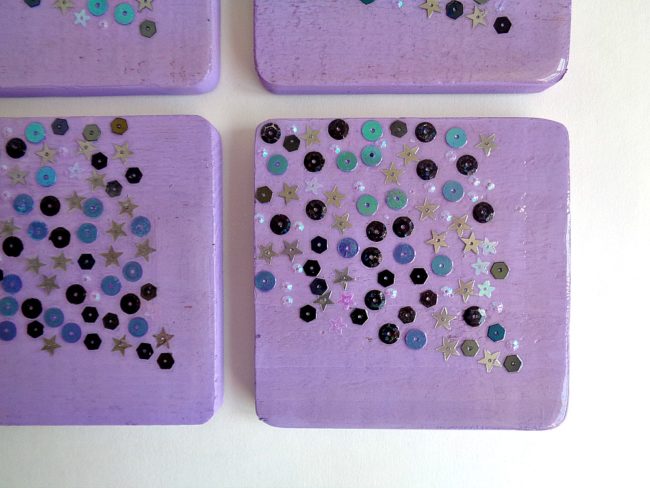
To decorate my sequin coasters, I decided to use the brand new 28 Lilac Lane Sequin Tin in Haunted House. Now, even though the haunted house name sounds like it’s made for Halloween, these sequins have a more holographic look to them. For example, the tin contains silver, purple, black, white, and hologram colored sequins. In addition, the sequins are round, hexagon, and star shaped.  For this particular project, I paired the sequins up with some purple paint. However, I think with the holographic look that they have could be paired with a variety of paint colors.

So, to find out how to make your own Sequin Coaster Set, keep reading below!

Supplies Needed:

DIY Sequin Coaster Set

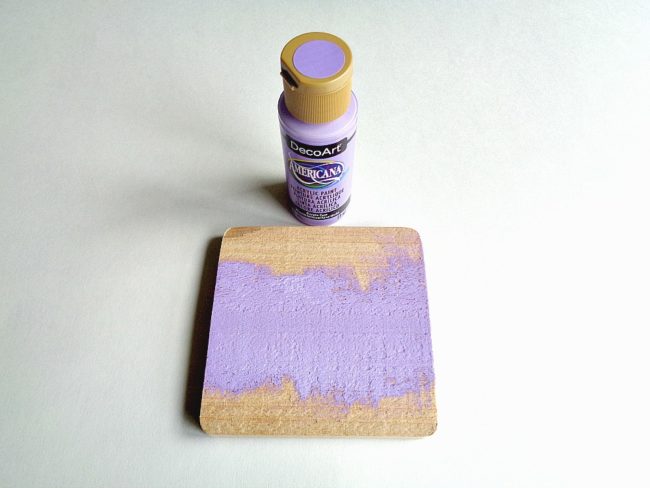
Step 1: Paint your wooden coasters on the front and back. Then set each one aside to dry.

DIY Sequin Coaster Set

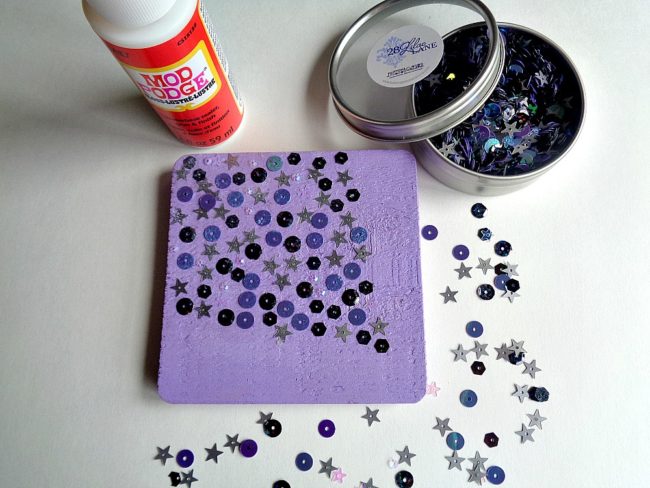
Step 2: Apply a layer of Mod Podge onto your coaster then begin adding sequins from the 28 Lilac Lane Haunted House Sequin Tin. While doing this step, you could add your sequins to your coasters in one of two ways. The first way would be to sprinkle the sequins onto the coaster and then spread the sequins out with a toothpick. The second way would be to add each sequin on by hand.

With that being said, no matter what method you use, you want to make sure that your sequins are lying flat on your coaster. This means that sequins should not be glued on top of each other and that each sequin should be lying flat by itself. Also, when making these coasters, I felt that that less was more. For example, I found that using a smaller amount of sequins (in a particular pattern) really gave the coaster a finished look. However, you can do whatever floats your crafty boat.

Once you are done adding your sequins, apply another thin layer of Mod Podge and set the coasters aside to dry.

DIY Sequin Coaster Set

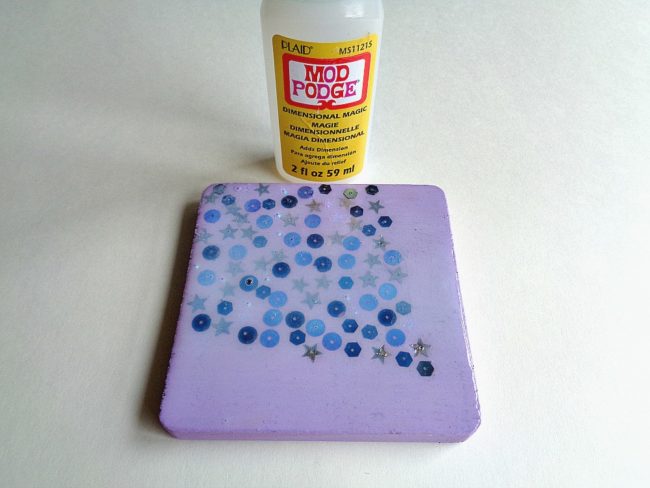
Step 3: Now apply a thin coat of Dimensional Magic to the top of your coaster. When applying the Dimensional Magic you may want to have a tooth pick handy so you can pop any air bubbles. At first the top of your coaster may look ”cloudy” but that’s ok because it will dry completely clear. After you finish applying the Dimensional Magic set your coaster aside to dry for 24 hours.

Keep repeating this process with your other coasters.

When the Dimensional Magic is completely dry, you are ready to start using your new coaster set!

DIY Sequin Coaster Set

DIY Sequin Coaster Set

I loved how this DIY Sequin Coaster Set turned out! Now, I want to make a bunch of different coaster sets in different patterns and colors.

With that being said, this sequin coaster set would be a great summer project to make over the weekend with your kids. Personally, I made these coasters in the afternoon and was able to use them (after the Dimensional Magic had dried) the next day. Also, as coasters, they have held up really nicely with both hot and cold drinks.

This project could be customized with any color scheme that you’d like, of course. If you made this DIY Sequin Coaster Set, what new 28 Lilac Lane Premium Sequin Tin would you use?

SaveSave

0

Simple Christmas Cards with Buttons

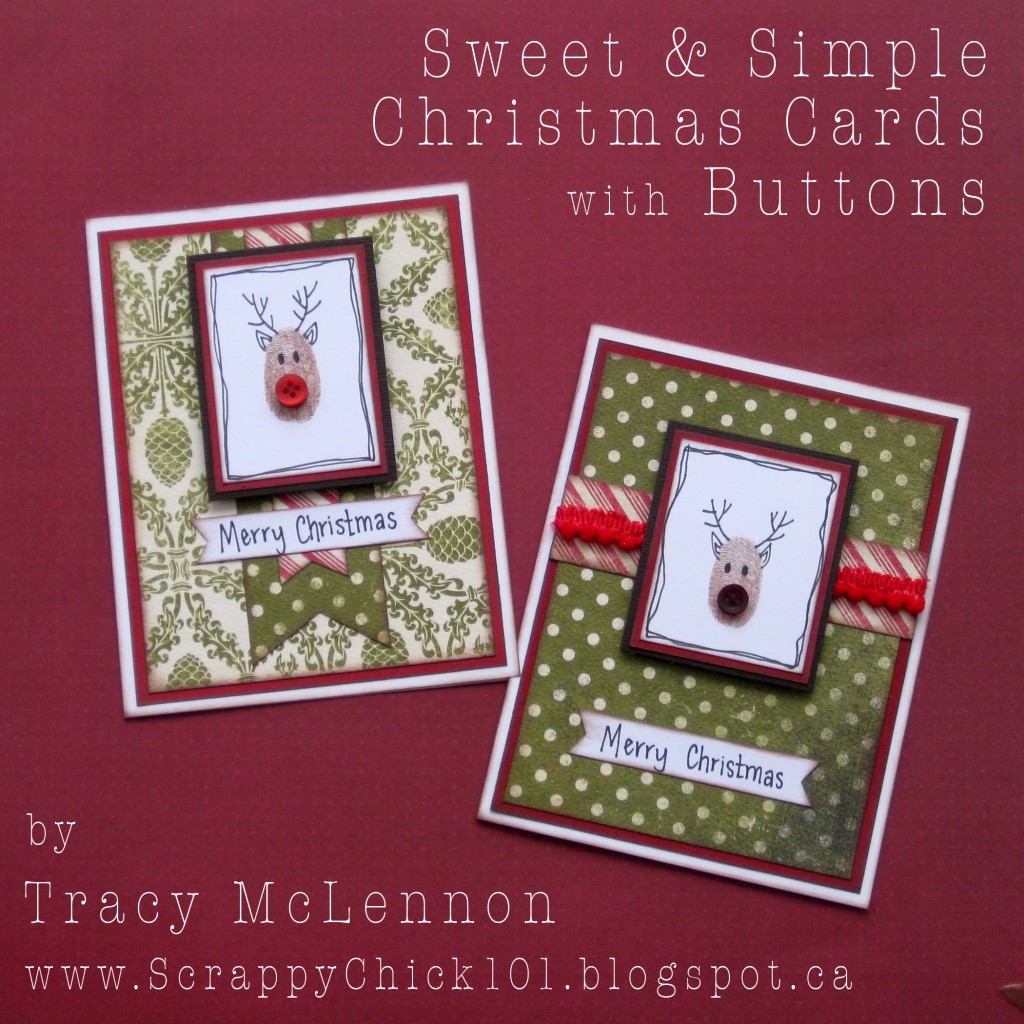
Do you need some Quick and Simple Christmas Cards to finish your Holiday To Do List? Well as luck has it, I am sharing some Quick and Simple Christmas Cards with Buttons.
IMG_8033

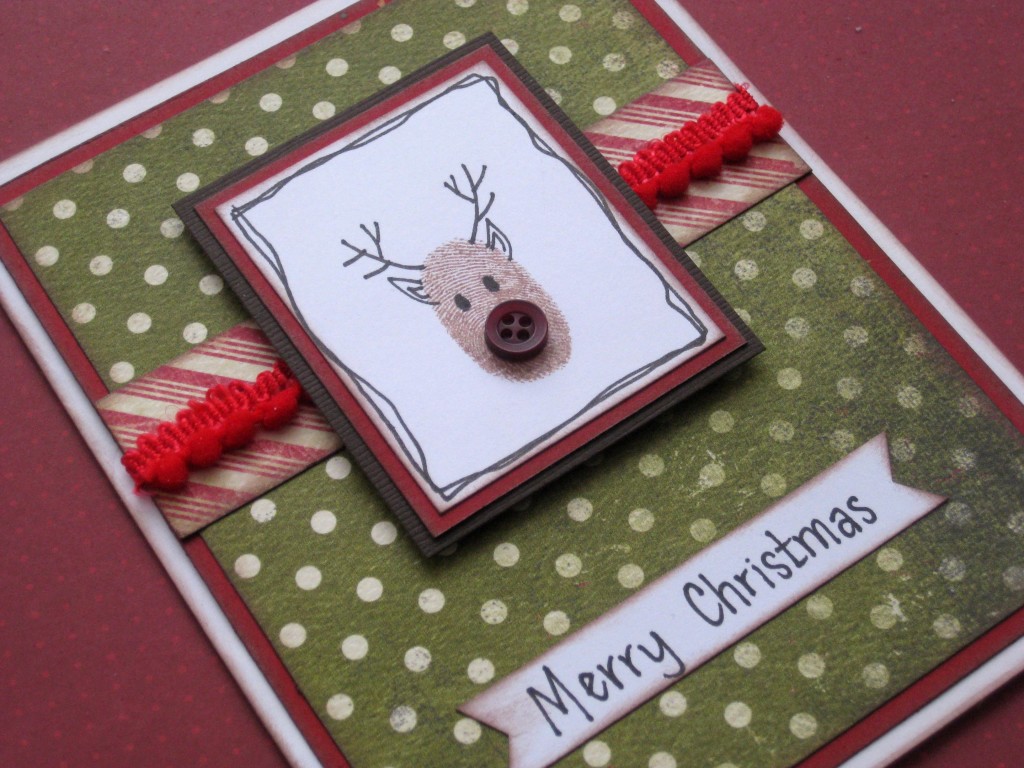
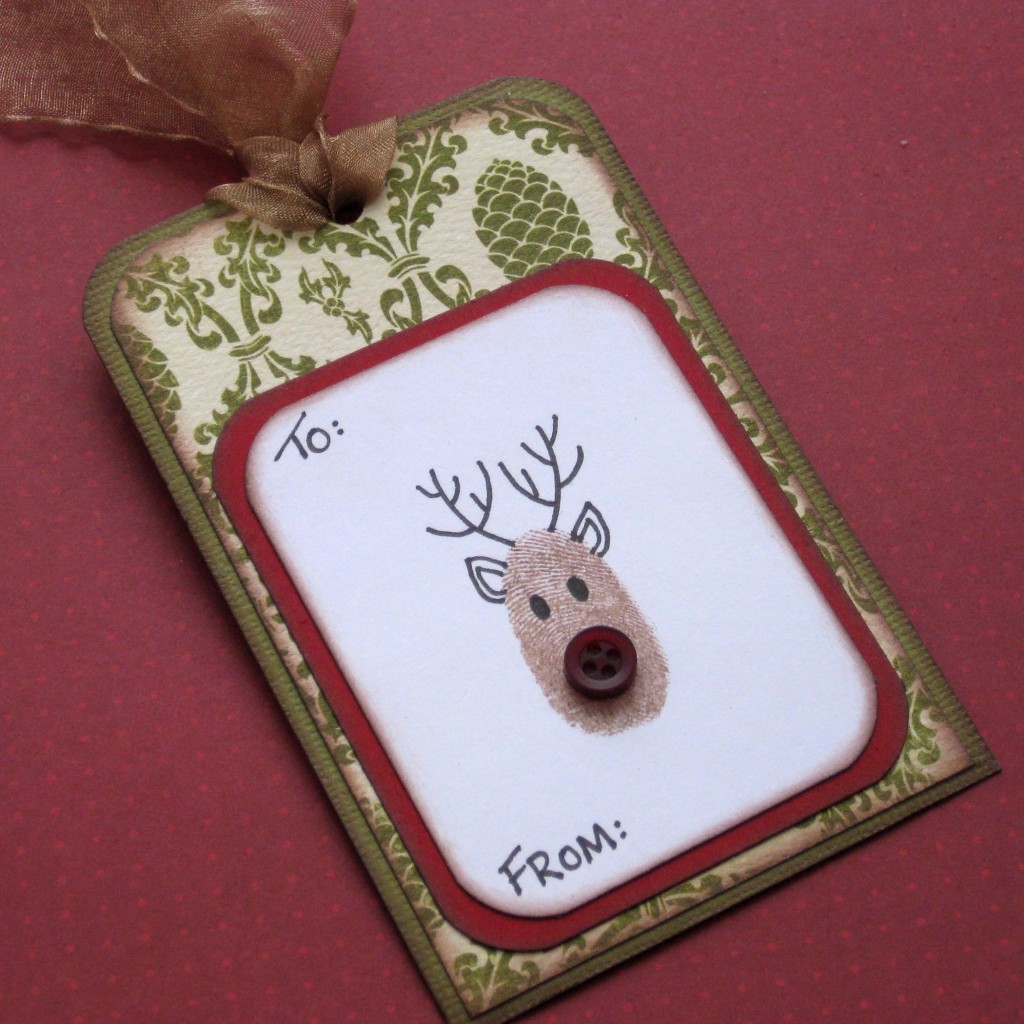
These first few Simple Christmas Cards were created with a very simple concept. My thumbprint using brown ink. I then added some simple doodles to create them into cute little reindeer. Once I added a single button for the nose, it was complete.

IMG_8038

The images on these Simple Christmas Cards could also easily be Christmas Tags for someone special.

IMG_8040

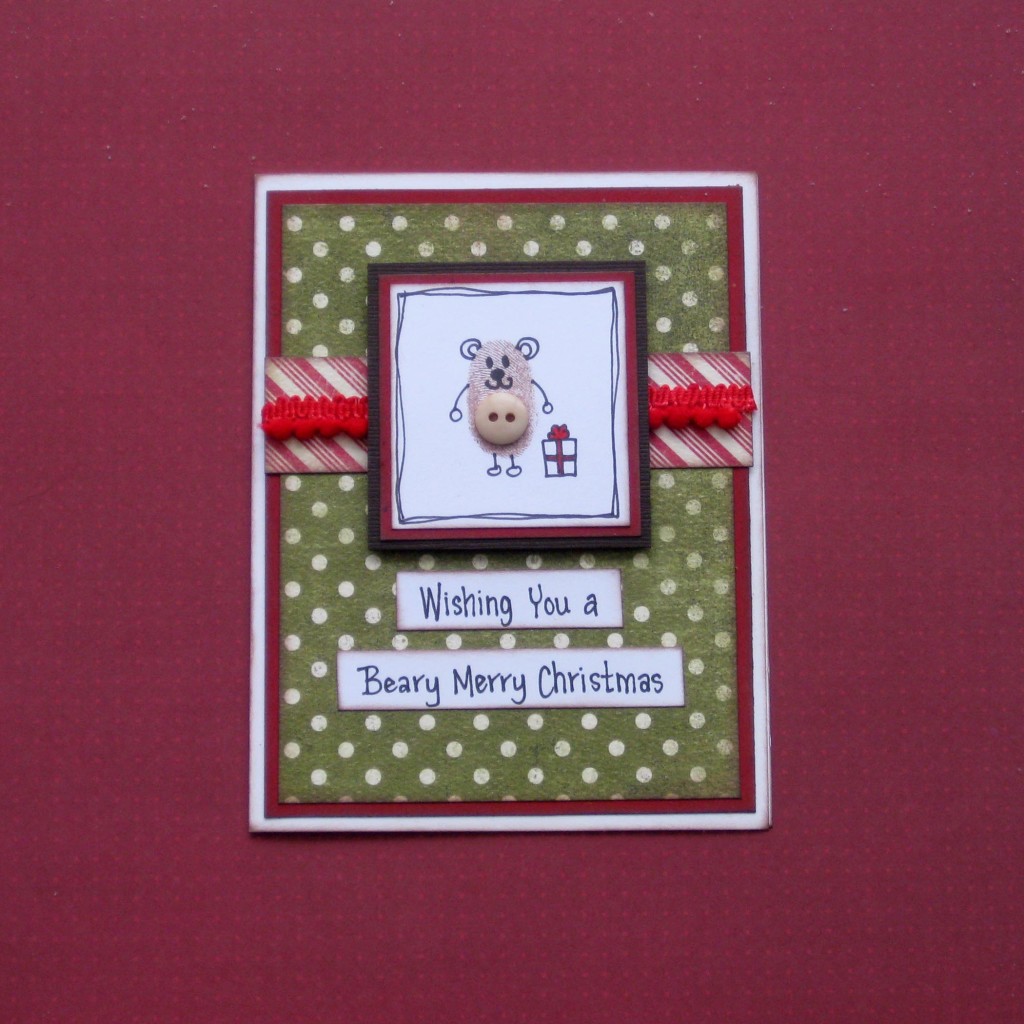
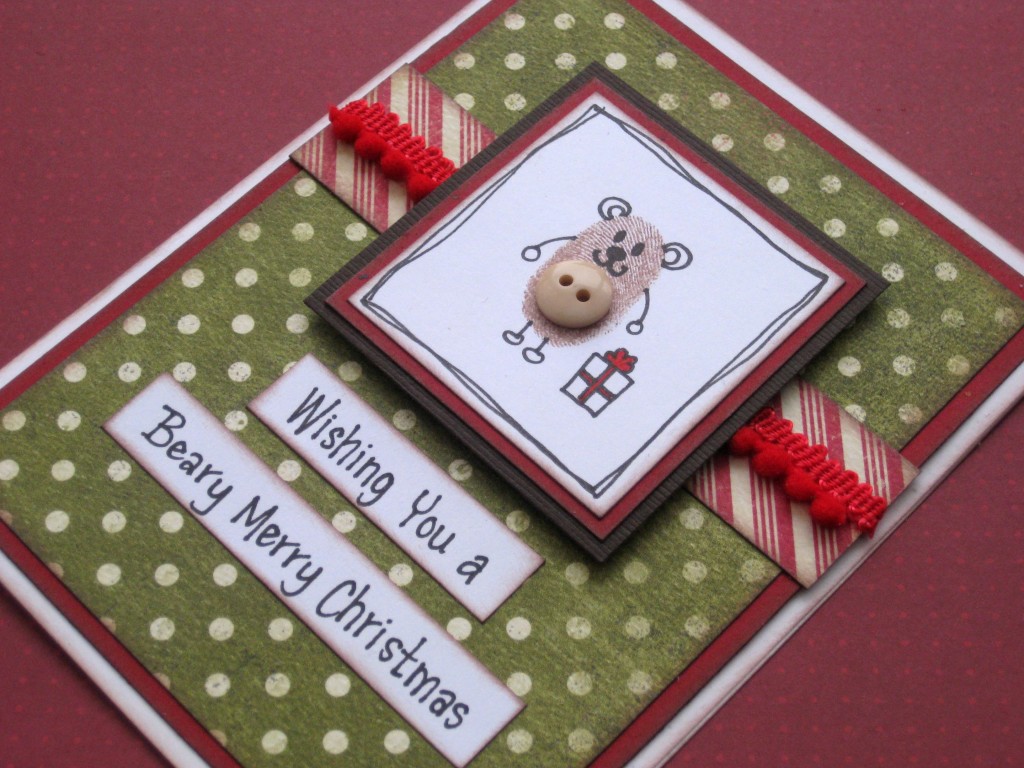
If you thought the little reindeer was cute, how about this sweet little bear? I added a plain cream button for his little bear belly. My sentiments are handwritten. “Wishing You a Beary Merry Christmas”

IMG_8042

Project Materials for Simple Christmas Cards with Buttons:

IMG_8045

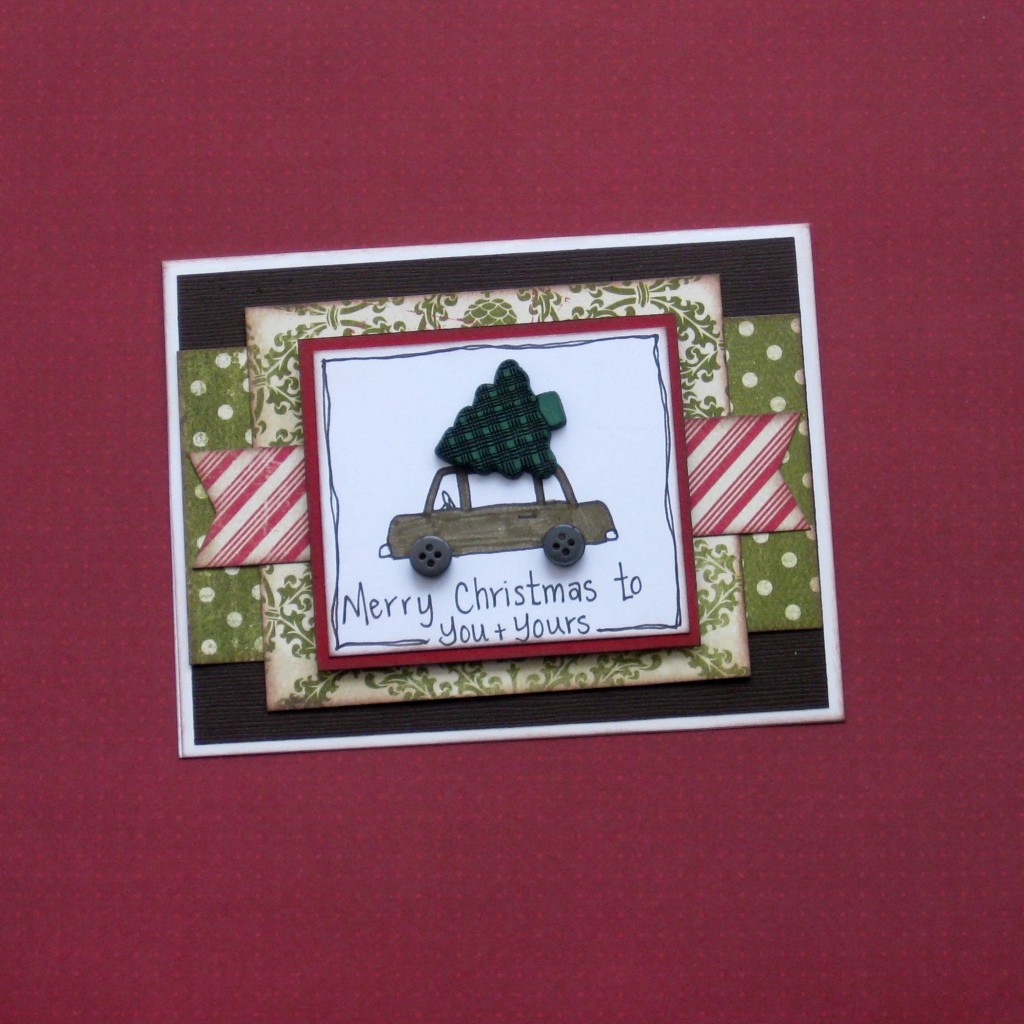
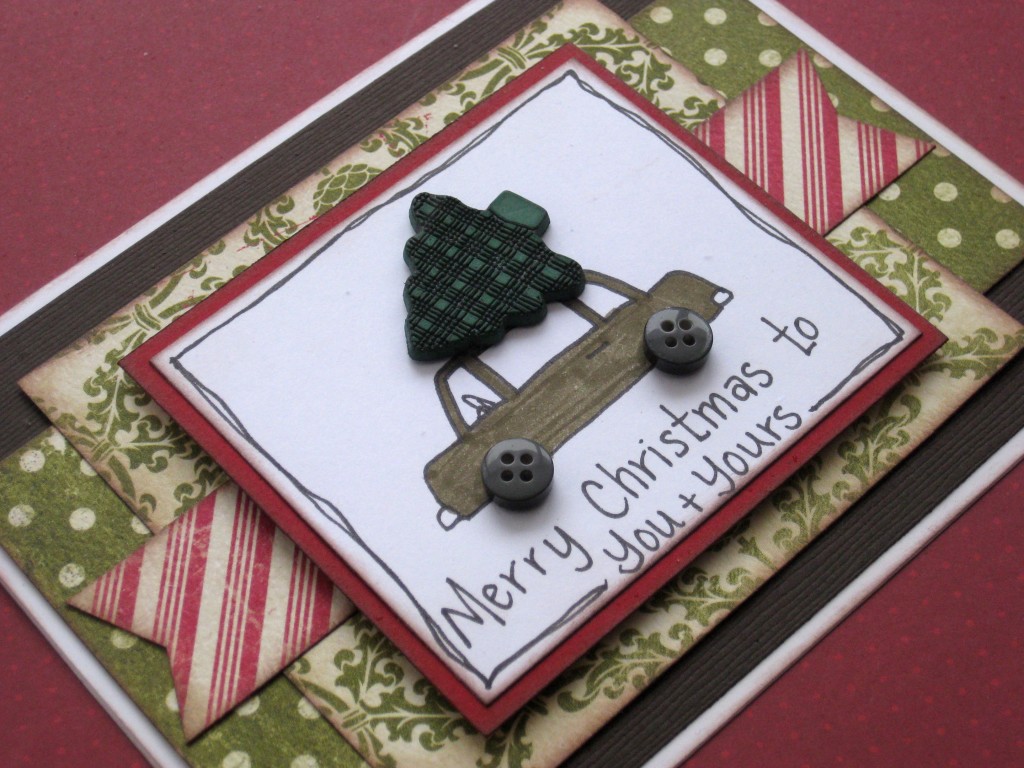
This final card of my Simple Cards started with a doodle of a car. I just added buttons for tires, and one of the tree shaped buttons from the Noel Button Mix on the top.

IMG_8035

IMG_8036

Thank you so very much for stopping by, and all the best in your Holiday crafting!

hd-coupons-2

Click here to see this week’s special coupons. See special buys here.

1

Powered by WordPress. Designed by WooThemes