
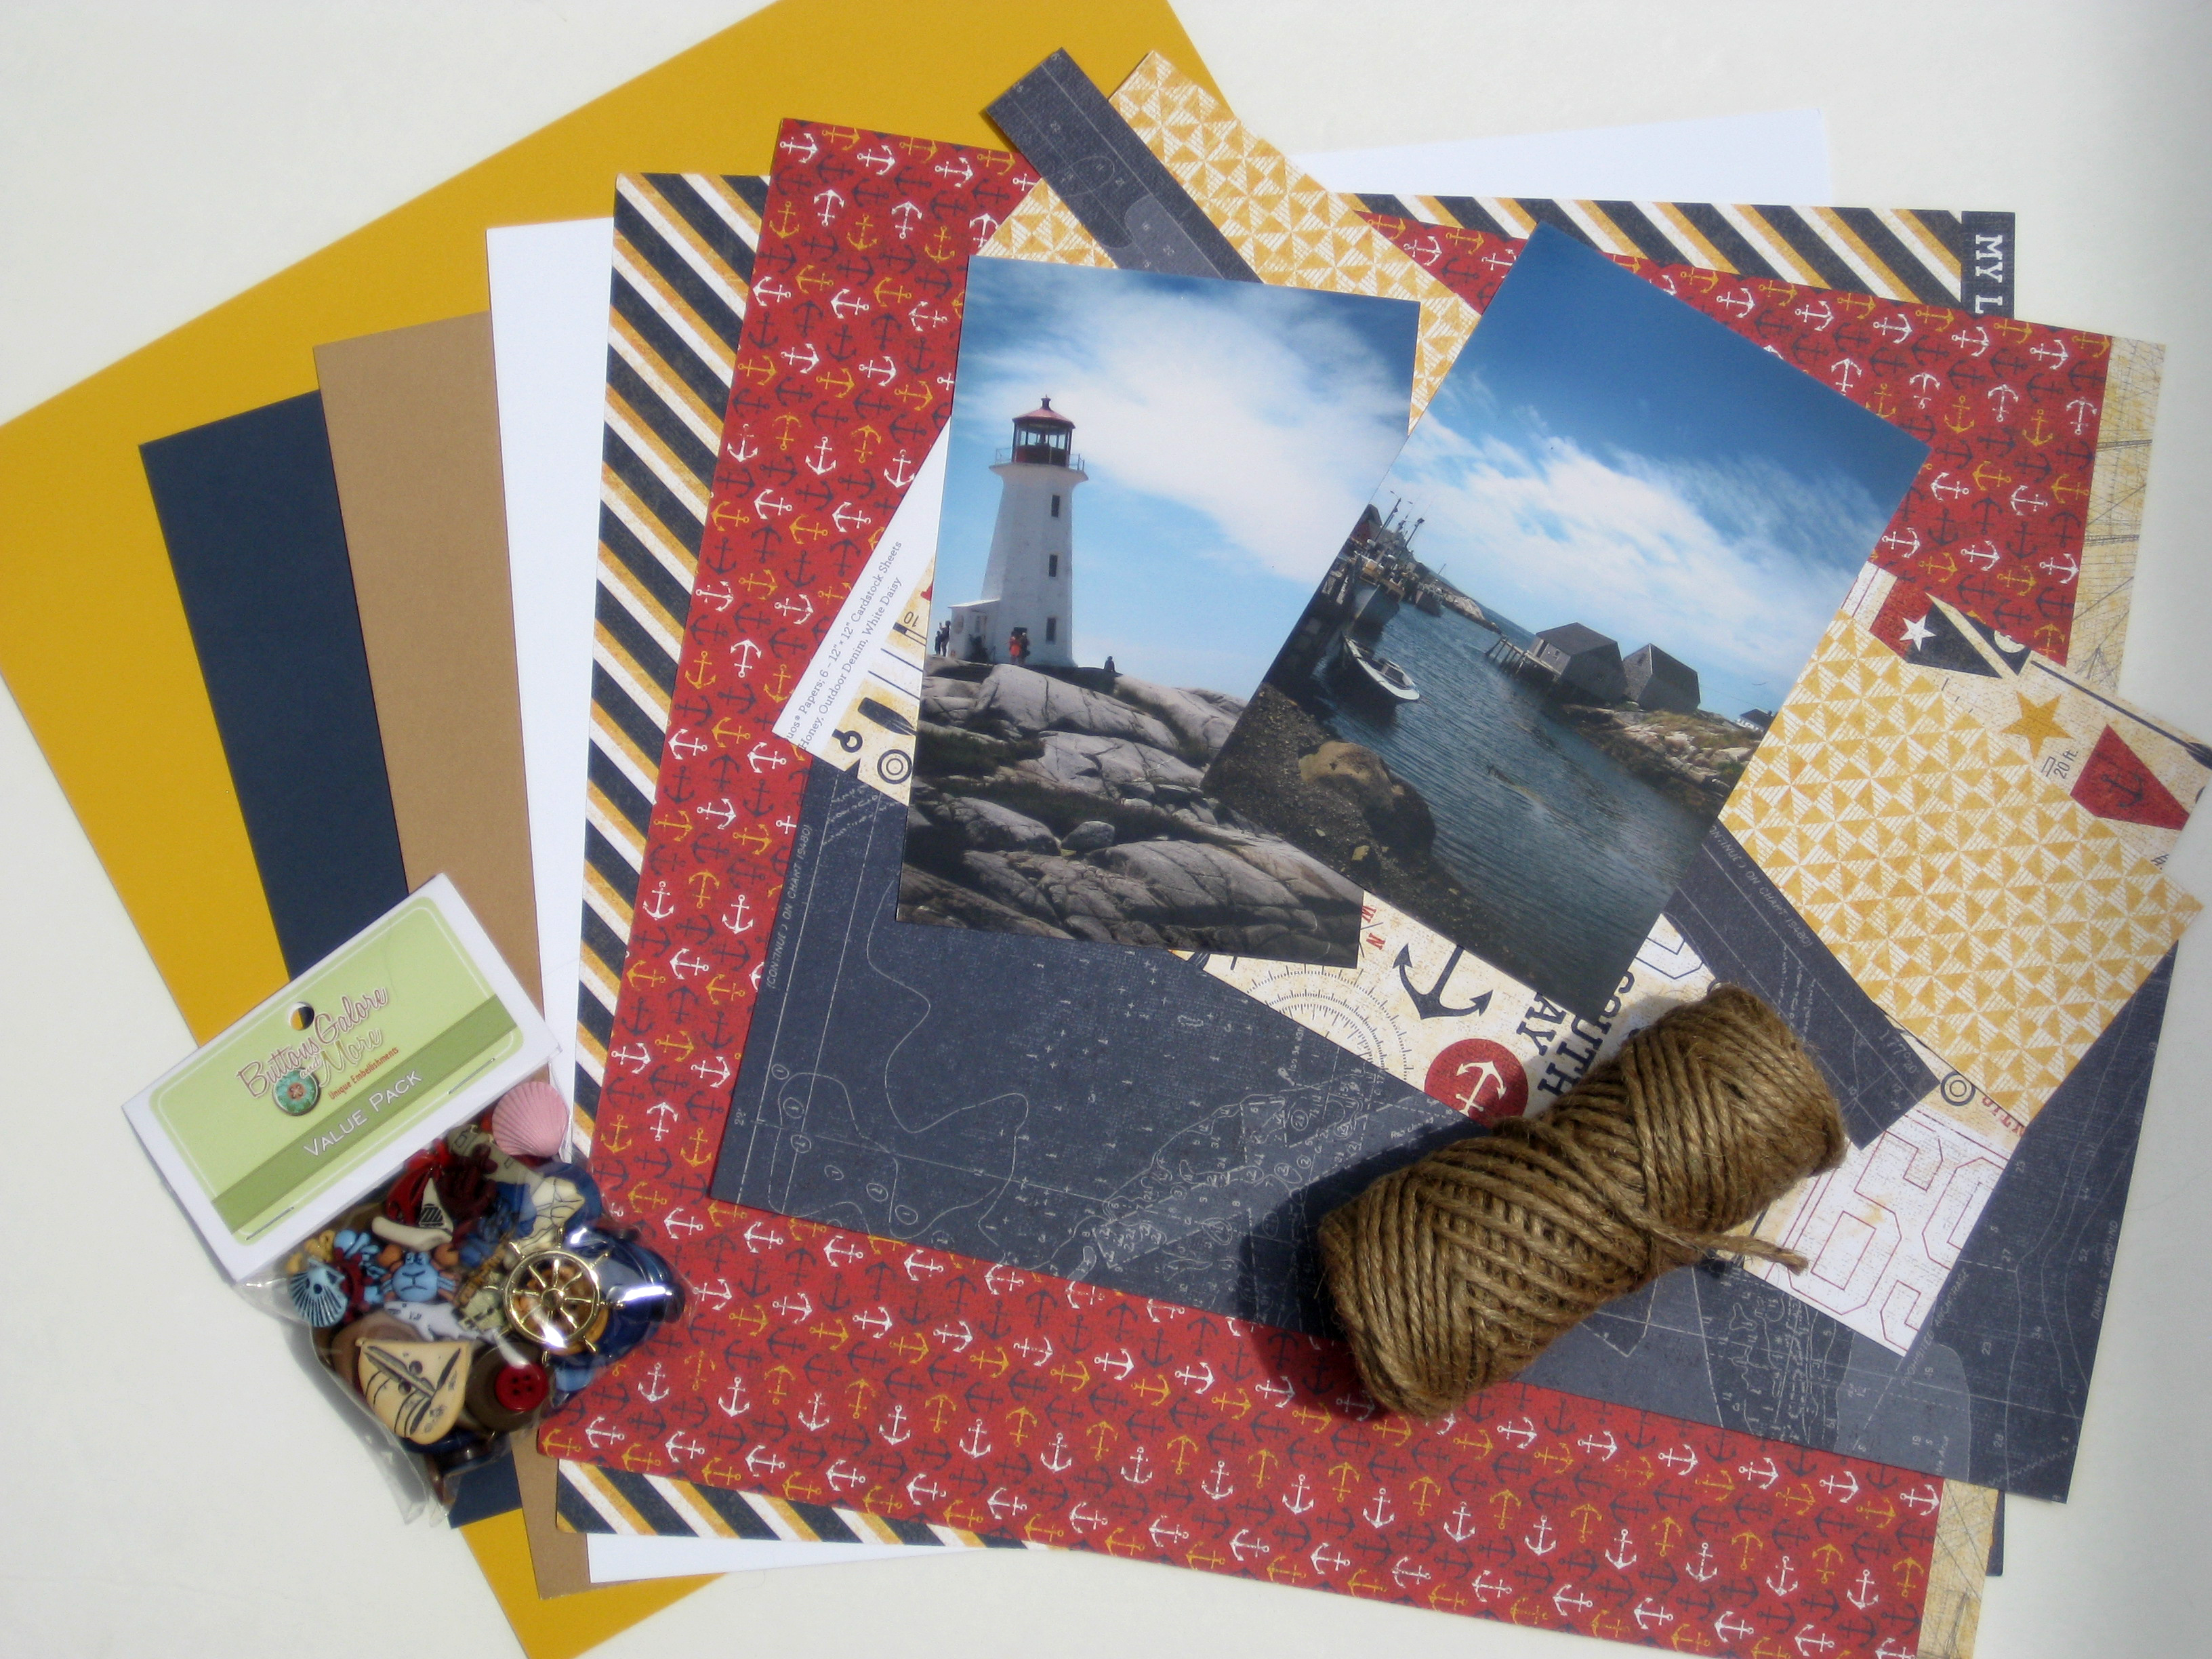
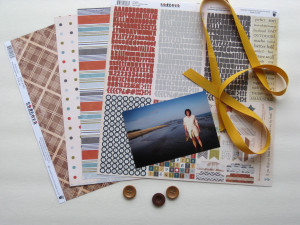
Hi, Connie here hosting the Buttons Galore and More blog today! I have a really cute scrapbook page to share using the Pirate’s Life Embellishment Kit by 28 Lilac Lane. This was such a fun kit to create with and couldn’t have been more perfect to create a scrapbook page with for the photos that I had.
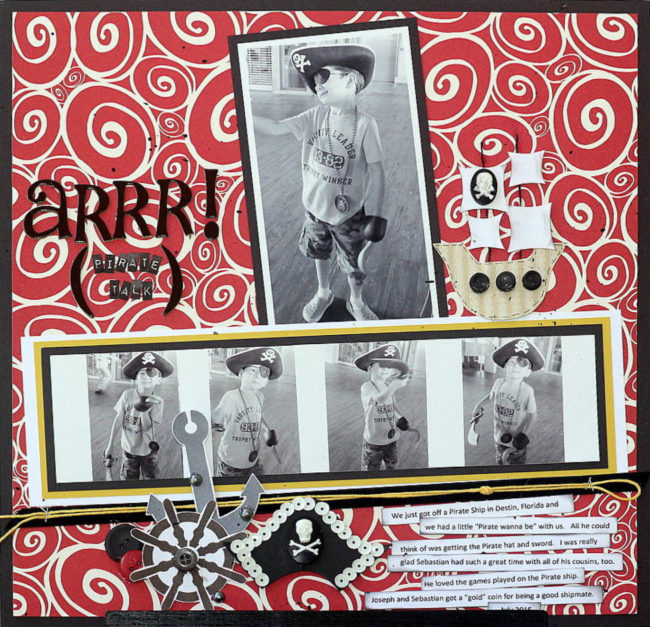
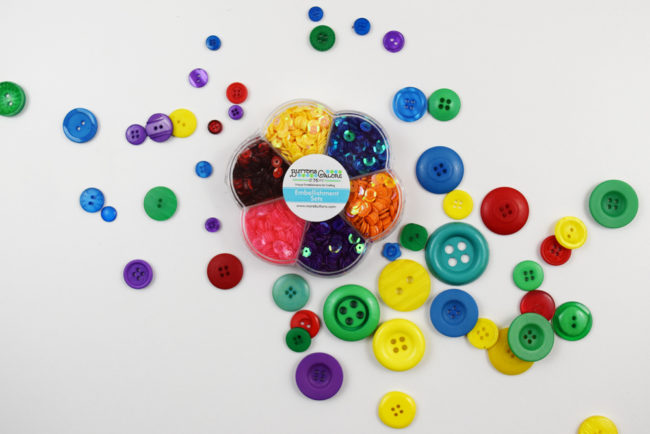
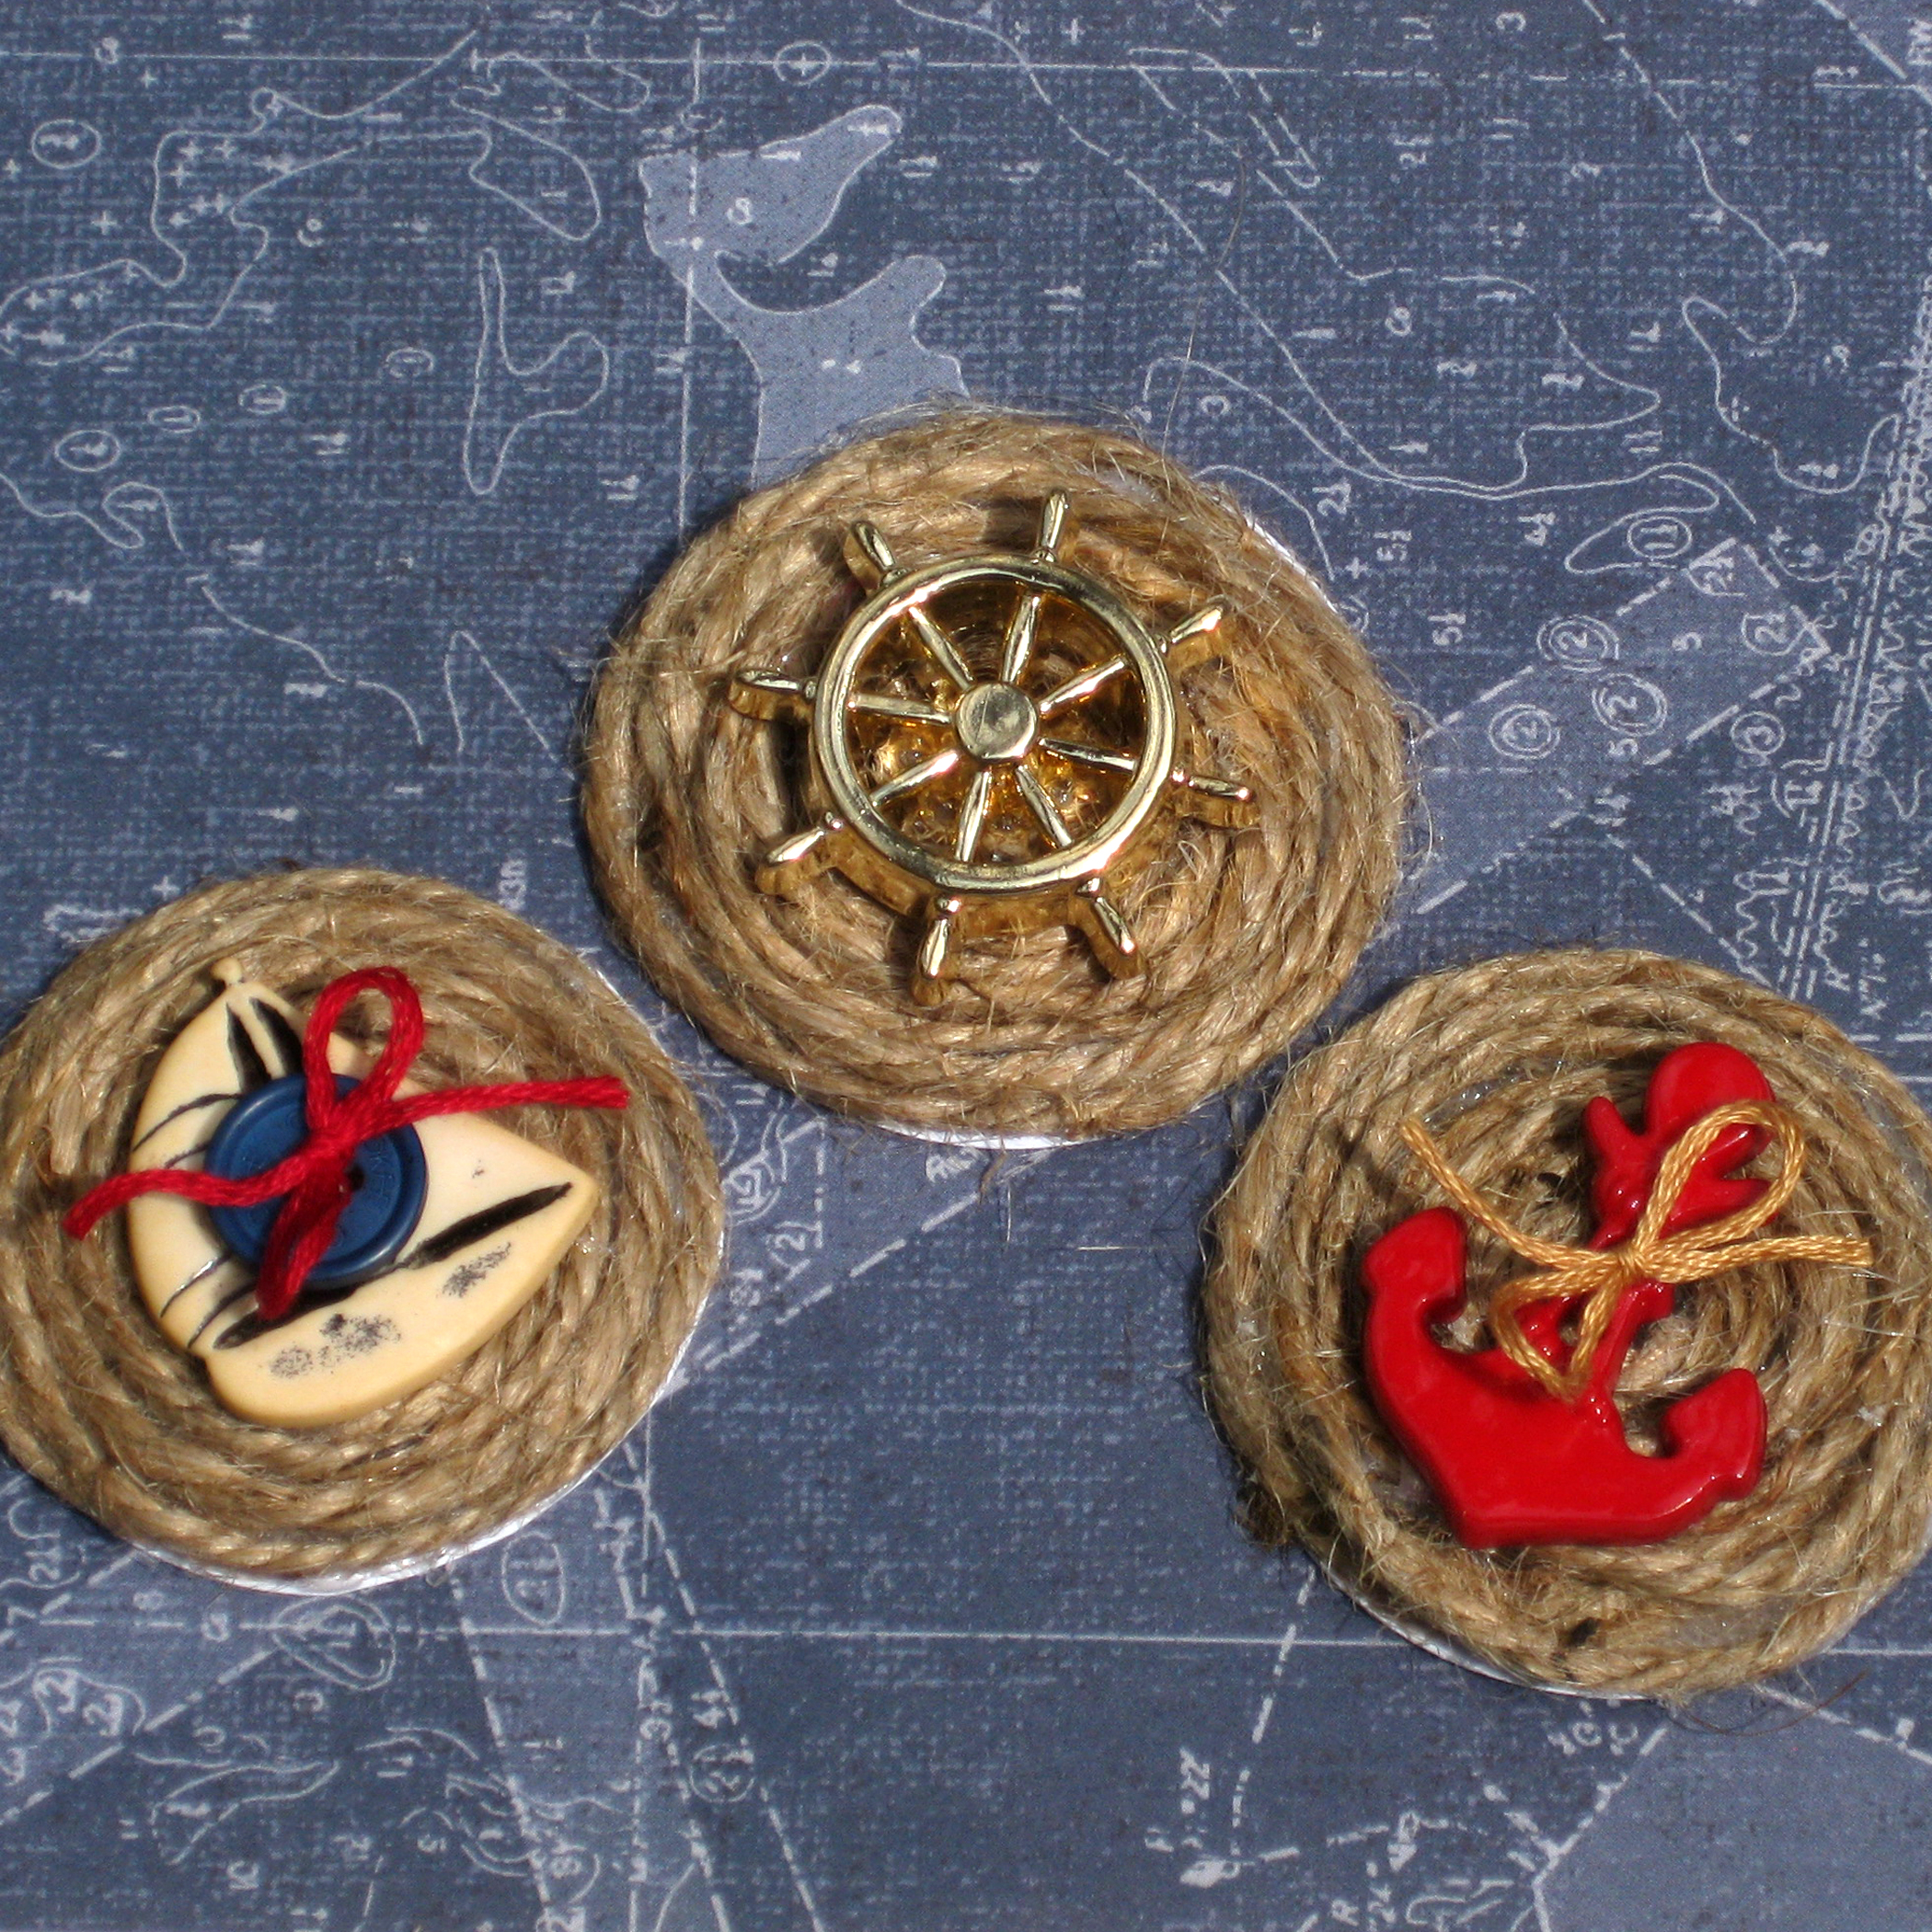
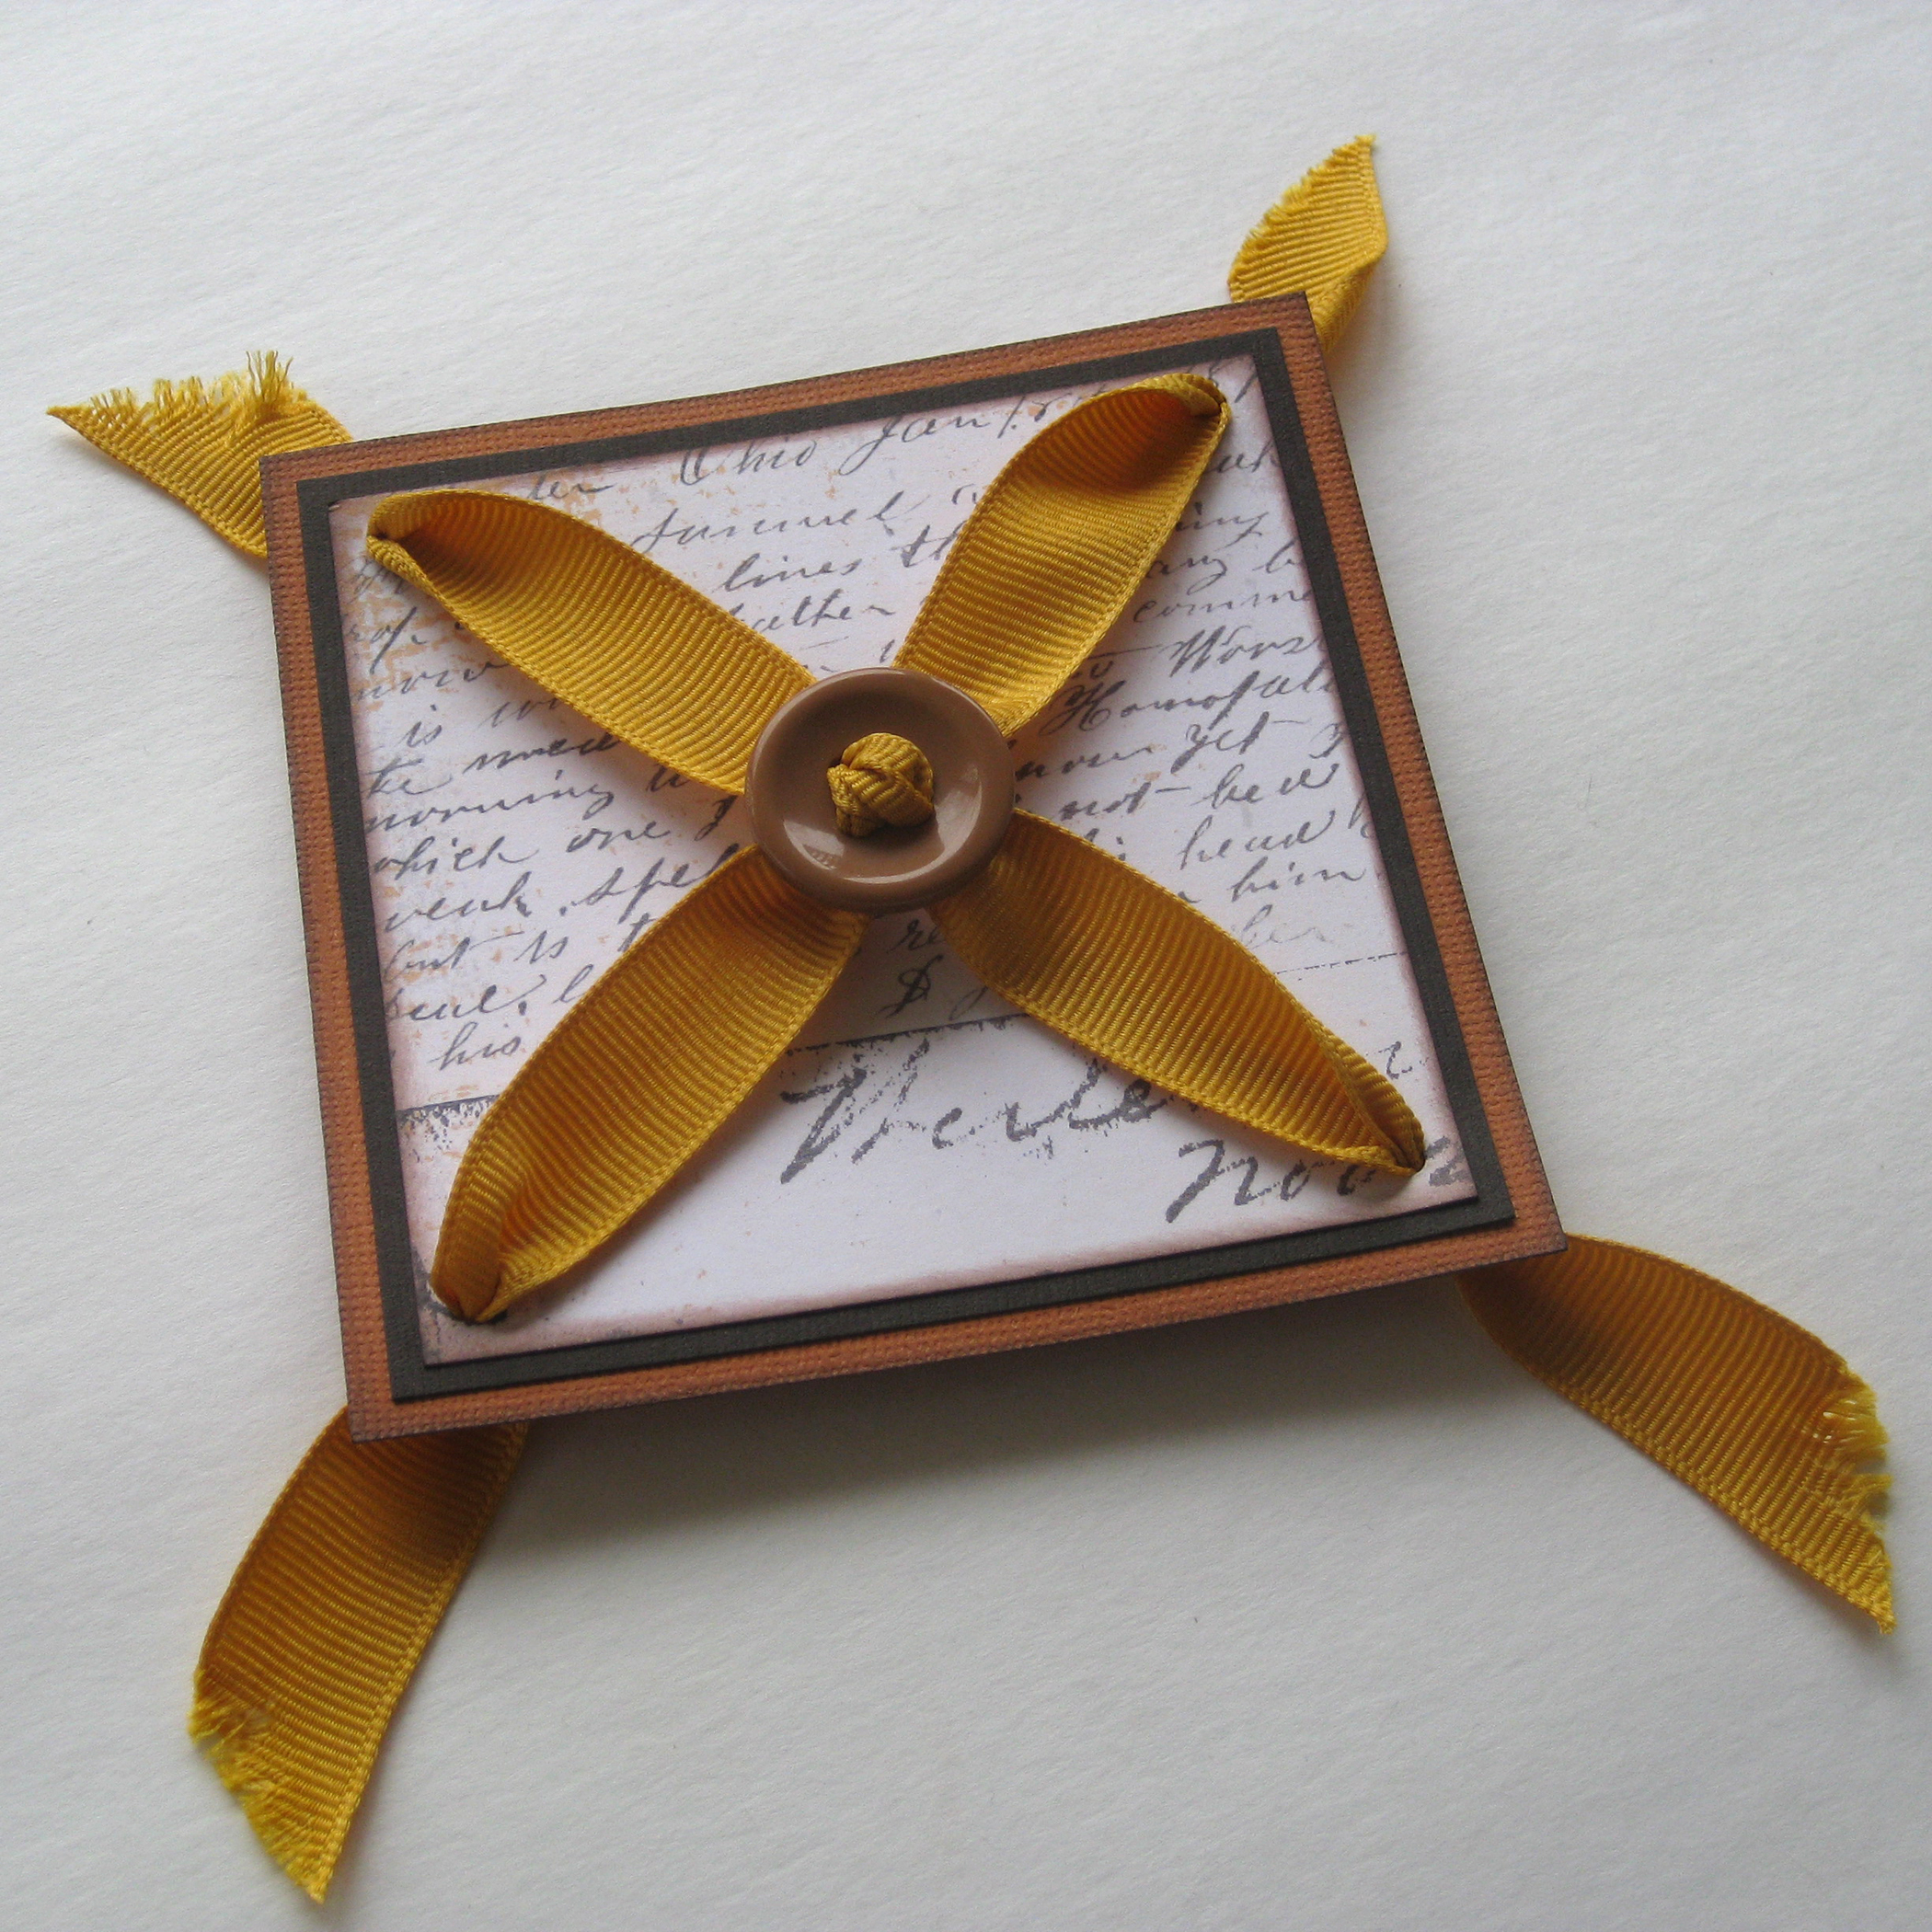
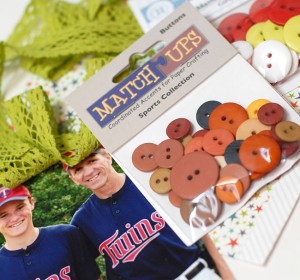
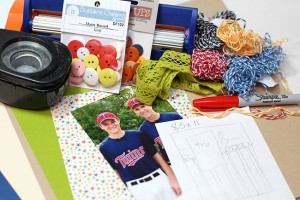
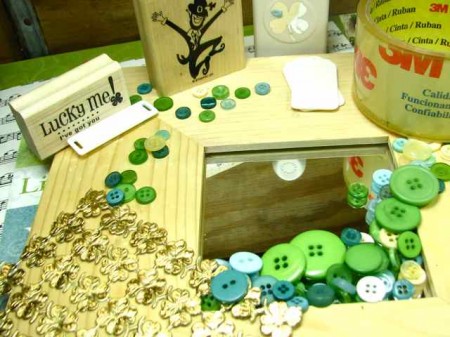
The Pirate’s Life embellishment kit by 28 Lilac Lane includes buttons, sequins, velvet trim, a charm, small seed beads and pirate skull embellishments. I used the Pirate’s Life kit to create my page accents and it was really fun. I looked up pictures of pirate images. Then I hand drew them out on cardstock, cut them out, and embellished them with the contents in the Pirate’s Life kit.
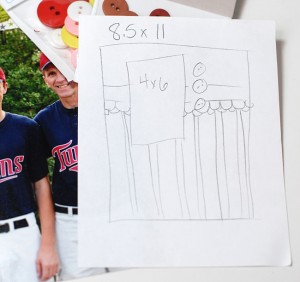
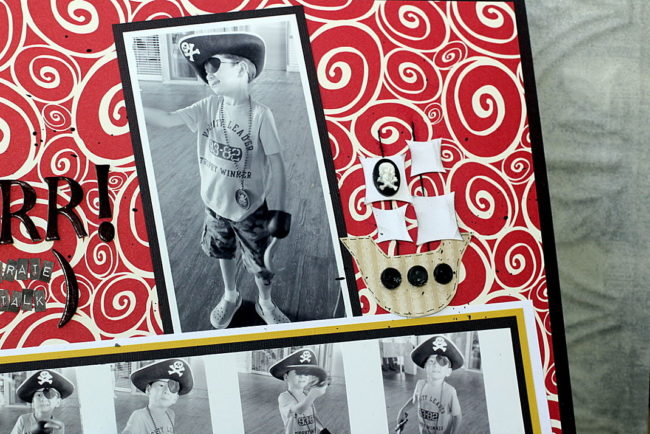 The first embellishment I created was the pirate ship. Drawing a pirate ship can be kind of scary when you’re not sure what one looks like to begin with. When you have a picture in front of you, it’s not so hard at all! Once the pirate ship was created from pattern paper and buttons, it was ready to put in place on the scrapbook page. It’s amazing what can be created with paper and buttons!
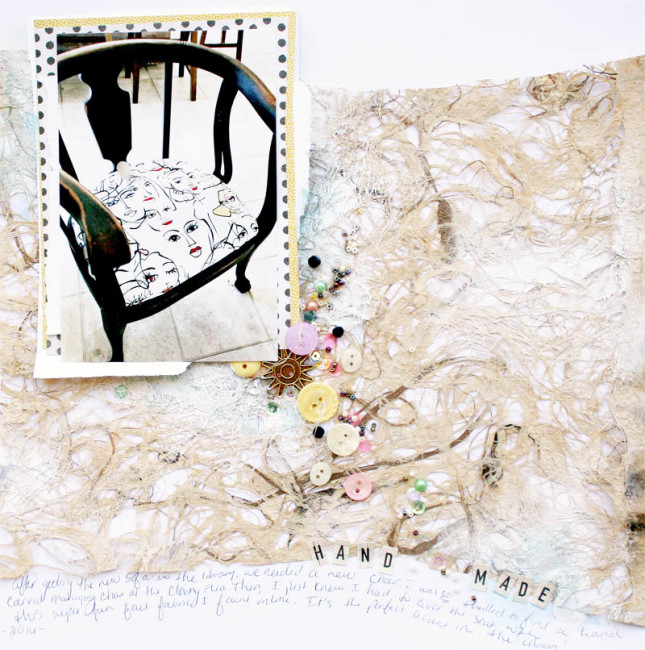
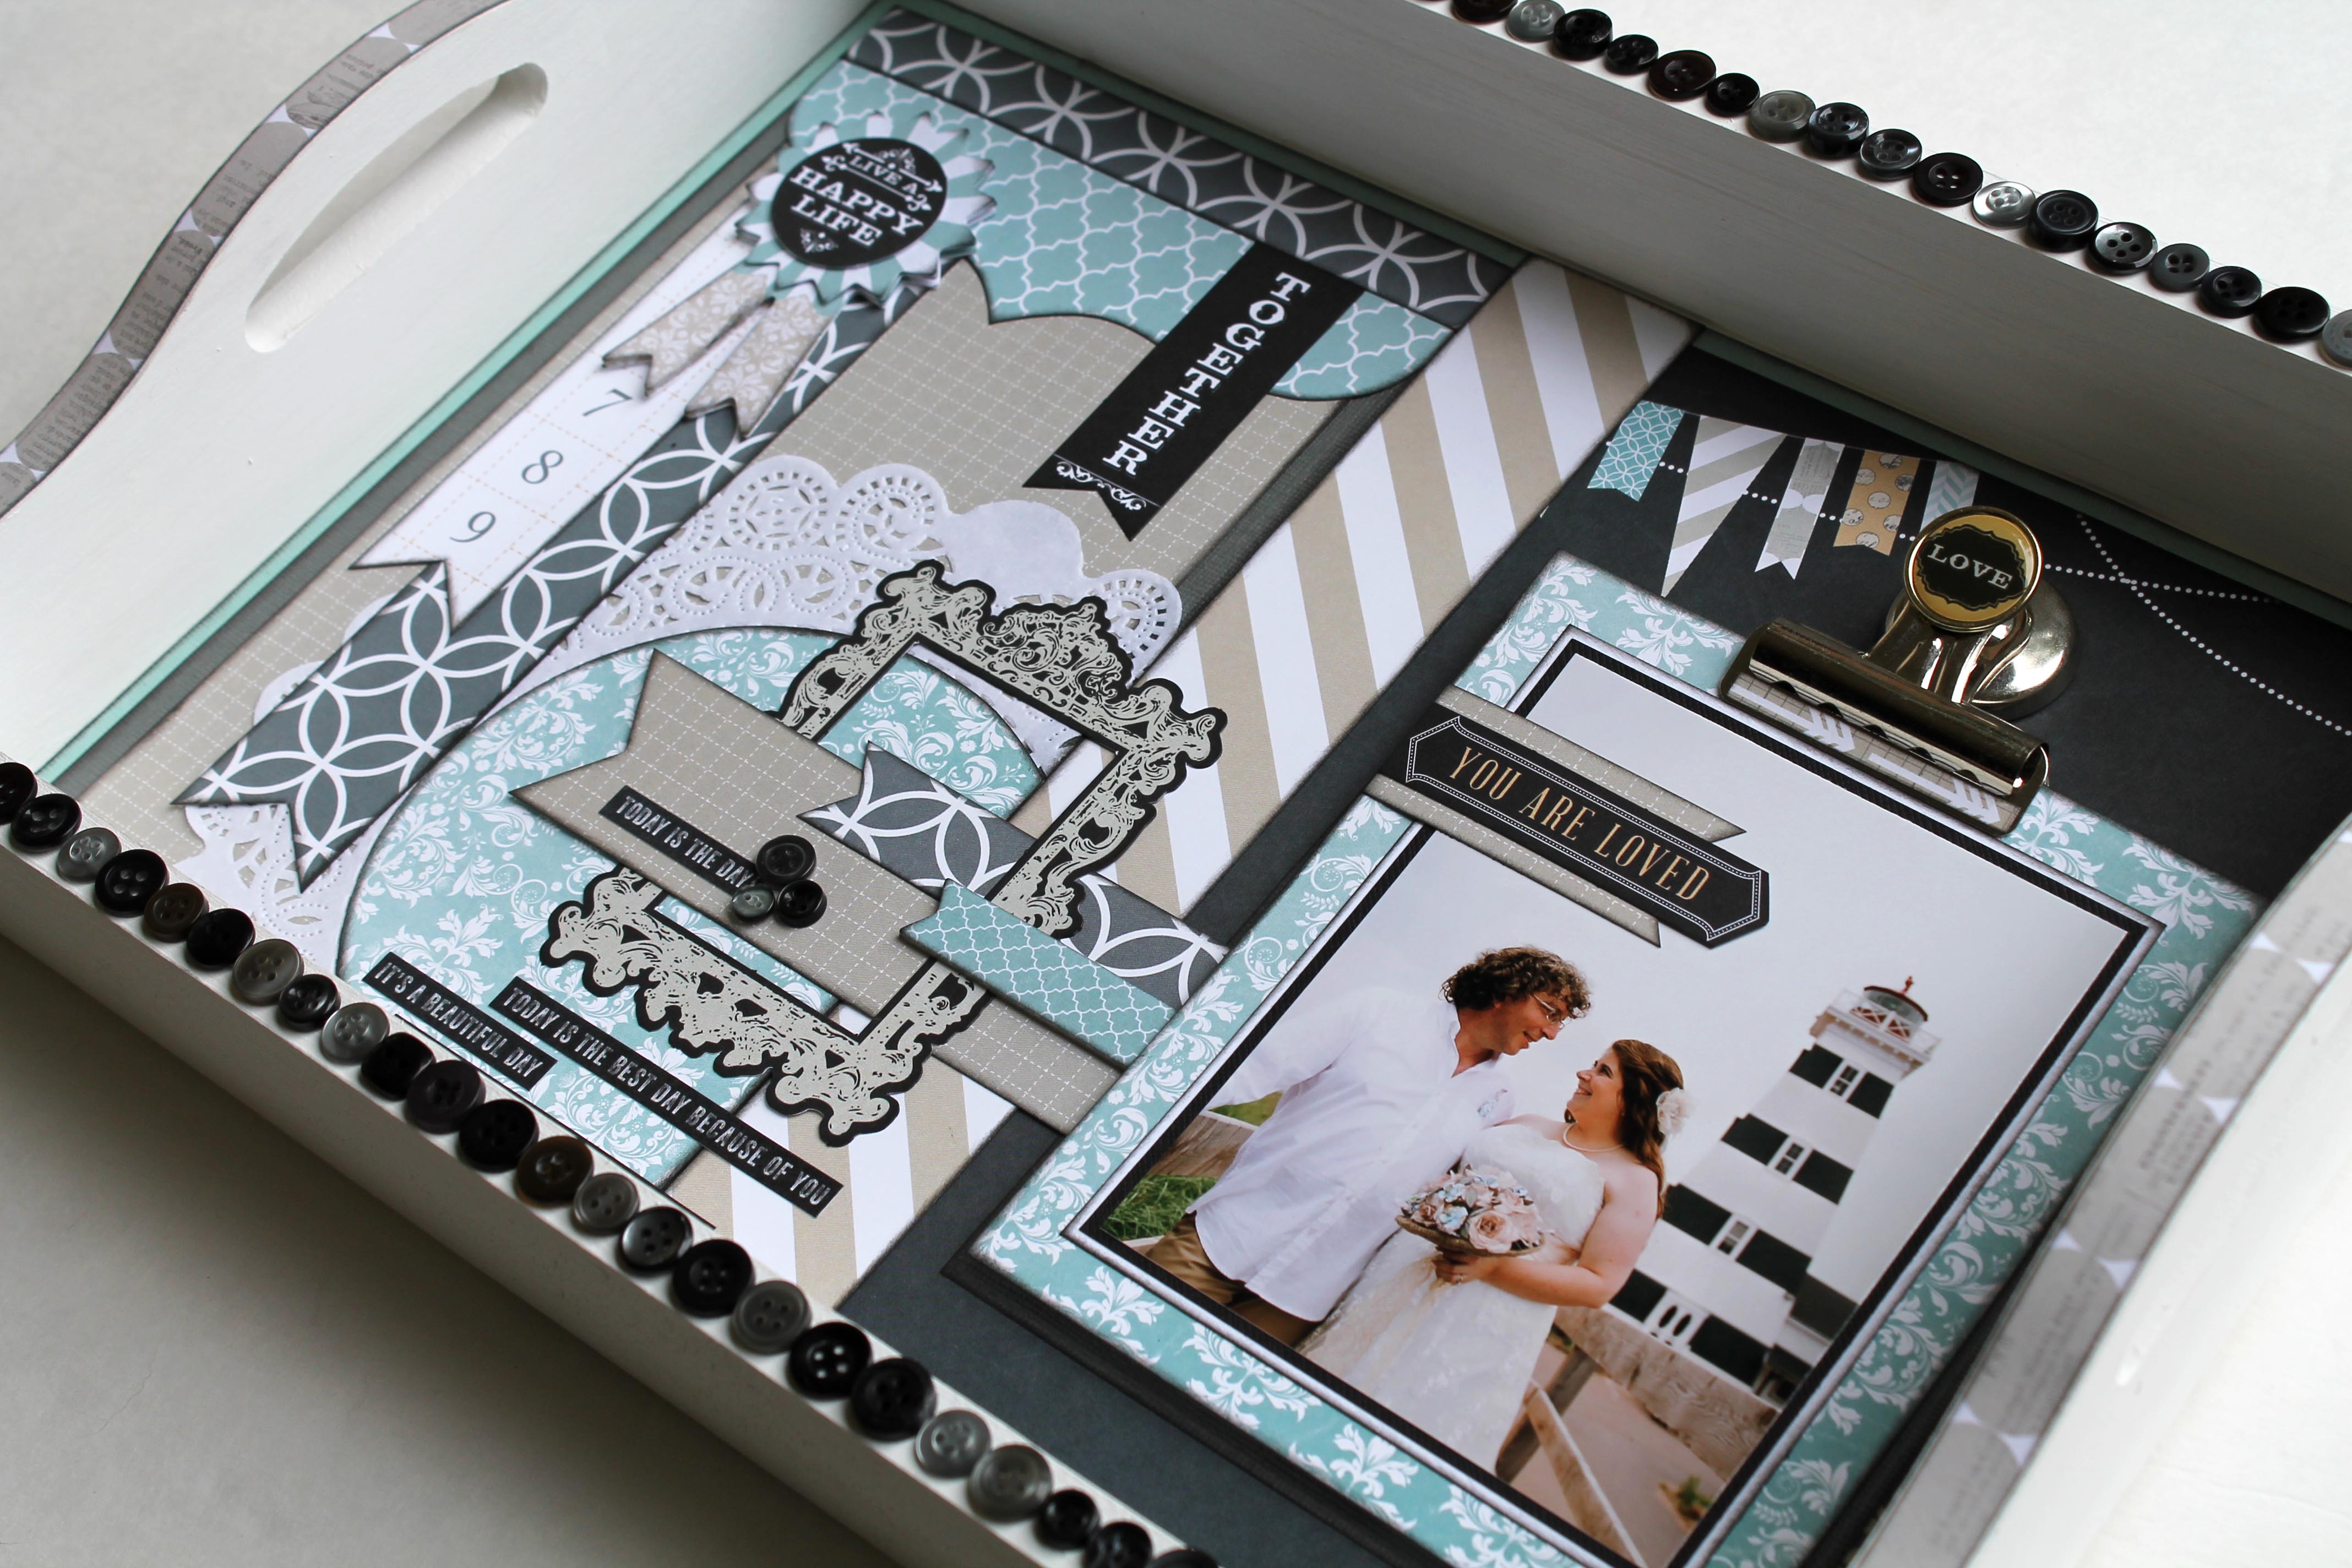
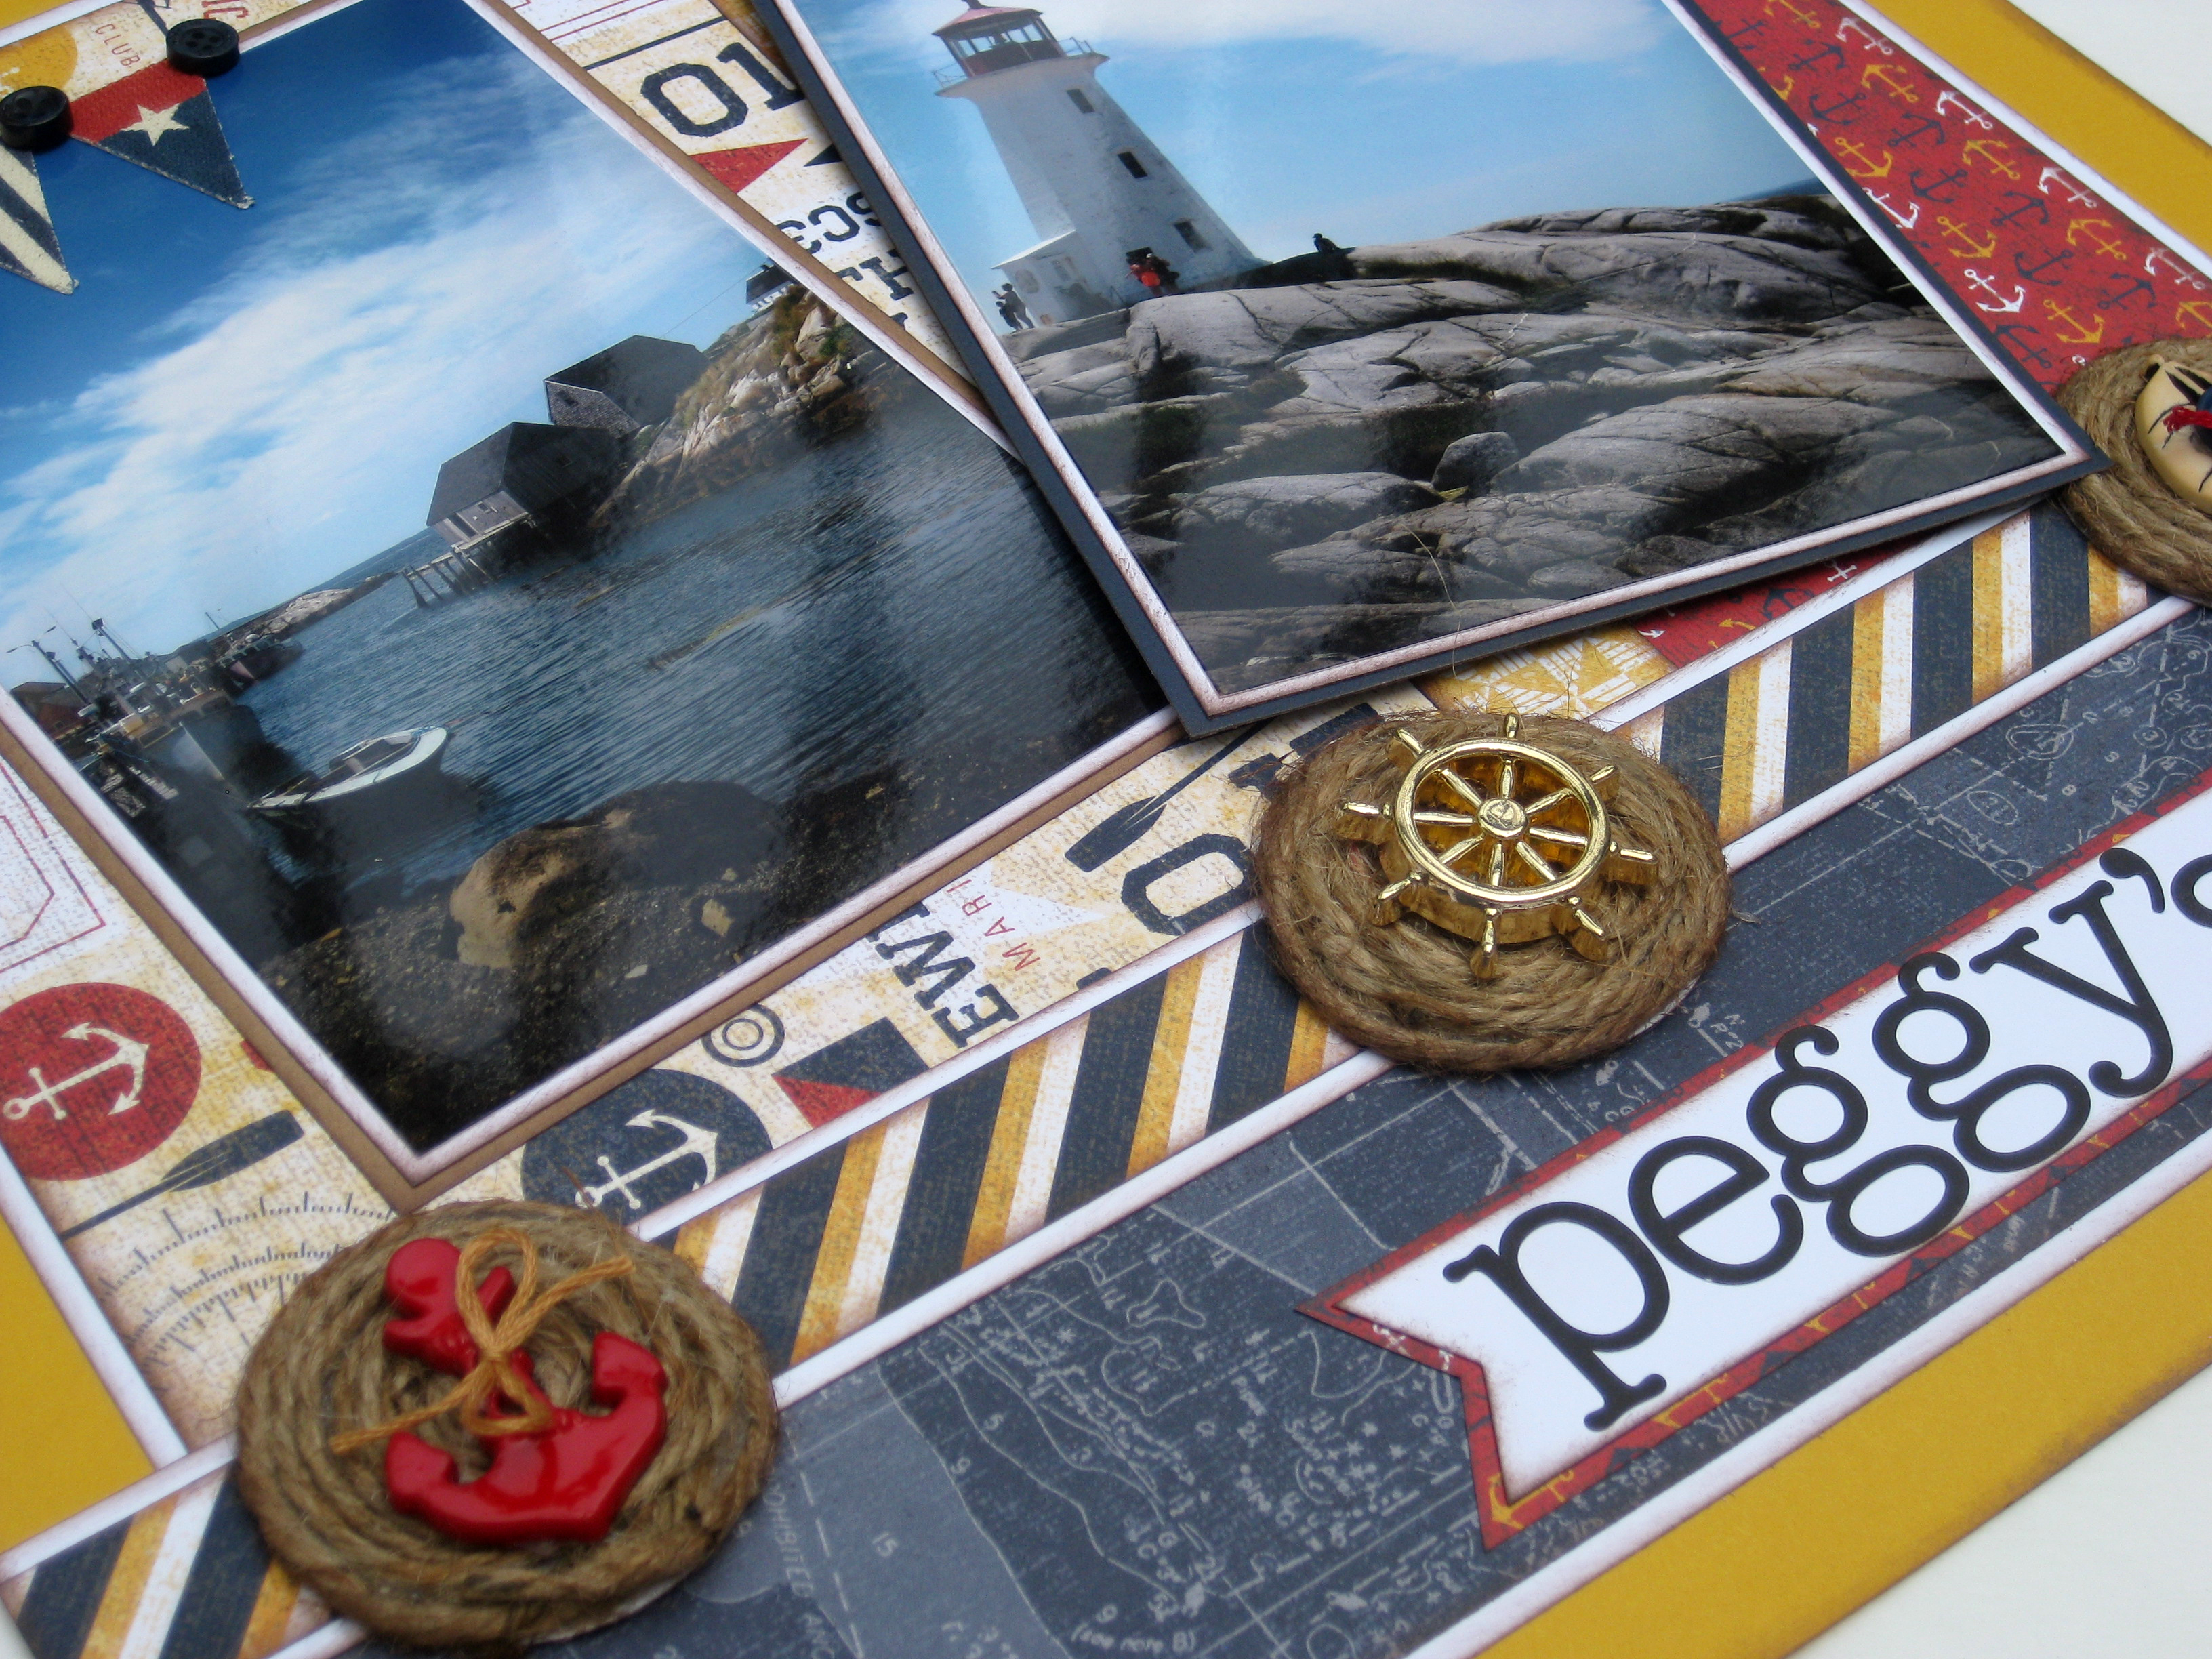
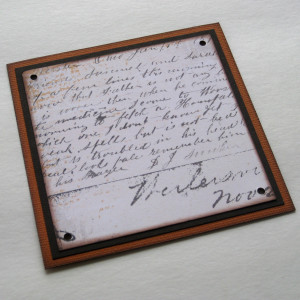
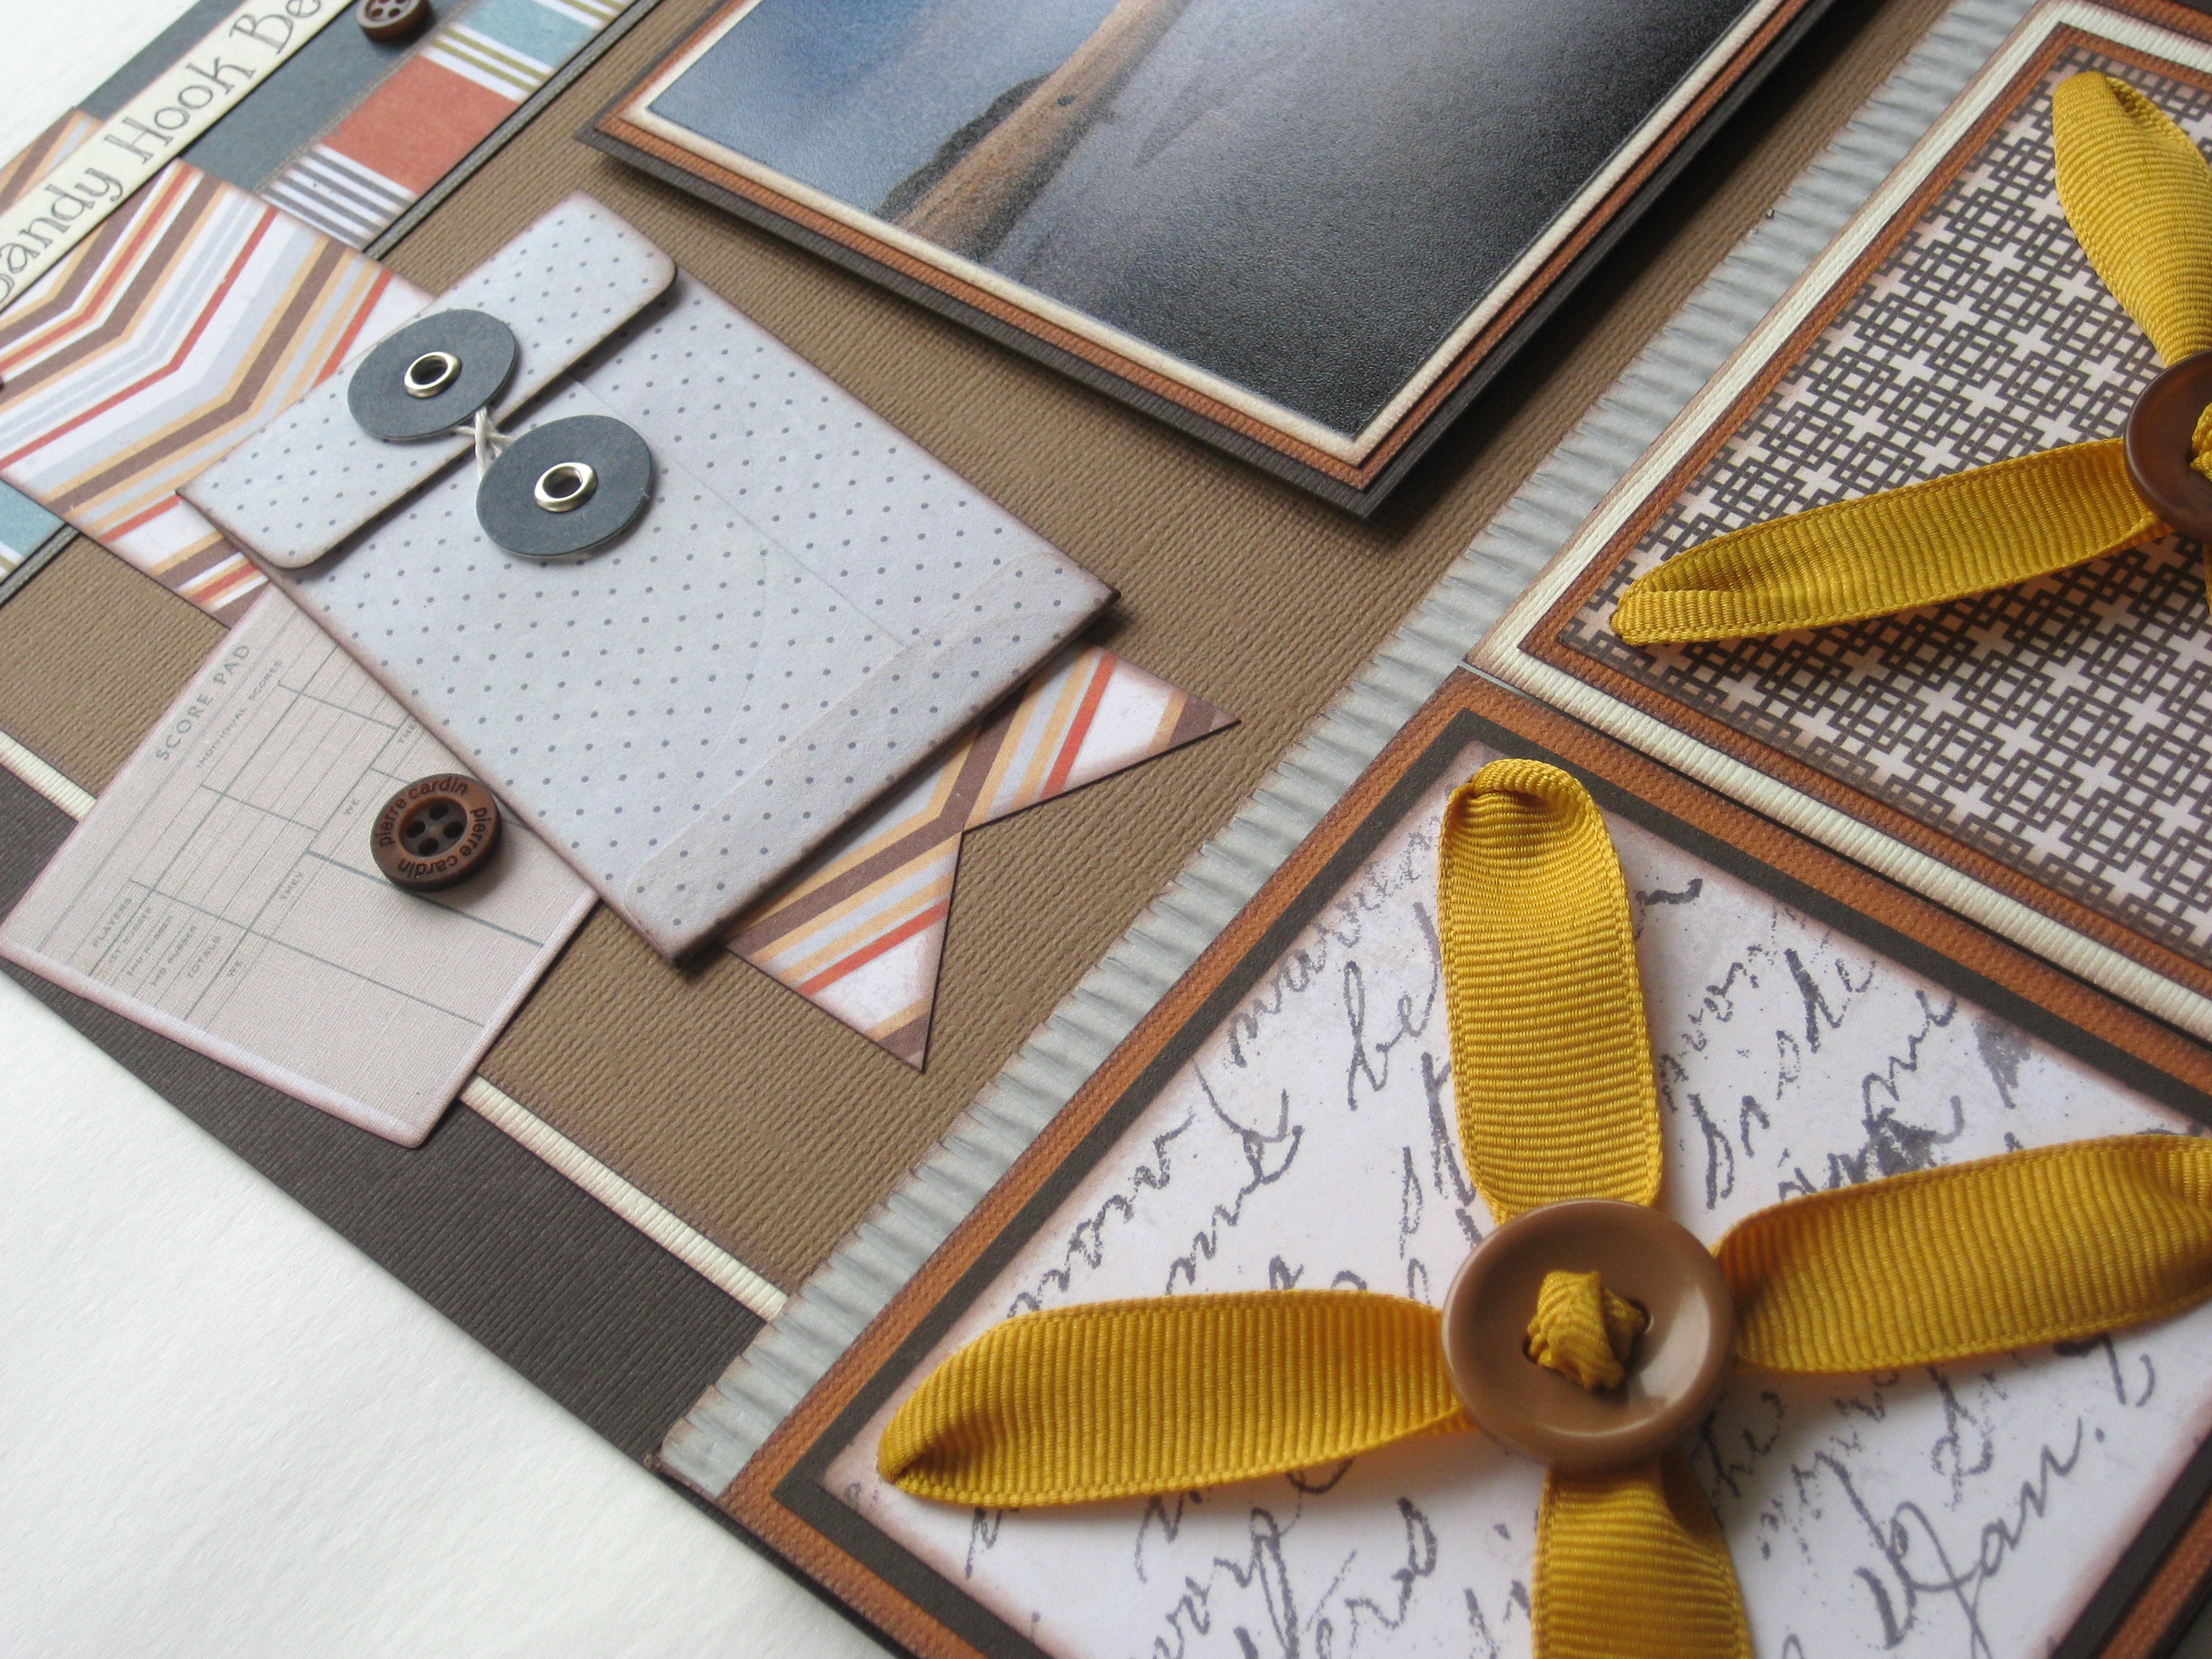
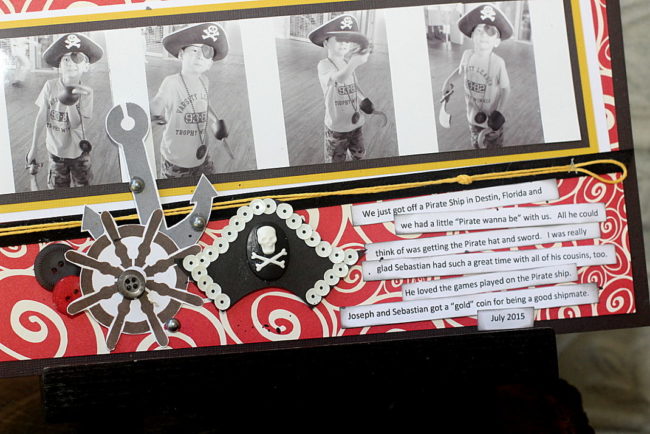 The next embellishment to be created was the pirate’s hat. I traced the outline of the hat on cardstock and then embellished it with sequins and the pirate skull from the 28 Lilac Lane “Pirate’s Life” kit. The embellishment cluster was enhanced with grey pearls from the kit as well. The black velvet trim was added below the film strip of black and white photos and I tucked in a few large buttons in the bottom pirate cluster also. Next, the journal text was created and added to the side of the Pirate cluster.
I hope you are encouraged to create unique, one-of-a-kind embellishments for your craft projects using the embellishment kits by 28 Lilac Lane!
Supplies used:
- 28 Lilac Lane “Pirates Life” embellishment kit
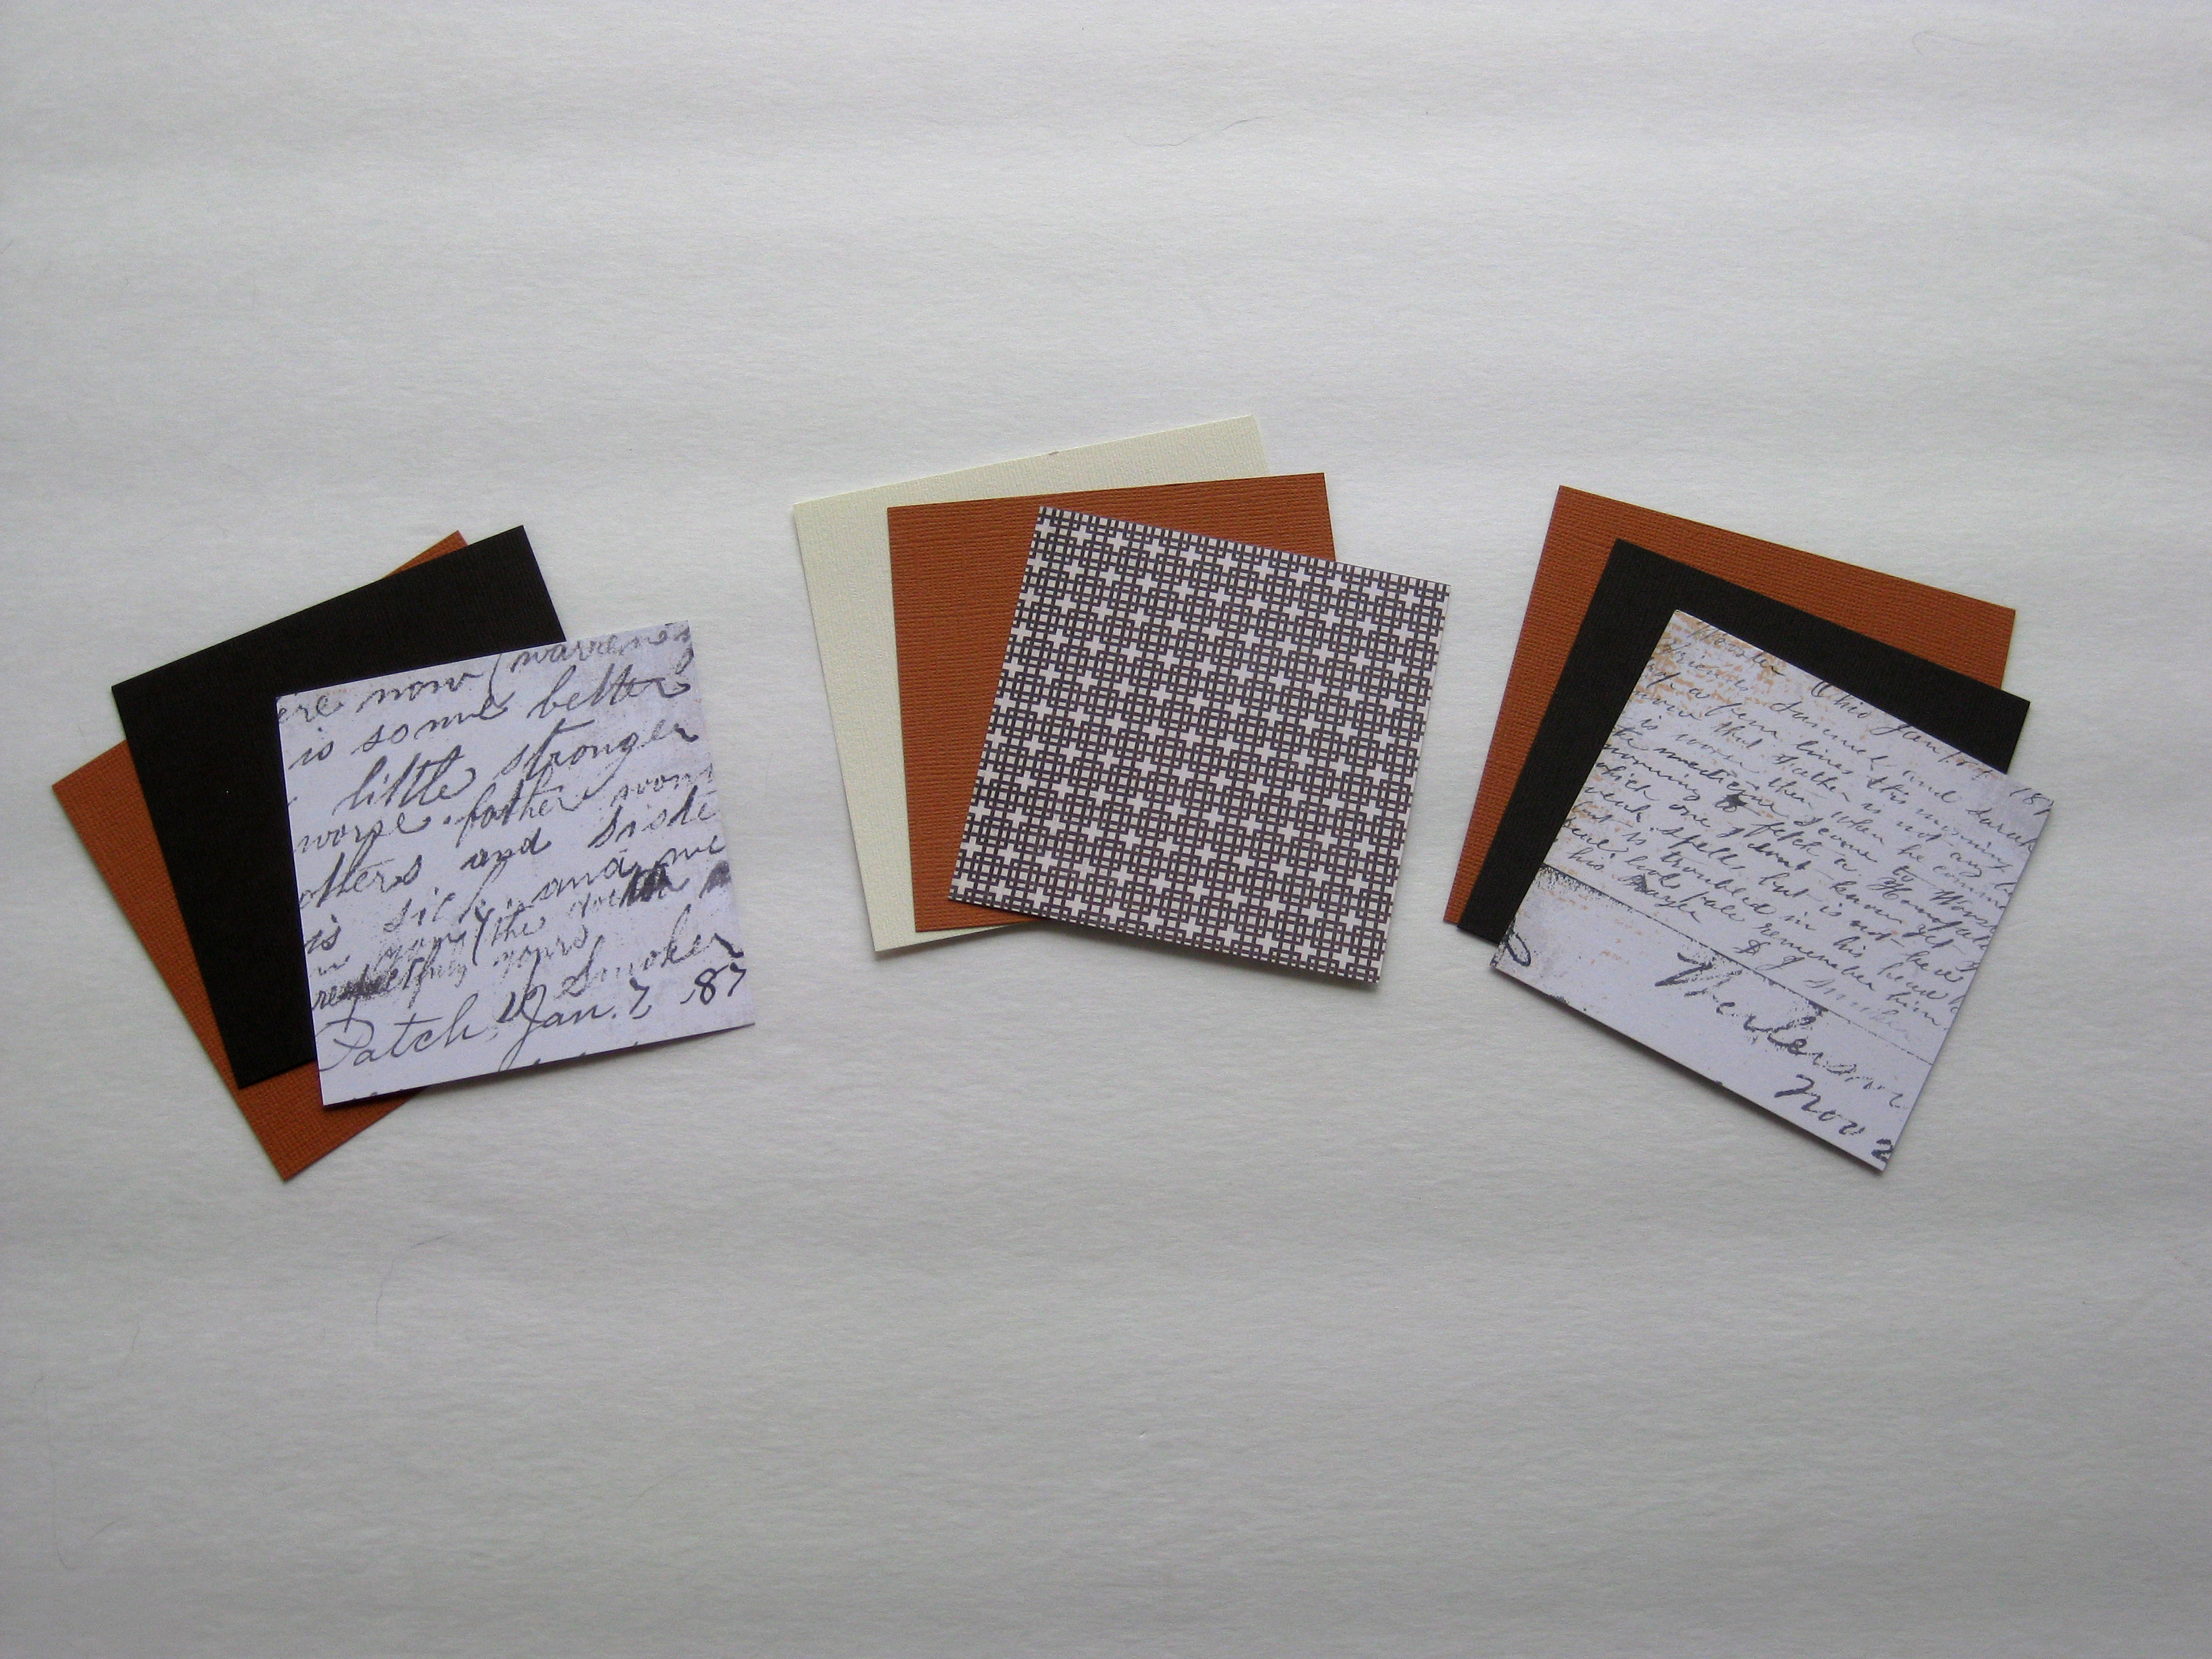
- cardstock
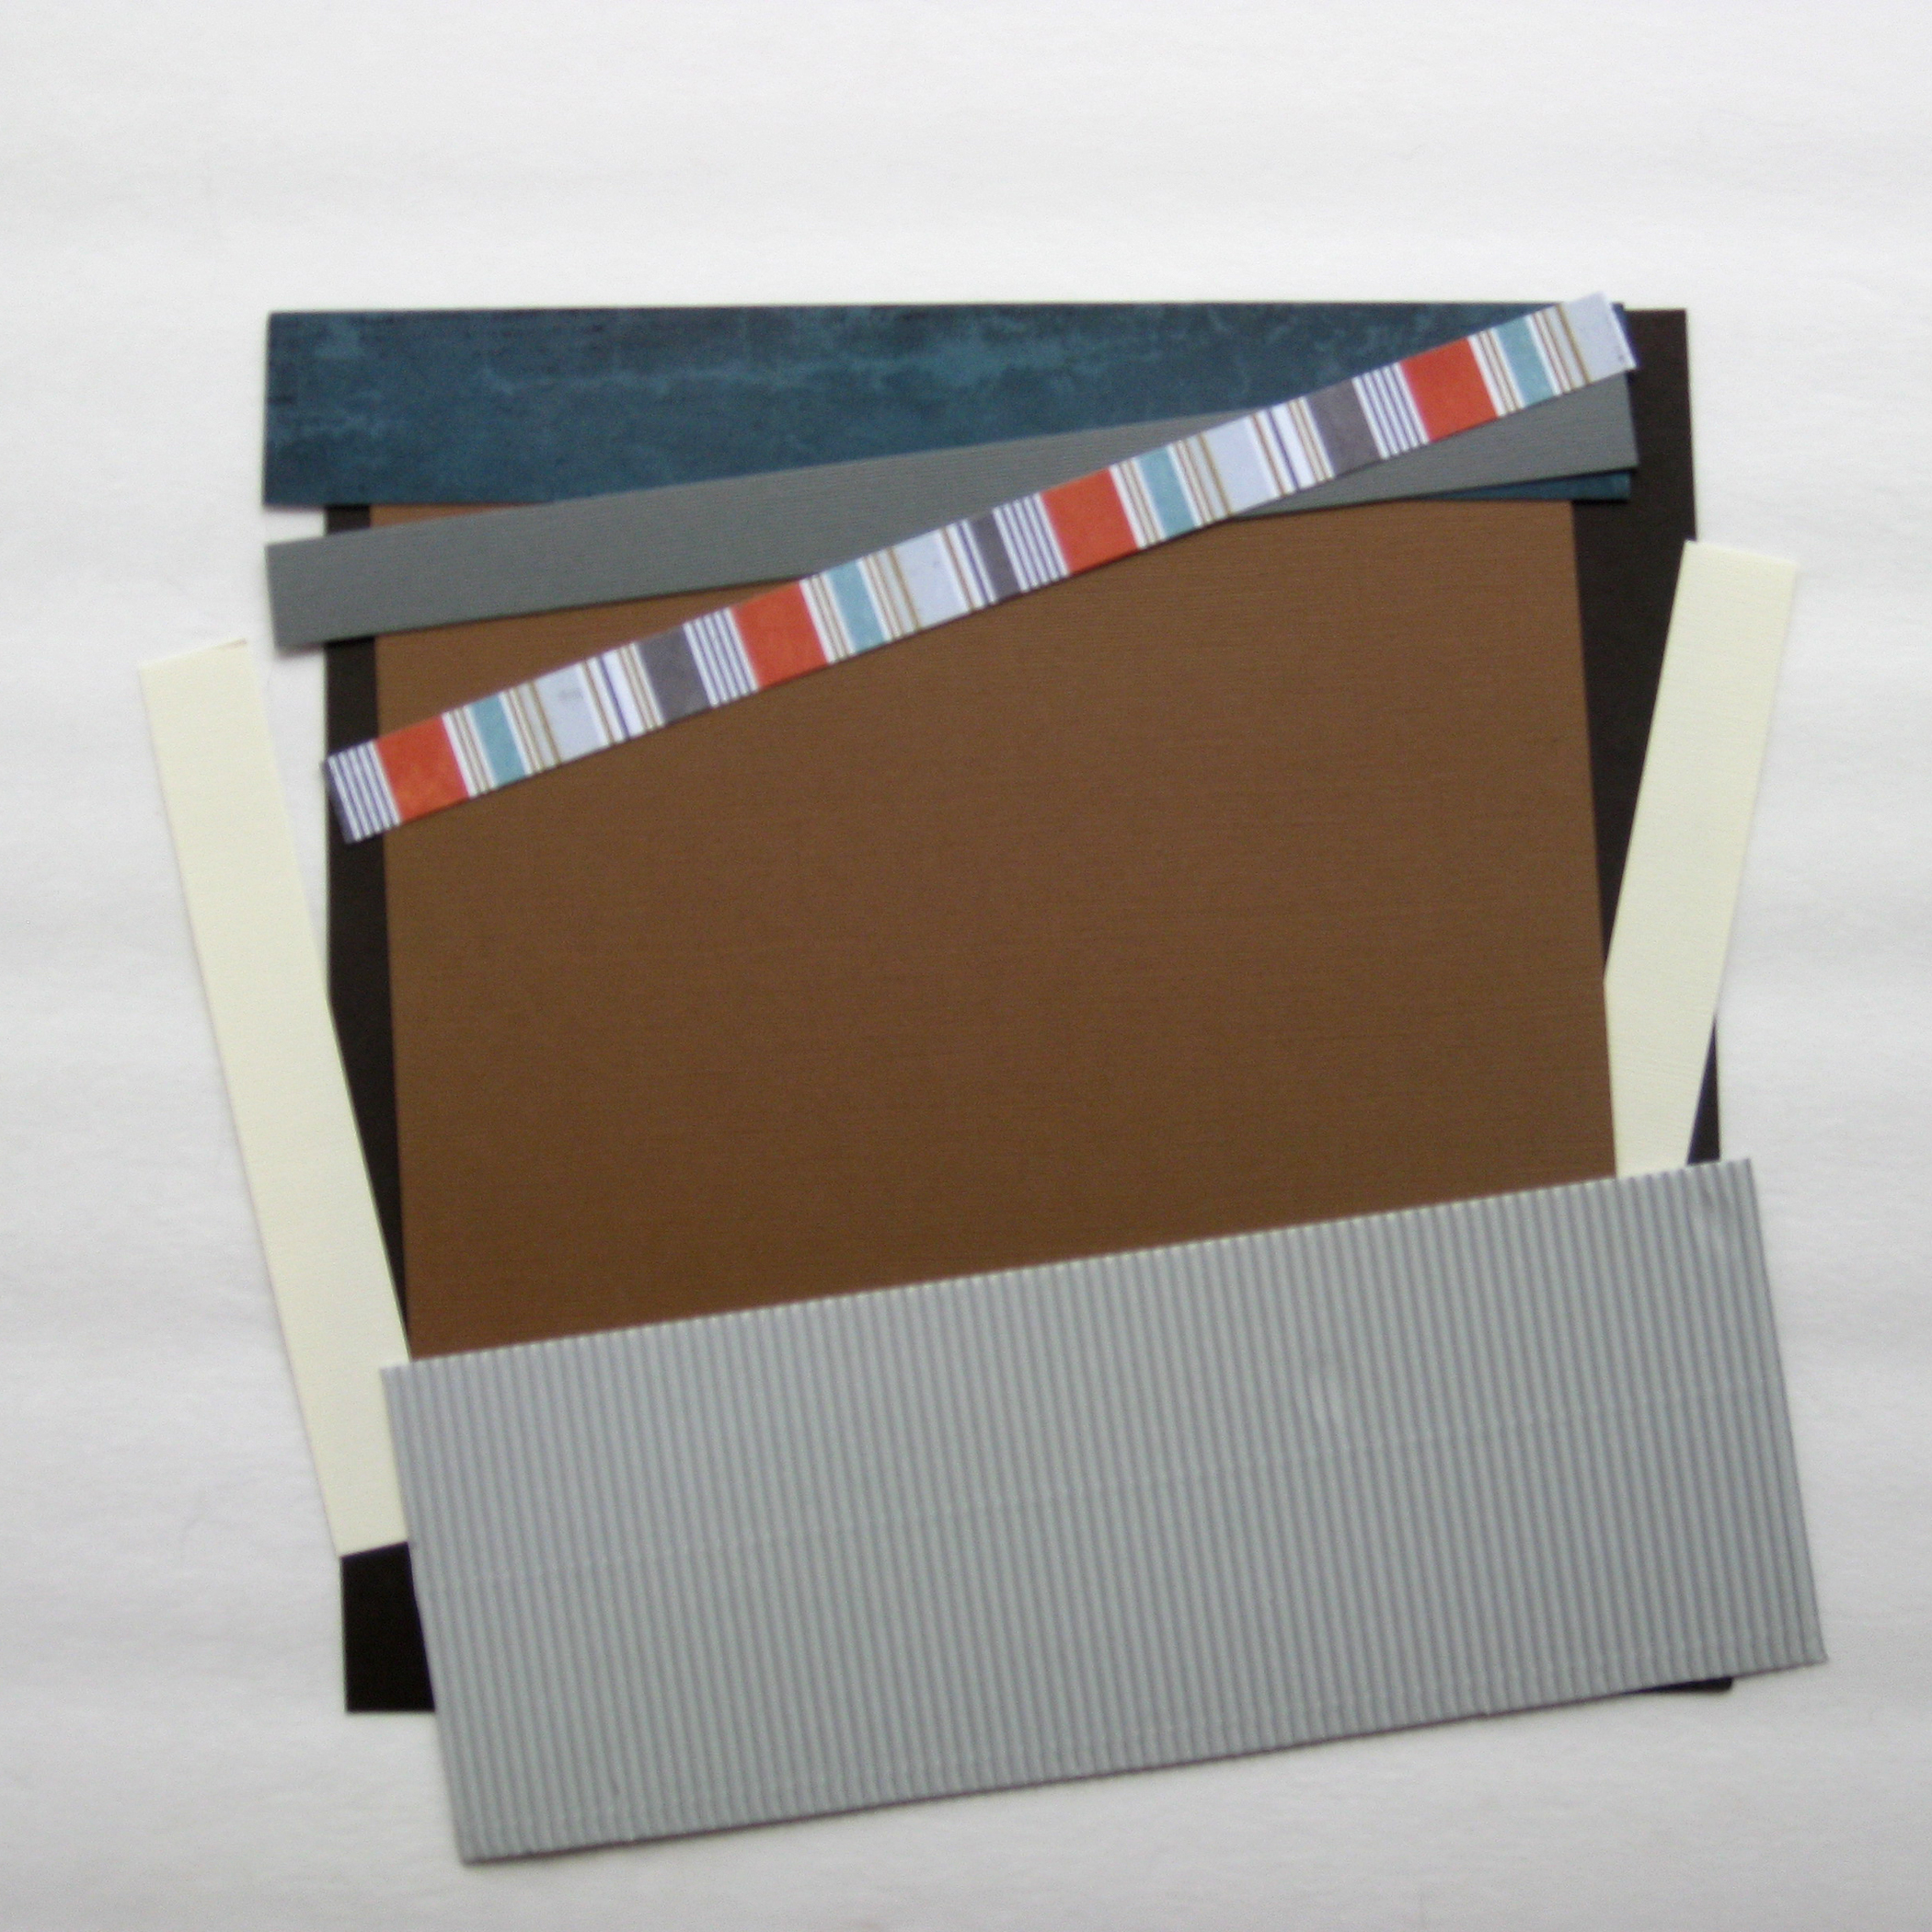
- pattern paper
- Clear Scraps stencil
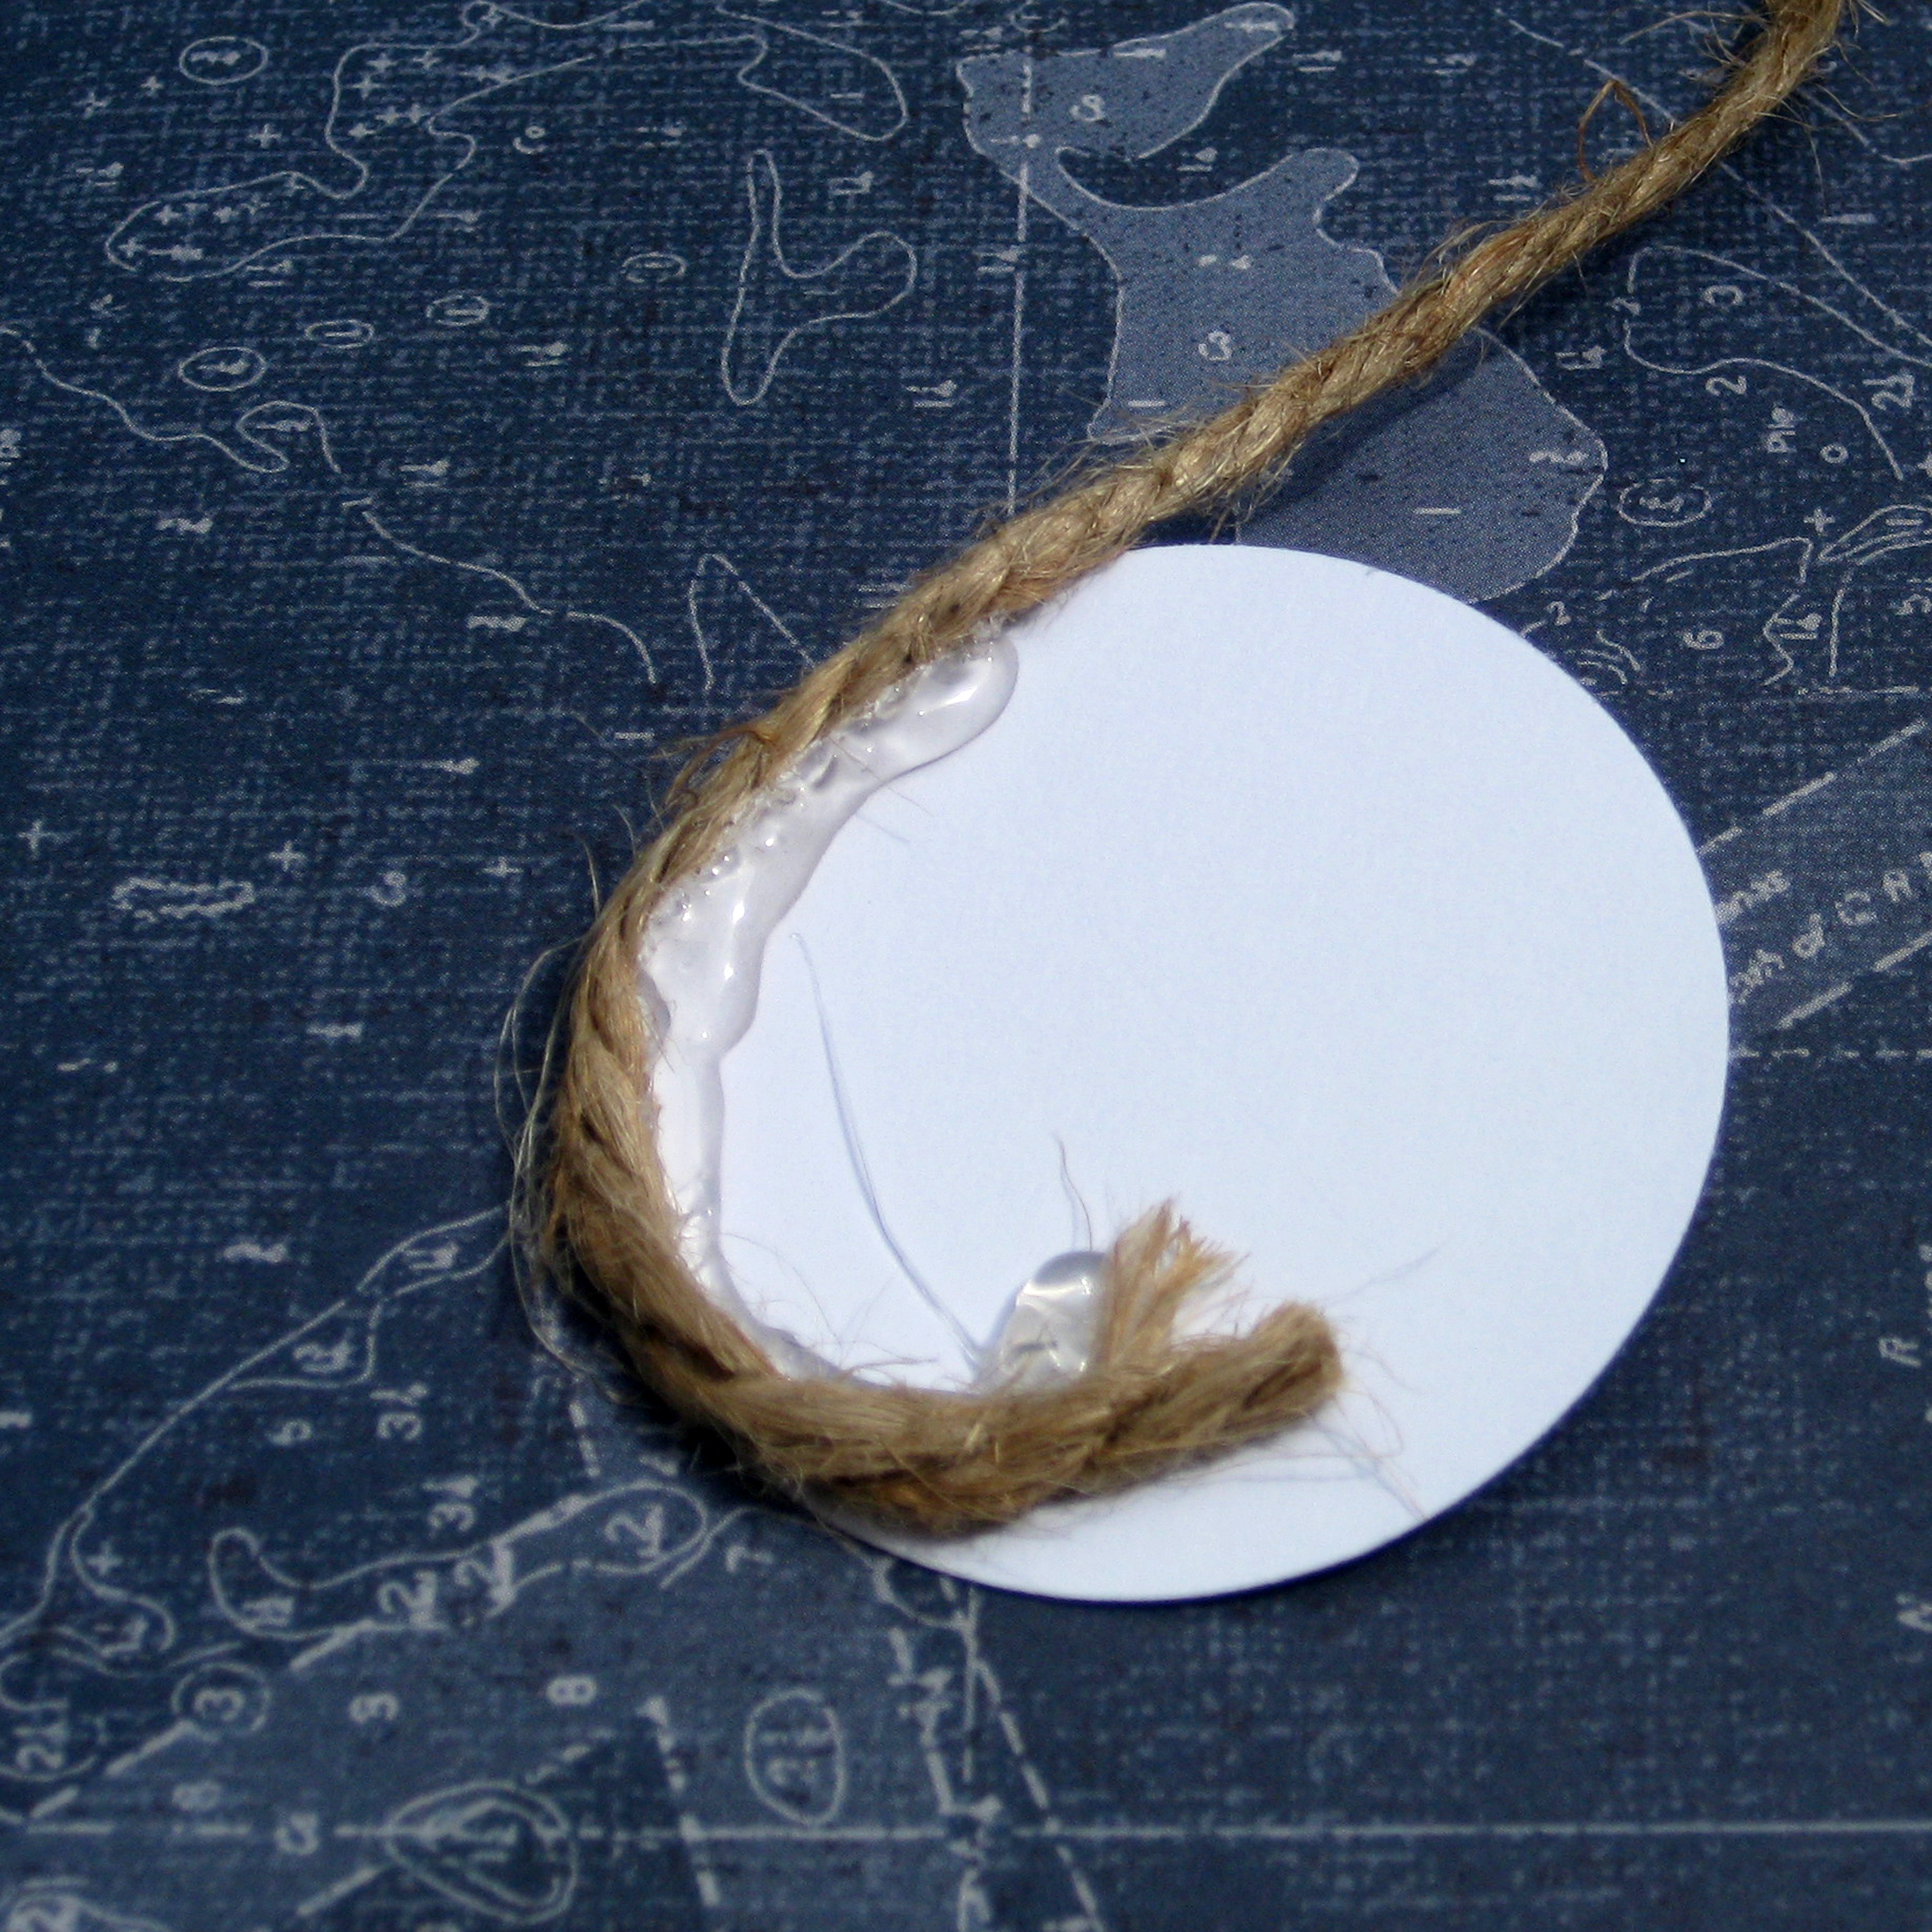
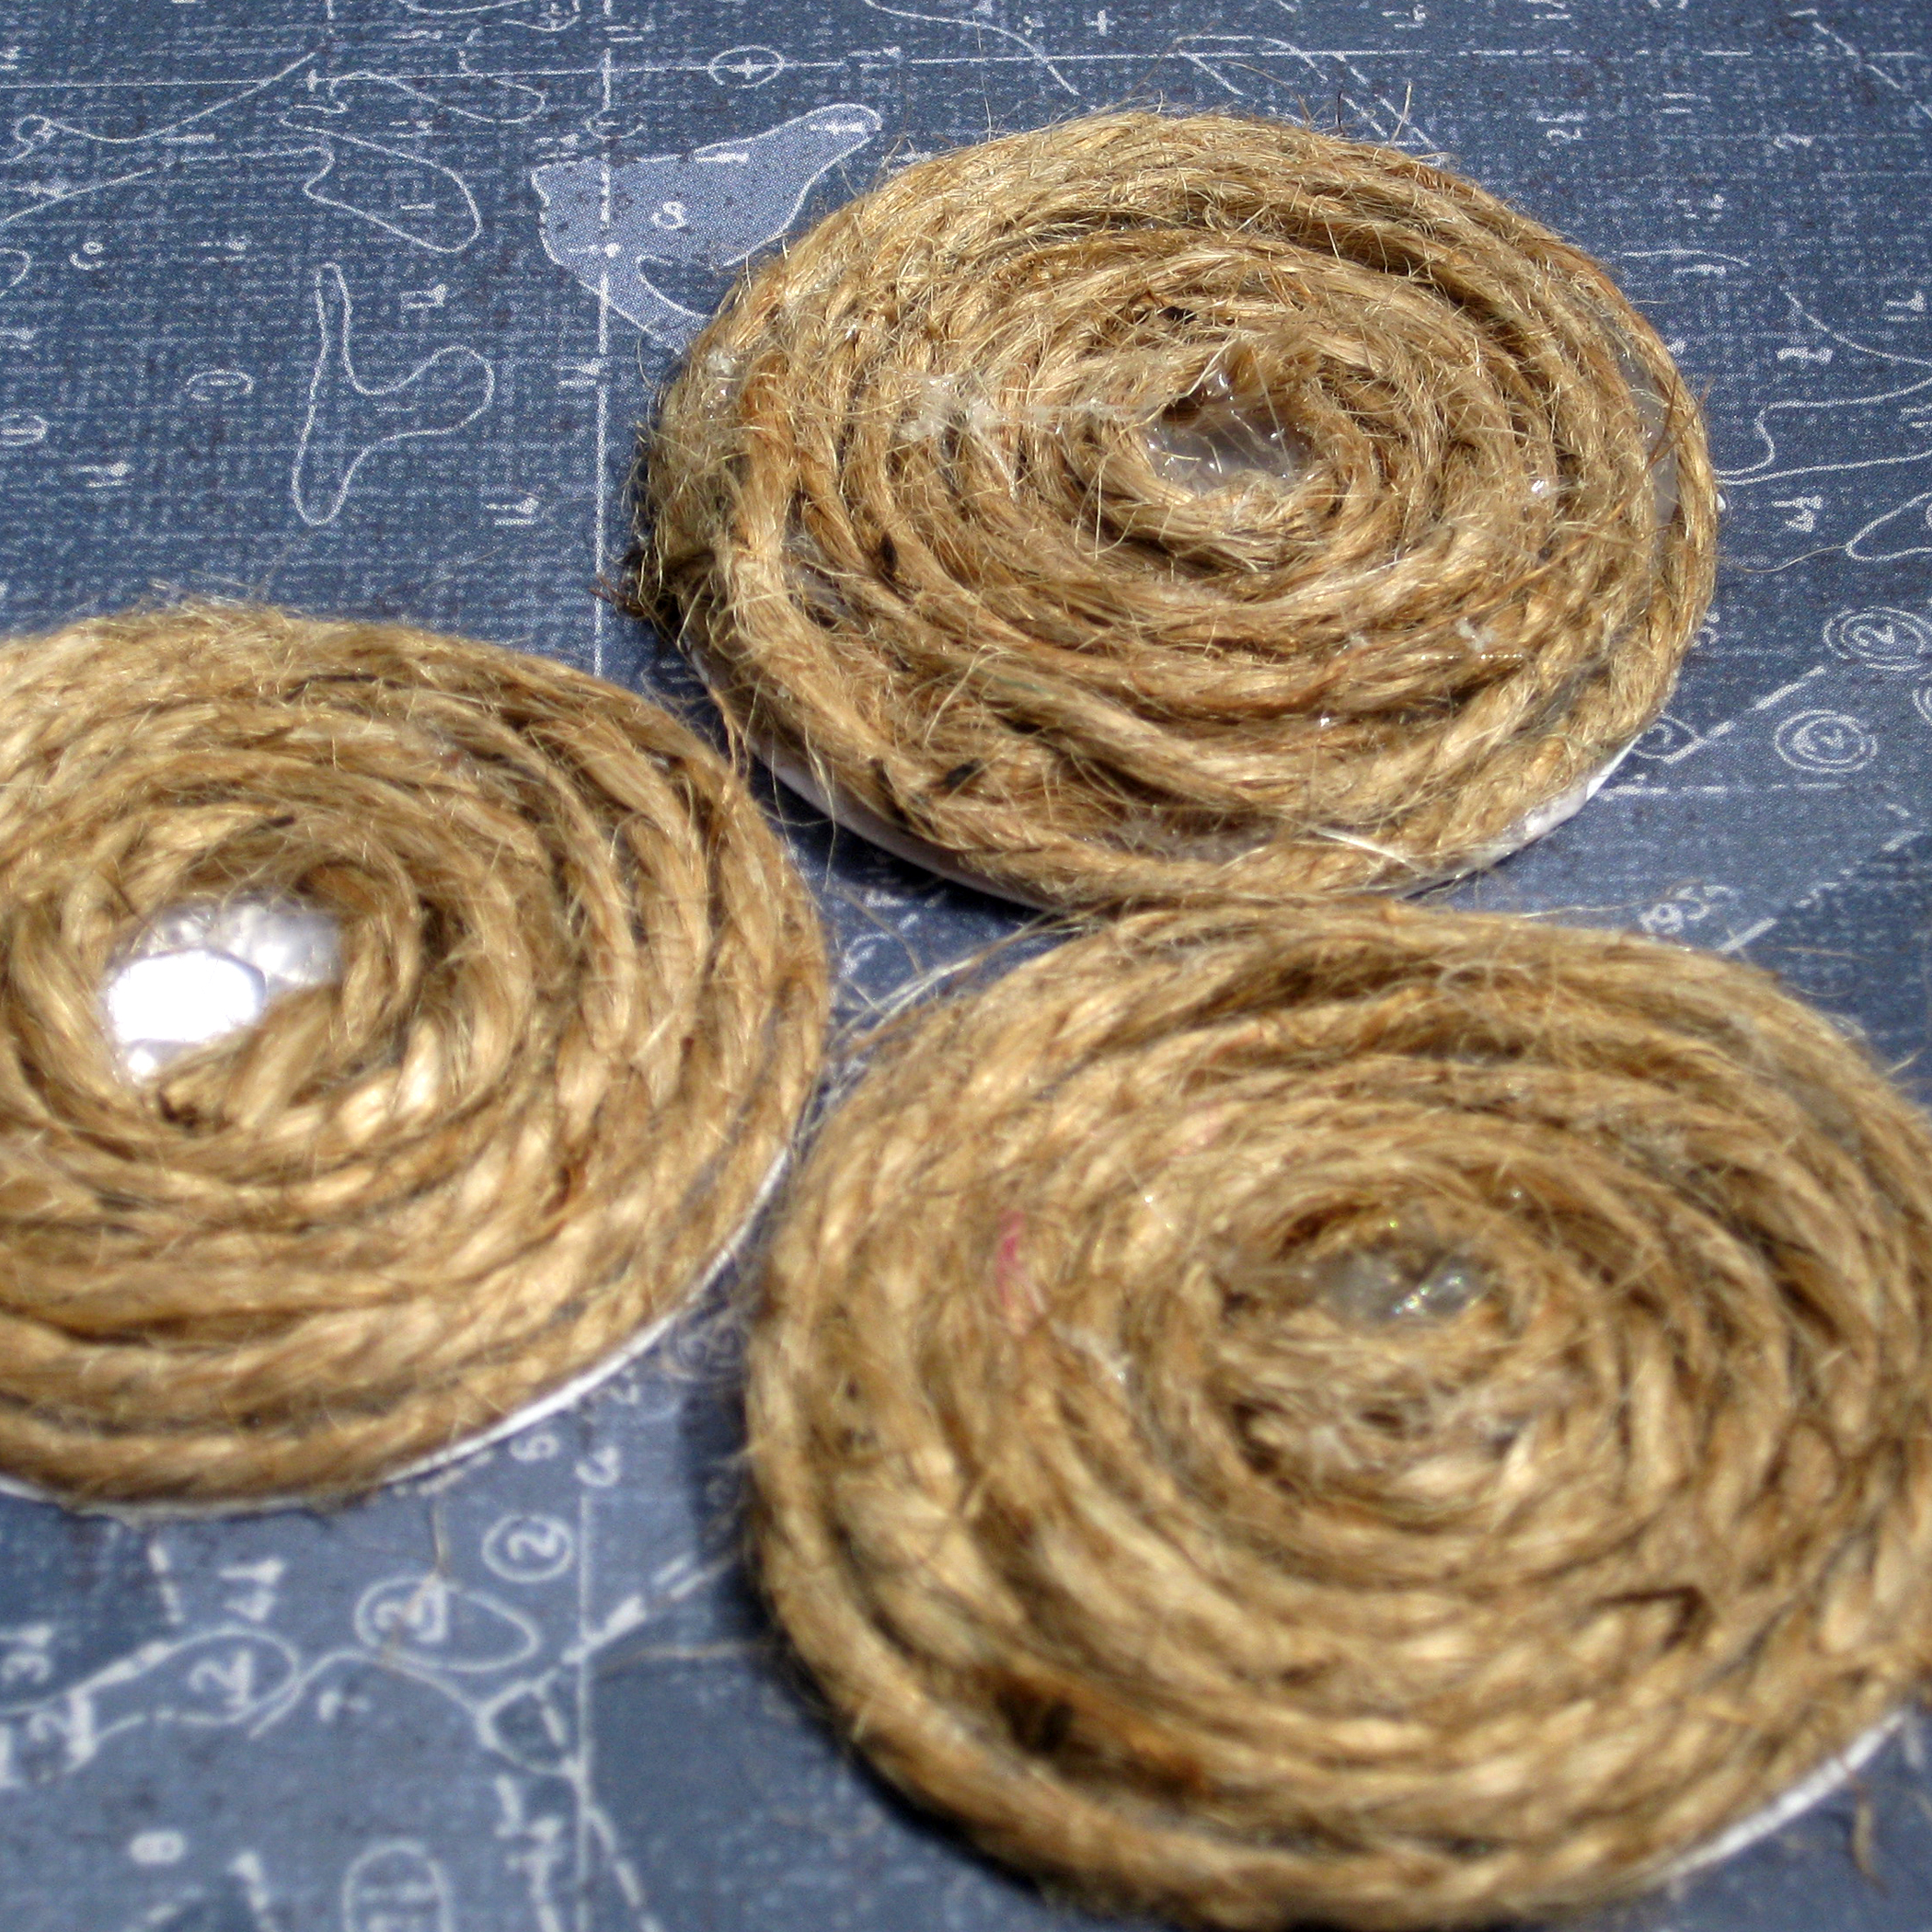
- Divine Twine
- Beacon Adhesive
Thanks for stopping by~
Connie Mercer/DT Member

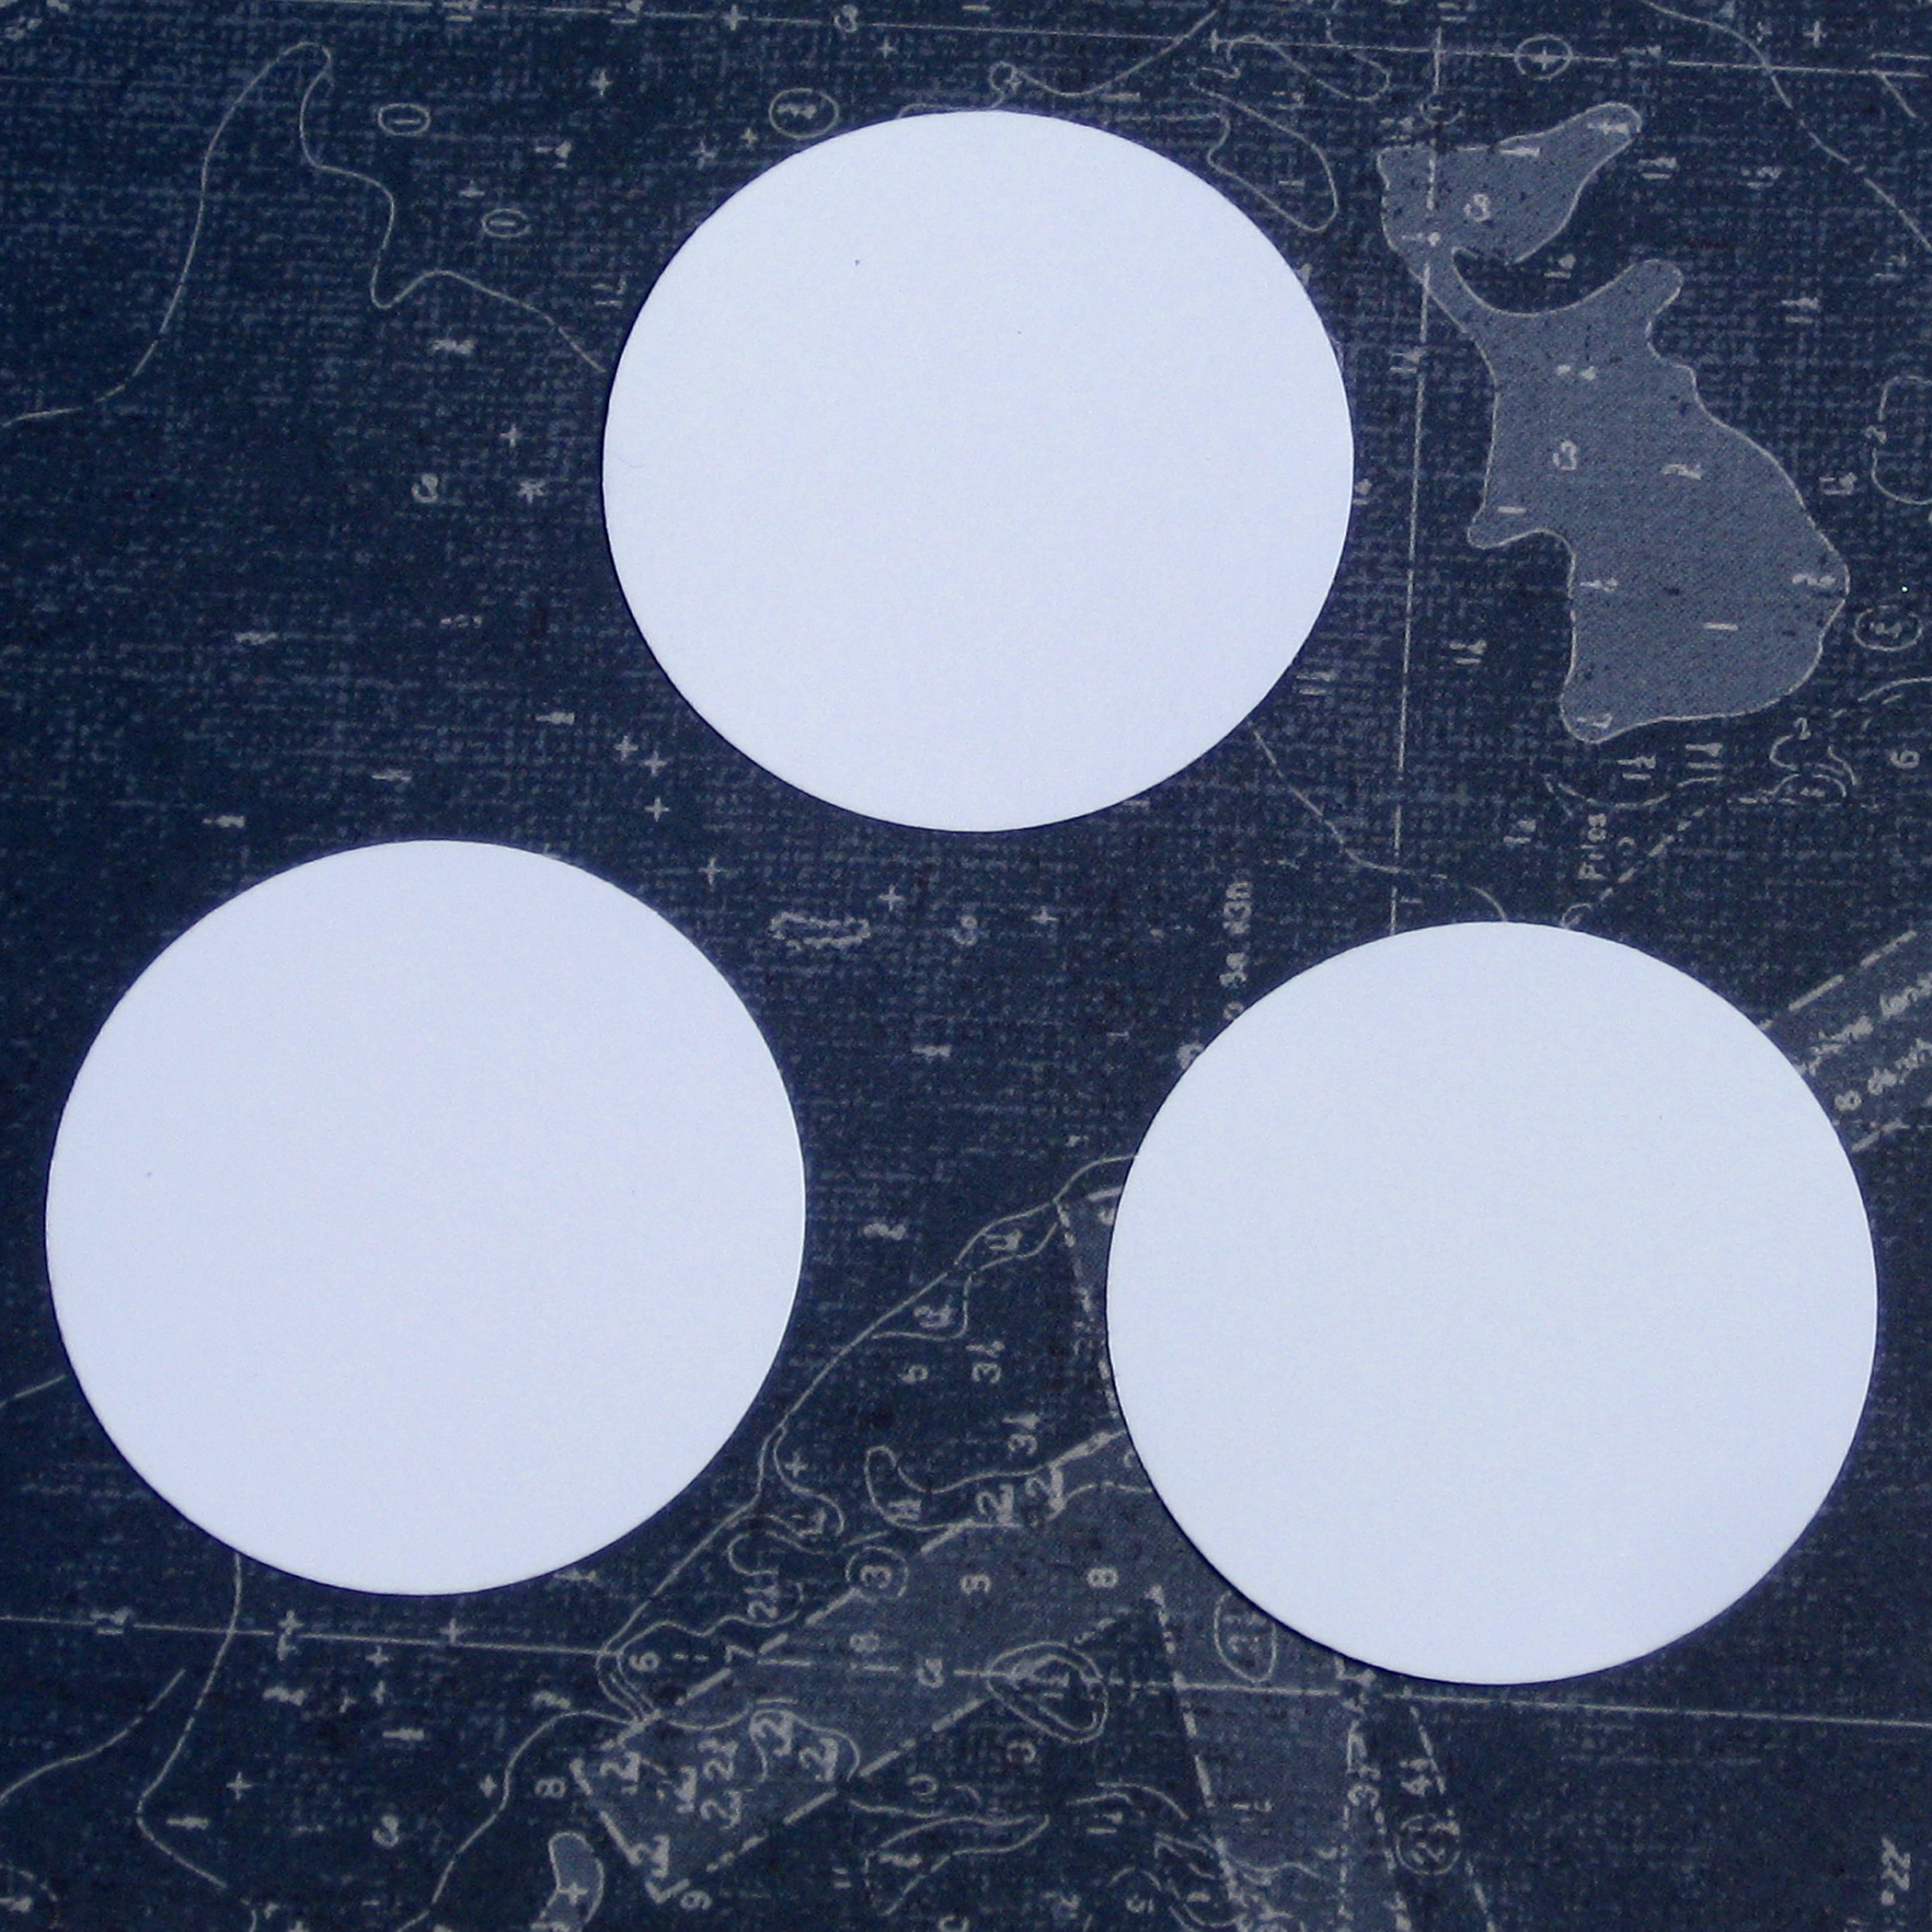
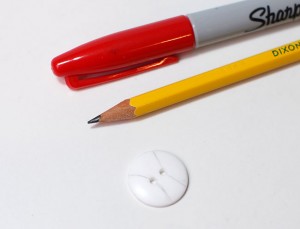
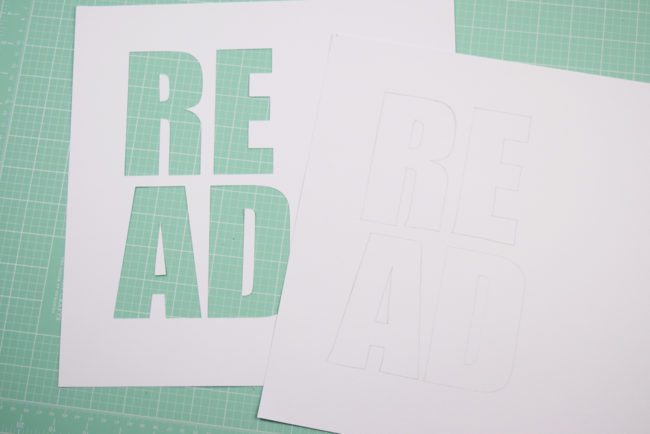 I started by cutting my title with an electronic die cut machine. I cut the “read” portion of the title out of white cardstock with large block letters. Using a pencil, I traced the cut portion of the title onto another piece of white cardstock. I used this as a template for adhering the buttons and sequins.
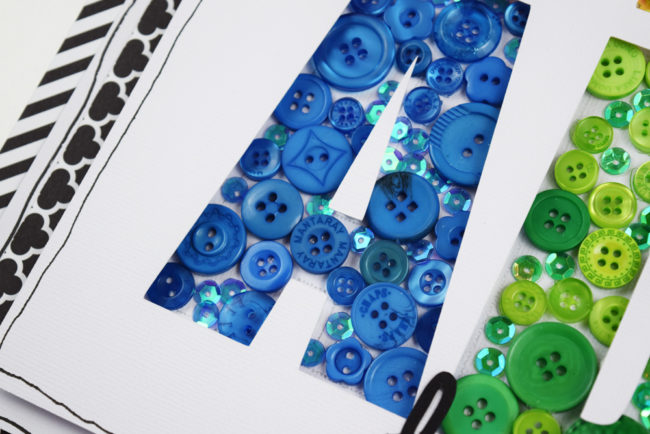
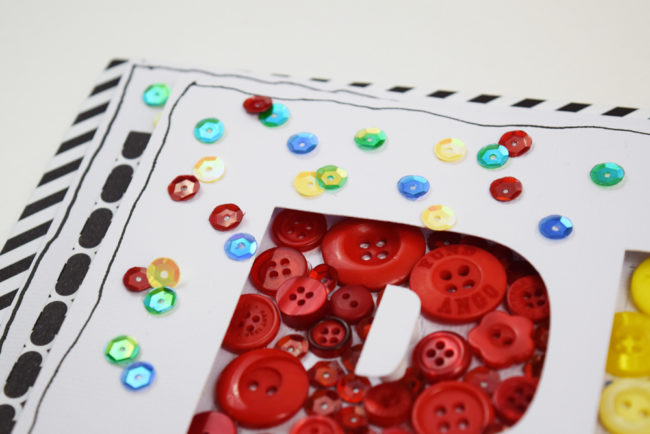
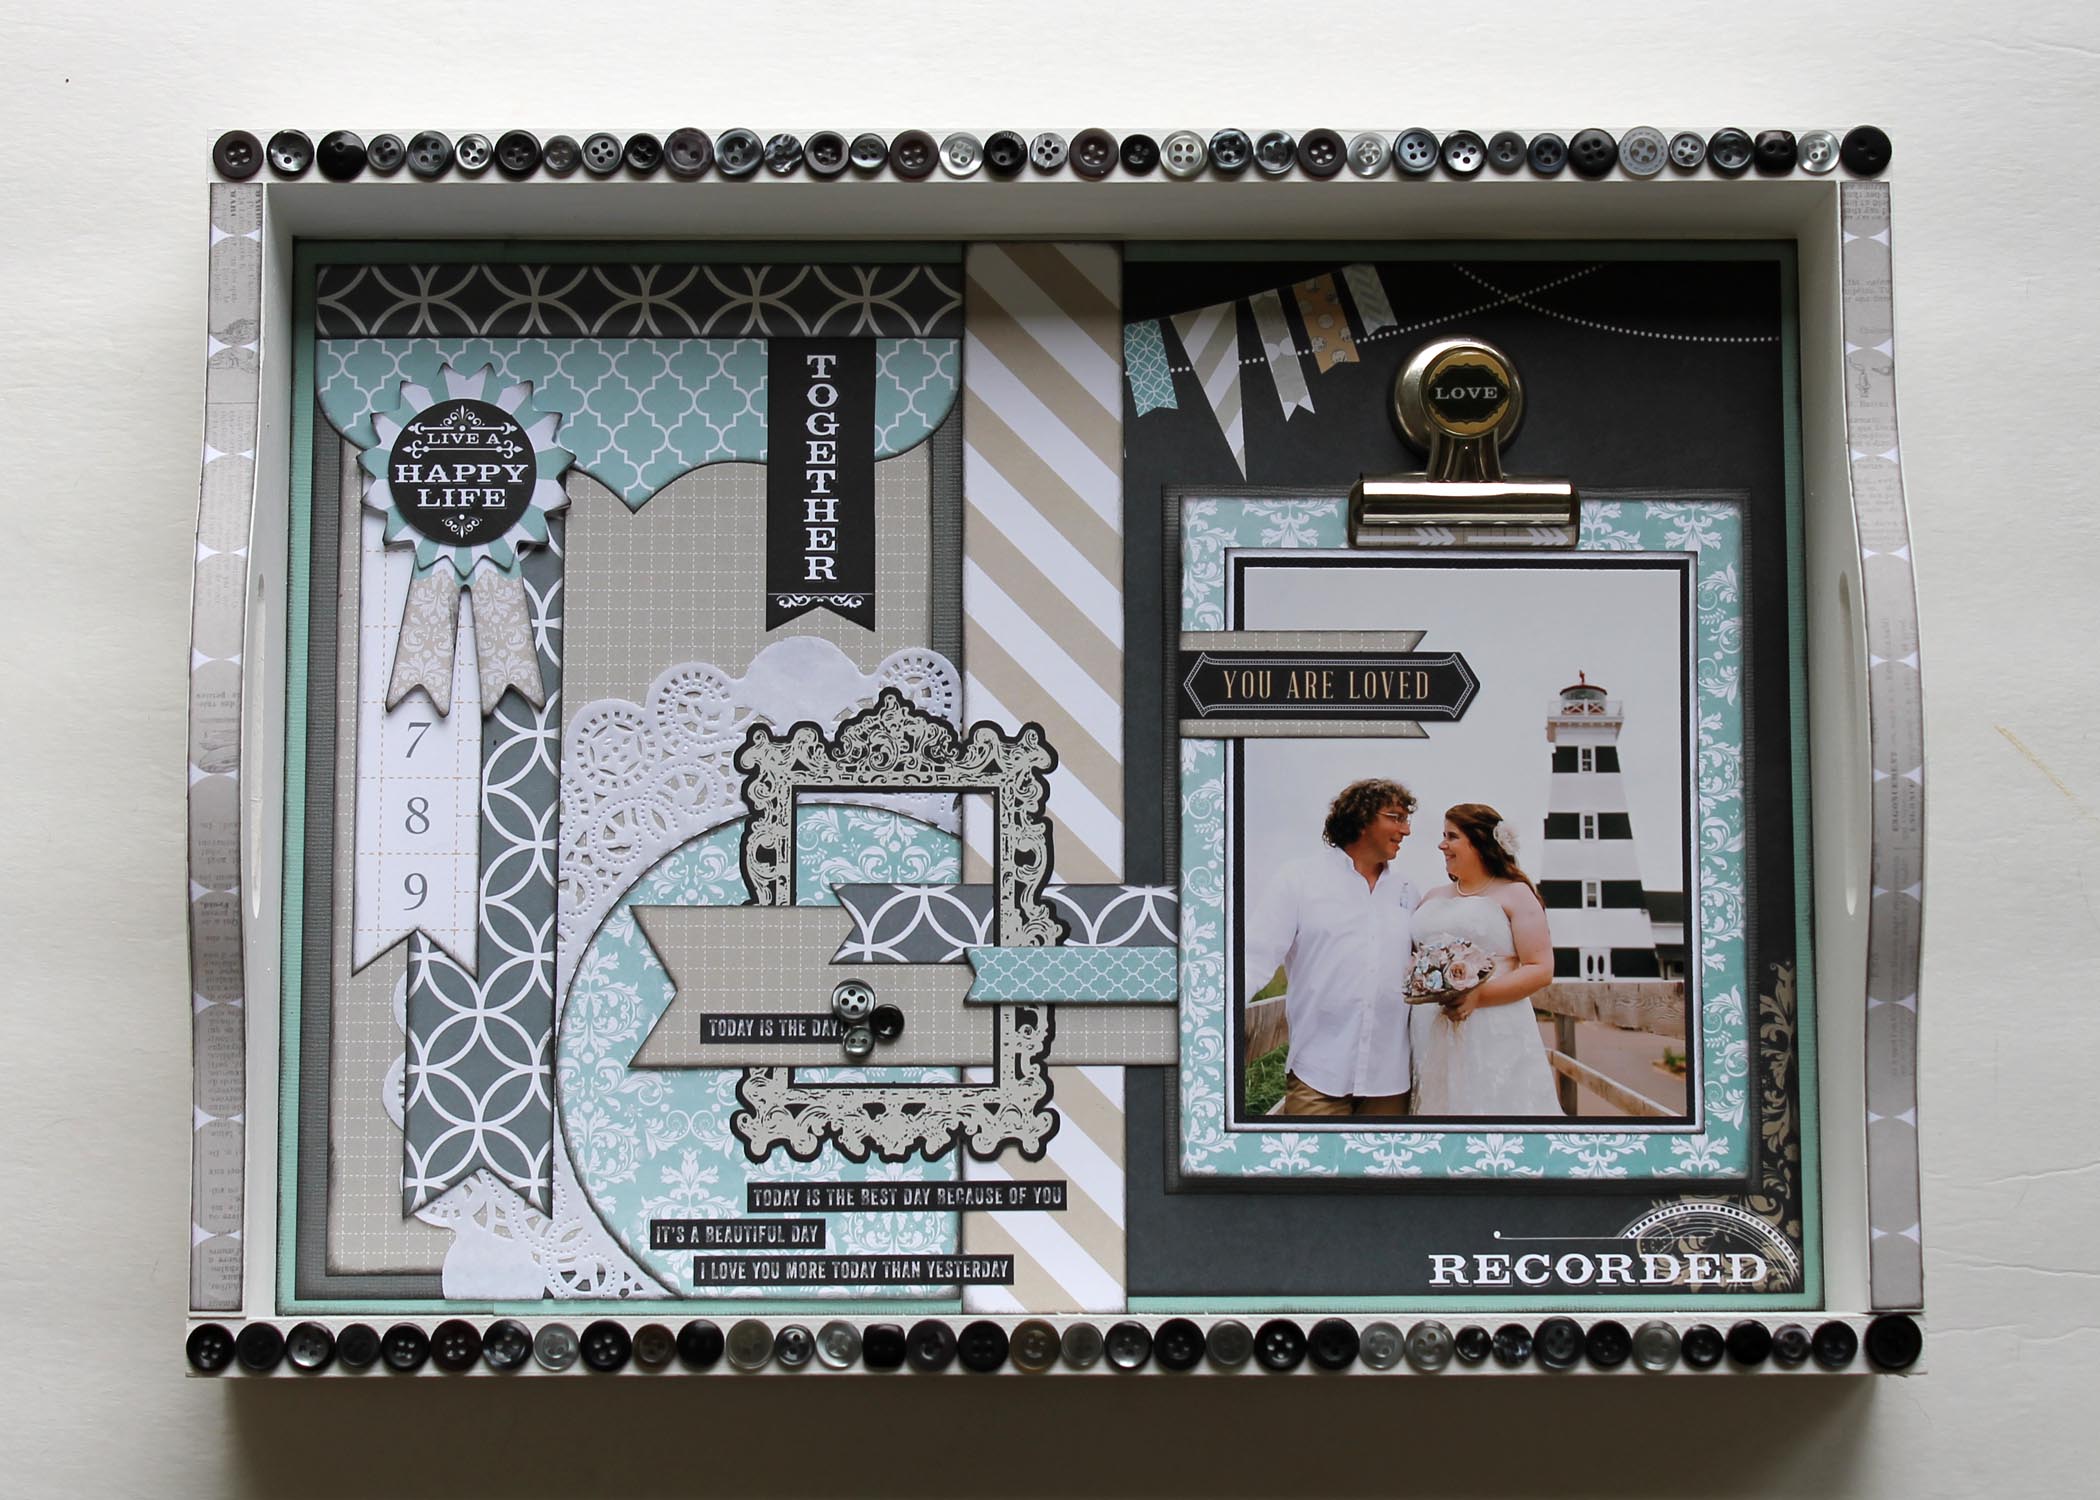
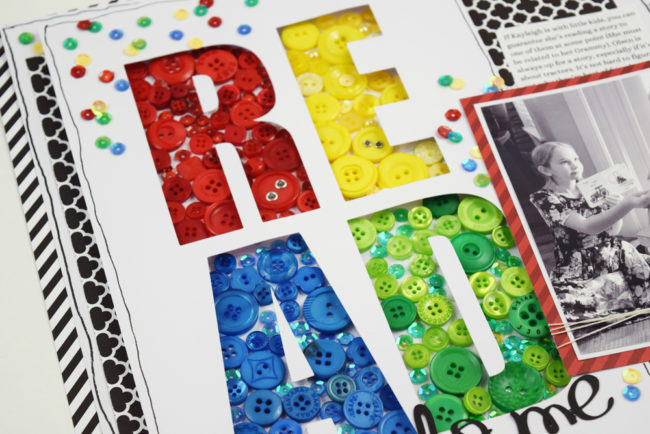 I finished the layout by adding my photo, journaling, and a few more sequins on the top layer.


