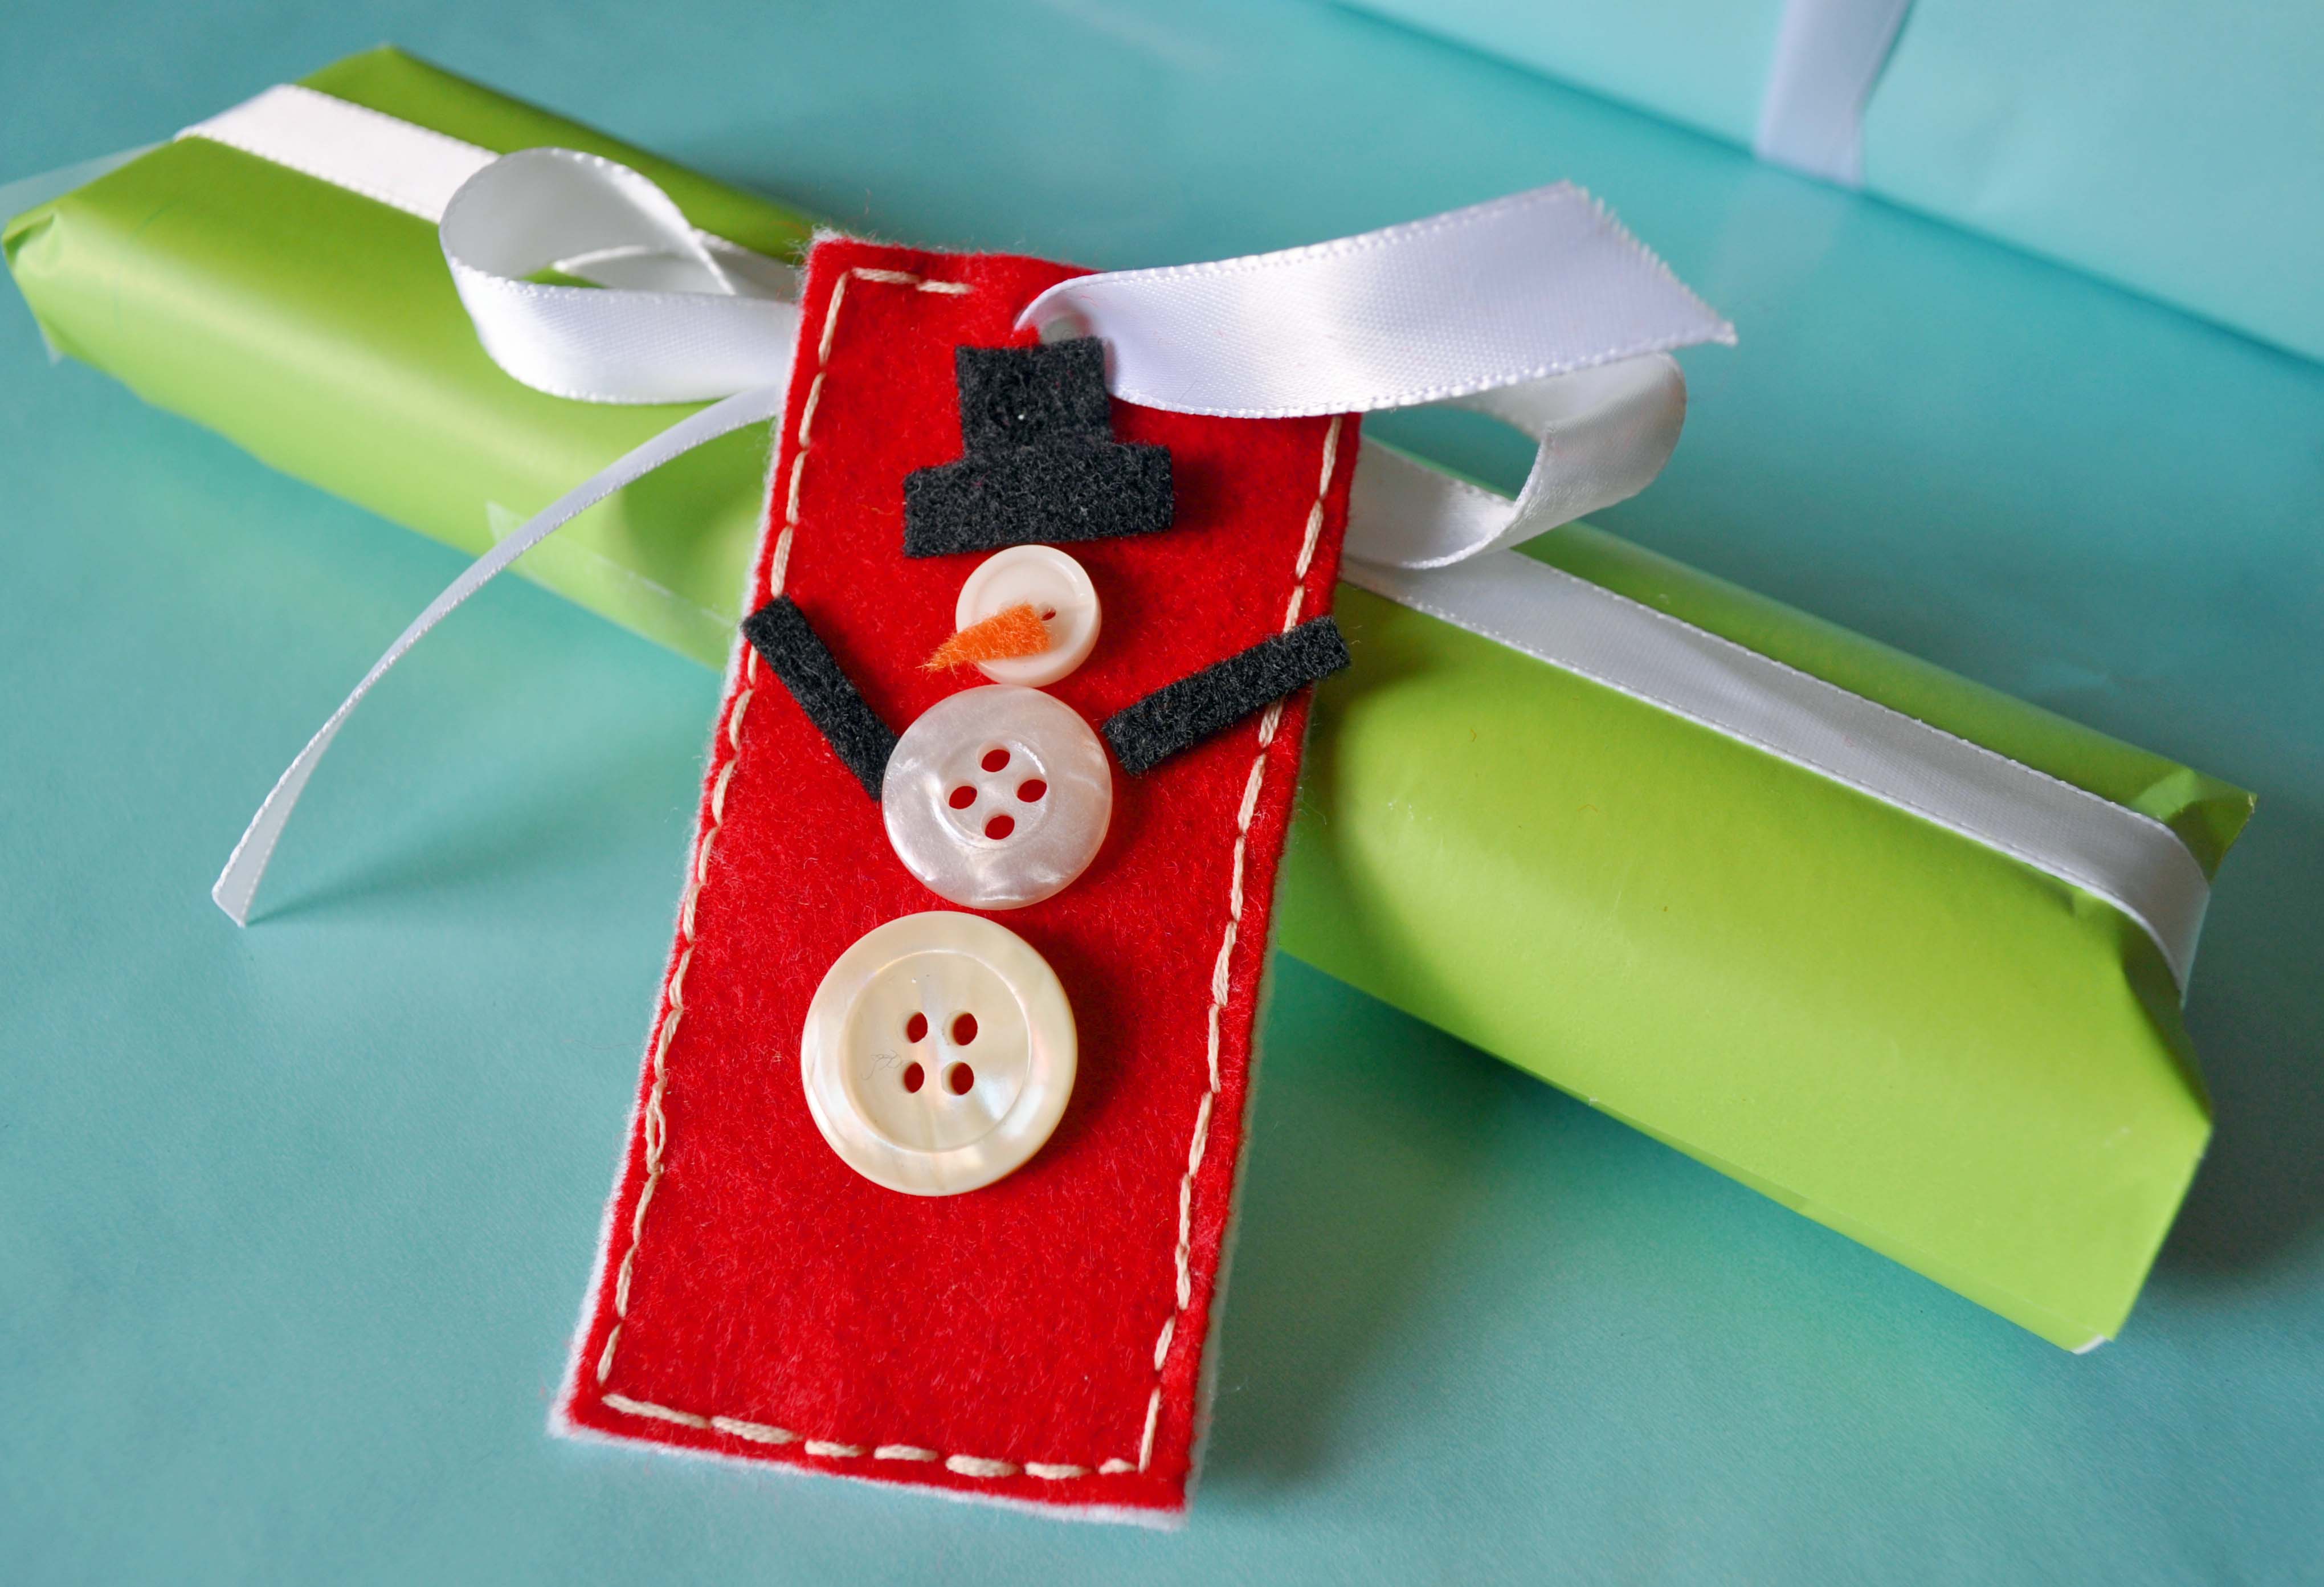
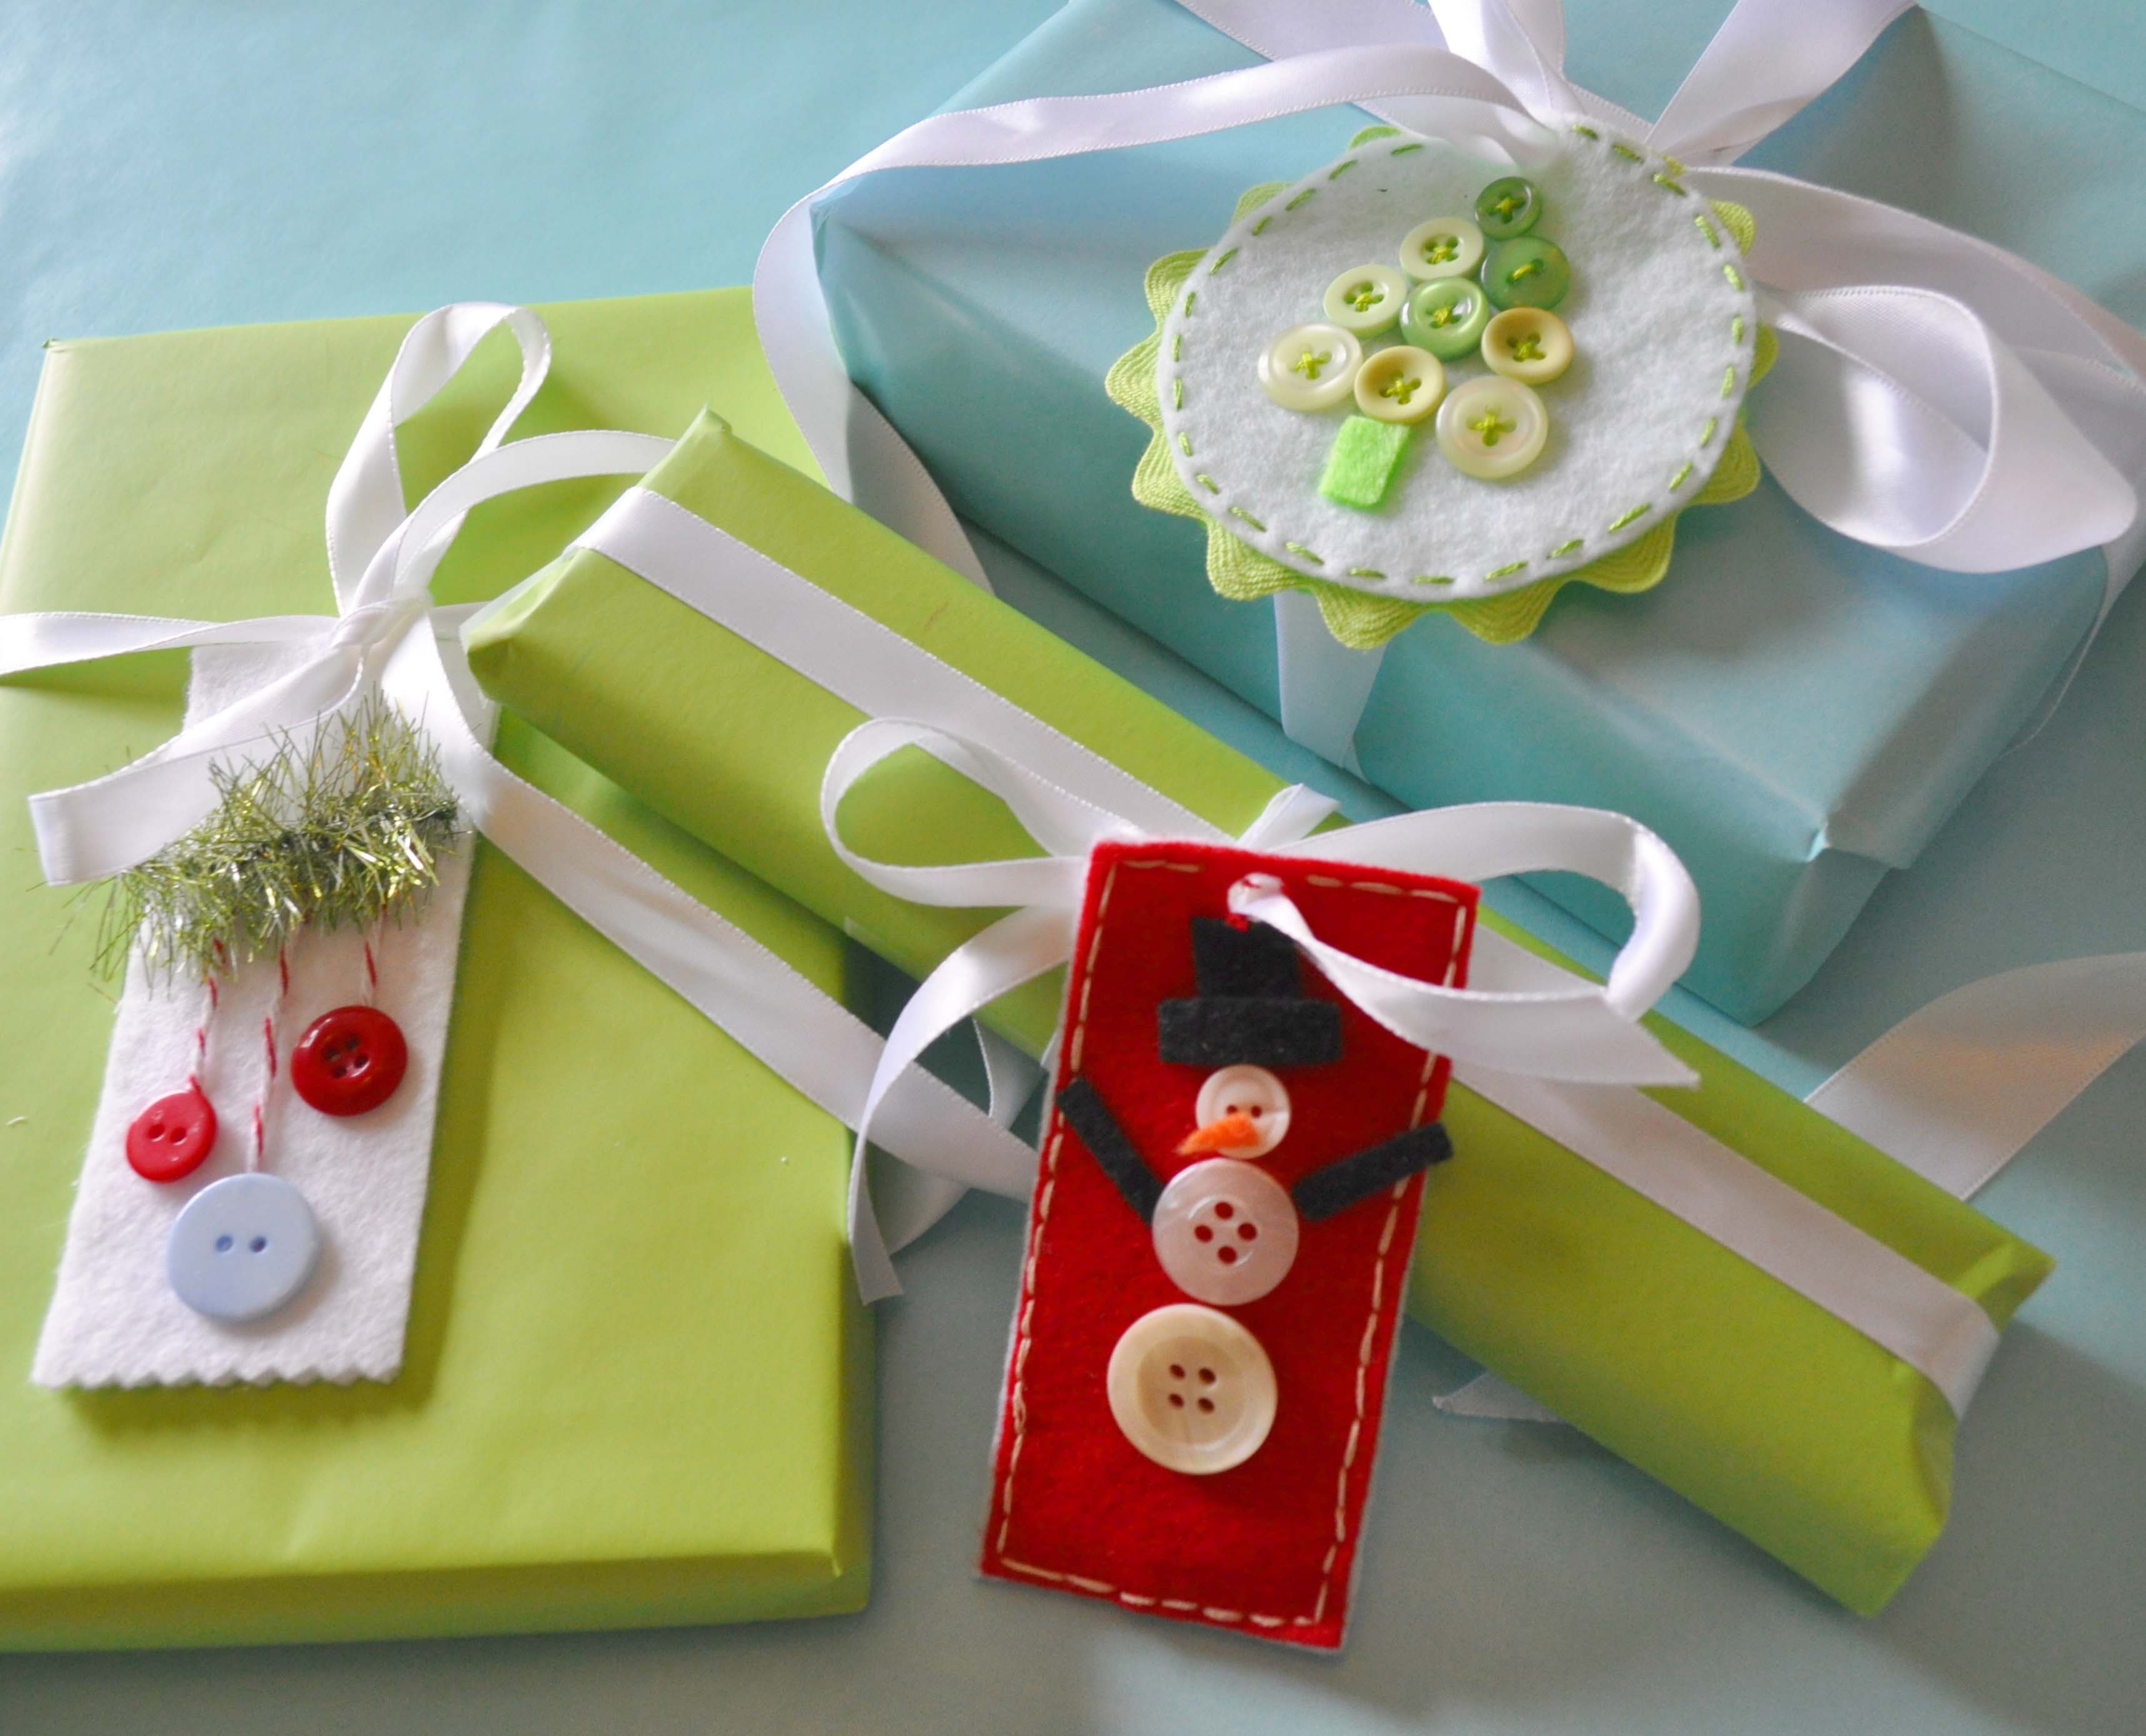
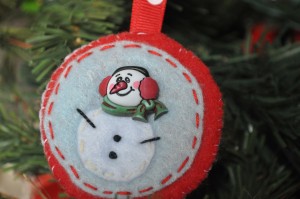
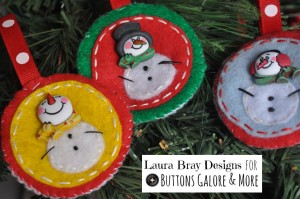
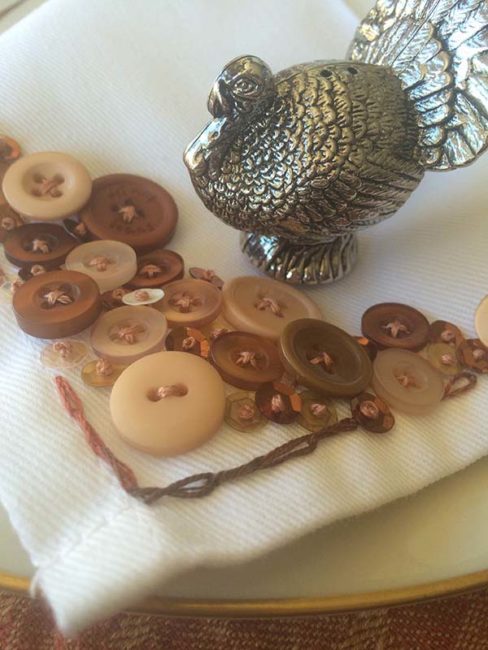
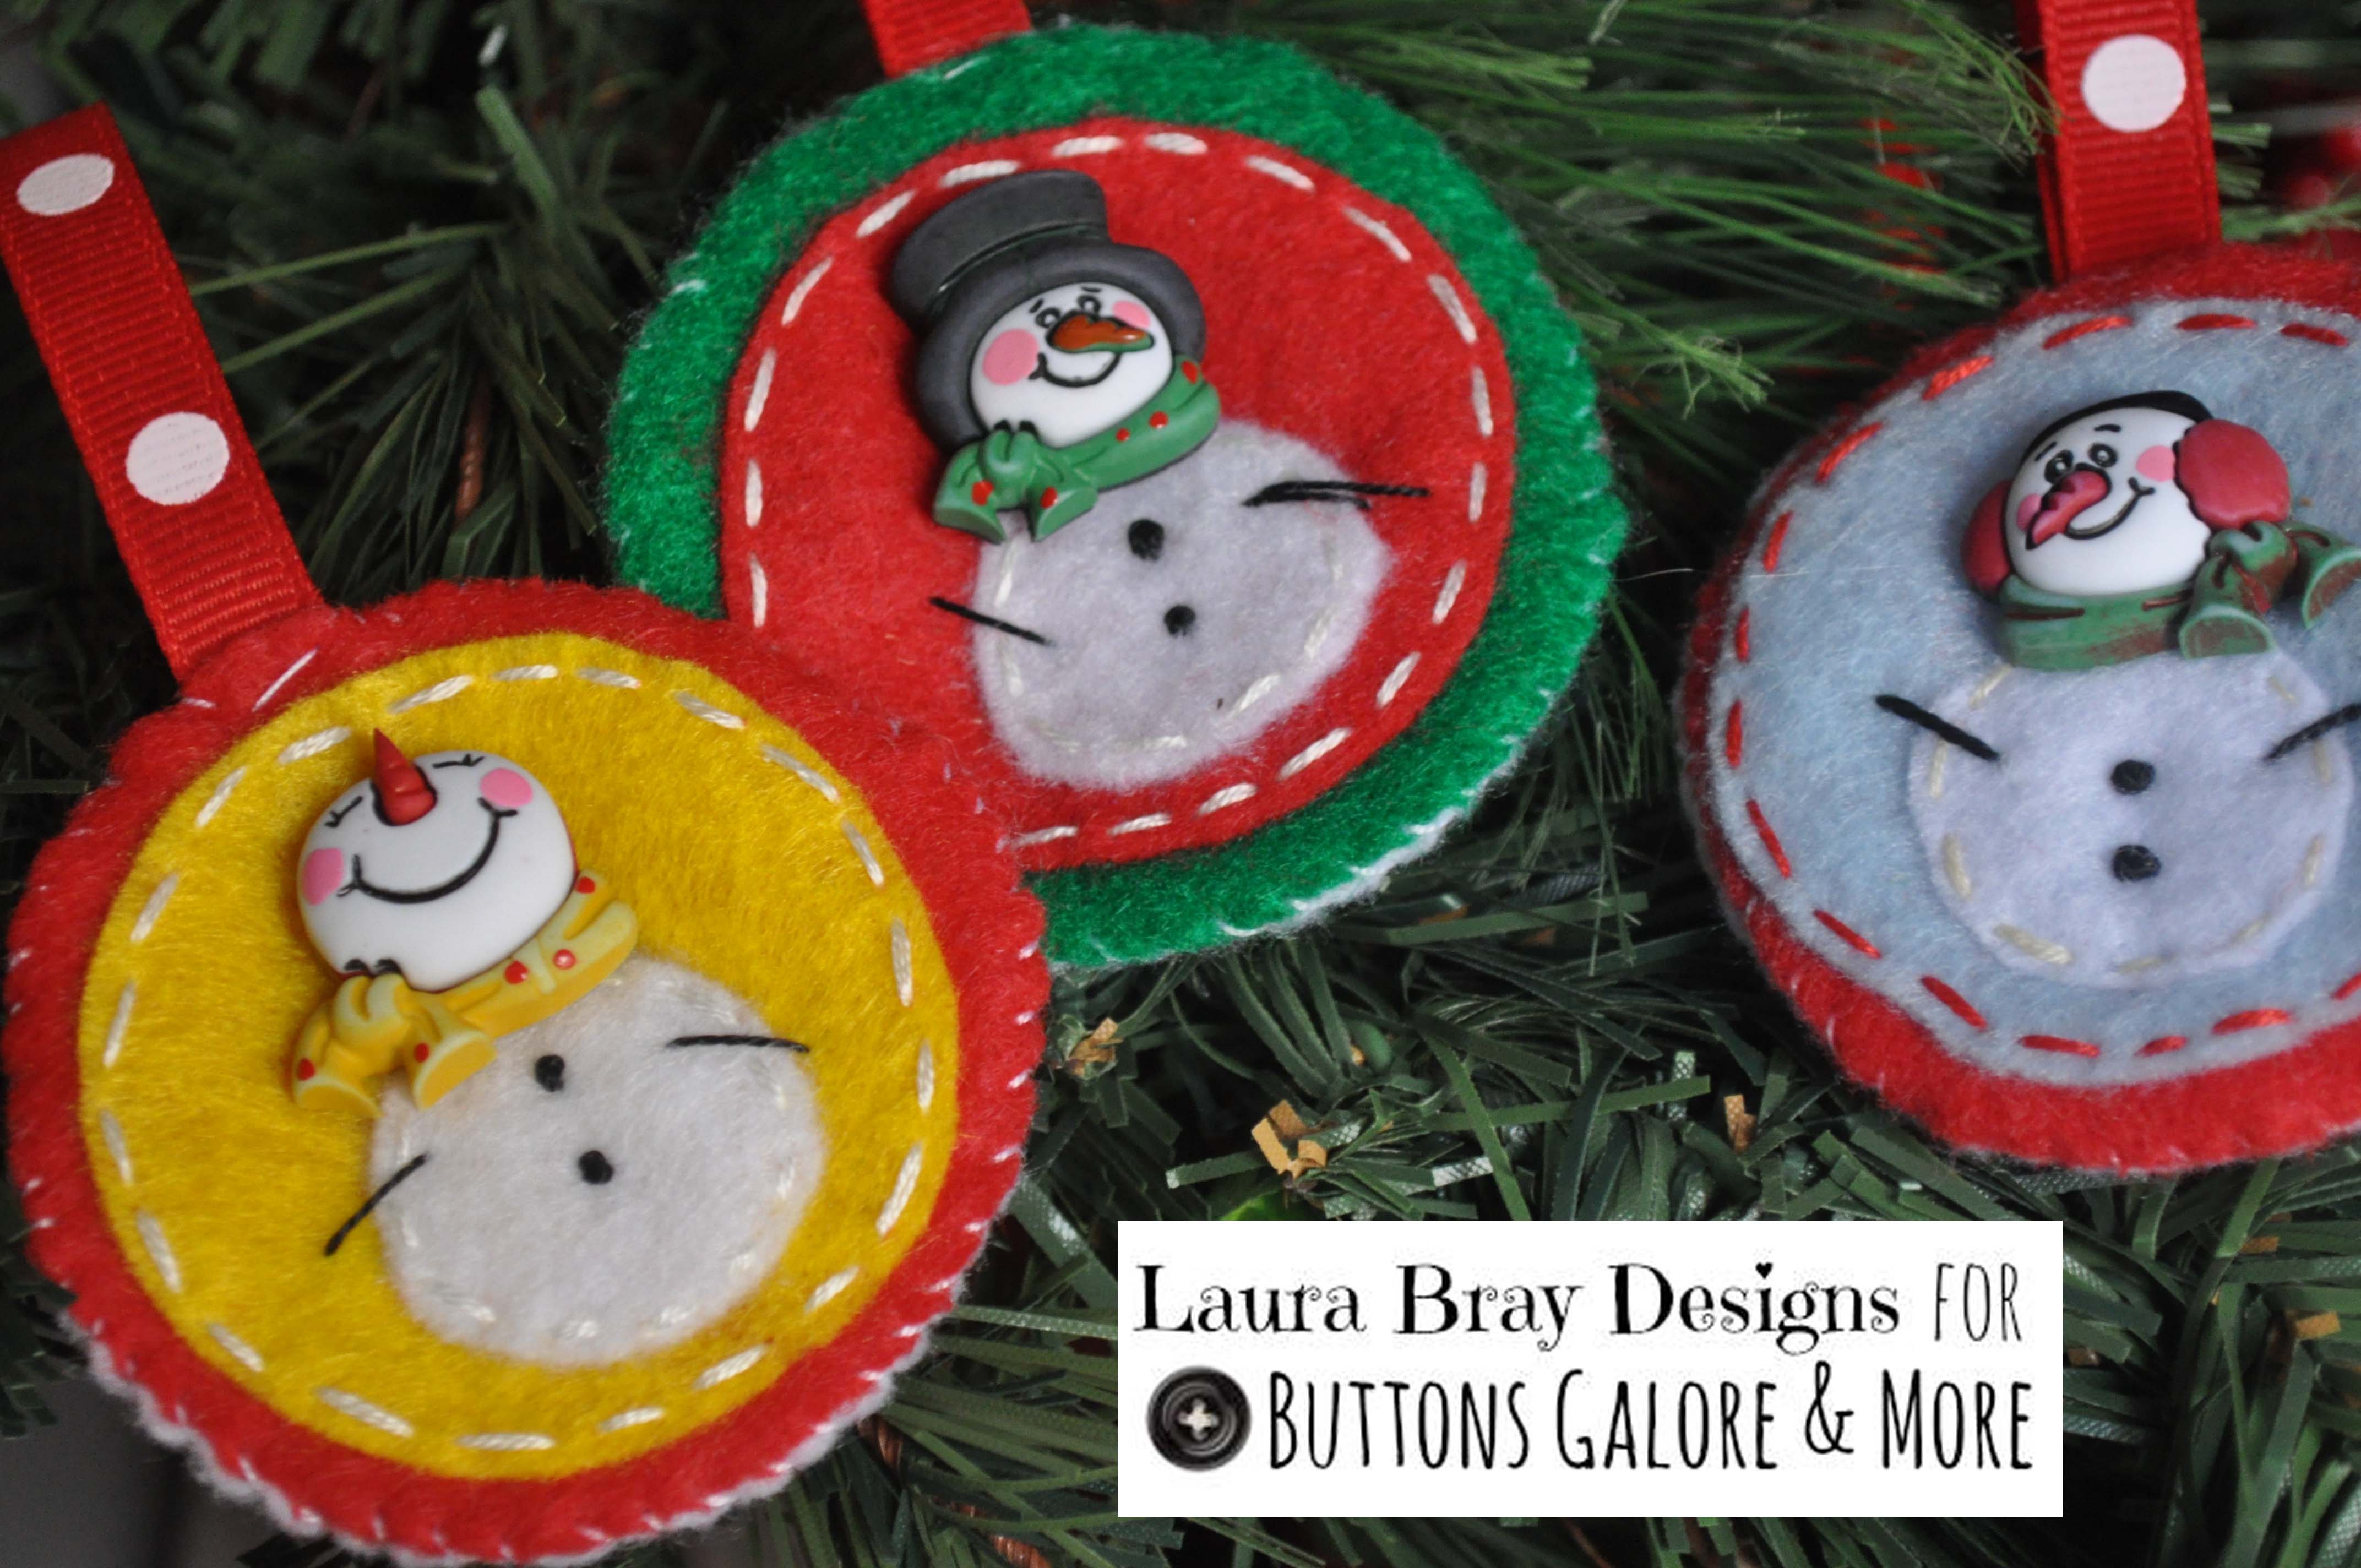
I love to make ornaments for my daughter, nieces, and nephew. When I was a girl, my grandfather made all the children in the family wood ornaments and I treasure them more than words can say. My grandfather has passed away so I’ve taken over the ornament making duties. Instead of wood, I make felt ornaments.They are different every year, but you can be sure they usually include buttons and embroidery! The Snowman Medley buttons by Vicki Schreiner were a great inspiration for this year’s ornaments. This project is great to work on while you are watching your favorite holiday movie, just cut out the pieces and stitch while you sip cocoa and put your feet up for a minute.
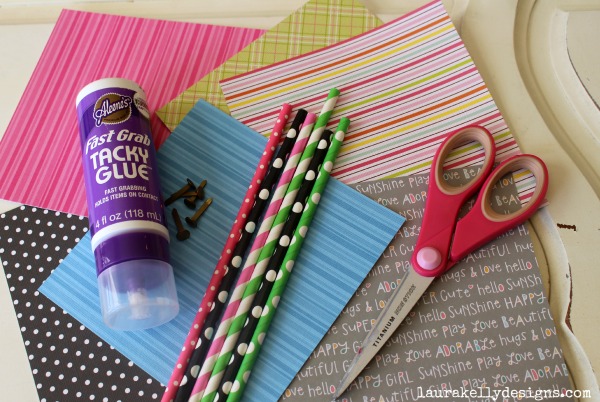
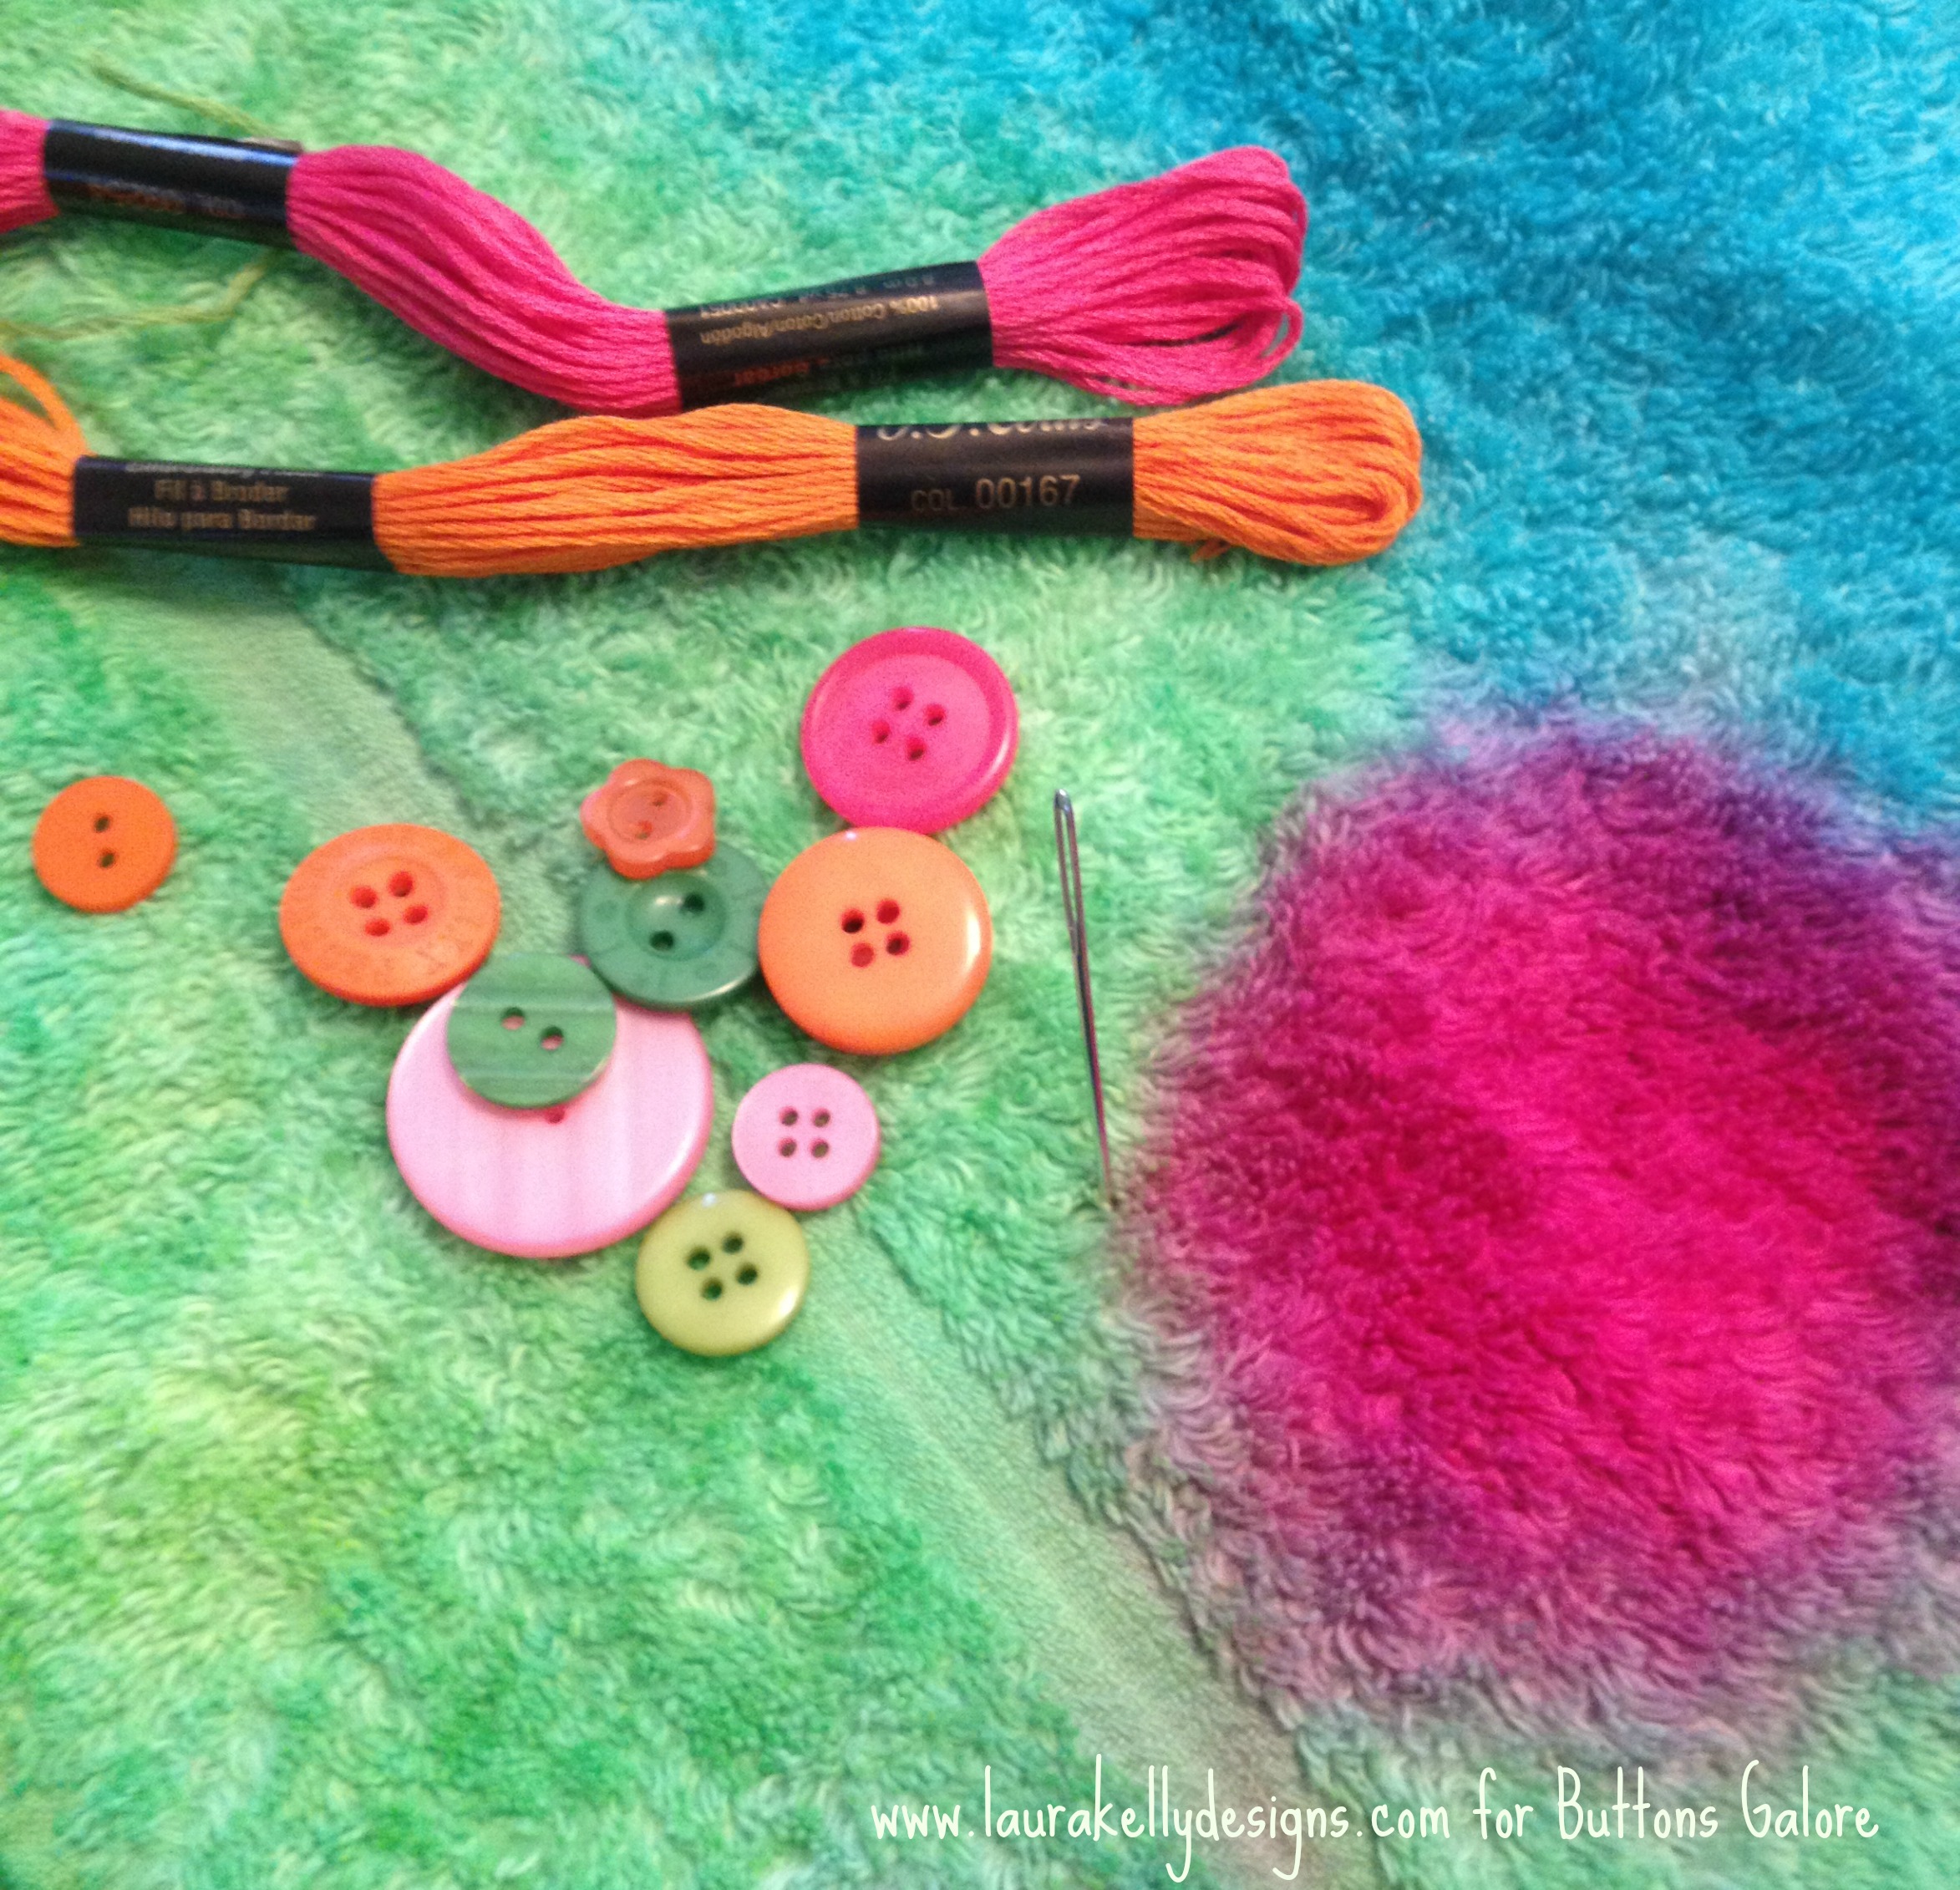
Supplies for felt ornaments
- Felt in 2-3 holiday colors & white
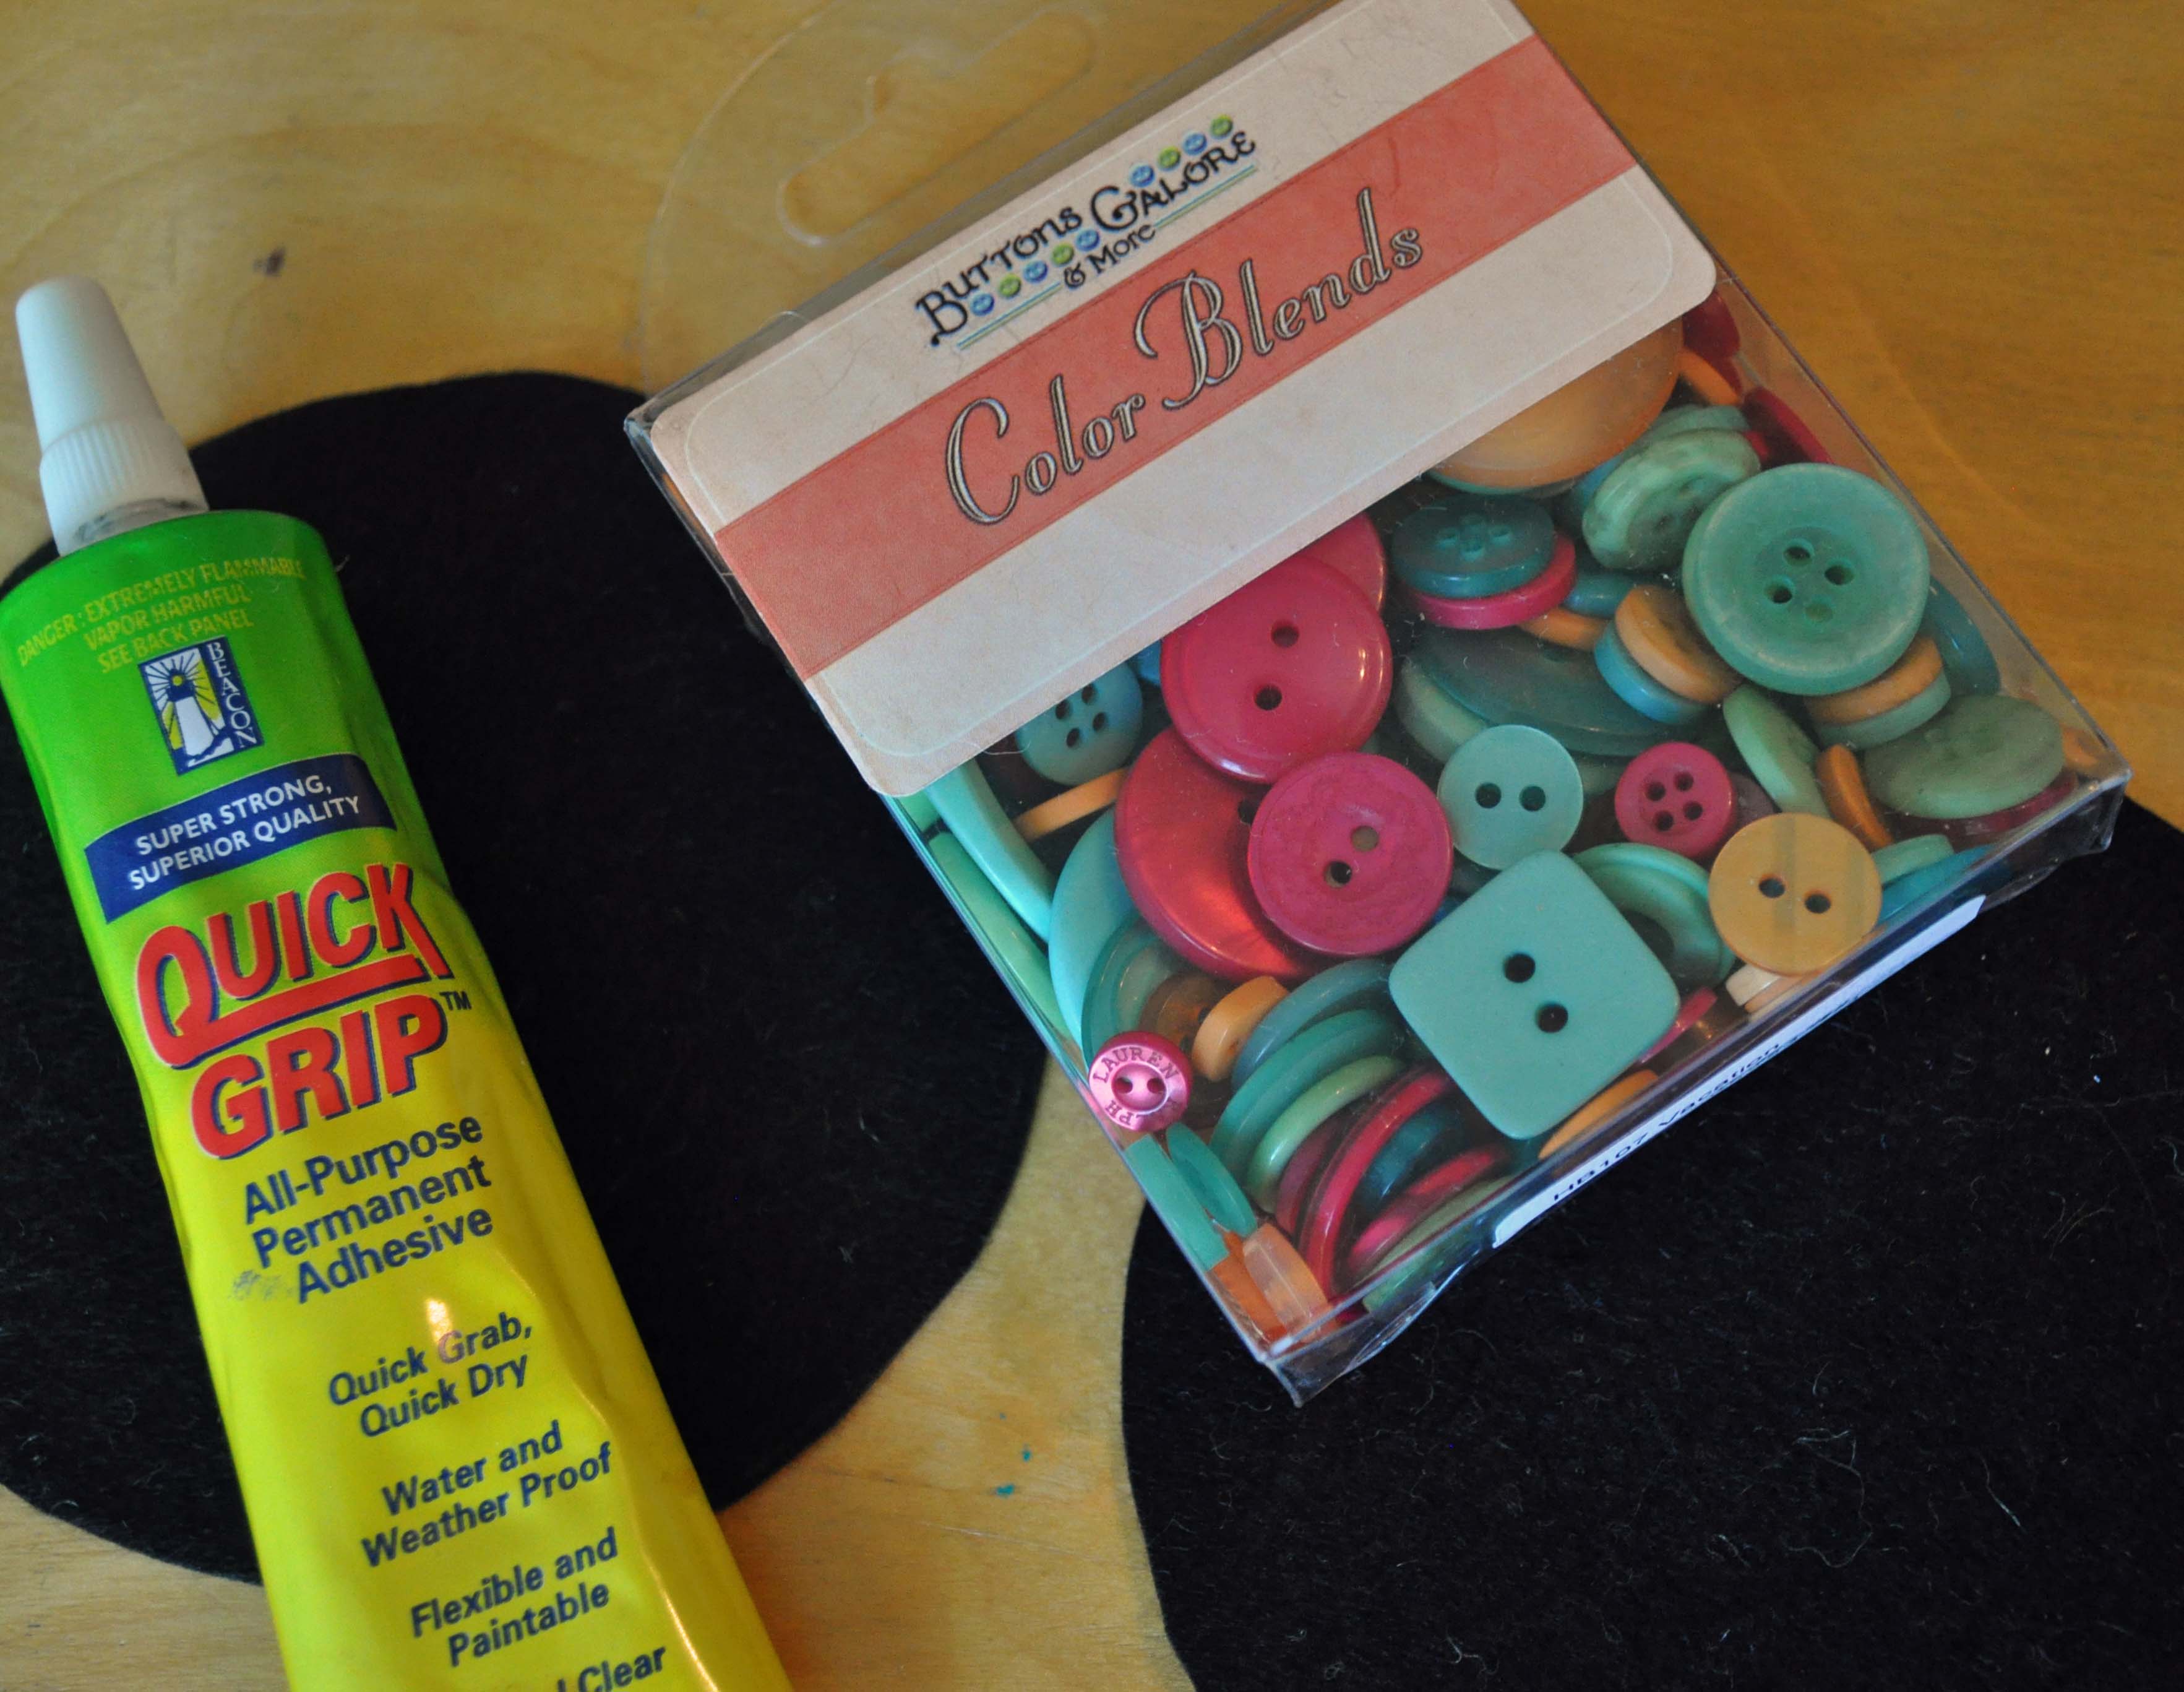
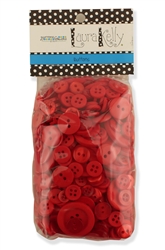
- Snowman Medley Buttons (Great news! These are on sale! Click here to get the coupon!)
- Embroidery Floss
- Basic sewing supplies
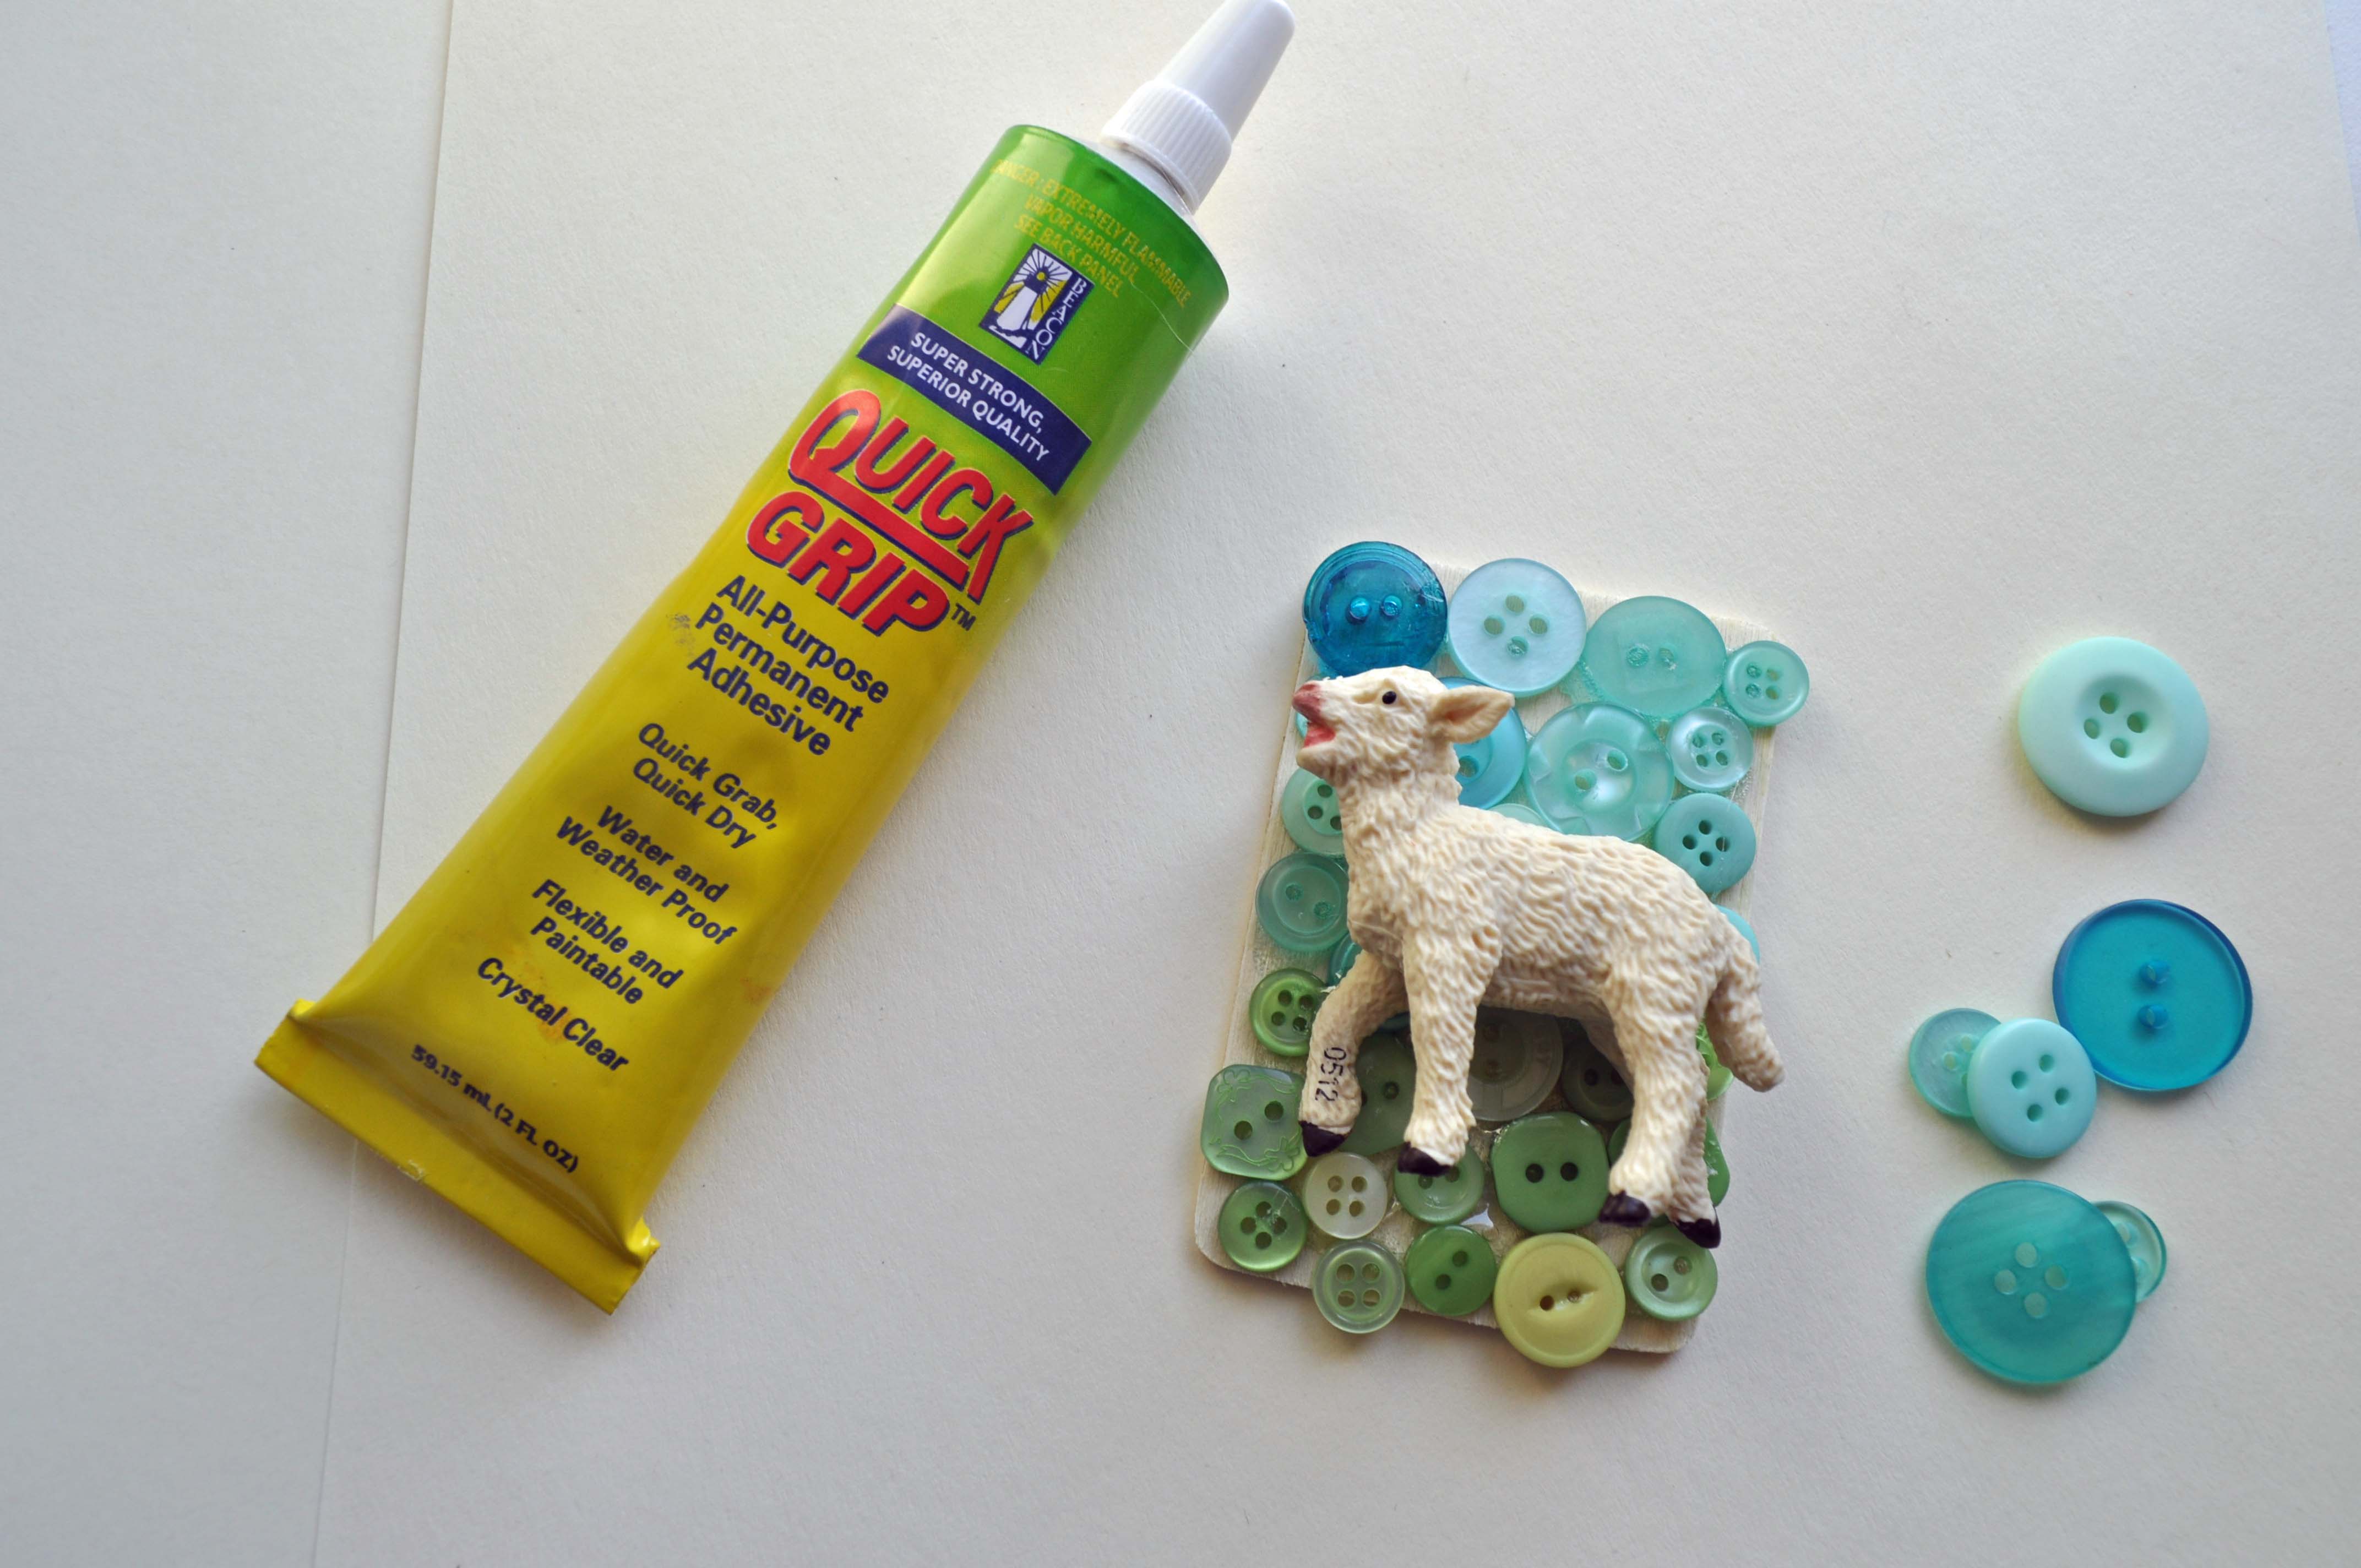
- Craft Glue
- Ribbon cut to a 4″ length
Instructions for felt ornaments
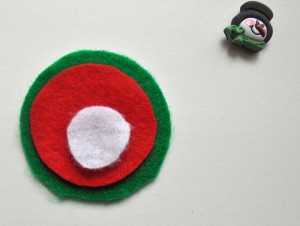
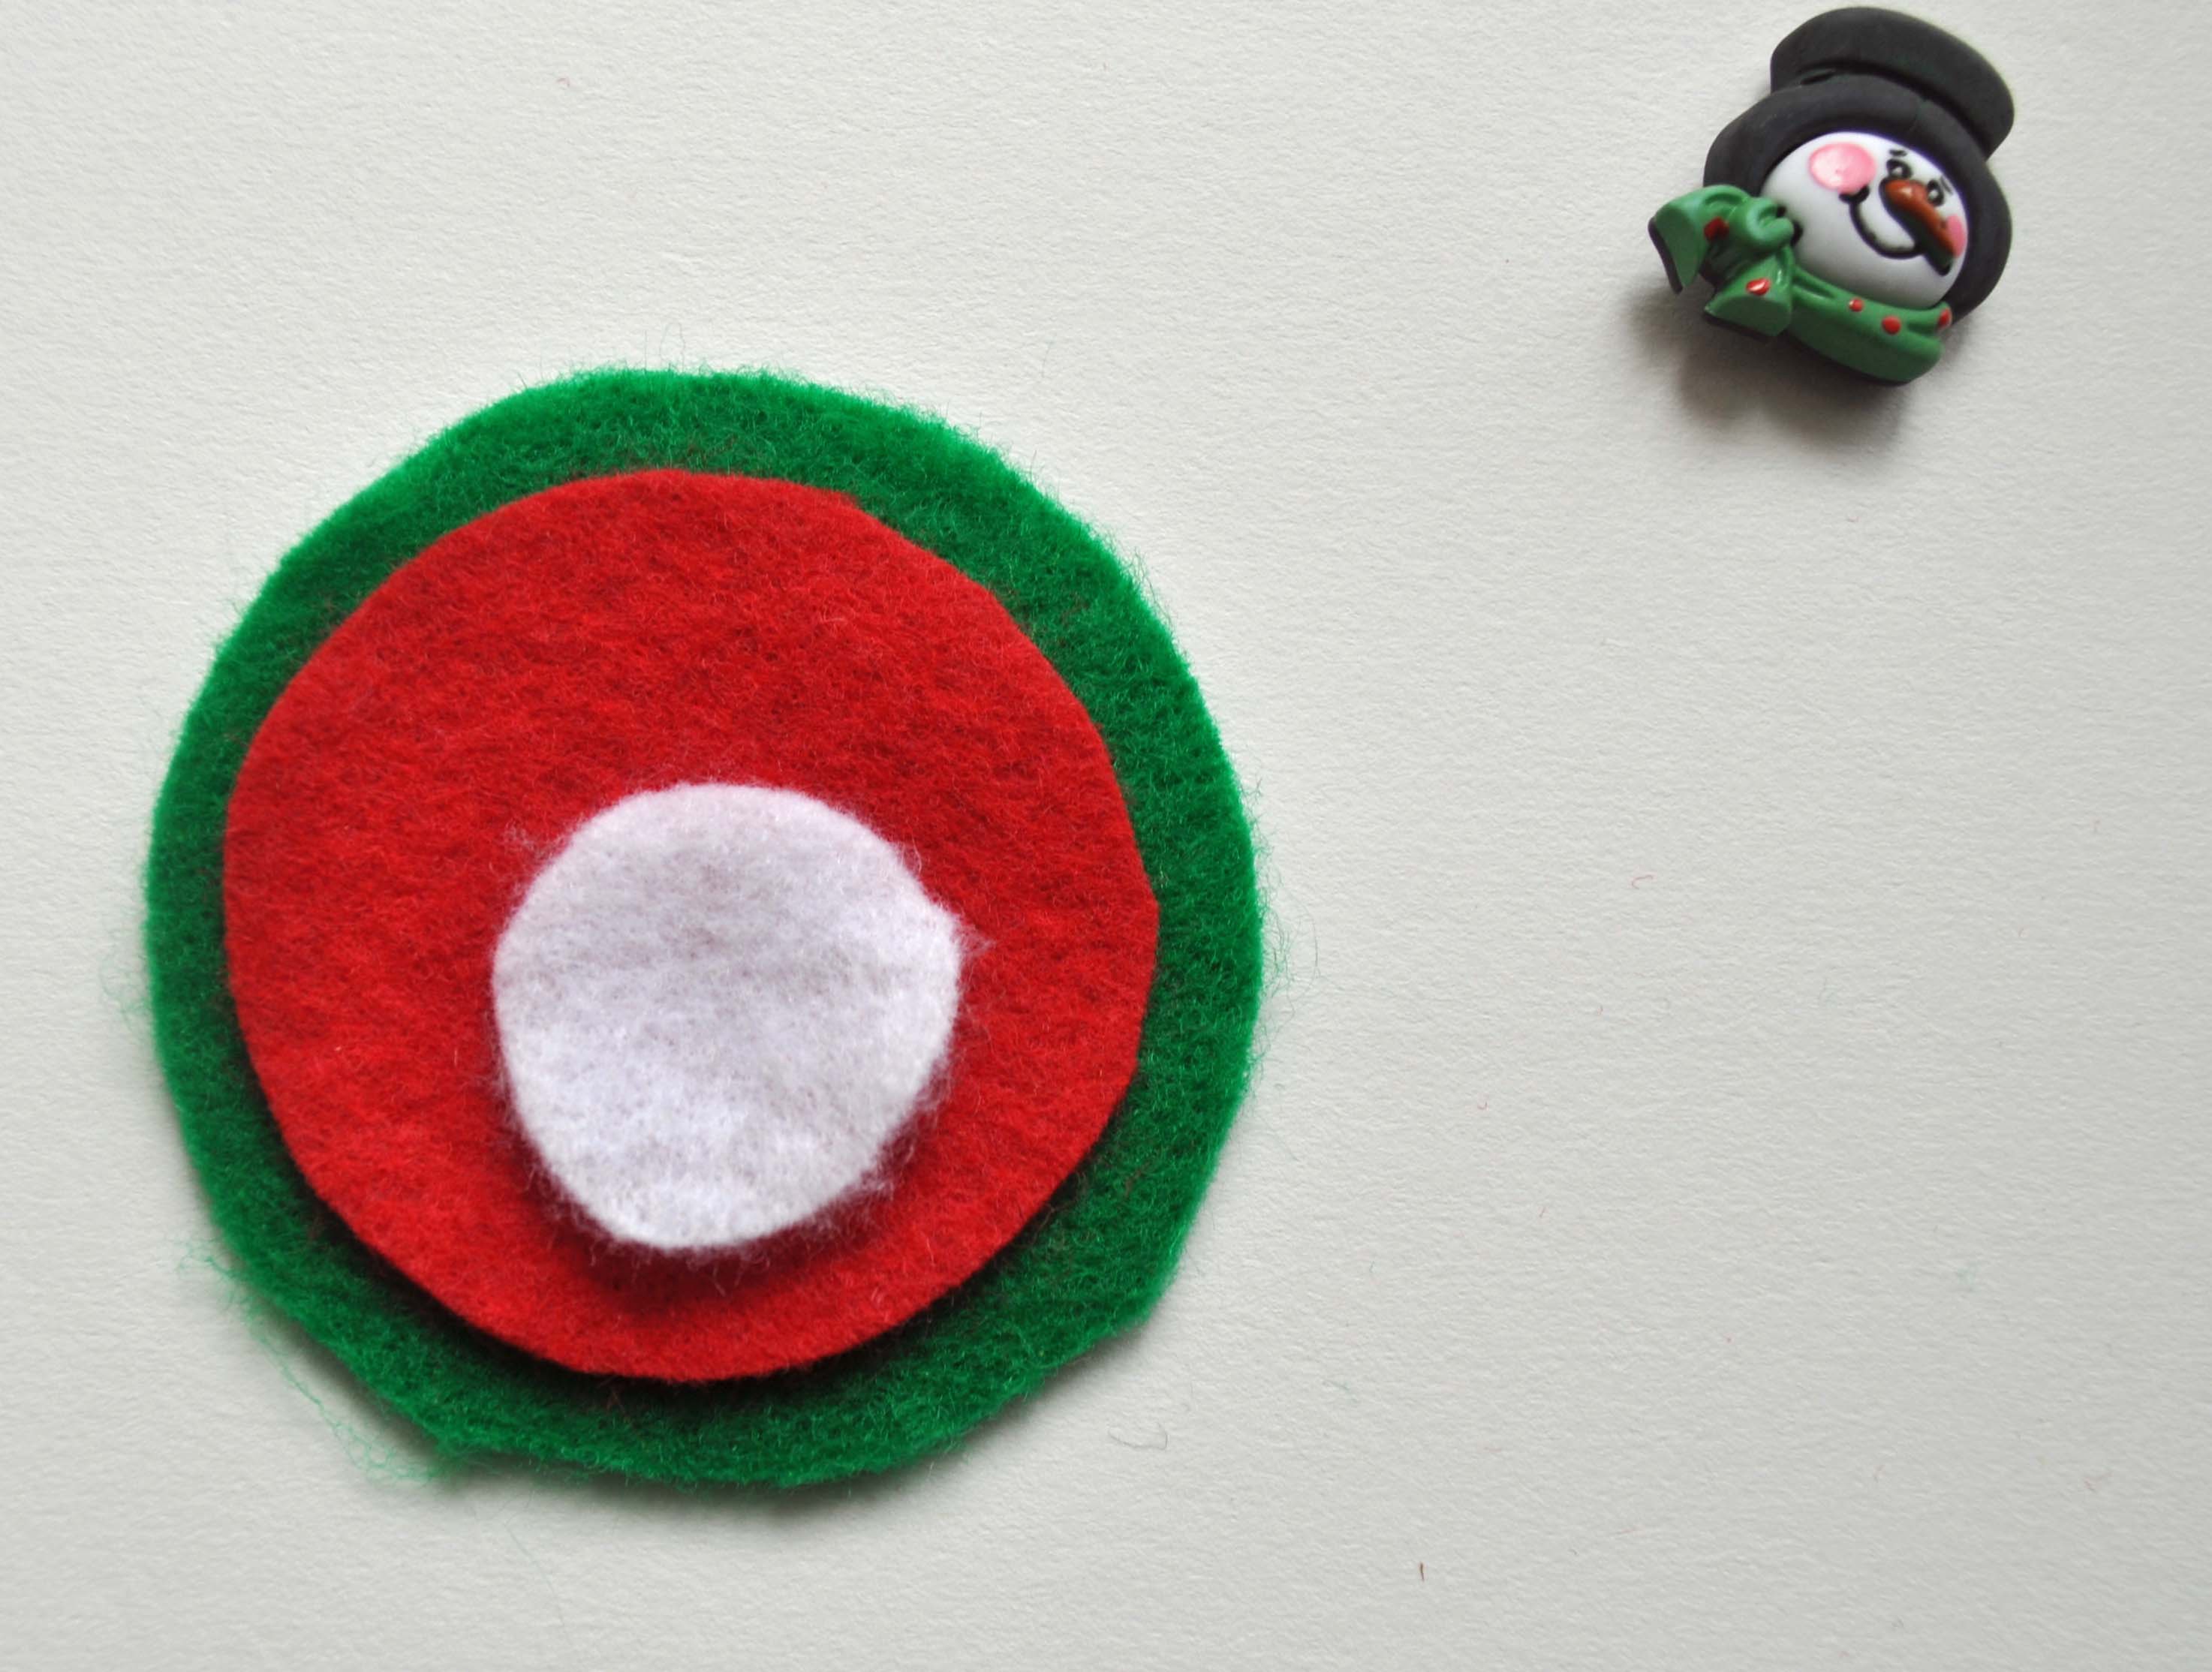
1. Cut two, 2 1/2″ circles from felt. They can be the same color or different. One circle will be the large background of your felt ornament and one will be the back.
2. Cut one, 2″circle from a coordinating felt color.
3. Cut one, 1″ circle from white felt. This will be the snowman’s body.
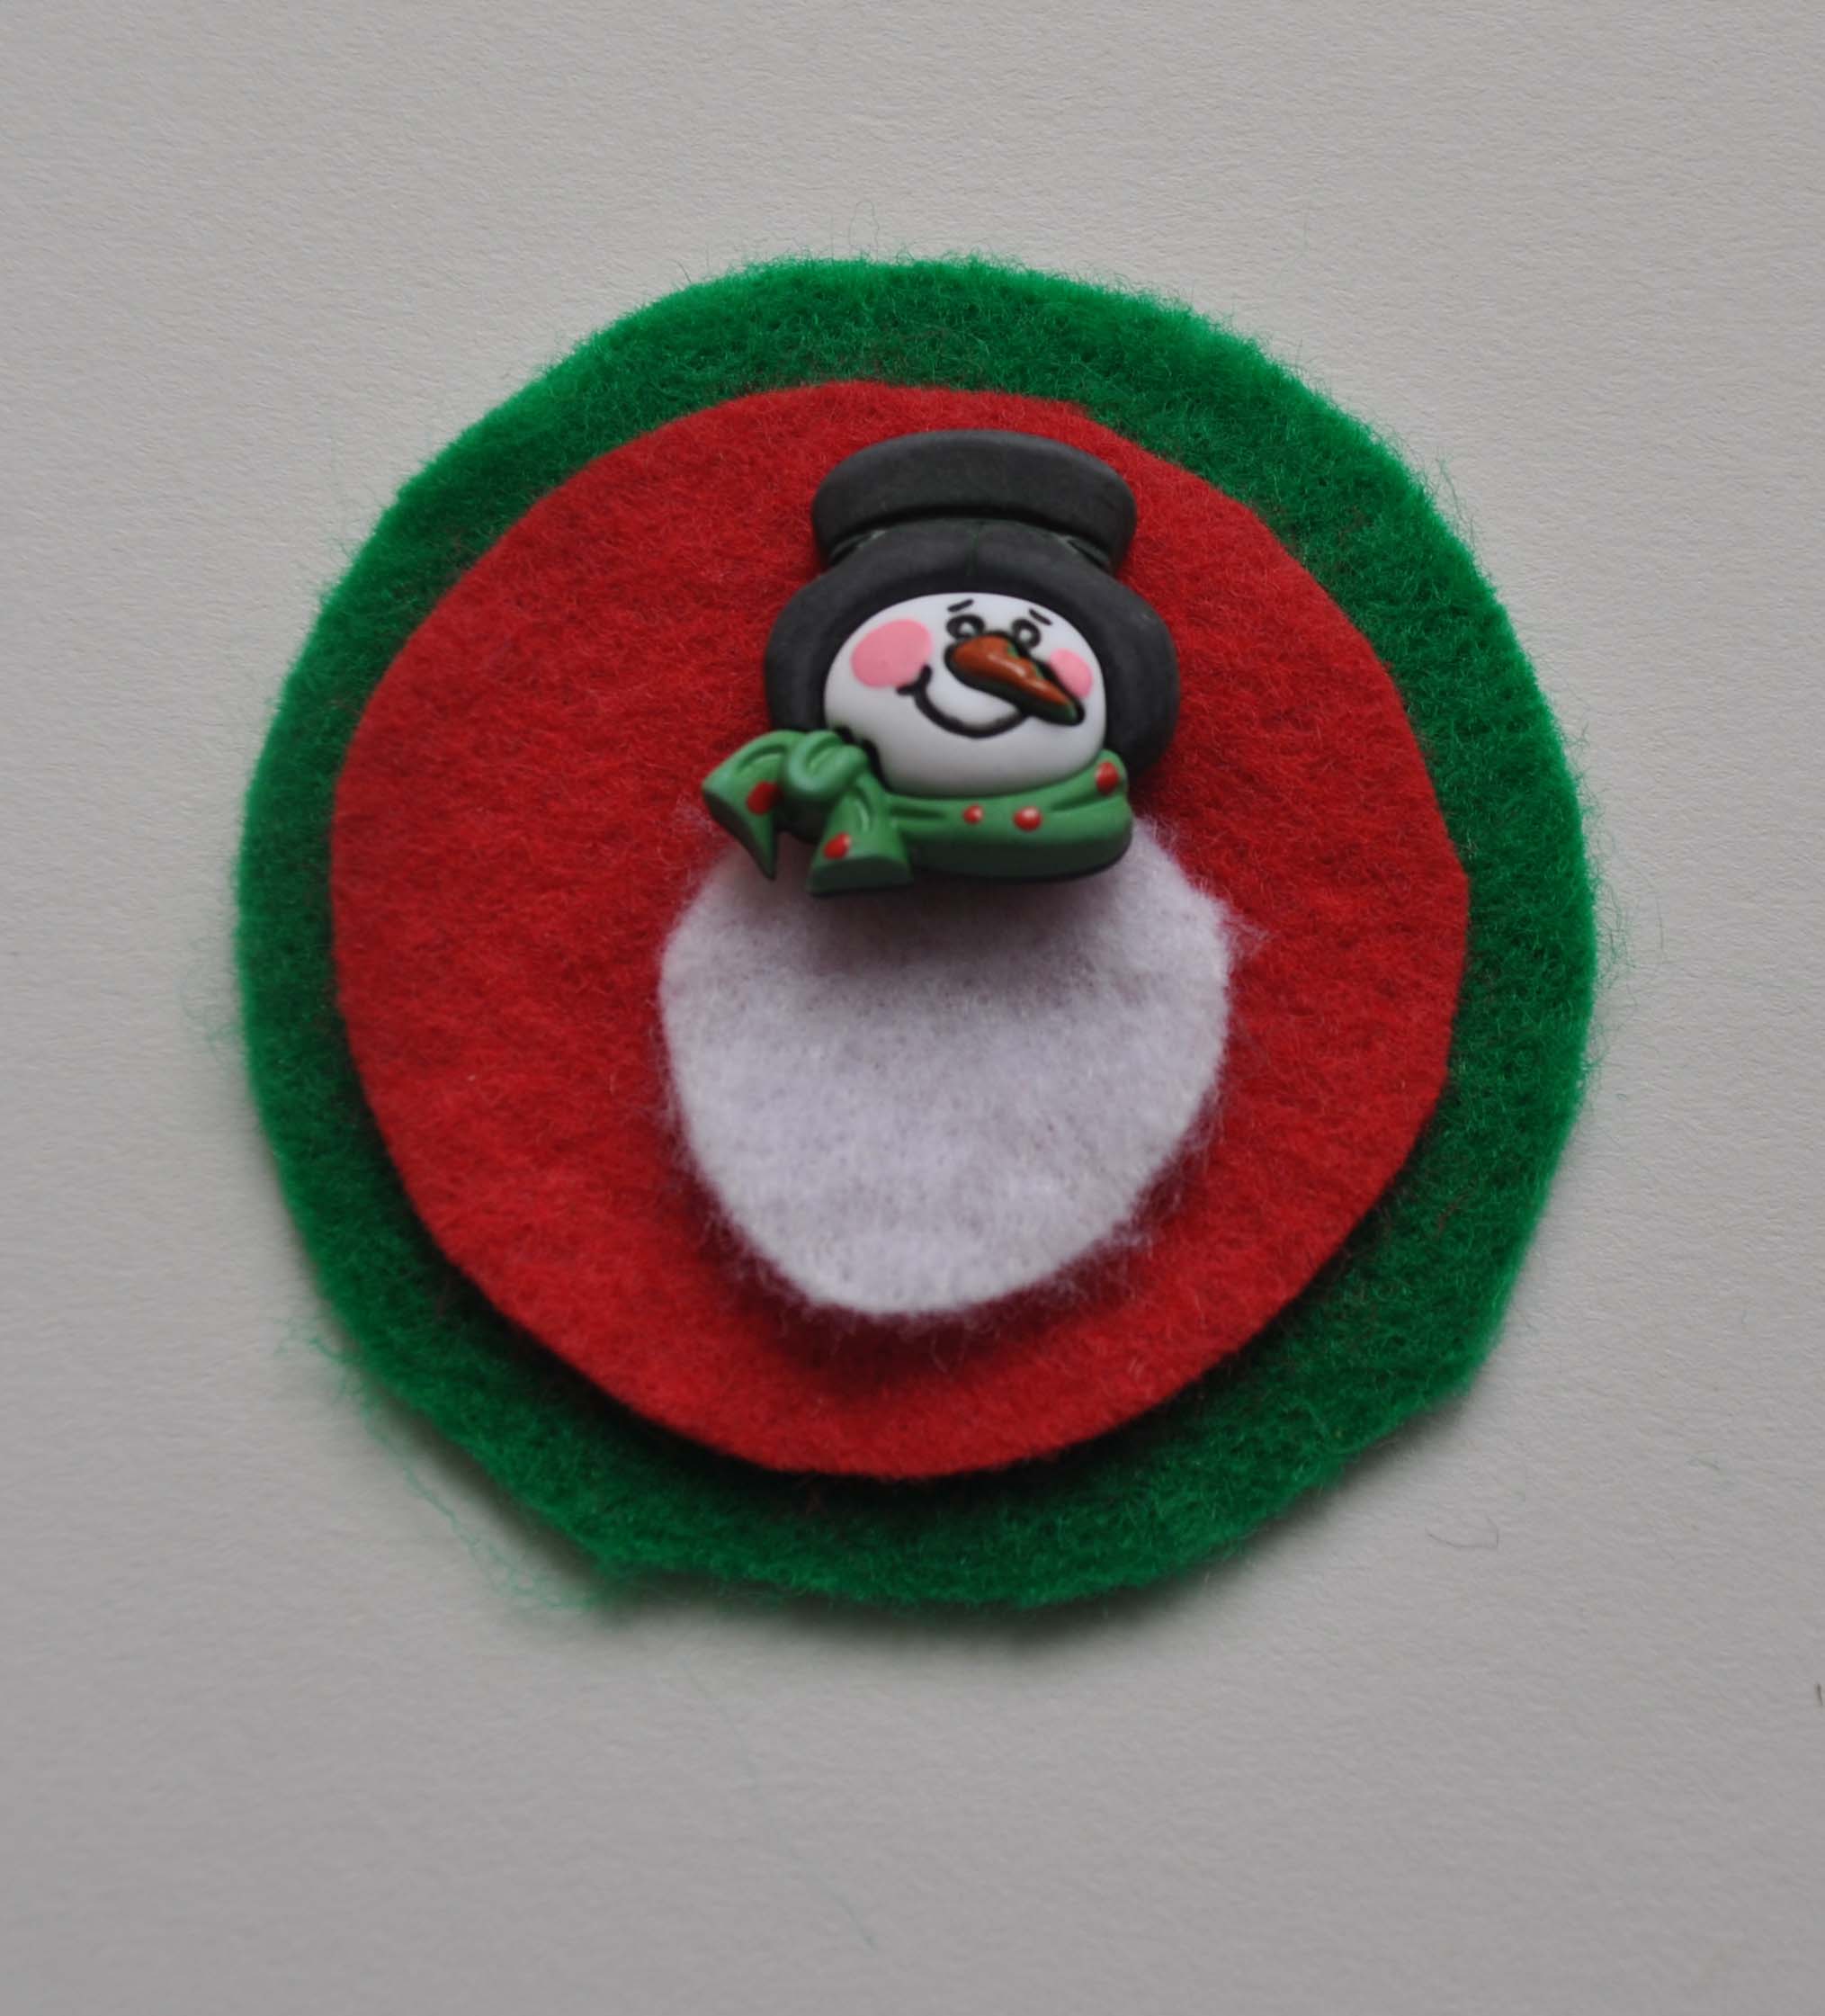
4. Place the 2 1/2″ circle on your work surface.

5. Lay the 2″ circle in the middle of the larger circle. Tack it down with a drop of glue.
6. Place the snowman body onto the 2″ circle and tack it down with glue. Make sure you place the snowman body towards the bottom of the felt to allow for room for the snowman button.
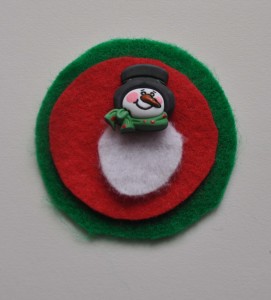
7. Using scissors, clip the shank off the back of the snowman button and glue it down.
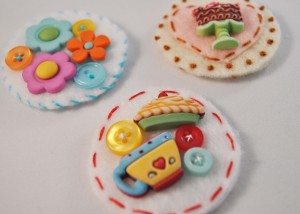
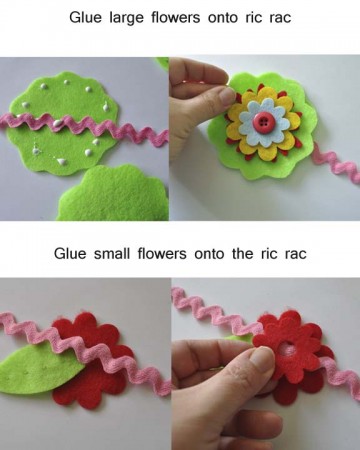
8. Now it’s time to stitch! First stitch the 2″ circle onto the 2 1/2″ circle. I used a simple running stitch to do this.
9. Stitch the snowman body down. I used a running stitch to attach the body to the ornament, then added some arms with a straight stitch and coal button French knots. Play with the position of the arms on the snowman as this gives the little guy some personality. Is he throwing his arms up in delight? Keeping them by his side? Pointing the way to the North Pole?
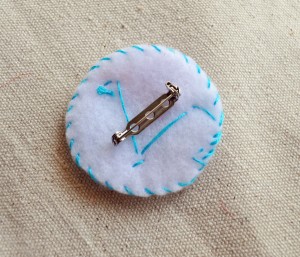
9. Once everything is stitched into place on the front, it’s time to stitch the back felt circle to the front. You want to do this last as the back piece will cover all your stitching on the front piece. First, fold your ribbon piece in half and tuck it behind your stitched, front circle, at the top. Then place the back circle of felt on. Pin it all in place and do a blanket or running stitch to hold it all together.
I hope you enjoy making holiday ornaments this year. Maybe you will even start a tradition of a yearly handmade ornament at your house!
Wishing you the Happiest of Holidays! To get lots of more crafty holiday ideas and recipes, please come and visit me on my blog at Laura Bray Designs.


Remember, you can enjoy 50% off the buttons used in our project today. Visit our Coupons page for details! Special offer ends January 14, 2014.
Happy New Year!!!


 Hi! It’s guest designer,


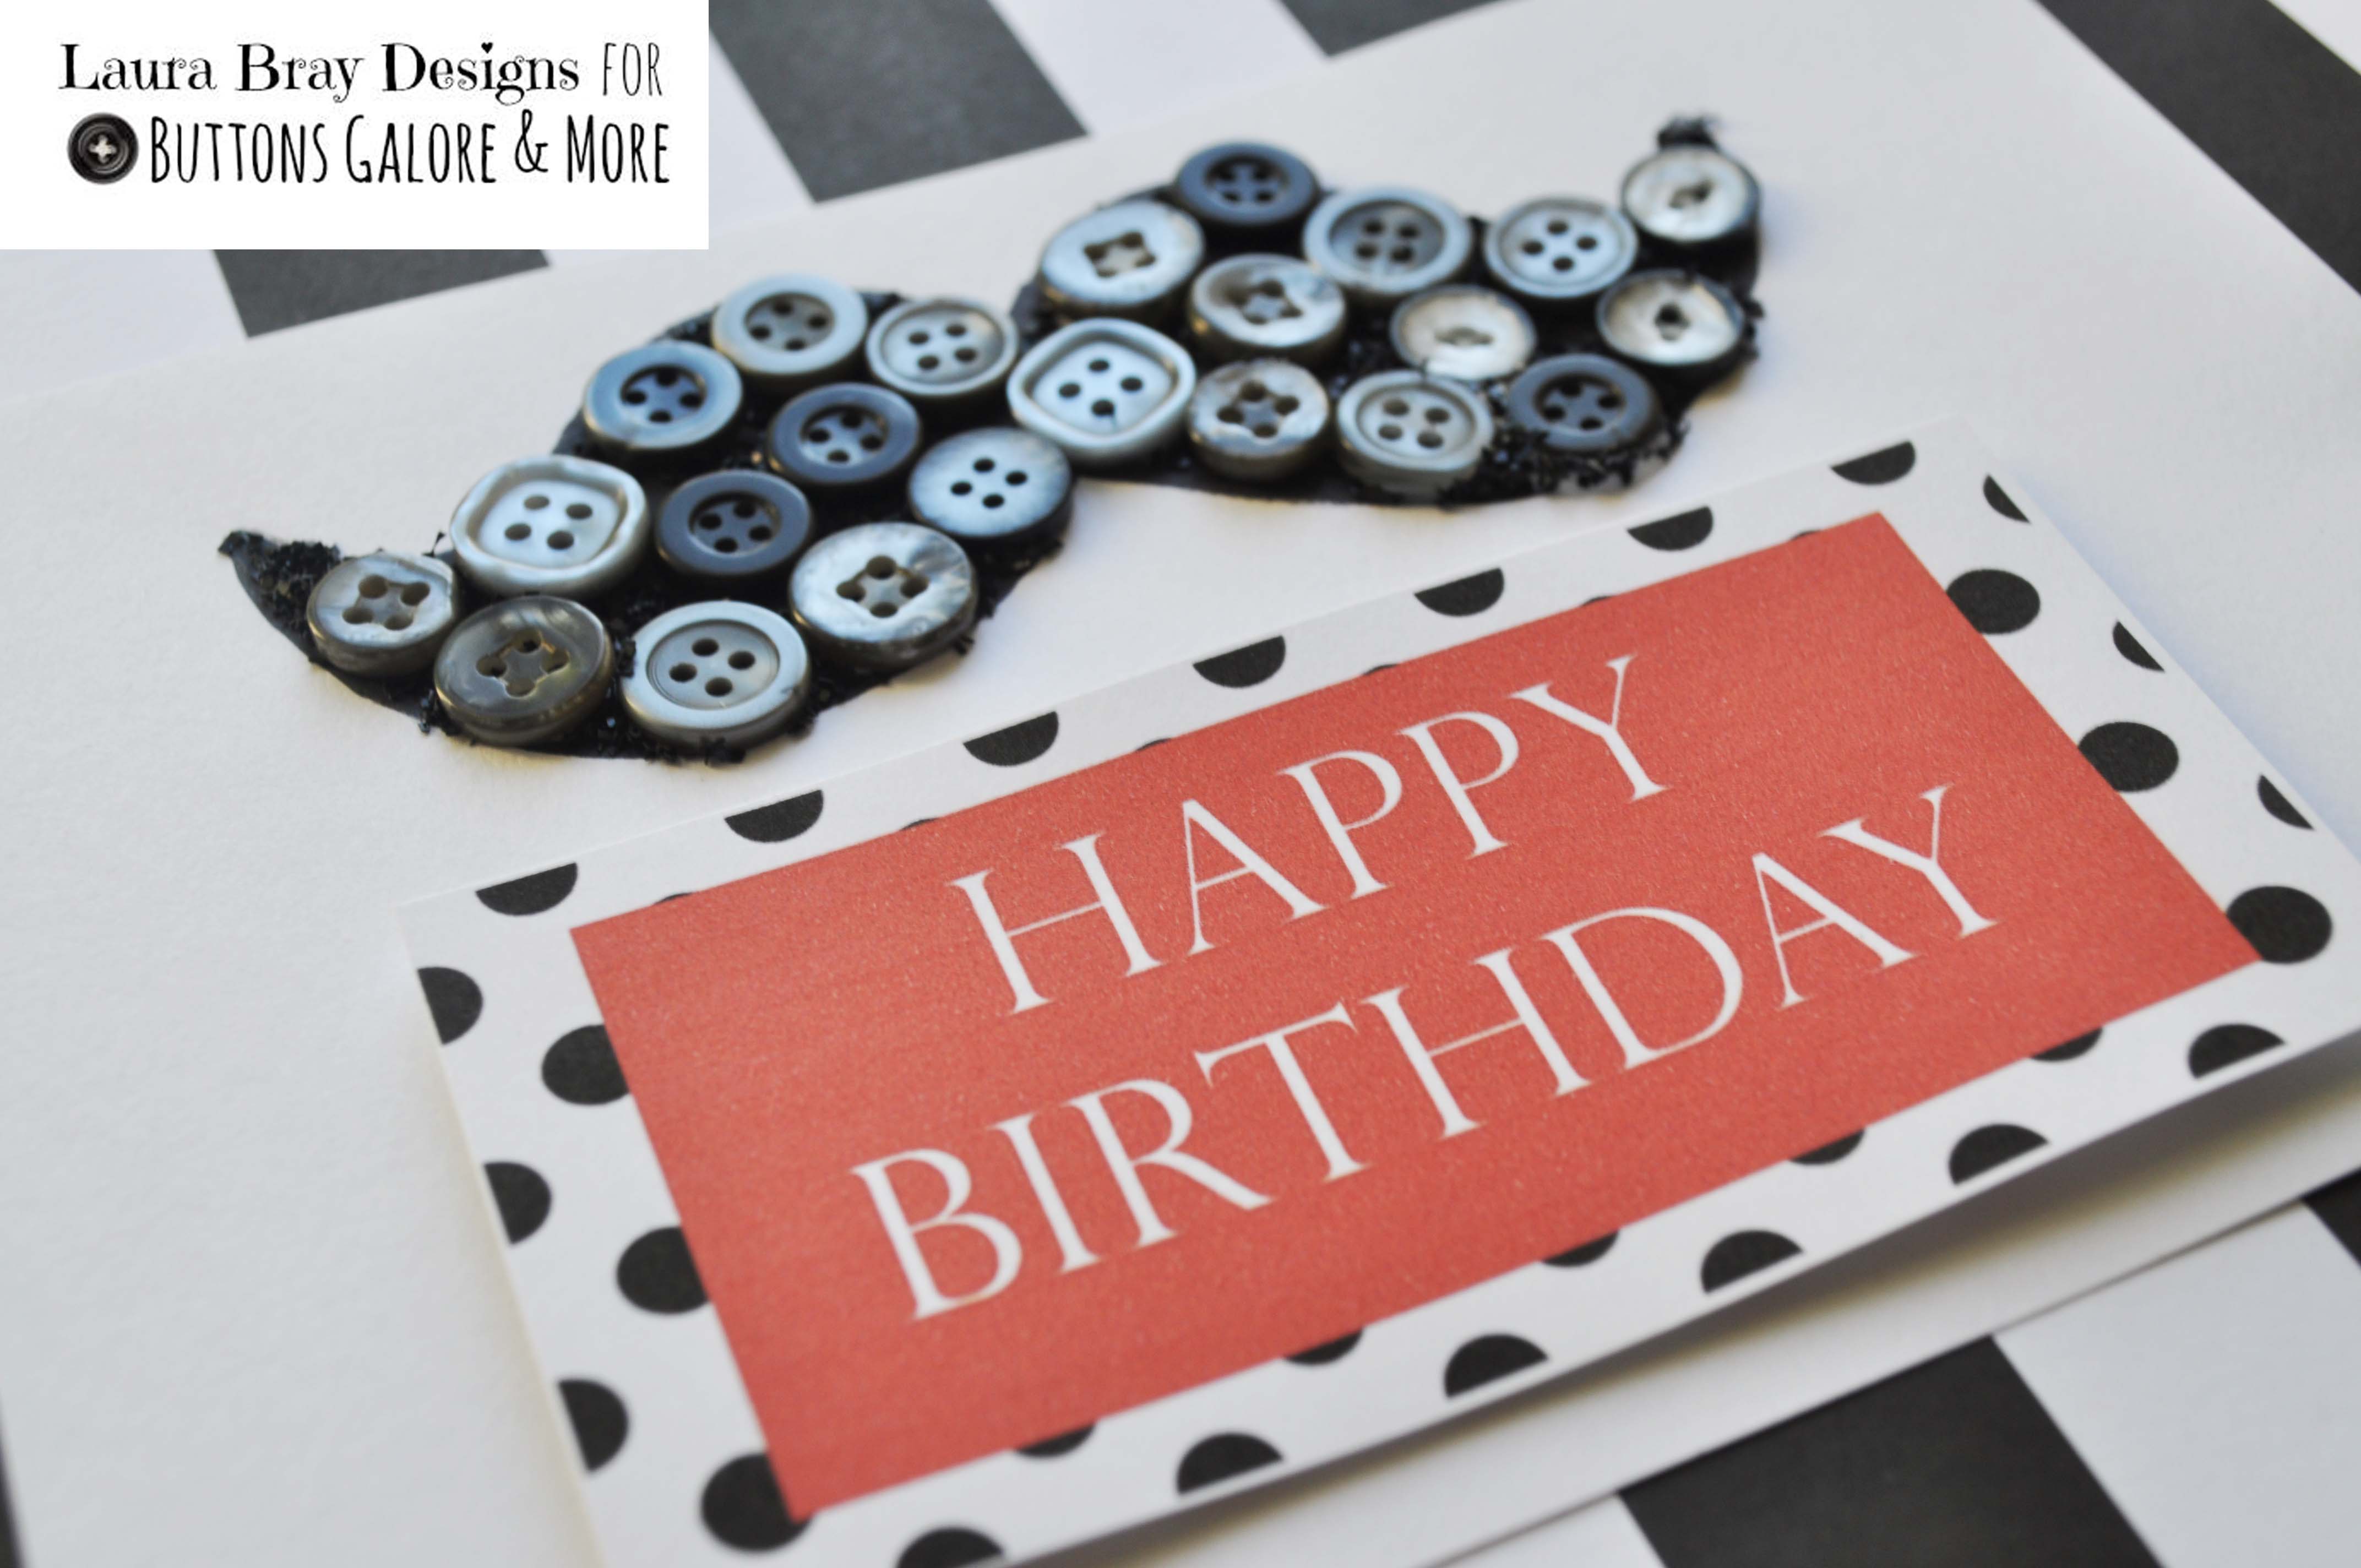
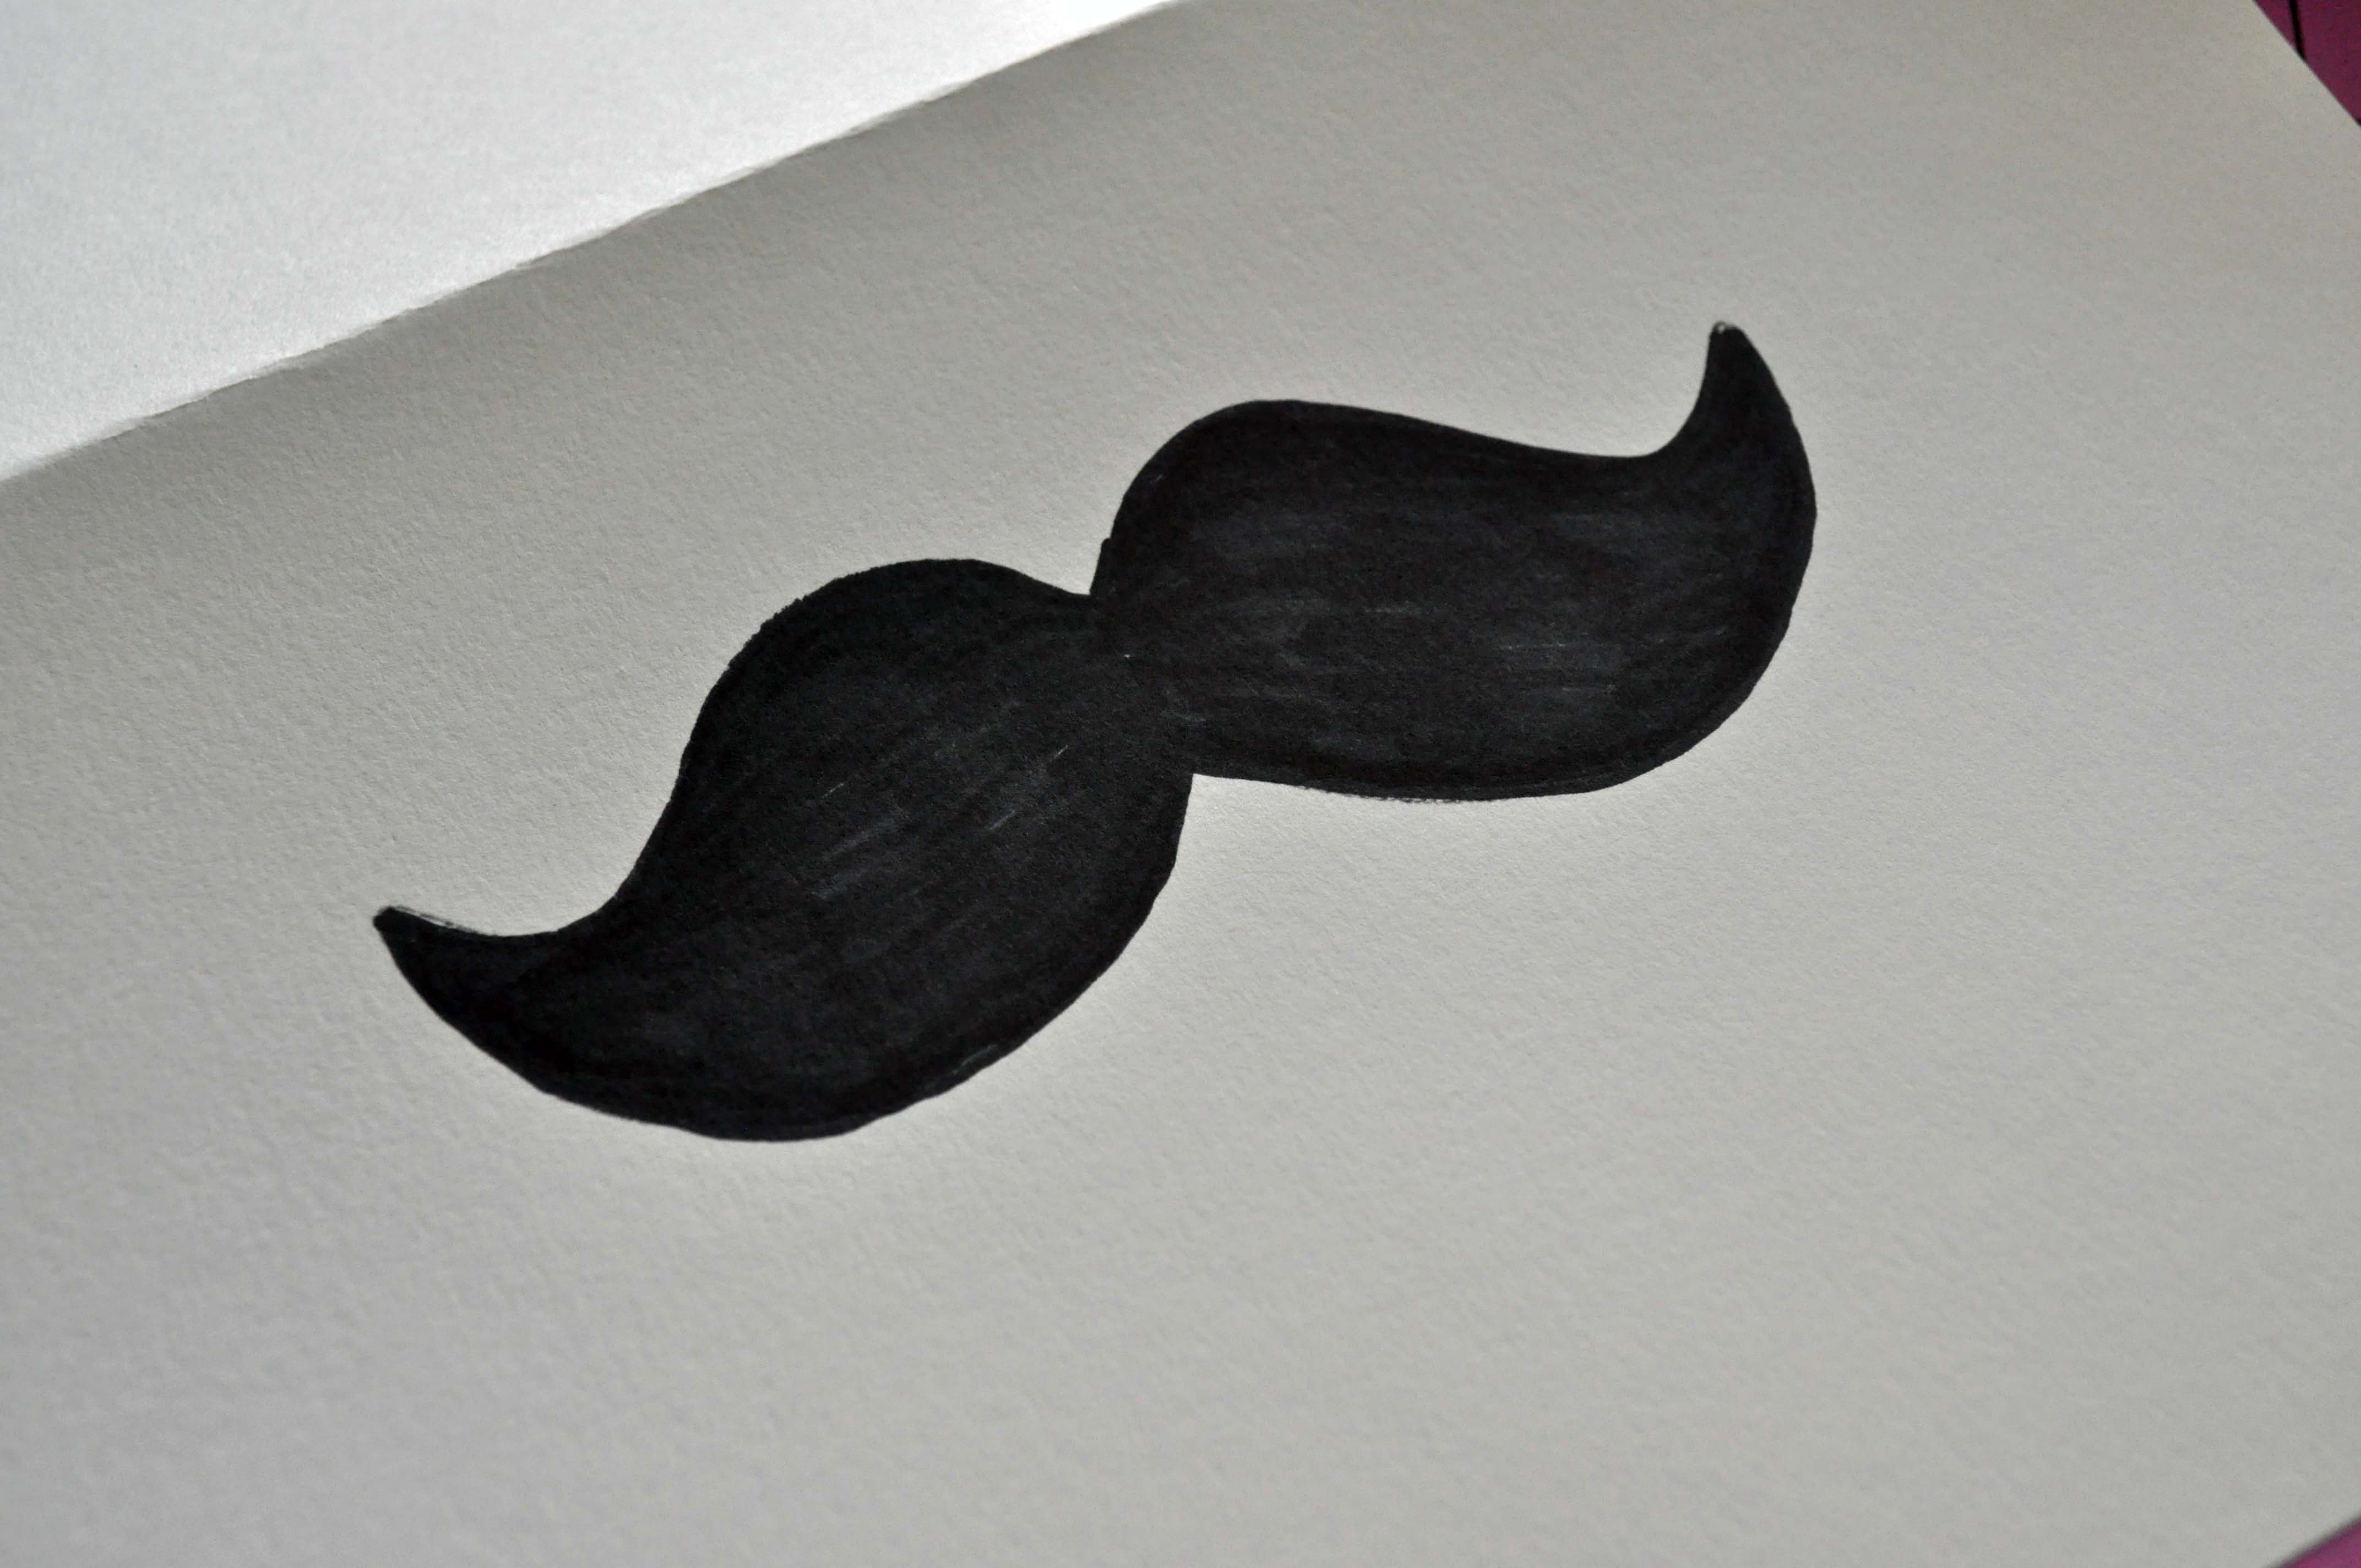
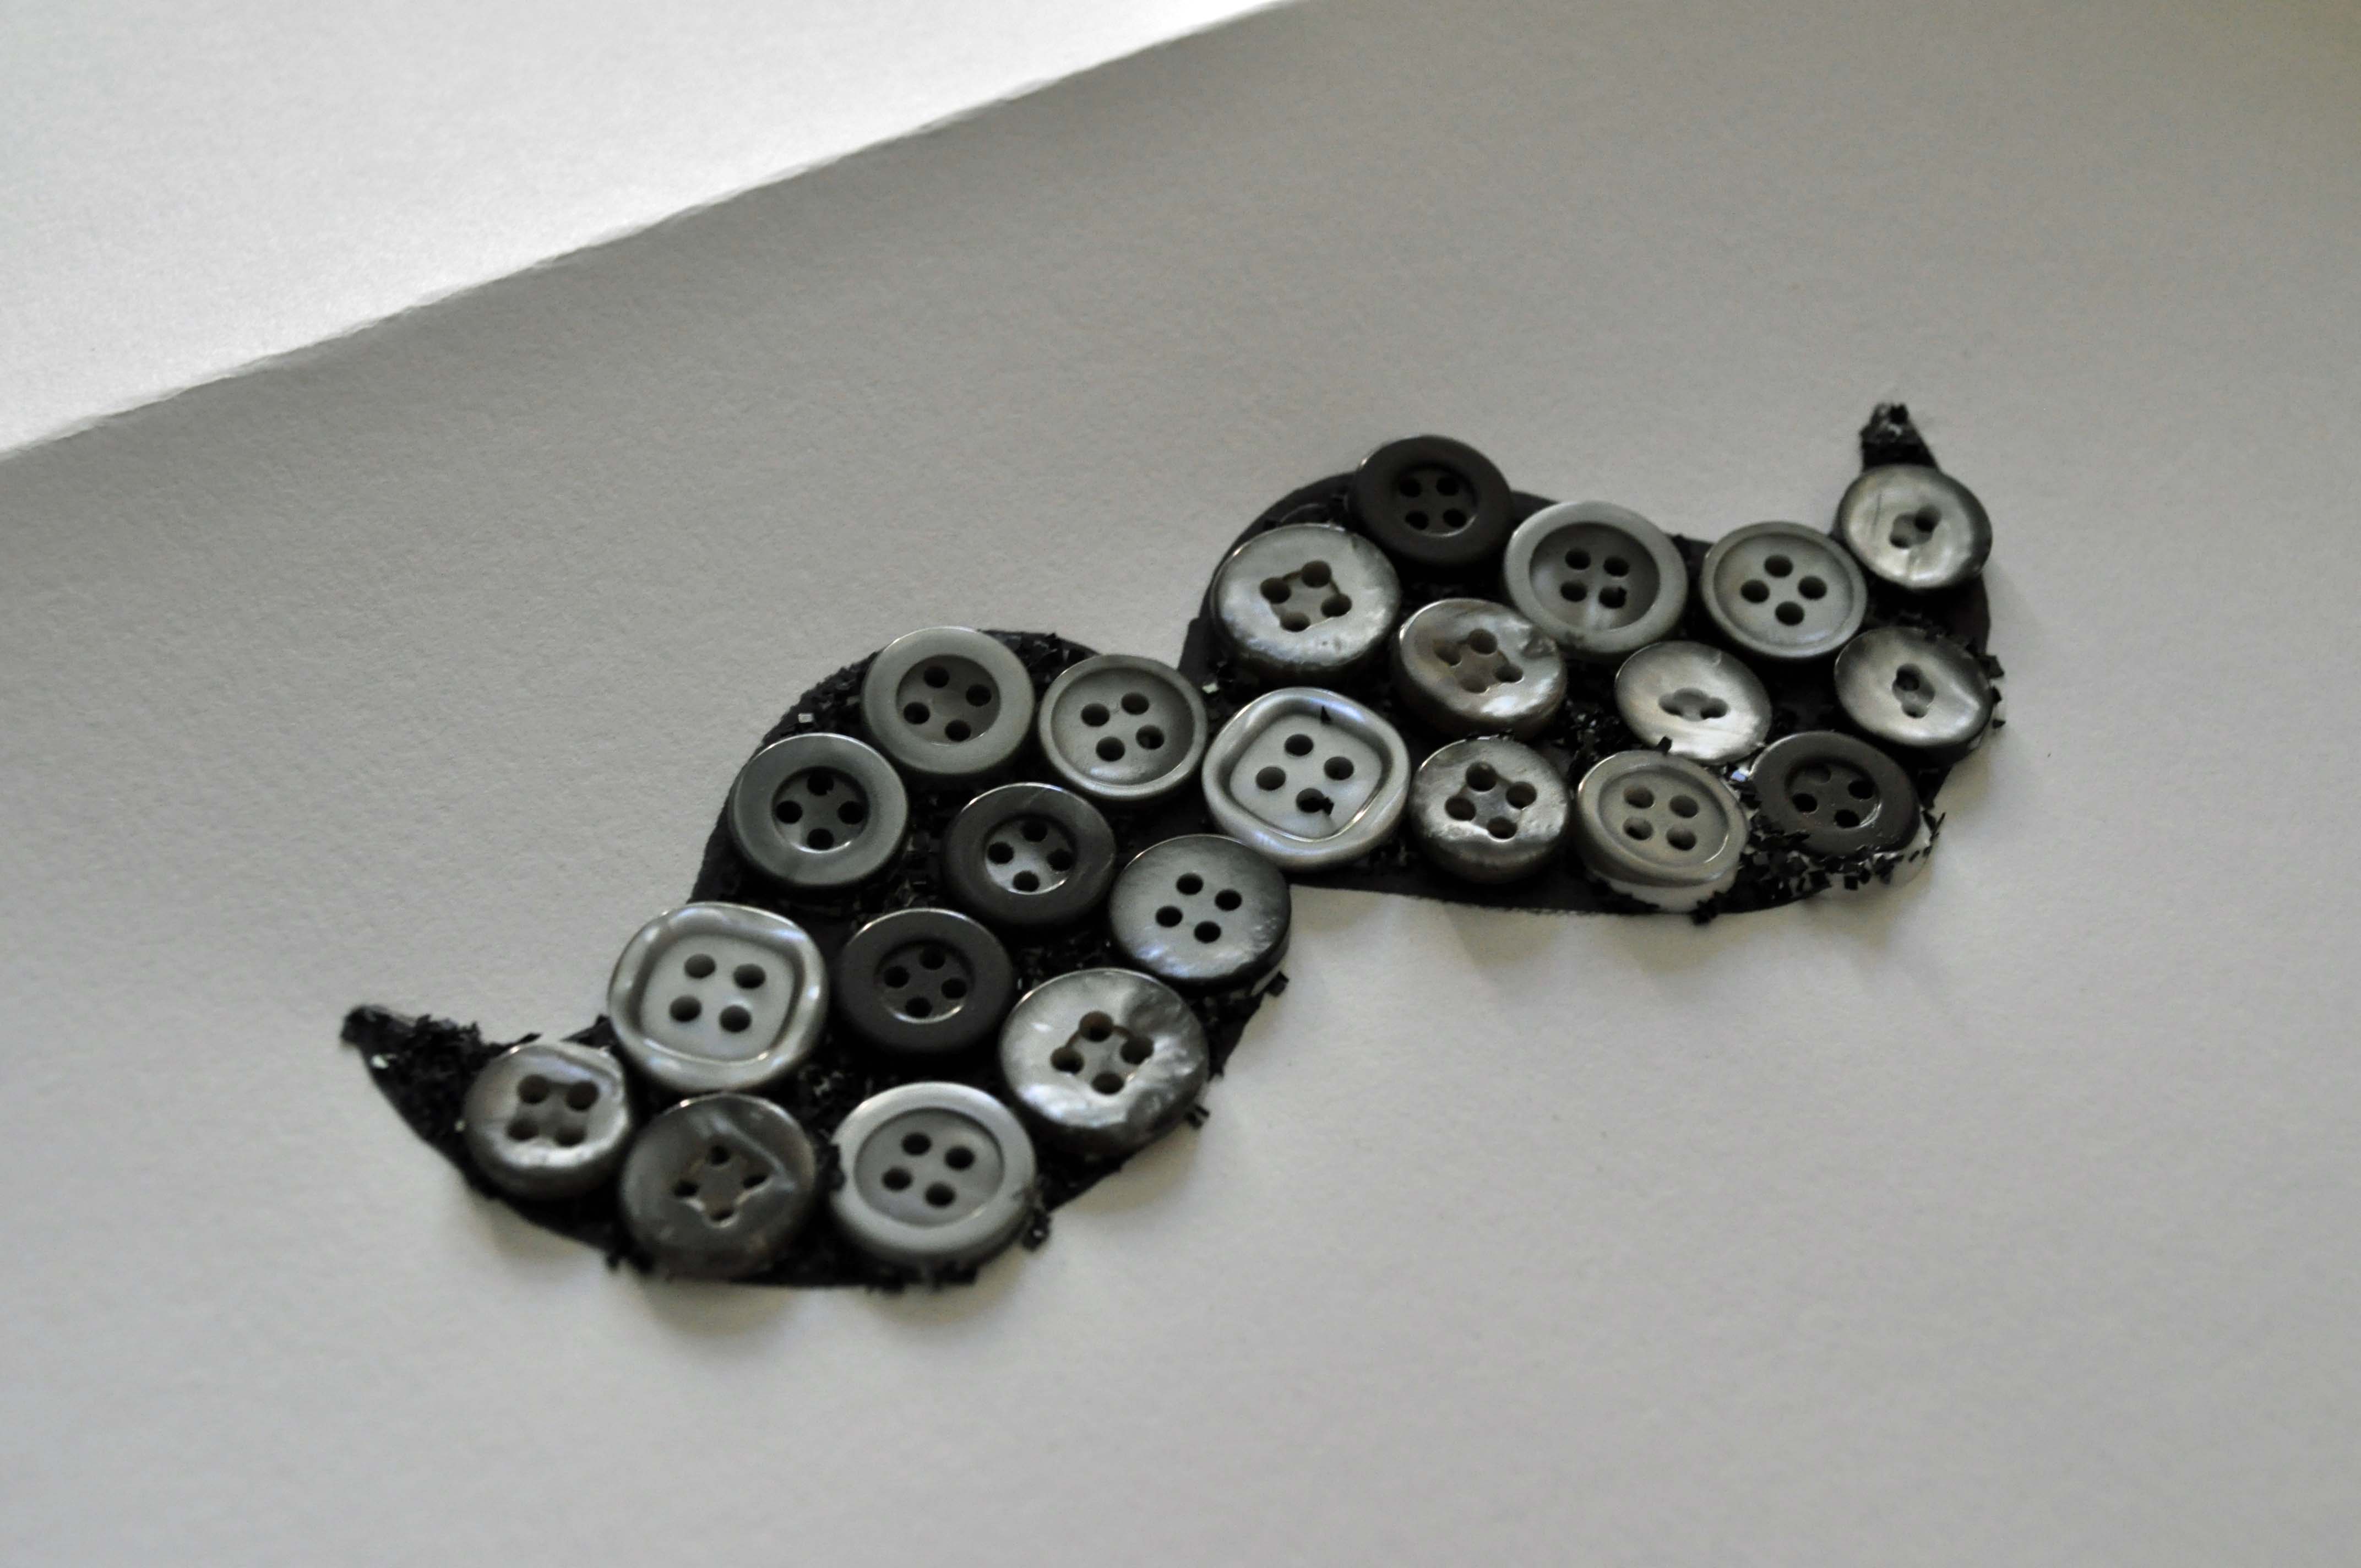
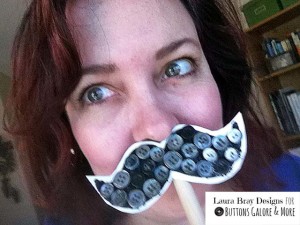 Moustache for men birthday card and fun photo prop