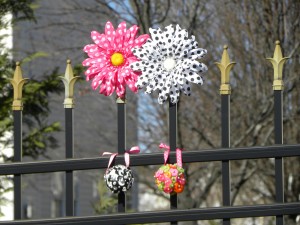
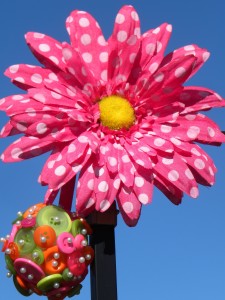
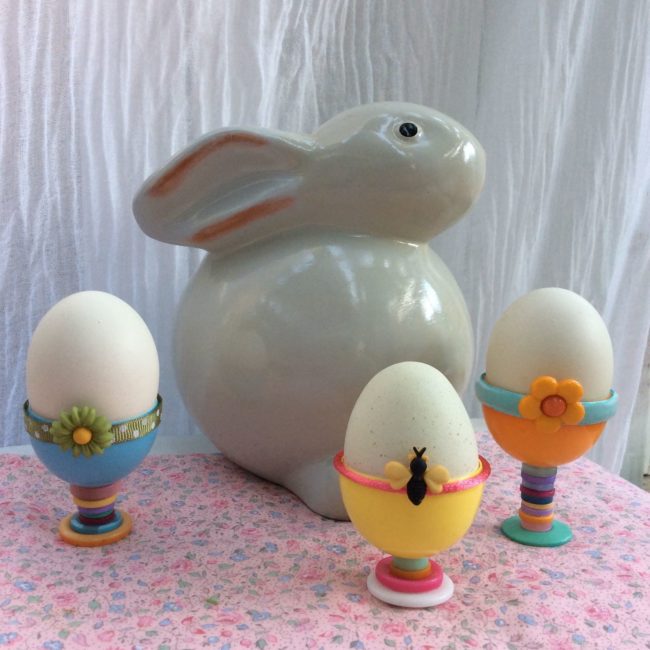
Here is a fun and easy way to display your Easter eggs? Colorful pedestal egg holders made with buttons are a pretty and unique way to showcase Easter eggs! For these egg cups I used a variety of sew through buttons from our several of our button collections to make the pedestal and flowers and a bee button from the Spring Fling 3D Button Collection for the finishing touch.
Archive | Spring
DIY Flower Button Brooches for Fall Fashion Cheer!
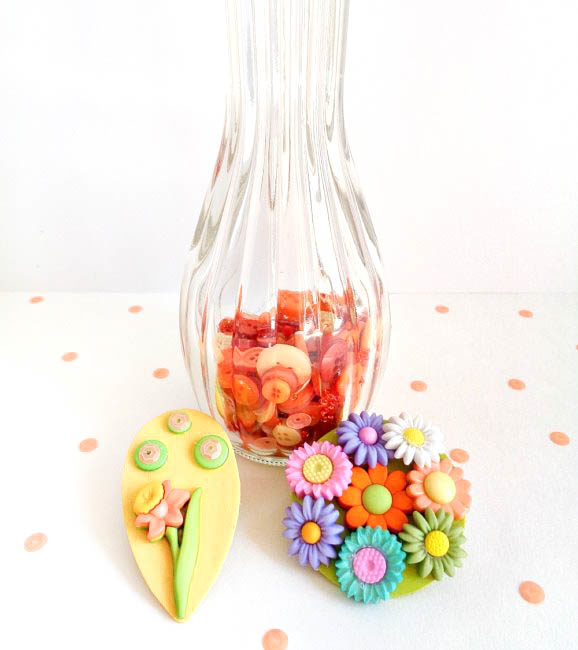
Hello button lovers! This is Katie from the Buttons Galore & More Design Team, and today I have a fun DIY flower button brooches project if you are someone who is just not ready to make that transition into the fall season!
Now, as a fall season girl at heart, I know making flower button brooches sounds a bit weird in September. However, there are those folks who just love spring and summer. If this is you, then these flower button brooches should make the fall season a bit more bearable and make those warm cardigans a bit cuter! Continue Reading →
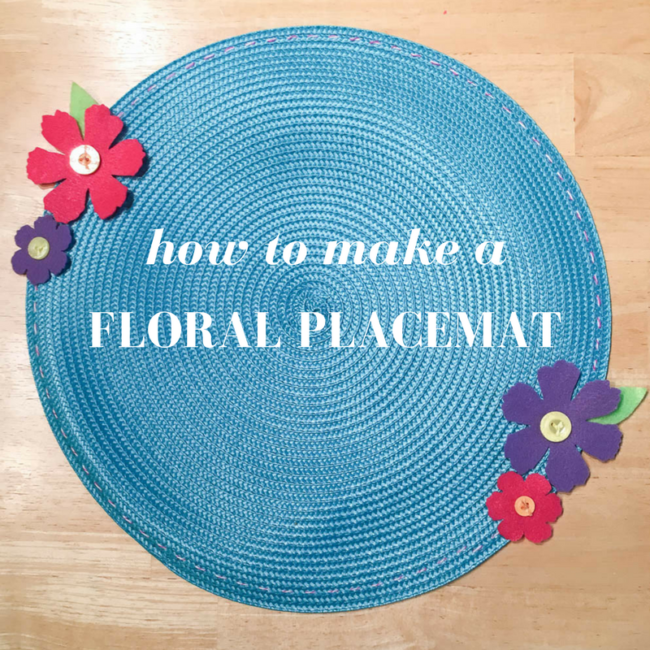
Easy DIY Flower Placemat for Easter & Mother’s Day
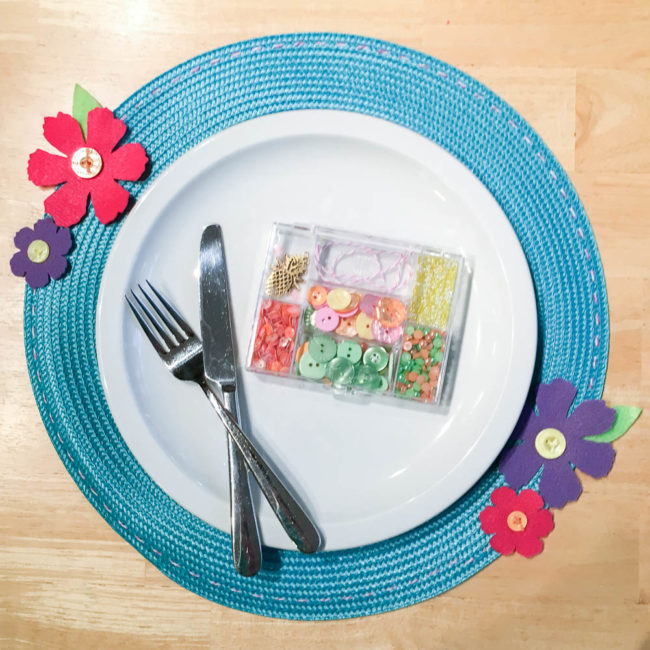
Spring means lots of special occasions! This flower placemat design is great for Easter, Mother’s Day, or for making a birthday girl feel extra special – and it’s super quick and easy to make!
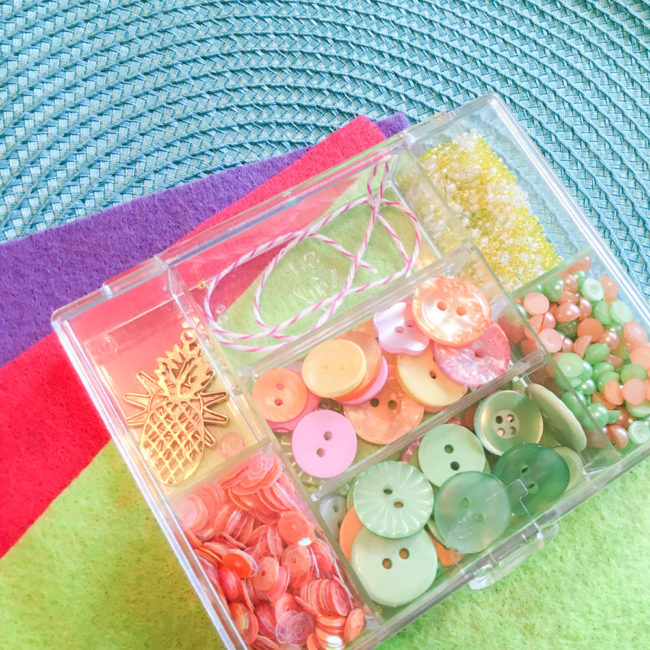
This flower placemat uses supplies from the popular 28 Lilac Lane “Tropical Twist” kit. You can tell that it’s definitely one of my favorites since many of the supplies are used from it! Although the name of this kit, and its themed charms, are definitely summer themed, this project is a great reminder to look at your kits not just as themes but as color palettes as well.
Supplies Needed:
- 28 Lilac Lane “Tropical Twist” embellishment kit
- 15″ round placemat
- Felt in pink, purple, & green
- Tim Holtz Alterations for Sizzix “Tattered Florals” die
- Needle & Thread
- Embroidery Floss in yellow & orange
To start making this flower placemat, get out a large needle. Thread it with the baker’s twine from the Tropical Twist kit, and stitch around the outside edge of the placemat. (I recommend doing this is several short lengths to avoid abusing your twine and for efficiency.) To make more than one placemat, use embroidery floss for this step as the kit only contains enough twine for one.
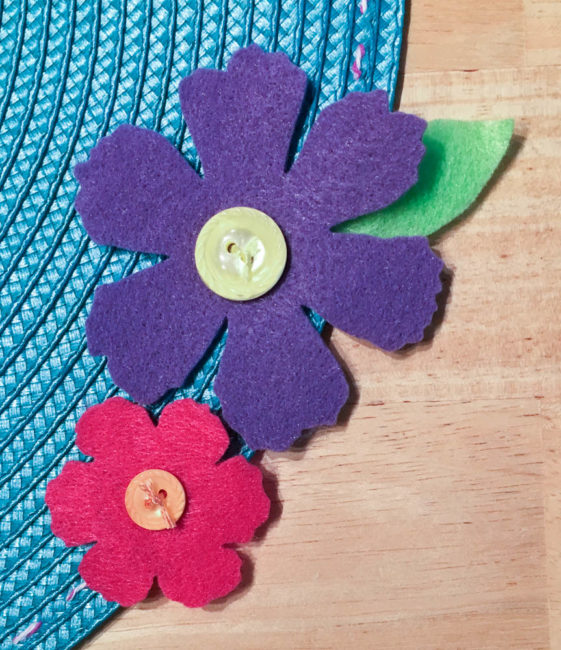
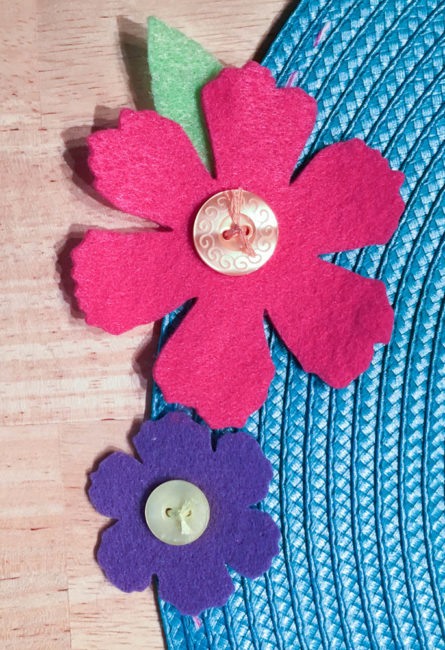
Next, use a flower die to cut flowers out of felt (or hand cut your own). Use scissors to hand cut the leaves.
Position your flowers, and select buttons from the Tropical Twist kit to create their centers. Stitch through both the buttons and the flowers with a needle and embroidery floss to attach the flowers to the placemat. Use a needle and thread that matches the felt to stitch the leaves in place under the edges of the flowers as well.
Whether the occasion is Easter, Mother’s Day, or something else…this flower placemat will definitely brighten your spring table!
Embellish Some Watercolor Spring Flowers with 28 Lilac Lane!
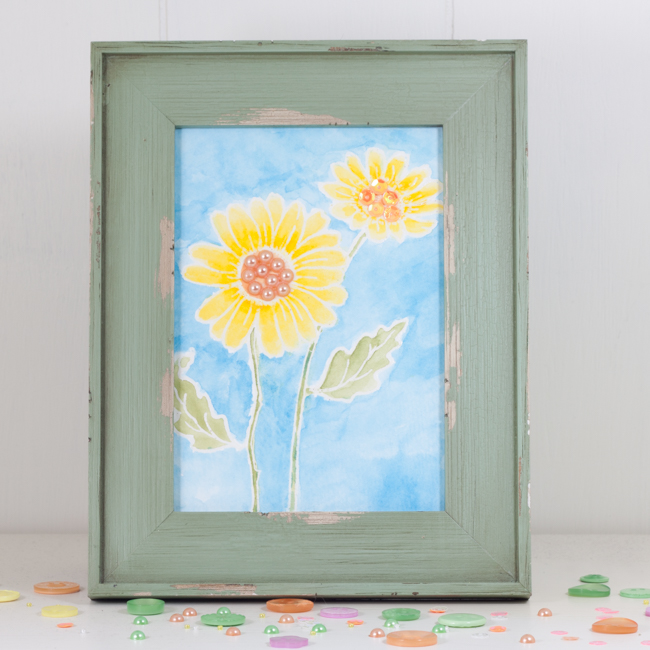
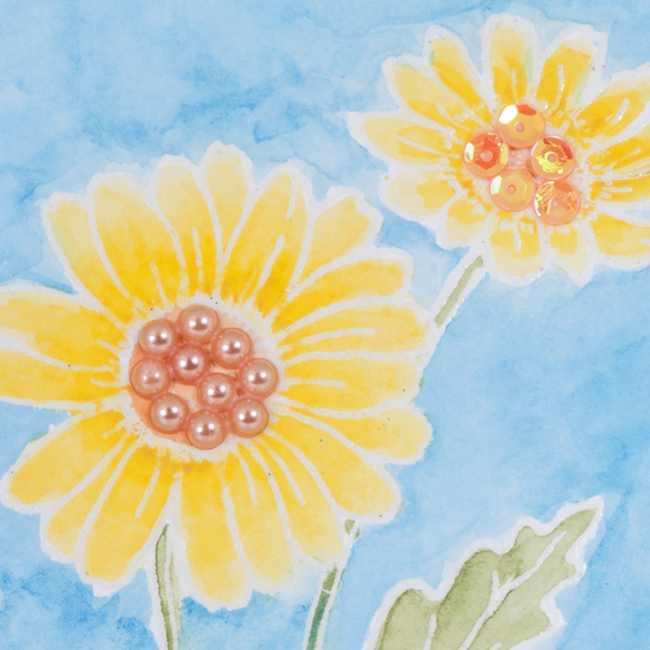
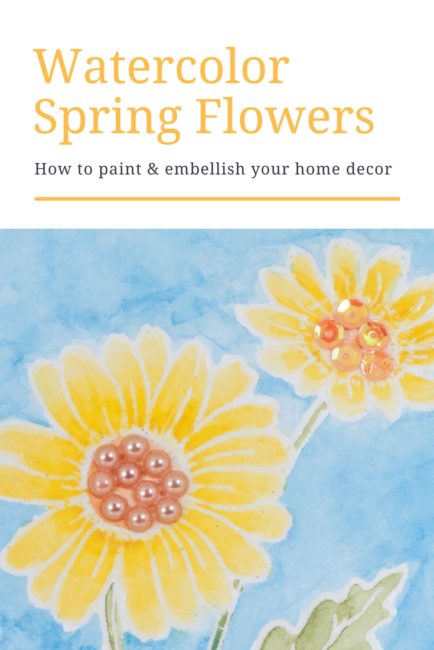
Spring has sprung. Watercolor spring flowers embellished with beautiful touches of 28 Lilac Lane are a perfect home decor project.
Supplies:
- 28 Lilac Lane Tropical Twist Kit
- PPA Matte Adhesive
- 5×7 watercolor paper
- Stampendous “Cling Daisy Mix” stamps
- Tim Holtz “Flower Garden” stamps
- embossing ink
- clear embossing powder
- waterbrushes
- watercolors
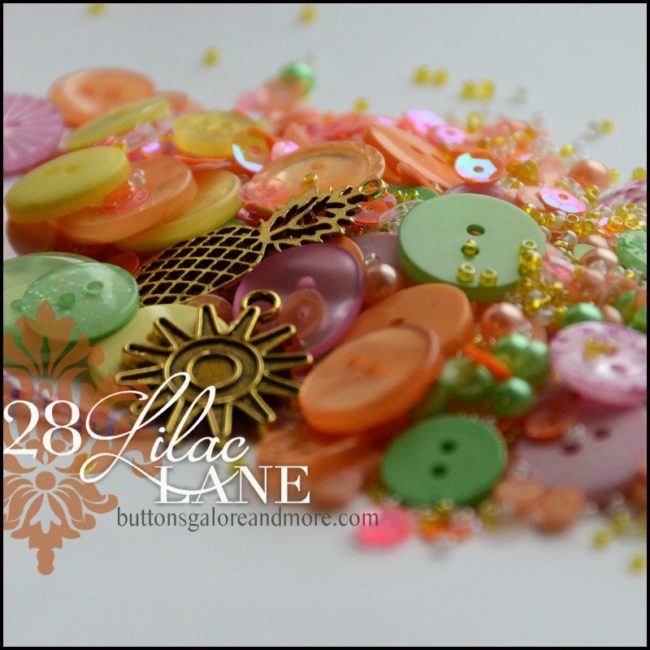
This watercolor spring flowers project uses tangerine colored flat back pearls and sequins from the 28 Lilac Lane “Tropical Twist” embellishment kit. Tropical Twist is a summery blend of yellow, orange and green citrus shades, with some delightful flamingo pink accents! With all of the seed beads, pearls, sequins, buttons, trim and charms, Tropical Twist is sure to have the perfect touch to make your project hot, hot, hot!
This project looks complex but is super easy to make thanks to a shortcut: stamps. To create this design, simply use flower stamp sets to stamp your desired design in clear embossing ink on watercolor paper. Then heat emboss the design with clear embossing powder.
Once the design is embossed, you have a virtually foolproof way of making your own watercolor painting! Simply use a fine detail water brush to color in the design with your watercolors, following the embossed lines as a guide. Any color that gets on the embossed lines can be simply wiped away to keep them clean!
After filling in the design of your watercolor spring flowers, switch to a large water brush to fill in the background with some watery color.
For the finishing touch on your watercolor spring flowers, add some 28 Lilac Lane embellishments to the center of them with a clear drying glue like PPA Matte adhesive. Using flat back pearls or sequins as “tiles” to fill a small area of a design is a great way to get some extra pop on a project. Our kits and embellishment bottles come with plenty of sequins and pearls, so there’s no worry about running out mid-project, either!
This winter has dragged on too long. Get out those watercolors, stamps and embellishments and craft it away with some watercolor spring flowers! (And don’t forget the Tropical Twist, too!)
28 Lilac Lane Blog Hop: Spring Flowers
Welcome to the 28 Lilac Lane blog hop on the Buttons Galore blog! Let’s make some spring flowers! Make sure that you stay until the end today for the giveaway!

Spring has us all thinking of flowers! But in some areas they aren’t blooming yet, or we may not be able to have them in the house due to allergies.
The solution is simple…fabric and buttons!
This project starts with fabric and interfacing. Iron heavy-duty iron-on interfacing to the back side of a small fabric scrap. Then, wrong sides together, iron another fabric scrap to the back side of it. This will create a double-sided piece of fabric, with the interfacing in the middle to stiffen the fabric.
Run the fabric through your die cutting machine to make flowers. Repeat with several different fabric scraps. If you don’t have scraps that will work for this project, visit your local quilt or sewing store and check out their fat quarter inventory for suitable fabric. Small prints work best for this project.
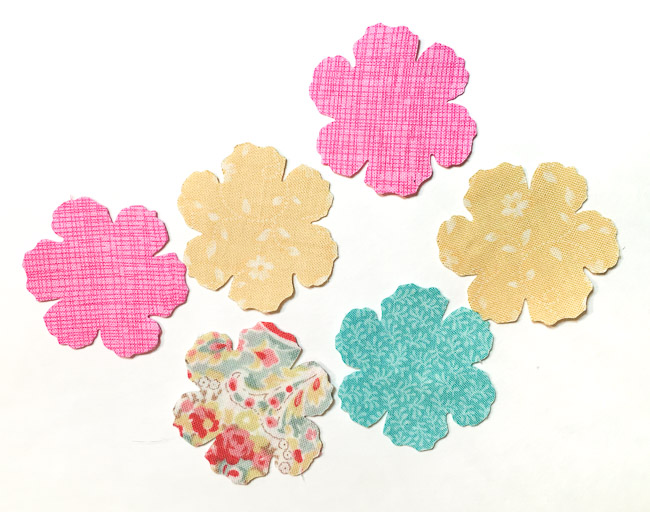
Select a large button to coordinate with each of your spring flowers. With a piercer or large needle, poke holes through the flower where the button’s holes are.
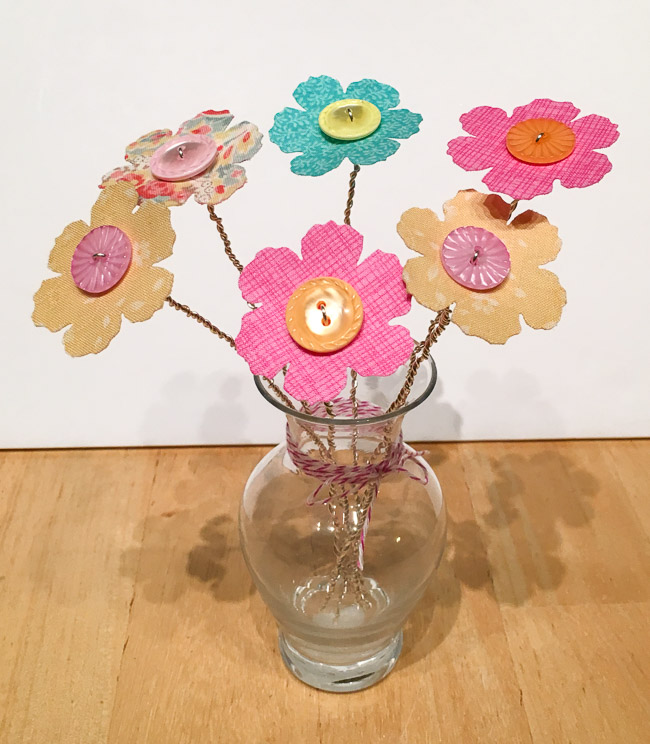
Cut a length of the German Style wire about twice the desired stem length and fold it in half. Poke one end through each of the button’s holes and the flower and pull to snug the loop down on top of the button. Begin twisting the wire together under the flower. Continue until you reach the desired stem length and clip off the wire ends.
Arrange your spring flowers in a vase, and for the finishing touch wrap baker’s twine around the neck and tie a pretty bow!
Supplies:
- 28 Lilac Lane Tropical Twist Embellishment Kit
- Quilt fabric scraps
- Therm-O-Web Heat-n-Bond Ultra Hold
- Beadalon 18 gauge German Style Wire
- Sizzix Big Shot Machine
- Tim Holtz Alterations for Sizzix “Tattered Florals” Die
Don’t miss the other stops on the blog hop:
How to enter the Giveaway
To celebrate this blog hop, Buttons Galore is giving away a fabulous 28 Lilac Lane prize! One lucky winner is going to win two 28 Lilac Lane embellishment kits, an embellishment bottle, and a sequin tin – and the best part is that it is winner’s choice!
To enter, comment below and tell us which of the 28 Lilac Lane embellishment kits is YOUR favorite! This giveaway is open until Midnight pacific time on Sunday, April 24th. One entry per person, and only U.S. mailing addresses are eligible to win.
Thanks for visiting the blog hop and good luck! If this is your first visit to the blog, please make sure to subscribe to the blog and follow our Facebook, Instagram, Twitter, and Pinterest!
Top 7 Button Projects for Spring – and a Giveaway!
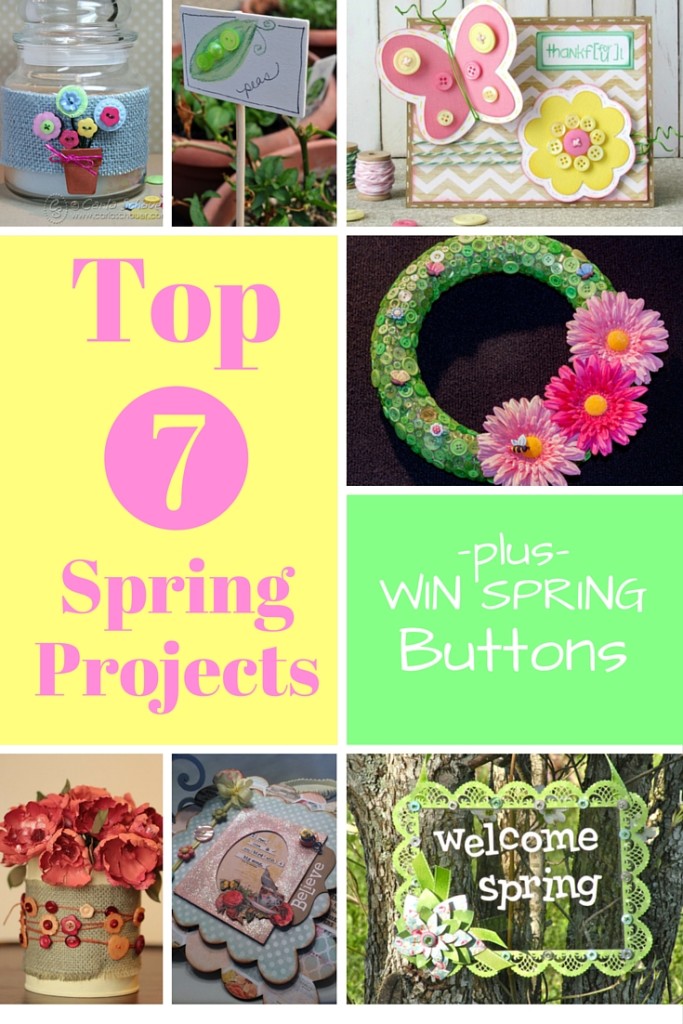
Old man winter has been really reluctant in some parts of the country (including at the Buttons Galore warehouse) to pack it up and head back to the arctic where he belongs! So today we thought we’d share on the blog a round-up of some of our favorite spring projects to remind everyone that spring is coming after all!
Spring Button Wreath
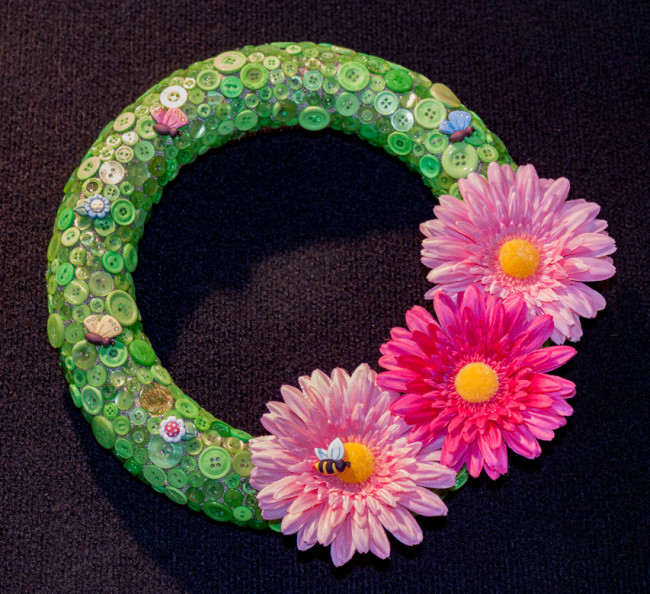
This fun project will brighten up any decor and bring the cheer of spring inside – even if Mother Nature isn’t cooperating outside. And the only tool required is a glue gun!
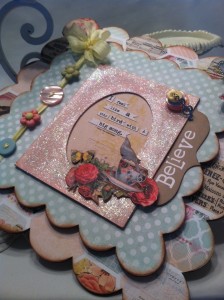
Springtime Flutterbug Medley Wall Plaque
This gorgeous frame project could be used to house a favorite picture, or a favorite seasonal quote. It’s perfect for nursery decor, or a craft room!
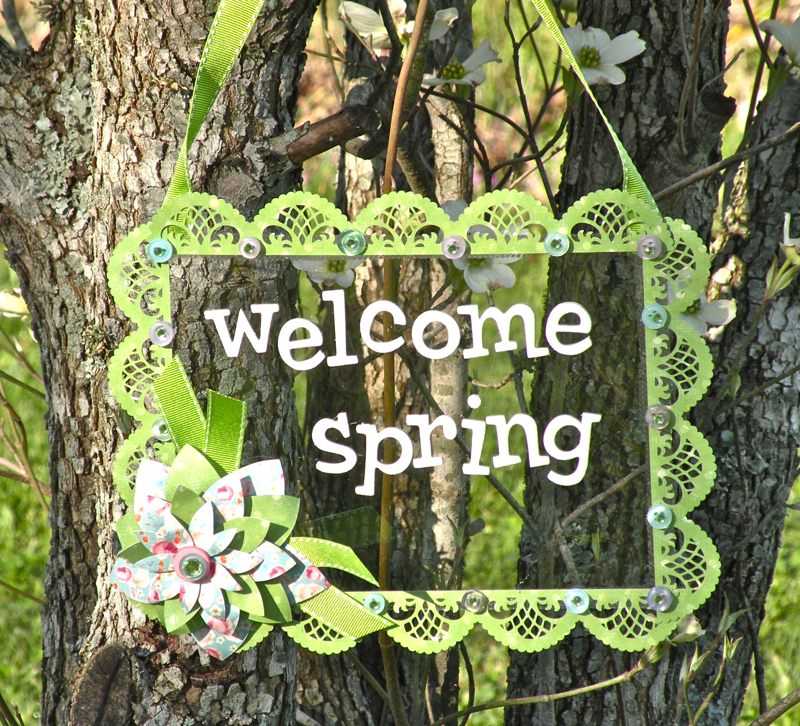
Welcome Spring Sign
This sign says it all for those who are ready to be done with winter…”welcome spring”. This light and airy look can be made in a variety of spring colors, or the text could be changed out with a child’s name for nursery decor too!
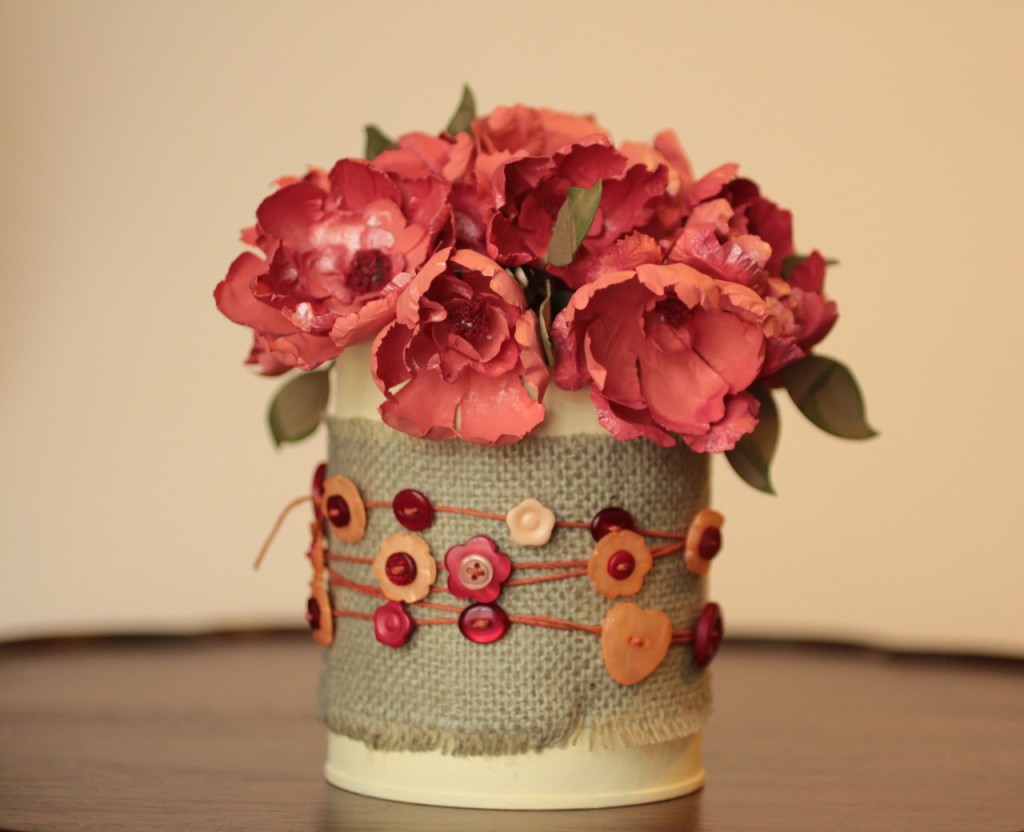
Upcycled Spring Floral Bouquet
When there is no flowers outside yet, just make your own! This spring project brings the spring cheer and is environmental too, as it upcycles a tin can for the beautiful container the holds the handmade flowers.
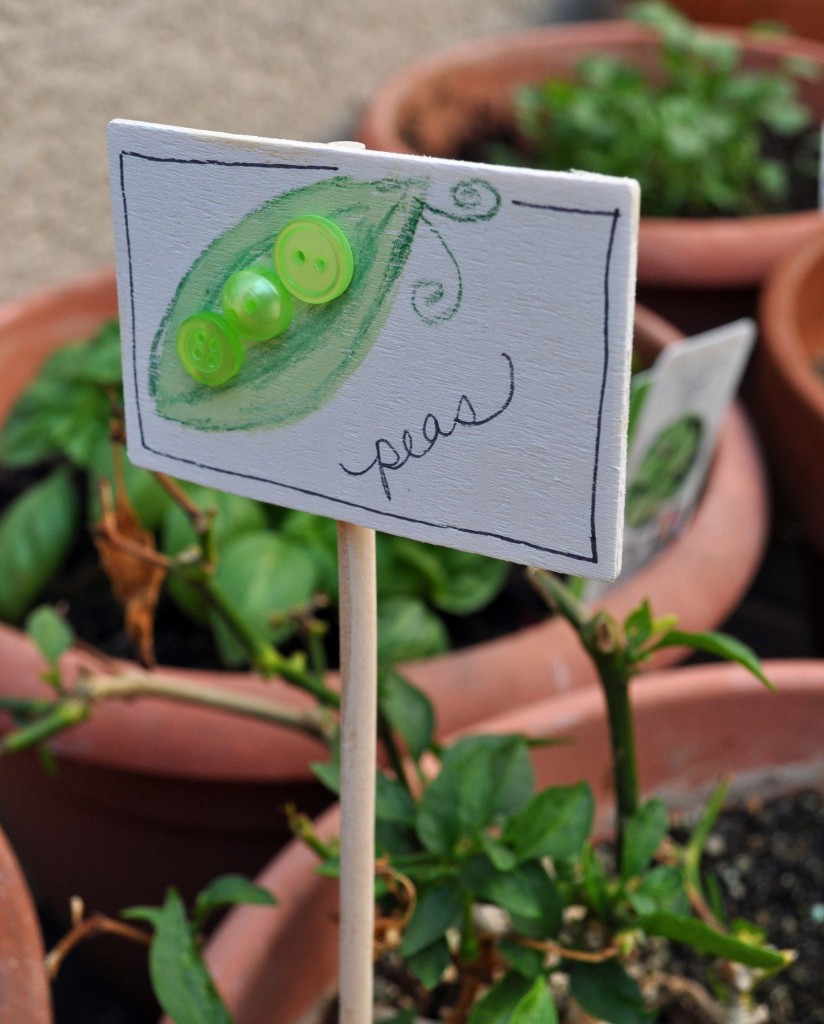
Homemade Button Garden Markers
Spring time means gardeners everywhere are dreaming of abundant summer garden harvests, and planting pots of seeds to get a head start on the growing season. These adorable garden markers will help you remember what that little green sprout in that pot is – peas? corn? beans? – before it makes its way out to be planted in the garden.
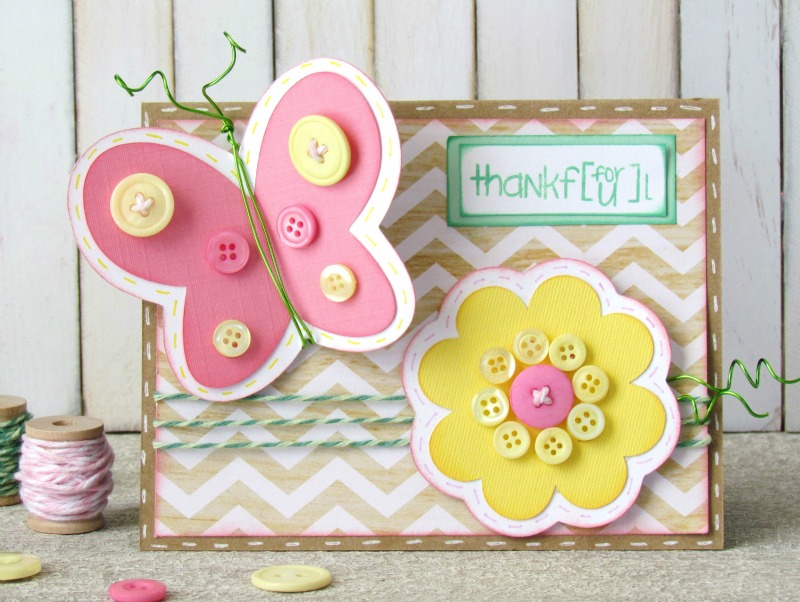
Spring Butterfly and Flower Card
If spring has you feeling in the mind to spread some good cheer, some button embellished flowers and butterflies may be just the way to do it! This quick and easy card will put a smile on someone’s face for sure!
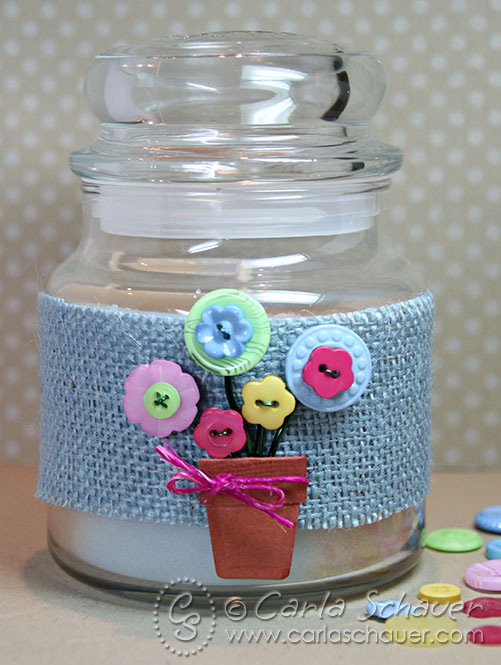
Although it is shown on a candle jar, this spring floral mason jar project could be used for a variety of uses – even storing your buttons in your craft room! With a few color changes (such as natural burlap) it could work with any decor, too. Your creativity is the limit!
And now for the giveaway!
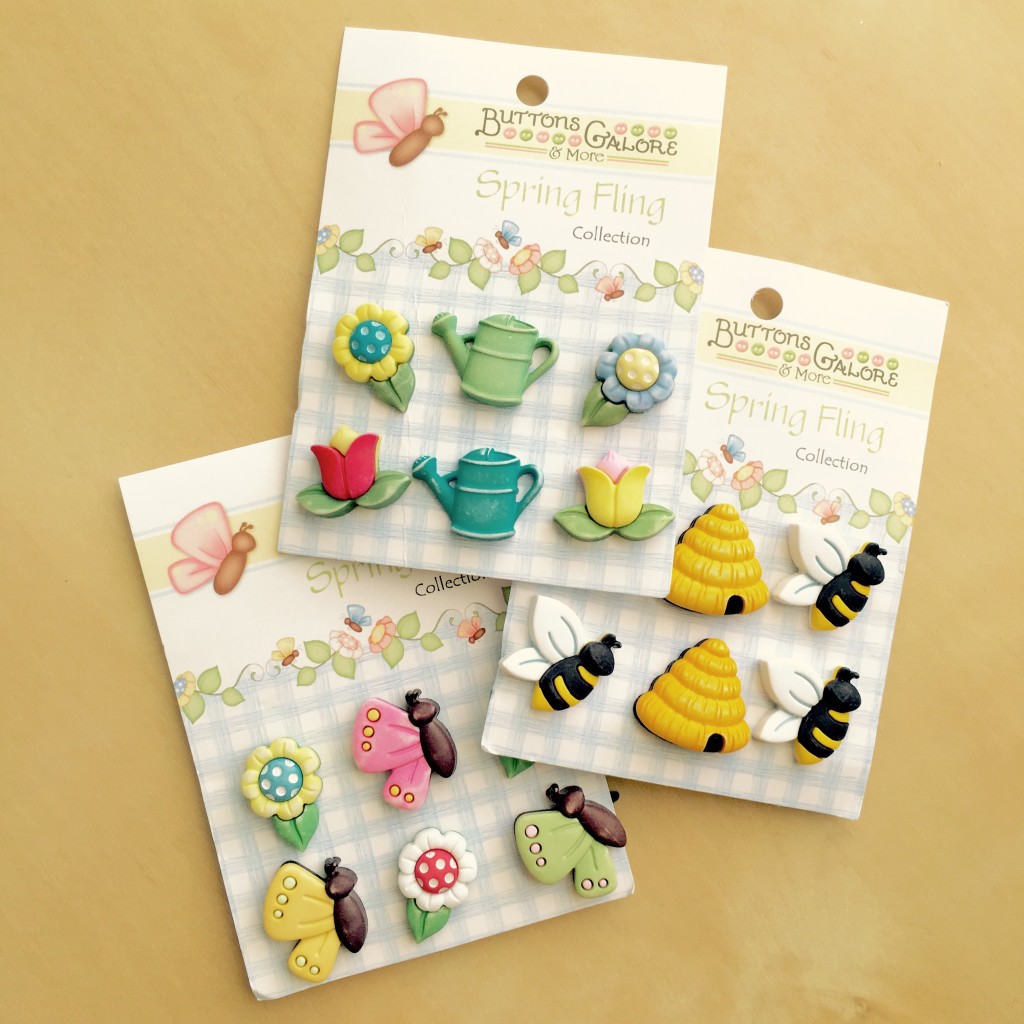
One lucky blog reader is going to win a spring button prize package of a random assortment of our Buttons Galore Spring Fling 3D buttons (a sampling of the collection is shown above) that is worth $20 retail! That will make plenty of great spring projects for the lucky winner!
How To Enter The Giveaway: Leave a comment below telling us which one of the spring projects that we shared here you liked the best! A random winner will be chosen from all comments left before midnight U.S. pacific time on Sunday, April 17th. One entry per person. Giveaway open to U.S. residents only.
Buzzing into Spring with a 28 Lilac Lane Card
Hello there!
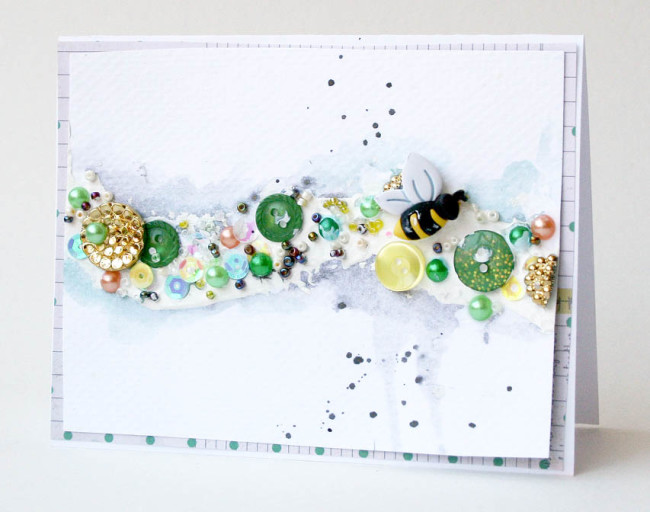
Ashli Oliver here with you today to share a super easy mixed media card with big impact!
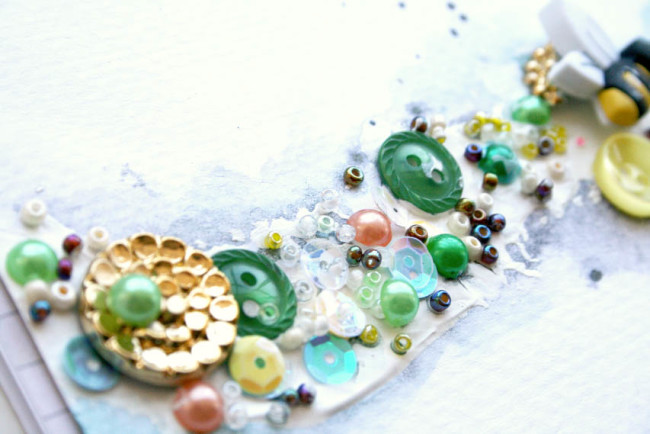
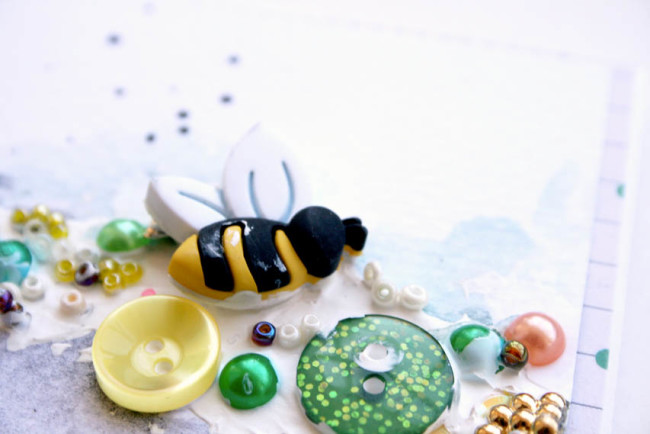
After swiping on white acrylic paint and drizzling liquid glue on top, I simply stuck lots of little goodies in. The key to making this work is sticking your buttons, sequins, and pearls into your painty goodness while everything is still wet!
Don’t be afraid to get paint on your embellishments… that is half the fun, after all!
I used a three dimensional Bee Button, goodies from the Antique Tin set, and plenty of the amazing 28 Lilac Lane Collection!
TIP: Did you know that many buttons can be cut in half? That’s right! Using my Tim Holtz scissors, I cut one of the gold Antique Buttons right in half so that I could add it to the edge of my card and tuck the other piece behind my bee!
What a great way to stretch the stash too!
Oh, and of course… I also used those same scissors to cut the backs off of any buttons so I could adhere them to my card.
Once my embellishments were set in, I simply let the paint dry overnight. Then, I added in some watercolor and mist droplets. A piece of patterned paper layered behind the card front finishes this card off!
Super fun and a great card for spring! In fact, I think this will serve as a Mother’s Day card around here as my mother loves bees!
Thanks for stopping by today!
Supplies Used:
- Buttons Galore SF126 Bee’s buttons
- 28 Lilac Lane “New Leaf” embellishment kit
- 28 Lilac Lane “Tropical Twist” embellishment kit
- 28 Lilac Lane “Attic Findings” embellishment kit
- Buttons Galore Haberdashery TIN100 Antique Button Tin
- White Acrylic Paint
- Watercolor Paints
- Heidi Swapp Color Shine – Black
- Dear Lizzy Patterned Paper
- White Card Stock
- White Card Base
- PPA Glue
Ashli Oliver (aka soapHOUSEmama) lives with her husband and four girls, age 10 and under, in a suburb of Atlanta, Georgia. Ashli is a recovering graphic designer and when she is not busy homeschooling her kiddos, you can find her drinking copious amounts of coffee while playing with paint and pretty paper in her studio. Not only does Ashli love documenting her family’s memories, but she finds great joy in the creative process… which, in her case, usually involves lots of messy, painty fun!
You can find Ashli, and her work, at her Website, YouTube, Instagram, and Classes.
Put Spring On Your Walls With A Button Wreath
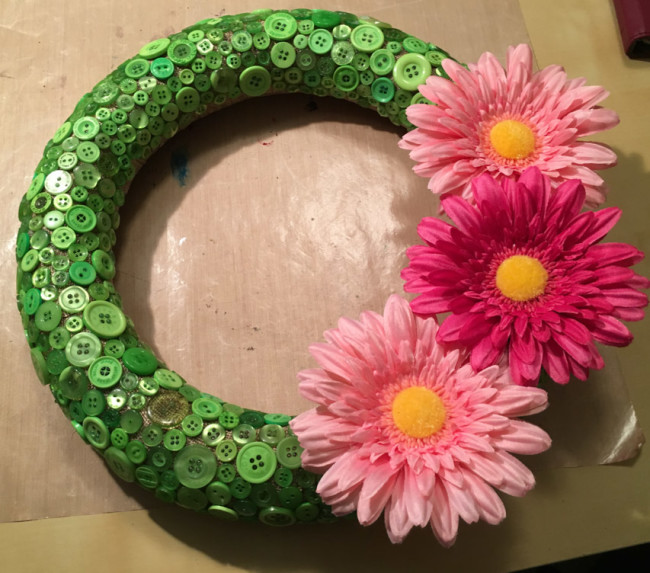
Do the dark days of February have you longing for spring? My spring button wreath project will put a little touch of spring green and flowers inside on your walls – no matter what the weather outside!
To create this project, you’ll need the following supplies:
- Floracraft 12″ Foam Wreath
- Offray 2 1/2″ Burlap Ribbon (2-3 rolls)
- Floral Greening Pins
- Silk Flowers
- Hot Glue Gun
- Buttons Galore Button Bonanza in Spring Green (2-3 bags)
- Buttons Galore Spring Fling buttons
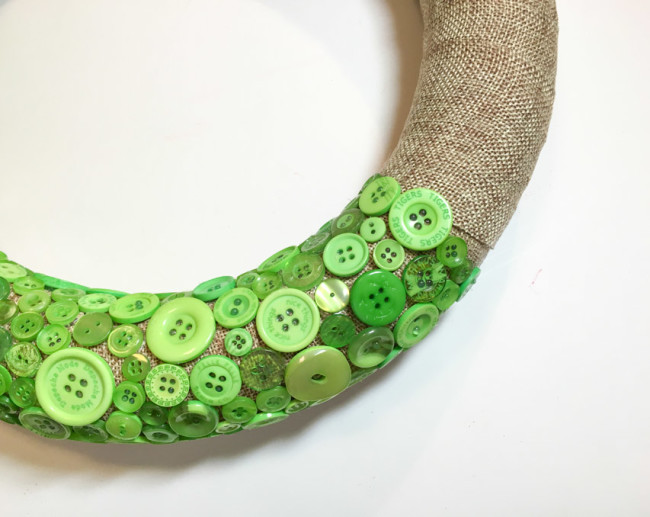
Begin by wrapping the foam wreath in the burlap ribbon. The ribbon I chose is thin – more like fabric than canvas – which makes for smoother wrapping of the wreath and a better surface to serve as the base for the buttons. Secure the ribbon ends with floral greening pins. It may take several rolls of ribbon to complete the entire wreath.
The next step is to use hot glue to start adhering buttons on the wreath. Working in small sections, lay down hot glue and then arrange buttons in it. I highly recommend using a protector (like the hot glue gun finger protectors make by Plaid) when you are pushing the buttons down to avoid burning yourself. Handle hot glue guns with care – even so-called low temperature hot glue will burn!
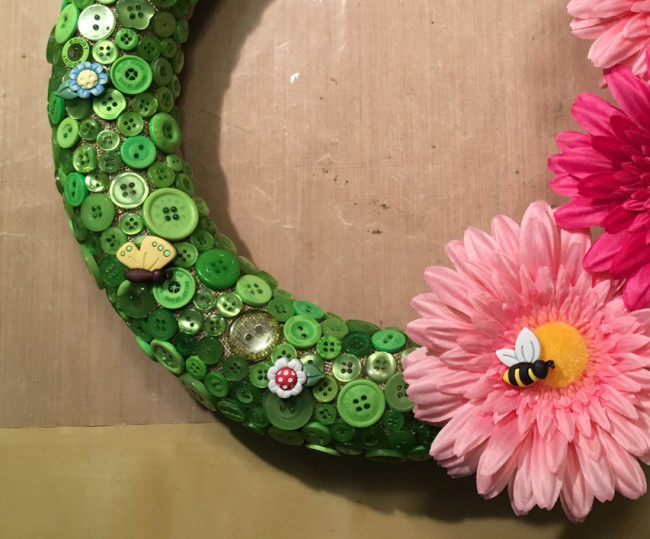
Once the buttons are all in place, trim the stems off of three spring floral blooms. Use hot glue to adhere them onto the wreath.
Cut the stems off of the Spring Fling buttons, and using hot glue, adhere them scattered around the wreath. Don’t forget to add a bee on one of the flowers!
Hang your wreath on the wall with a wire, a wreath hanger, or with a ribbon and nail – and then sit back and enjoy the spring!
Button Up Some Springtime Ornaments
How beautiful are these ornaments for springtime?
To create them you simply need a foam ball in the size you would like, buttons and ball-end pins. The longer pins can go through multiple buttons which is something to keep in mind when choosing materials. Attach the buttons to the ball by pushing the pins through the button holes into the ball. Cover the ball entirely then attach a ribbon for a hanger either with the pins or your favorite adhesive.
They are fun to put together for decorating.
They look great outdoors for a breath of fresh brightness.
Happy Springtime,
Laura
You are the Bee’s Knees!
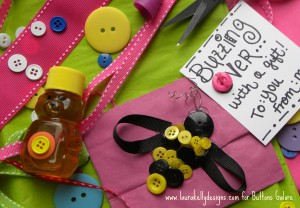
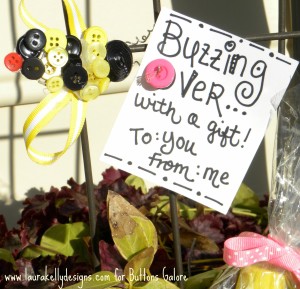
It it that busy springtime season of gift giving again…Teacher Appreciation, Mothers Day, Graduation!!! Here is a cute bee that you can make out of buttons to decorate any gift and and let someone know that you think they are the bee’s knees!
To make the bee, you will need to use hot glue to hold all of the pieces together. I added ribbon for wings and wire for antennas. Super cute, really easy and lots of fun!
I chose my Sunshine Yellow and Black Beauty buttons from the Laura Kelly mix offered as a Bright Mix of Colors. You can buy them individually bagged by colors too.
Happy Gift Giving,
Laura
Button and Burlap Hostess Gift
I have a hostess gift to share today using Buttons Galore and More buttons and a cute flowerpot die-cut shape. Of course I’ve included burlap to fit with our monthly theme!
I used the following materials:
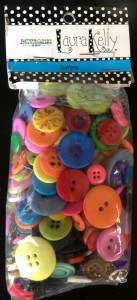
- Buttons from the Buttons Galore and More Spring Blossom Grab Bag
- Nestabilities Flower Pots die from Spellbinders (smallest)
- Raspberry Hemp Cording
- Terra Cotta textured cardstock
- 22 gauge and 16 gauge wire (kelly green)
- Light blue burlap
- Liquid Craft Glue
- Double sided tape or adhesive dots
- Wire cutters and round-nose pliers
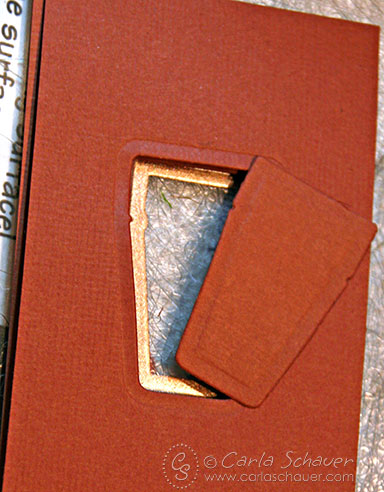
I started by cutting the smallest Flower Pot die from the Terra Cotta cardstock using my die-cut machine. The die embosses the cardstock at the same time as it cuts.
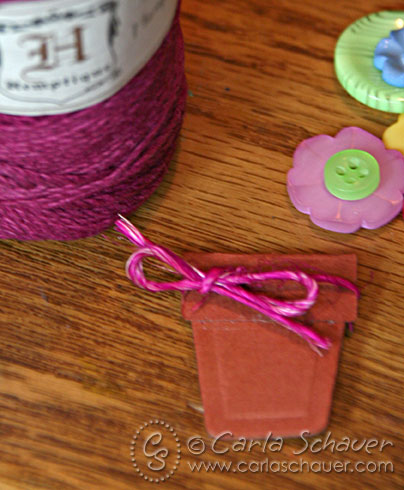
Then I folded over and glued the top part of the die-cut to create the top of the pot, and tied a hemp cording bow. I selected flower-shaped and round buttons with interesting patterns in several colors from the Spring Blossoms Grab Bag for the flowers.
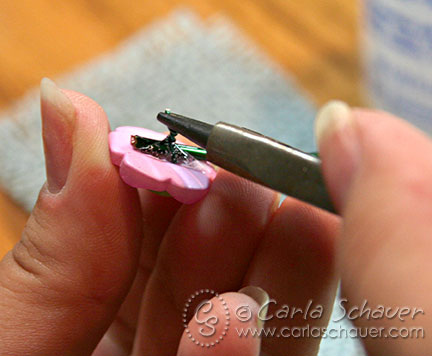
I cut 5 pieces of 16 gauge wire (smaller gauge numbers=thicker wire) to the lengths I wanted for flower stems, then set them aside. I cut 5 pieces of 22 gauge wire and threaded the thin wire through the buttons (connecting stacked buttons), with open ends toward the back of the button. I added a dot of glue to the back of the button, pressed the thick wire stem into the glue, and twisted the thin wire ends together securing the wire stem to the button flower.
Once all my flowers were secured to their stems, I arranged them on a 2″ strip of light blue burlap long enough to wrap around the glass candle jar and glued them in place. Once the flower pot was glued on top of the flower stems, I attached the wrap onto the jar using double sided tape. (Wrap must be removed before using candle, so make sure this adhesive isn’t permanent.)
This type of wrap also works well on vases for a fun summer home decor project. I’ll be using mine for a game night prize!
Upcycled Spring Floral Bouquet – An Earth Day Project
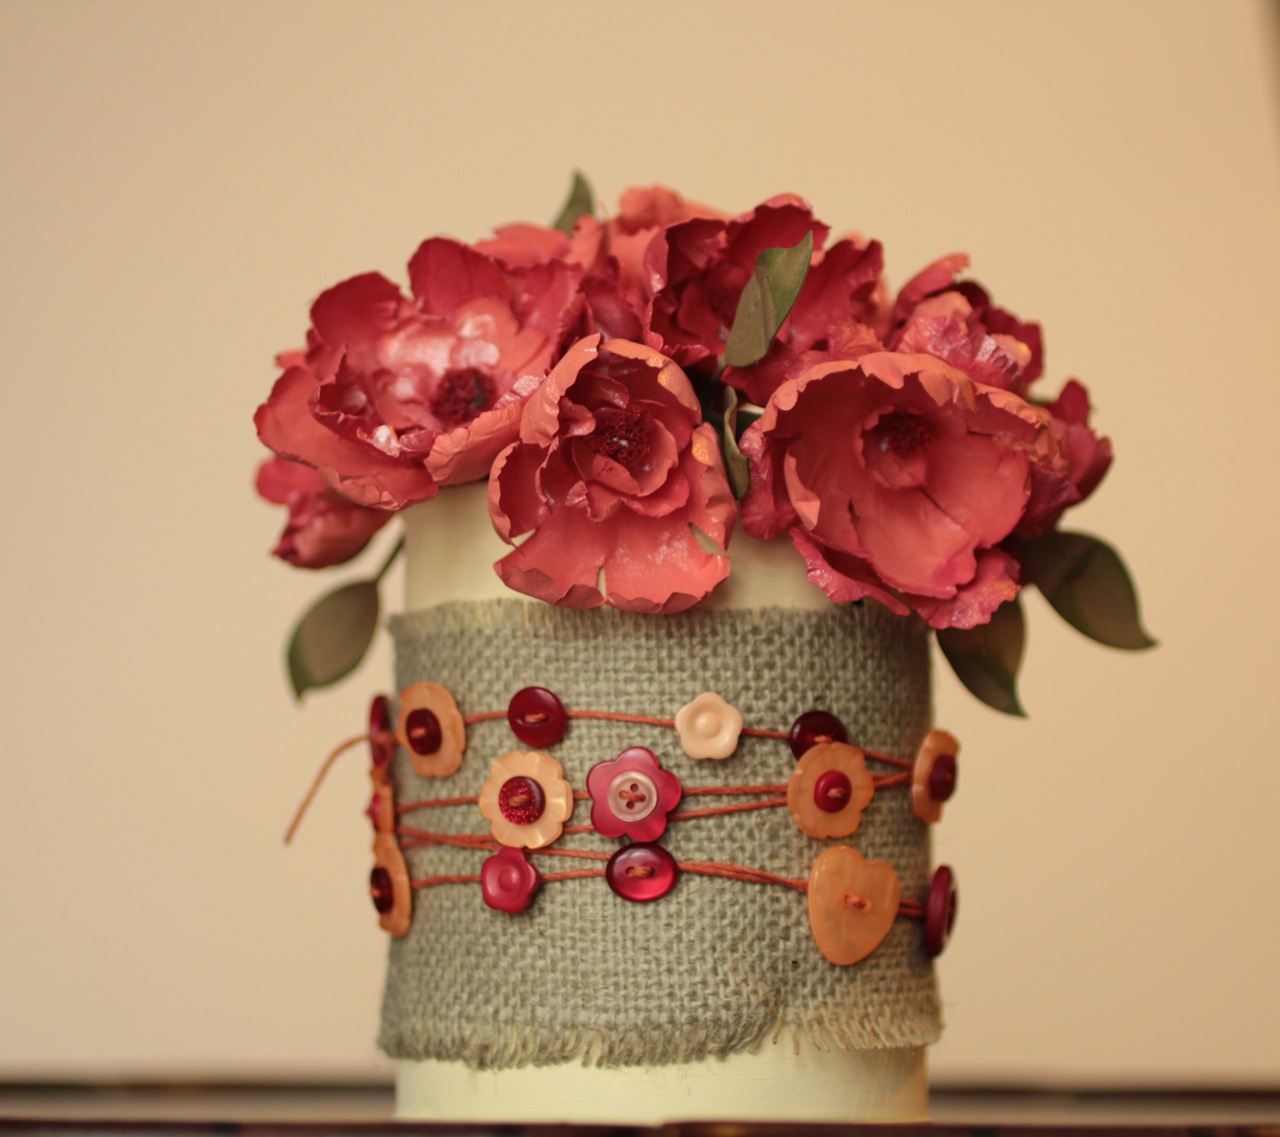
Burlap and buttons make a great wrap for a bouquet that will last longer than a week. I love fresh flowers, but they do not love my budget. A more budget friendly idea is the tin can that I repurposed.
Tools and Materials:
Sizzix Tattered Florals and Leaf Die Cut
Beacon Adhesive – FabriTac
Jute Cording, Burlap, Styrofoam, Krylon Spray paint, Westcott Scissors and kraft knife.
Buttons – Tangerine Tango, Class
Directions:
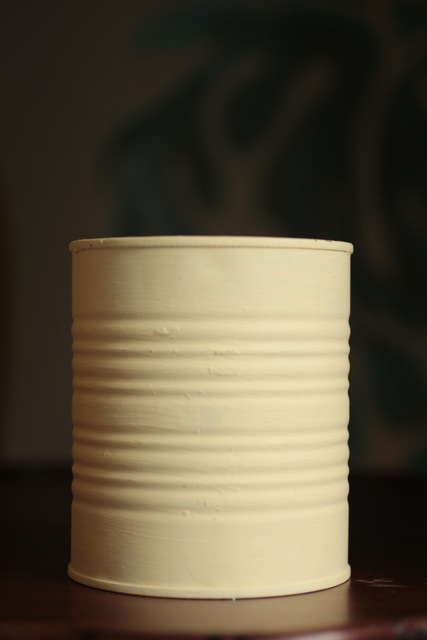
Clean and dry tin can. Spray paint can. Let dry and repeat.
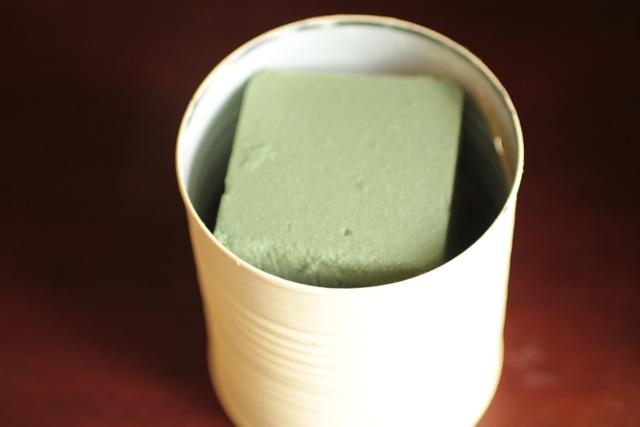
Place floral foam inside can.
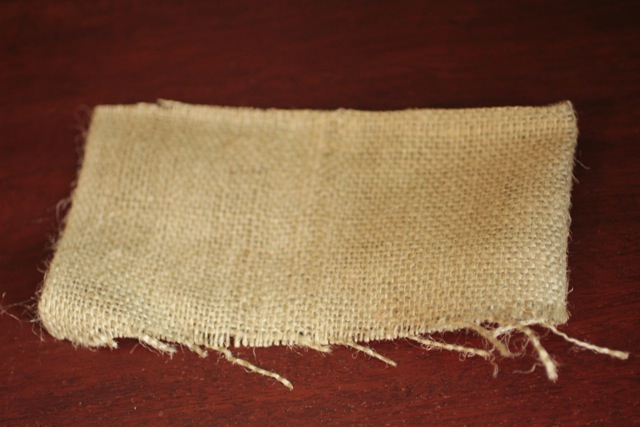
Cut burlap to fit. Adhere burlap with Quick Grip.
Slide buttons on to jute cording. Wrap cording around container. Adhere buttons into place. Add a second layer of buttons where desired and glue into place.
Add flowers into container.
This recycled tin can vase will work for any type of flowers, fresh or hand made.
Homemade Button Garden Markers
It’s spring time and that means planting time! All the gardeners I know are pouring over seed catalogs and dreaming about their summer crops. Today I have a super quick, super fun homemade project that will help you remember which pot you planted lettuce in and which pot has the peas: Button Garden Markers!
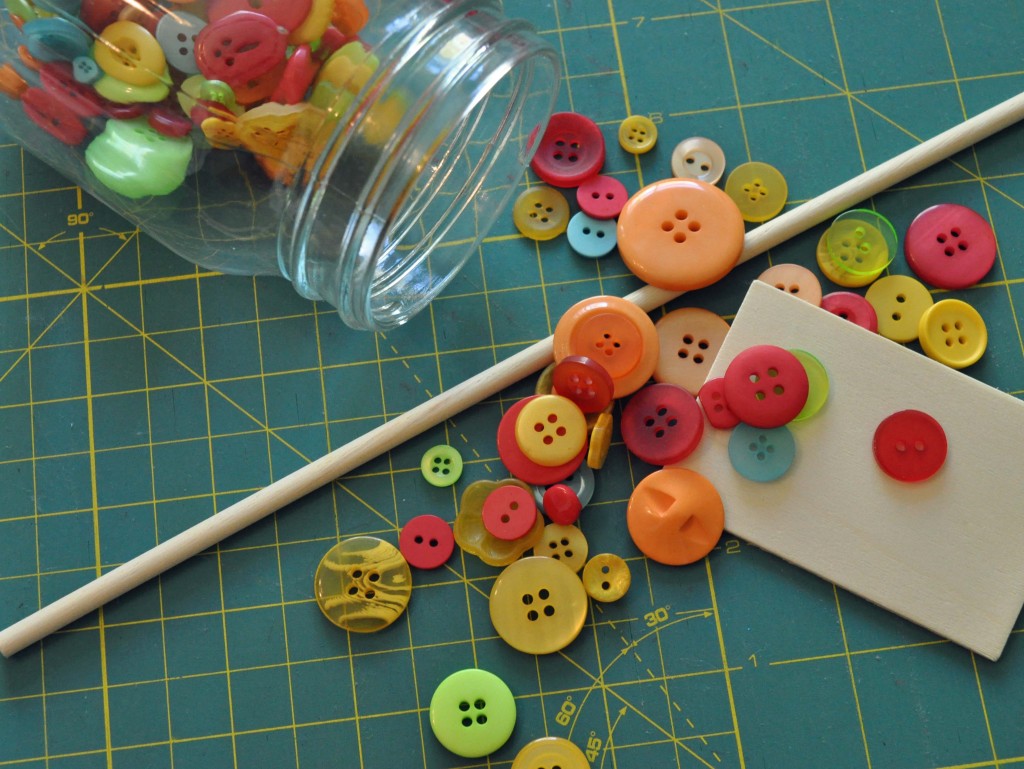
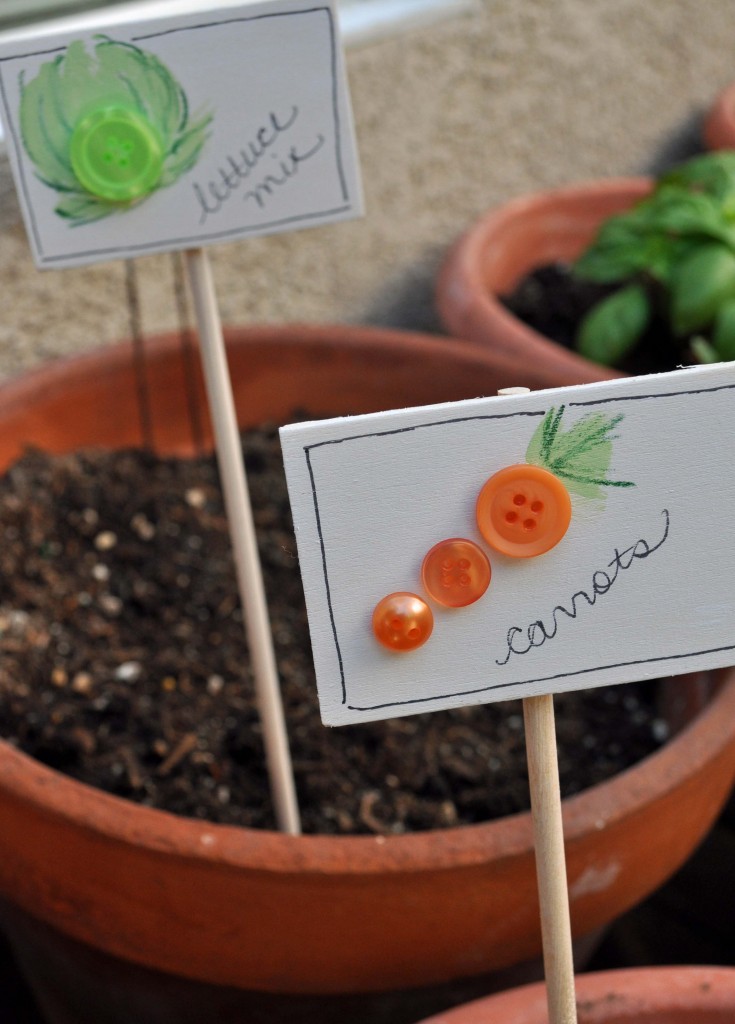
The fun thing about this project is that it really inspires creativity. I used orange buttons for carrots, green buttons for peas and lettuce, and red buttons for tomatoes. But the possibilities are endless. Purple buttons for bunches of grapes, yellow for squash. What else can you dream up? The possibilities are only limited by the size of your garden!
Supplies:
- Unfinished, small wood plaques. (Mine measure 3″ x 2″)
- Craft paint or markers
- Buttons – Check out some of Buttons Galore and More’s Button Candy Bags for inspiration and match them to whatever you are planting!
- A wooden dowel 1/4″ diameter by 12″ long
Directions:
Decide which veggies you need to mark in your garden and gather up the appropriate buttons. For this tutorial, I’ll tell you how I made the Carrot Garden Marker.
- Paint the wooden plaque in light white wash using white paint. Allow to dry.
- Lay-out 3 orange buttons on the plaque. Use a small, medium, and large button to give the tapered appearance of your carrot. Glue them in place.
- Using paint or permanent markers, add some green leaves to the top of your carrot. You can also draw a black decorative border around the edge of your plant marker and write the name of the crop if you wish.
See? I told you it was easy. Now – a word to the wise. This is a crafty project and it looks really cute, but remember if you are using these outside, they will need to be protected. I would recommend using paint and glue that you know can stand up to sun, heat and rain, or sealing them with a waterproof sealer.
Spring Fling Button Garland
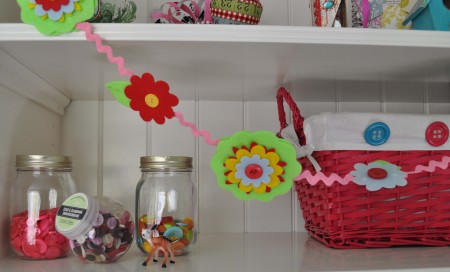
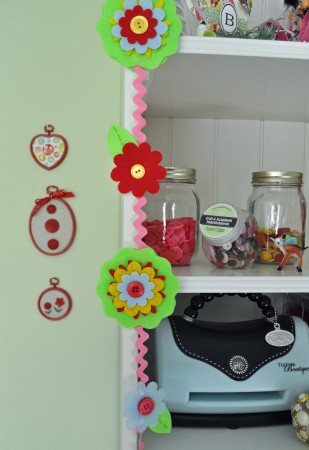
Has Spring arrived where you live? If not, why not whip-up a few Spring Fling Button Garlands to drape around the house until the real thing makes its appearance? Or use the garlands for your Spring holiday decor.
This project is versatile as you can be completely in charge of how you make it based on your skill level and materials available. It’s all about the flowers. The most important thing to remember is that this garland looks best with felt flowers and button embellishments, but you can create the flowers however you want. I used my die cut machine to create the felt flowers and layered a couple of different sizes and colors together. My color inspiration came from Buttons Galore & More’s Citrus Button Jar. I just pulled some buttons out of the bag that inspired me and then matched my felt accordingly. You can also just buy some felt flowers and then bring them up a notch with buttons. Because buttons make everything cuter!
Supplies:
- Felt flowers
- Buttons Galore & More’s Citrus Button Jar
- Craft glue
- Felt leaves
- 50″ Ric Rac
Instructions:
- Make or buy felt flowers. To make a 50″ garland, you will need 3 large (3.5″) flowers, 4 small (2″ ) flowers and some felt flowers shapes or circles for the backs of each flower.
- Glue buttons to center of felt flowers. Add embroidery to felt leaves and flowers if you desire.
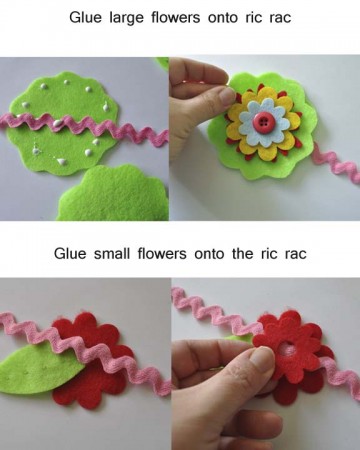
- Fold ric rac in half and lightly mark center line. Lay the ric rac flat on your work table. Now, we want to center a large flower over the halfway mark on the ric rac. Take the felt backing piece (a flower shape in the same size or a slightly smaller circle shape) and apply glue and lay it under the ric rac as shown in the photo below.
- Now take your top flower piece and attach to the felt backing, with the ric rac running through the middle.
5. Using the same technique, attach a smaller flower to the right of the large flower. Space the flowers approximately 3″ apart. Make sure you glue all the flower fronts to the same side of the ric rac!
6. Continue attaching flowers, to either side of the large, middle flower until you reach the ends of the garland. Remember the pattern is to keep alternating large and small flowers.
Hang your garland and enjoy!
Project Designed by Laura Bray.