Header

Tag Archives | vintage button cards

Give Your Buttons Beautifully with Faux Vintage Button Cards

Hi! It’s Connie here with my first post for the Buttons Galore & More design team! Today I am sharing a fun project using Button Galores’ “Patriot” Button Tote to make faux vintage button cards and a tote to store them.

Inspired by the navy, natural, deep red and white buttons in the tote, I created a button bag along with hand stamped faux vintage button cards. The buttons are beautiful and look gorgeous on the button cards! This isn’t a difficult project, just a project that requires time. The end result is a beautiful button bag, full of custom assembled faux vintage button cards, that can be used as a decorative way to store buttons, add them to projects, or for giving the buttons as gifts to fellow crafters.
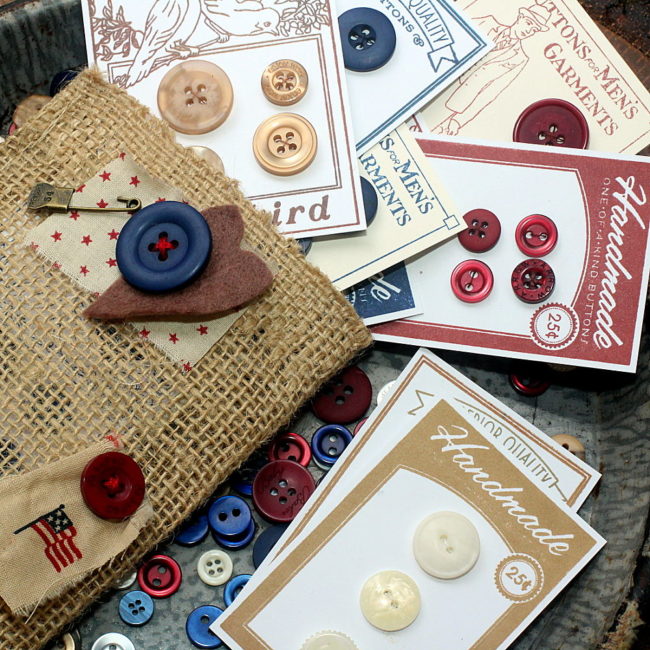
faux vintage button cards with tote

Supplies needed:

The button cards were created using a button card stamp and beautiful buttons from Buttons Galore. Each card has a sample of the buttons that are included in the Patriot Button Tote. No card is alike, as each is created with different buttons. Each button is hand sewn on the card, for easy access and future use. They are created just like the faux vintage button cards (well almost)! Button cards come in all sizes – these are about 2.5″ X 3″. There is plenty of room to mix large buttons with small or medium buttons on the button cards. These are a great gift idea for a crafter or sewist who is crazy about buttons!
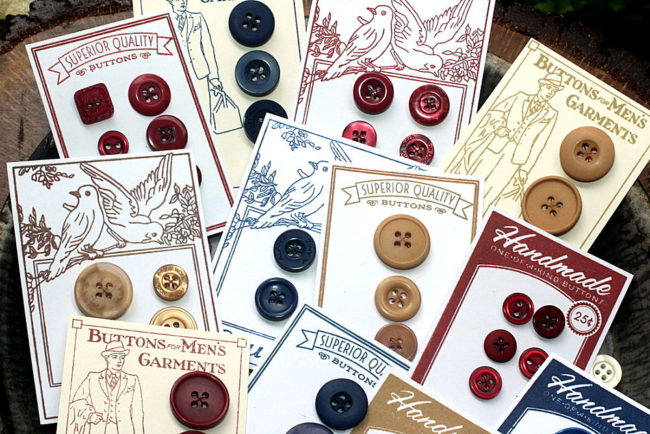
faux vintage button cards

The burlap bag is stitched with some scraps of material and more buttons, after all, it is a button bag. The embellishment layers are hand stitched, to the burlap, on the front of the button bag. The button cards fit nicely in the bag. and will work as a great storage idea or a gift that will be loved.
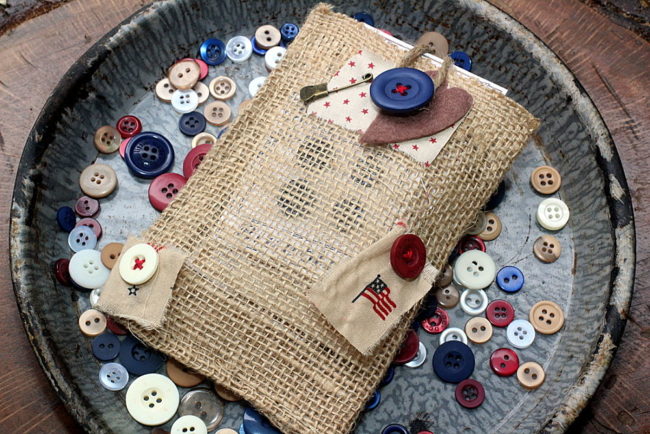
tote for faux vintage button cards

The finished project, with the faux vintage button cards inside the button bag, is all ready to tuck in a gift bag for a special gift!
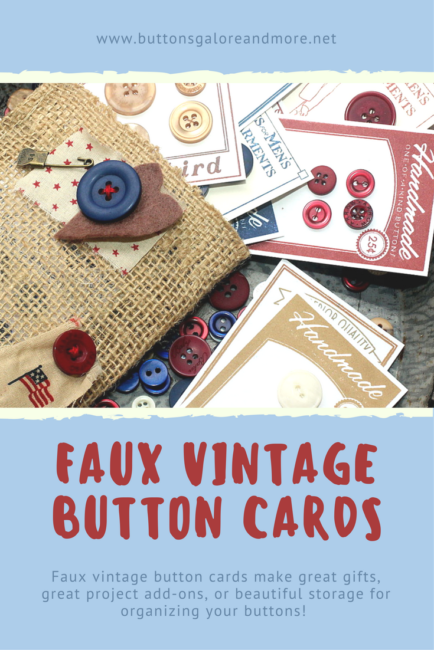
Faux Vintage Button Cards in a tote - great for gift giving, storage, or using right on mixed media and paper craft projects!

3

Make a Vintage Button Card Journal and GIVEAWAY

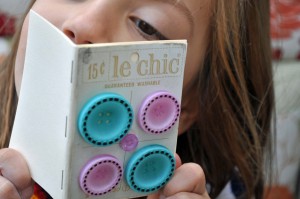
I decided to make a vintage button card journal because I love to make lists.  With the new year here I find I’m making lists every day.  Goals for the year, things to do, crafts to make.  They all go onto lists.  Then I lose the lists.  In order to stop this vicious cycle, I’ve started keeping my lists in journals. The thing is, I come up with some of my best ideas on the go so I need something compact, hence the birth of my Button Card Journals.

Vintage Button Card Journals:Buttons Galore

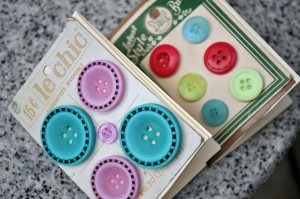
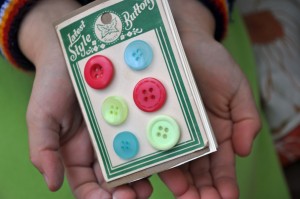
All the vintage button cards I owned had some buttons that were hideous.  The buttons were odd colors and looked damaged, so I pulled off the old buttons and glued on new ones!  Presto!  A little bit vintage, a little bit modern.  Perfect!

Vintage Button Card Journals:Buttons Galore

Supplies to make a vintage button card:

Instructions to make a vintage button card:

  1. Measure your button card and multiple the width by 2 and cut a rectangle from your cardstock and copier paper.  For example, if your button card measures 3″ tall by 2″ wide, you cut your rectangles to be 3″ x 4″.  Lay the cardstock down, then pile up a few rectangles (maybe four or five) of your cut copier paper down on top of it.  Fold it all in half and then staple along the fold.  Your journal is done.
  2. Cut the old buttons off the vintage button card.   Glue new, colorful buttons onto the card.  Allow to dry.
  3. Glue your modernized button card onto the front of your journal.

Vintage Button Card Journals:Buttons Galore

Tip

Instead of gluing your new buttons onto the vintage button card, you can also sew them on, then you can clip them off later and use them in a project, which would make the journal a darling gift for the seamstress in your life!


Post this project to PINTEREST  with #vintagebuttoncard in the description and be entered to win $25 in buttons and glue.

Contest closes January 10,2013 at midnight.  Winner will be posted on Facebook and on this post.

www.laurabraydesigns.com


8

Powered by WordPress. Designed by WooThemes