Header

Tag Archives | Sharpie

halloween wall art with buttons idea -DIY

Halloween wall art?  Buttons Galore & More buttons and supplies make Halloween SO much fun, it’s spooky!
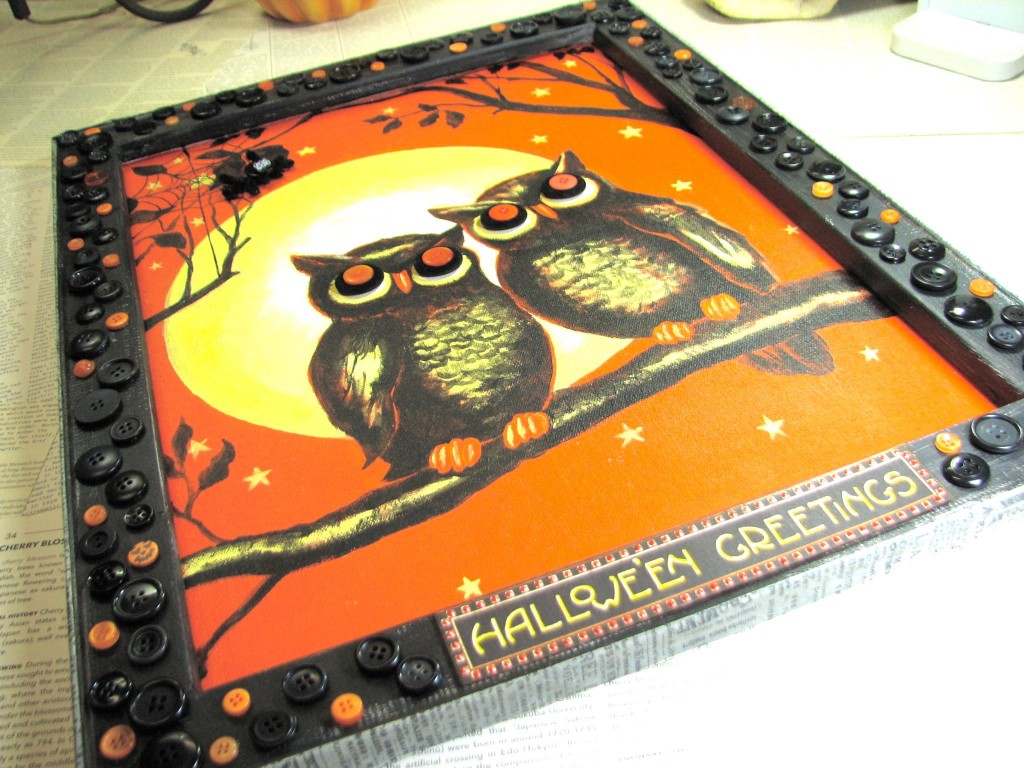
make halloween wall art with buttons

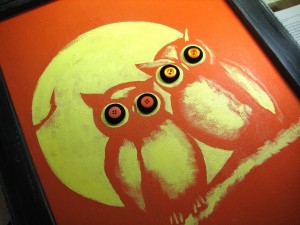
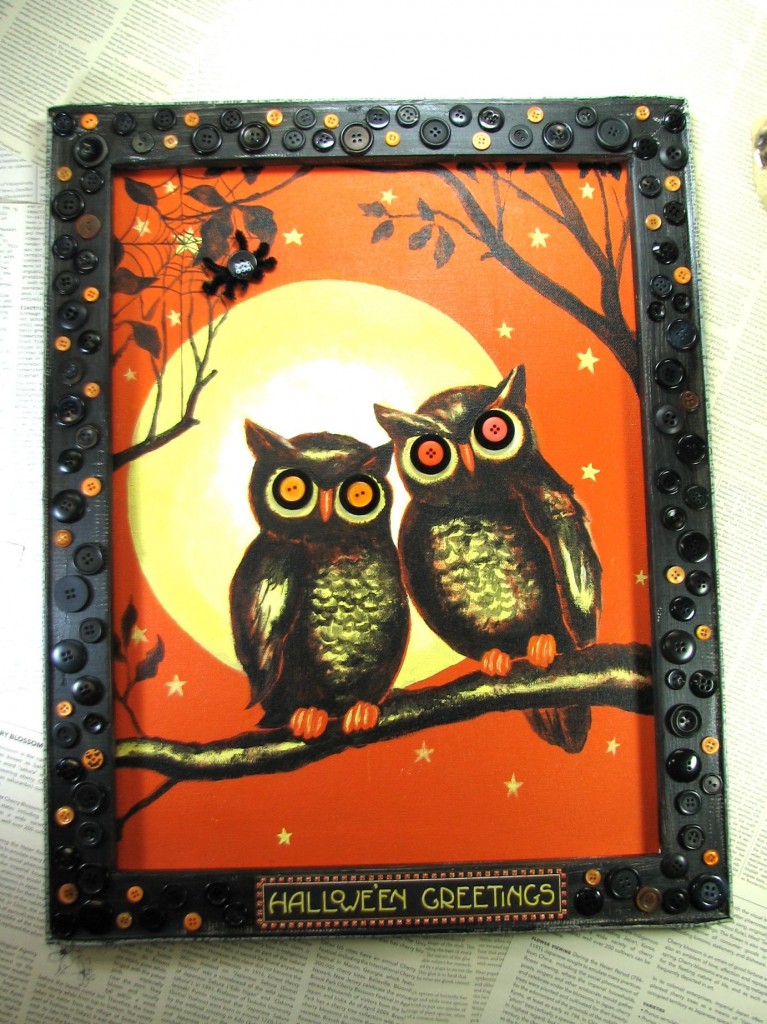
Autumn is the PERFECT time to get crafty, and I couldn’t help but be influenced by the most wonderful inventory of buttons from BG & M and the subtle changing of light and shadow as the days are becoming shorter…   So HERE I go, sharing with you a technique rich, button festooned project, to get your inner hoot owl, hooting!  Let’s make halloween wall art with buttons.

halloween wall art embellished with buttons from Buttons Galore & More:

Suggested supply list –

1. Artist (value) canvas

2. Inspirational graphics of your choosing (i.e. scrapbook paper, free digital images, old print ads, etc.)

3. Acrylic paint/ Gesso/ Artist Paste

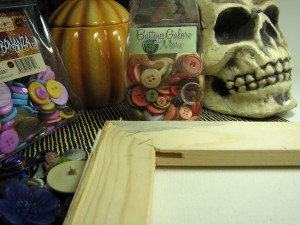
4. Seasonally colored buttons from Buttons Galore & More

5. Beacon adhesive

6. Decorative tissue tape

7. Pipe cleaners

8. Google eyes

9. Jacquard Lumiere 3D acrylic paint

10. Sharpie Markers

halloween wall art directions:

This project is shared for YOUR inspiration – I hope you’ll create something specific to your needs for fun and holiday decor!  What follows is a guideline to assist you in  your creative travels.  Enjoy make halloween wall art with buttons.

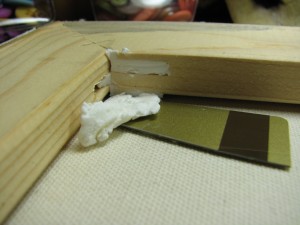
Remove packaging materials from value canvas, flip to the backside.  Fill support gaps in stretcher bars with Artist 3D medium (spackle!) using tool of your choosing.

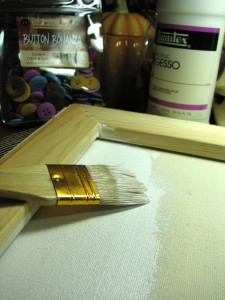
Prepare the raw canvas with gesso, so that acrylic paint can be applied.  Let dry.  Paint the wooden frame in a complimentary color for your project.  Finish the OUTSIDE edge of the frame with decorative tape.

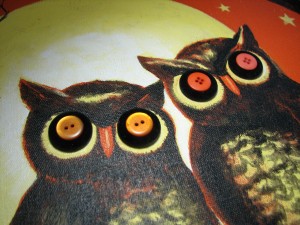
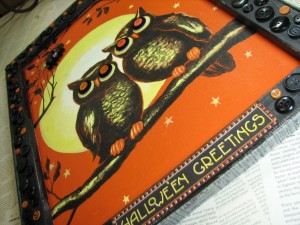
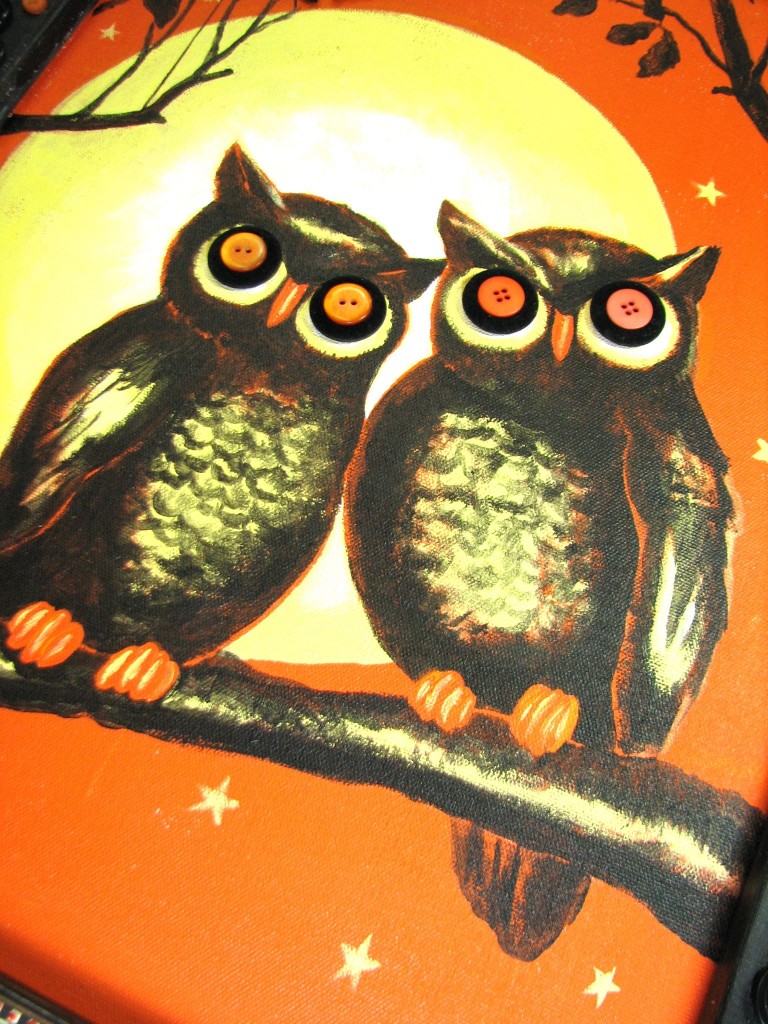
Since buttons were the inspiration for MY project, I sought a design that could feature buttons as eyeballs!  A pair of spooky, Halloween owls were the next logical choice for my decorative canvas.  By placing the buttons on the canvas, I sketched out owls at a scale that would really make the buttons stand out!  If you are not comfortable with sketching freehand, you can get beautiful results by blowing up a printed image and then using graphite transfer paper BEHIND the artwork, trace the image from the front and then have our lines appear, similar to this drawing.

By painting in the highlights, first, I could confirm the scale, but mistakes could be easily covered with leftover background paint.  Using a limited palette makes this SO easy!  (And SUPER spooky!)

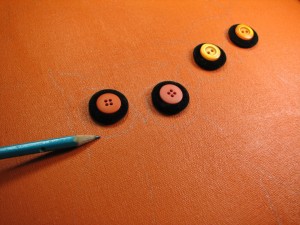
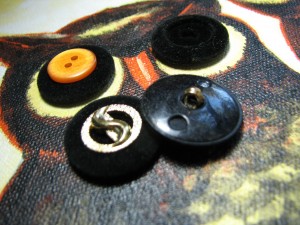
For this project, I immersed myself with buttons!  While Buttons Galore & More is a wealth of seasonal themed, as well as EVERY color and shape of buttons imaginable, I was searching for classic buttons, to create a spooky, vintage look.  In a FAT bag of miscellaneous goodies from a BG & M grab bag, I found a wealth of these snazzy, faux velvet and gold buttons.  It was easy to snap the shank off the back, remove the gold, and then fit a SCRUMPTIOUS orange button into the recess.

I LOVE the character that was created with these stunning buttons!  Beacon 3 in 1 craft glue makes for easy and secure button festooning… (Plus, it’s FUN!)

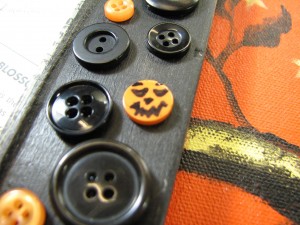
A button WITHOUT holes was a perfect, pumpkiny surprise for this craft-addicted girl…  Add SHARPIE marker = PUMPKIN FACE!  Trick OR Treat, babies! It’s ON!

Did I mention, I LOVE HALLOWEEN CRAFTS!?!

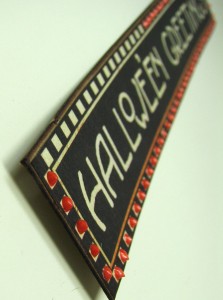
…   And GREAT materials!  Look how this gorgeous Lumiere 3D paint from Jacquard and some Sharpie marker brought this sentiment up a few zillion watts!

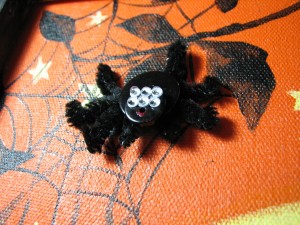
Oh, gawsh…  And did I forget to mention, SPIDERS?

No need to shriek…  This one’s perfectly tame!  Pipe cleaners, buttons and GOOGLY eyes…!   Give the exterminator the day off, buttons BUGS are fun to make!

Thanks for taking this eerily creative and crafty journey with me!  I hope you’ll be inspired to make halloween wall art with buttons and supplies from Buttons Galore & More!  Have FUN!


1

Personalize Lunch Bags for back to school and de-stash too!

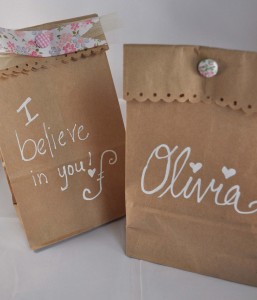
It’s almost time to go back to school.   We all know what that means…packing lunches!  My daughter loves it when I personalize lunch bags.  No boring brown lunch bags for her, but some mornings it’s tough to feel inspired.  That’s where my craft stash comes in!  Use your scrapbook embellishments to create a designer style, personalized lunch bag in minutes!  Here’s how:

Supplies needed to personalize lunch bags:

Instructions to personalize lunch bags:

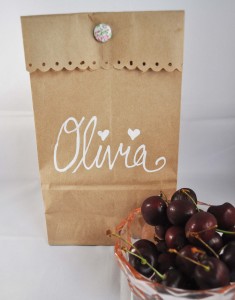
  1. Using a border punch, punch a decorative edge along the top of the bag.
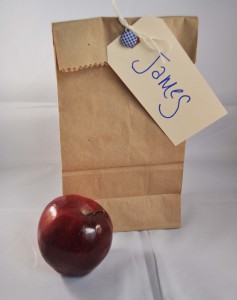
  2. Using a white-out pen or a Sharpie Marker, write the lunch bag owner’s name or a sweet message on the front of the bag.
  3. Put lunch inside!
  4. Fold the top of the bag over towards the FRONT of the bag.
  5. Punch a hole in the top middle of the bag.
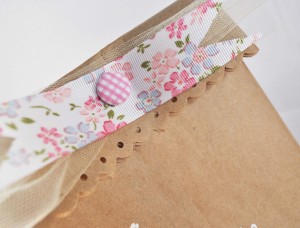
  6. Punch holes through ribbon and tulle and layer them under the brad. (This is optional.  If you are having a busy morning, just use a brad by itself.  It’s still cute!)
  7. Push a brad through the layers and secure the bag closed.

See?  I told you it was easy.  Quick personalized lunch bags.  I think these would also be great for gift or party treat bags.  You could personalize lunch bags to fit the theme or with a guest name.  Also, the would be easy to make ahead for classroom parties.  Another fun idea would be to gather some friends, get out all your scraps an have a party.  Everyone could personalize lunch bags for a few weeks and you can get rid of your leftovers.


4

Mini Christmas Packages with Buttons

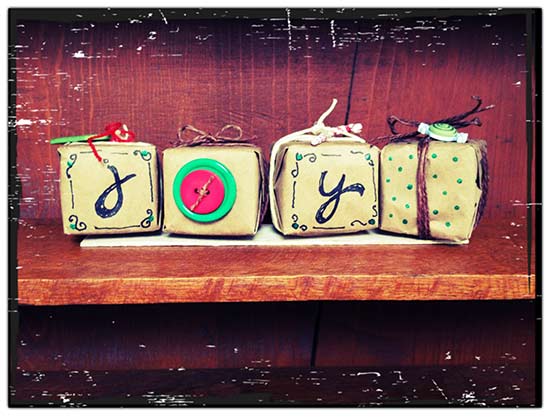
I really love tiny decor pieces. You can put then in small spaces and it’s like finding a little treasure when you look around the house. This month’s challenge is to use Styrofoam and create a Christmas themed item, so I tied in my love for tiny things and recycled materials and came up with these tiny packages.

Mini Christmas Packages with buttons

Materials you need:

  • Styrofoam cubes (I cut a large cube into smaller cubes)
  • Christmas themed buttons
  • Brown paper – lunch sacks work great
  • Twine
  • Glue
  • Scissors
  • Black marker or drawing pen (Sharpies work great!)
  • Paint and brush – optional
mini Christmas packages with buttons tutorial

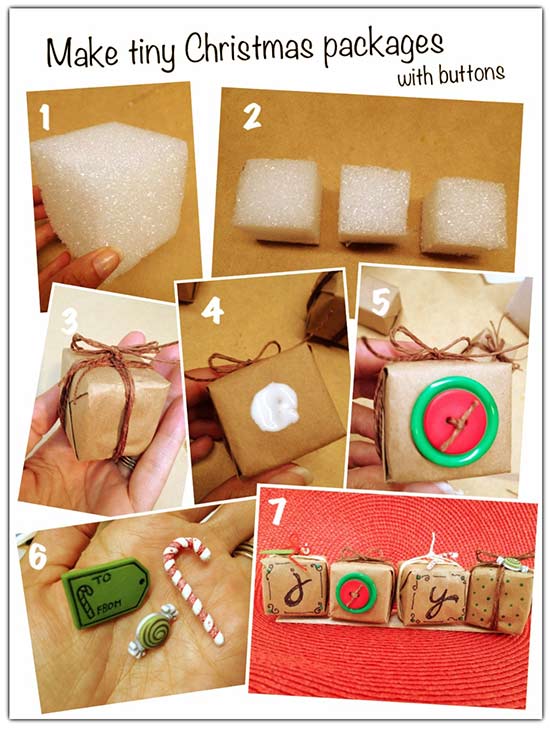
Steps to make your own mini Christmas packages with buttons

  1. You’ll need Styrofoam in cubes, I started with a large cube.
  2. Cut the Styrofoam into small cubes. These are approximately 1.5″ square. You can use a bread knife or a foam cutter. I was able to get 8 small cubes out of one large cube.
  3. Wrap each small cube with brown paper and tie with twine. Instead of taping the paper as you would with traditional gift wrapping, glue in place. I used glue dots so there was no drying time. If you want to create the look of gift wrap, decorate the paper before wrapping the Styrofoam cubes. I painted a green glitter dots on mine using DecoArt’s Glamour Dust paint.
  4. Decide how you want to decorate your cubes and leave those sides free of other embellishments, twine, etc.
  5. Tie a large green button and a small red button together with twine. Then glue to the front of one of the packages. This is the “O” in joy.
  6. Choose extra buttons to decorate your packages. Buttons Galore and more has some great Christmas button sets you can choose from.
  7. Attach extra buttons to the packages such as button gift tags, a candy cane or a small Christmas candy.

I found that the packages were so small, they didn’t stand up like I wanted when setting out to decorate. To fix this problem, you can hot glue each package to a small piece of balsa wood or cardboard. You could also stack your mini gifts and hold in place by using floral wire or toothpicks between each box. Decorate as desired.


0

Sharpie Markers and Buttons – what a natural pairing!

 Sharpie markers make creating with buttons so much fun.  Our talented designers were sent a variety of Sharpies and asked to create a project around the theme of Weddings, Showers and parties in general.  One of our own designers, Laura Kelly, is getting married next month. so in honor of her event we thought we would give you some inspiration for the upcoming wedding season.
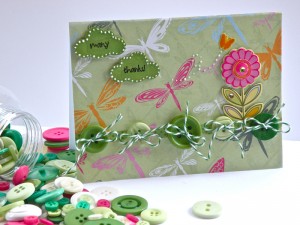
Each of the designers has posted their project on their personal blog.  We love comments and compliments… honestly, who does not?  So to encourage the love we are giving a prize.  Leave a comment on this blog about a project.  It could be your favorite, a delightful color combination or an inspirational use of the buttons and Sharpies.

The list of designers:

Ann Butler            http://www.creativitystirsthesoul.com/2012/06/buttons-plus-sharpies-equals-cute.html

 Allie Gower          http://welltrainedpaper.blogspot.com/2012/06/sharpies-blog-hop.html

Keri Lee Sereika http://pinklemonade.typepad.com/my_weblog/2012/06/buttons-galore-more-sharpie-marker-blog-hop.html

Ryann Salamon  http://ryannmarin.wordpress.com/2012/06/19/buttons-galore-more-weddingbridalshower-blog-hop/

Carla  http://carlaschauer.com/sharpies-and-buttons-tag-tuesday/

Dana http://www.paperdaydream.blogspot.com/2012/06/buttons-galore-teams-up-with-sharpies.html

Laura Bray http://www.katydiddys.blogspot.com/2012/06/wedding-blog-hop-buttons-sharpie.html


Sharpies, Buttons and Bows!

Good morning friends,

Killarney-Not Just For St. Patty’s Day

Pinky here with a post sure to make you smile. Buttons are so versatile, especially the high quality buttons from Buttons Galore & More, today I wanted to share a summer project using the beautiful Killarney Buttons, not just for St. Patrick’s Day! You can use these from everything.

Card By Pinky

  • Trim white card-stock to 9X6″.
  • Using score board, score card in half at 4.5″X6″.
  • Trim patterned paper to 4.5X6″.
  • Adhere patterned paper to card base.

Card with buttons

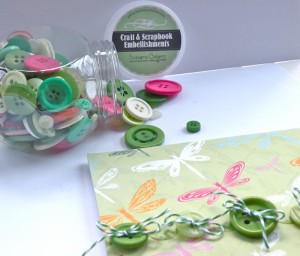
  • Using green baker’s twine and Killarney buttons, thread each button with twine and tie into a bow.
  • Using hot glue gun, adhere buttons to card base.
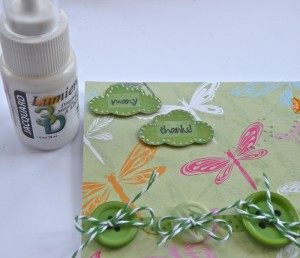
  • Using cloud punch and card-stock, punch out 2 clouds.
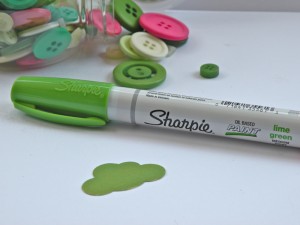
  • Using Sharpie Paint pen, coat cardstock with paint, making clouds a lime green.

Sharpie with cloud

  • Using SRM sentiment stickers- adhere to cloud shapes.
  • Adhere cloud shapes to card using foam pop dots.
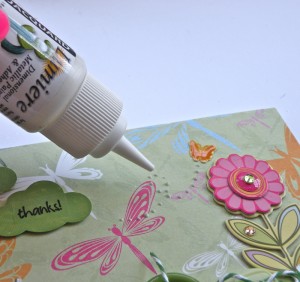
  • Using Jaquard Luminiere Pearl Paint, paint around clouds.

Clouds1

  • Adhere chipboard flower and butterfly sticker.
  • Using Jaquard Luminiere Pearl Paint create butterfly trail.

Pearl1

  • Set aside to dry for 20-30 minutes. (completely dry after 72 hours)
  • Add gemstones.

Card By Pinky
That’s it! Your beautiful “Thank You” card that will make anyone see your appreciate them.

Until next time-

Pinky- Buttons Galore & More Design Team

0

How I “get set up” to create a scrapbook page

Hi there! As I was trying to think of a good subject to blog about today I realized that people are always asking me “How do you get started? I find it’s hard to just get started!!!” So today I thought I would take a few minutes to share my process in getting started with creating a layout. I also have a super quick tutorial on how to make a button JUST WHAT YOU NEED at the moment. So let’s get started, shall we?

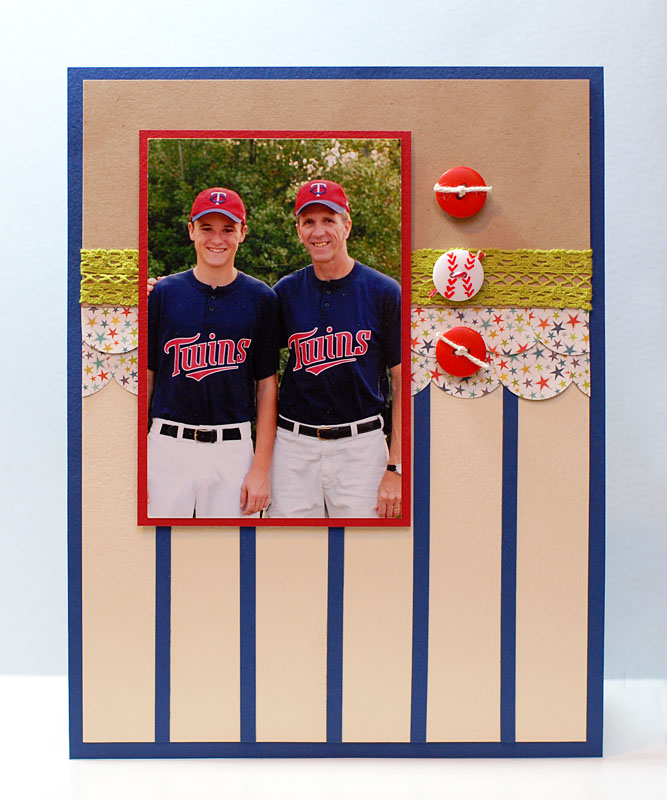
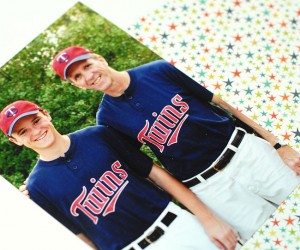
Here’s my completed layout. It is a simple layout, for two reasons. One, I generally am a pretty simple layout maker and two, I find for “teen boys” they would much rather be featured on a “not too over the top” layout! LOL

Baseball buttons and card Layout by Keri Lee Sereika

Baseball buttons and card Layout by Keri Lee Sereika

Supplies needed for this project are:

Photo: of your choice! :)
Buttons: Buttons Galore & More Girly Assortment
Patterned Paper: My Minds Eye: Lime Twist – Out of the Blue
Cardstock: Blue, Cream, Kraft, Red
Trim: Pale Olive Green Crochet Trim
Twine: Red & White
Tools: Paper Cutter, Scissors, Circle Punch, Red Sharpie, Pencil
Adhesives: Tape Runner & 3-D Foam Squares

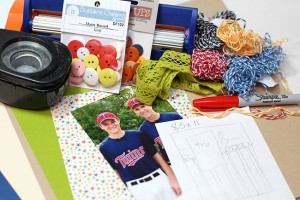
To get all set up to start creating I like to pic my photo first and work from there. Generally I choose my photo and a coordinating patterned paper or papers that I will base all of the other colors I work with from. :) Takes the guess work out of if colors actually go together…I mean hey if they are on a patterned paper then they MUST go together, RIGHT?


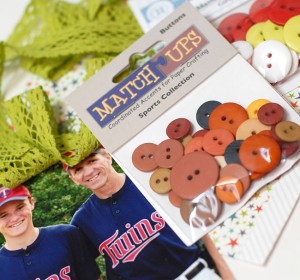
Once I have chosen my paper I selected my buttons & embellishments. I don’t always go in this order but since I really wanted to make the buttons a focal of the project I started there. Here you can see I have the MU Matte Round Sports Collection & the Girly Assortment. I wasn’t sure if I was going to need the golden & black buttons from the Sports Collection or not so I threw em into the pile just in case!


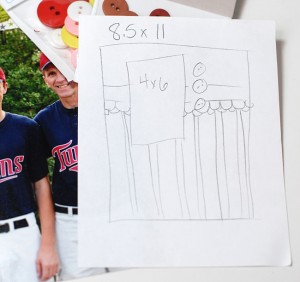
Once I had my “Focal Parts & Pieces” I decided it was time to draw up a sketch…once I have a sketch I usually have a good idea of what tools I will need to create the sketched project.

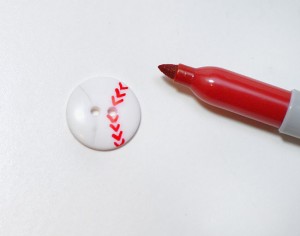
Once I had the sketch I done I hopped around the studio picking out anything I thought I might use…it saves me time later not having to go looking for stuff…KWIM? And since I was looking at my sketch and had all my stuff out I saw the big white button from the Girly assortment and I just KNEW I had to make it a BASEBALL BUTTON!!! (hence the red Sharpie!)


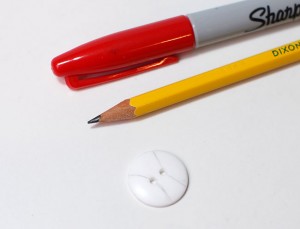
To make the Baseball Button, simply draw two opposing arcs onto the face of the white button…be sure your pencil has an eraser…it may take a few tries to get the arcs just the way you want them.


Once you are pleased with your arcs, it is time to add the stitching using the red  Sharpie to draw tiny little “v” shapes onto the arcs. Again, you may want to have some rubbing alcohol handy as this took me a few tries to get them just so…Rubbing alcohol will take the majority of the Sharpie off the button and allow you to “fix your mistakes” without having to start with a whole new button.


Simply repeat the “v” shape on the second arc and you are all set to pull it all together to create your layout! I hope you enjoyed a “behind the scenes peek” at how I get set up  and ready to create!

Keri Lee

1

Powered by WordPress. Designed by WooThemes