Header

Tag Archives | Fourth of July

Make Patriotic Hoop Wall Art with 28 Lilac Lane [free download]

Summer time is kicking up into full gear and July 4th will be here before you know it! Red, white and blue and backyard BBQs are on the horizon! This little patriotic hoop is a great way to get started on those patriotic decorations.
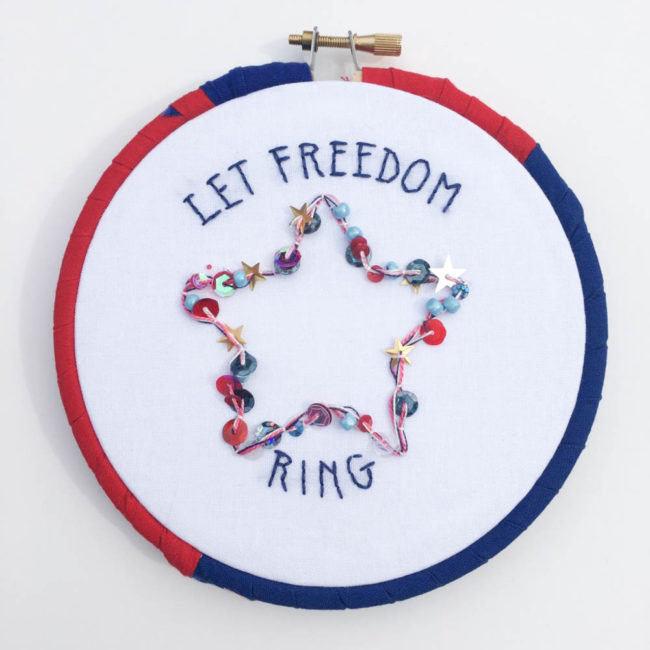
Patriotic Hoop Wall Art

Supplies Needed:

Patriotic Hoop Wall Art

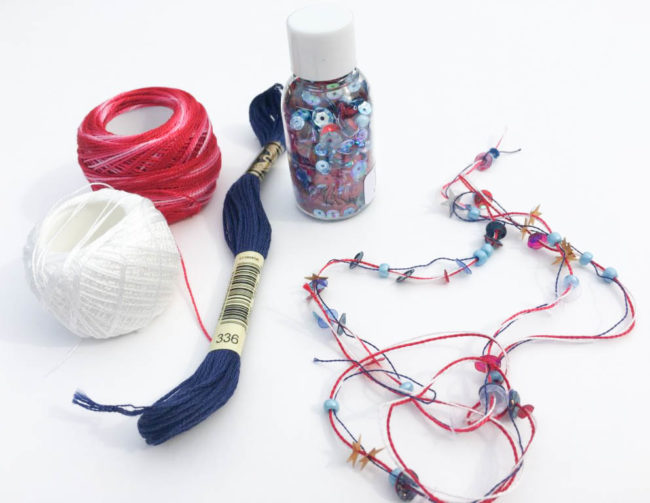
This patriotic hoop features the Stars & Stripes sequin & bead mix that is a mix of larger blue beads, small and large sequins, star sequins and smaller seed beads and glitter. I used the blue beads and sequins to create beaded thread for my hoop.

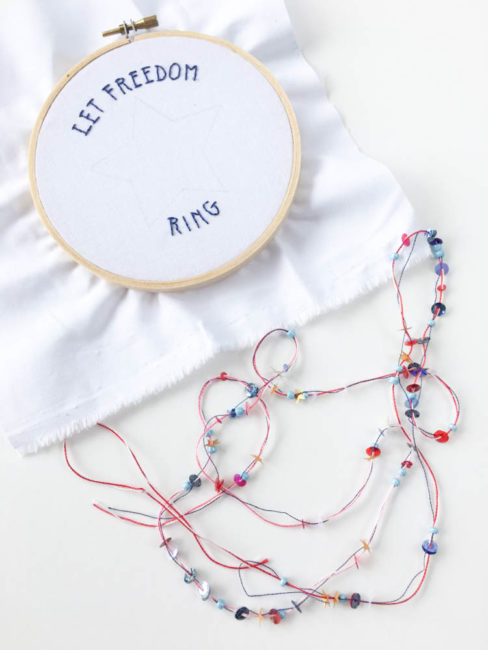
To get started: take about a yard of each thread; using only 1 strand of the blue divisible floss. Thread all three colored threads onto your needle and pick up different bits of the sequin and beads and push them along down your thread. Continue until you have distributed the beads and sequins sporadically along the thread. They don’t need to be in any sort of order, just make sure that they are spaced out well.
Patriotic Hoop Wall Art

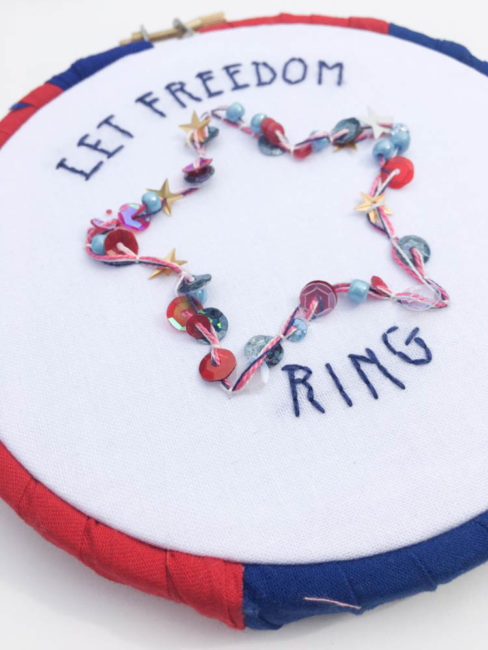
Find a sunny spot and transfer your embroidery pattern onto your fabric. Use three strands of the blue embroidery floss (#336) and backstitch the text. Lay your beaded thread on one of the star lines and with the white cotton perle, use a couching stitch to sew down the beaded thread along the outline of the star. Couch your beaded thread around the star two times.

To finish your hoop you can wrap it in a mix of blue and red fabrics, as I did, or you could even paint the hoop. Set your finished piece inside the hoop, trim your fabric about one inch from the edge of the hoop and hot glue it to the inside.
Patriotic Hoop Wall Art

This patriotic hoop wall art is a great project for even a beginner at embroidery. It’s one that looks like it took hours and advanced skills, but is made up of basic embroidery stitches and techniques and can easily be finished in an afternoon!
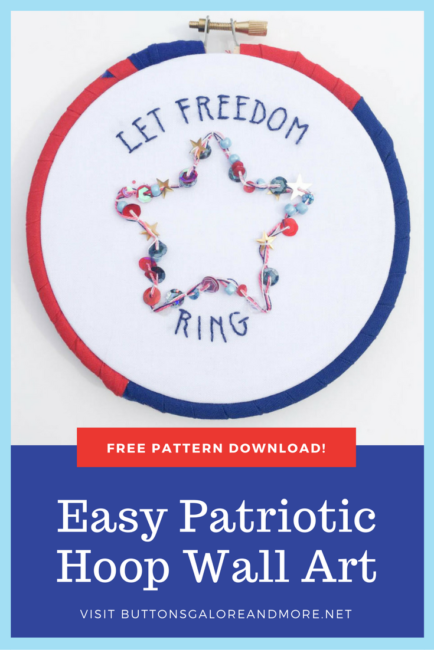
patriotic hoop wall art using 28 Lilac Lane sequin & bead mix. Design by Aimee Davis for www.buttonsgaloreandmore.net - easy embroidery project for 4th of July.

1

Make a 4th of July BBQ Apron

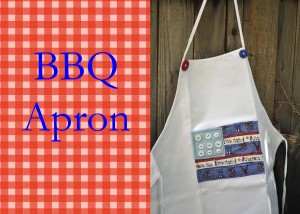
Having a BBQ on the 4th of July is as American as apple pie.  But who wants to get their cute summer clothes stained with BBQ sauce?  Here’s how to make a BBQ apron.  It’s perfect for either a guy or gal, depending on who is the BBQ master in your house.

Sew a Fourth of July BBQ Apron with Buttons Galore and More||by Laura Bray

Supplies:

Directions:

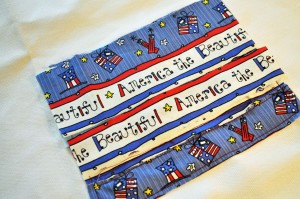
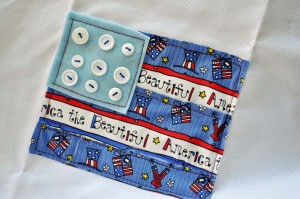
1. Cut a piece of fabric into a 6 1/2″ x  5 1/2″ rectangle.  This will be the body of your flag.

Sew a Fourth of July BBQ Apron with Buttons Galore and More||by Laura Bray

2. Place the fabric on your apron.  Pin it and sew it down. I left my edges raw for more of a folk art look. Laura Kelly’s 4th of July Fabric already has stripes.  You can slice up the stripes and sew them down individually or just sew down the entire rectangle and then go back and quilt along the stripes.

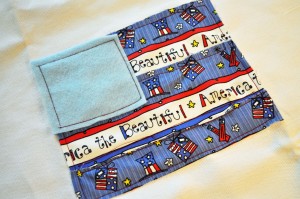
3. Cut a 3″ x  2 3/4 inch rectangle from the felt. Pin in place in the top left corner of your flag and stitch down.Sew a Fourth of July BBQ Apron with Buttons Galore and More||by Laura Bray

4. Arrange white buttons in the felt rectangle to represent stars and sew them on.

Sew a Fourth of July BBQ Apron with Buttons Galore and More||by Laura Bray

5. Add red & white buttons by the top ties of the apron.

Wishing all my fellow Americans a Happy Fourth of July!

Logo copy

0

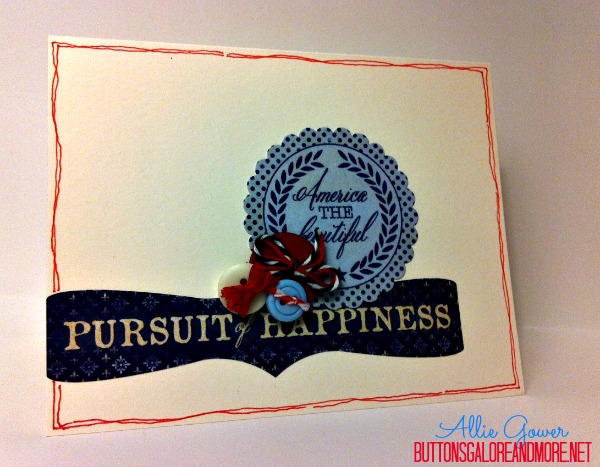
Patriotic Button Card

Let’s make another easy Patriotic Button Card.

This is simply stickers and a cluster of Patriotic buttons. I used hot glue which allows me to put buttons where I want, and cluster them together. I finished off the card with some simple doodling.

Let the kids loose with buttons and stickers, and have them make some cards for friends and neighbors.

Patriotic Button Card

Supplies

  • Buttons – Patriotic
  • Stickers – Authentique
  • Cardstock – Discount Cardstock
  • Twine, Embroidery Thread
  • Adhesive – Hot Glue by Adtech
  • Copic Multiliner

How to Make a Patriotic Button Card

  1. Create a card base 4.25 x 11″ and fold in half.
  2. Apply stickers.
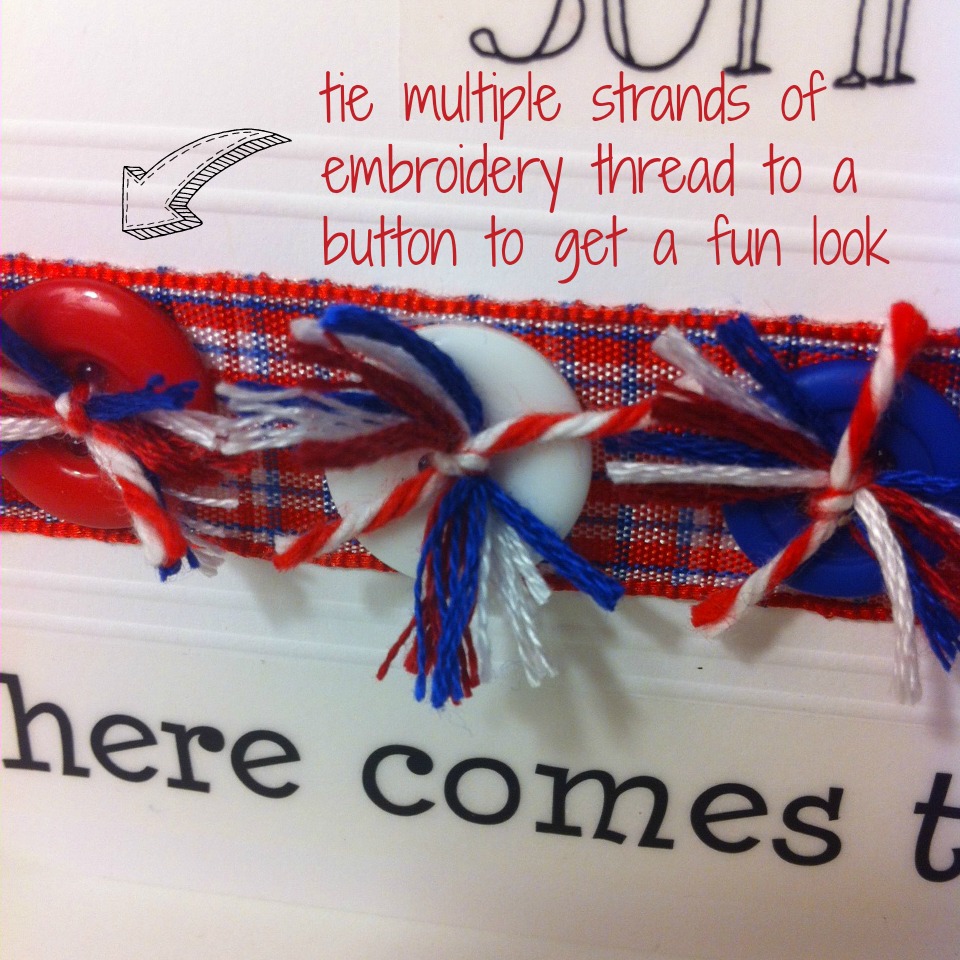
  3. Tie twine and embroidery thread to buttons and glue to card.
  4. Doodle edges.


Thanks for joining me today.

See more of my creations at MyCardParty.

0

Patriotic Cards with Buttons

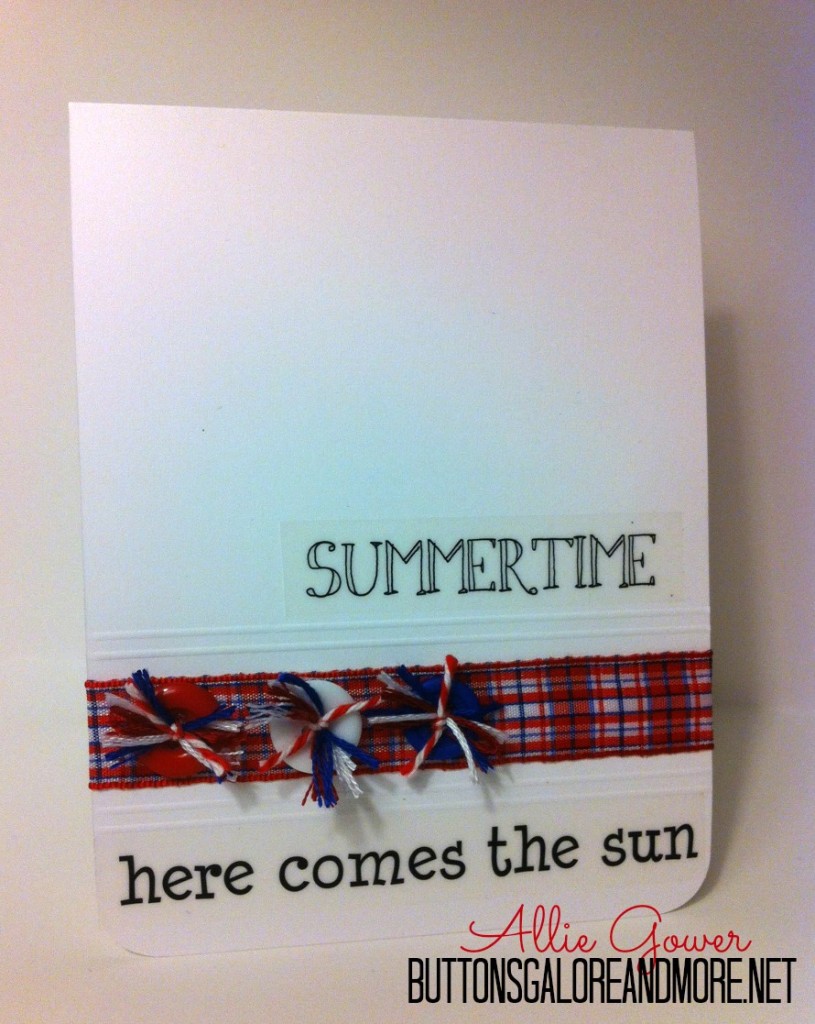
This month I’ll share several Patriotic Cards with Buttons. These would all be fun to do with the kids for friends and neighbors. Now that the kids are out of school, it’s fun to do crafts with them, right?

I’ve been creating several fun projects for an upcoming blog hop, the I LOVE THE USA Blog Hop. I had some embroidery thread left, and thought it would be fun to jazz up some buttons. 


Patriotic Cards with Buttons


Supplies

  • Buttons – Laura Kelly Patriotic Mix
  • Neenah White #110 Cardstock (DiscountCardstock.com)
  • SRM Stickers
  • Ribbon – Michael’s
  • Embroidery Thread – Coats & Clark, Twine – Doodlebug Design
  • Tools – Scor-Board, Floss Threader
  • Adhesive – Hot Glue from Adtech, Redliner Tape

How to Create Patriotic Cards with Buttons

  1. Cut a piece of Neenah Solar White #110 4.25×11 and score in half. On the front of the card, score some additional lines above and below where you would like your ribbon placed.
  2. Adhere ribbon on card with Redliner Tape.
  3. Add stickers.
  4. Tie several strands of embroidery thread with twine to Patriotic buttons as shown below.  Trim ends.
  5. Hot Glue buttons to ribbon on card.

Patriotic Cards with Buttons


Thanks for joining me today.

See more of my creations at MyCardParty.

1

Powered by WordPress. Designed by WooThemes