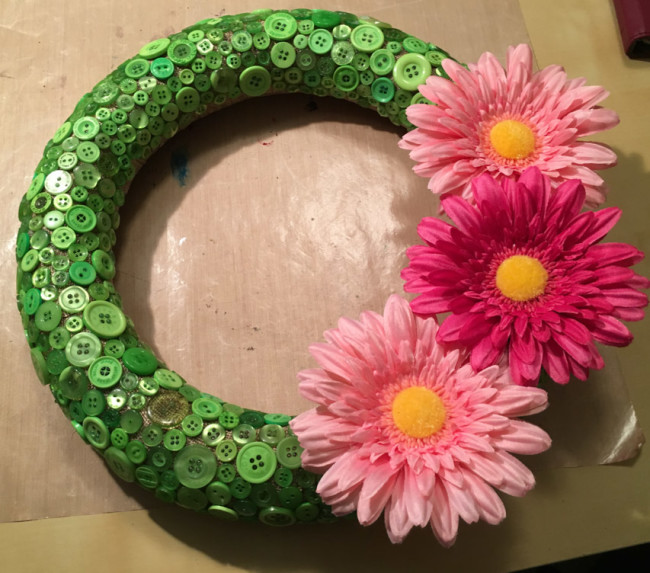
One of my favorite things to make are wreaths. There are so many ways to decorate them and endless opportunities to get creative. I put together this rustic vine wreath using the Victoria embellishment kit by 28 Lilac Lane.

Supplies needed:
- 28 Lilac Lane “Victoria” Embellishment Kit
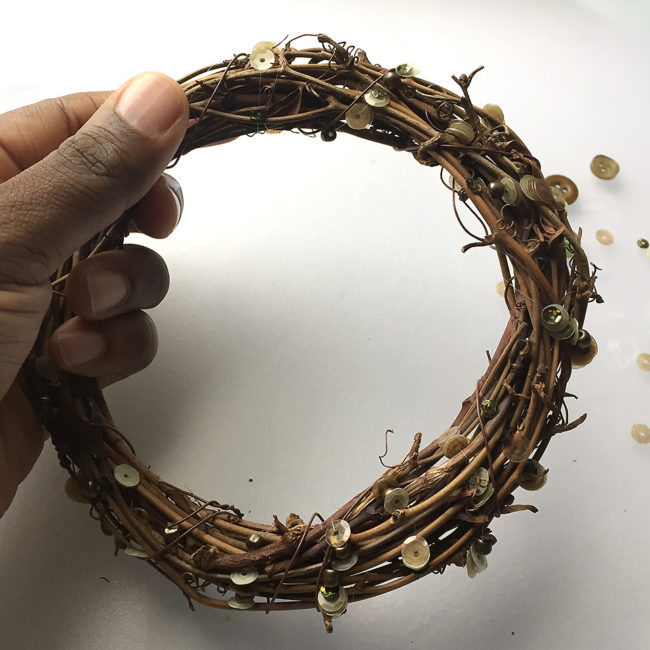
- 6″ grapevine wreath
- beading needle
- embroidery needle
- invisible thread
- embroidery floss
- floral wire
- wire cutters
- glue gun
- green felt
Start with the beading needle and invisible thread. Wrap the thread around the wreath and tie a knot to secure it. Stack beads and sequins onto the needle until you have about 1/2 inch or so on the needle. Wrap the thread around while keeping the majority of the beads and sequins in place on the front of the wreath.
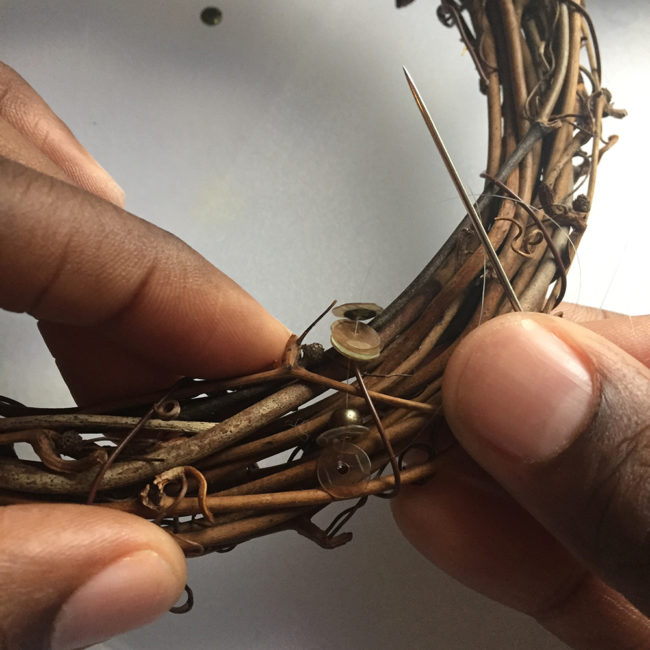
Continue wrapping the thread around the rustic vine wreath until you get back to where you started. You’ll get the best results if you wrap the thread no more than about 1/2″ inch apart.
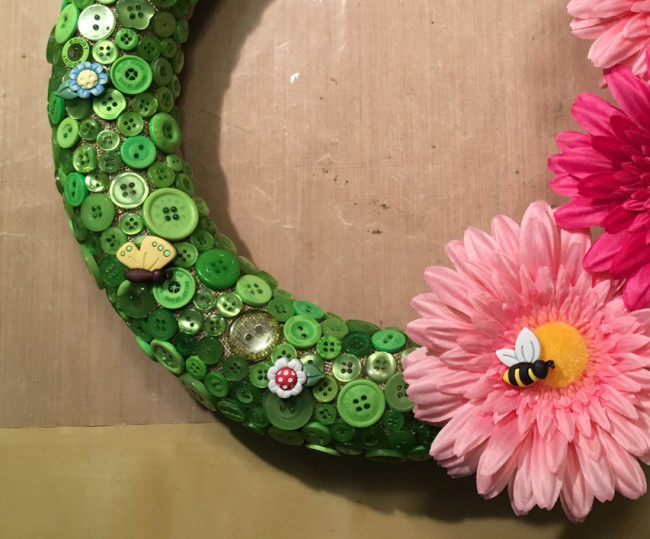
After adding the sequins and beads, I repeated the process with embroidery thread to add some little buttons.

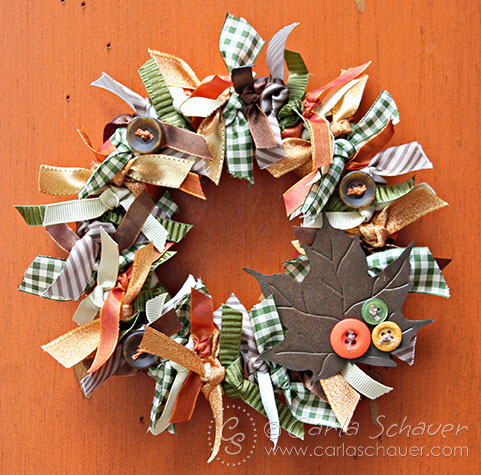
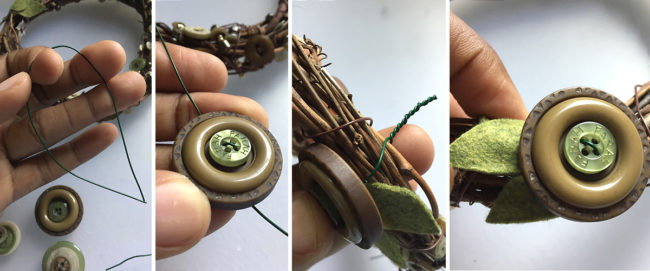
I cut a few pieces of felt to create leaves and attached them to the wreath with a glue gun, while leaving space for some buttons. Cut a length of wire long enough to wrap around the wreath. Stack 2-3 buttons and push wire through 2 holes in each of them. Wrap the wire around the wreath, twist, and cut the ends. Tuck the excess wire into the backside of the wreath so there are no sharp ends left sticking out.
After you have added as many buttons as you’d like, the last step is to tie a ribbon to hang your finished rustic vine wreath! I used a small 6 inch wreath for this project, but of course it can be done in a larger size. I find this to be a perfect size to decorate with inside the house. I often hang small wreaths around the house on the walls alongside my photos and even hang them in my work space at the office.
Looking for a wreath project but prefer a different style? Check out all our button wreath projects!