Something borrowed, something blue. This cute, DIY bridesmaid headband is perfect for your wedding. I love the “Tiffany” blue of the ribbon and the Buttons Galore & More Wedding Glitz buttons give it lots of sparkle. This headband is a great wedding project. It would look great on your bridesmaids, flower girls, or even as a alternative to a veil for a bride.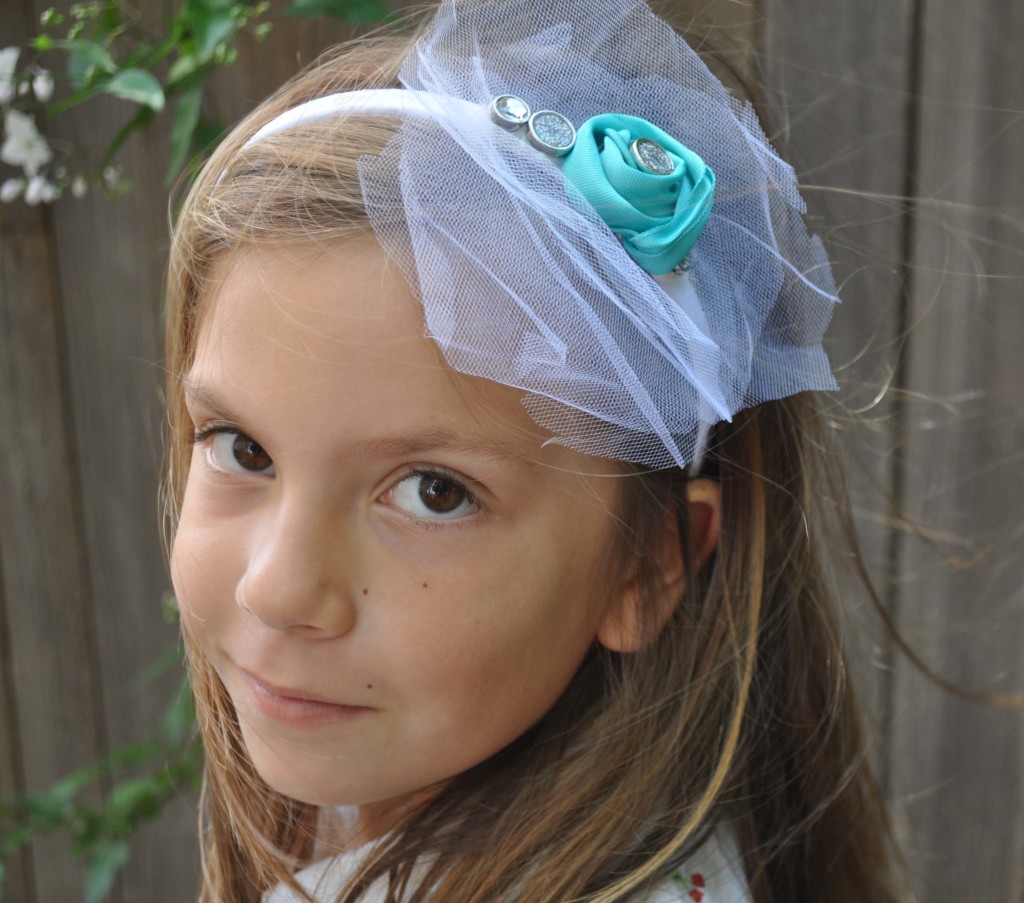
Supplies needed for a DIY Bridesmaid Headband: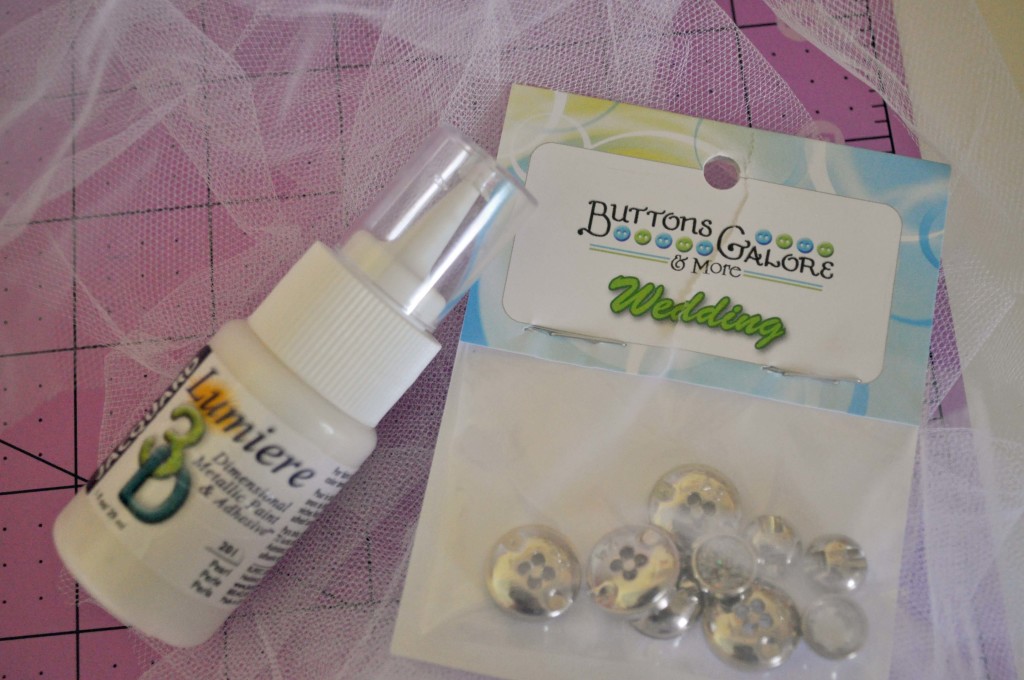
- White headband
- White tulle
- Wedding Glitz Buttons
- Blue, wired ribbon
- Jacquard’s Lumiere 3D Adhesive & Dimensional Metalic Paint in Pearl
- Fiskars scissors
Instructions for making a DIY Bridesmaid Headband:
1. Using scissors, cut 3 circles, measuring approximately 6 inches in diameter, from the tulle. This doesn’t have to be perfect! Cut them freehand and let the edges be a little ragged. This will give the headband a soft, romantic look.
2. Cut 12 inches of ribbon. Twist and roll it into a flower shape.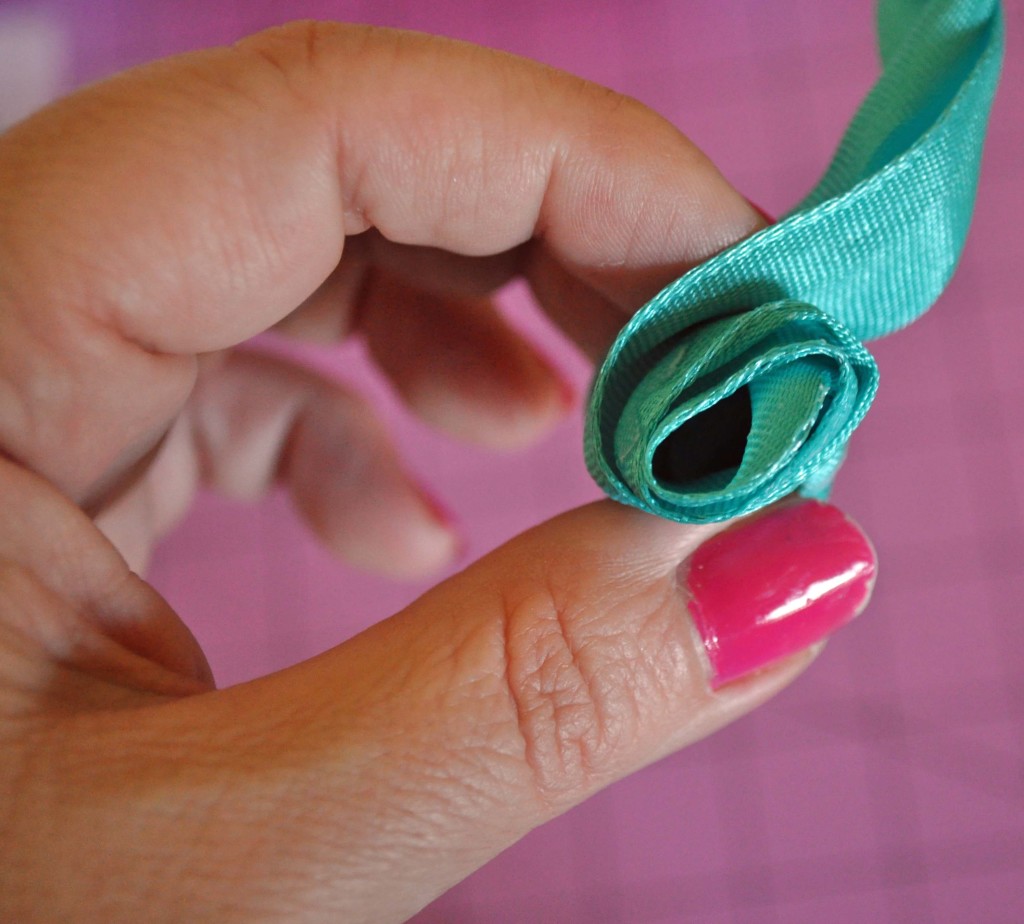
3. Using the Lumiere paint, apply a dab of glue to the side of the headband and attach the tulle circles to the headband. It should be placed 1-2 inches from the top, center of the headband.
4. Again using the Lumiere paint, attach the the ribbon flower and some additional Wedding buttons to the headband over the tulle. Add as much or as little bling as you like!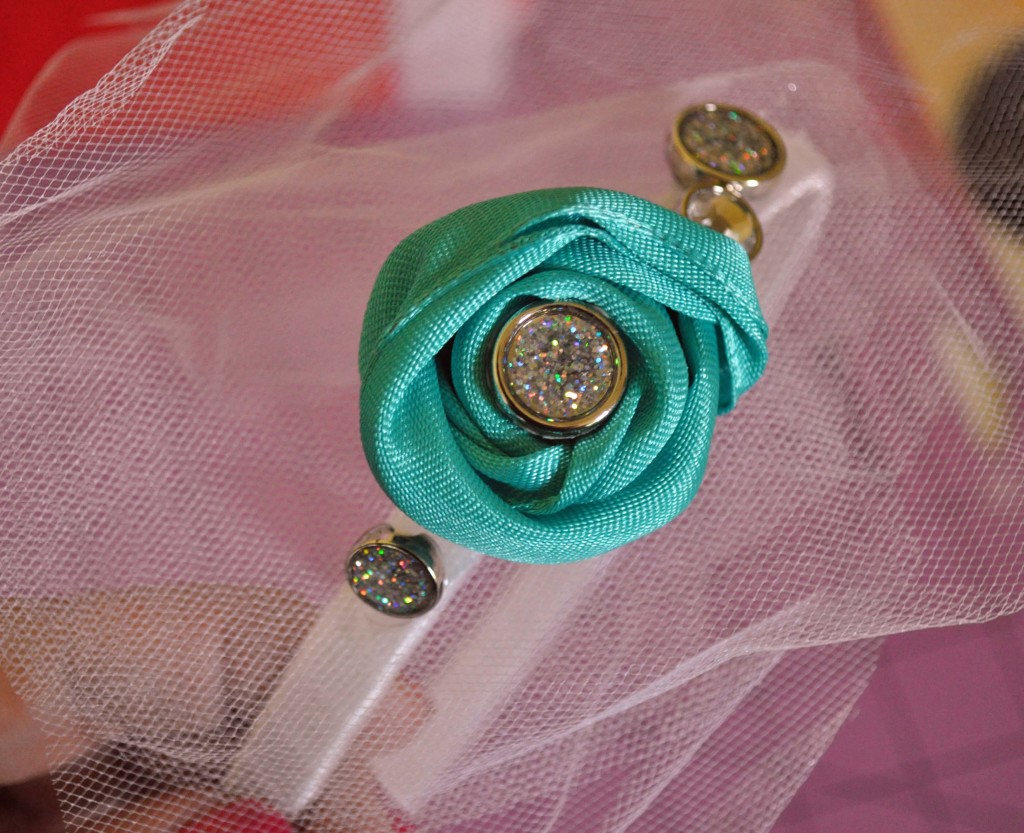
Tip: Lumiere 3D Dimensional Paint works great for this project as it works as both a glue and design element. When the paint dries it gives you a 3D pearl effect-perfect for a wedding.


