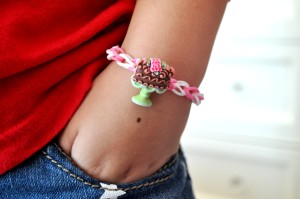
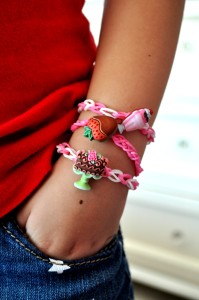
Rubber band bracelets are all the rage with kids these days. Some crafters use a special loom to create the bracelets, but you can also use your fingers and some super cute novelty buttons to create a closure for your bracelet. This is definitely a kid-approved project as my daughter was wildly impressed that she could now make rubber band bracelets that stood out from the crowd.
Supplies for Rubber Band Bracelets:
- Bands in colors of your choice. You can buy packs of the bands at your local craft store, or just use hair bands.
- Novelty buttons. For my sweet set, I used the Sweet Delights collection.
Instructions:
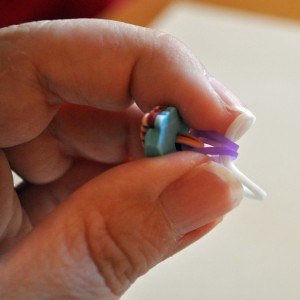
1. With your fingers, squeeze one of the bands in half and thread it through the shank of your button.
2. Squeeze another band in half and weave it through the loops of the band that you pushed through your button.
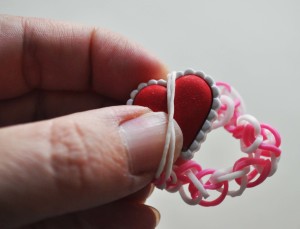
3. Continue weaving your bands together until you get the length you want. Don’t forget the bands stretch!
4. When you get to the end of your band, take the two last two loops and wrap it over the button.
Thanks for crafting with me today! For more crafts, lifestyle tips, and button projects, visit me on my blog at Laura Bray Designs.
Admin1
Latest posts by Admin1 (see all)
- Magical Wall Art for Kids Room - July 19, 2019
- Little Firecracker Layout - June 28, 2019
- Patriotic Rosettes - June 27, 2019


Very cute, Laura.
Fun way to use buttons and the girl rubber bands.
Cute version Laura! Your daughter will be unique with her version
http://www.mel-designs.typepad.com