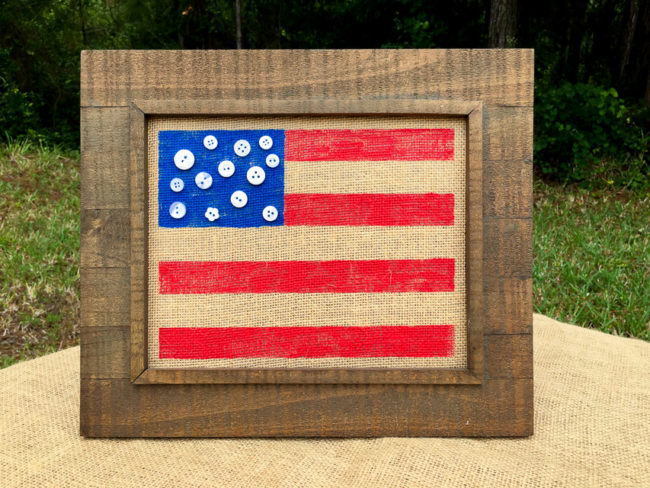
It’s time to make another addition to our holiday frame project! This time, we’re creating a rustic flag insert for the frame that will be perfect for showing your patriotic pride for the 4th of July or the upcoming Olympics!
(For those new to the series, the holiday frame project is a 8″x10″ frame that I’m creating a series of decorative inserts for to celebrate various holidays and occasions. To see previous installments in the series, click here.)
Supplies:
- Buttons Galore Button Basics (Patriotic Mix)
- FolkArt Multi-Surface Satin Acrylic Paint (Apple Red)
- Delta Ceramcoat Select Multi-Surface Satin Acrylic Paint (Classic Blue)
- Burlap Sheet
- Painter’s Tape
The hardest part of making this rustic flag project is…the math! To start, you are going to need to measure the opening on your frame, and decide how much border you want around your frame. Then use the painter’s tape to mask off the edges right up to the area that you want to paint.
Divide the remaining vertical area by 7 to determine the width of the stripes on the flag. Use painter’s tape to mark off the bottom stripe and fill in the stripe with paint. Remove the tape right away. While the stripe dries, determine how wide you want your blue area for the stars (I suggest about 40% of the width). Then mask it off with vertical strip of tape to protect it while you paint the top two red stripes. Measure down from the top to create your first stripe, lay down a piece of painter’s tape to protect the “white” stripe, and fill in the red stripe with paint. Remove the tape immediately after painting.
Letting each stripe dry before painting the next one, continue measuring and masking with tape before taping, until all 4 red stripes are painted.
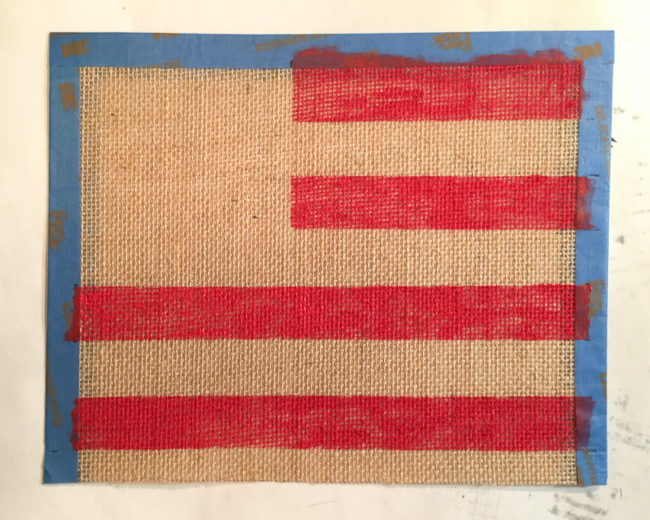
Once all of the red paint is dry, then you can lay down painter’s tape to paint the blue area.
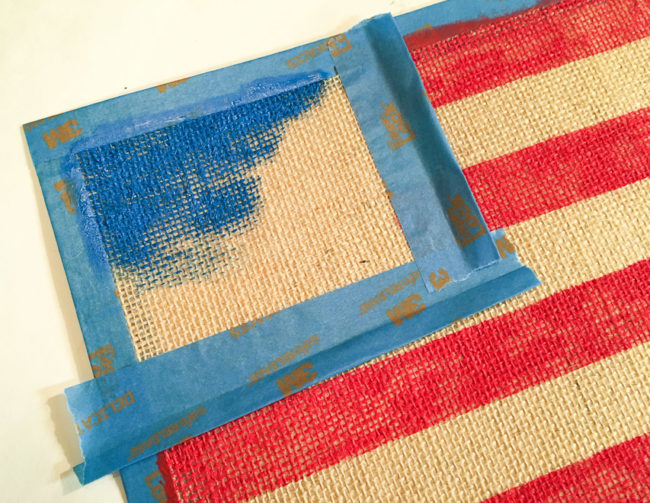
Peel the tape up as soon as you are finished painting, while the paint is still wet. Because of the open weave of the burlap, your paint will appear “patchy”, since in some places it will fill in the weave and in some it won’t. This adds to the rustic feeling of the project!
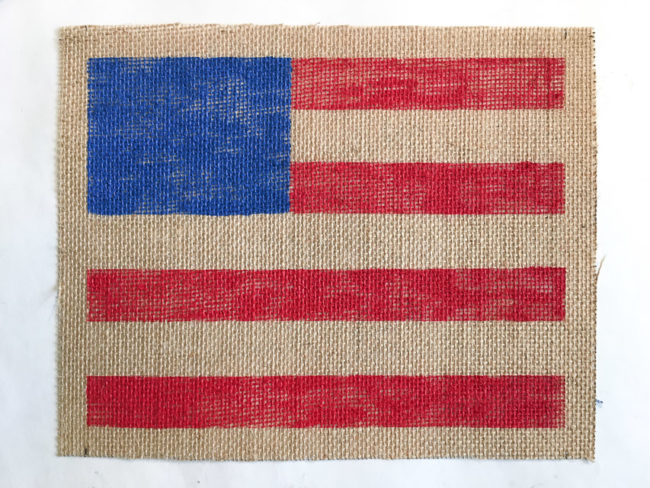
The final step is to select 13 small to medium sized white buttons from the Patriotic Mix of Button Basics. Arrange them in a random way in the blue area, and use a hot glue gun to attach them to the flag.
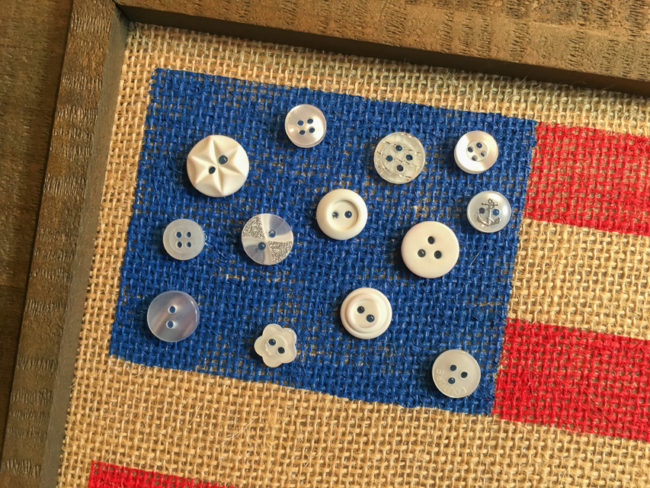
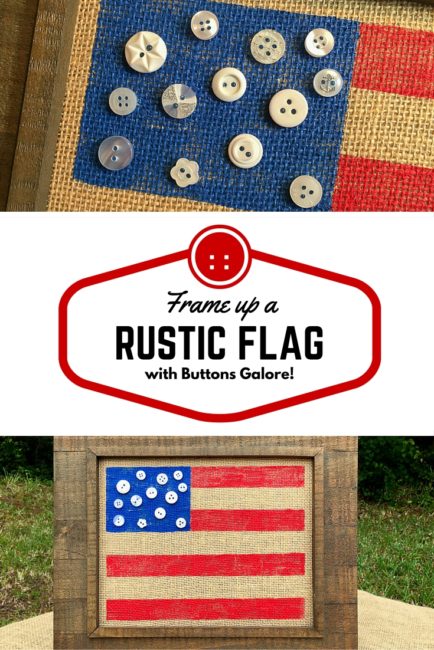
Now you’re all ready to put your flag in your frame and celebrate the 4th of July or cheer on Team USA for the Olympics this summer!
Nancy Nally
Latest posts by Nancy Nally (see all)
- We’re blog hopping with Poppy Stamps! - September 28, 2017
- Announcing…New 28 Lilac Lane Premium Collection Sequin Tins! - June 30, 2017
- Announcing…the new Buttons Galore Design Team! - May 18, 2017


No comments yet.