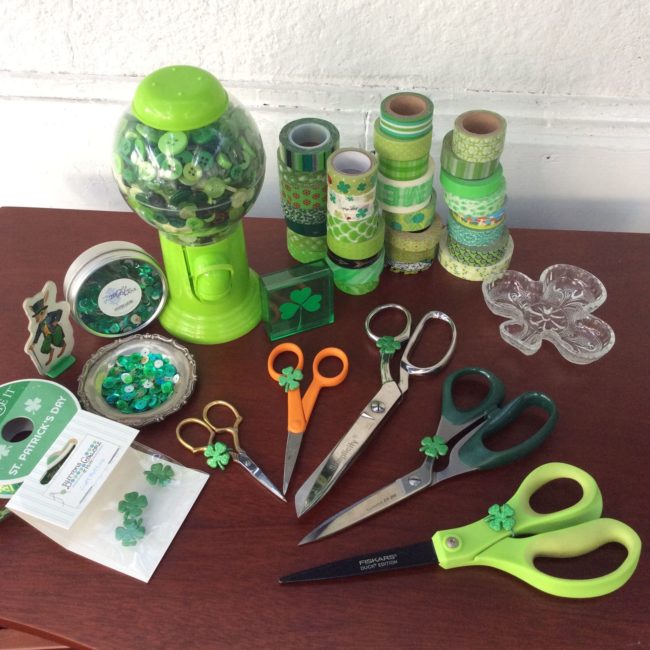
Everybody has a pair of scissors. Some of us, well, have a few pairs of scissors. In the past, I have customized my scissors with ribbon or decorative tape. I thought it might be fun to decorate the scissors for St. Patrick’s Day with Buttons Galore’s Glitter Shamrock Buttons. This is a fun and easy project for any level of crafter.
Archive | St. Patrick’s Day
A Noteworthy St. Patrick’s Day Card
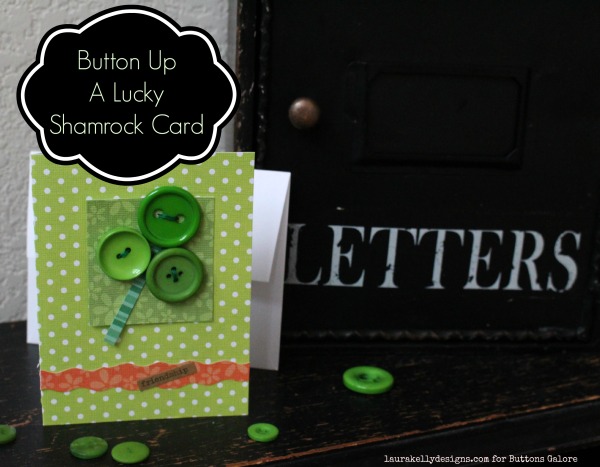
Sending cards for the little holidays is not only fun but also very special. I mean come on, who doesn’t LOVE to get a note in the mailbox these days. This hand made card is not only adorbale but sure to spread luck and friendship for St. Patrick’s Day. Three cheers for Fifteen MINUTE Friday!
You will need the following:
- Card stock in greens and oranges (Darice Core’dinations)
- Candy Apple Green Buttons from the Laura Kelly collection
- Aleene’s Always Ready Tacky Glue
- Embroidery Floss and Needle
- Message Stickers (You can write on the note card too)
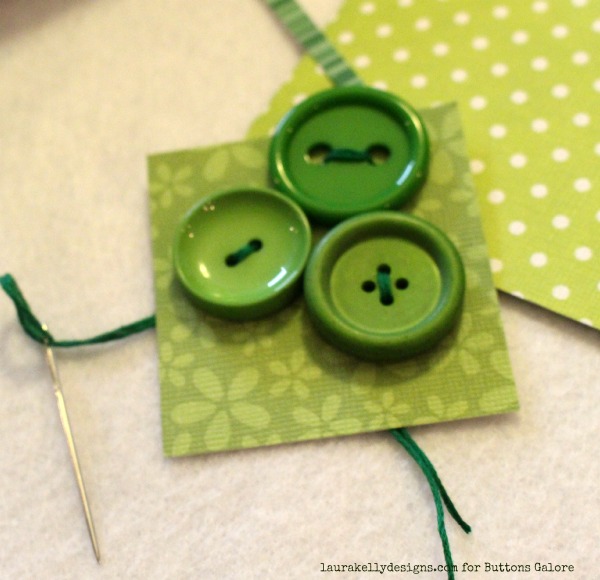
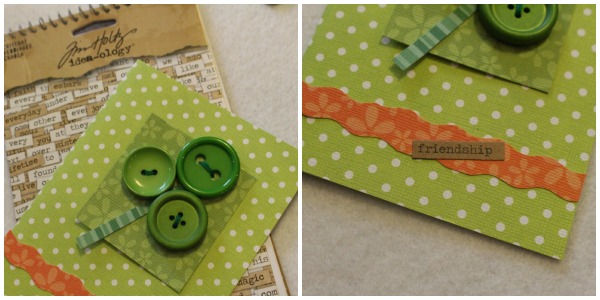
Cut a fold over card to fit your envelope. This one is 8.5 x 4.25 to fit in an A2 sized envelope. Cut your other decorative papers to add color to your card front. Stitch your buttons to a piece of pre-cut card stock to form a shamrock. Knot it in the back.
Adhere your pieces to the front of the card with Aleene’s Always Ready. Add a sticker message if you would like. You can also write your message with a marker or a pen.
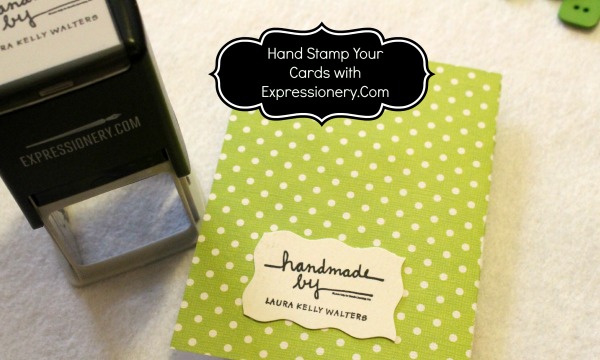
I hand-stamped the back of my card too with my self-inking stamp from Expressionery.Com. I think this makes it a little more special.
And now you are ready to write a for real, noteworthy, hand written letter to a friend!
Happy Creating,
Laura
Mini Shamrock Garland
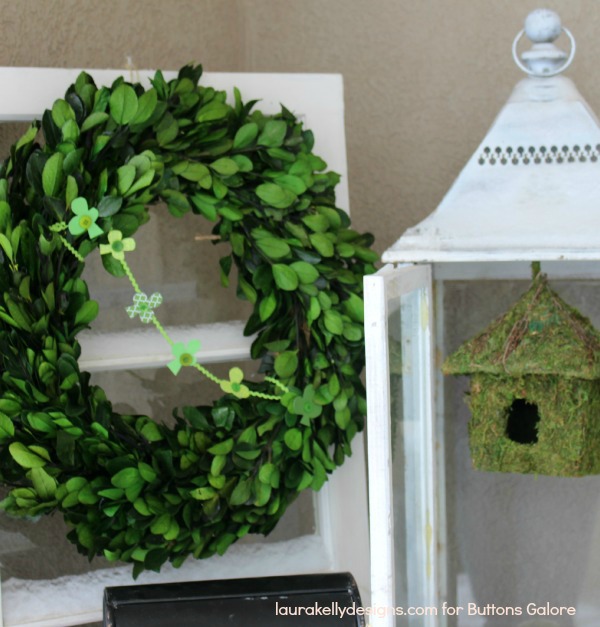
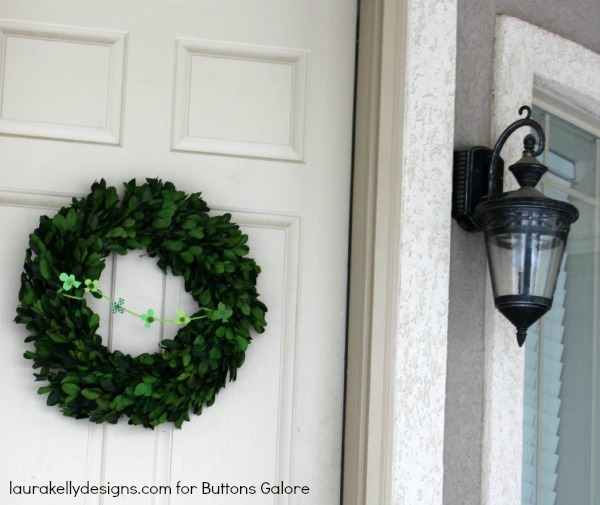
This little garland is super festive and so easy to create. The mini shamrock garland can be used to decorate in lots of fantastic ways and is perfect for a fifteen MINUTE Friday project.
You will need scissors, green decorative paper, Candy Apple Green Buttons, Ribbon or Ric Rac and Aleene’s Always Ready Fast Grab Glue.
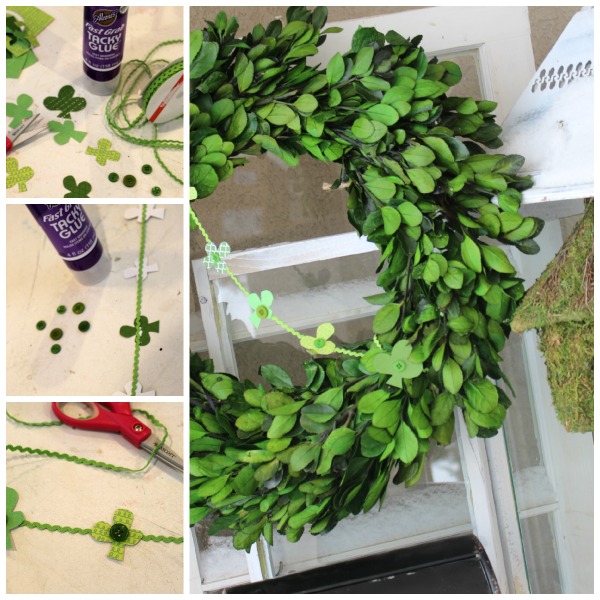
- Cut your shamrocks out free hand so they are all a little different. You can make a little pattern if that makes you more comfortable.
- Glue them from the backs to your ribbon using the Fast Grab and let dry.
- Flip over and add buttons with the Fast Grab.
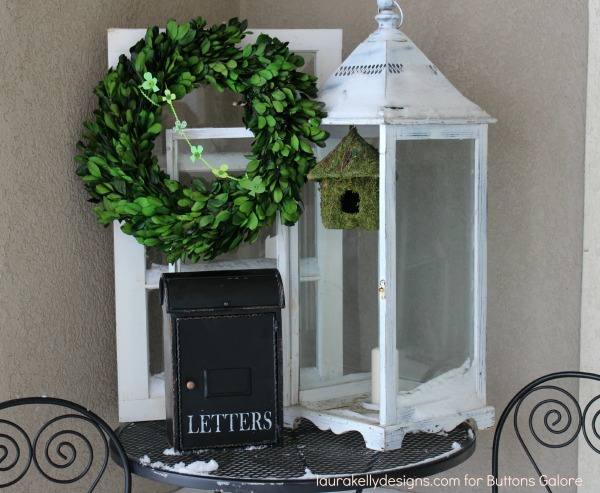
Ta Da! It looks so fun on this wreath on the front door.
Cheers,
Laura
Lucky Shamrock Decor
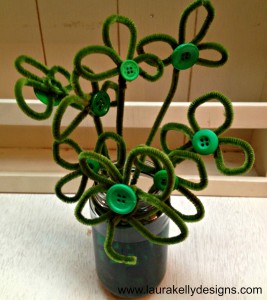
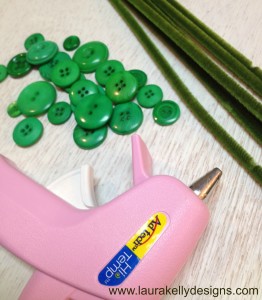
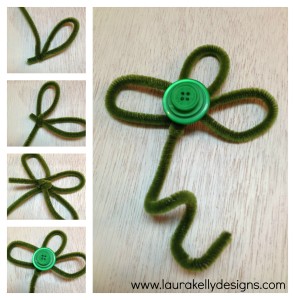
It is coming soon, St. Patrick’s Day that is. Here is a super speedy decoration that you can make to celebrate the day using green pipe cleaners and Laura Kelly Forest Green Buttons!
You will also need an adhesive to attach the buttons to the shamrocks. I used hot glue because I LOVE it.
Simply, twist the pipe cleaners into shamrocks and then attach the buttons. You can make lots of them as a bouquet or do them individually to wrap around silverware, make hair decorations or use as a part of a larger project. Here is a picture tutorial that might be helpful.
Happy Speedy Creating Some St. Patrick’s Day Fun,
Laura
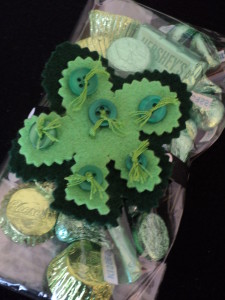
Lucky Felt and Button Four Leaf Clover
This quick craft creates a mini masterpiece that can be used to tie around a gift or use as a tie around a napkin for a table decoration. It’s a quick, fun festive way to celebrate St. Patrick’s Day around your home.
material needed for the felt four leaf clover:
- Green Felt in 2 Shades (Kunin makes the best!)
- Green Buttons
- Needle/Green Thread (or embroidery floss)
- Ribbon
Directions for Lucky Felt and button four leaf clover.
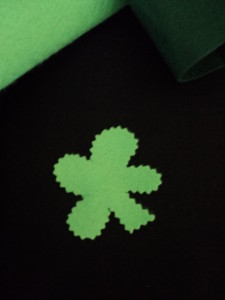
1. Cut a four leaf clover from the felt about 2 inches in diameter. I used pinking shears.
2. Cut another four leaf clover from the other shade just a tad larger.
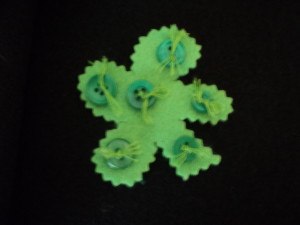
3. Sew green buttons through the smaller felt shamrocks tying knots in the tops between each one.
4. Sew the ribbon through both layers of felt hiding the stitches behind a button or two. Use a length or ribbon that will go around your gift or rolled napkin.
Ta Da…a mighty green little decoration that is bound to bring someone a little luck! As tiny bit of Irish information- when making a toast, the Irish say “Slainte”. Slainte is a well wish litterally translated – to your health.
Shamrock button pin
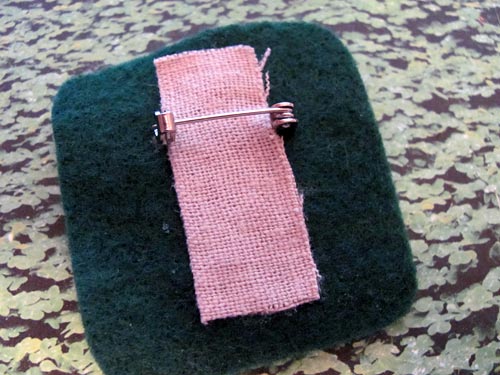
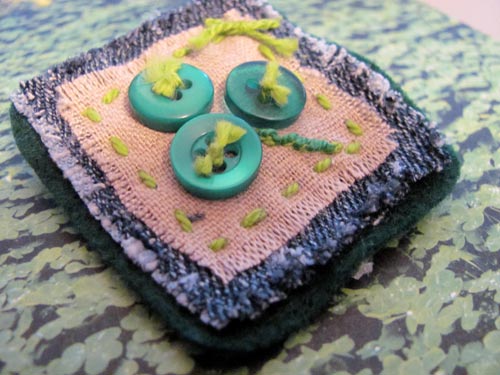
Make your own hand stitch shamrock button pin with scrap fabric and some green buttons. I used 3 different buttons from the Luck button tote for my pin project, you can mix and match however you’d like. Using some fabric glue and stitching with embroidery floss, you can make a whole variety of shamrock button pins to decorate or give away for St. Patrick’s Day.
For this piece I used denim, felt and linen. I pulled out threads on both the denim and linen to give more of a rough, frayed edge. However, you can finish the edges of your pins however you like. Coordinate your embroidery thread colors or create a contrasting look. You can make so many different variation of this simple pin with just a few different supplies.
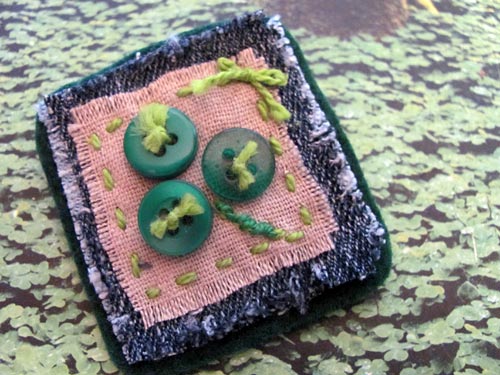
Materials needed to make a shamrock button pin:
- 3 green buttons
- Scrap fabric in different colors and textures
- Embroidery floss
- Fabric glue
- Pin back
How to make your own shamrock button pin:
You can either glue your buttons on to the piece or stitch, these instructions I’m going to use the stitch method.
- Cut 2-3 piece of fabric ranging in size for stacking.
- Using embroidery thread and top fabric piece, stitch buttons in place, tie off.
- Stitch additional embellishment and accents.
- Stack and glue fabric together letting each layer dry separately.
- Using a piece of fabric, glue pin back in place and let dry.
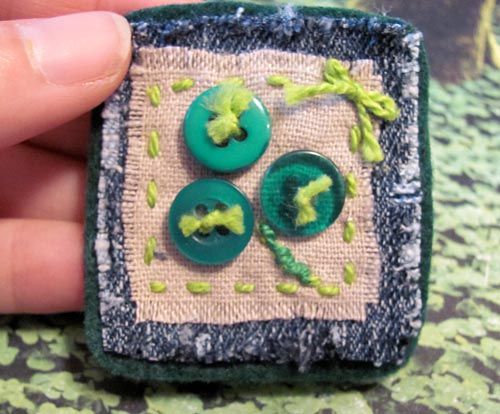
Making your own shamrock button pin is a fun and quick craft you can also make with kids. If you’d rather just glue the whole thing together, try using fabric markers to draw your thread marks. Use embroidery thread to create the tied look to the buttons before you glue the buttons to the fabric. Mix up the button sizes, embroidery thread colors and fabric you use for extra looks.
I’d love to see what fun you have with this St. Patrick’s Day button project!
Jen
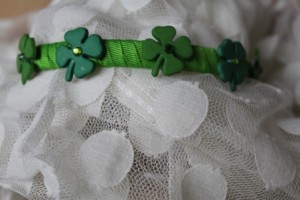
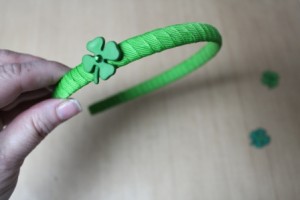
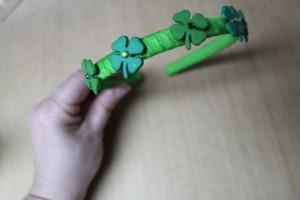
Easy St Patrick’s Day Headband with Novelty Buttons
Make this Quick & Easy St Patrick’s Day Headband today and wear it this evening….using “Match Ups” makes it so easy to do!
Supplies:
• Match Ups Spring Collection #2133 (5 clovers)
• Thin White Headband
• 2 yards ¼” Green Grosgrain Ribbon
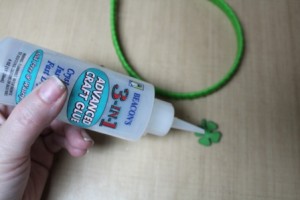
• Beacon’s 3 in 1 Glue
• 5 Rhinestones
Scissor
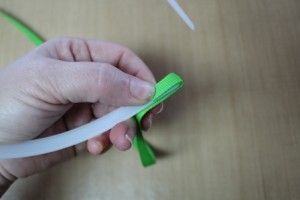
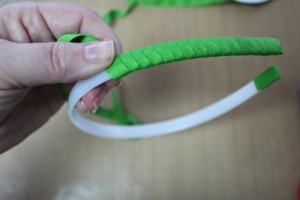
Instructions: