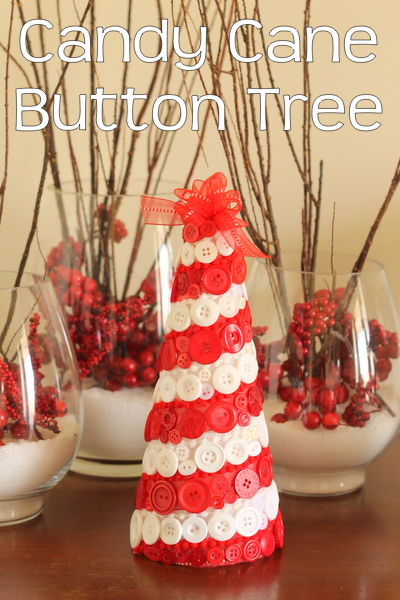
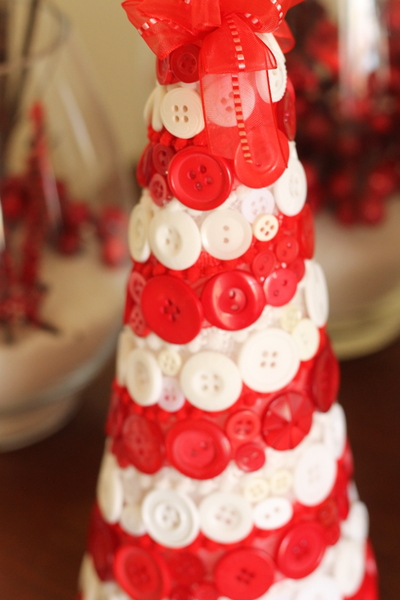
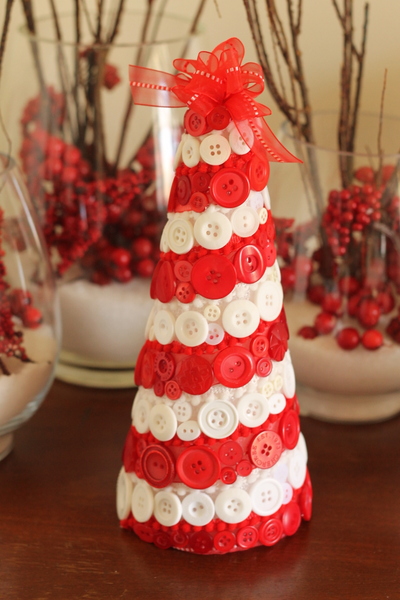
My candy cane button tree is the perfect addition to your holiday decor. Grab a styrofoam cone and get started on this fun tree today. It may look complicated but I will show you how to lay out your colors to get those perfect candy cane stripes every time.
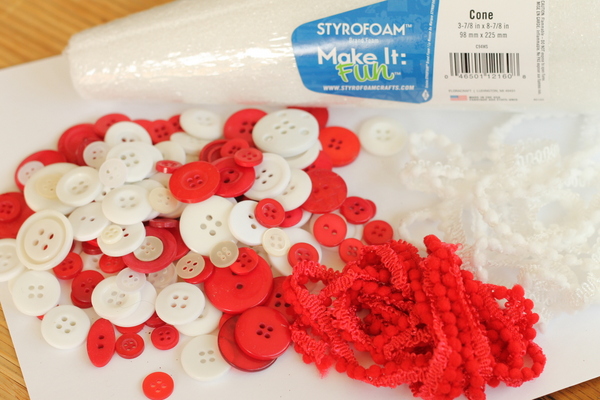
Candy Cane Button Tree Supplies:
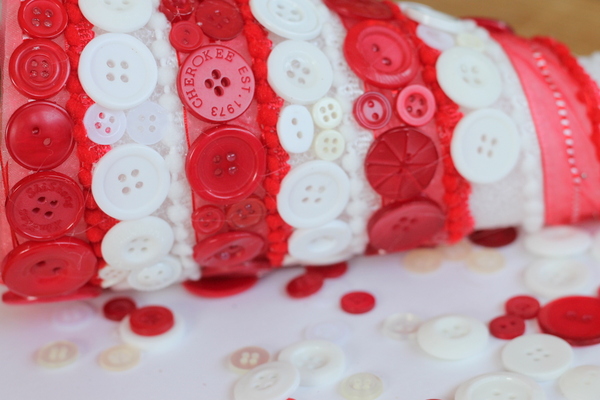
- Red and white buttons
- 3 7/8″ Styrofoam cone
- May Arts mini pom pom fringe in red and white
- May Arts shear red ribbon (not shown below)
- Hot glue
Candy Cane Button Tree Instructions:
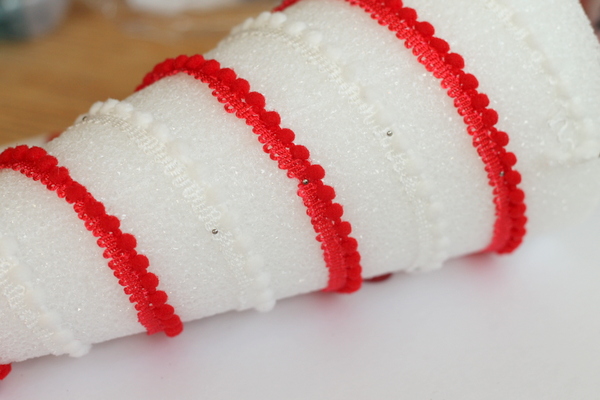
1. Wrap your red and white mini pompom fringe around the cone. Hold in place with sewing pins for now. Adjust until you like the spacing and location of your candy cane stripes. Hot glue your fringe into place and remove the pins.
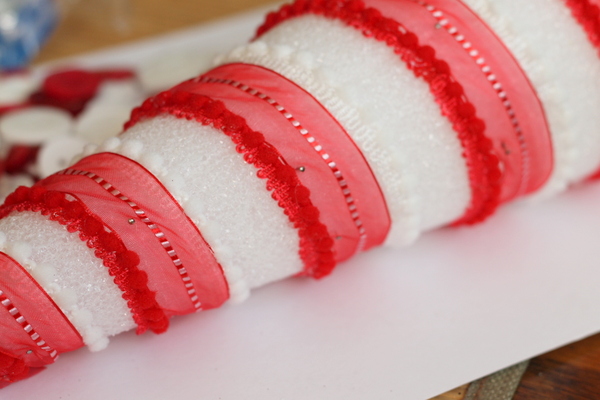
2. You don’t want the white cone showing through your red buttons so add the red shear ribbon just in the “red” stripes of your candy cane. Again hold in place with pins for now.
3. Because the ribbon is shear, there is no need to hot glue it down before you add your buttons. The hot glue will seep through the ribbon with the buttons on top. So start adding various size buttons with hot glue filling the red and white stripes all the way up the cone. Remove the pins in the shear ribbon as you go up the red stripe.
4. Once you reach the top, add a mini bow from some additional red shear ribbon. Again attach with hot glue.
5. Use a hair dryer to remove any glue strings. You are ready to display your candy cane button tree for the holidays. This is a super fun way to celebrate the holidays in your home.
I love candy canes and of course candy cane button trees. How about you? Will you be making a button tree this holiday season?
Latest posts by Angie Holden (see all)
- Mason Jar Valentines - January 13, 2014
- Candy Cane Button Tree - December 4, 2013
- Fall Button Serving Tray - November 11, 2013


Love this Angie!
This is just beautiful, Angie! I love your little tip for getting the rows straight, plus, the trim is so cute on here. Sharing!