Join me for a step by step tutorial where we will make Button and Twine Medallions to use as embellishments for a seaside themed scrapbook layout. Nothing says seaside or nautical like red, white and blue with the texture of rope incorporated.
Products used to create this layout with Button and Twine Medallions:
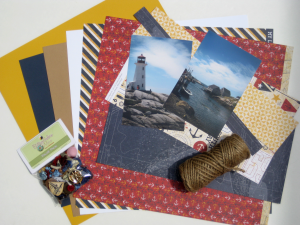
- Seaside Buttons– Nautical Value Pack
- Close To My Heart- Tommy Collection patterned papers and coordinating embellishments.
- Twine
- Cardstock
- 1.75″ Circle Punch
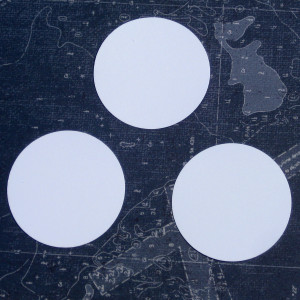
You want to start with cutting out circles from cardstock. This is going to be what you create your Button and Twine Medallions on. So make sure you use a punch that is the size you would like the embellishment to be.
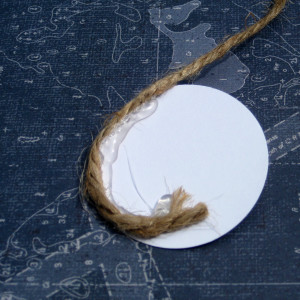
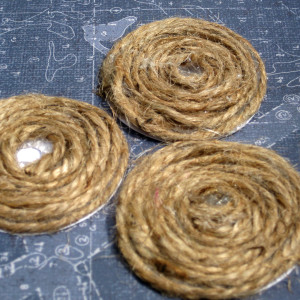
I then used hot glue to start adhering the twine to the outside of your cardstock circle.
I left a small space in the middle of each of my medallions. That way if you have chosen buttons that have shanks, then you should be able to still just hot glue the buttons to the medallions.
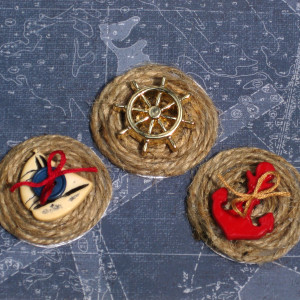
Here are the buttons that I chose from the Nautical Value Pack for my Button and Twine Medallions.
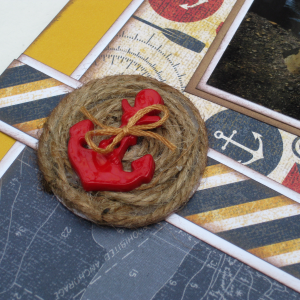
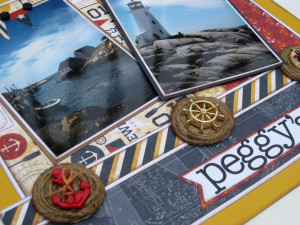
I added my Button and Twine Medallions to the border of my scrapbook layout.
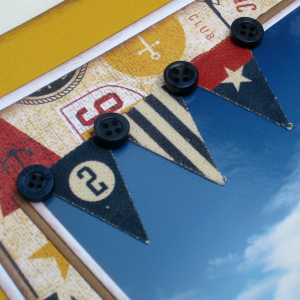
I added a few more buttons from the Nautical Value Pack along with some canvas stickers to the top of one of my photos.
Here is my completed scrapbook layout with the Button and Twine Medallions as the perfect accent to my photos from the stunning Peggy’s Cove, Nova Scotia.
Thank you for stopping by and I hope these Button and Twine Medallions make it to your next nautical themed craft project.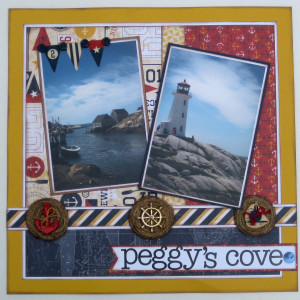
Latest posts by Tracy McLennon (see all)
- Altered Tea Box - February 3, 2014
- “Hello” Scrapbook Layout - January 25, 2014
- Winter Button Layout - January 6, 2014


[…] and the star from the Toy Story Cricut cartridge. I saw a tutorial that Tracy McLennon did for Buttons Galore & More that week and followed it to create what I thought looked like a lasso that the star sits on. The […]