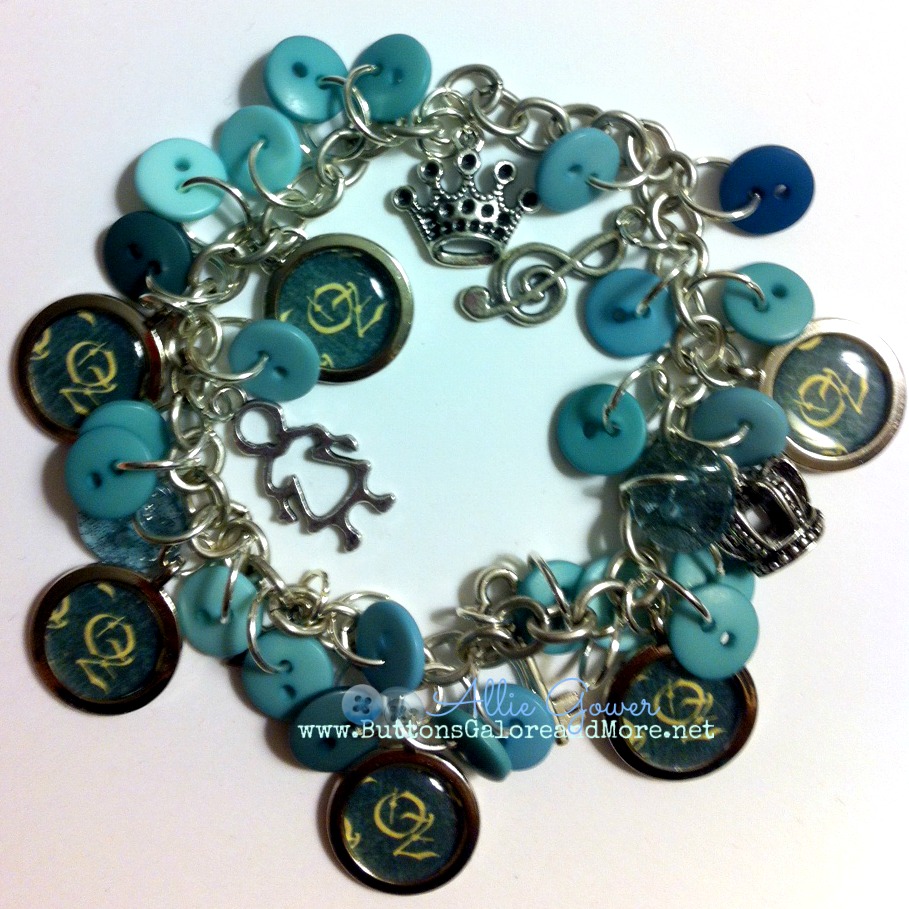
As a kid, I remember the first time I saw the Wizard of OZ, and I tried to capture all my memories in this Wizard of OZ Charm Bracelet. This month I’m sharing some easy Button Jewelry ideas. I hope you like them, and that you’ll come back every Thursday to see a new project.
I like to figure out how long I need to make a bracelet and then count the links, so I have a nice even variety of buttons and charms. My wrist is on the slim side – an average bracelet is about 7.5″. One thing to remember to take into account is how bulky your bracelet is – if it’s super chunky, you might need to go a little longer.
I’ll briefly go over what I used – the construction is pretty simple. Decide where you want things and add them with a jump ring. I used the satin finish buttons from the Teal Ice package. These are my favorite colors, so it was just a matter of what I liked! In addition to that I have some Want2Scrap charms – I used crowns, a key, a little girl, a music note, and a star – for the Wizard of course. In addition to the charms, I used an Epiphany Crafts punch to punch out OZ (from Graphic 45 papers) and Epiphany blanks and acrylic shapes (Circle 14) to make my OZ charms. The paper is actually blue, so the buttons went together nicely.
Supplies used to make OZ Charm Bracelet
- Teal Ice Buttons
- Chain, Jump Rings** – Fire Mountain Gems
- Blanks, Acrylic Disks, Circle 14 Punch – Epiphany Crafts
- Charms – Want2Scrap
- Paper – Graphic 45
I hope you’re inspired to grab some buttons and charms and create a Charm Bracelet. I’ll be back next Thursday with some more Button Jewelry.
**Note – you will need pliers to open and shut the jump rings.
Latest posts by Allie Gower (see all)
- Buttons Galore 2014 Valentine Round Up - February 1, 2014
- BeBunni Blue Birthday Card - December 26, 2013
- CHRISTMAS DIY: Colorful Buttons for Doll Stockings - December 10, 2013


Love it! I loved the Wizard of Oz too!
I love it…. The color is fantastic.
How did I miss this little beauty? Love it!